TLDR: Tram was/is the issue, but the fix wasn’t obvious at first. Core II is currently printing.
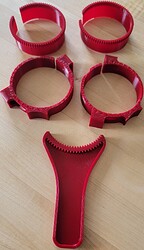
I read through this extremely helpful thread a handful of times and decided to print out the adjustable mounts as well as the aptly named Tram Ninja.
When installing the new mounts, I realized one of the old mounts was badly warped.
Unaware that the warped mount was a foreshadow of things to come, I got her trammed in with the new mounts and faced some scrap MDF with my 1-inch surfacing mill.
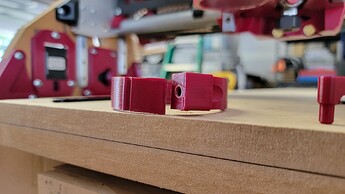
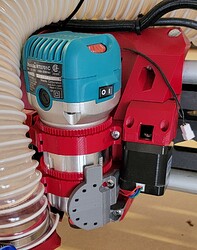
The face cut looked great… in the spaces between the 4 weird steps that happened every so often ![]() . It wasn’t until my 2nd beer that I realized that the steps were perfectly in line with the gantry braces. Looking closer the gantry braces were showing signs of rubbing. ‘No Problem’ I thought. I just needed to adjust the tension on the core bolts. But no matter what I did, the core was either scraping the braces, or too loose in between the braces. That’s when I saw the thing no LR3 owner every wants to see: a warped core (which was really hard to get a picture of).
. It wasn’t until my 2nd beer that I realized that the steps were perfectly in line with the gantry braces. Looking closer the gantry braces were showing signs of rubbing. ‘No Problem’ I thought. I just needed to adjust the tension on the core bolts. But no matter what I did, the core was either scraping the braces, or too loose in between the braces. That’s when I saw the thing no LR3 owner every wants to see: a warped core (which was really hard to get a picture of).
I’m not exactly sure how this happened, but I’ve read about a few instances of the Makita’s running hot especially when running at low RPM. That combined with the un-air-conditioned Central Florida garage that my LR3 lives in could have caused the PLA to deform.
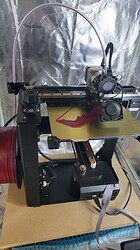
Needless to say, core two is currently being printed.


