LinuxCNC Install Notes
LinuxCNC at this time is at version 2.7. Version 2.8 is better at running dual motor setups like ours. Version 2.8 also includes the new PlasmaC component for running plasma machines. Development version 2.9 includes paused motion and reverse run, I'm going to use this one. But at I minimum I'd upgrade from 2.7 to 2.8.
The mesa cards require linux to run with a realtime kernel. The easiest way to get that is to just install linux with the ISO from LinuxCNC’s website. Specifically the ISO with rtpreempt kernel and Debian 9 Stretch here http://www.linuxcnc.org/testing-stretch-rtpreempt/
But the ISO will install LinuxCNC 2.7. The easiest way to upgrade is to use the “buildbot installation”. These are precompiled binaries.
http://linuxcnc.org/docs/devel/html/plasma/plasmac-user-guide.html#buildbot-install
… I’ve chosen to set this all up the hardest way possible by compiling a realtime kernel from source on Linux Mint 19 and then compiling the LinuxCNC development version from source. YMMV. Maybe more on that later. (edit) A linuxcnc guru posted a quick rundown on how to get Mint 19 up and running with a realtime kernel here: https://forum.linuxcnc.org/9-installing-linuxcnc/36822-linuxcnc-on-linux-mint-19-1-quick-and-easy-installation?start=0
Base LinuxCNC Configuration
LinuxCNC is a very powerful and crazy customizable cnc controller. It can be used to run mills, plasmas, lasers, lathes, 4th axis, 5th axis, robot arms, skynet, etc. As a consequence of this customize-ability at first glance LinuxCNC can seem overwhelming. But for a simple 3 axis milling machine like the MPCNC it’s really easy. After LinuxCNC is installed on the computer you can a MPCNC configured in about 5 minutes, tops!
Here’s a quick tutorial on how to get a base MPCNC or Lowrider’s motors turning with LinuxCNC, specifically with a Mesa 7i96. Other Mesa cards will be very similar. I’ve made screen shots of all the settings I needed to get a base machine up and running. I’ve highlighted some things to call attention to but go ahead and look over each option to make sure they match up.
LinuxCNC comes with 2 different wizards to setup a machine, one for machines wired up through parallel ports called Stepconf, the other for Mesa cards called PNCconf.
Fire up the terminal to get started.
-
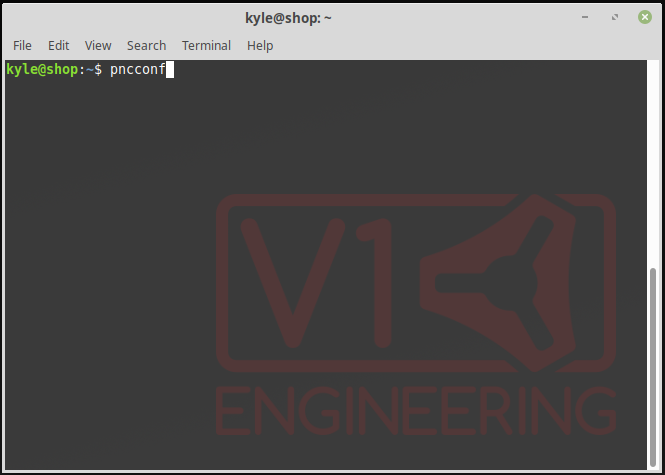
Type pncconf and hit enter

-
It should start up with this screen
-
Be sure to check “Create a desktop launcher” so that’ll put a shortcut on the desktop later to quickly open LinuxCNC with this new configuration
-
Here you can give your machine a name and select imperial or metric. I just leave actual servo period at the recommended value. If you were using a parallel port you would need to pay closer attention to this. I probably should have deselected “Include Spindle”.
-
LinuxCNC has several different front ends for you to choose from. I’m going with the default AXIS. I made no changes here but you might consider increasing the jogging speeds. *Note that I actually prefer the look and feel of the gmaccopy gui, however it seems appears to have problems understanding dual axis setups like ours. If you’re using series wiring feel free to use gmaccopy, I’m going for a dual endstop type setup with a driver for each stepper so I’ll be using axis for now.
-
No changes here
-
This is where you’ll setup your card and all your pins. I set up my mesa card with an IP address of 10.10.10.10 in a previous post, give linuxcnc that address here and then click “Accept components Changes”. After you click that it will load the TB3, TB1, P1 tabs you see up top. These tabs correspond to the breakout board’s pin headers.
-
Setup your inputs and outputs in the TB3 tab. Here you can quickly setup all your homes, limits, nuke buttons, etc. I’ve just got a ESTOP wired in for now. Later I’ll add home switches, a float switch for plasma, and a relay for turning on the router/torch.
-
Setup the motors in the TB1/TB2 tab. I’ve got 5 stepper drivers here to setup in a dual endstop fashion. But you could easily just do 3 drivers with dual motors wired in series exactly like a standard mpcnc setup. Notice that I inverted the direction of one of the dual motors.
-
Here is where you tune your steppers. @vicious1 has already done all the hardwork of figuring this stuff out for our machines in Marlin so I just carried the settings over from there. I had to do some simple unit conversions so be sure you get the right values from the tables I’ve included here. Stepper scale = steps per machine unit, so if your in metric it’s steps per mm, if your imperial it’s steps per inch. The max velocity in the marlin firmware is in mm per second, this configuration wizard expects either mm per minute or inches per minute. You’ll repeat this screen for each axis.
-
Setup your machine size here. Since I’m not using homing or limit switches yet I could just make this really big so linuxcnc doesn’t impose soft limits that interfere with operation later. I can always come back and fine tune this later. This is also where I’ll eventually setup my homing switches. You’ll repeat this screen for each axis.
-
Rinse and repeat for each axis
-
CONFIG DONE!
-
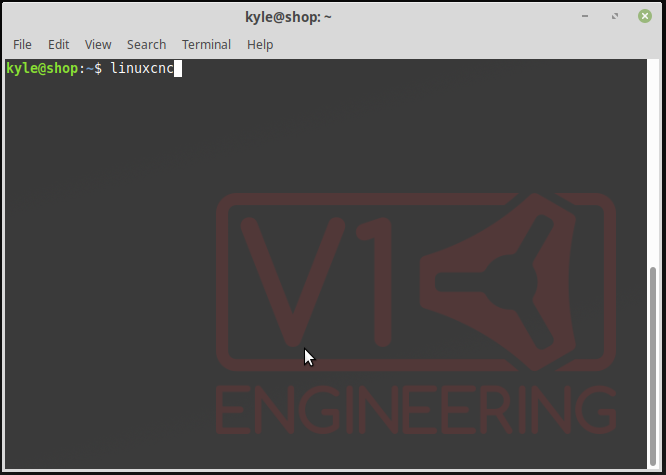
Either go back to the terminal to start linuxcnc like so or go the desktop and just click the shortcut if you opted for one in step 3

-
If you run linuxcnc from the terminal you’ll get a screen like this asking you to select a configuration. Also, here’s another opportunity to make that desktop shortcut.
-
Look Ma, no errors! To start moving the machine you’ll first need to enable it (#1 on the screenshot) and then home the “joints”. Each motor that you setup in linuxcnc is now called a joint. Because I setup a driver for all five steppers I get 5 joints. If you do 3 drivers with your duals wired in series you’ll just have 3 joints. And because I havn’t setup homing switches yet when I click home joint it wont physically do anything. So for now, before we can run the machine, just know you have to home your joints.
-
“Joints” are homed and we now have the more familiar xyz axes. It’s time to get dirty!
That’s it. That’s all it takes to get a base mpcnc or lowrider running with linuxcnc.


