Why do you think we would know? Do we sound normal? Do I sound normal to you? You think I post here to maintain reality and fight against the existential dread? Bah! Ph’nglui mglw’nafh Cthulhu R’lyeh wgah’nagl fhtagn!
3 Likes
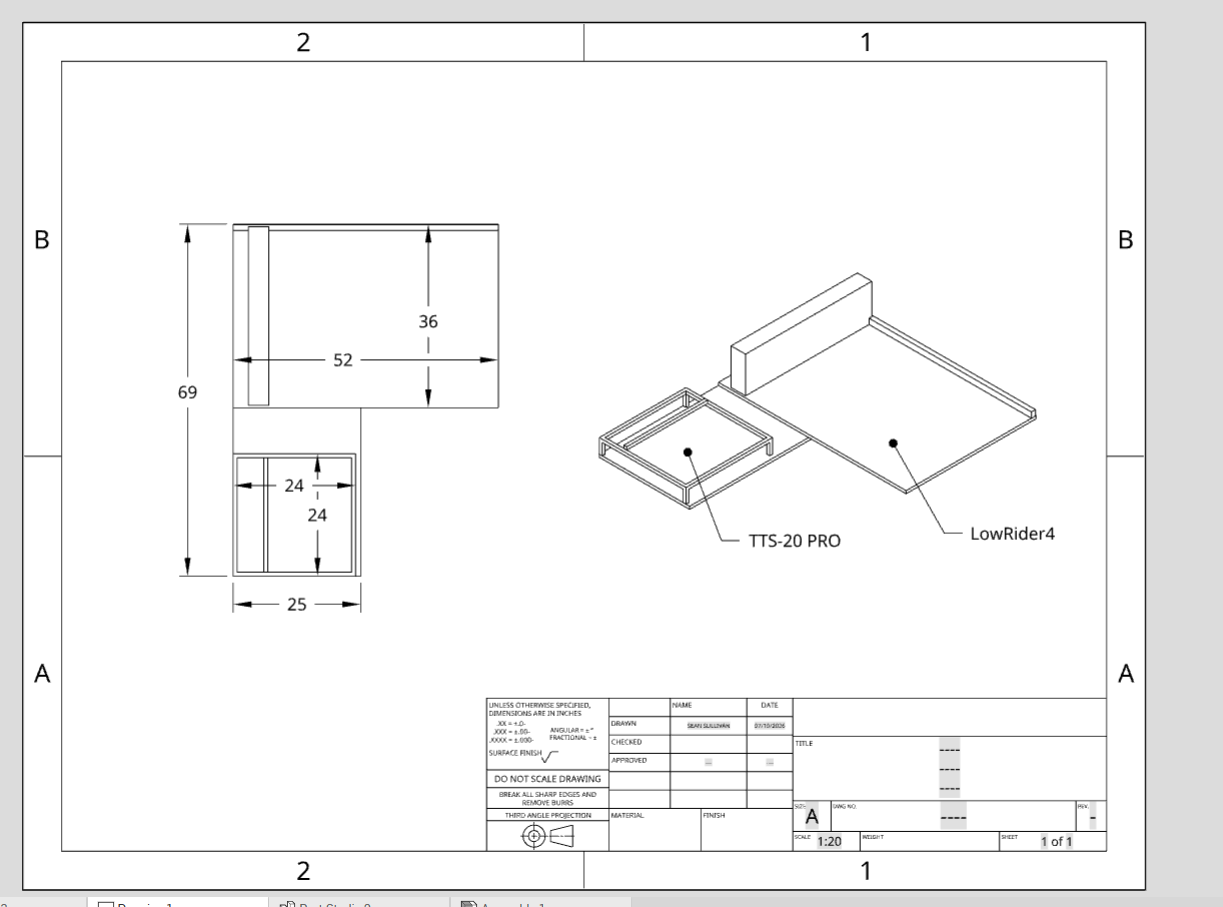
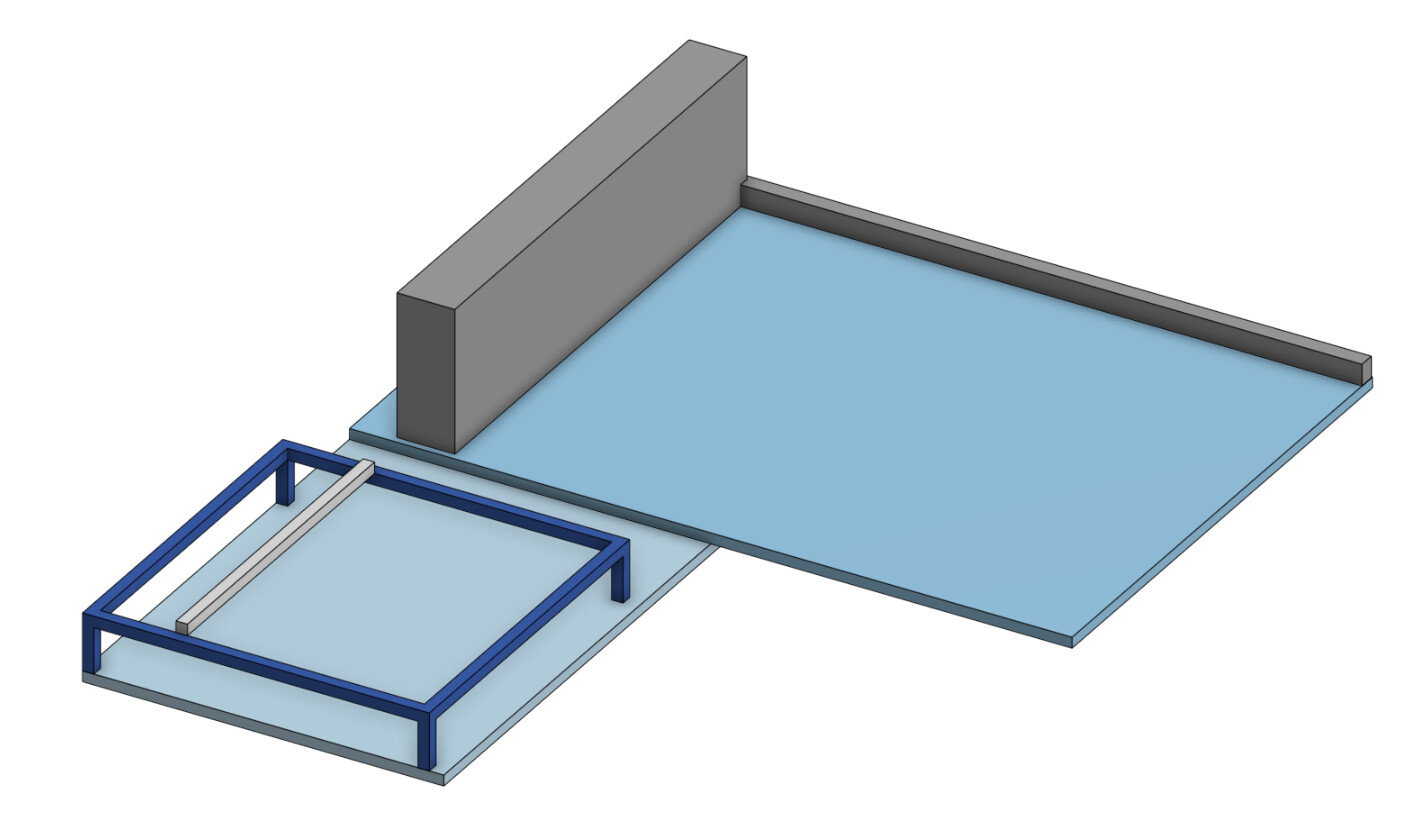
I’m sure you all can see the issue without much guessing. More than half of lr4 is unsupported by my bench.
I’m struggling with Mt fix for it. Obviously I can build a bracket to hold that end. But my laser doesn’t fit in the current 23” deep bench top anyway. So if i build a new top for the laser, I may as well cut out an L shape and support the entire lr4. Because my frame is all unistrut, it is strong enough to hold flat. But once the weight of the gantry moves off the supported section, bad words will be said.
Really the laser shouldn’t be sitting on plywood even i do think of it as a spoilboard. To make the entire bench out of steel would be a huge waste because the lr4 doesn’t need it.
I think the right answer is to build out the L shape like mentioned, and put a smaller thin steel skin over the laser section.
But I’m also planning on building an enclosure for the laser so maybe I hold off on the steel until the encoder is being built. I’m stuck in my own way here.
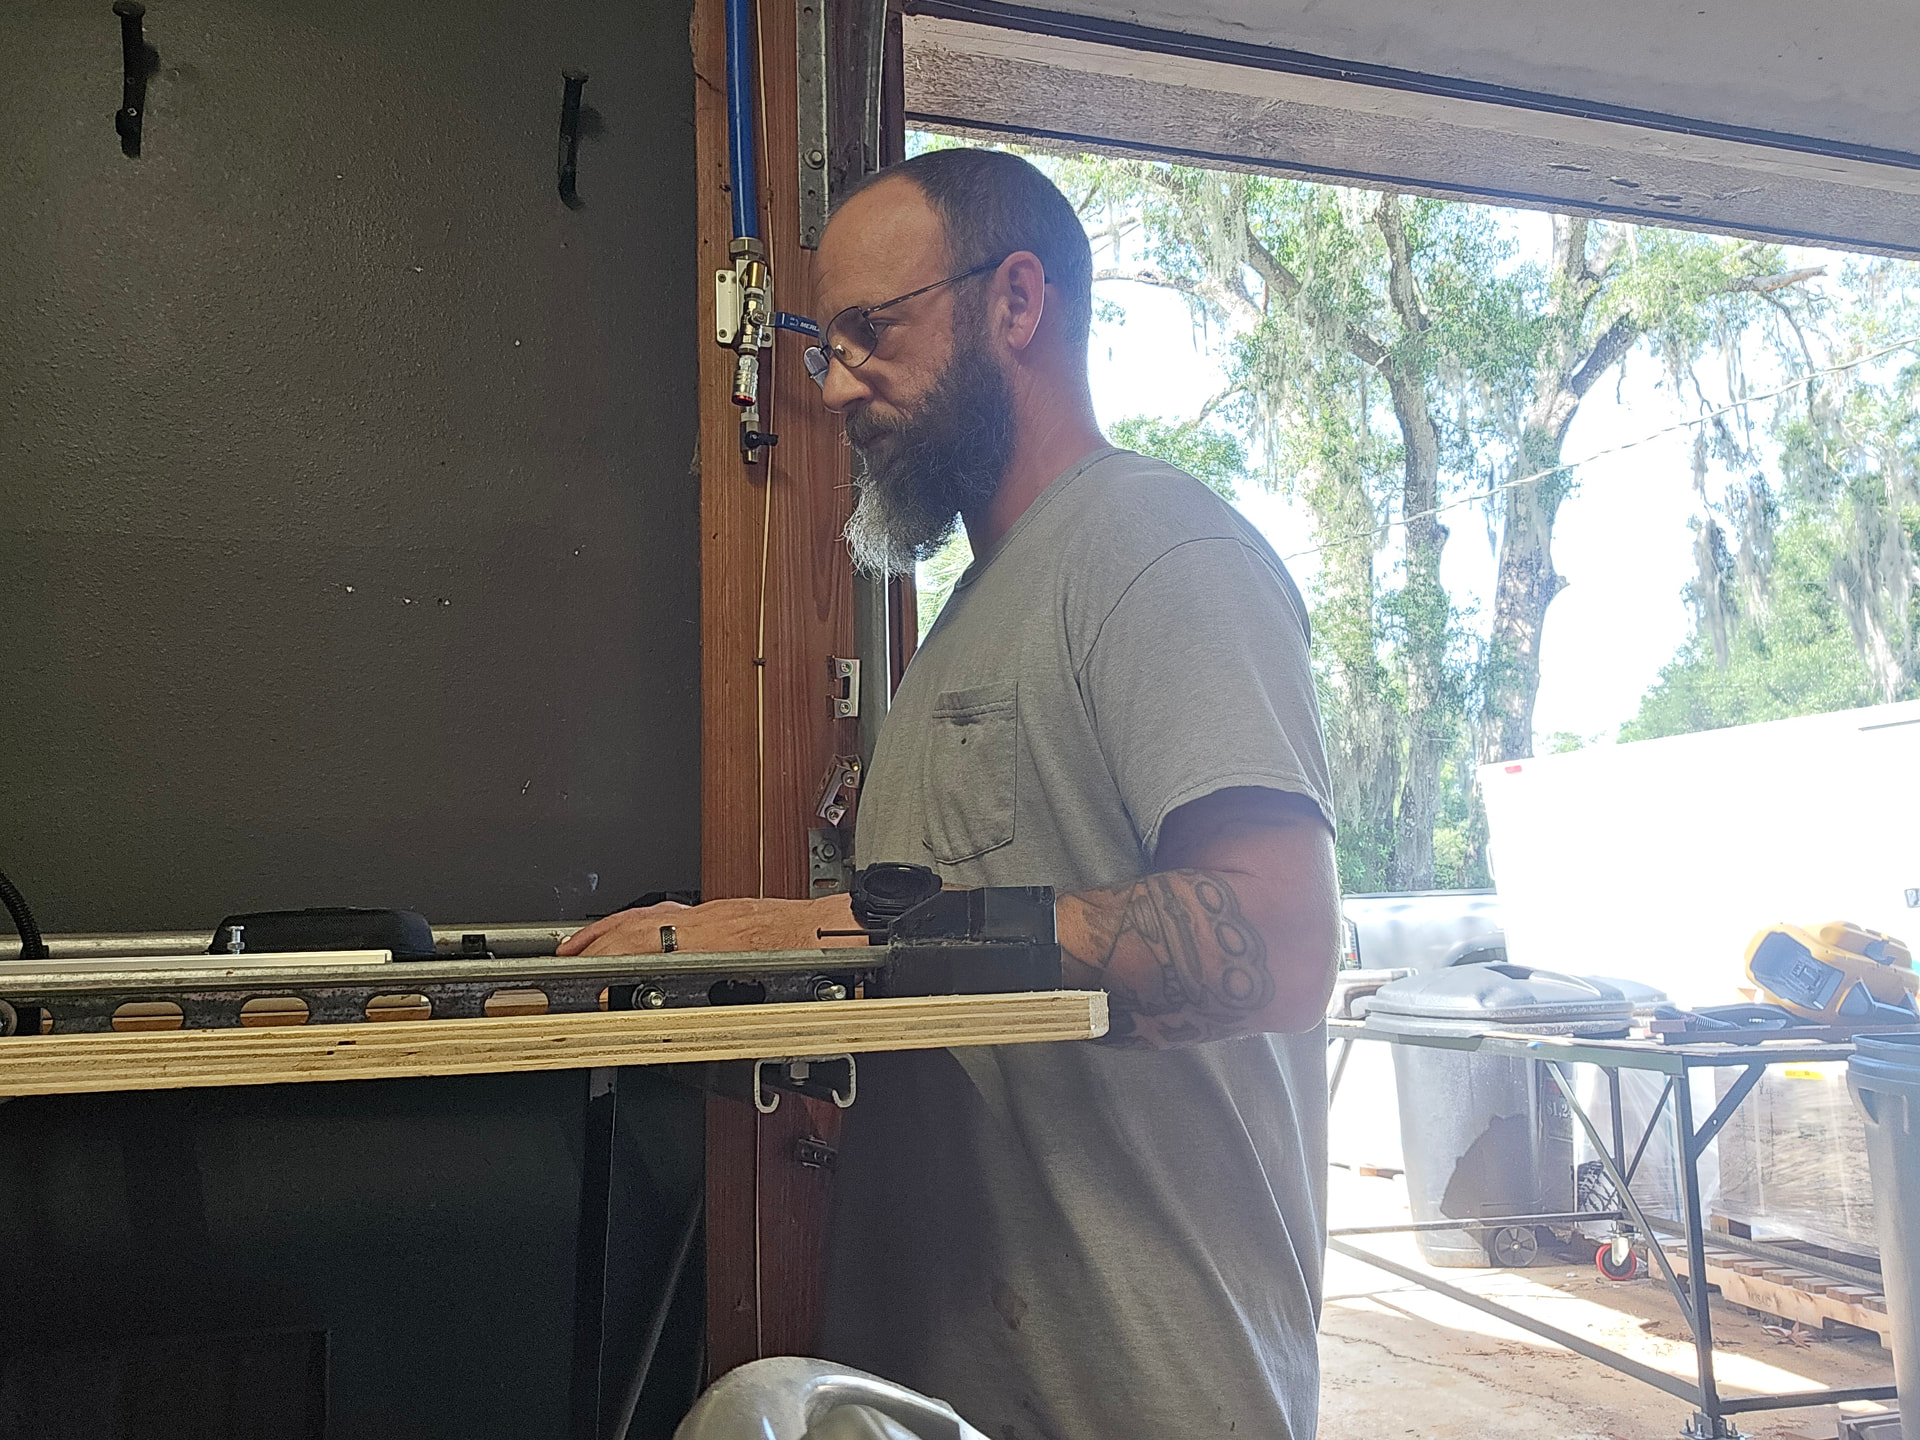
The 42” height of the bench puts the machines at the perfect height to not have to be over. And that steel frame in my driveway is what the lr4 used to sit on when it was full sized.
The other part I’m working on is this shelf i have on the side of the machine. It used to be where i had the power cables running. But with the machine on the corner, it would make more sense to kick the cord out the other side. Does the house bump from the yz min for on the other side? Maybe print it mirrored? Idk.
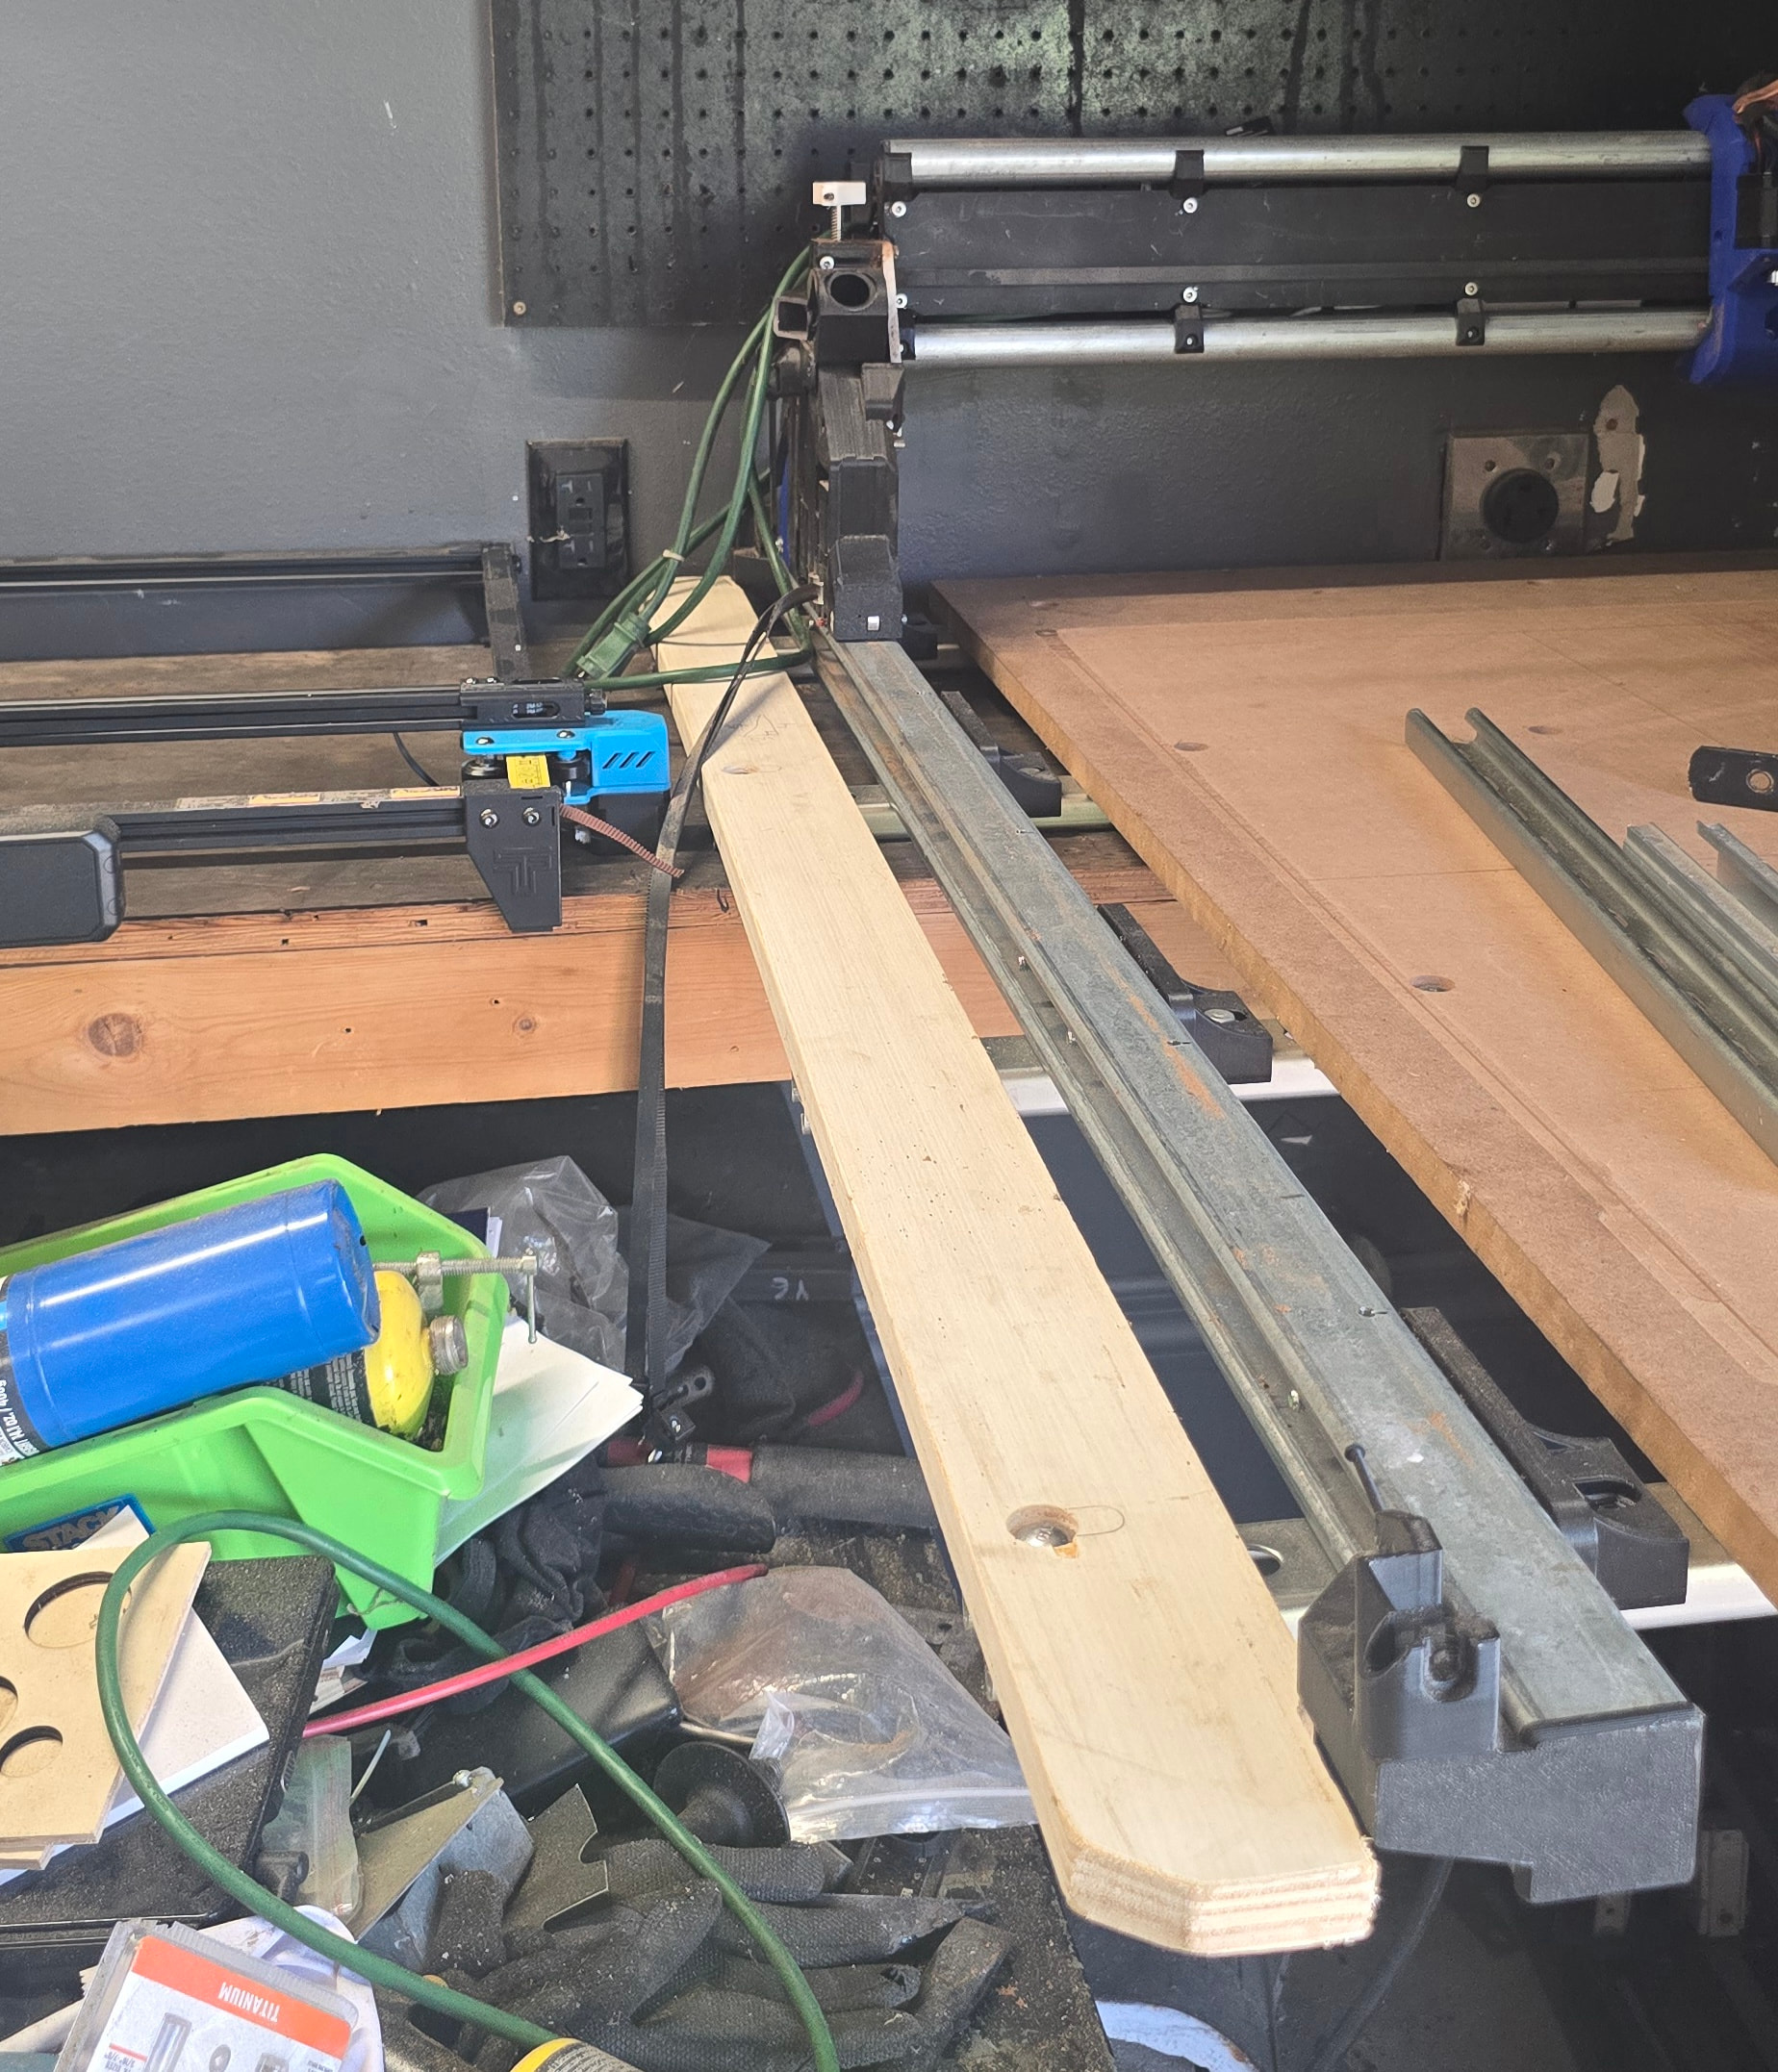
I guess for now I need to just keep moving my metal fabrication stuff out of the corner and see what comes to me.
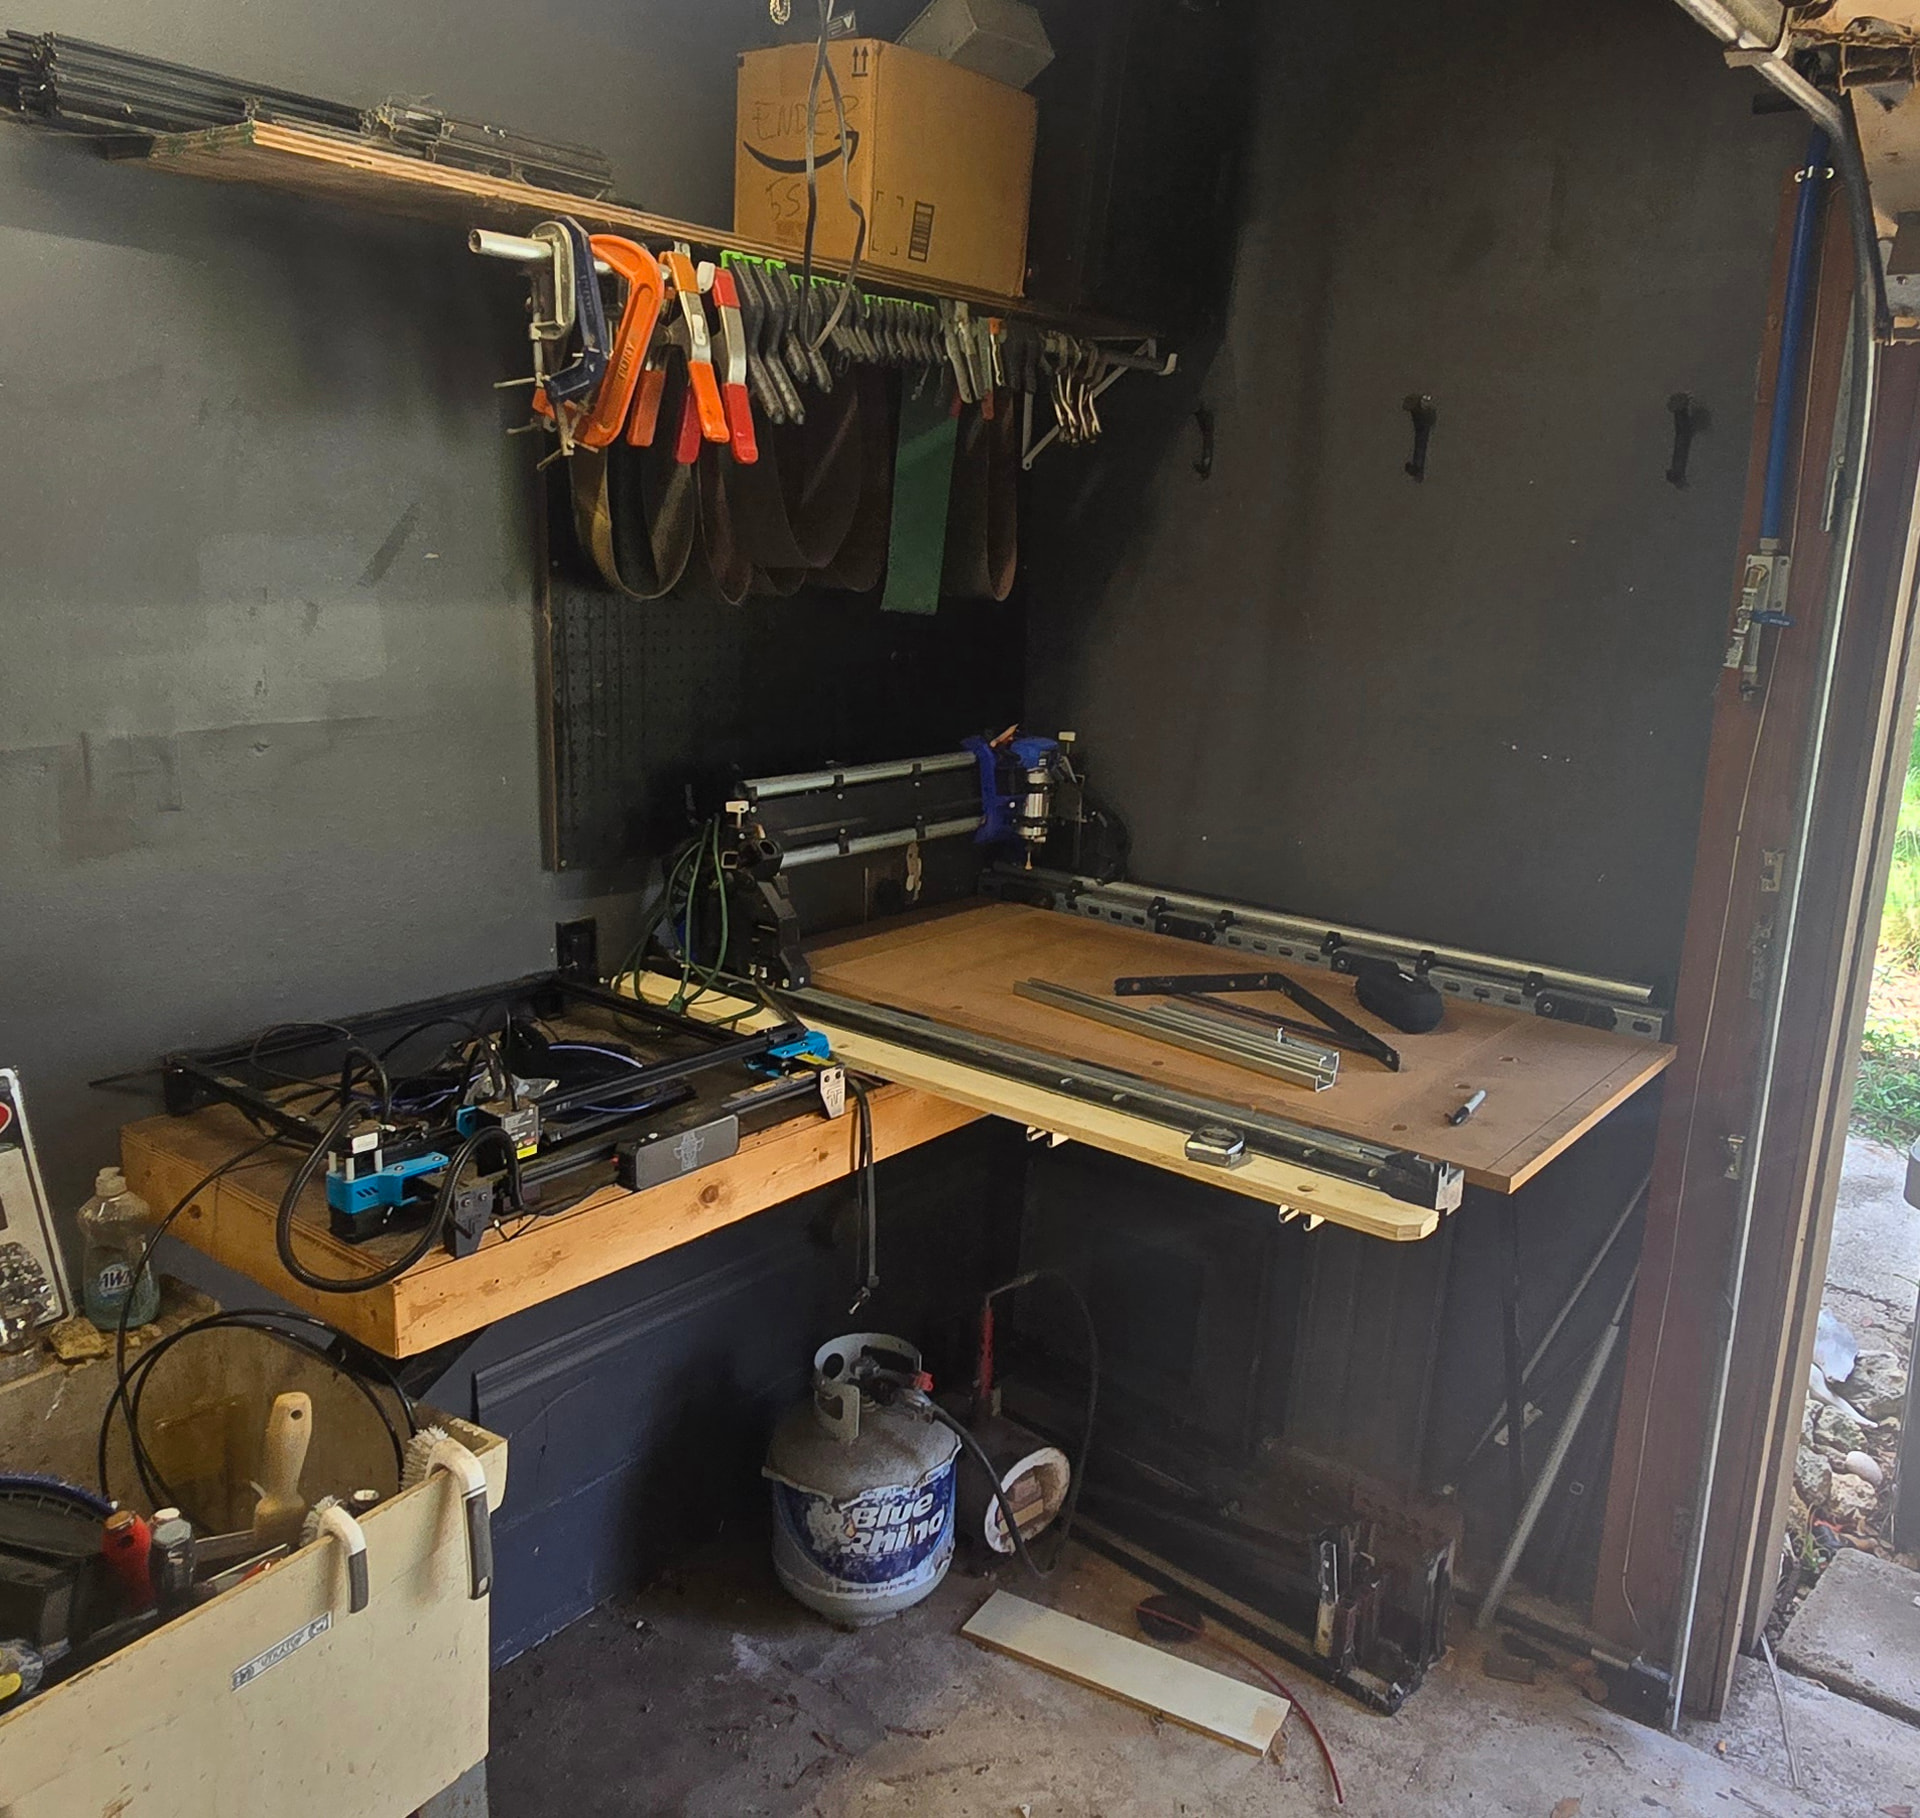
this is the first time I see how the corner actually fits and flows. Y min side, I have access to half the machine. The end is wide open too. And the laser fits nicely as a side kick. I have wall space for hanging a monitor, dryer vent for exhausting laser air out of the chamber, ¾” PAP air drop with air that has been cooled and dried, then dried again. I have plenty of room for a shop vac to hangout under the bench. And I have room to build a pull out shelf for my little Linux laptop to live. I can even print that up high shelf way down and run the little ender5s1 if i wanted. And just to make it all work seamlessly, I can drop an eithernet cable from the attic.
_________________
Edit
the forge needs to move and I still need to figure out of I’m keeping the peg board
Man that was a lot of work for it to not look any different. Ryan, you need to design a robot that builds shops.
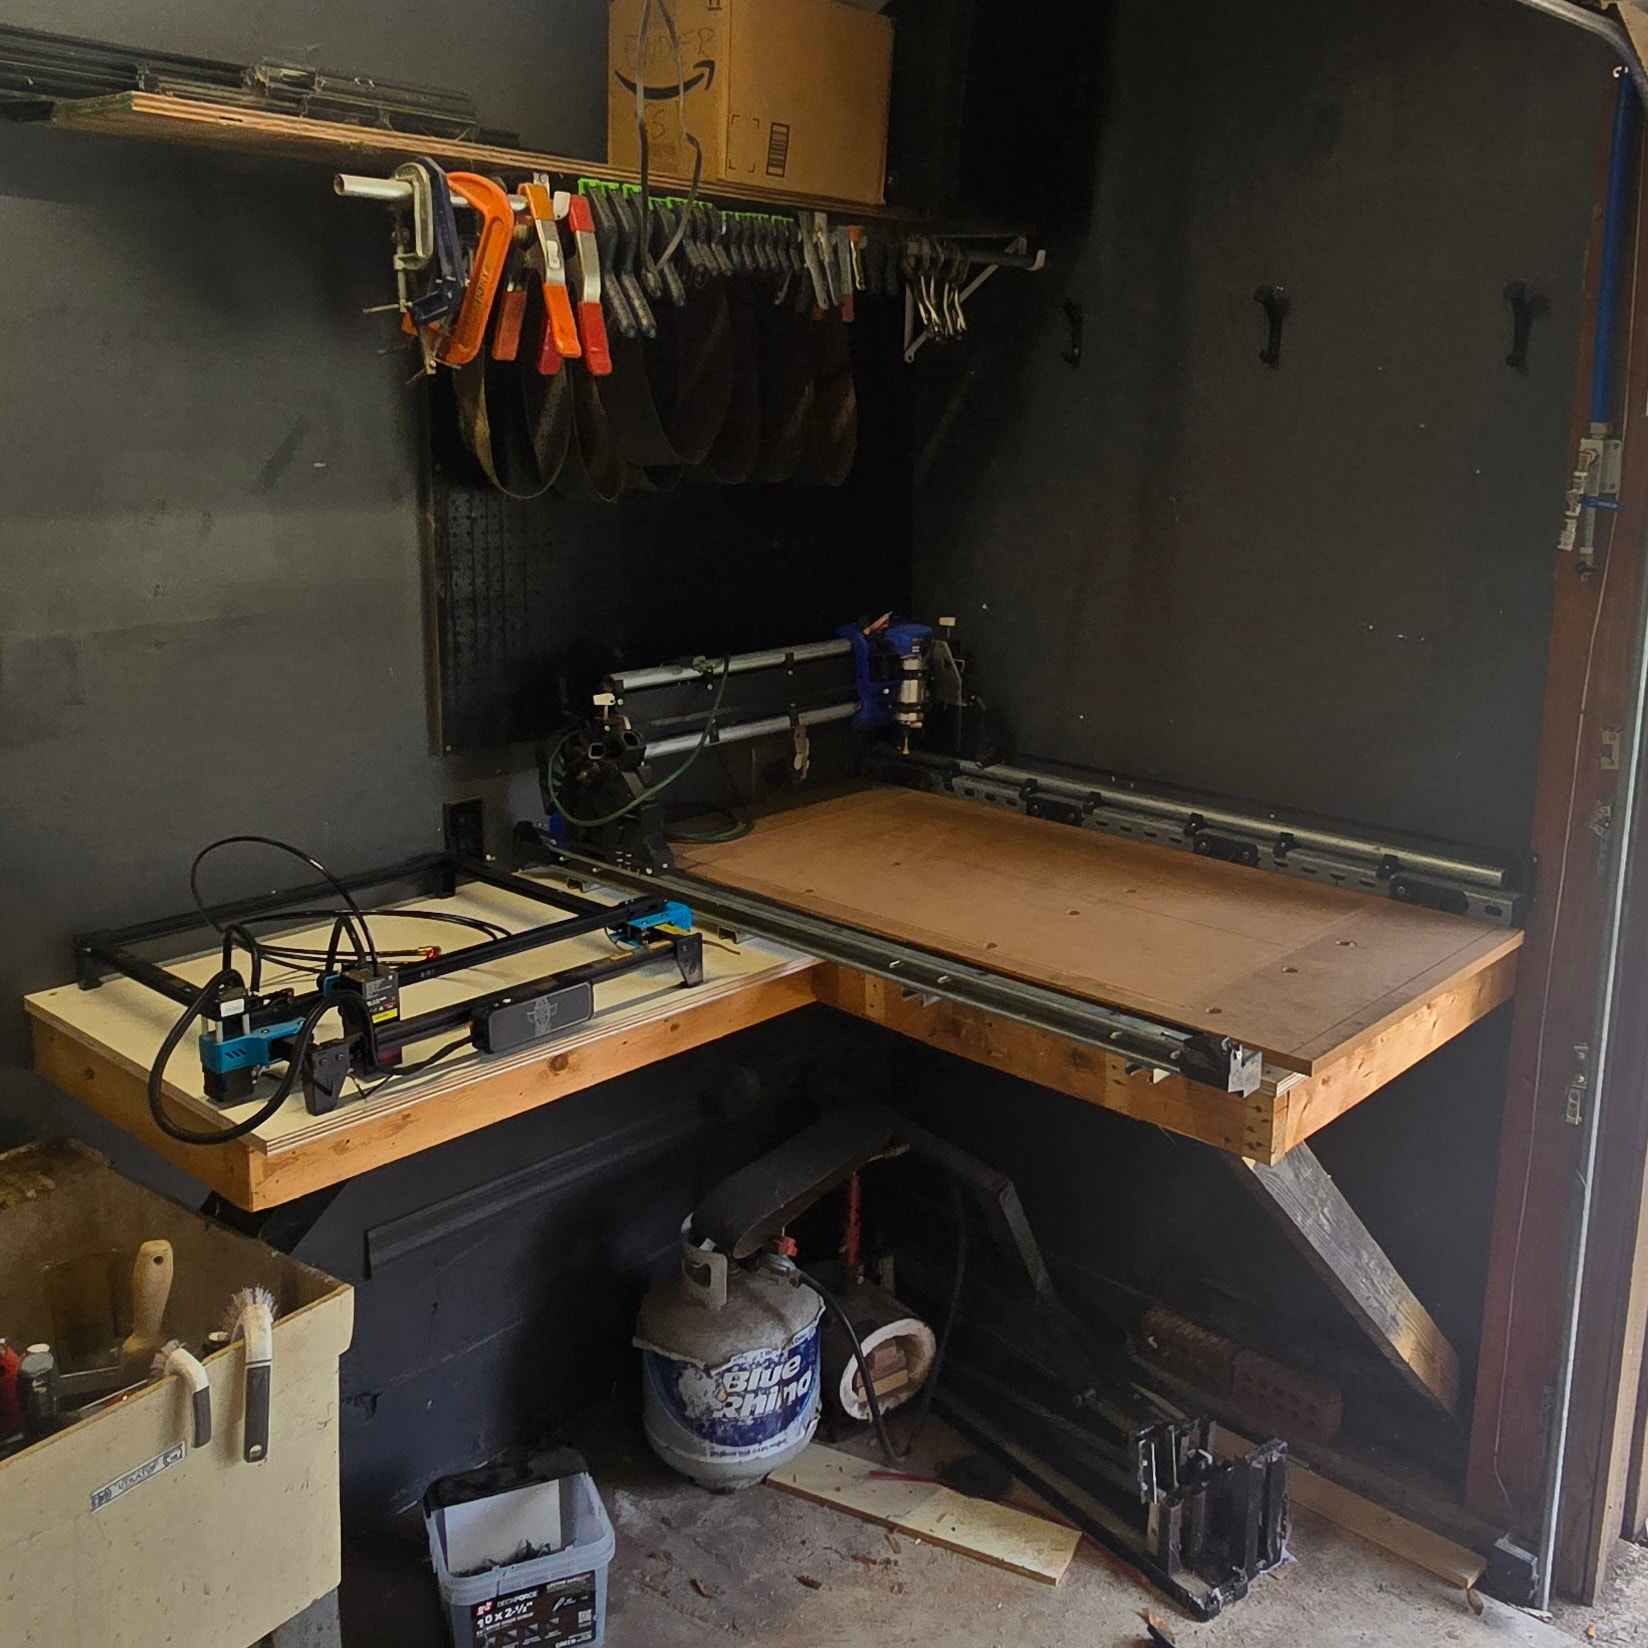
I took the old bench top off
Built the L extension coming out towards the door
Cut/ installed a new top for under the lr4.
Cut/ installed a new top for under the tts
Cut off the little shelf I had built into the frame of the machine for cable routing
Installed everything in it’s new home
And I still need to move the forge lol
I need to figure out how I’m doing this…. too many thoughts for my tiny brain
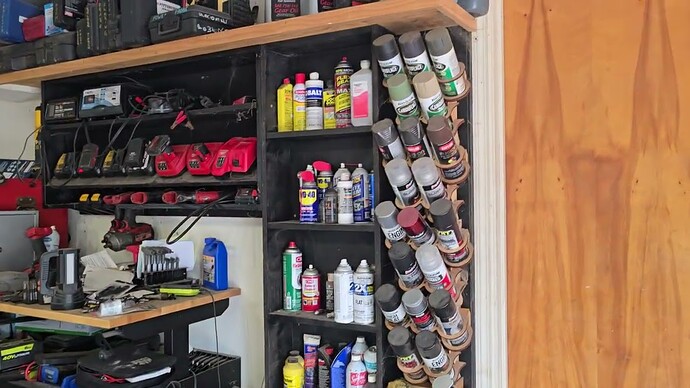
And this was just 7 months ago when I was building the metal working section in the place the digital fabrication is now. You can see how much of my shop that full size lr4 took up.
1 Like
making some test cuts in 3/4” plywood. 1/4” end mill, single flute upcut. 10mm DOC, 60mm/sec 45% stepover (not sure if that is one word or two) number 4 on the Kobalt (roughly 24000rpm) Its just chewing through it. I could absolutely push harder.
3 Likes
Those are great numbers!!
Made one last pass and took a video. I was actually trying to make a part, but recording numbers as i go.
¼" end mill
1 flute uncut
24000ish rpm
10mm doc
66.7mm/s (about 4000mm/min)
45% step over
and admittedly too much stickout (but I needed to reach the bottom)
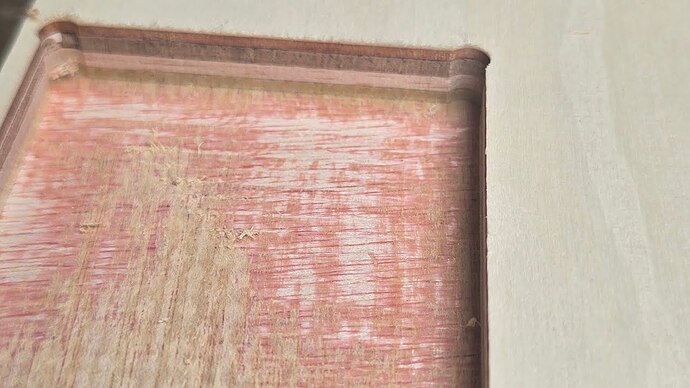
7 Likes
Now i also want to push the limits!
1 Like
I strongly encourage always pushing the limits of how great you are… doesn’t matter if this or anything else in life. My daughter’s bring home an A “that’s great, how much better can you do next time? “
As for your machine. There are lots of variables at play with how fast and accurate you can run it. I’ve seen a couple members pushing roughly these speeds on 4ft gantries, but they were both extremely experienced users. I still have a lot left in mine, and I’ll end up pushing it at some point.
______________________________________________
EDIT
Sorry. I was pretty medicated this morning when I typed that. I had to clean it up to make sense.
4 Likes
what a long way I have come from my original build thread. I havet even turned on my machine today for personal/health reasons. But looking at my first build thread made me see just how much I have learned.
I have been watching a lot of carving videos lately and they speak in numbers that i just don’t work in. So i had chatgpt compare the roughing pass of the cutting it close guy and his expensive machine to my test speeds cutting out the pocket for my stop switch.

Now there is a hardwood vs imported birch ply difference…. But it puts the numbers in perspective for me.
I’ve made some pretty substantial progress on my digital fabrication corner. Though most of it doesn’t show.
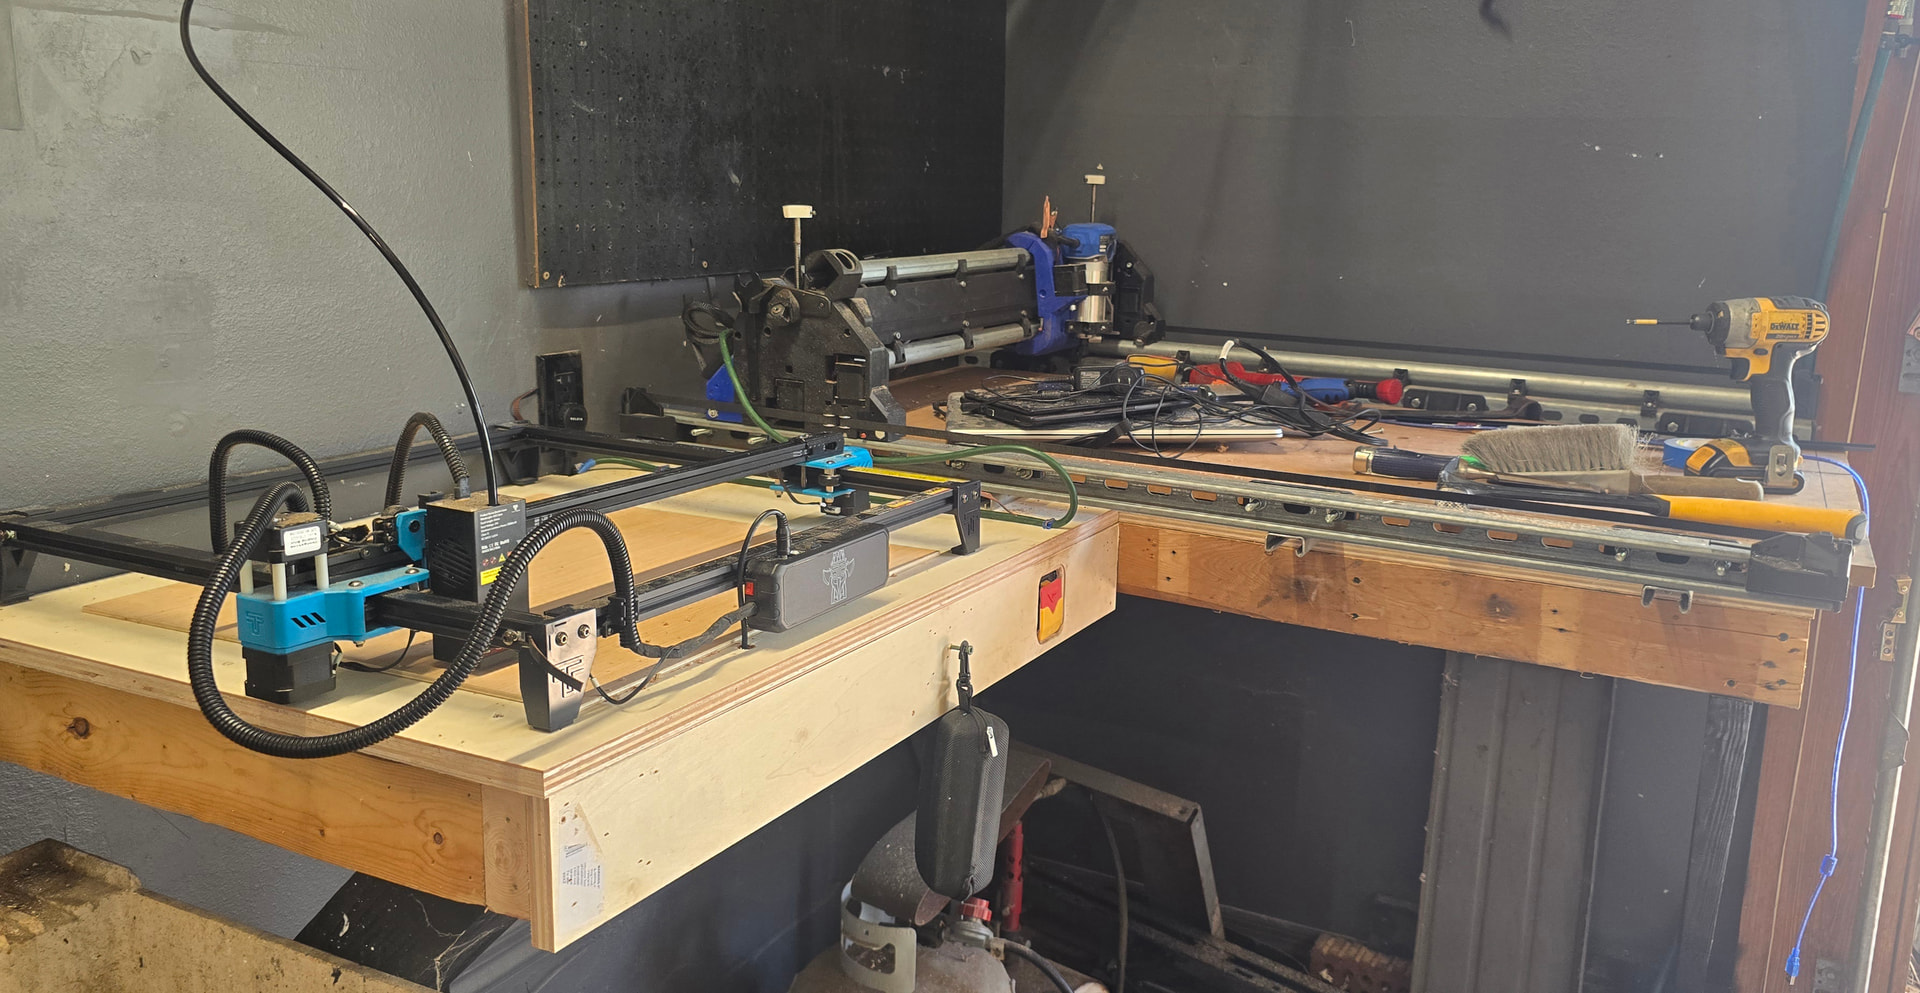
First up was power. I needed clean cables fast kill mode and extra outlets for stuff like dust collection and the exhaust fan for the laser.

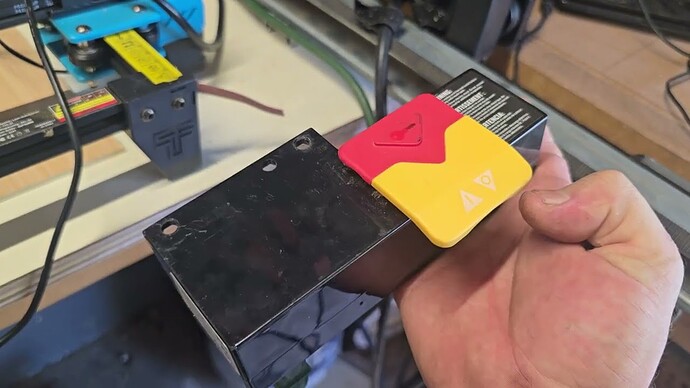
Kill switch got recessed into some ¾” ply and that was the test pickets from the other day
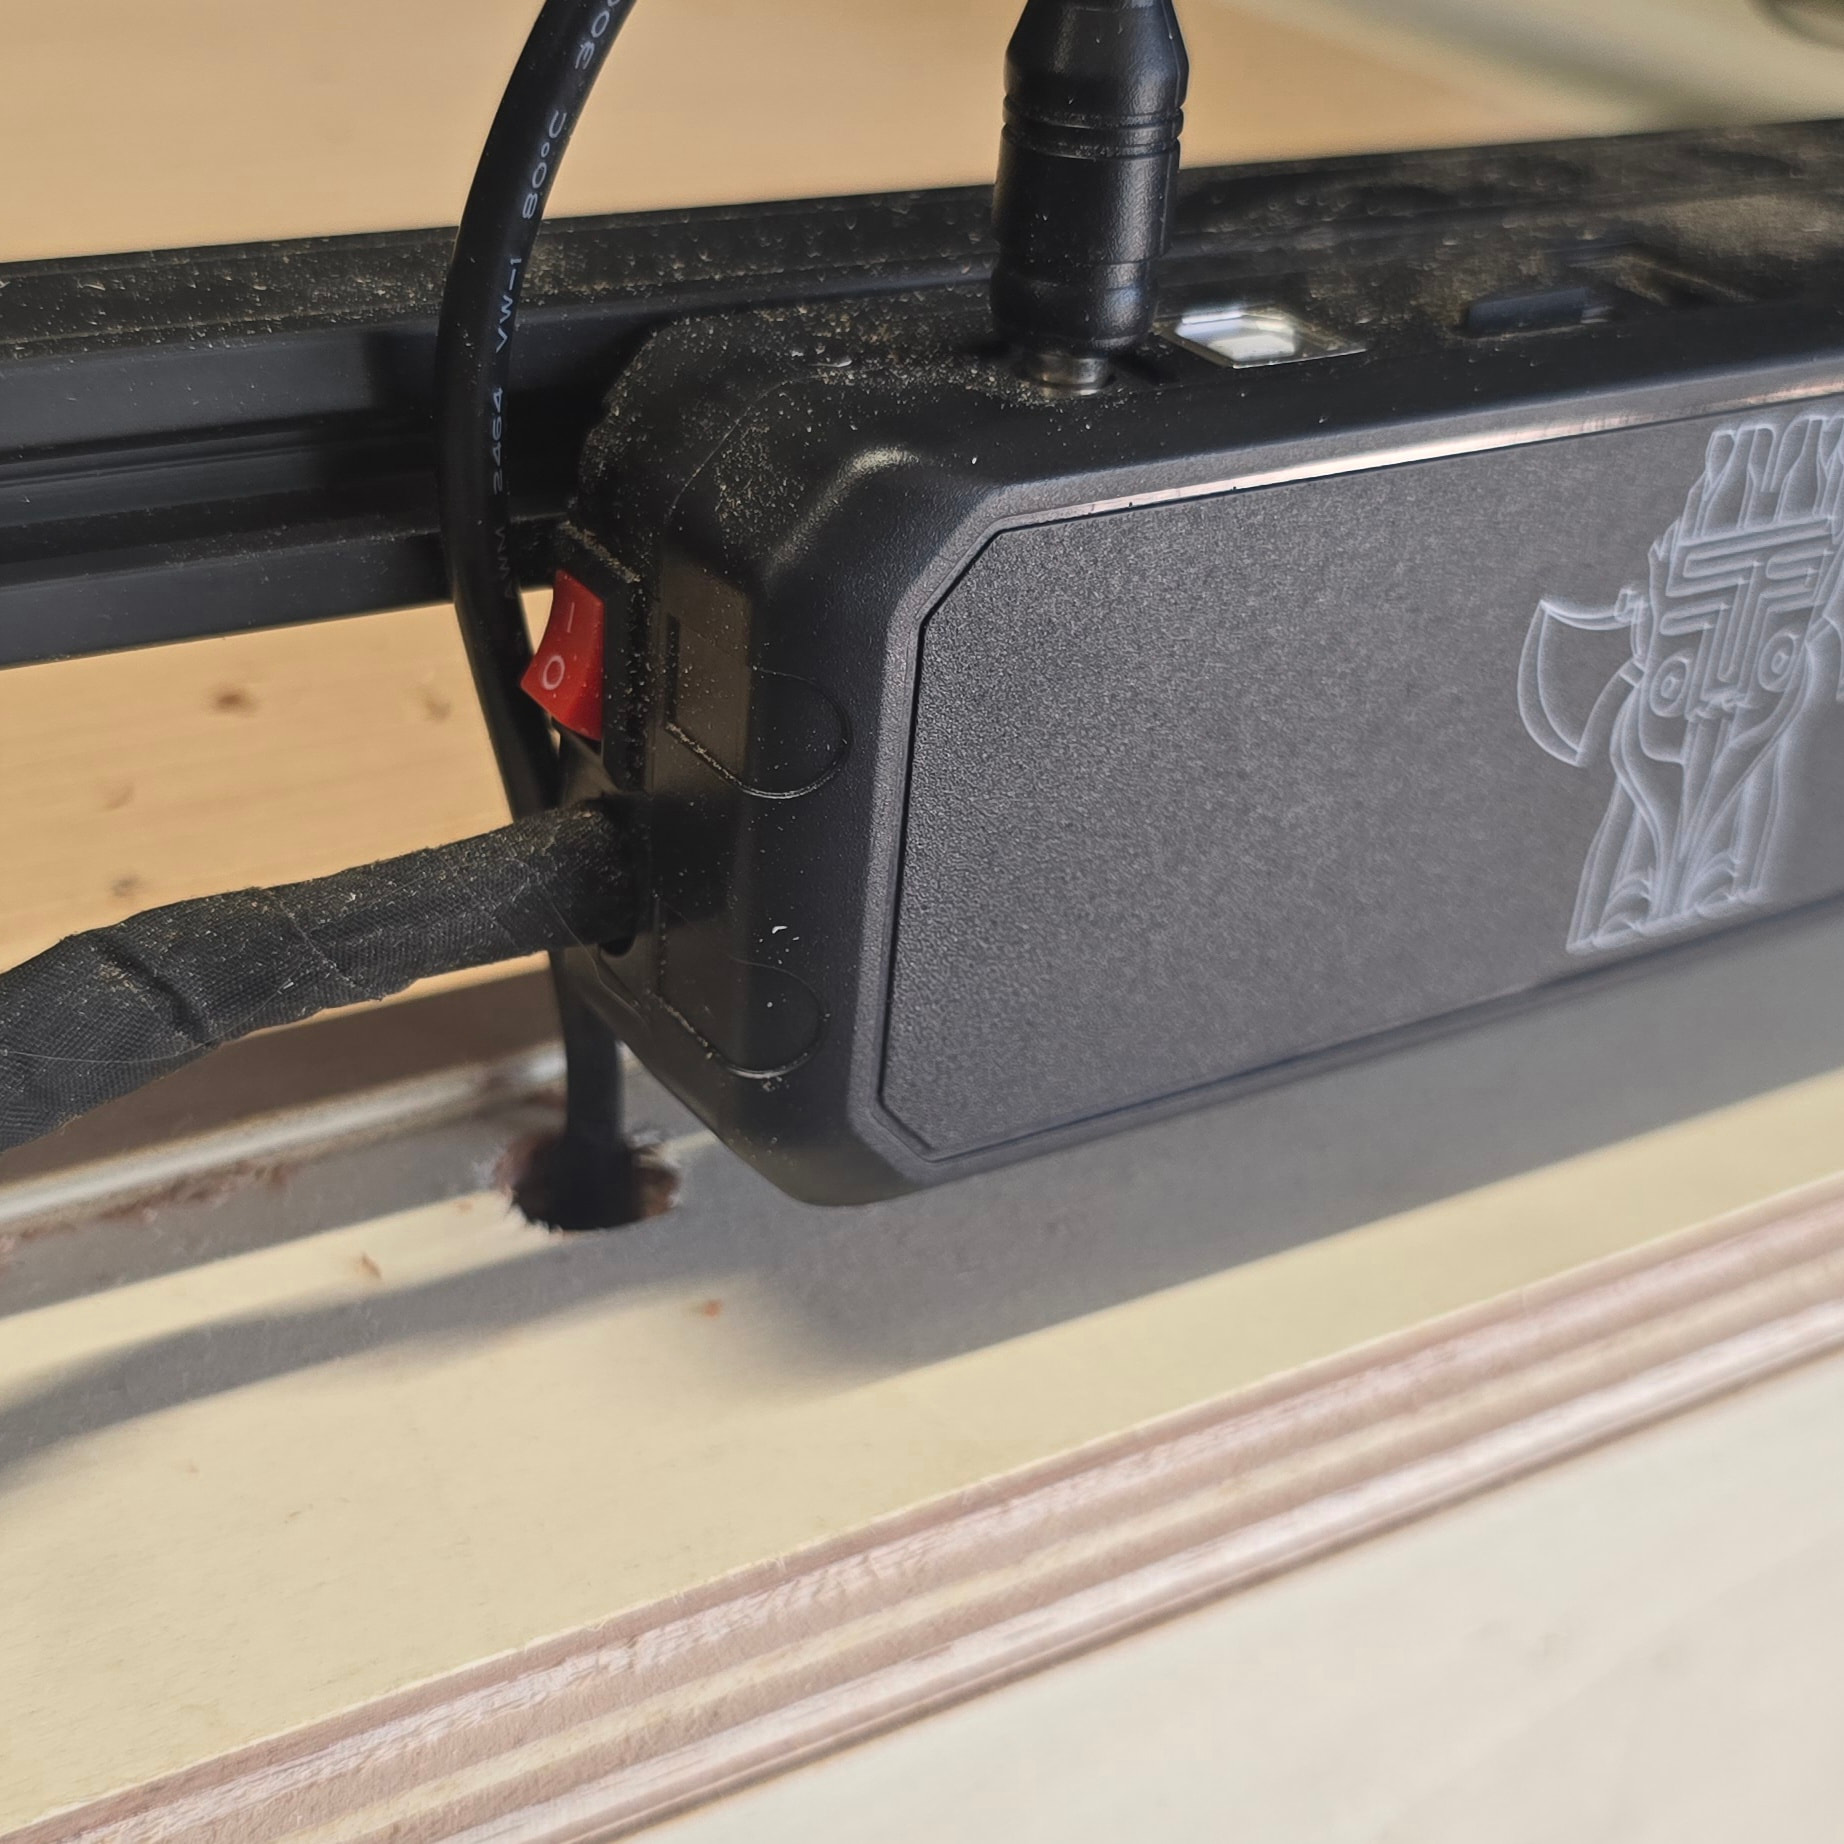
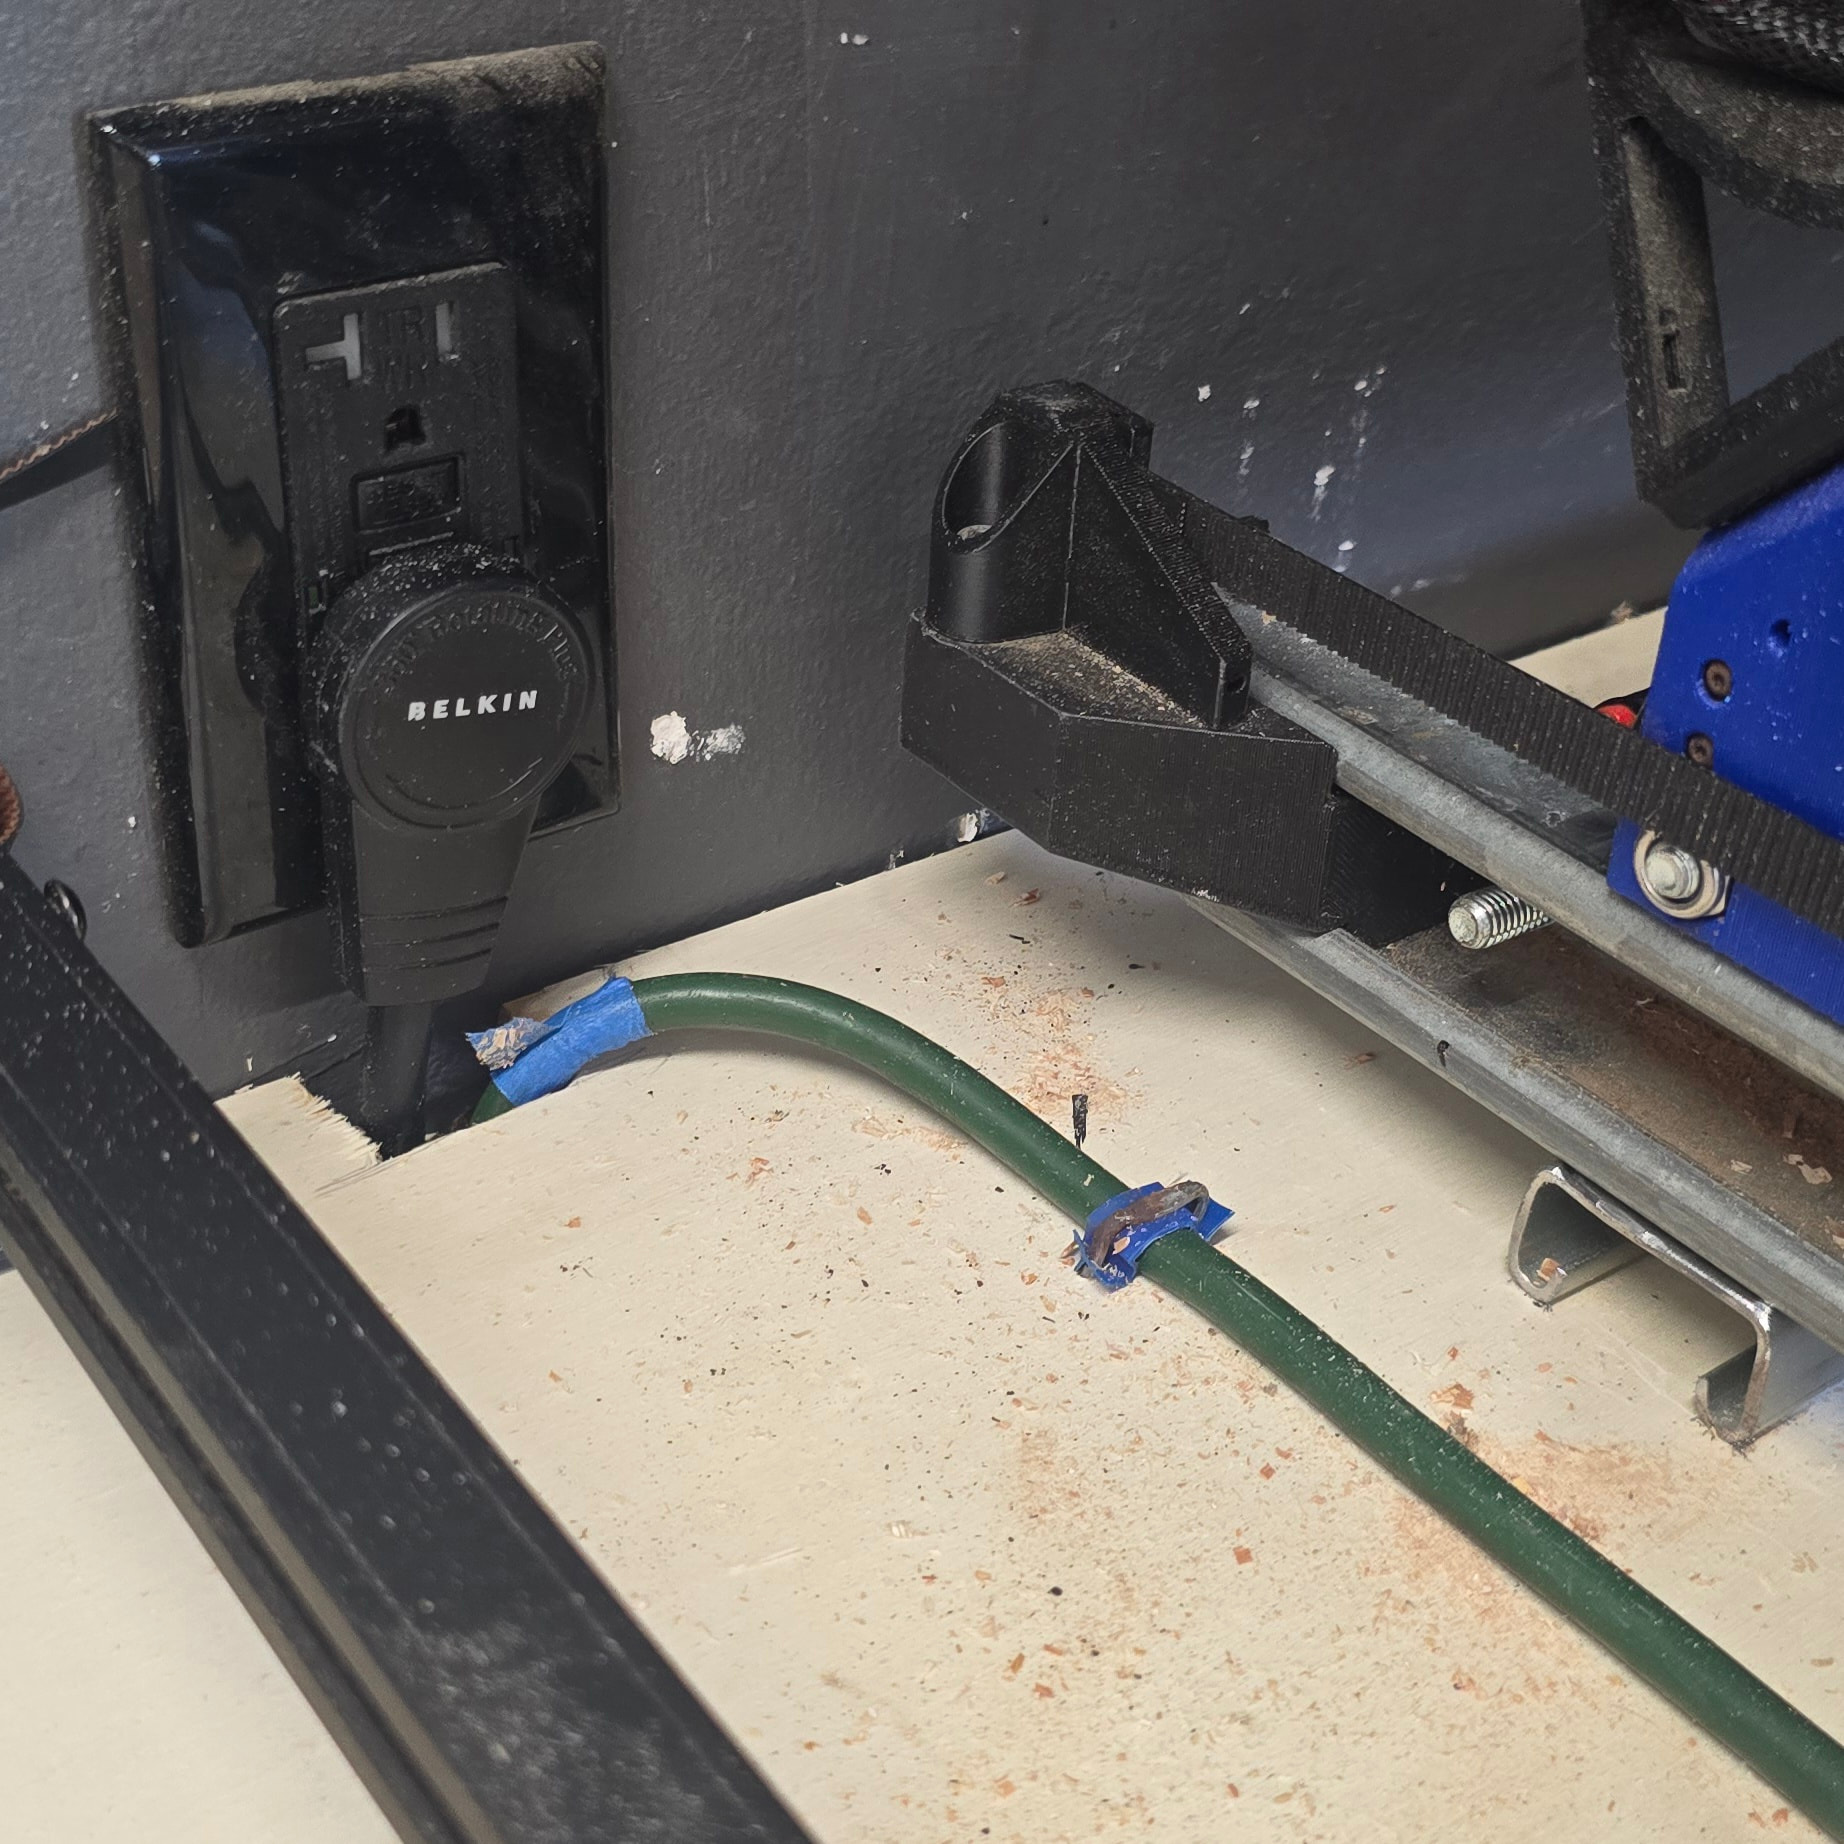
Both machines feed down into the bench then to the power/ kill switch.
The belkin plug goes to my surge protector under the bench. This is a dedicated 20 amp circuit so if the surge protector has issues running everything, I’ll add a second.
Then everything got zip tied and made happy.
But now both machines are on my home wifi which is a huge QOL improvement. I can pull up any browser from anywhere in my house and access either machine…. same as my sv08.
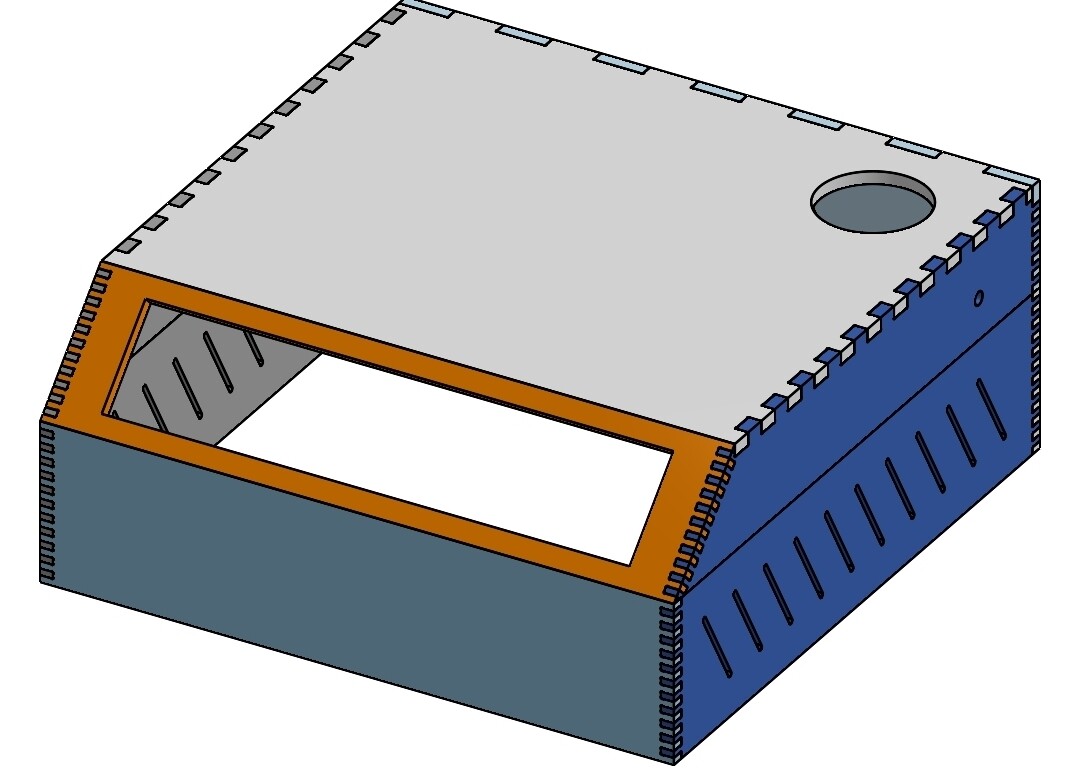
I started working on my enclosure design last night, but it’s not worth looking at. I think I’m going to redo the entire thing
I’m not sure how I would compare those. Ply has a lot of glue and can be a lot easier or a lot hard to cut that a dense wood (Hardwood is a deceiving term, Balsa is a “Hardwood”).
Also a first gen Shapoko is not on the same level as a LR4, but the new gens would a closer comparison.
A three flute 1/4" endmill is not well suited for a high RPM router.
I guess what I am getting at is that is not a apples to apples comparison. You are removing a lot of material, any faster is quickly diminusing returns and for a carve accuacy is most important and Z speeds and accels dictate the overall job time extremly heavily. 2D cuts the Z movement times are a non-issues, if you are going to do a lot of Carves it is well worth the time to improve your Z accels and top speeds.
(edit) - To be clear I am glad we won but it is very hard to compare jobs and machines. I would love to keep doing the speed tests we were doing but the only way to get even close would be to use plastics since they will be very uniform, but that is too expensive for fun tests. We found that MDF even though it was the most similar between regions, the desity varies so widely between batches and regions is is not really a fair standard to measure with.
1 Like
100% But the “ballpark idea” is the part I was looking for. I think I am going to run some of the Hog Out tests on the vector git and see where I am for speed vs accuracy. I need to spend some time getting the machine ready for aluminum before I start testing that aspect.
AI:
For your current test, I’d use:
¼″ single-flute upcut
10 mm DOC
Router setting 4
Orientation X, then repeat in Y
Several patterns with increasing feed
Fixed stepover throughout
A sensible first set:
3,600 mm/min — 60 mm/s
4,500 mm/min — 75 mm/s
5,400 mm/min — 90 mm/s
6,300 mm/min — 105 mm/s
7,200 mm/min — 120 mm/s
Use a conservative slotting feed for creating the reference profile—roughly 1,500–2,000 mm/min—because that part is supposed to establish an accurate baseline, not test performance.
One important detail: the generator’s “Cutting Feedrate” and “Final feedrate” let it ramp across multiple patterns. So rather than generating five separate files, you can set:
Pattern count: 5
Cutting feedrate: 3,600 mm/min
Final feedrate: 7,200 mm/min
That should produce five progressively faster tests.
Run it once oriented in X and once in Y. Your LR4 may have noticeably different rigidity in each direction. The useful machine limit is not necessarily where it fails—it is the fastest test that still has acceptable deflection, sound, chip formation, and repeatability.
I think 120mm/s is a pipe dream but that’s what the “stop” button is for.
If hypothetically my LR4 was 100% the baddest CNC (not just LR4) on the planet, I would still bow out of those. Some the guys on here could run a potato and still beat me. LOL
Just depends on what you are doing. For carves 99.9% of the time will be at a 0.3mm depth and a .3mm stepover. The roughing pass is minutes compared to 5-8 hours of fine details
Aluminum, the cheat there is IPA mist. You will easily double your MRR doing that. Best $10 you can spend, if you already have a small compressor. Least amount of stickout, shorted flutes possible.
1 Like
I have a big compressor, with dryer(s) and such. IPA over meth? Interesting. Any reason why the IPA?
Because meth is illegal.  We had Breaking Bad to educate us about this…
3 Likes
I don’t know what that is.
IPA is used in very, very tiny amounts, it evaporates on contact. Zero mess. Simple and cheap.