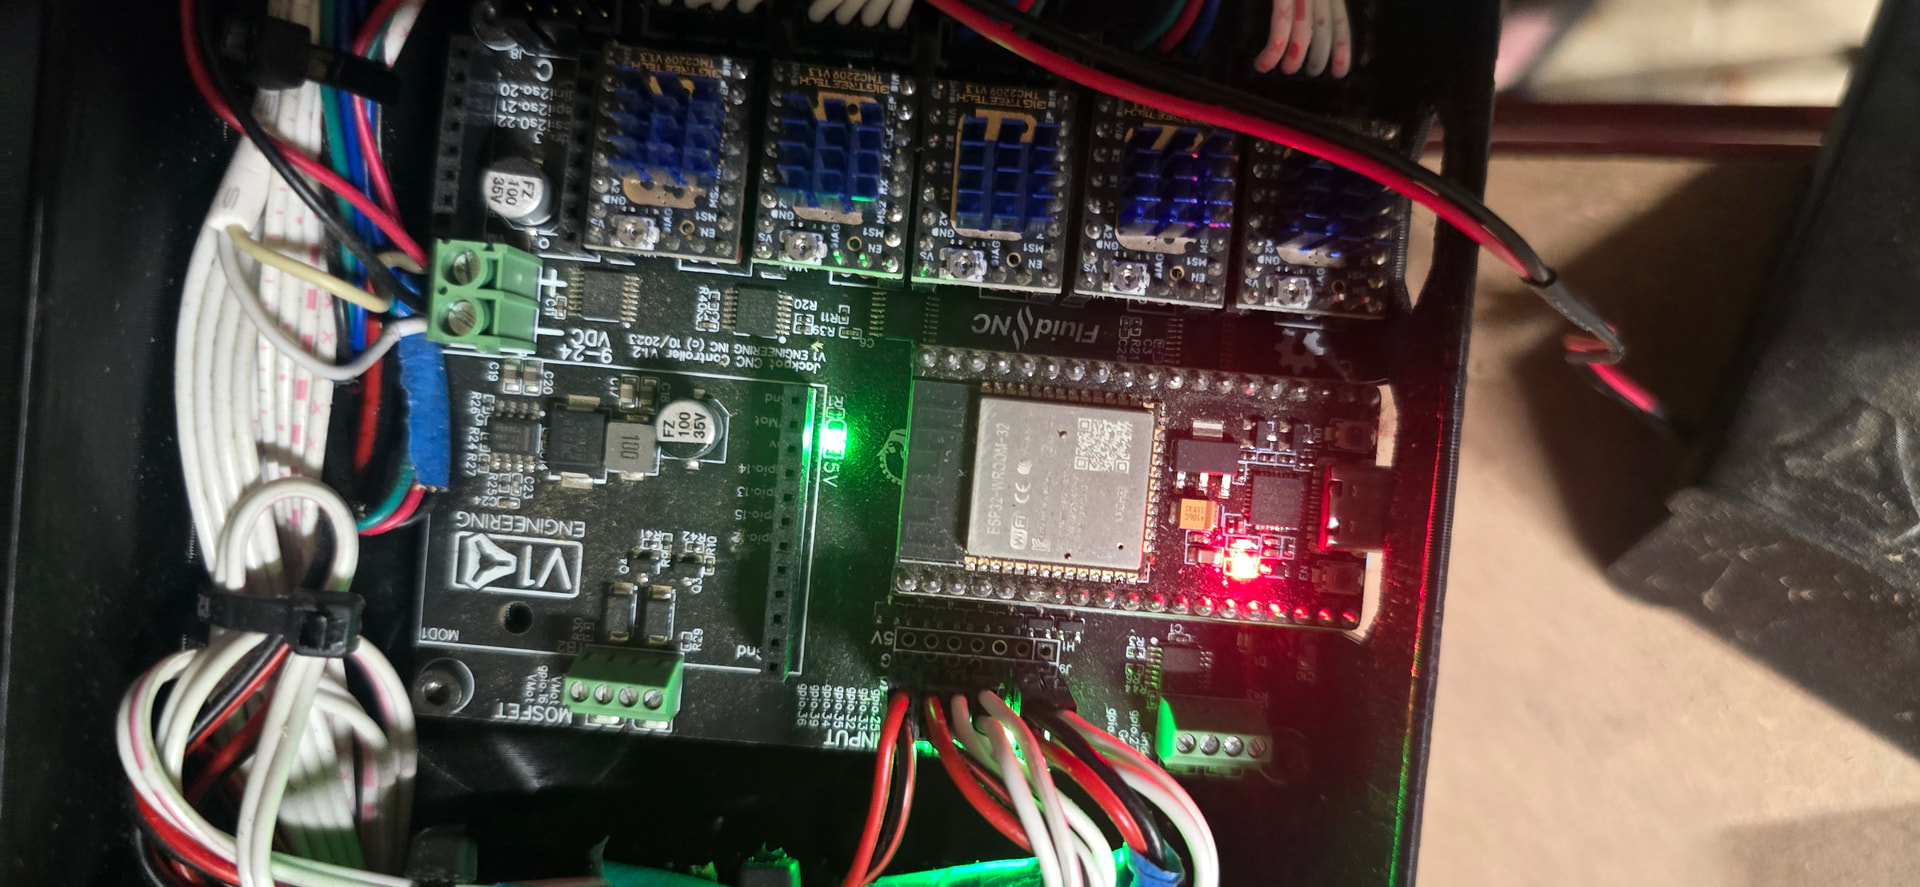
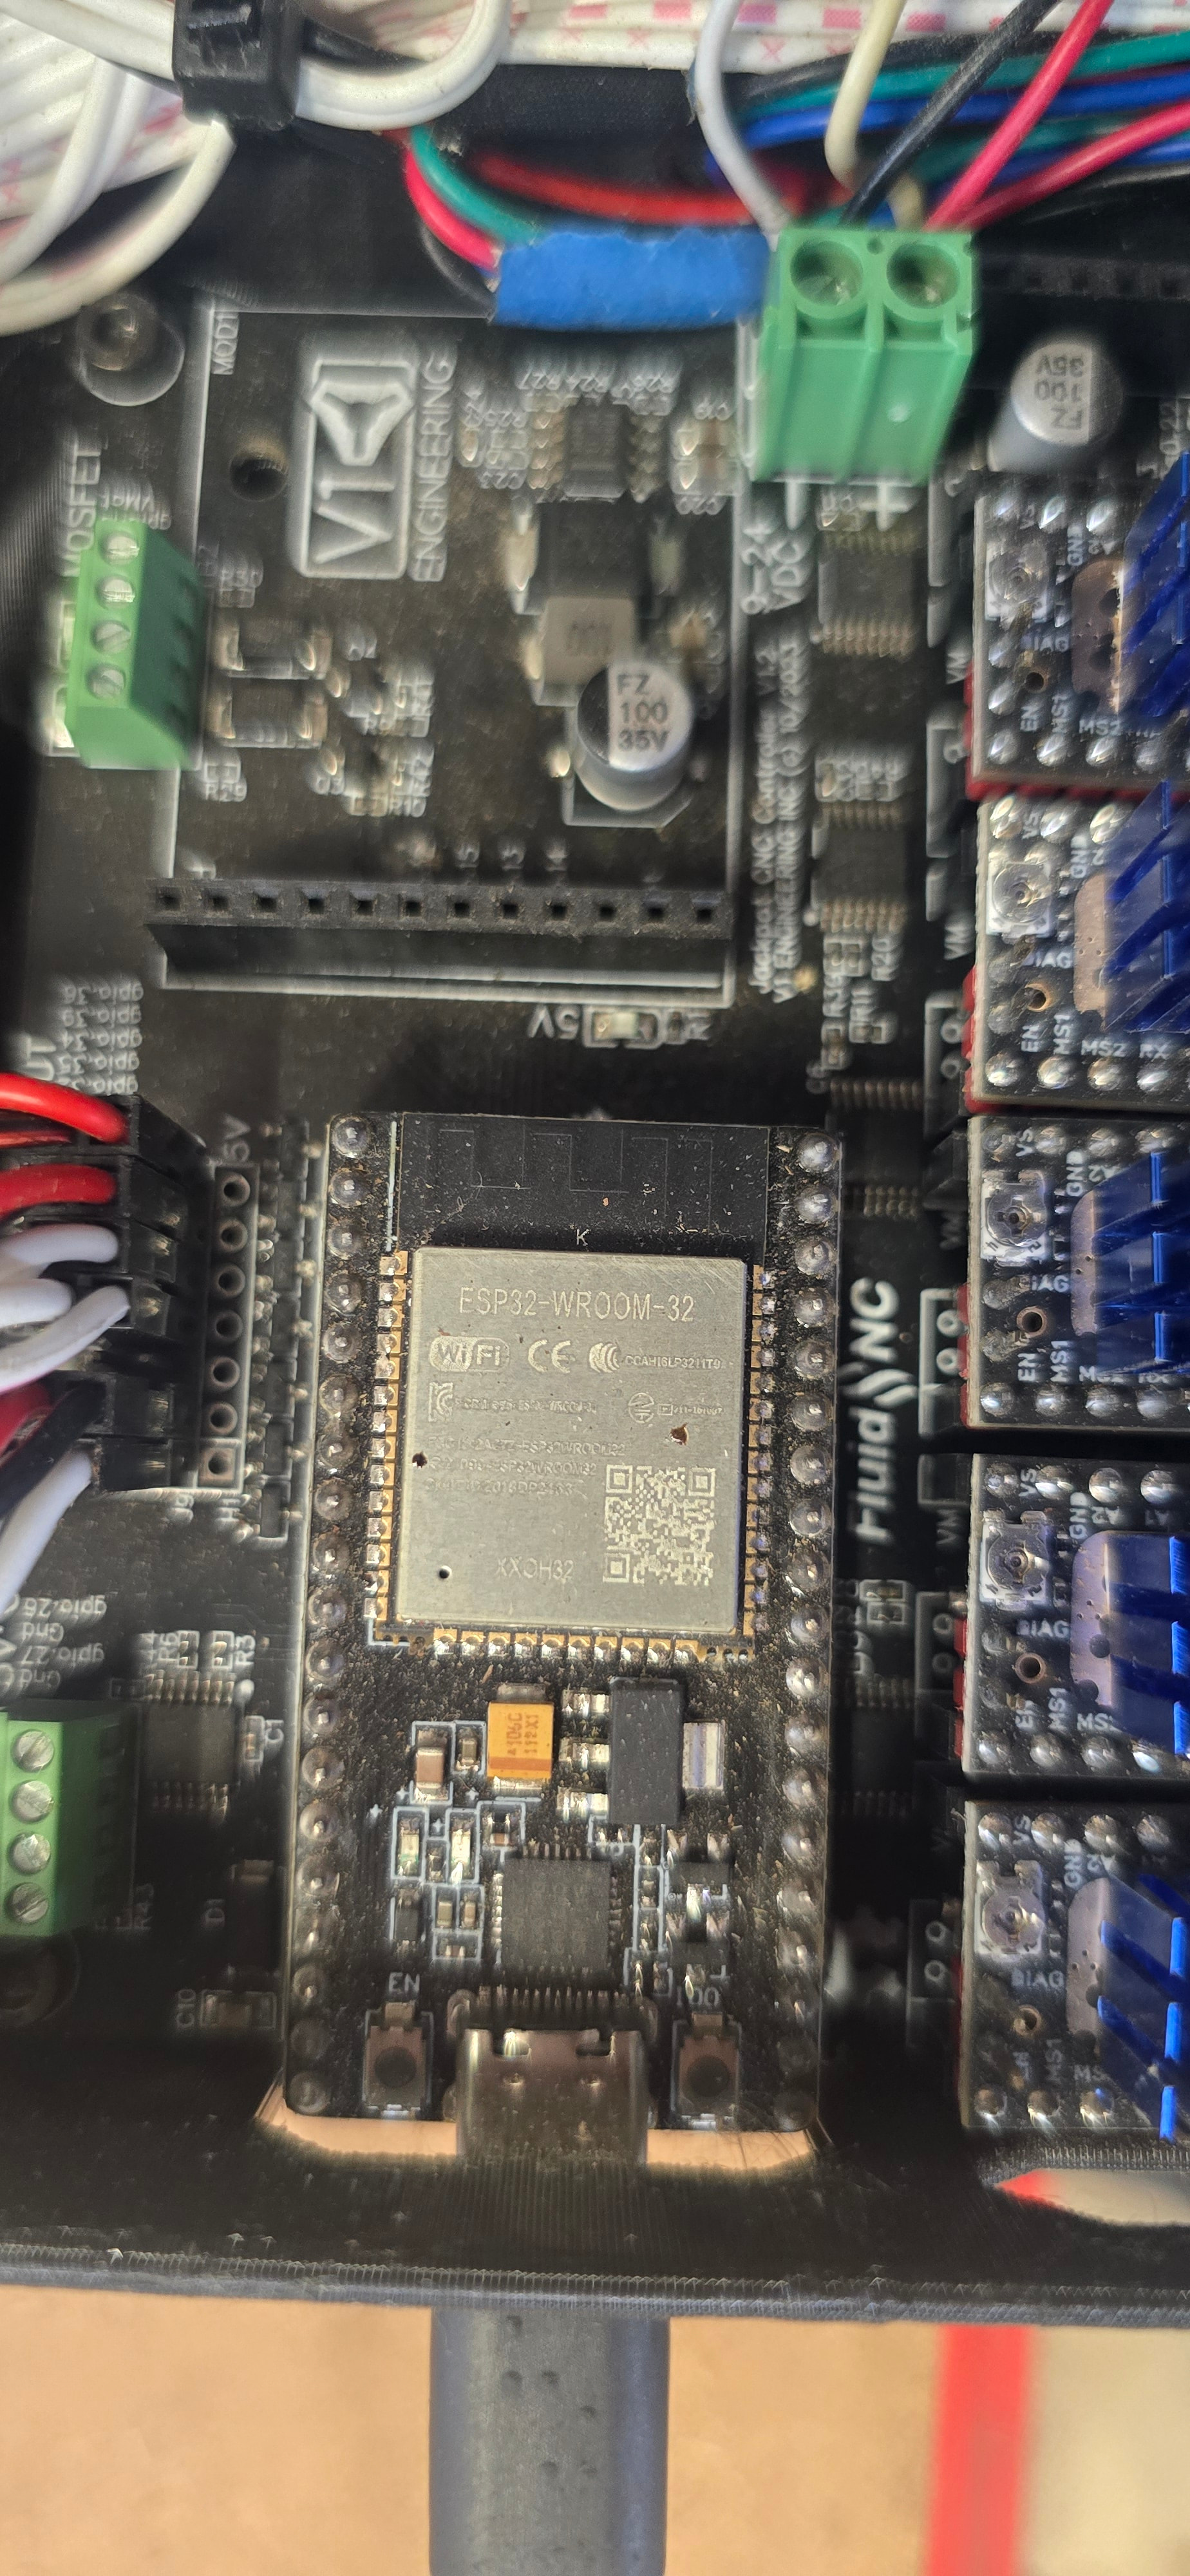
the SD card is pulled out and the USB cable is hooked up to the board but not the computer… currently.
Is the esp-32 fully seated?
If the harness connectors have been off the board, pull them all and add them back one at a time and see how that goes.
SO I have managed to get into the UI through AP, and move the machine. I have cleared the sta ssid and password. I have rebooted the routers. I still cant figure out what is going on, but it could be so many things. For now, I can AP into the machine.
Its just strange that it boots into STA, gets and IP address, but then its like the connection drops. Because it got an IP, it doesnt try to kick to AP. ESTLCAM not seeing the usb connection is just silly because I can run serial terminal through putty and send all the commands I want.
I even tried pulling the box off the gantry to see if the steel plates and everything else was causing an issue, but nothing changed.
Nothing has been disconnected since the last time I ran it on the wifi. And i havent run any updates or anything on the mesh/router side that may have kicked it off. I’m leaning towards a weak antenna even though my Deco mesh should be blowing past that issue like it always has. It drops the connection and then sits there waiting for the next signal which isnt coming. IDK.
I’m going to pause this issue and finish the build stuff
Is your mesh node set to auto for the channel? You may have rotated on to a congested channel?
Just a few days back we had a random issue and a re-flash fixed it. Not sure how or why but, it is a pretty easy option. Just keep your config / edits you might have made.
Was trying to avoid flashing just because of this, but really everything is so different now that nothing is worth keeping. Might be time to start over and tune to this set up.
FluidNC Firmware - The Current tested and confirmed FluidNC version is 3.9.9, and WebUI V3, use anything newer than this with caution.
Just checking to make sure the Docs on the Jackpot 1 still show the last safe version to run.
I think 3.9.9 is still the official recommended version, but the latest (4.0.3) has seen enough usage without issues that it should be a reasonable choice too. Webdav support is the main useful difference. It also adds ESP32 S3 support but that doesn’t affect Jackpots.
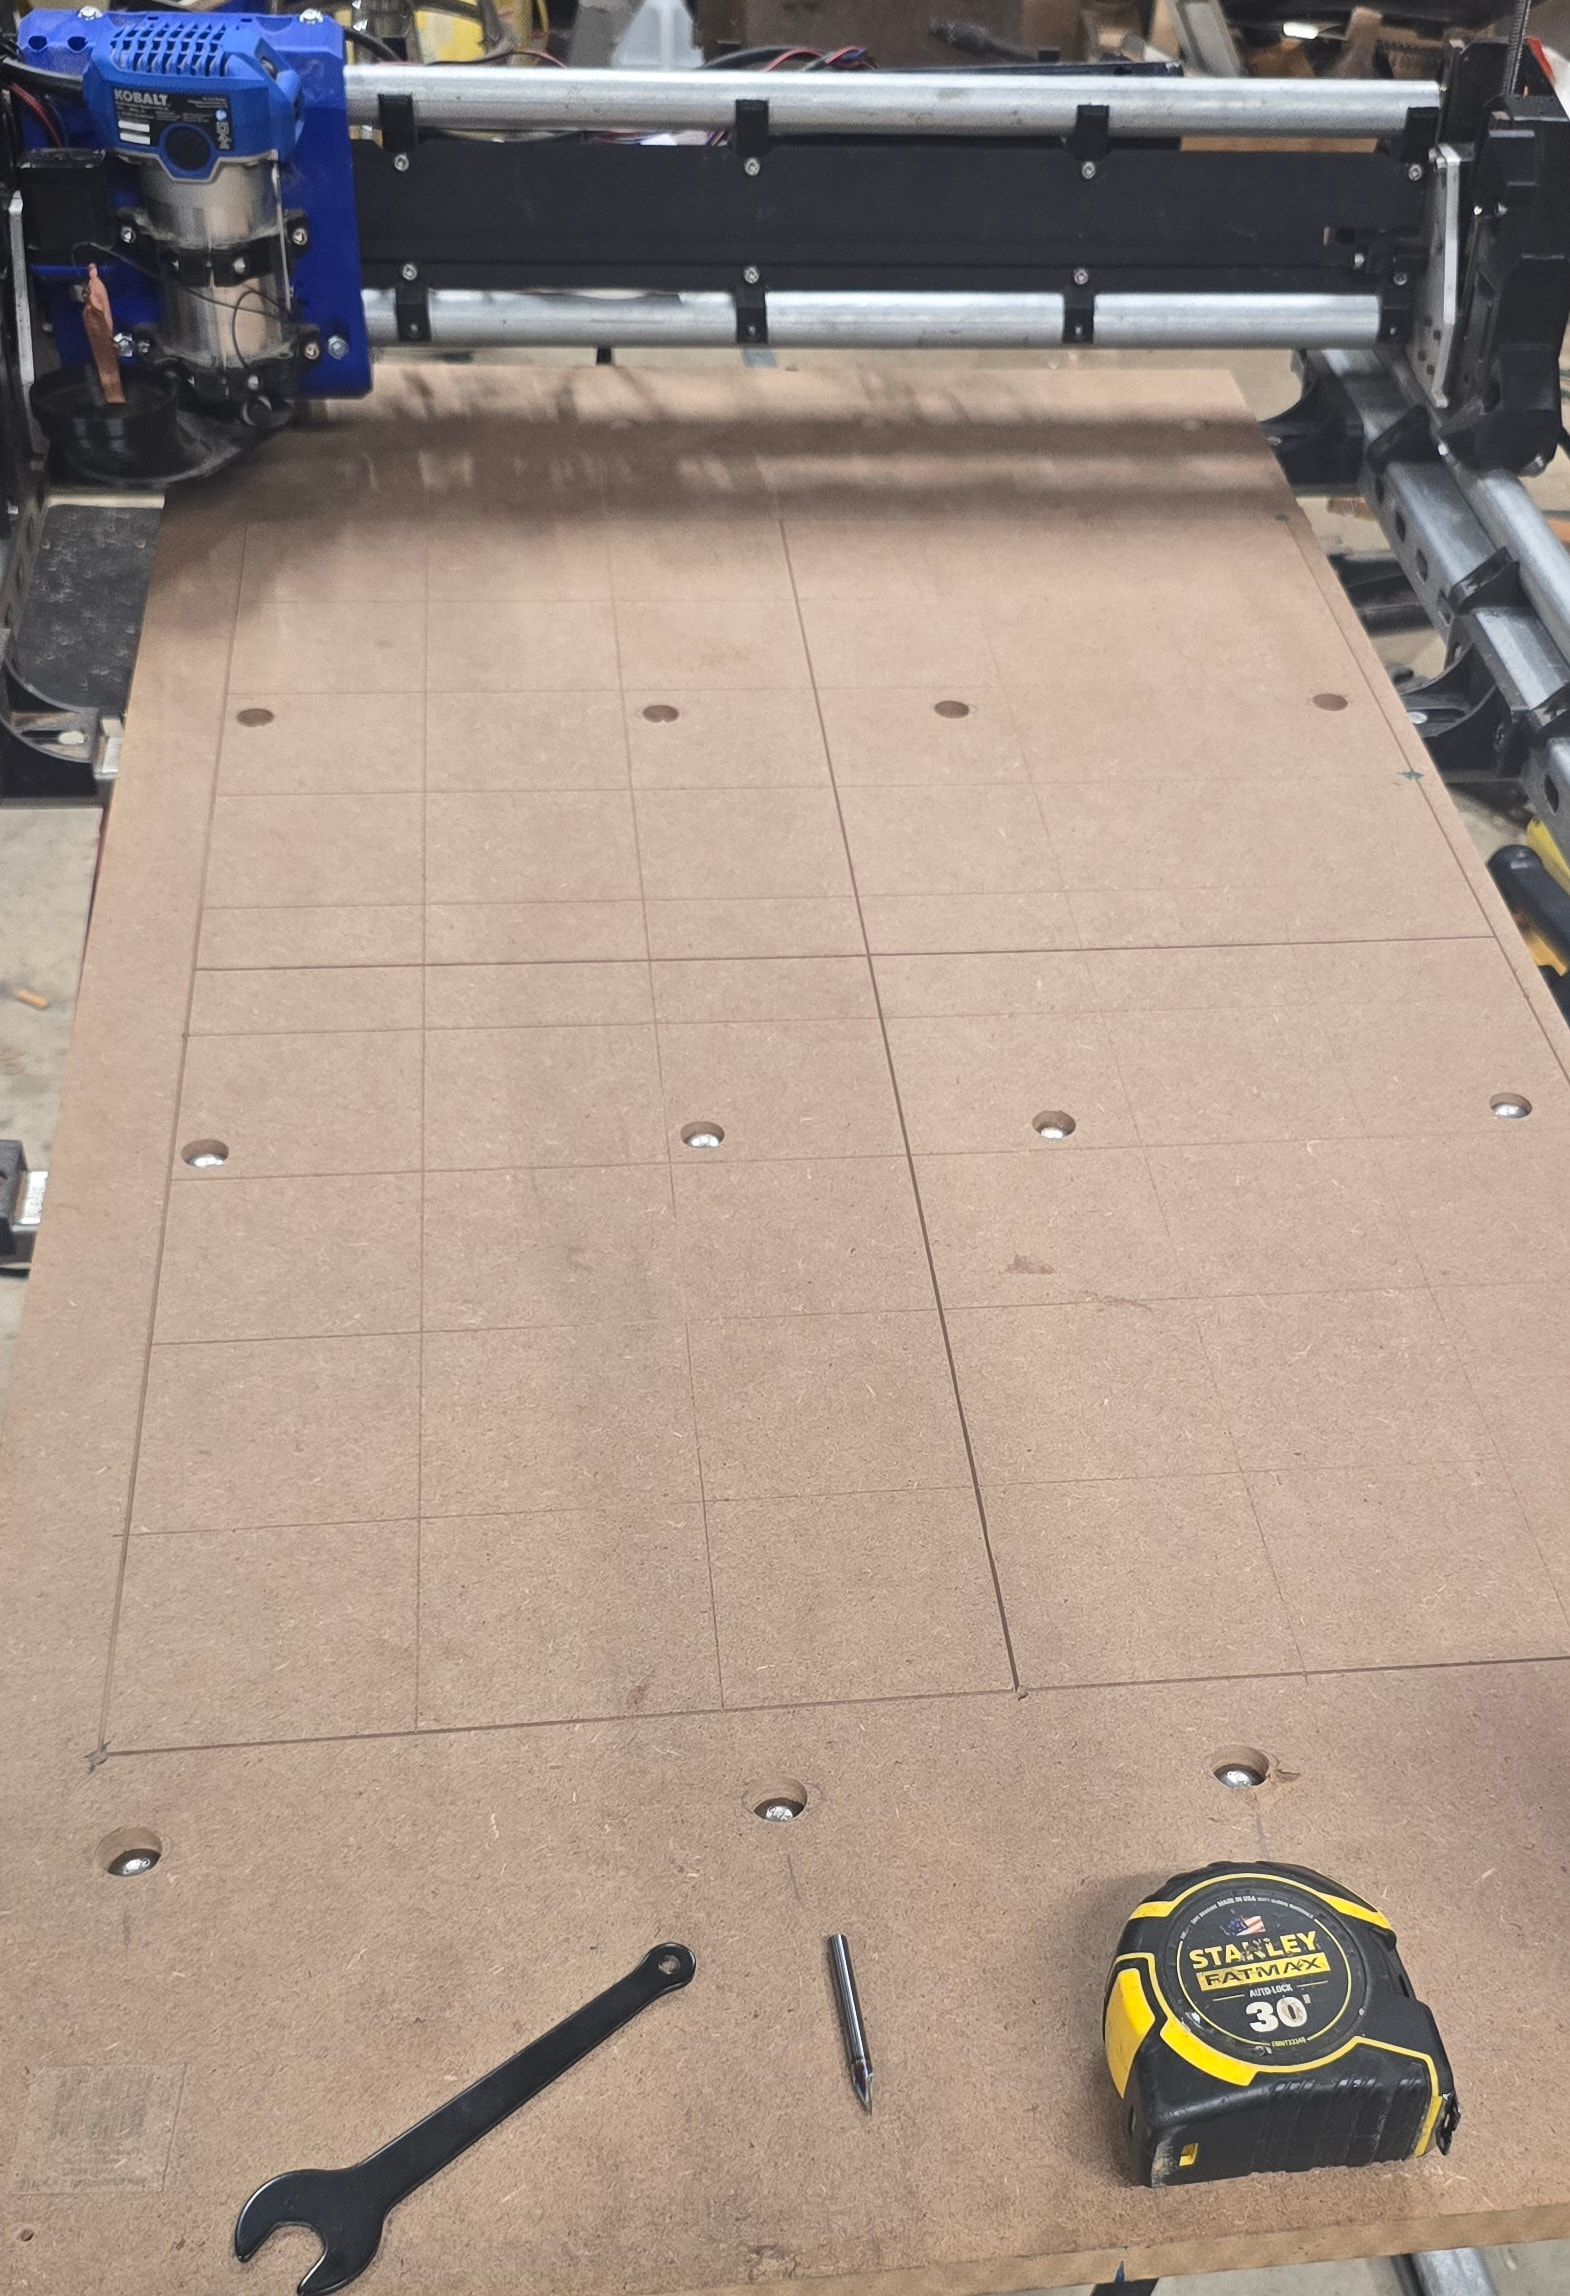
Its not perfect, but functional enough to start really getting picky. Ended up with 600x 900y and roughly 90 Z. Those aren’t max values, but good round numbers just shy of the max. I think x was 610 and y was about 923. 600x900 it is. Everything is working as it should from AP. I did flash to 3.9.9 with webui v3. But I haven’t tried to get it on my wifi yet. I do have a CNC machine again though.
I need to clean up wiring, get my z dialed in a little tighter than .01mm I’m at now and get it configured to my workflow.
I’m sitting here this morning looking at the wiring and hose layout. I have a bunch of left over unistrut from cutting my table down to size. I think the answer lies not on the table, but above the table. Lots of guys have overhead attachments for their dust collection. All of us have 3d printed with some sort of cable routing to the tool head.
So my version of this idea is based on that same concept.
All wiring from yz motors and switches etc route to the middle of the gantry and are tied in place so nothing pulls them from their home.
From there they met up with x wires and power for the router, but at given slack to move back and fourth with the core. It’s the same as we normally do for the x except that this is with the y&z wiring.
From the core all wiring and hoses (more to come on this in a bit) go up to a boom arm of sorts that is held 16-20 inches above the surface of the table. Three key here is to be high enough that the wires aren’t making tight bends, but also don’t need to be 7 miles long.
The control board, ssr, power supply etc all get moved off the gantry to a cleaner and safer location for them where the mister and aluminum chips are not an issue.
The boom gets wall mounted on a hinge of sorts so it can move out of the way when the machine gets parked. But it also allows for the umbilical to move with the machine.
I can even put a trolley in the unistrut so the umbilical can move freely on the boom while the boom pivots on the hinge. Stop block at the end so the trolley doesn’t roll out and fall.
Add a wire rope so the wires aren’t ever the tig point. Nothing huge. Just something that can pull the boom and trolley with the machine do the wires and hoses aren’t under tension.
Then I can run vac hose and air hose to the core from that same boom.
Based on my 600x 950y cut area, a 24” inch boom arm could swing an arc covering most of that distance and 36” would span the entire cutting area. The trolley would be more important on the longer version. A little extra slack would be needed for the 24” version.
The wire lengths would long no question, but finite. It wouldn’t be as short as on the gantry, but would be as long as on the table and run through drag chains.
The wall mounted control box wouldn’t move so I could run a usb to the board and run in client mode skipping wifi all together.
If i wanted to go with a water cooled spindle, I have a solid mounting location for the pump/ cooling reservoir.
I don’t hate this idea at all. But I’m not sold on it either. I’m trying to think through this and I’m sure the brain trust on this forum has some insight that I am not seeing.
EDIT
Grounded and shielded data wire. Get rid of any induction from the router power or static in the hoses.
I’m my head, the trolley (might need a few) has a hole in it that I can clip or hook the different lines to. Wire rope hooks to it. Vac house clips to it. Air hose clips to it. Power cable clips to it. Shielded signal harness clips to it. None of them are tied together, they all just hook onto the same trolley. It keeps them from puking in each other in strange ways. A vac hose doesn’t want to bend and move the same way a power cord or a signal wire want to.
What does any normal person do after they build a cnc machine? Why take it apart of course!
I’m redoing my wiring and finally moving conto of the router to the jackpot. I did some searching in here and the general consensus is got was kill all the things at the same time. I’m not willing to do that. The gantry will drive the not fully stopped bit into whatever is under it. So I’m opting for killing 5v ssr signal, and triggering a software halt that will keep the z motors energized.
MOSFET circuit:
MOSFET gpio → NC on e-stop → SSR input+ → SSR input- → MOSFET GND
Normal state NC is closed, MOSFET drives the SSR, router runs. E-stop opens NC, SSR drops, router dies hard.
5V GPIO circuit:
gpio.26 (5V out) → NO on e-stop → gpio.27 GND
Normal state NO is open, gpio.27 sees nothing. E-stop closes NO, pulls gpio.27 to the 5V signal, FluidNC sees the input and executes software stop.
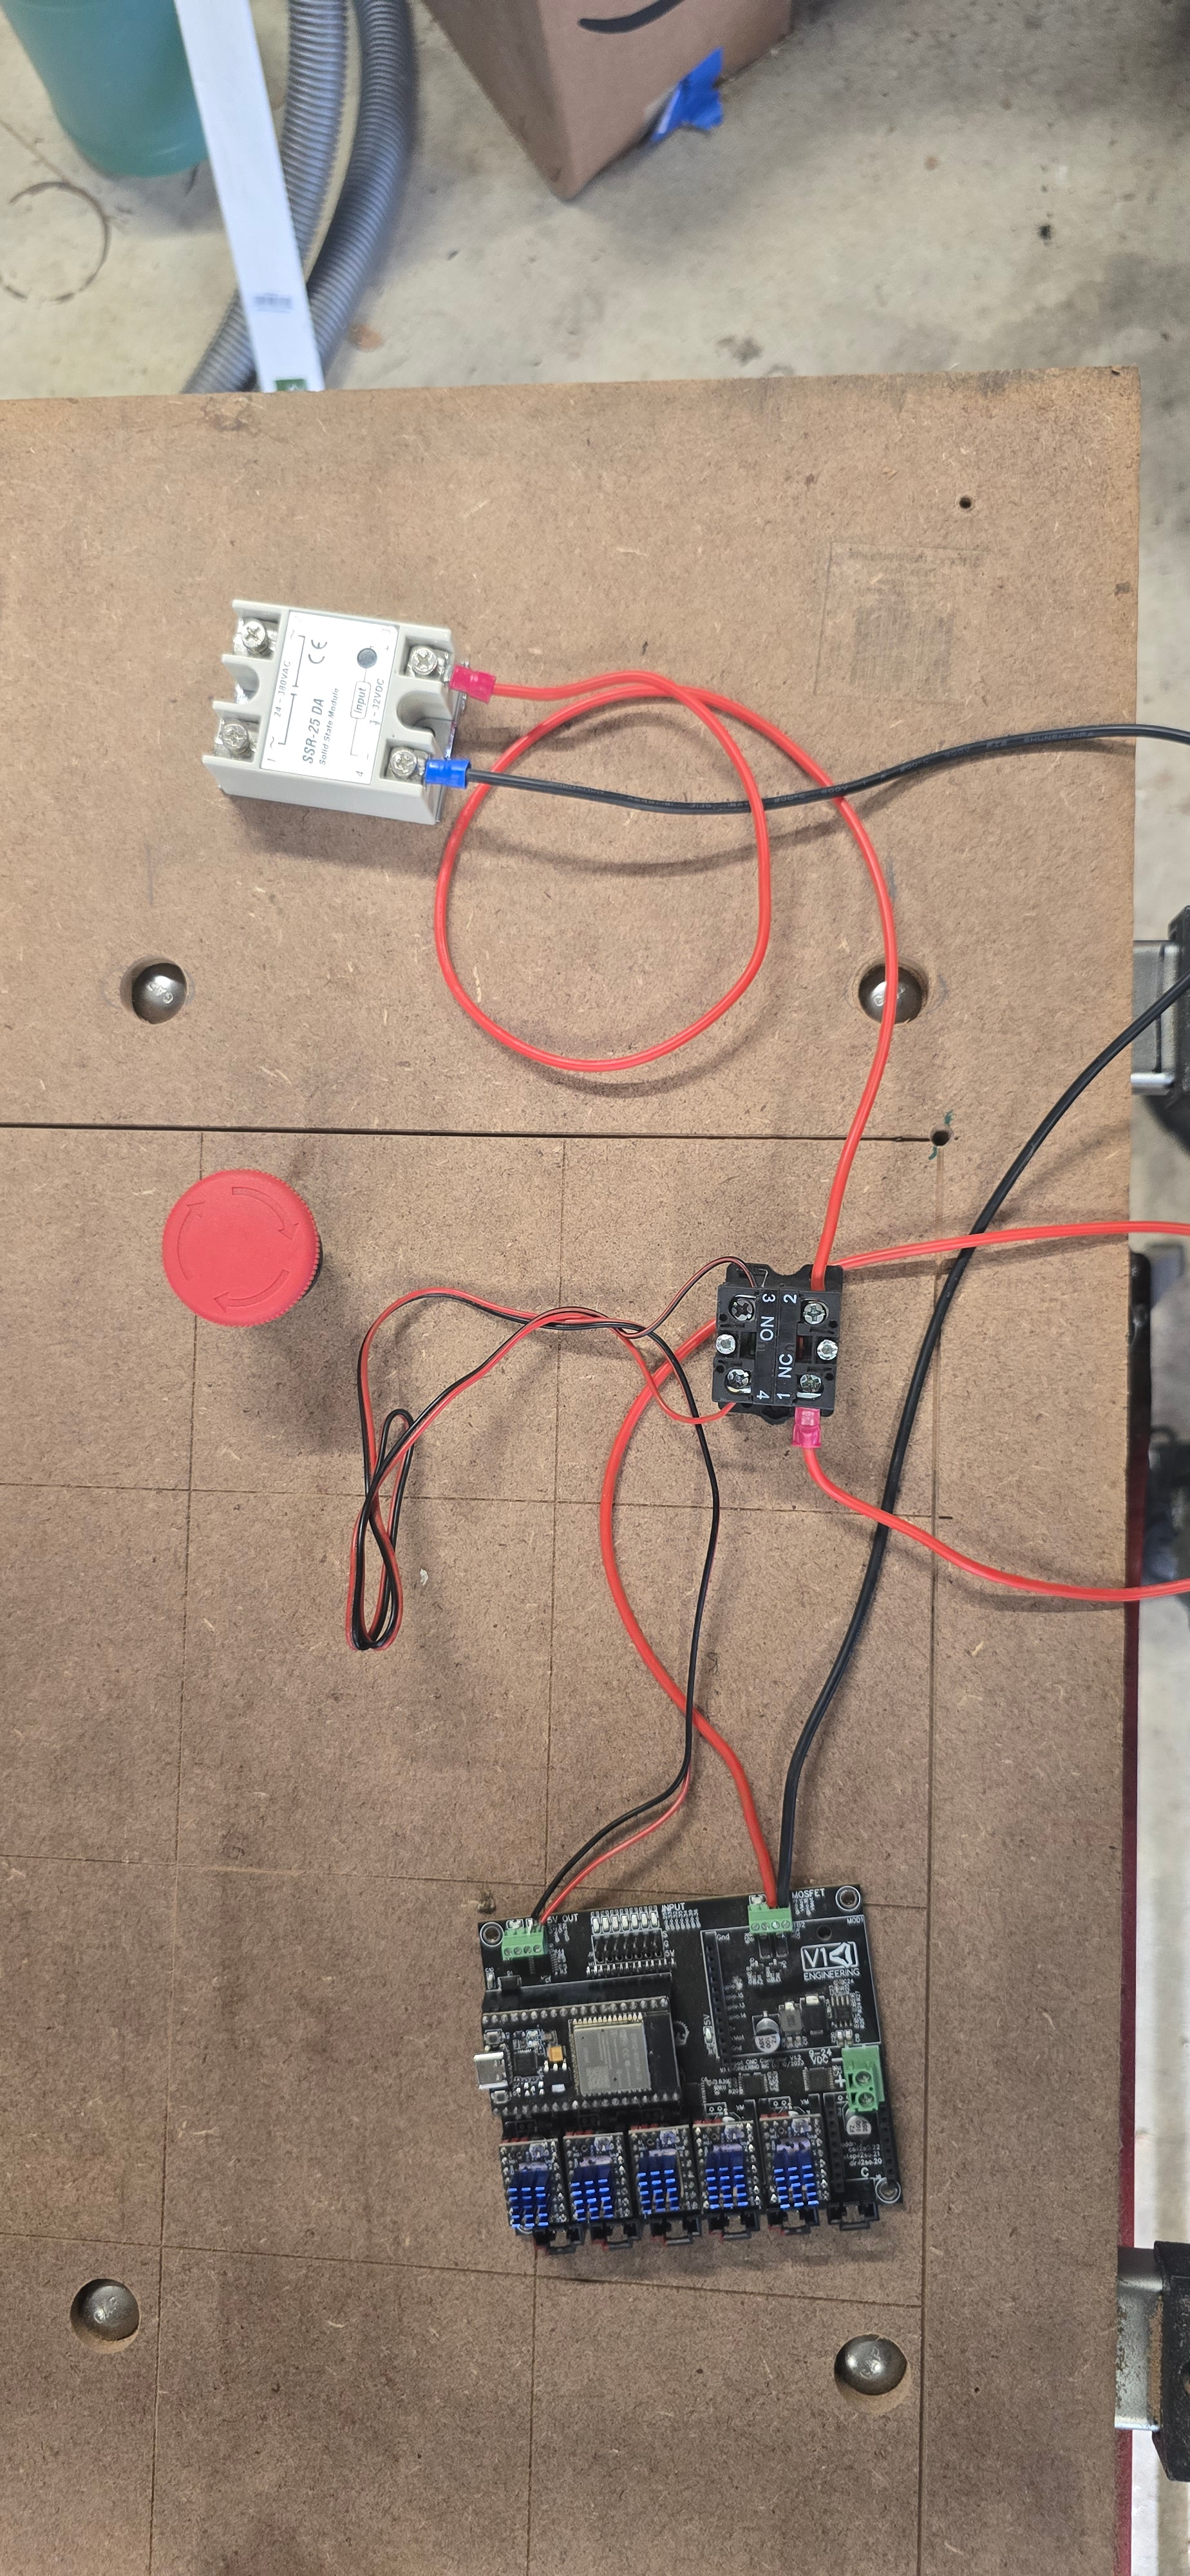
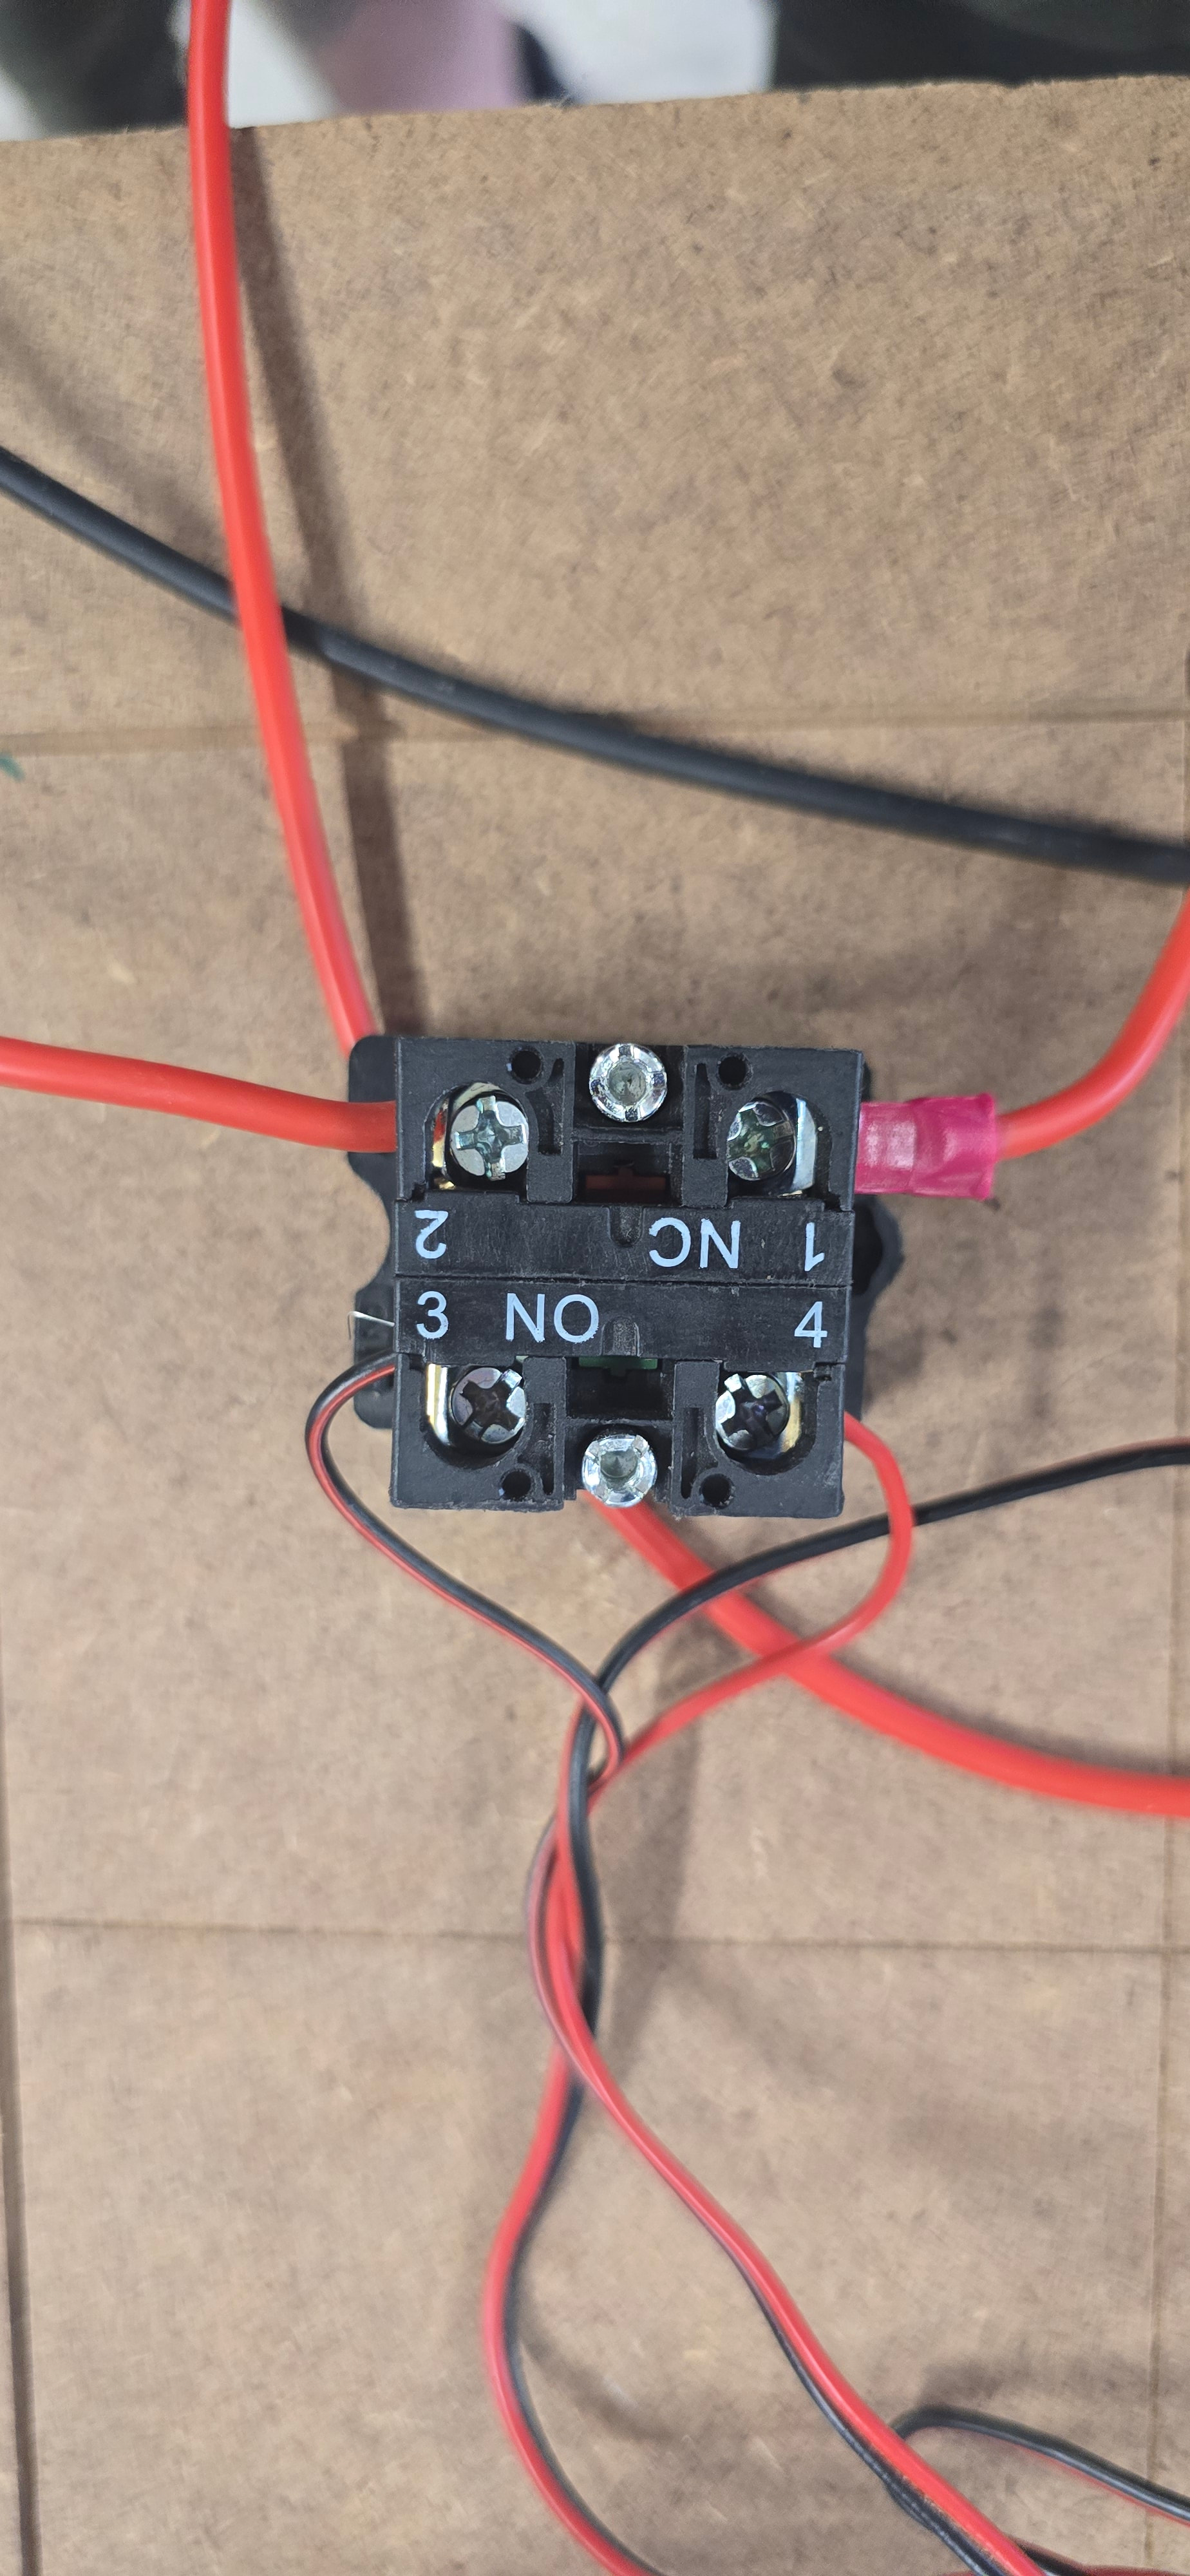
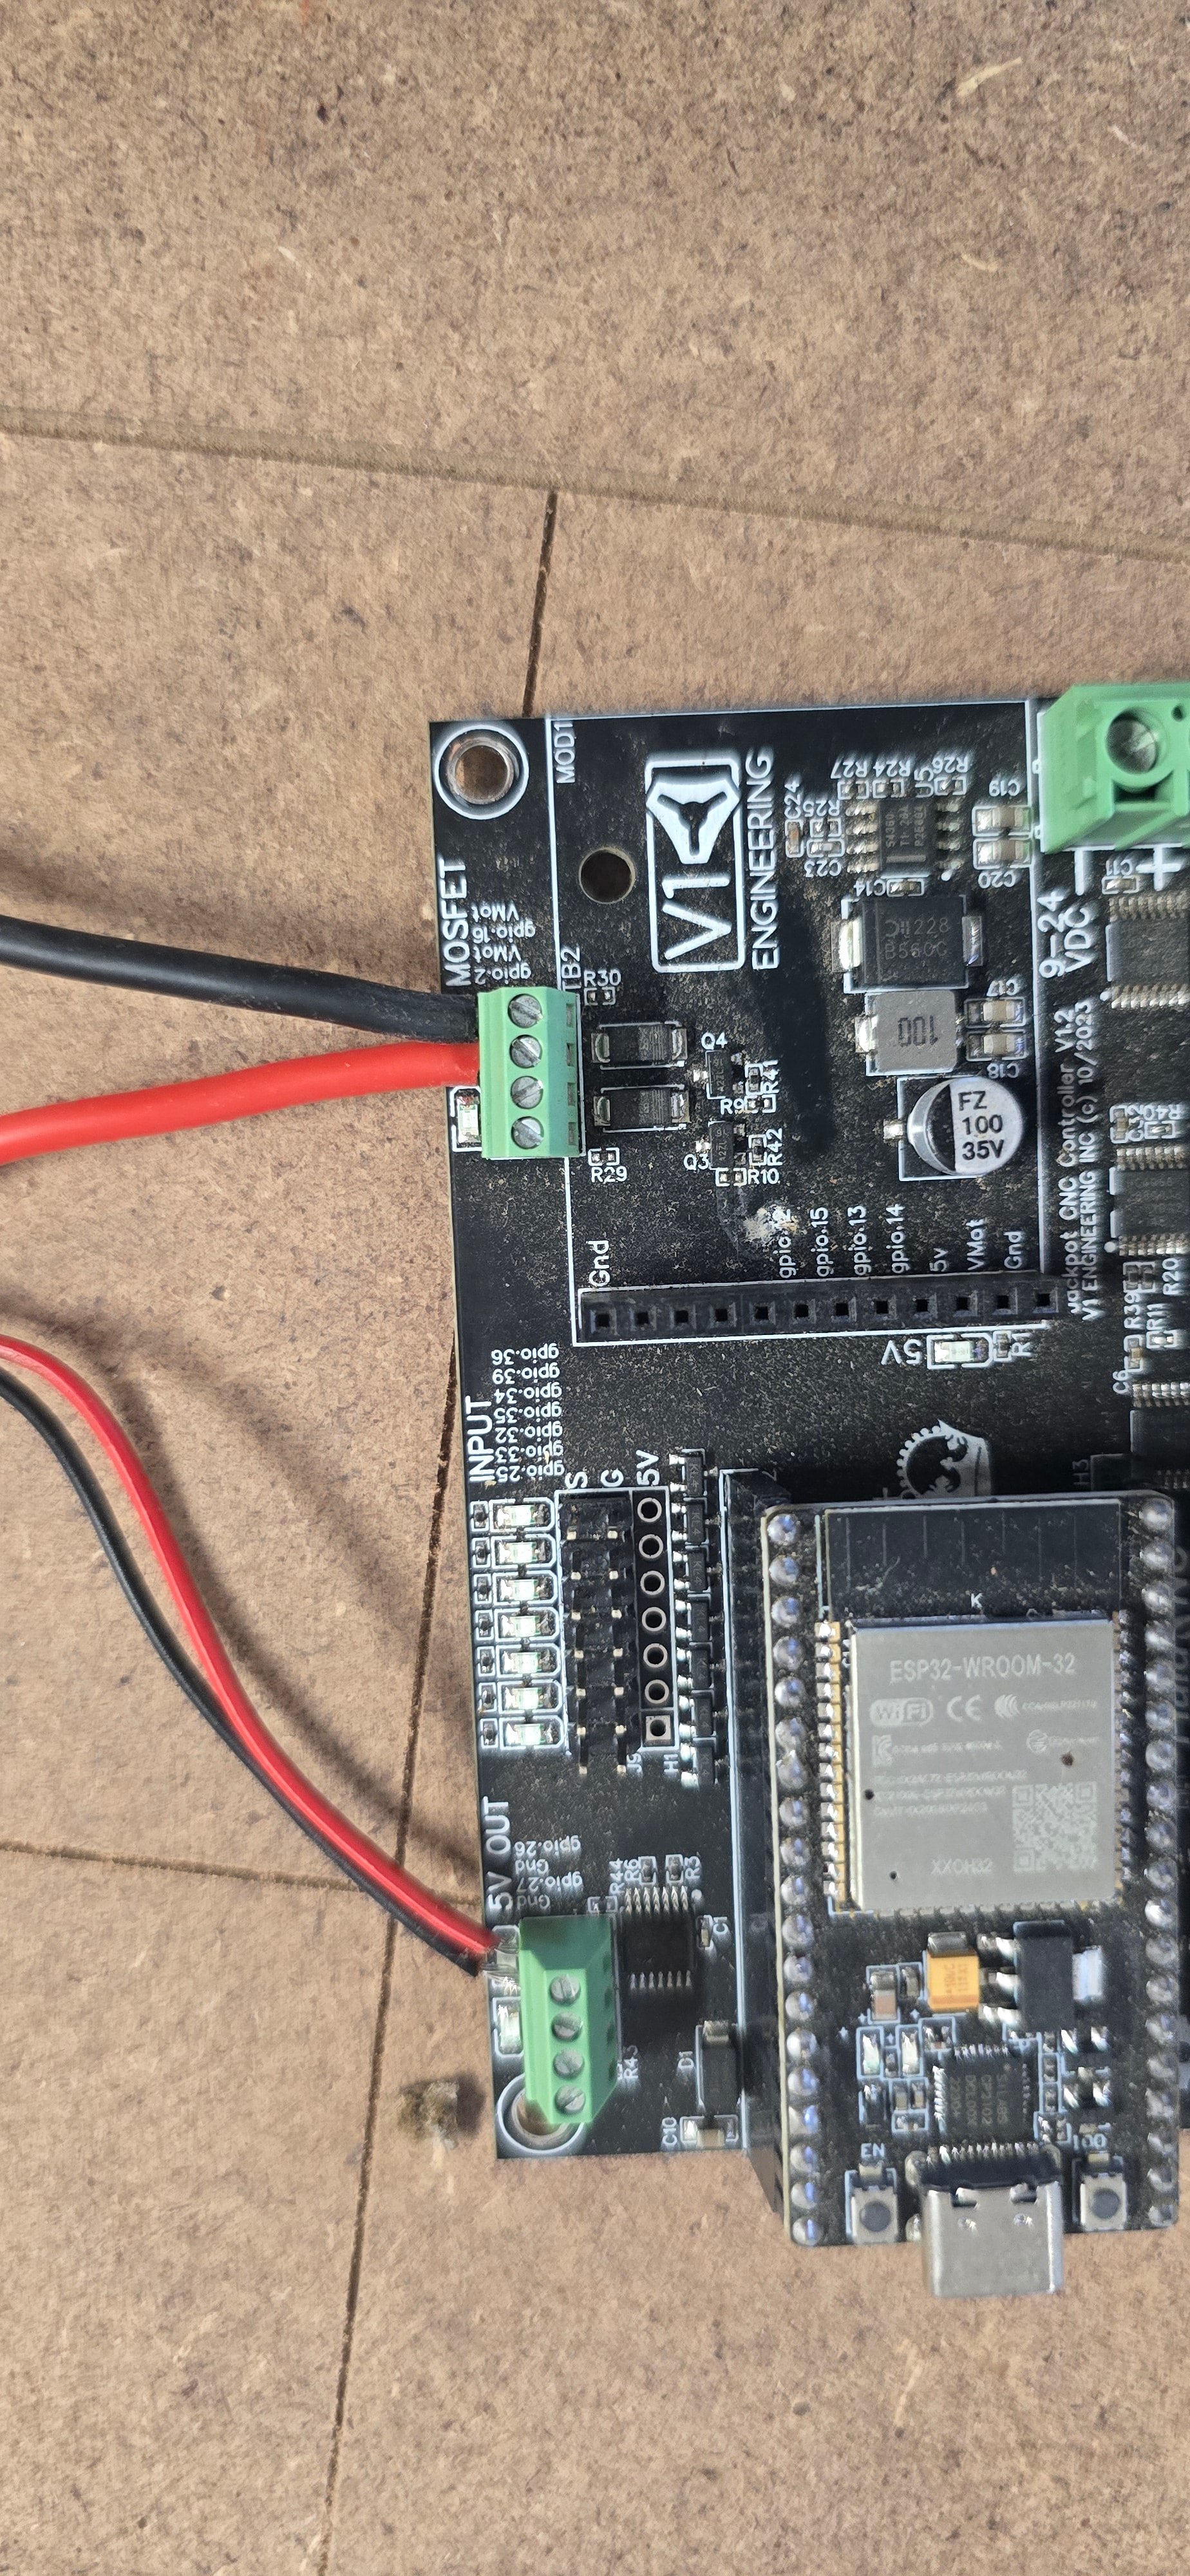
These are just jumpers and their is no power to anything.
Put it together as it was but cleaner. I want to look Itty this boom set up some more and that will for sure mean redoing the wiring. That’s ok, I’ve run out like this since it was built lol.
I’ve been working tram and did a couple side by side passes with a ¾” diameter bit.
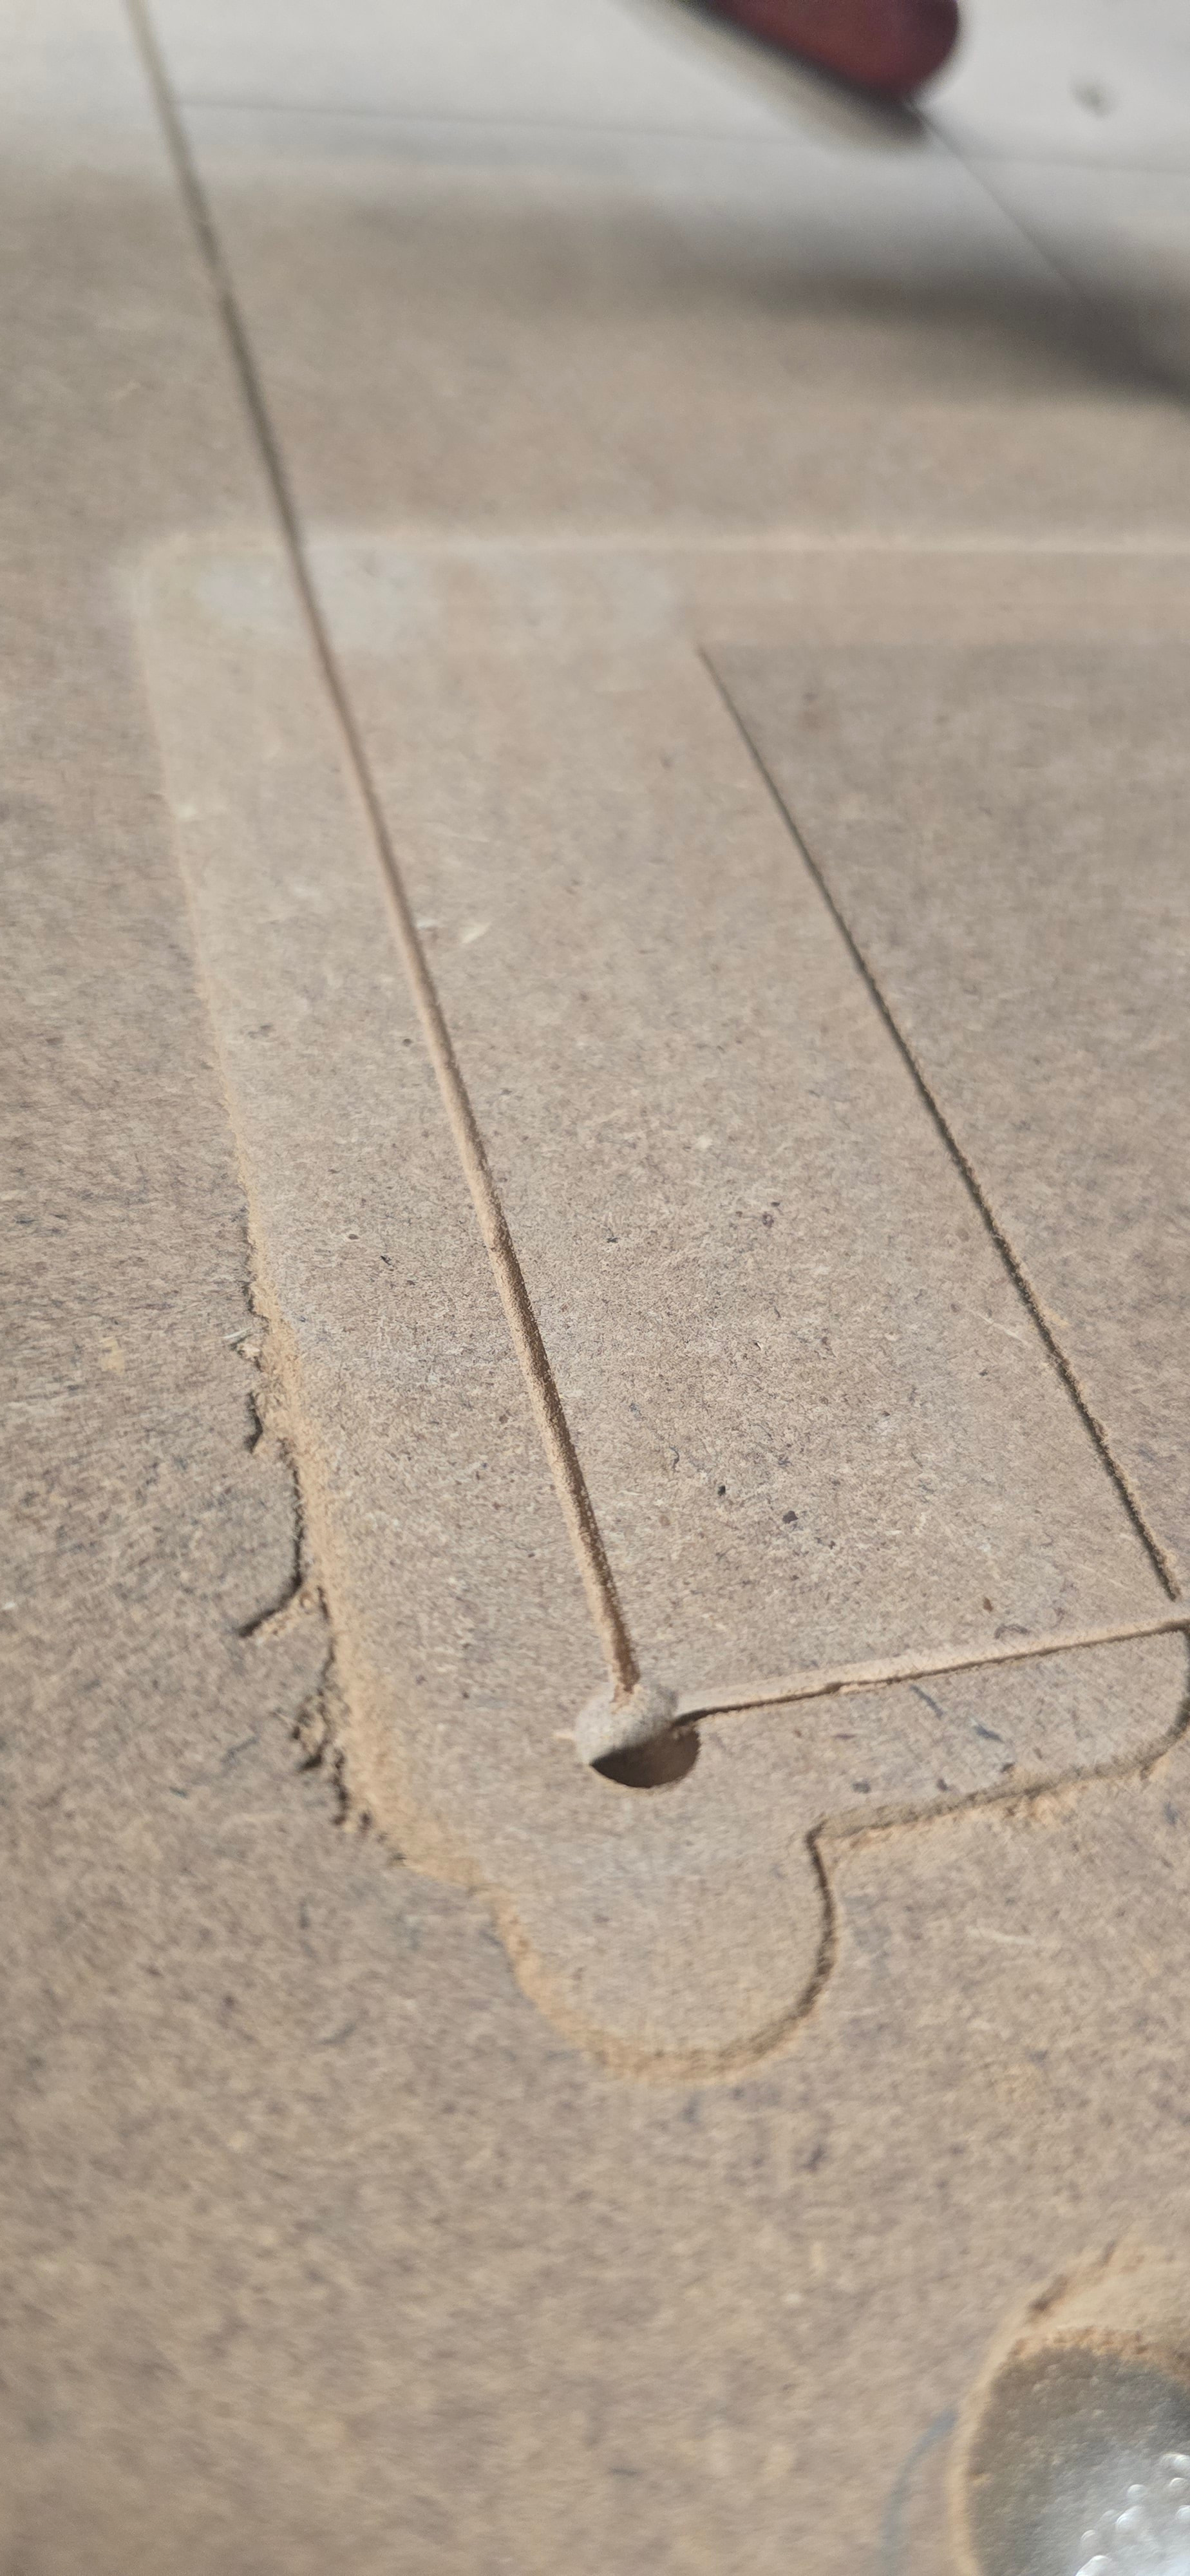
it came out impressively flat. I need to surface the spoilboard and recheck, but this is about as close as I think i can hope to get with a cheap kobalt router.
Not really sure why the surface gcode is offset on the Xmin but correct everywhere else, but it’s surfacing the spoilboard as i type.
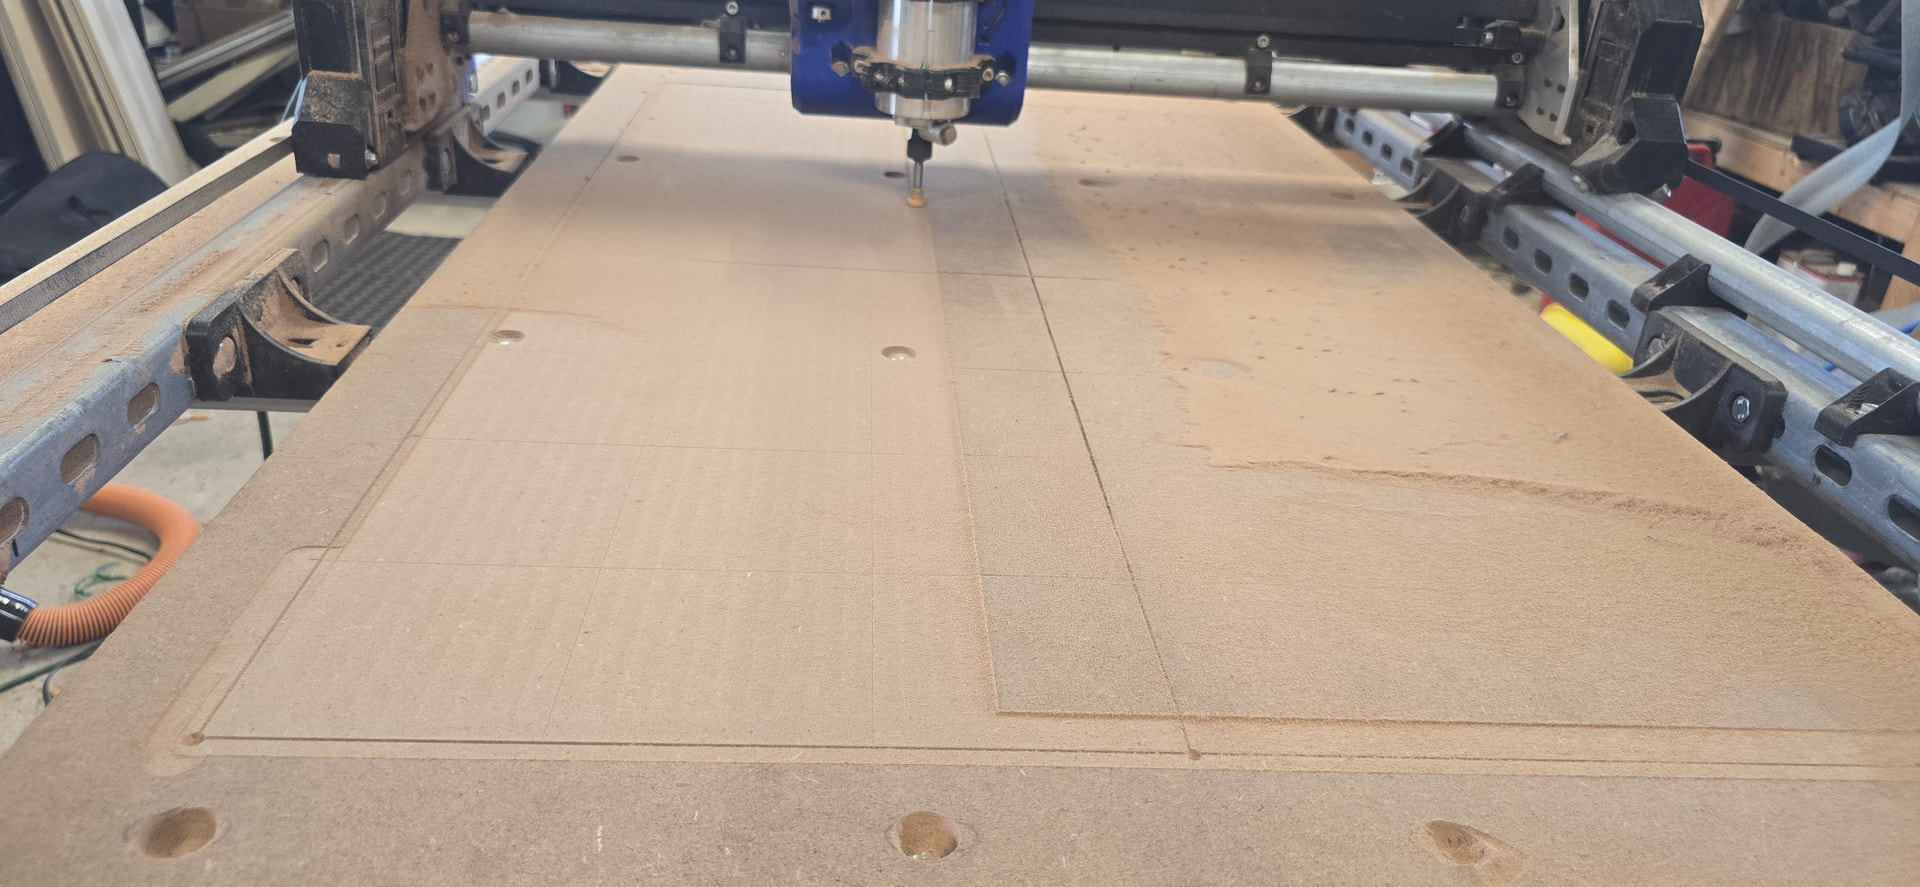
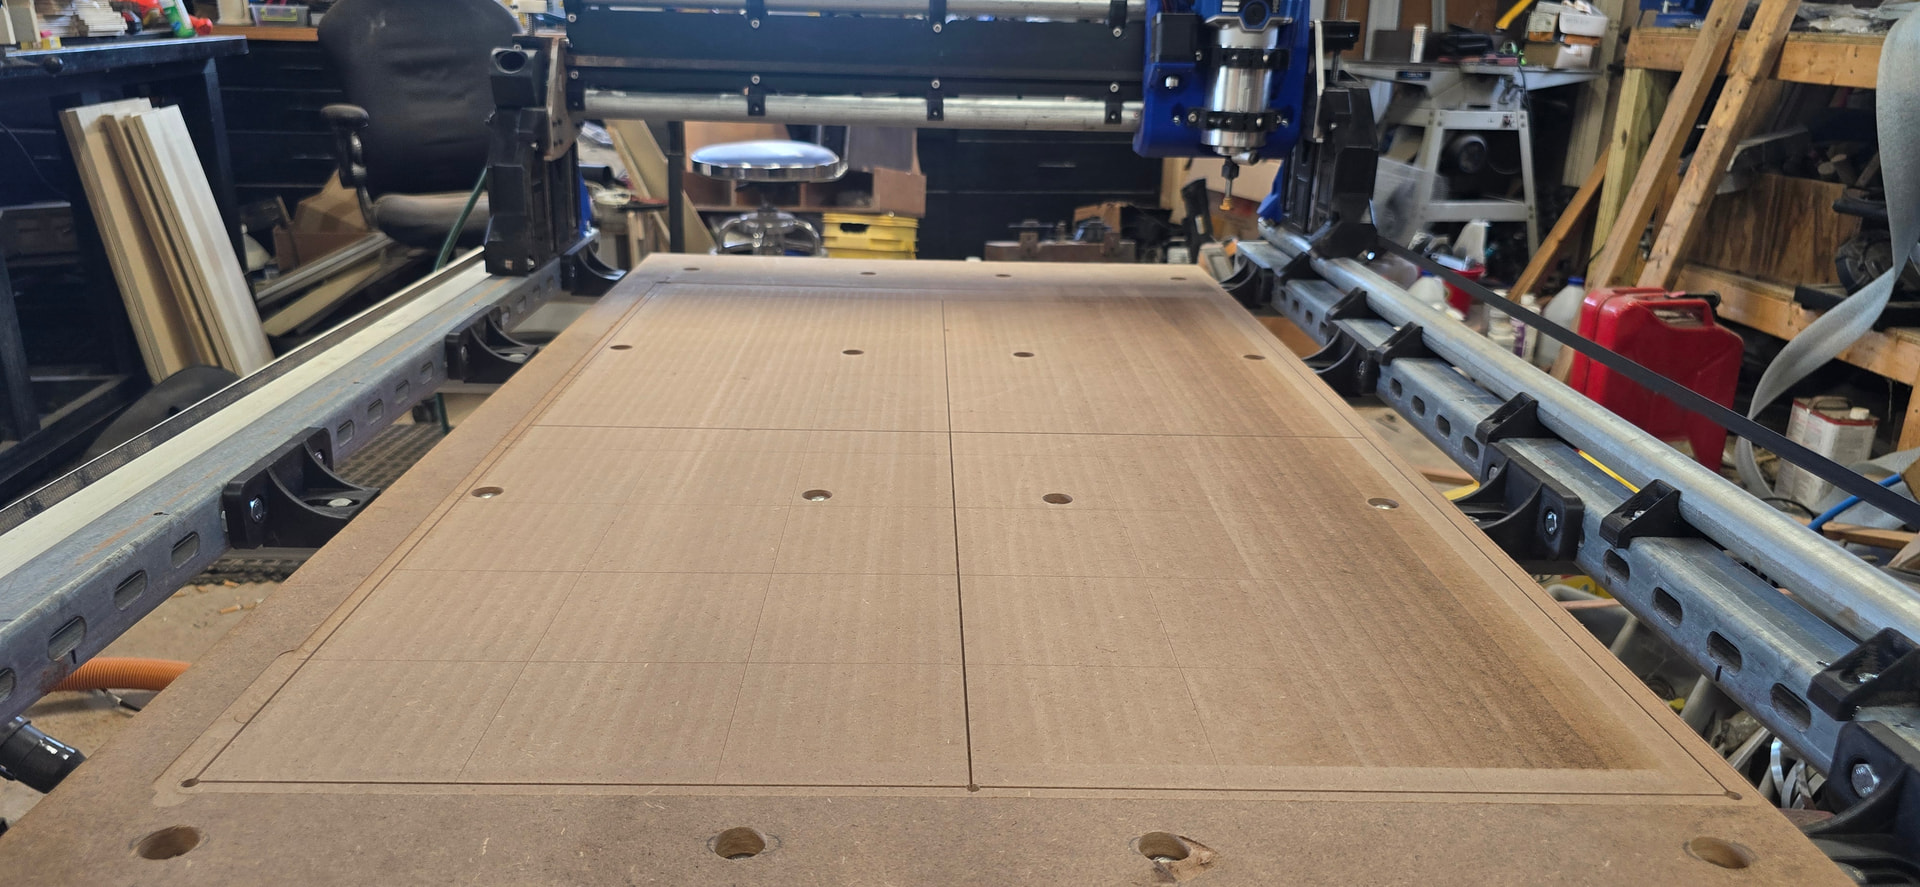
got it all surfaced and the tram was close enough that even using ¾” bit at 1000mm/sec the vacuum after left deeper marks than the bit. I did run into some heat issues towards the end, but it was barely taking anything off on that side so I’m not to surprised it heated up.
Then I got all the metal working tools out of the corner that I built around metal working…. Because now it’s the cnc and lasers home
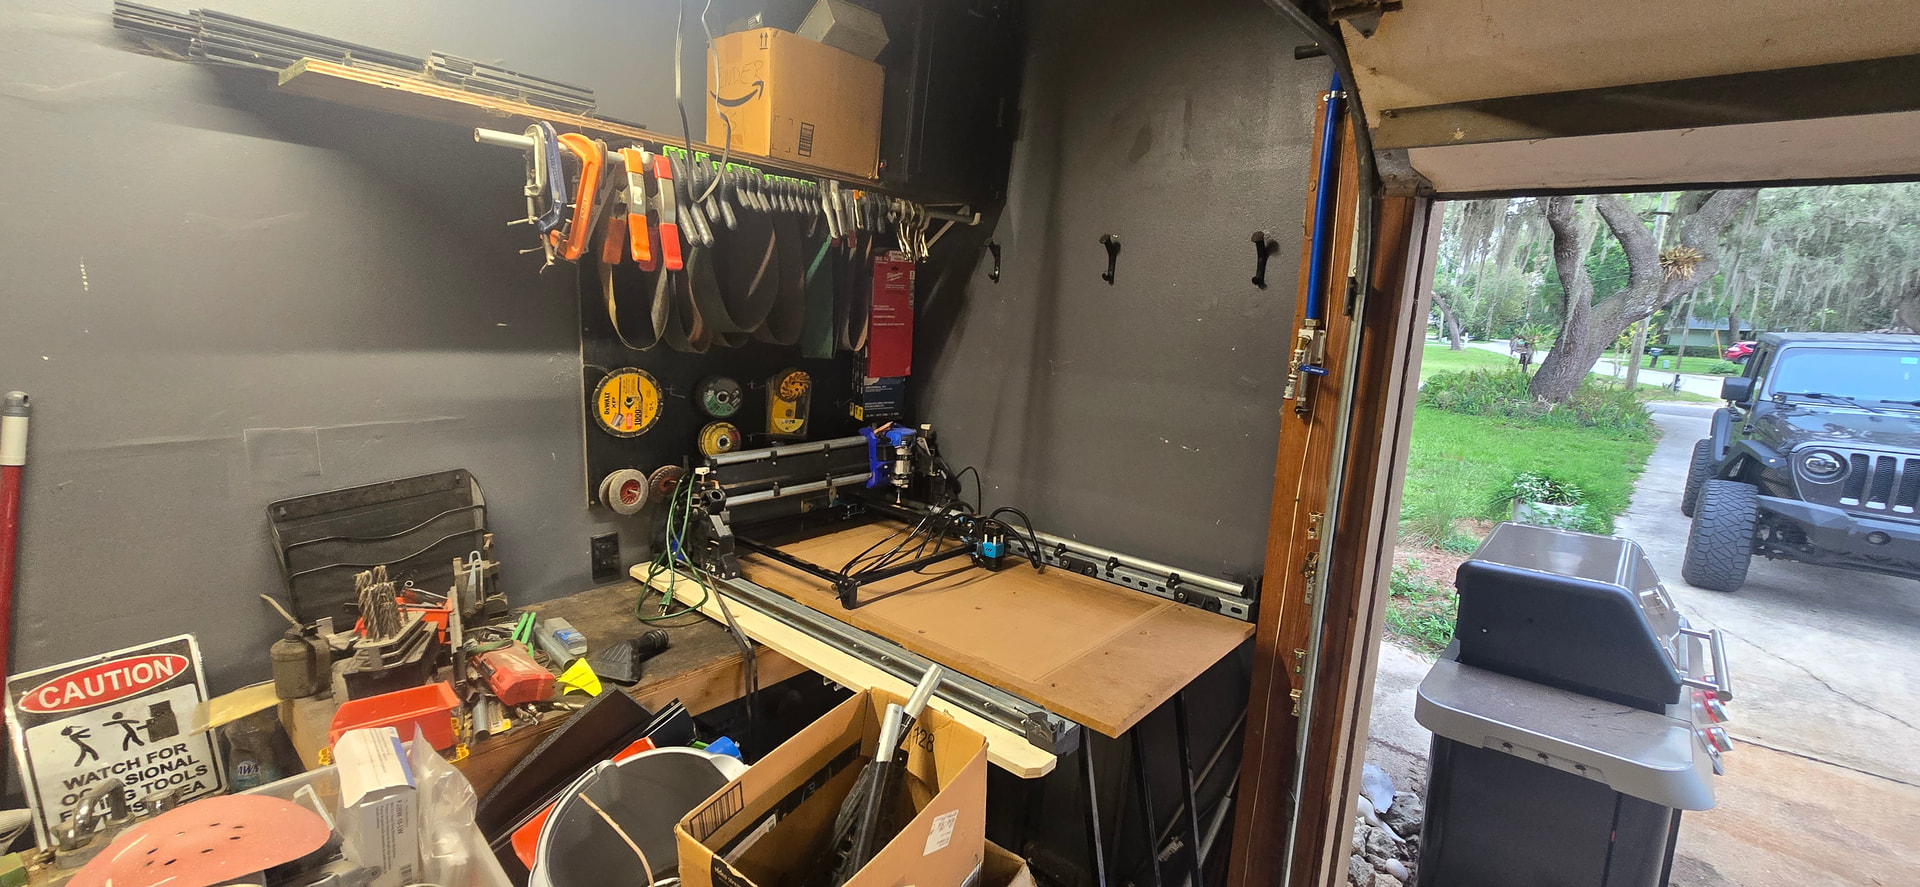
Still have so much more to move out of that corner, but the machine fits beautifully! The laser will go just to the left of it and my little acer laptop that i wiped and through antiX on can go on a little pull out shelf as my machine code sender / control interface.
One thing I really like about how it sits in this corner is when I hit home, the machine comes to me. I’ll make a park macro to send it ti the back along the wall like it is in that photo. Once i get the crap out of the way, I’ll have access to the end and half of one side without any reaching. And because I’m not dealing with full sheet materials…. I can easily load and unload.
That Jeep must rooster tail like crazy in the rain with those fenders!
Nice setup!
Lol yup! Makes me laugh with the rock lights on.
Ok I’m taking opinions. I have to pull that stuff off my pegboard. I was thinking about leaving the pegboard itself and using it to hold clamping jigs and such.
Im not sure peg board is the right answer.
I think bins might be more useful.
Maybe I make my own “peg board" or of mdf and done ½emt to hold things a little stronger and heavier. A grid of ⅝holes in mdf would be child’s play for the lr4.
The area to the left of the machine is going to be laser and enclosure when I get it built. So ppe and laser tools as well as cnc tools and jigs should all get housed in that area.
It’s a very different workflow than I’m used to, so im trying to guess what will work best and leave room to easily adjust to what I learn I actually need
Oh boy! Free parts!
I recently converted our master bathroom door to a pocket door. I have extra aluminum channel and roller sets. I was going to buy the trolley roller things for the unistrut, but this is basically scrap. I like the price point.
Now I just need to order in a couple motor extenders and I can get to work on the boom arm electronics and hoses.
I’ve seen a bunch of machines on here with blocks mounted for air and oil. I was planning on getting lazy and just an air tool oiler set up and only running the air hose. I may rethink that.