Jeffeb3's GridBot v2 build

There are 4 screws holing it down. The PCB bed is 300x300mm and the screws are in a square 240x240mm. I have one screw, closest to the XY home location totally locked down (#6-32, with a nylock nut). The other three are a turn or two out, so they can wiggle in their holes. The whole thing can also rotate, but only fighting the grip of the first screw. This idea came from higher up in the thread.

I want to let it move, but more important than getting rid of the bulge is making it consistent, and making sure the measurements are consistent with the surface while I am printing. I am thinking about tightening those other screws down and see how what difference that would make. I’m guessing it will be too close to call.

Maybe I should just write a script and I can test all kinds of wacky ideas. Writing and reading gcode in python from my pi seems like a helpful trick to have. I would also like to see how much the bed mesh changes over time and temperatures, and just over iterations… Too many projects, plus, these kids and this job…

1 Like

Sell the kids. Quit the job… Then you have more time for projects :slight_smile:

3 Likes

You are having as much fun as dkj4linux was with figuring out the rolling plotter with laser askew problem.

3 Likes

Couldn’t you have done G4 S300 instead of five G4 S60s?

1 Like

Yeah. But I wanted the M117 to tell me hoe long I have waited.

Ok. I am not sure which linear advance is even close to best. I have been staring and staring at this and I am just not seeing clear results.

This pattern has the finest values, 0.0 on the bottom and 1.0 on the top:

This one is a little bigger, 0.5 on the bottom and 2.5 on the top (the steps are twice as big).

This one has even larger values. 2.0 on the bottom and 4.0 on the top.

I’ve honestly convinced myself all over the place. I am not seeing a really great line anywhere. I don’t want to seed your guesses with what I think, because I am confident I am wrong. So what do you all think?

It’s been a while since I dialed in my linear advance, but I ended up with very small values, like between 0 and .20, I think (I’m not near the printer at the moment). I ran the first numbers from 0 to .5, then picked the best line and ran another set between .10 and .25.

1 Like

Yeah. This has a 700mm bowden though, so I am comfortable with it being larger. Clearly the largest values are bad. The lines don’t even start right.

Pick the two lines that look best, or the ones to either side of the least bad one, and run another set “zoomed in” between the extremes of those values. You may be able to discern more difference at a different scale.

1 Like

I don’t even know what you’re doing with this… looks like I have more reading to do.

1 Like

Right. I’m hoping some of you will zoom in and tell me which ones you think are the “best”. I’m having trouble deciding.

1.75

second picture, directly passing through the H of “Wham”

1 Like

This is very interesting.
To me is on the 2nd Picture and the line that just touch the top of the Wham bam.

Now is your bed level (worp)? you said something about letting the bed heat up for a few minutes before starting a print.

1 Like

In the third picture the start is ok, then underextruding, then ok again, and then poor again. Im not sure how this can happen unless there is another effect superimposed on the linear advance variable. I’d run a pattern with constant linear extrude value to estimate the magnitude of the anomalous signal and if it is regular or random. Otherwise the “best” might be just random noise.

1 Like

Linear advance messes with the extrusion. I have to smash the Z a little to get good enough adhesion across the whole line. I am guessing I still have a little funkiness at the very front edge of the build plate too.

You might be right Jamie. This is a test with all the lines set to 1.75. There are still some lingering issues.

I’m starting to think I just don’t like the bowden. I haven’t had an easy time tuning it. I think it just really doesn’t have the dynamic control over the flow rate that I am used to.

1 Like

I’m also making lots of mistakes with UBL. It’s my own fault, and I don’t really want to add 10 minutes to each print time by using bilinear to measure it each time. It would help if I had more than a half hour every other day to work on it.

1 Like

I’m with you on this. I was just playing with UBL today and getting a little frustrated with the results. I decided the problem was actually two things not related to UBL: 1) the BLTouch mount was being torqued every so slightly as the X axis moved due to the wires running from the head and 2) the touch Z offset had also drifted by 0.15mm over time.

If I’m not messing with the printers every day, it’s easy to lose track of all the non-obvious variables at play.

I set linear advance to between 0.35 and 0.5 depending on the part. But usually it’s at 0.4

Related to a comment above about adhesion … I ended up sanding the plastic film on the WhamBam bed and this helped.

1 Like

Today, I had what I think was a filament partial jam. It was manifesting as 50% extrusion for a bit and then 150% extrusion. So I took out the ptfe tube and while I was yanking on stuff my bltouch mount broke and the thermistor pulled out. But the jam seems cleared. I am going to print a new bltouch with some cross braces and I will check my thermistor then. I am considering getting a genuine V6 heater block, heater and thermistor. I thought that was a worthwhile upgrade on my other printer.

The 0.35-0.5 range is useful. I’ve had it at 0.7 for the last few weeks and it has been ok, but it really affects speed. I’m not sure if it is a property of one of the associated accelerations or what. But I tried turning it to 0, and the thing just flew.

you can crank up the acceleration quite a bit. these are my conservative settings:

[19:46:19] [1:8,0:0] ==> M503
[19:46:19] [1:8,0:0] <-- echo: G21 ; Units in mm (mm)
[19:46:19] [1:8,0:0] echo:Filament settings: Disabled
[19:46:19] [1:8,0:0] echo: M200 D1.75
[19:46:19] [1:8,0:0] echo: M200 D0
[19:46:19] [1:8,0:0] echo:Steps per unit:
[19:46:19] [1:8,0:0] echo: M92 X80.00 Y80.00 Z400.00 E100.00
[19:46:19] [1:8,0:0] echo:Maximum feedrates (units/s):
[19:46:19] [1:8,0:0] echo: M203 X200.00 Y200.00 Z10.00 E25.00
[19:46:19] [1:8,0:0] echo:Maximum Acceleration (units/s2):
[19:46:19] [1:8,0:0] echo: M201 X3000.00 Y3000.00 Z100.00 E20000.00
[19:46:19] [1:8,0:0] echo:Acceleration (units/s2): P R T
[19:46:19] [1:8,0:0] echo: M204 P3000.00 R3000.00 T3000.00
[19:46:19] [1:8,0:0] echo:Advanced: B S T J
[19:46:19] [1:8,0:0] echo: M205 B20000.00 S0.00 T0.00 J0.01
[19:46:19] [1:8,0:0] echo:Home offset:
[19:46:19] [1:8,0:0] echo: M206 X0.00 Y0.00 Z0.00
[19:46:19] [1:8,0:0] echo:Unified Bed Leveling:
[19:46:19] [1:8,0:0] echo: M420 S1 Z0.00
[19:46:19] [1:8,0:0] Unified Bed Leveling System v1.01 active
[19:46:19] [1:8,0:0] Active Mesh Slot: 0
[19:46:19] [1:8,0:0] EEPROM can hold 32 meshes.
[19:46:19] [1:8,0:0] echo:PID settings:
[19:46:19] [1:8,0:0] echo: M301 P30.65 I3.53 D66.45
[19:46:19] [1:8,0:0] echo:Z-Probe Offset (mm):
[19:46:19] [1:8,0:0] echo: M851 X-30.00 Y0.00 Z-3.25
[19:46:19] [1:8,0:0] echo:Stepper driver current:
[19:46:19] [1:8,0:0] echo: M906 X760 Y760 Z800
[19:46:19] [1:8,0:0] echo: M906 T0 E1100
[19:46:19] [1:8,0:0] echo:Hybrid Threshold:
[19:46:19] [1:8,0:0] echo: M913 X201 Y201 Z10
[19:46:19] [1:8,0:0] echo: M913 T0 E0
[19:46:19] [1:8,0:0] echo:StallGuard threshold:
[19:46:19] [1:8,0:0] echo: M914 X255 Y255
[19:46:19] [1:8,0:0] echo:Driver stepping mode:
[19:46:19] [1:8,0:0] echo: M569 S1 X Y Z
[19:46:19] [1:8,0:0] echo:Linear Advance:
[19:46:19] [1:8,0:0] echo: M900 K0.40

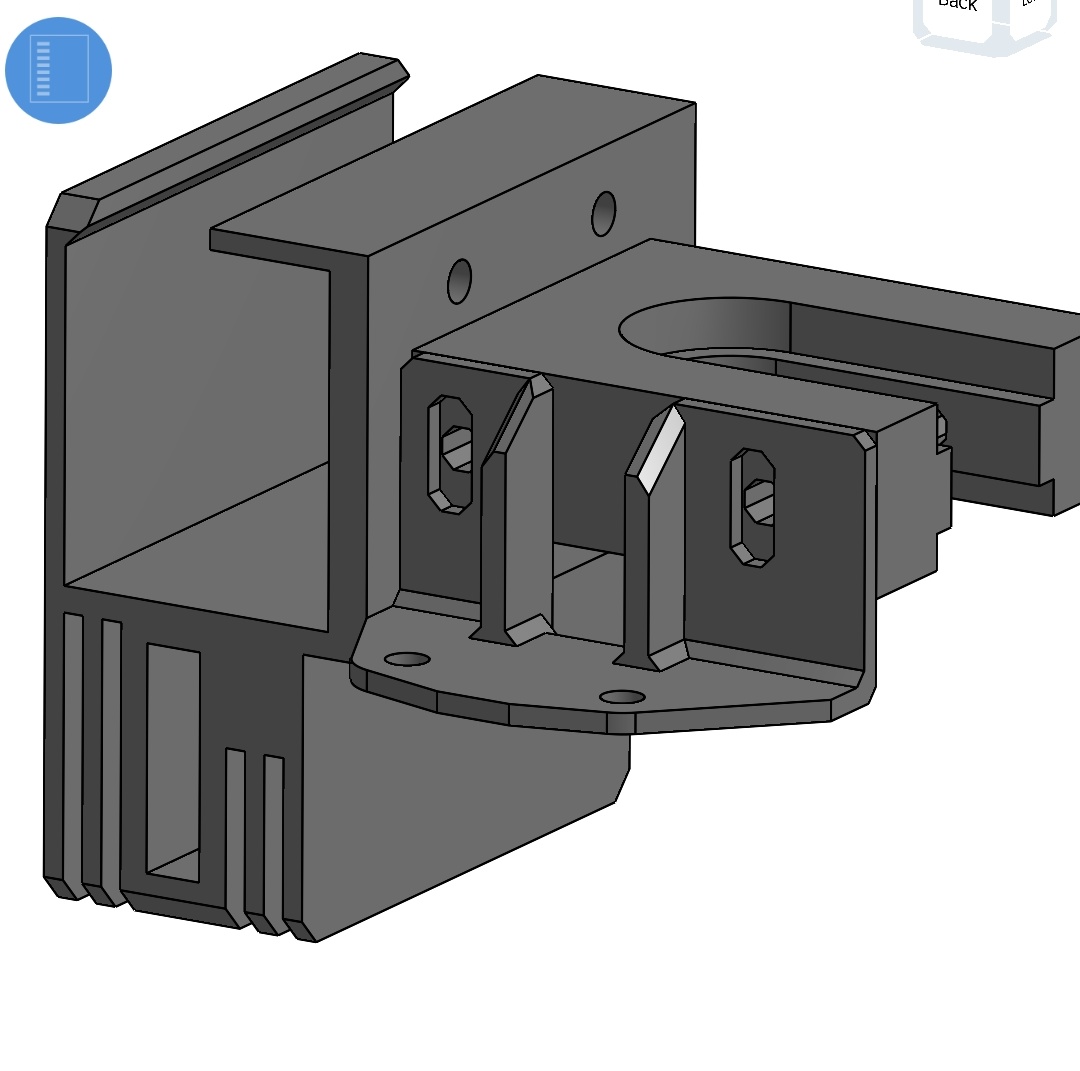
I also ended up getting the genuine V6s. One thing that’s easy to overlook but critical: check that your set screw on the filament drive gear is always tight (and on the flat). It can work itself loose and give you no end of trouble that’s really hard to diagnose. For that matter, make sure all the screws on the drive head are tight. This is far more important on bowden drives than direct drives.