I just looked quick at Lowes. Might be able to do a couple dollars cheaper at a local place but certainly not that cheap. I’ll refrain from the other comments in my head.
1 Like
Cheapest I’ve seen here in NZ is NZ$50/sheet (US$29) for 11mm and that’s not even anywhere near me.
From the local hardware store it’s $70/sheet (US$40).
Yuck.
3 Likes
Lowes pulled out of here, so that was Home Depot. Lumber yard would be about 20% less than that here.
I’m actually jealous of all of you. In my country is better to make a steel frame than 3/4” ply or mdf we dont have osb for sale and the mdf(green) sheet is around 52 usd at the change the ply is even more expensive.
Yeah that was me, and was not quite what I meant. Sorry for the confusion.
The reason cabinets (in Aus and EU) are built from 16mm MDF instead of 3/4" /19mm in the “good old days” is that is all the thickness required if no dados or rebates are used. In a factory situation a 3mm (or more) dado is simply a dotted line on which to break panels if handled carelessly. In a home built situation where there’s careful control of the glue join it’s not likely to be a problem.
Cabinet carcasses here are simply screwed together with minimal or no glue.
I am tripping over myself wanting very much to like @Ryan’s project (it is very cool!) and at the same time thinking in terms of it being a commercial job!
It’s the most fun you’ll have for the buck since I built my core one cabinet!
3 Likes
I mean…
Making your own full-extension drawer slides is an option…
4 Likes
These were like $6 at Home Depot right before Covid, and were like $30-33 at the peak of pricing stupidity…
1 Like
Tell me whyyhyy… Eh… How…
Well… Obviously, because I didn’t want to spend the amount of money it cost for drawer slides on my workbench…
So, since I was too cheap to buy them, I searched around for a way to DIY them, and came across this video

I did them by hand, but I suspect it’s possible to do this with the CNC… just need a fixture for the holes like you did for the braces. There’s slots on both sides
It’s not AS smooth, and maybe doesn’t hold AS MUCH weight, but I’ve been happy with them so far.
Sanding smooth and paste wax are important.
It’s been a few years and they are still functioning fine
9 Likes
Wow, that is way better than I would have predicted.
2 Likes
The first one I did didn’t slide great. I left too much space.
The plywood is pretty strong, and sanding it to 320 and covering all of it with paste wax made it slide pretty well.
I guess it seals it up pretty good too so haven’t had any problems in the humidity either.
I have only a sheet of paper spacing between everything on the next ones I did and they function much better without all the slop
2 Likes
I just bought drawer slides lol. Found a good deal on a bunch of them and still have a few sets around. Its pretty easy to design for them, just make your drawer 1” narrower than the opening you are putting it in. I do like the idea of no slides, I just have a fear of them hanging up with dust build up and stuff. Lord knows I dont keep my work area clean at all ![]()
3 Likes
I am in the Chicago suburbs and just love Menard’s I like Home Depot but Menard’s always seem to get better year after year. I get tired of the 11% rebate gimmick but really not to hard once you are used to it.
1 Like
You use onshape right? I’ve been using this feature script cnc joint featurescript and it’s awesome. I’ve build 5 or six projects with it including: First retrieval tool caddy and great onshape feature for cnc joints
It’s faster for me to use this than to make dados in onshape. You just create your box, cabinet, table, whatever with all the jointing piece overlapping then select tenon and mortise pieces. You can do basic finger joints, tabs, hammer tenons, and hiden versions of all of the above.
I always have a variable for cnc tolerance which I pass to each instance of the feature script so I can do a test part and tweak that until I get the fit I want and then cut everything.
5 Likes
I will give that a try. I wanted to put them is specific places on some pieces but now that it is done I don’t think that is all that important, equal spacing would have worked fine.
JJ I think you are right, I should do a 3/4 bottom. Better safe than sorry, and rebuilding never as fun as the first build.
2 Likes
It might not be 100% needed, but no way to really know for sure until you are done unfortunately. I think you will be glad you did in the end.
1 Like

55 minutes, and I am not pushing it very hard. Router was at 1.5-2.5 on the dial. 1/4" single flute upcut.
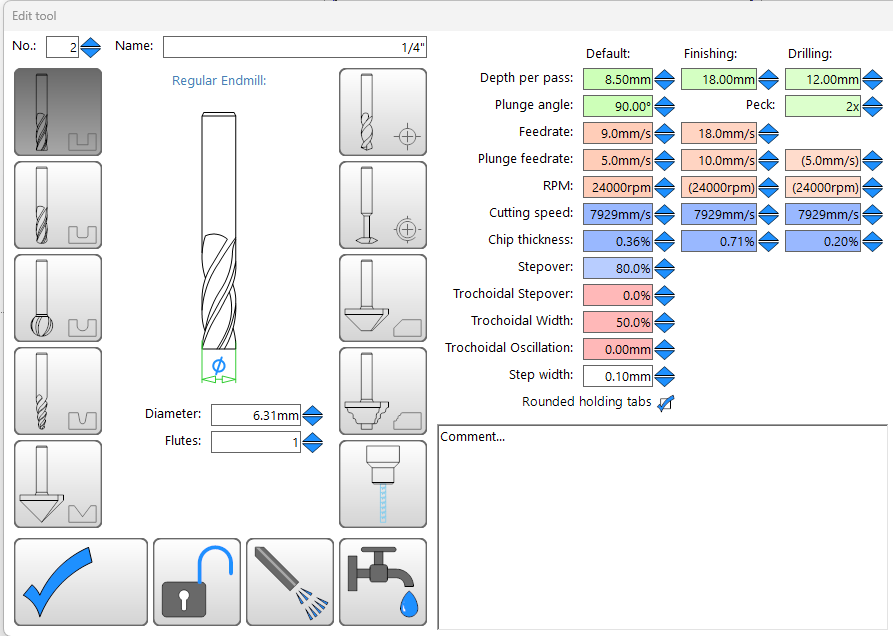
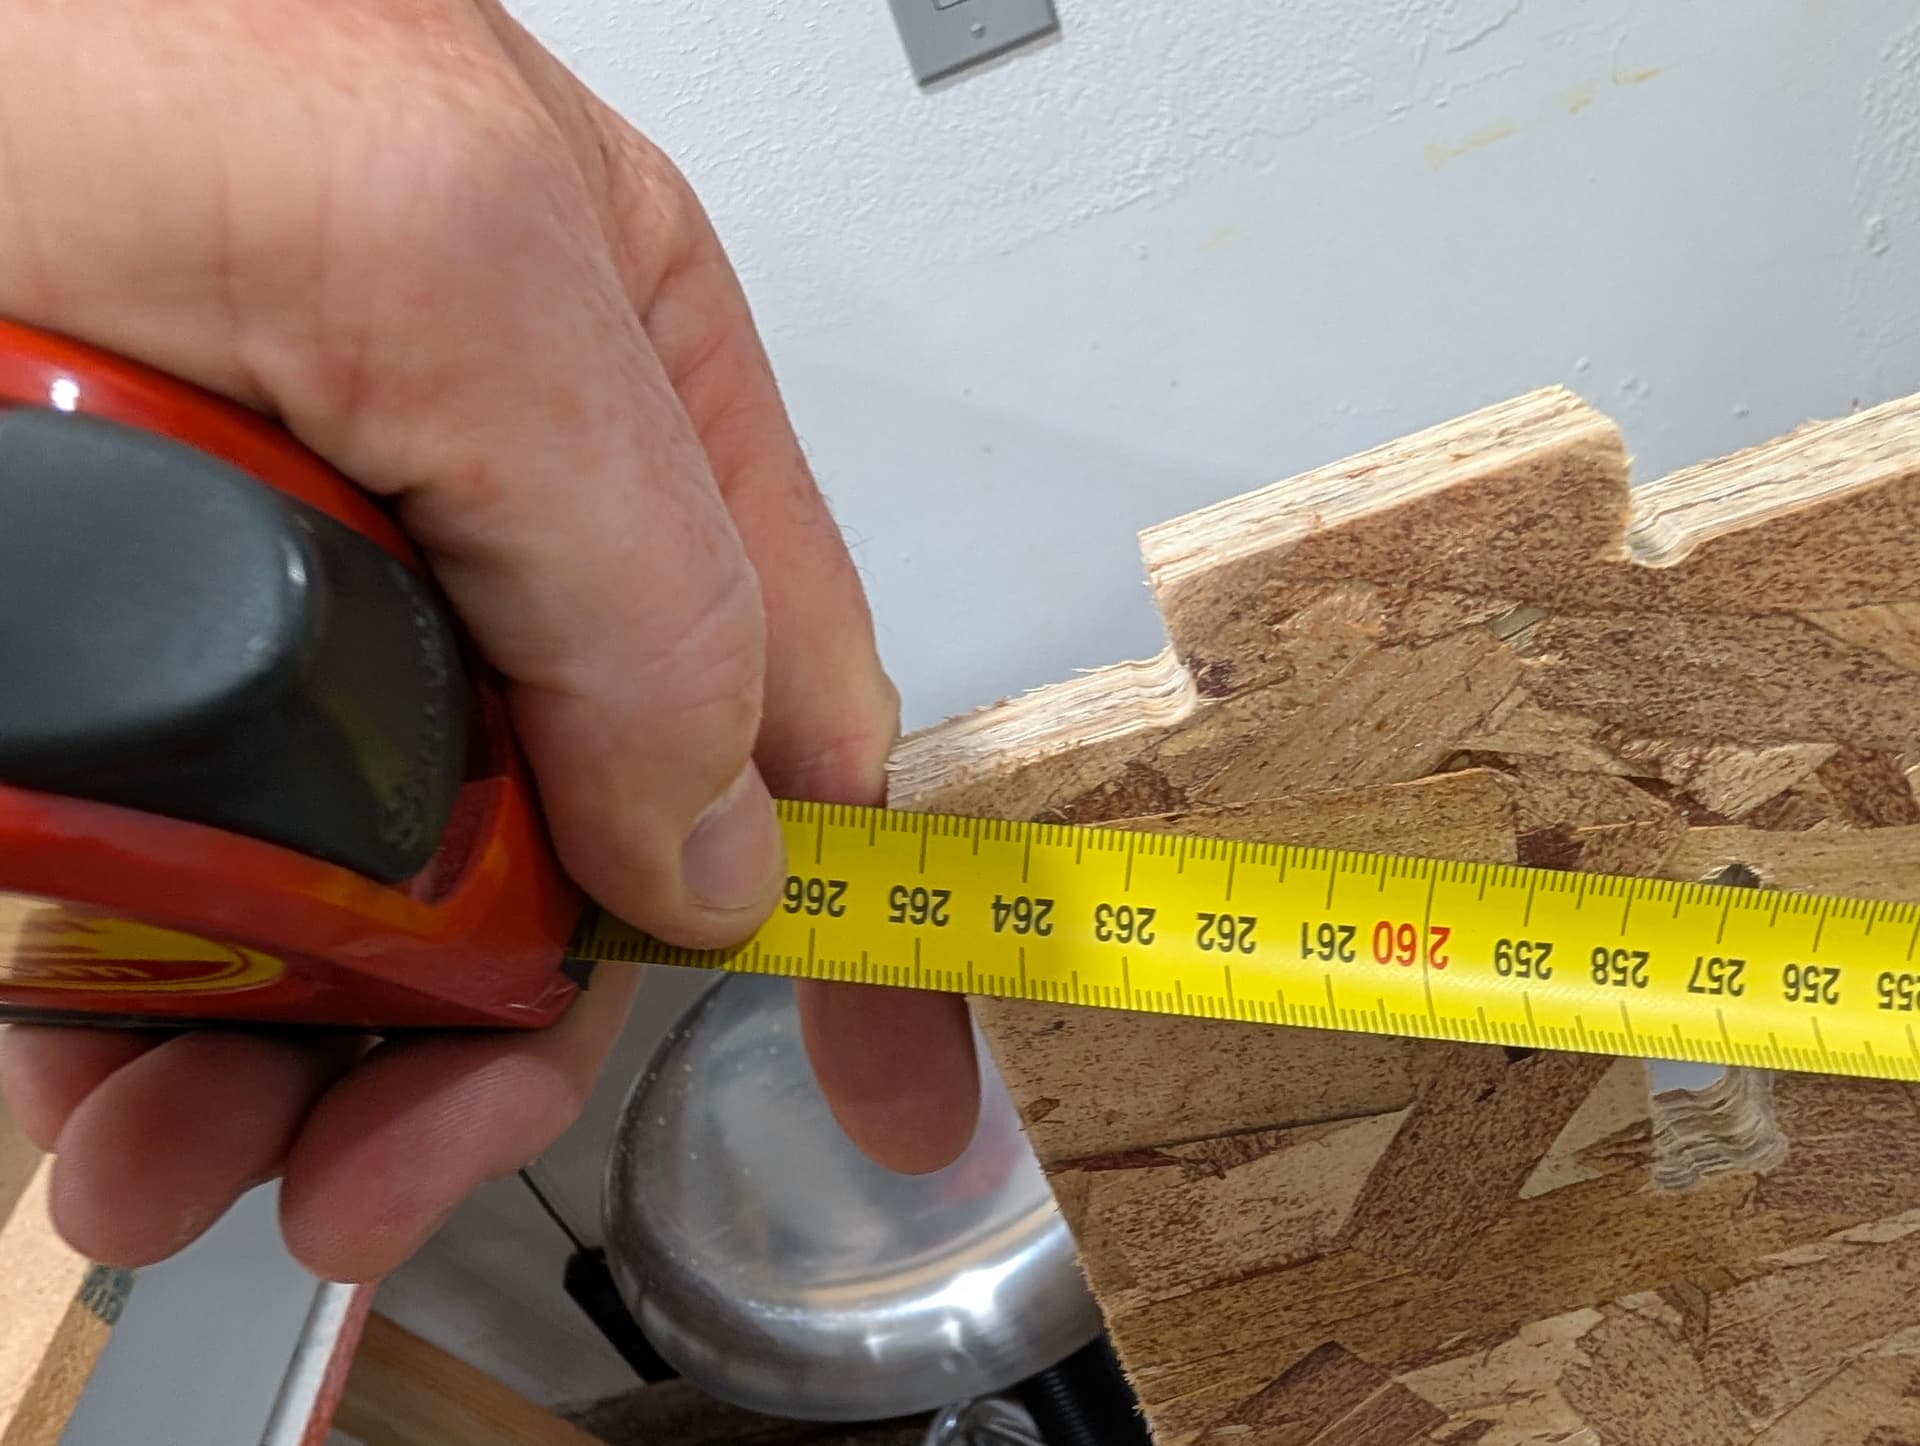

Diagonals are far under what I can measure.
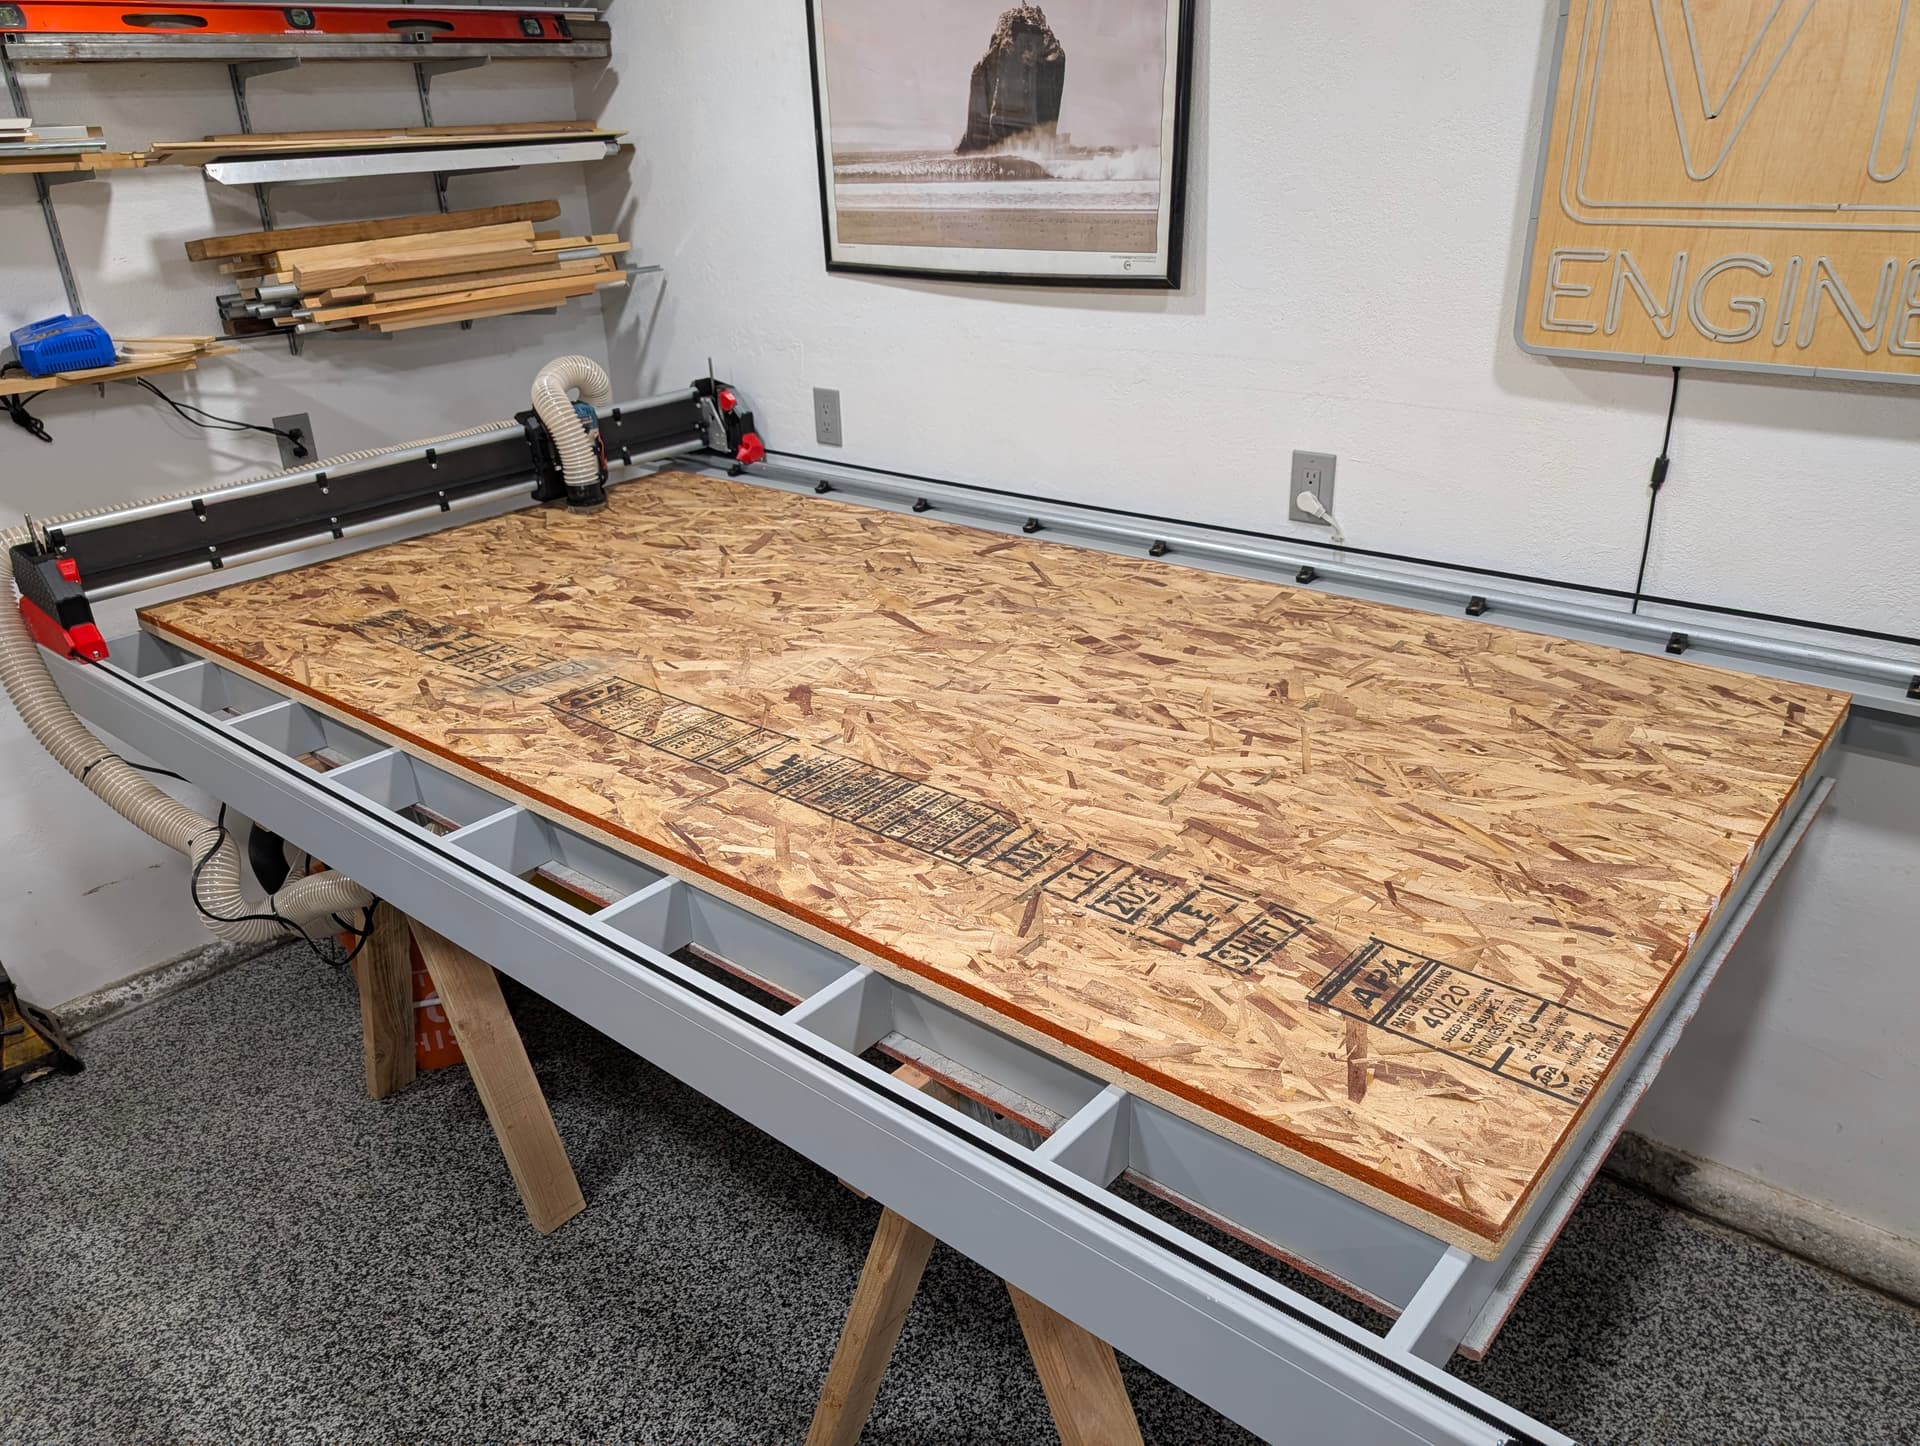
Working.
- I am going to drop the plunge rate 1mm/s, increase the feedrate 2mm/s and finishing pass probably 5mm/s
Estlcam said 1:04, it was done in 55min. That is pretty accurate.
12 Likes
You used a 1/4? Never thought to see that day… ![]()
I have a confession to make, too. One-flutes really work a lot better on the LR… You cannot achieve the speeds needed for a 2-flute. So you can just leave it be and use a 1-flute with better chip ejections…
1 Like
I’m a bit confused on the speed issue, I’ve seen people in here use absolutely bonkers (to me at least) depth of cut, but lower DOC with a two flute is problematic?
Is that caused by the steppers losing torque at speed or is my understanding of the forces involved just off?
I’m just curious for the reasons, not trying tune a machine that isn’t even build yet.
Depth adds quite a lot more load than speed does, so I usually stick to my 4.5mm in hardwood and just tune the speed. But Ryan is going really slow, then it kind of works with his DOC. ![]()
1 Like