No, it is specifically designed for CNC with FluidNC (not to be confused with the Fluidd web interface for Klipper). I know very little about Klipper but it would require significant changes.
@jeyeager any update on your case ![]() ?
?
1 Like
Ok, tnx for info … ordered the display for my cnc … ![]() will try it
will try it
1 Like
I took a bit of a break on it but picked it back up a couple days ago. Last print needed some tweaks (fit of the switch, depth of the display into the top, and battery bracket updates). I have a top printing now. I hope to finish it this weekend.
4 Likes
I didn’t read the thread, but this is really cool. Nice compact touch screen control. I’m probably going to pick one up for my laser.
2 Likes
Hi
What is the advantage of a screen like this compared to a conventional touchscreen tablet?
There isn’t much difference in price, and tablets have the advantage of including a battery and being ready to use right out of the box…
Tablets are more gwneral porpouse and you can get them in any size (note that if the tablet locks the screen in the middle of the job you will have to wait to reconnect -most of them, the ones i have used.) this is a screen to be dedicated to fluidnc, its only 7” and runs a special fluinc firmware, so no calculator/browser etc
1 Like
I’m going to be adding a subtab for spindle/laser soon but for now any special actions can be covered with a macro.
2 Likes
This is a great question. First off, you absolutely do not need a pendant for FluidNC, yet they seem to be popular. You can use the existing FluidNC WebUI with a tablet. There is a tablet tab/extension but I don’t really care for it. The WebUI v3 dashboard is fine, this just lays out the info/controls differently.
This is just a dedicated device talking directly to FluidNC and nothing else. So, you can go from off to connected to FluidNC in seconds. For me, it’s mostly the layout that I like (I mean I made it so yea I’m biased). I can make this for a couple specific devices and not have to care about Windows/Mac/Linux/iOS/Android or Firefox/Chrome/Brave/Opera/Safari/Edge etc.
This project was an experiment and it came out way better than I expected. I could technically make a similar web based UI but I have no plans to do that.
1 Like
My kids won’t be able to steal this.
4 Likes
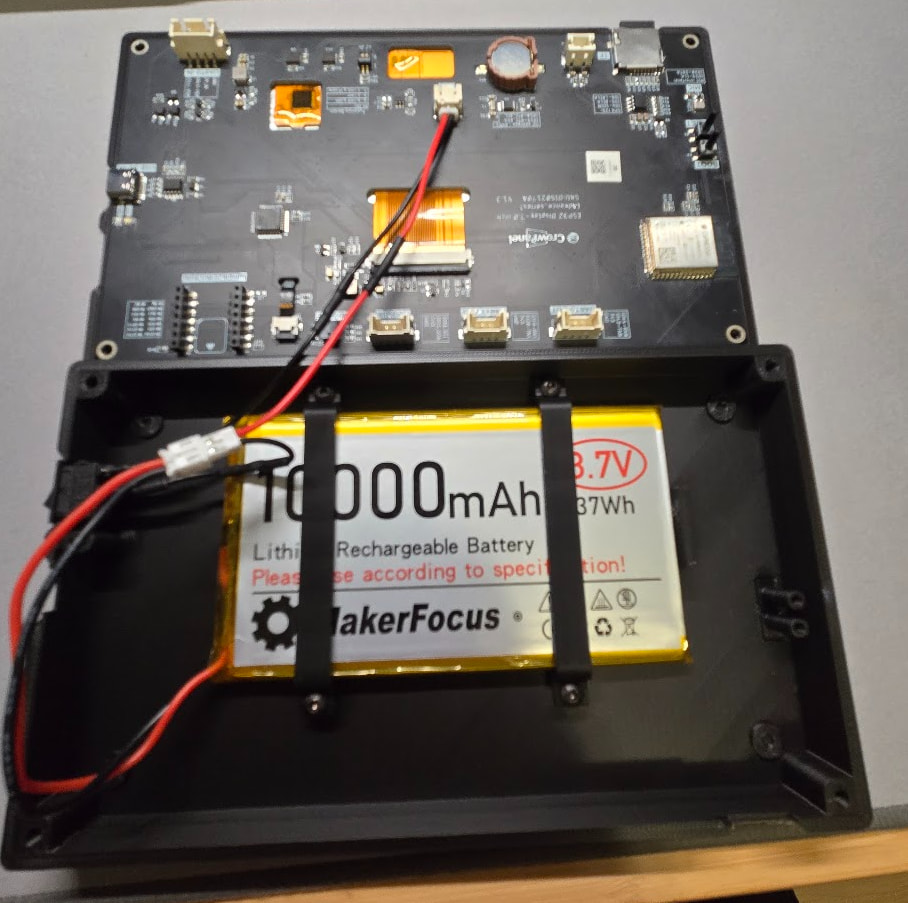
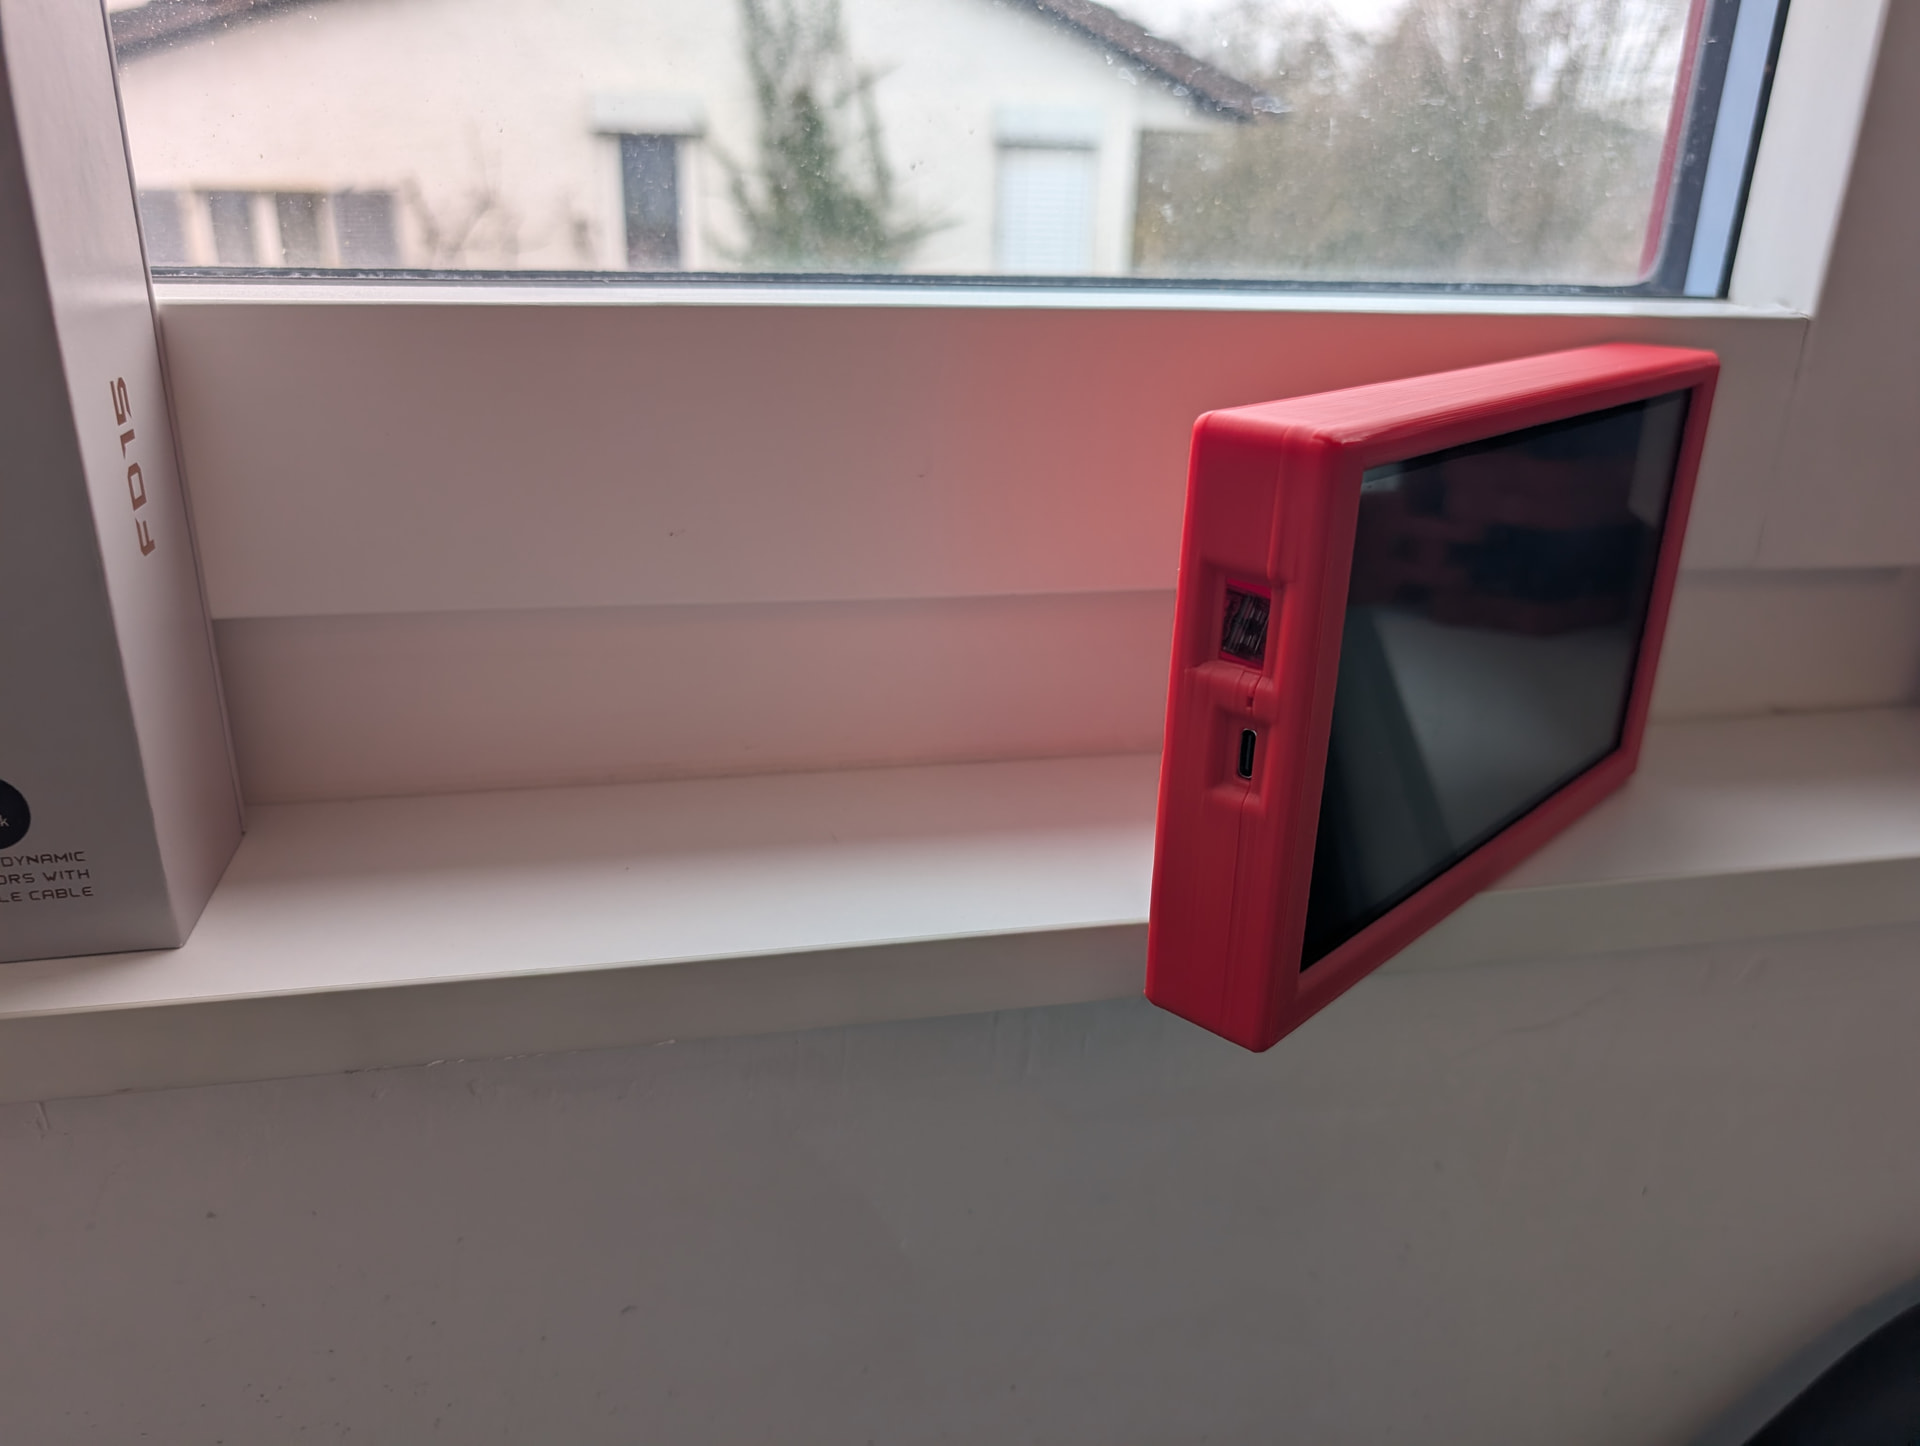
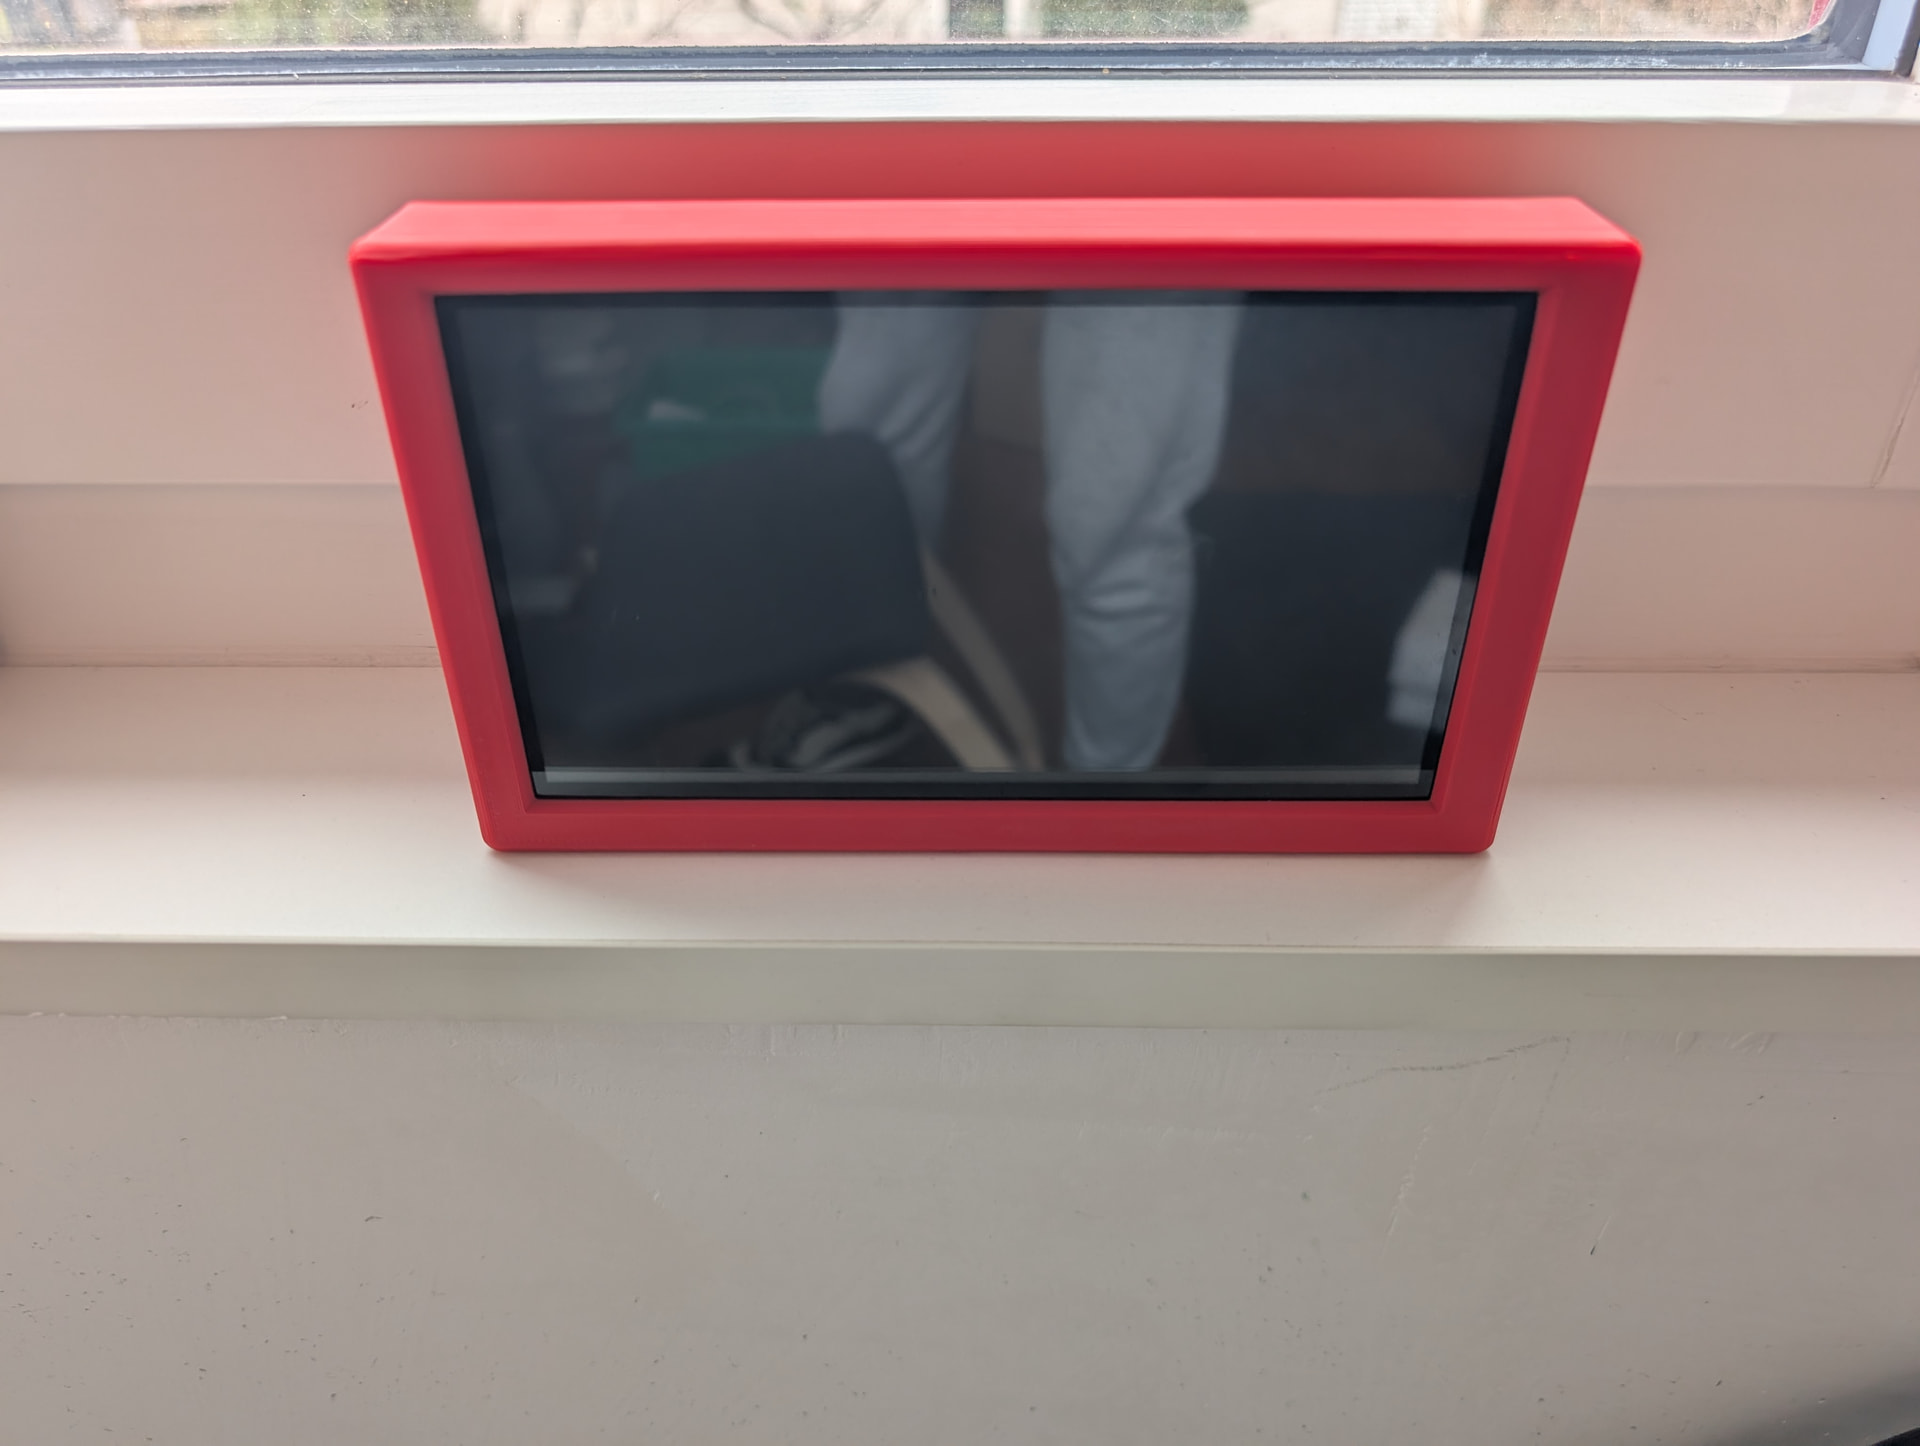
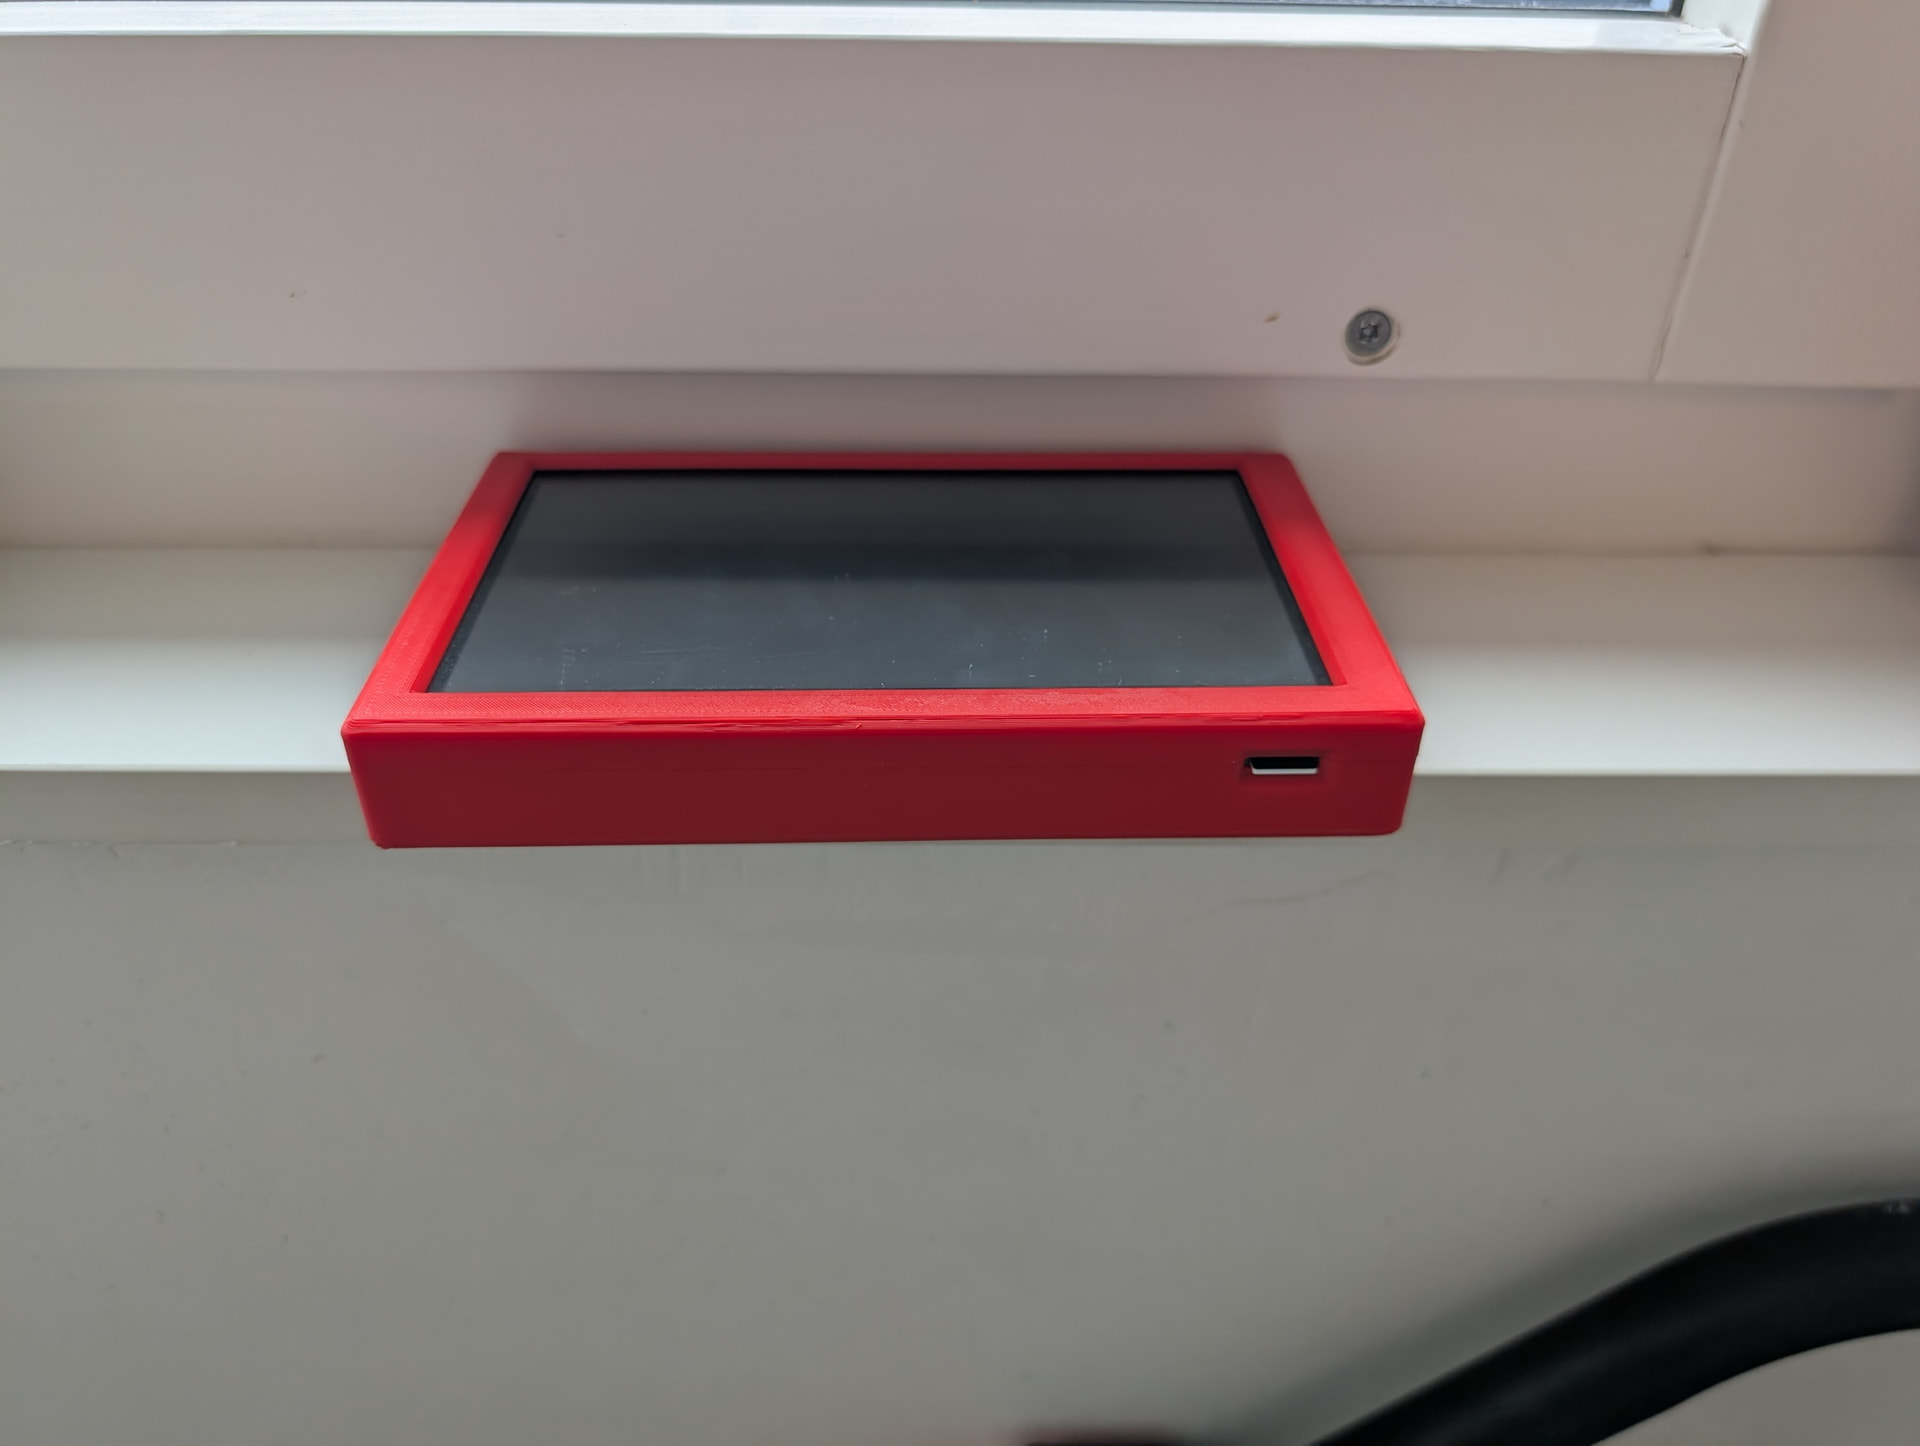
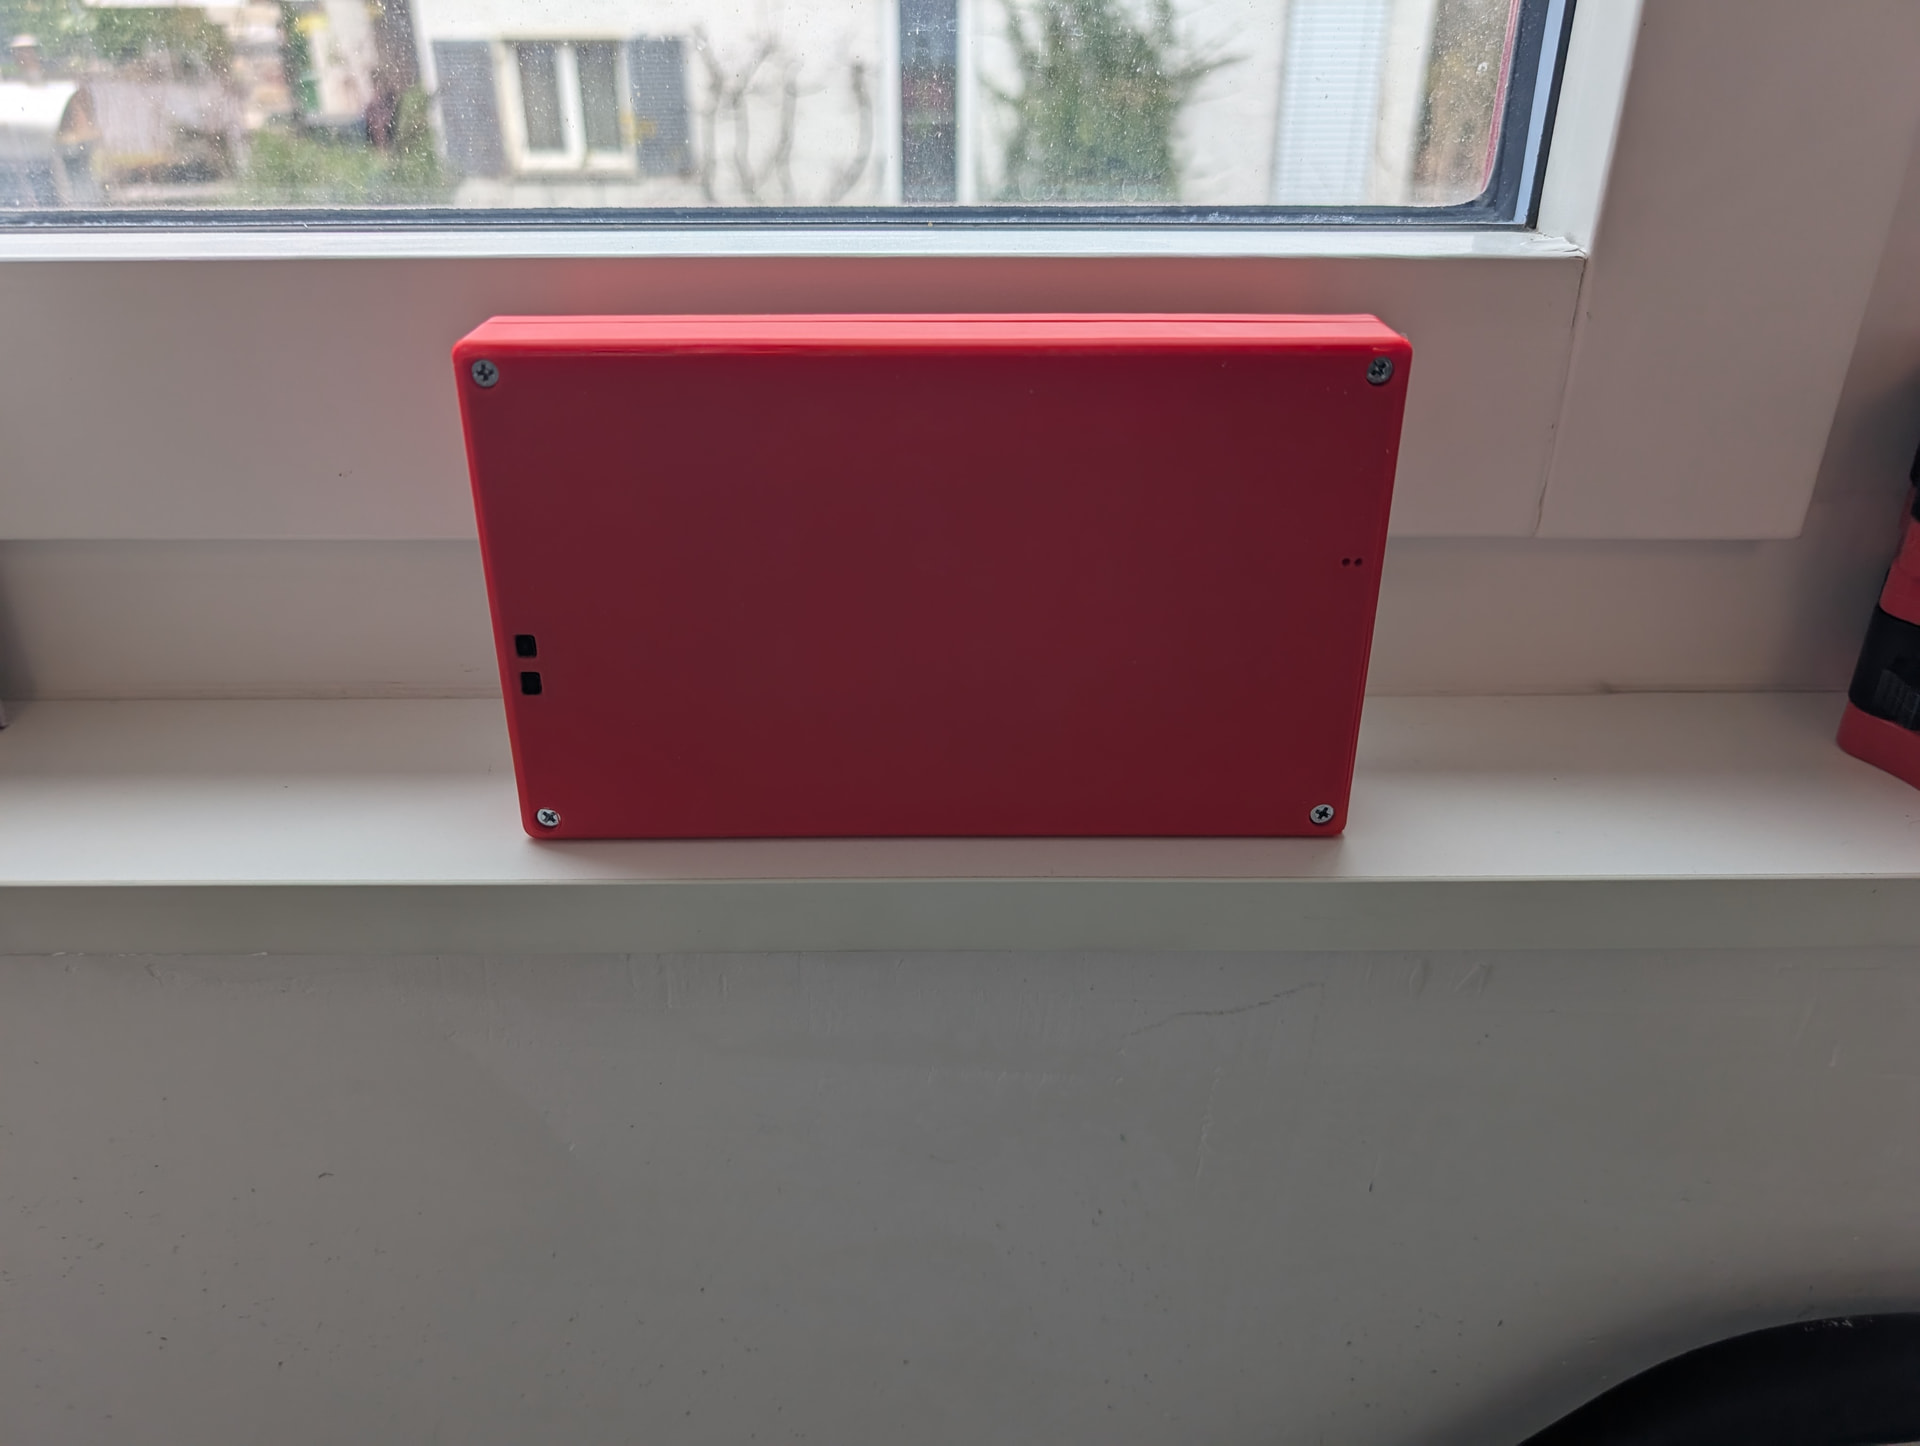
Here’s the current version of the case. Everything is fitting well for me. This only works with the Advance version of the display.
Here are .3mf files and the FreeCAD project (done in v1.1.0 RC2):
ElecrowAdvance7Case.zip (3.9 MB)
Here’s some rough documentation for now:
General Notes:
- Nothing needs supports. The bottom has a single layer where the countersink is so you can just poke through that.
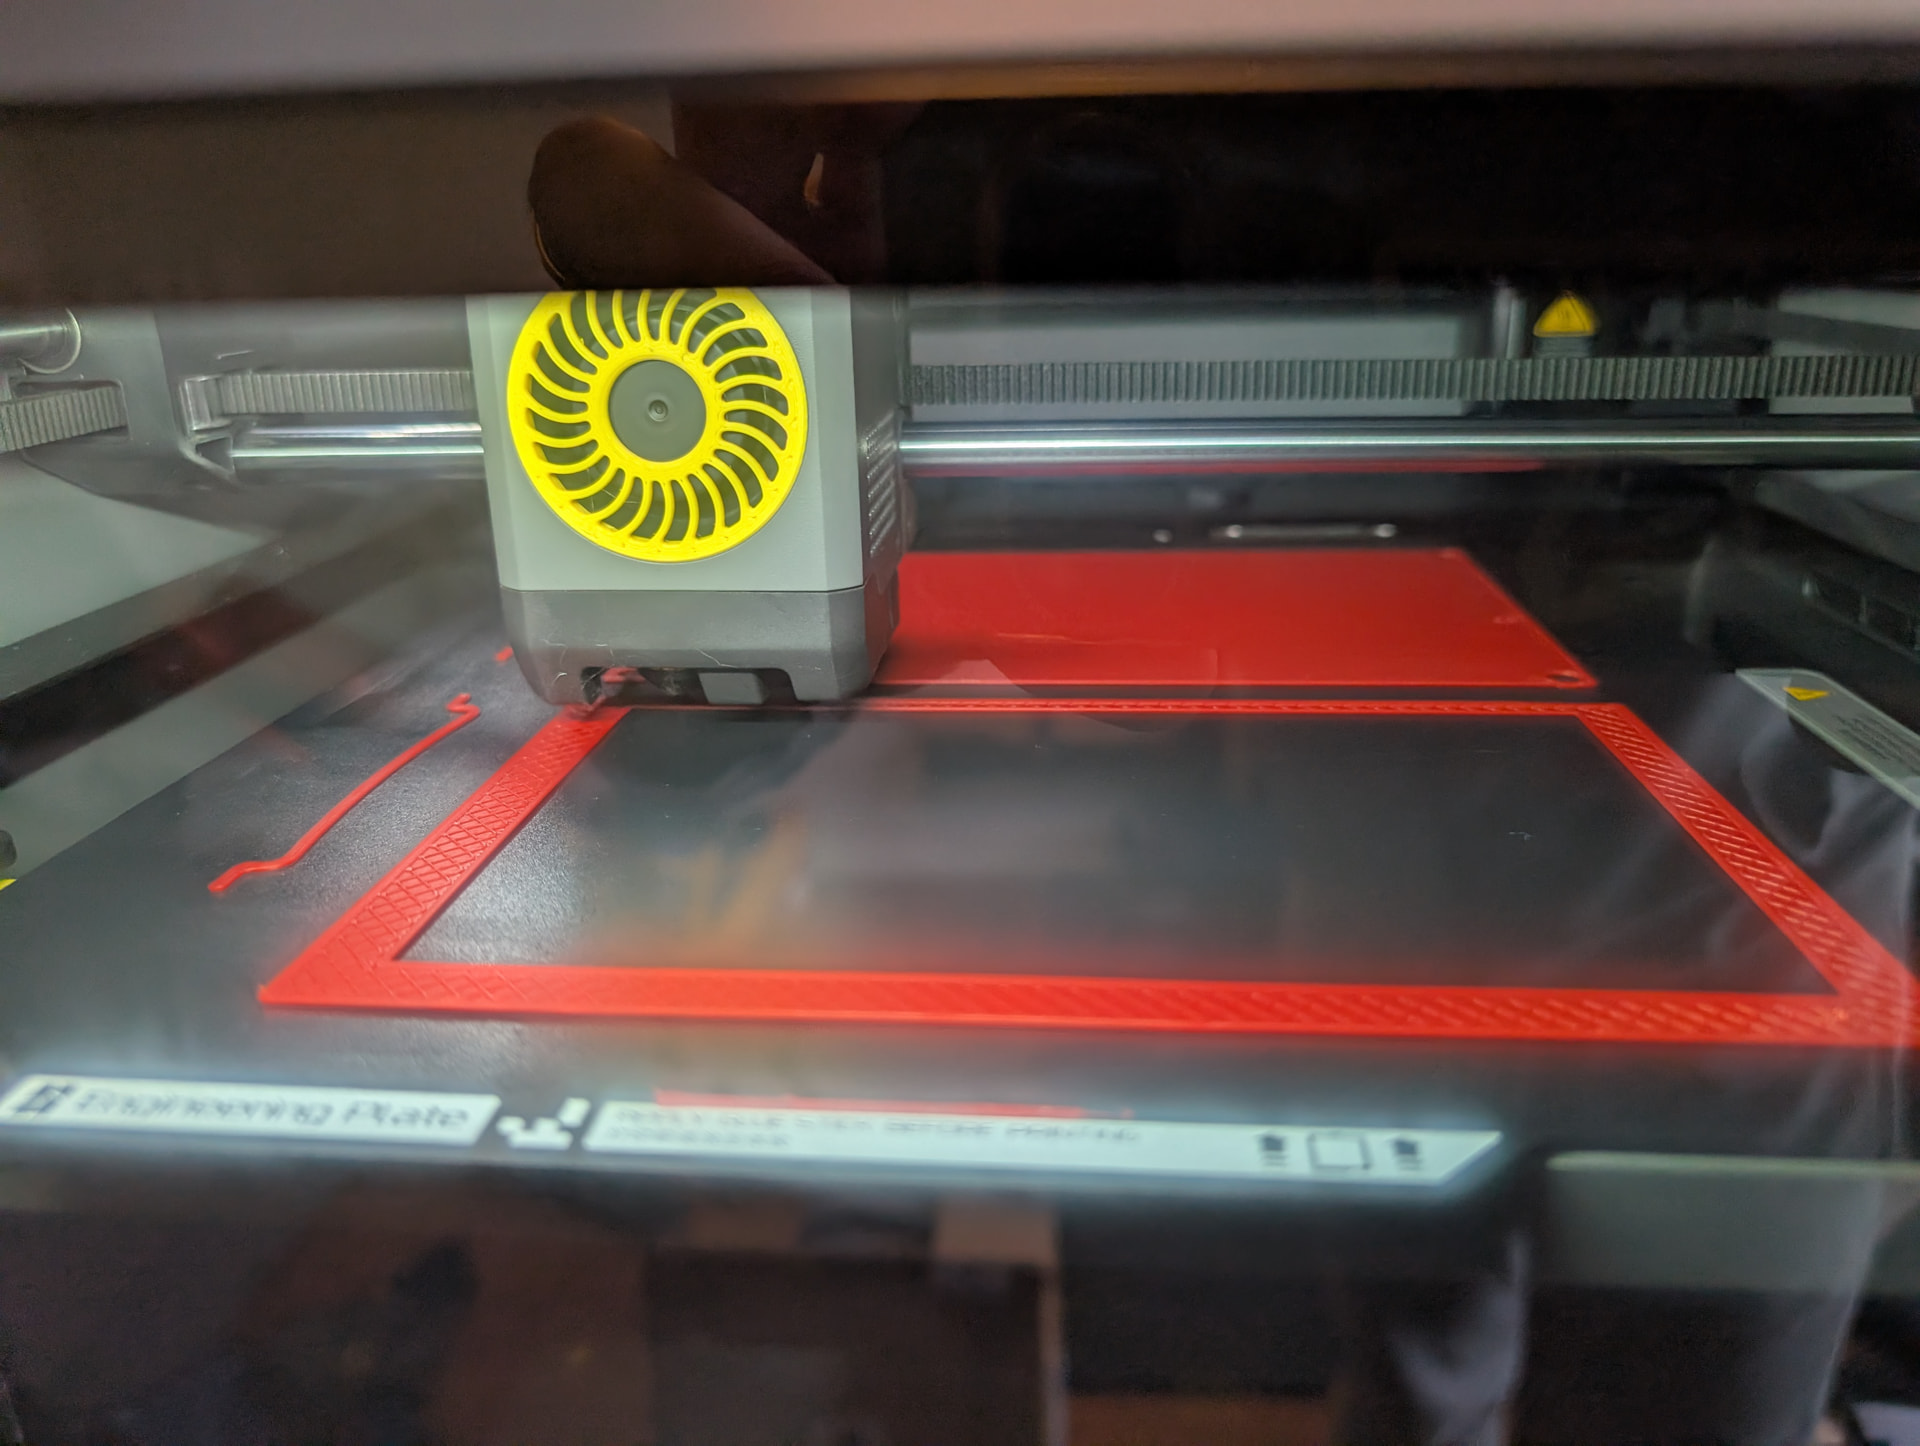
- I printed everything on a Bambu P1S with PLA with a 0.4mm nozzle, 0.20mm layers, with 3 walls and 30% infill.
There are 4 parts to print:
- Bottom - Print flat side down
- Top - Print top side down
- Button - Print x2 with the top of the button down - Needs a brim - May need to clean up with a razor
- Battery Bracket - Print x2 sideways - Tested with 8000 mah 126090 and 10000 mah batteries.
Screws (button or socket head works)
- 4 - M3 x 20mm to attach top and bottom of case together
- 4 - M3 x 6mm to attach battery brackets
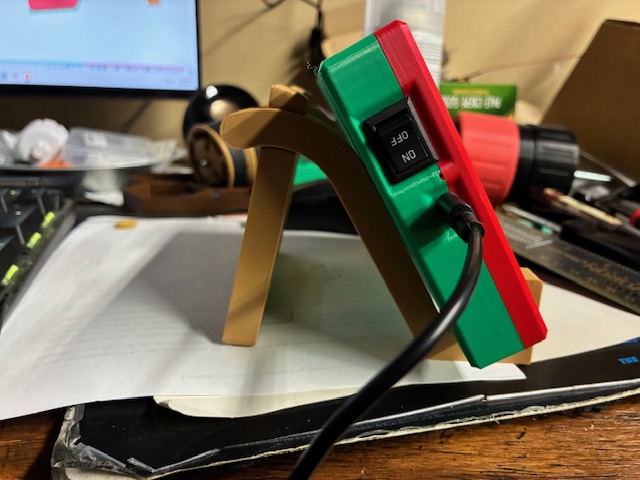
Switch Wiring (you need the switch but the rest can be done multiple ways - I’m still sorting out the easiest way to do this)
*** MAKE SURE THE POLARITY IS CORRECT - ALL BATTERIES AND WIRE COLORS ARE BACKWARD TO DISPLAY BATTERY PLUG ***
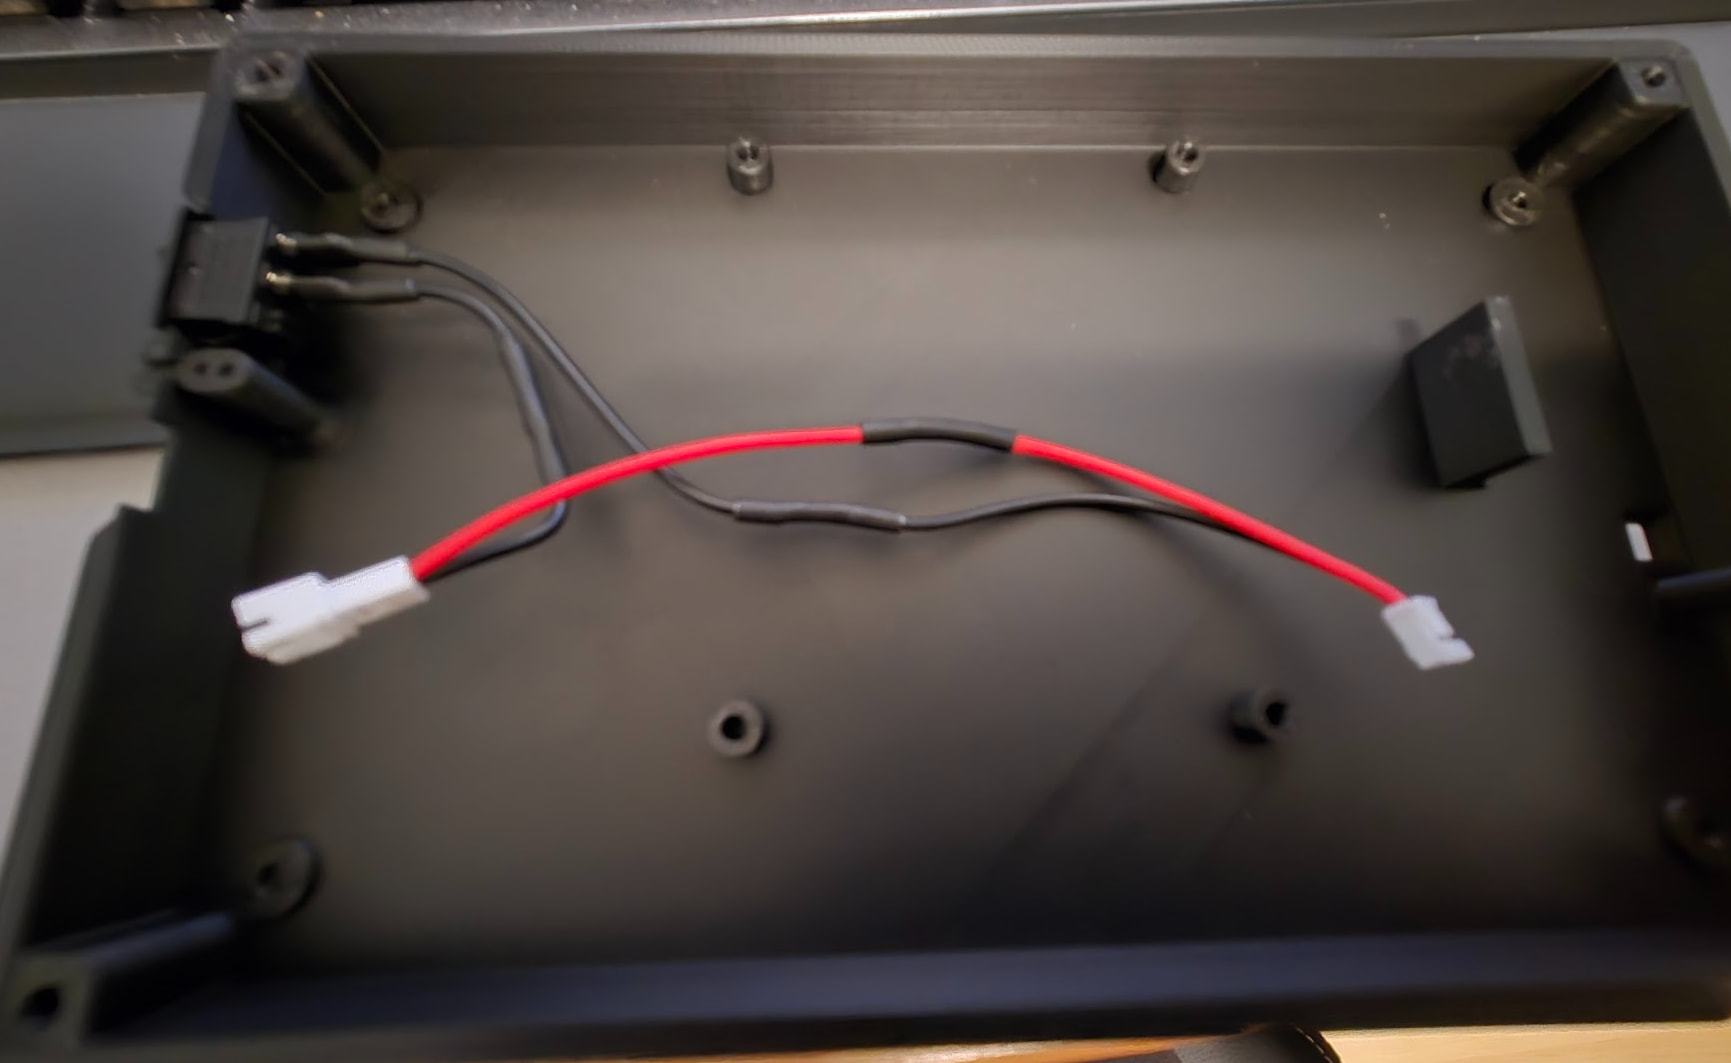
- 1 - 15x10mm rocker switch
- heat shrink tubing
- 2 - 0.187" spade terminals – these crimp to the wire and plug into the switch terminals — or just solder wires to the switch
- JST PH2.0 male and female connectors – or you could cut the wires on the battery and use that connector and splice wires – or if you hate yourself you can crimp the JST PH2.0 connectors yourself)
- 22 awg wire
I plan to put an assembly video together, probably this weekend.
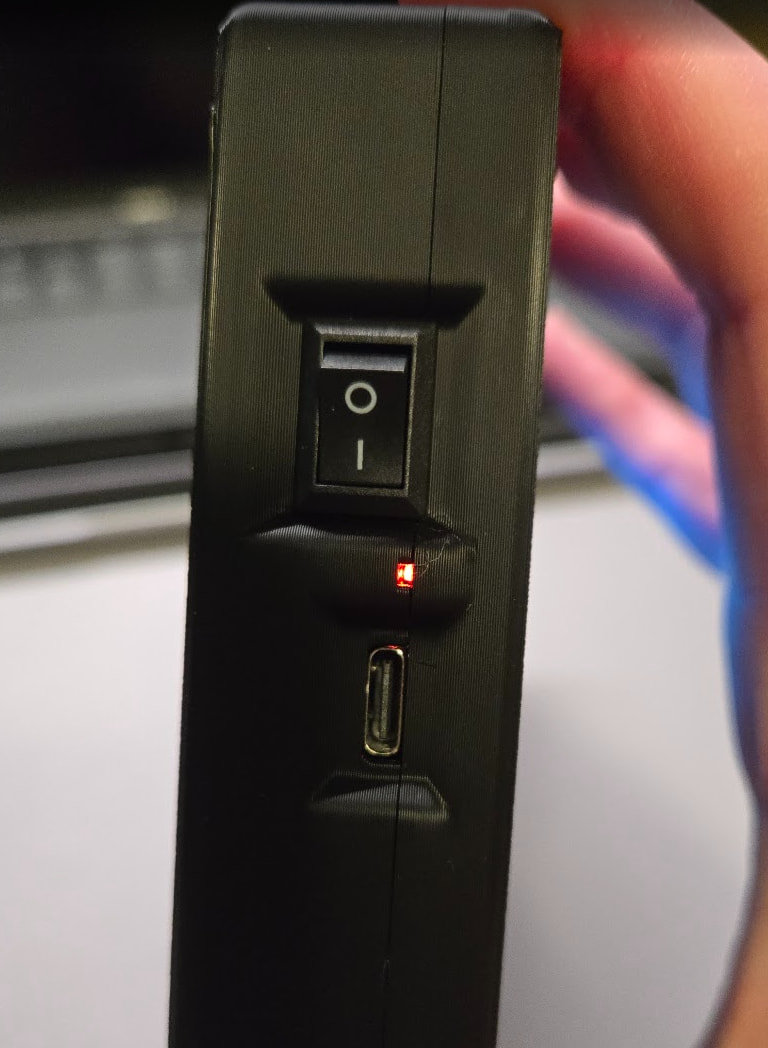
The main visible difference from before is a little hole on the side so you can see the power LED from the side.
8 Likes
Guess I know what I’ll be printing tomorrow!
Initial feedback: the buttons were pressed by the case. I had to sand a little be the buttons and the holes and while doing it I broke the small piece of plastic of the reset button. Nothing dramatic.
Depending on the printer and the filament used the result might be different.
You could put your step and cad files in a hardware folder in your GitHub.
1 Like
Oh no. I broke one too but it’s because the button is supposed to just sit on that plastic piece but I had it too tight and forced it before adjusting the part with a bigger hole.
Yea, that’s my intention when I add more detailed instructions.
2 Likes
Really not a problem ![]() I already ordered new (shorter ones). Just need to play with my soldering iron when I get them.
I already ordered new (shorter ones). Just need to play with my soldering iron when I get them.
But now everything sits perfectly.
I will post an update when I have all the parts.
1 Like
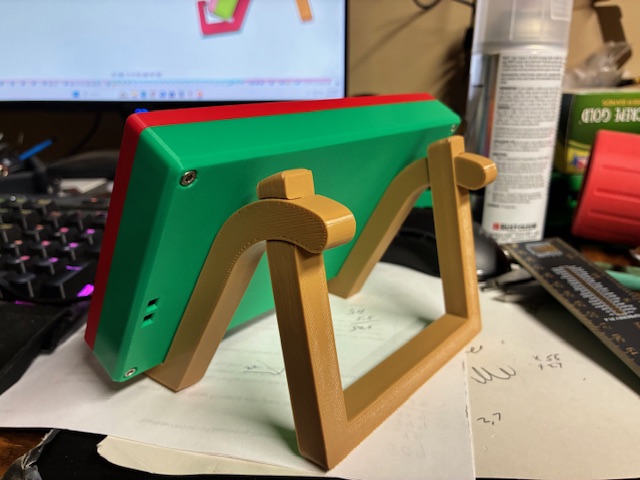
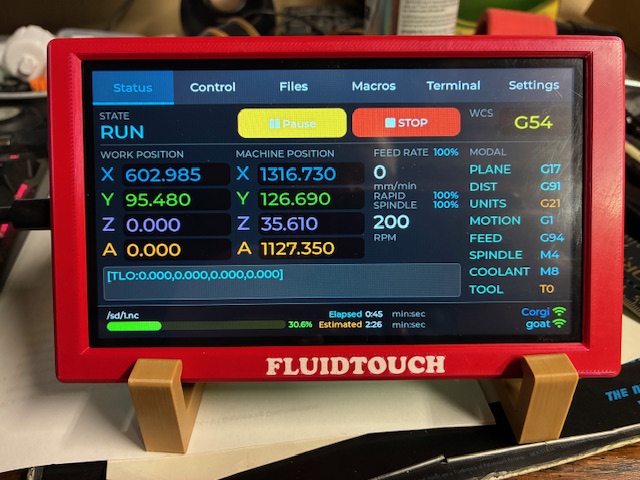
Just finished case and designed a stand.
Here the stl for the stand
FLUIDTOUCH STAND.zip (97.4 KB)
thanks Jason love the FluidTouch
7 Likes
Looks great!
2 Likes