Farm Fresh from the LOS... another Thai build

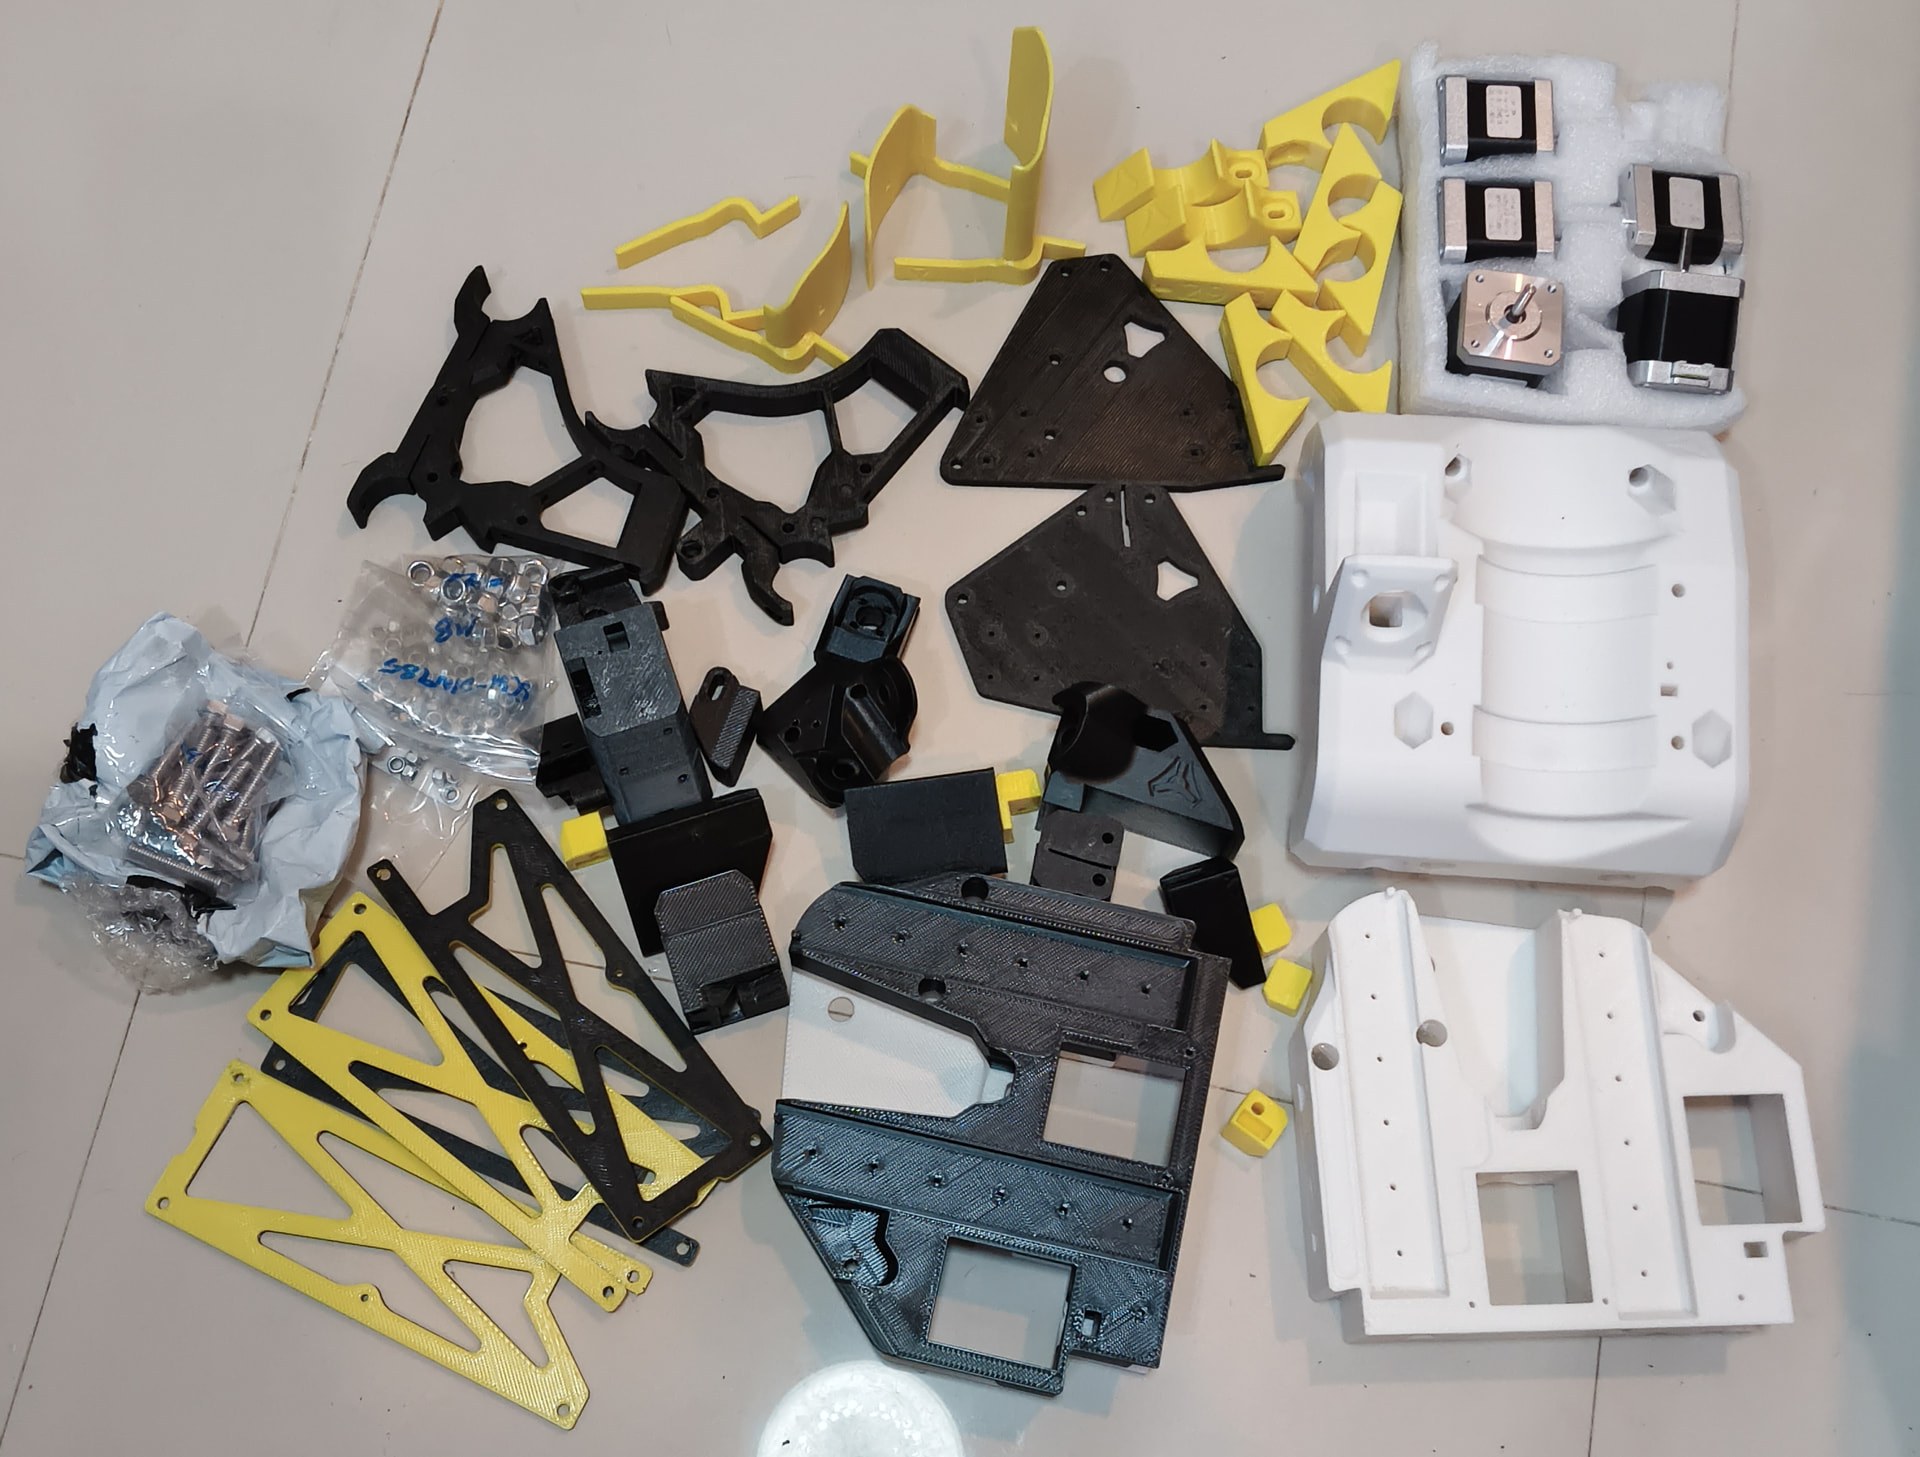
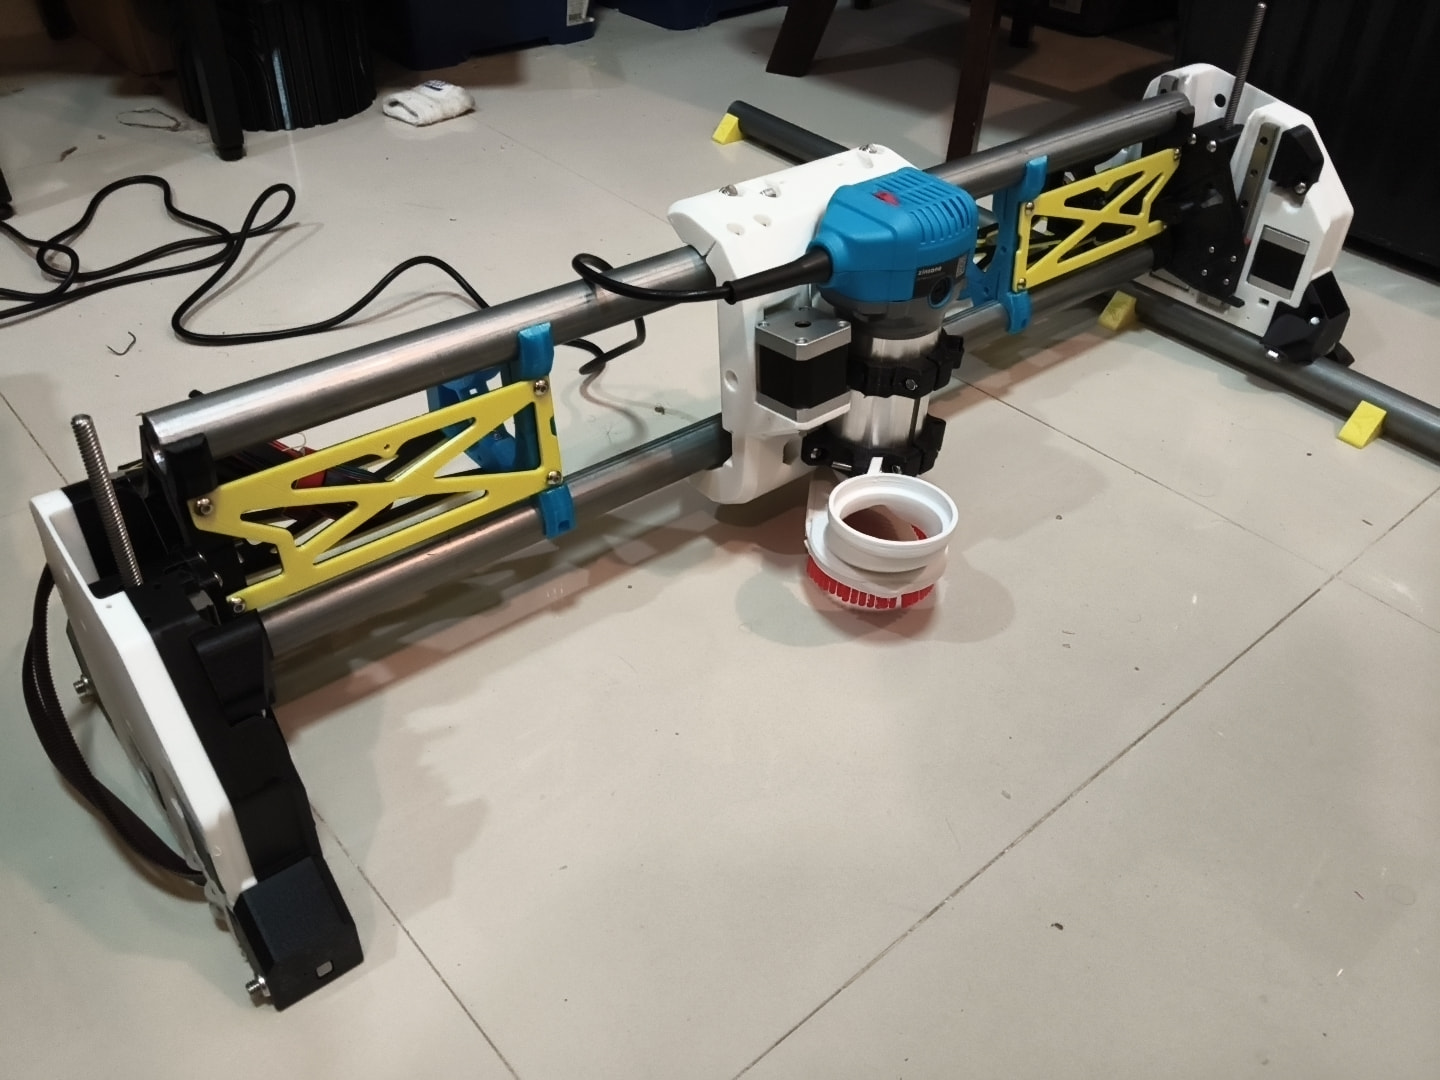
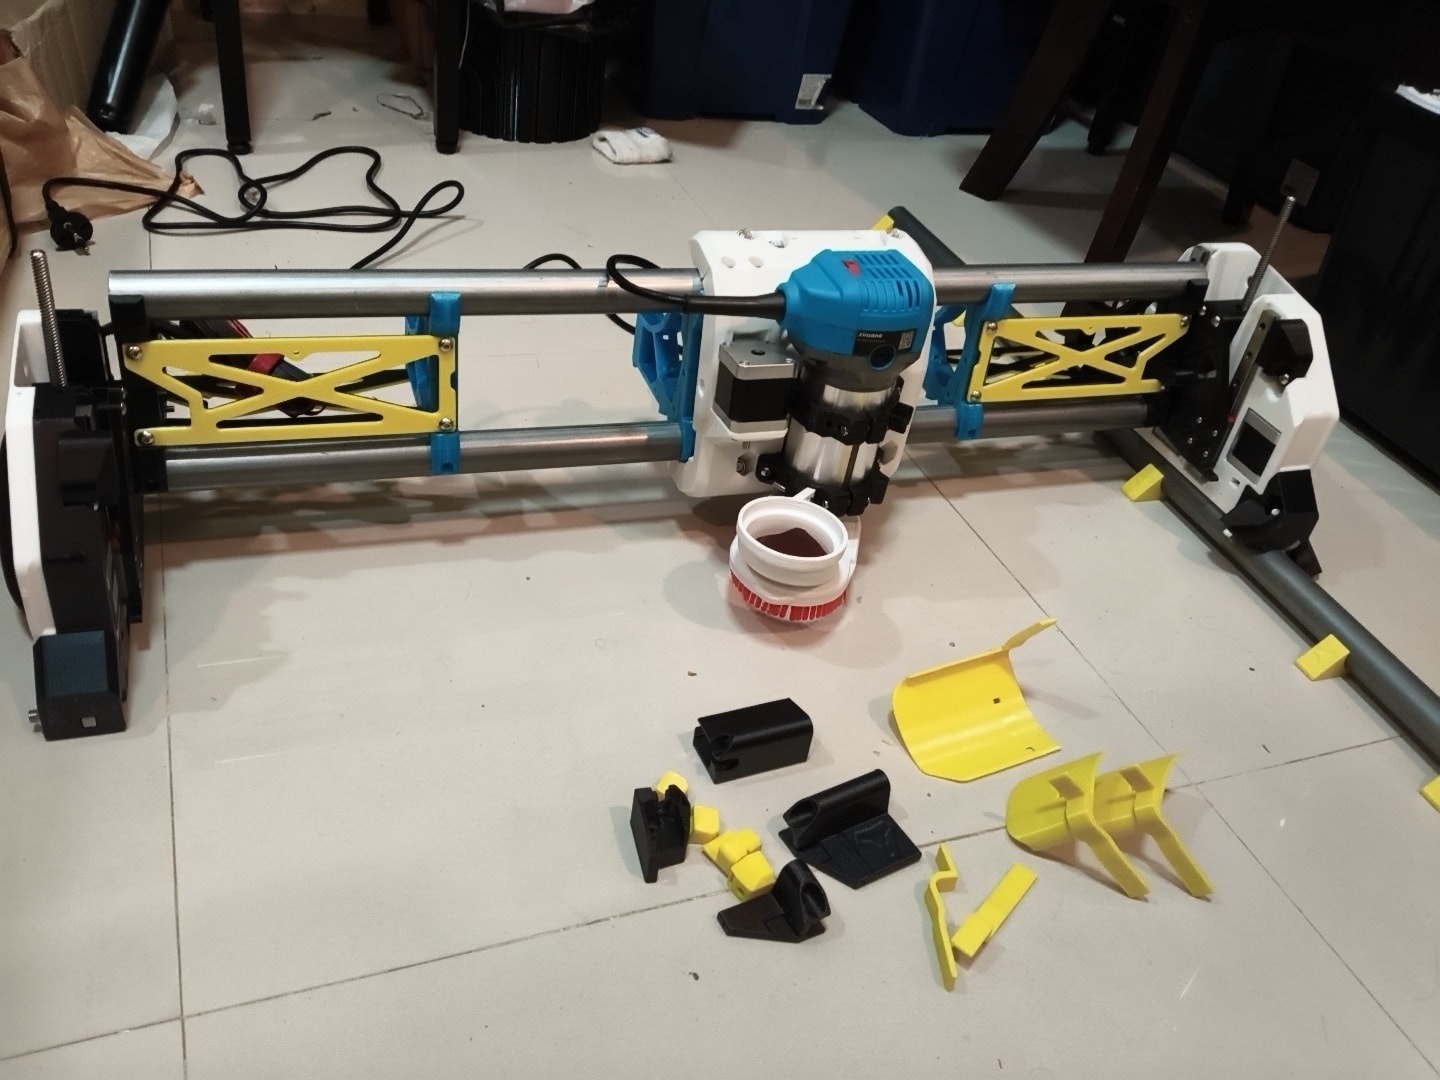
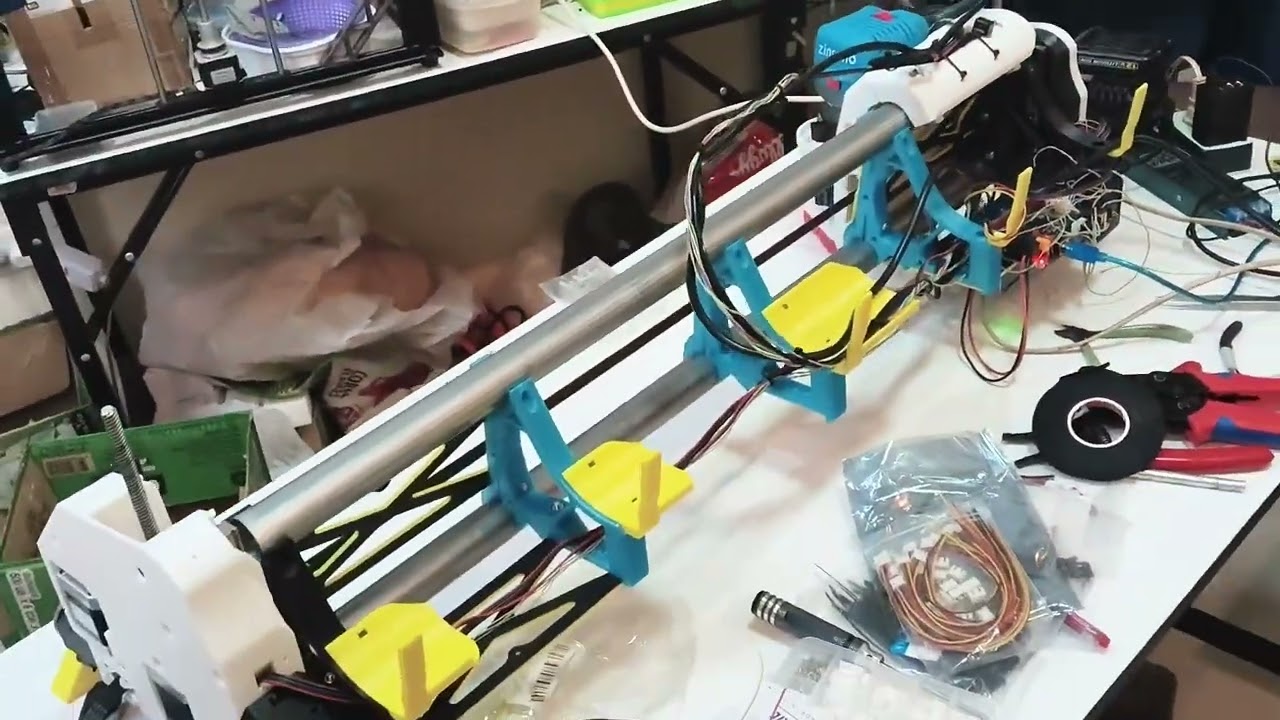
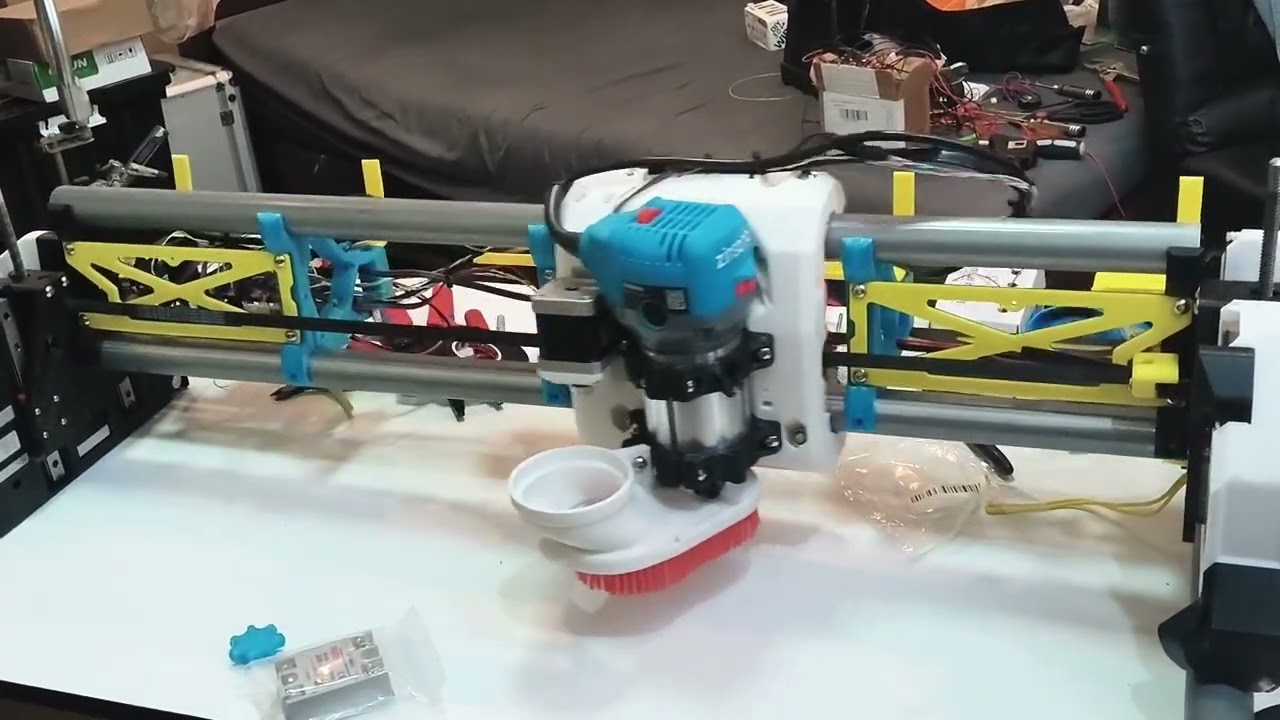
Always wanted a Router and this seems like a great bang for the buck Option. First post here, waiting on the slow buffalo from china at this point. Mostly printed in PETG-GF. Still need to print a few more braces but I haven’t ventured out for conduit yet and want to make sure of the sizing.

My build size, I think, will be for 60x100cm foam sheets. I keep waffling but think I have reached the conclusion that making it bigger later or just building another one isn’t a big deal.

Have a BTT SKR1.4 coming, have a pi zero2w on hand and have prepped it for klipper. sort of considering sensorless homing, but not sure on the dual Y&Z Not real sure of my cam options. I use fusion360 free version and I think it will work?

Just have the parts out checking stuff over and this seems a good time to say HI. All suggestions are appreciated. I’ve become of something of a chatGPT fanboi. I’ve had it tracking this project. I’ll attach a document link if anyone is interested. It’s bit over the top at the moment and needs to be pared down now that stuff has been ordered but thought some might find it interesting. I personally haven’t really looked at it TBH but fun none the less. Google AI project

Cheaped out on this Thai Router as I’m not keen to listen to one anyway. I see some sort of brushless, speed regulated, probably belt driven, DIY spindle in my future.

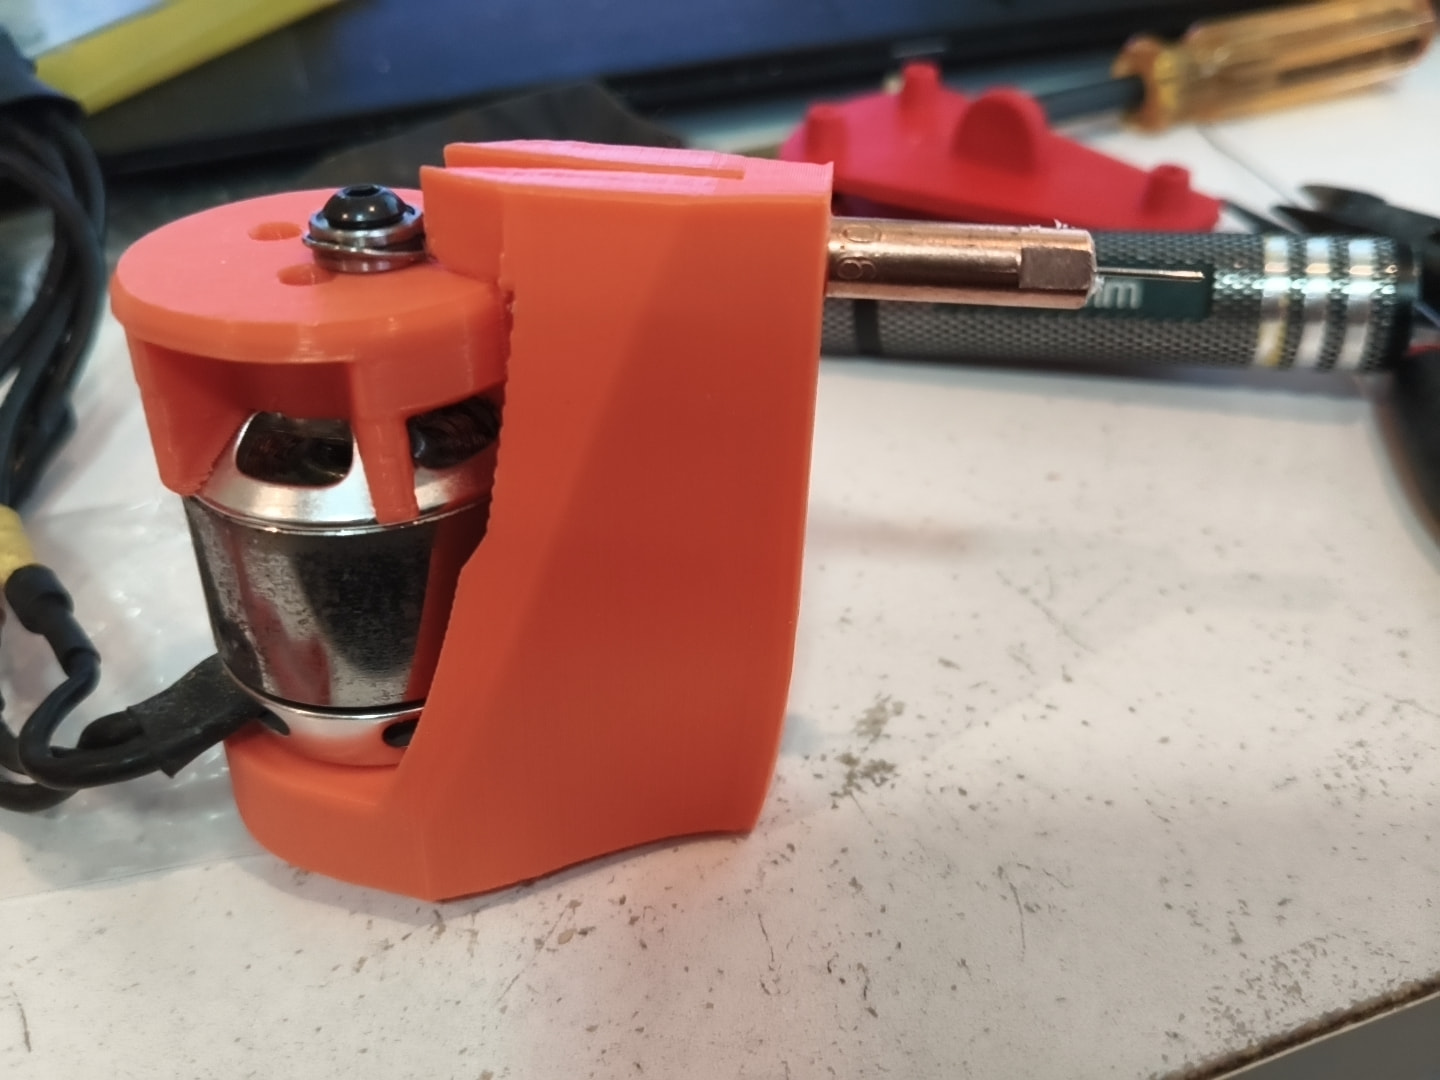
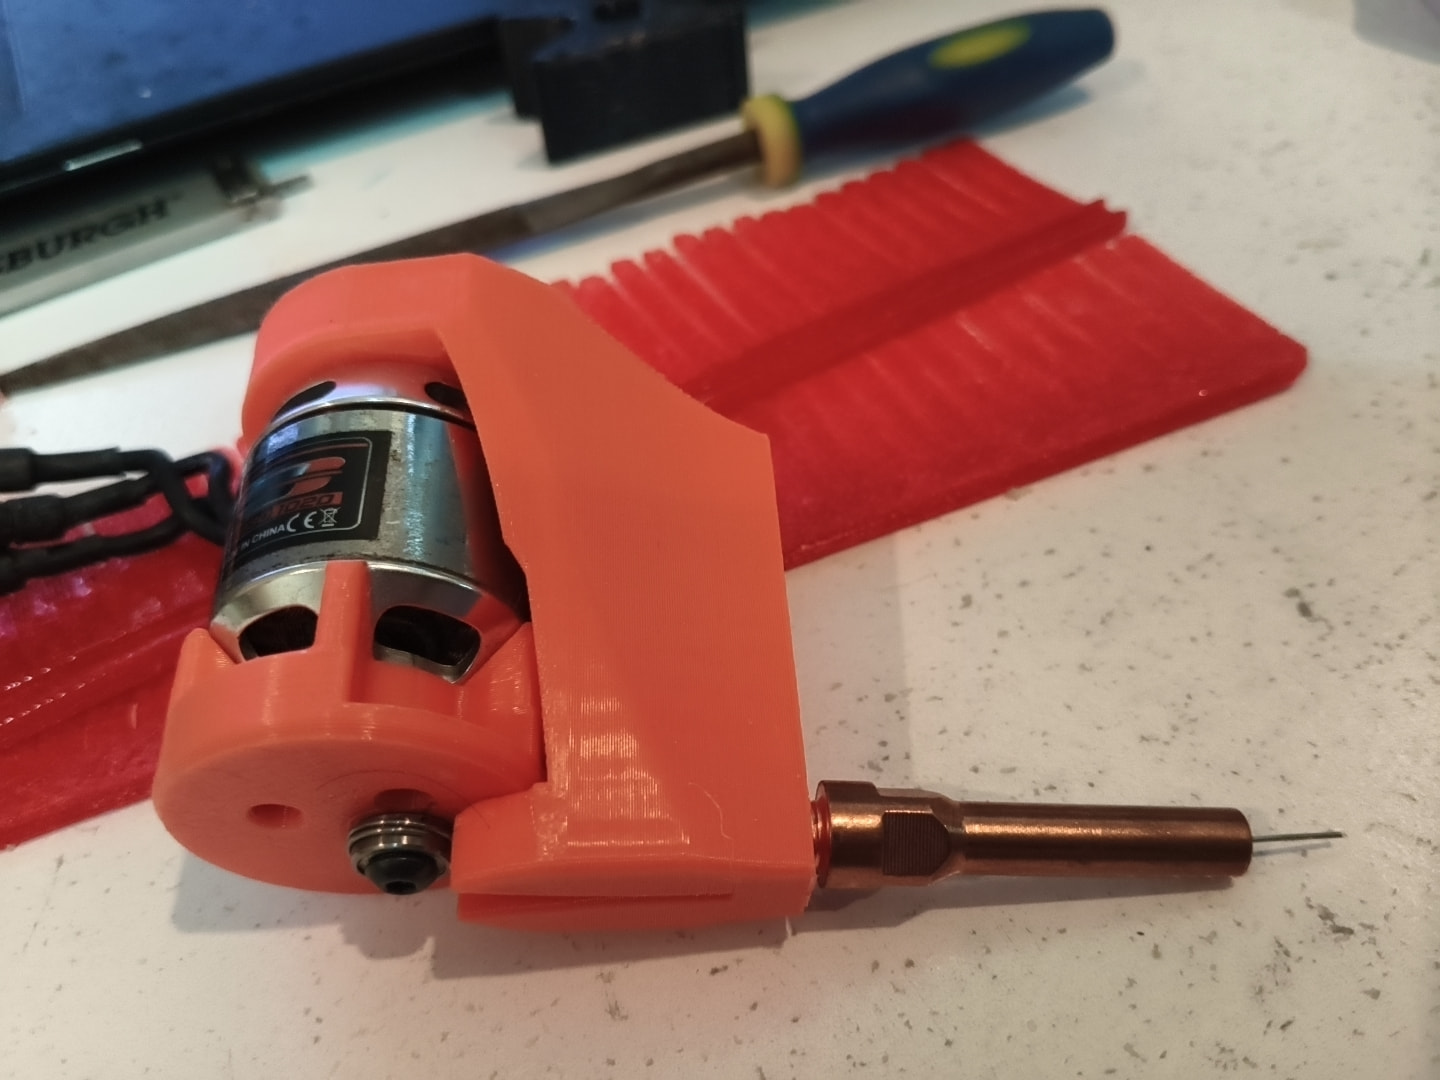
Started making a pin cutter/tatoo machine today. Hoping it will cut EPP foam, fingers crossed but research says it will. There’s a real blunder in the picture… rotated the fan 180 to align to the motor openings and turned the counterweight to the wrong side but it runs fine, it’s fairly rigid but I will be changing it. Thinking about mounting is on a gimbal to allow for “5” axis bevel cuts. project for later.

Anyway, just an intro. Look forward to getting the tatoo gun automated!!!

Welcome to the V1 community forums! Please keep this thread up to date with your build. We love to see builds documented.

In particular, I’m looking forward to seeing how your pin cutter works out and the details of that toolhead.

Hi!

It takes a considerable amount of tuning to get that right, and even then it is not accurate, at least not CNC accurate. For any jobs that might require homing twice it will not line up well enough. 3D printers only home once per print, CNC homning more than once happens if you break a tool, or have a multi flip job.

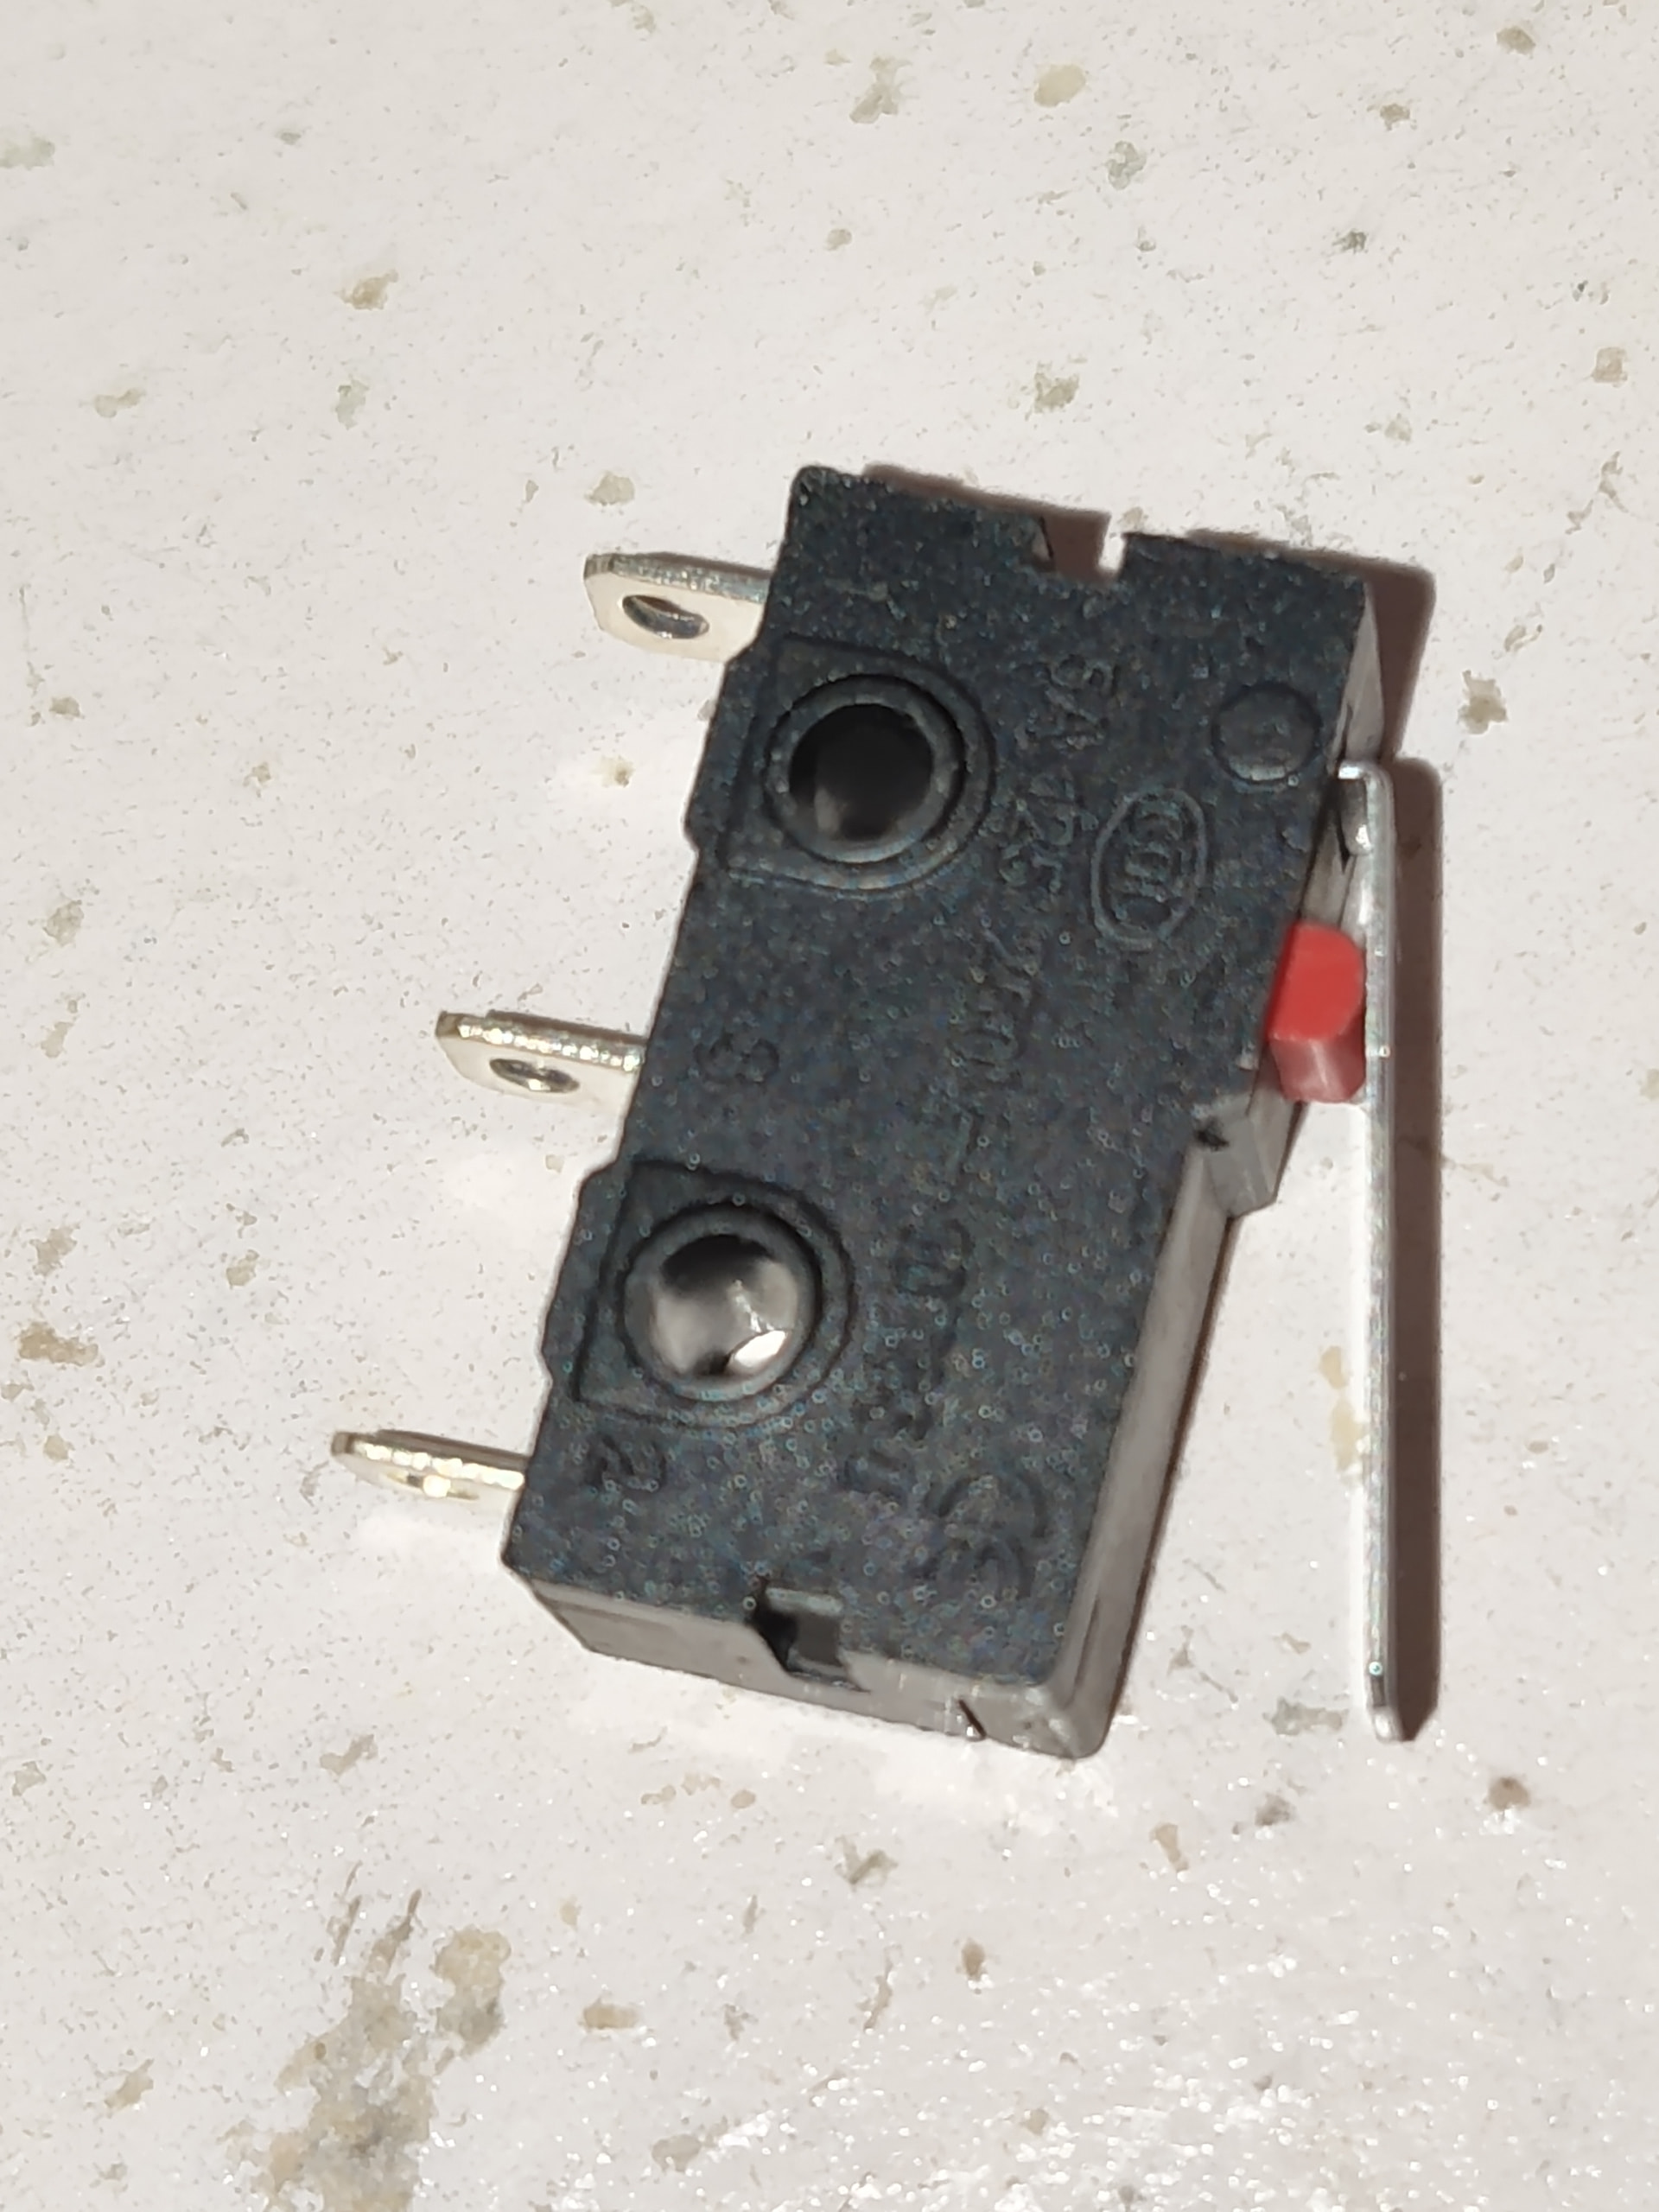
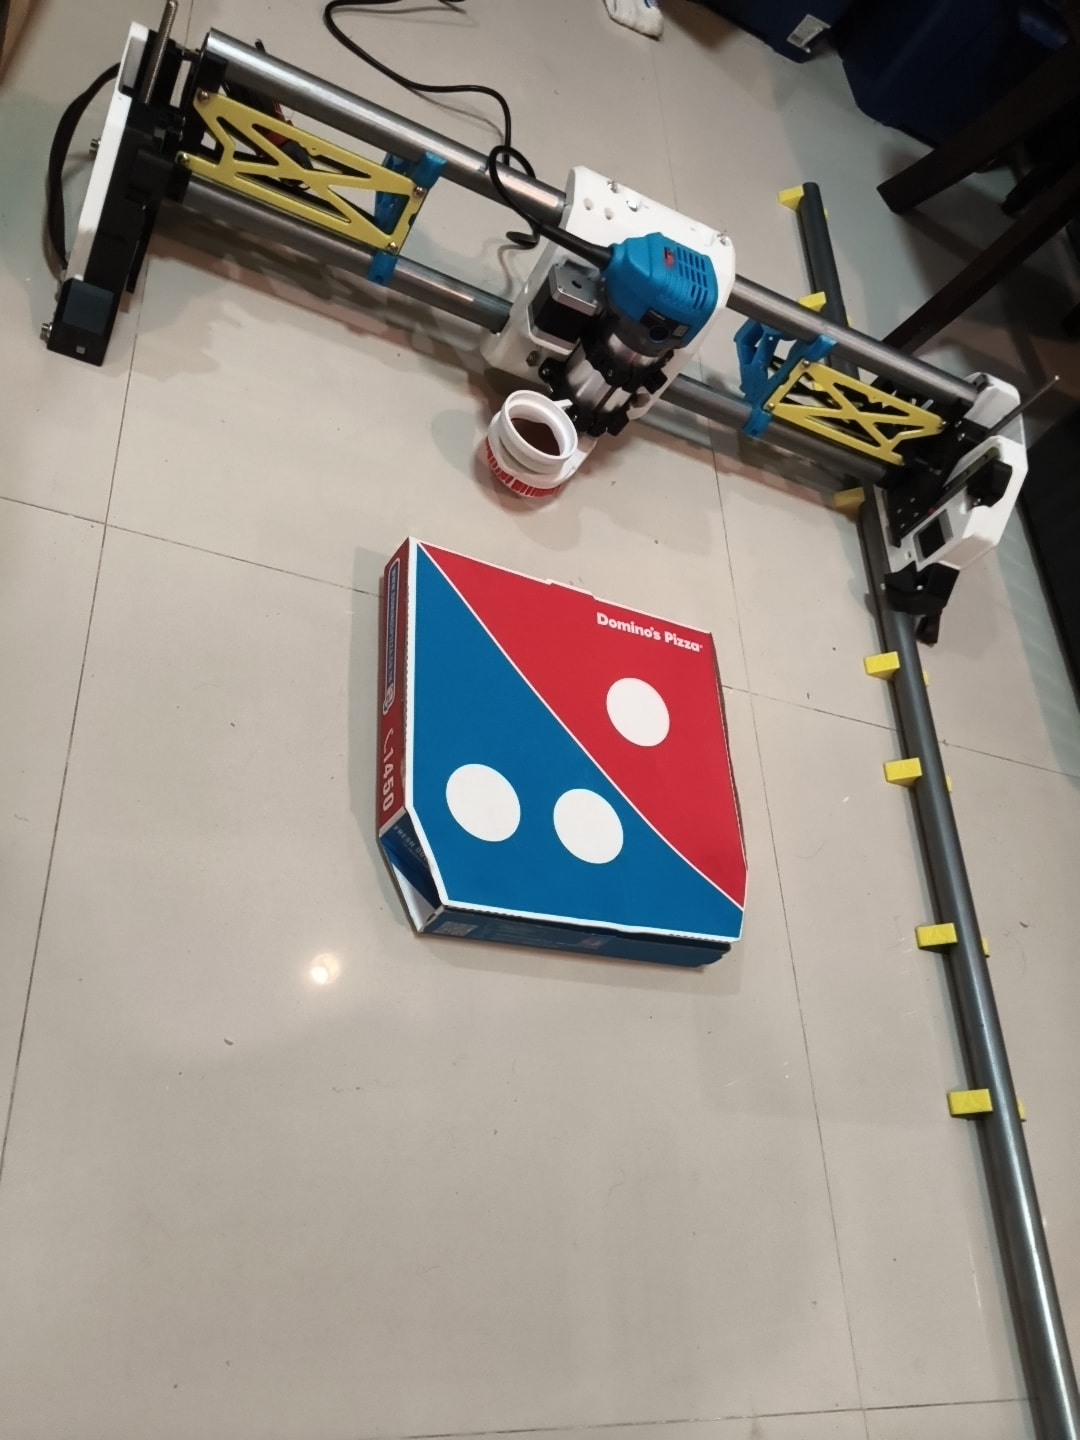
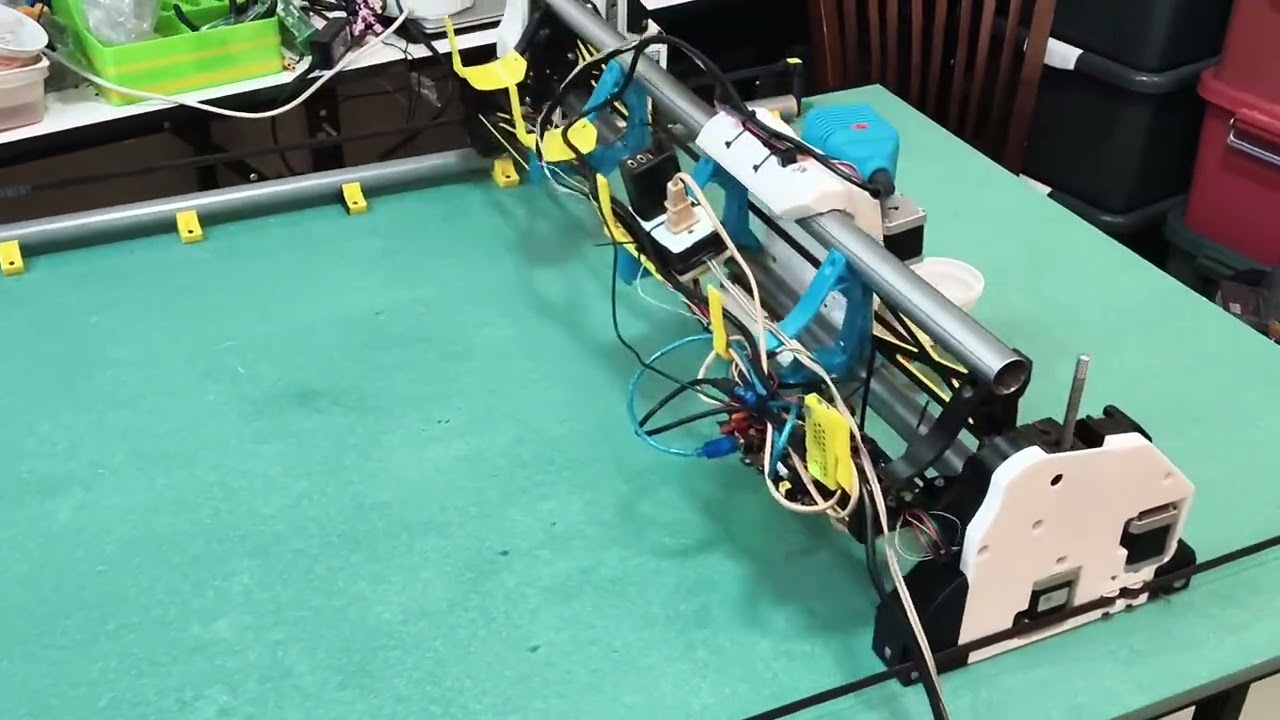
Aliexpress was kind enough to use a medium speed kwai for my shipment. Things are going together nicely, no major snafu’s yet. The lever’s on the limit switches might be a bit short for the Y axis, haven’t fully investigated yet. Need to cut down my table top so just mocked up on the floor for the first time.

Did iterate on the pin cutter a but while I waited. Went to a longer tip which will allow for 45deg tilt to the heel of the tool. Also incorporated a superglue ptfe tip after counterboring the mig tip a bit. Tightened the .5mm cutter up in the bore and hoping it will run cooler and require little to no lube keeping the cuts clean for future gluing. Cuts very clean, better that I was expecting. Have tested it a bit on EPP, EPE and EPS foams and all work well. Cardboard seems doable too. Need to constrain the cutter to crank bearing a bit better but is more than useable as is.

Like most things, the LRv4 design surprised me in a number of ways. I thought the filament retained tool mount nuts was super clever until I actually used them and 2 of the four nuts just backed the retainer filament out. No big deal but not the result I expected. Maybe the biggest surprise is the floating Z nuts, pretty much only gravity drops the gantry. Everything is running smooth but the Z’s are a bit firmer than expected(I have not yet cleaned and lubed the rails). The entire machine is much more massive than I was expecting, but that’s a good thing!

I’m not a fan of heat set inserts and was glad to see none used. That said, I am having a bit of a issue with a few of the m3 linear rail mount screws but nothing catastrophic. Next time I think I would use self tapping screws here.

I understand sheer webs but they still amaze me. The sheer plates stiffen things up in an incredibly good way! Looking forward to getting my full length ones cut. Currently using printed YZ plates, I guess that will be my first metal project!

Looks like the entire project will come in a bit under $400usd (not counting pizza and adult beverages)which seems a great value. I’d say mechanical is about ~75% done and need to get on to the electronics, table mods & dust control.

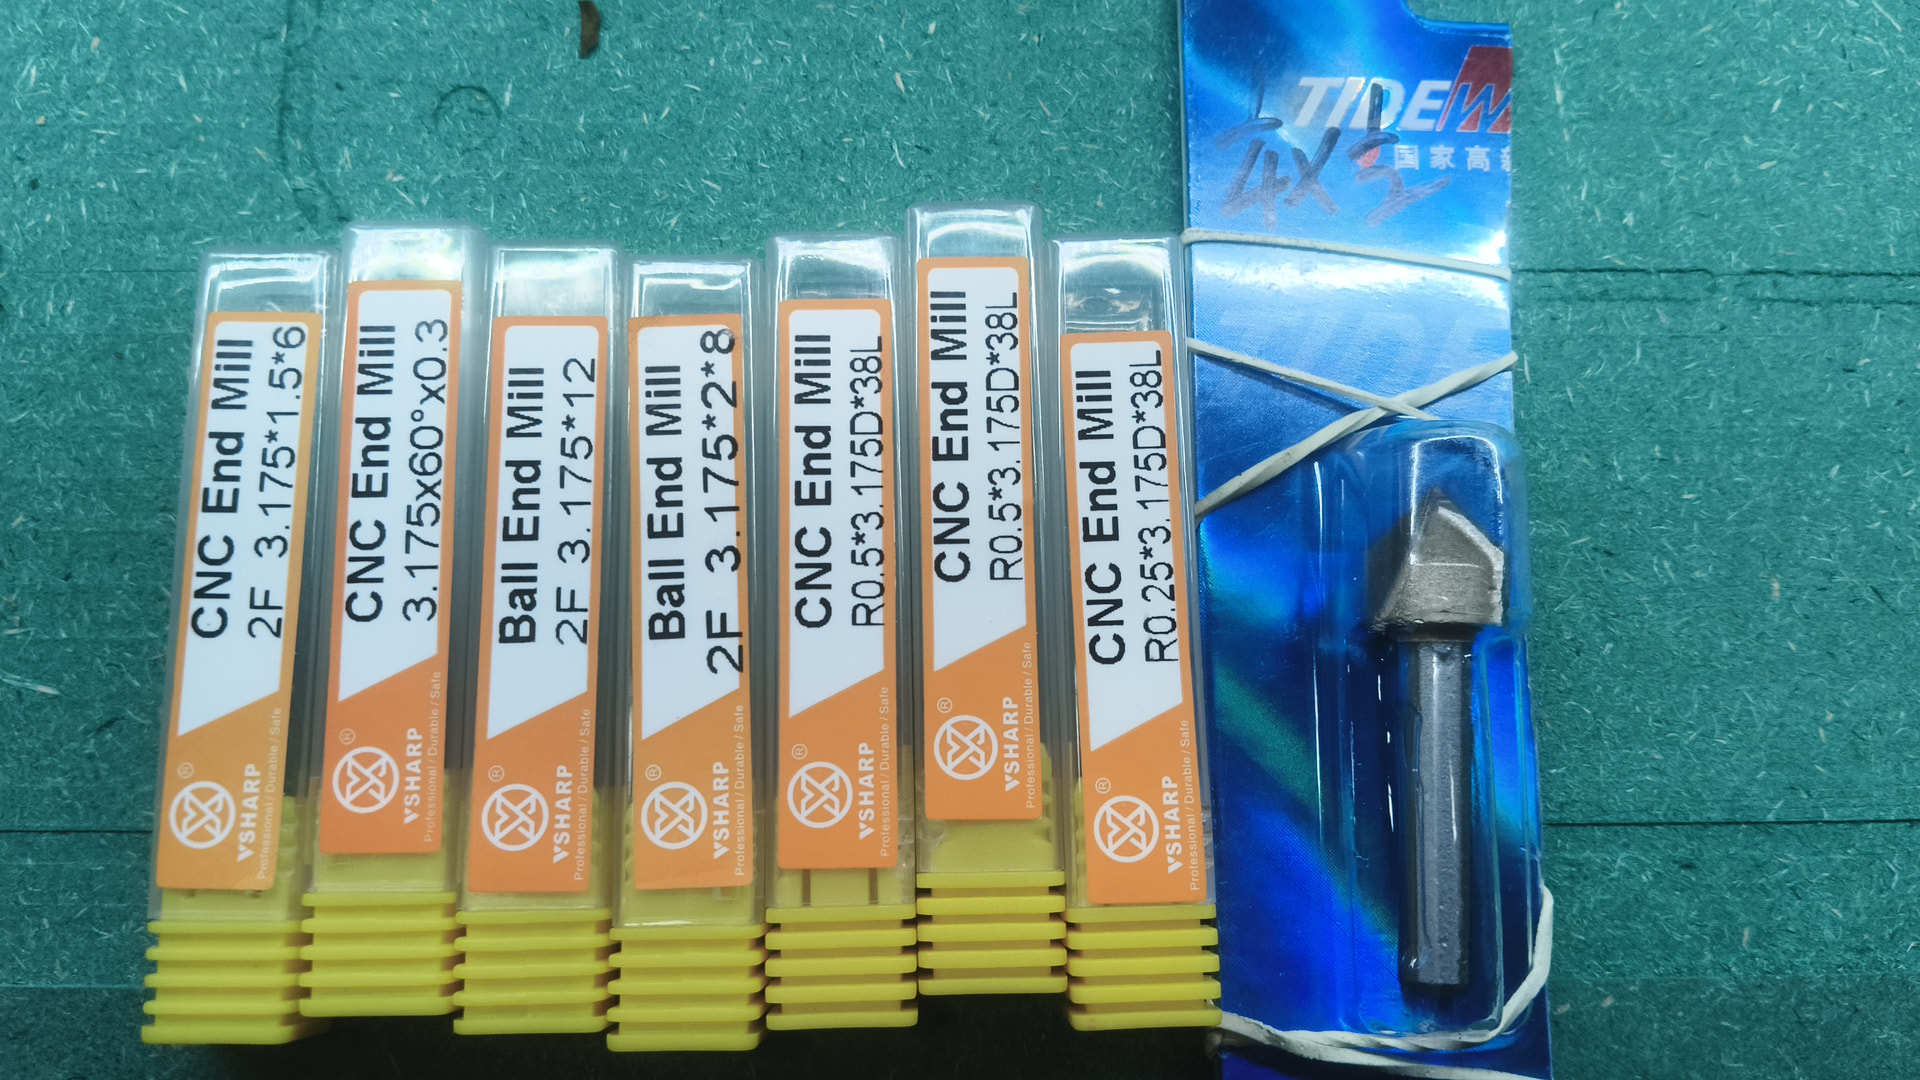
Need to get some tooling coming. I’m a bit shocked at the price of cutters vs burs. I can’t believe there is that much difference in production cost to justify the 3-10x pricing! I did find a 1/8x1/4 collet adapter but have yet to find an easily available 1/8 collet here. This router was supplied with 1/4 & 3/8 sizes but appears metric sized tooling is easier to source. I think this 6mm collet should work. If anyone has any tooling suggestions, I’d love to hear! Am I understanding correctly that a single flue up cut 1/8 is the go too on wood & alum? I see these “compression” bits be wondering if I have enough spindle power to use them as intended?

I guess last thing is if anyone has suggestions on a laser head? I’m also wondering if an air assist pump would be useful for tool/mist cooling as I ain’t got no shop air!

Some success… still waiting on a skill saw to show up but everything is checking out. Y motors and switches working but no table yet.

Any opinions? seems to run smooth and plenty quick I think.

Few cutters, drag knife, 4&6mm collets and dust collection hose/tubing on the next slow boat.

Sorta wishing I’d set up wiring to the conduit Y axis side so the dust hose would be on the same side as the y axis conduit.

Without the full width cut shear plates/webs don’t really see any way to keep the Xbelt tension from sliding the x conduits against the end plates but don’t see an issue… yet.

Pushing a bit harder. Obviously more than it really needs but trying to validate where we’re at.

How Klipper is shaping up so far…

sorry for spamming, just happy things are working!

As this thing lost its mind? Just a little g code generated by AI to exercise all axis.

So I guess it’s time to fire up the spindle almost. I suppose I should print a pen holder and do a little artwork first.

The two stumbling blocks that have slowed me down are the limit switch arm lengths which I have resolved and the locations of the belt mounts on the table are not very intuitive maybe could use a bit more explanation.

Trying to source some corrugated plastic in 10 mm to build me a cabinet as you can see this is in my spare room. Hopefully have some strut plates cut today.

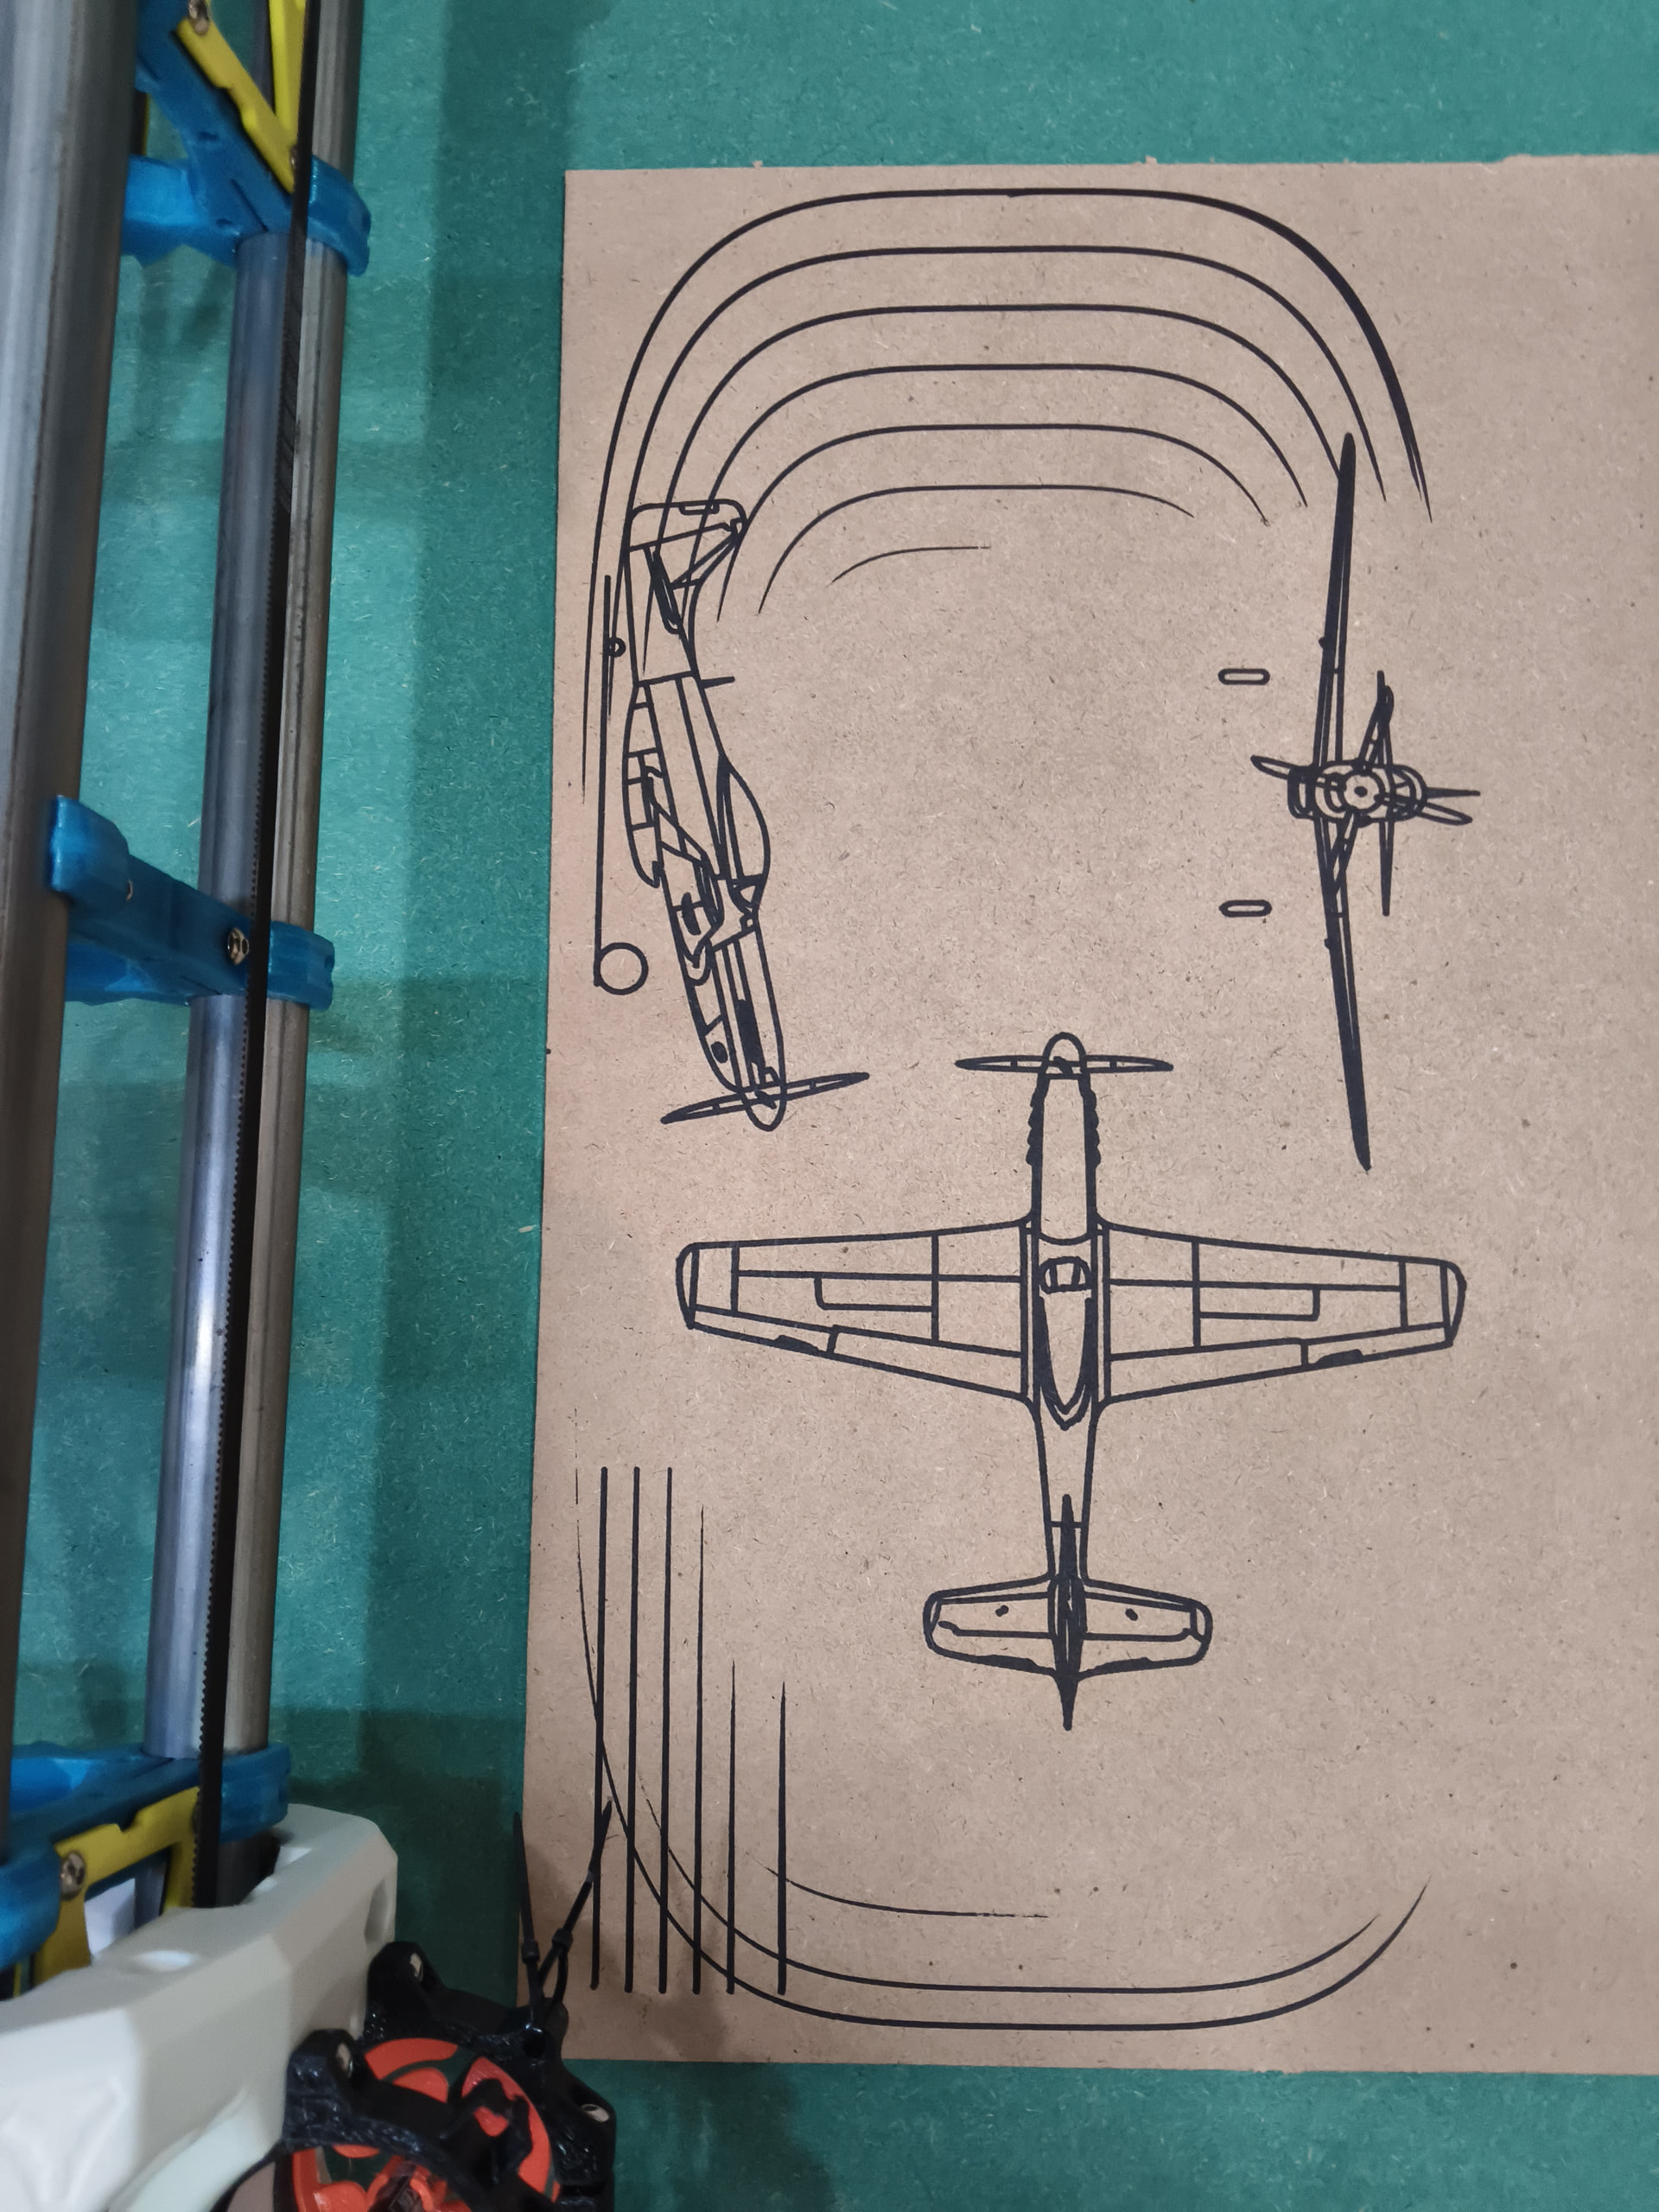
I’ve got a big belly but unfortunately my table’s is even bigger… I like mustangs better than crowns..

Welcome, I’m in Thailand also, cool to see another build here.

Yours is looking a lot smoother than mine, not sure mine would survive those acrobatics in your vid :grinning_face_with_smiling_eyes:

Actually been busy with life stuff since building and haven’t had a chance to use it much, but it’s still there. The main issue I have is humidity, I left everything in the outdoor building for a month or two in rainy season and it all went mouldy.. all my HMR board, HMR struts, as well as a kinda powdery mouldy layer over the metal pipes which surprised me. Ended up having to buy a big dehumidifier for the room and setting up a hose system to a big barrel for the water.

LR turns on and works fine still though, just haven’t given it much to work with since.

For the smaller collet - I ended up buying one for my Makita router from Germany rather than risk one of those Shopee/Ali adaptors., but depends on your router I guess.

For the bits I just buy cheap 1/8 ones in ten packs, they seem to work fine. They’re cheap enough that you can use for a little session then just put a new one in.

Huh, interesting. I didn’t ship anything to Thailand. Can you get them somewhere else as well? :sweat_smile:

I forget the place now, it might have been a different country, but it was somewhere outside Asia recommended here.

been a busy with life last couple of days. Have ordered in some fasteners but need to find a way to haul some sheets and steel home to get on with flattening my table and building a cabinet.

After looking around a bit I’ve decided the most cost effective solution is a grid of m6 T-nuts thru the bottom of my table for clamps & fixtures.

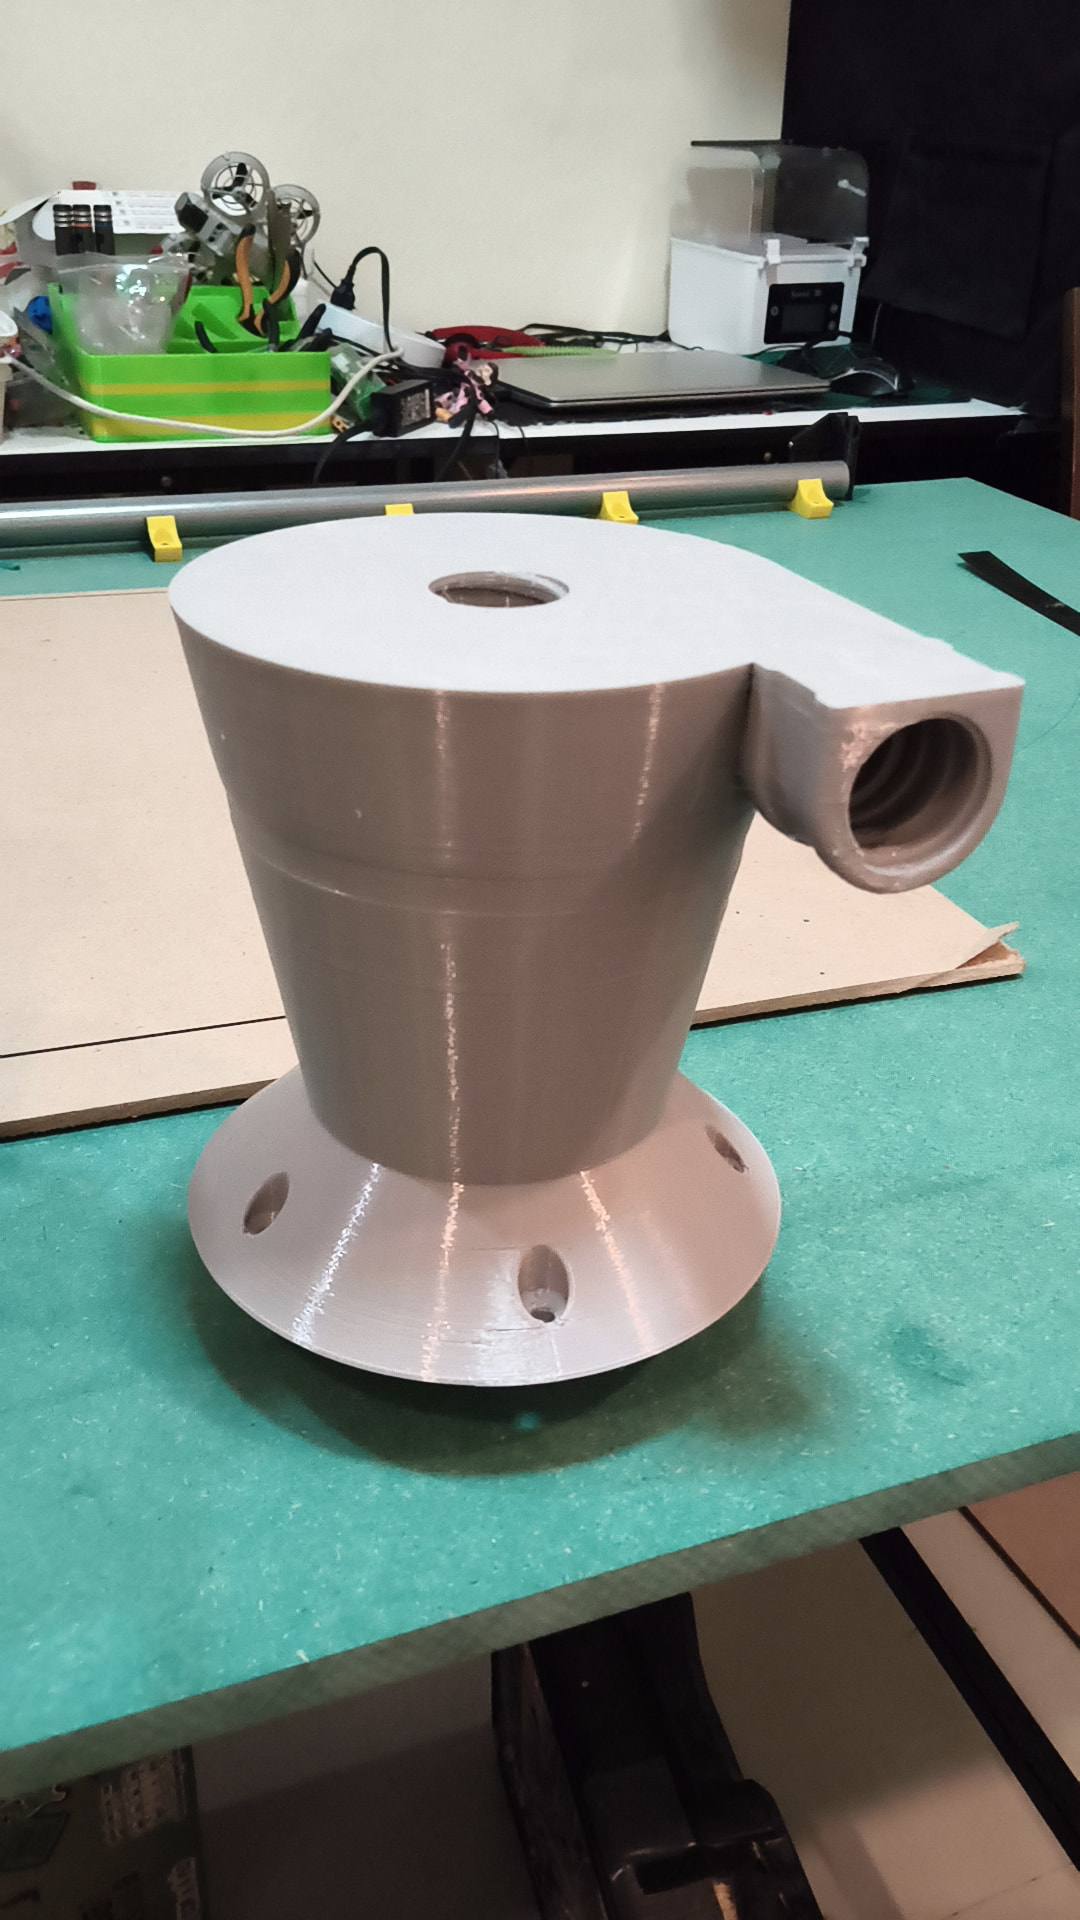
Did print a cyclone separator this morning but think I’ll design one, this one has crazy small hose ports.

Trying to get my head into the Fusion CAM workspace. Asked AI for a model to play with. printed it for fun while I worked on tool path. came out better than anticipated but not great! Tried to push 40mm^3 flow .8 noz on the cyclone and had to throttle is back to 78%speed/35mm^3 to keep the print going

Where you at in thailand? I’m in funtown or sin city depending on your outlook aka pattaya. Mine’s in a conditioned spare room but I’m just trading mold issues for dust control problems!

Have had a bit of a struggle with my little raspberry PI zero2W that is my klipper host. twice it stopped working. turned out to be a problem with it dropping off the network but was a bugger to diagnose as the only simple way to communicate is over the network. finally accessed the SD card that stopped network services with a card reader on a working printer pi. same problem on 3 fresh pi OS installs so I don’t think it’s anything I’m doing other than maybe a compatibility issue with my home router… just glad it appears to be fixed, most of a day wasted!!!

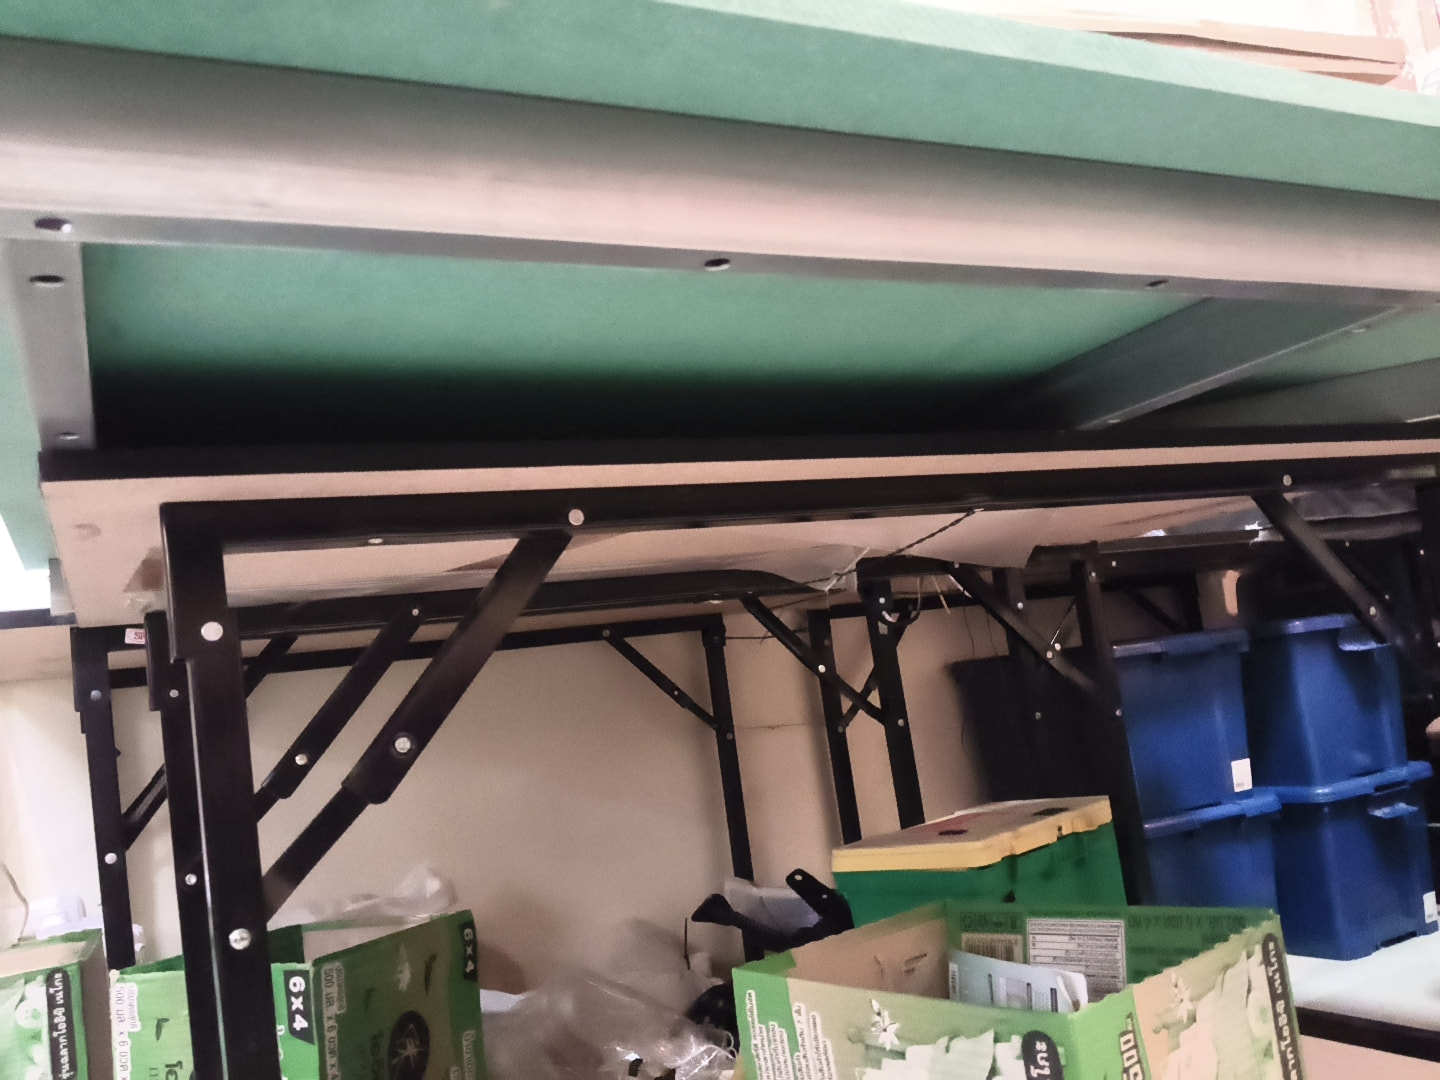
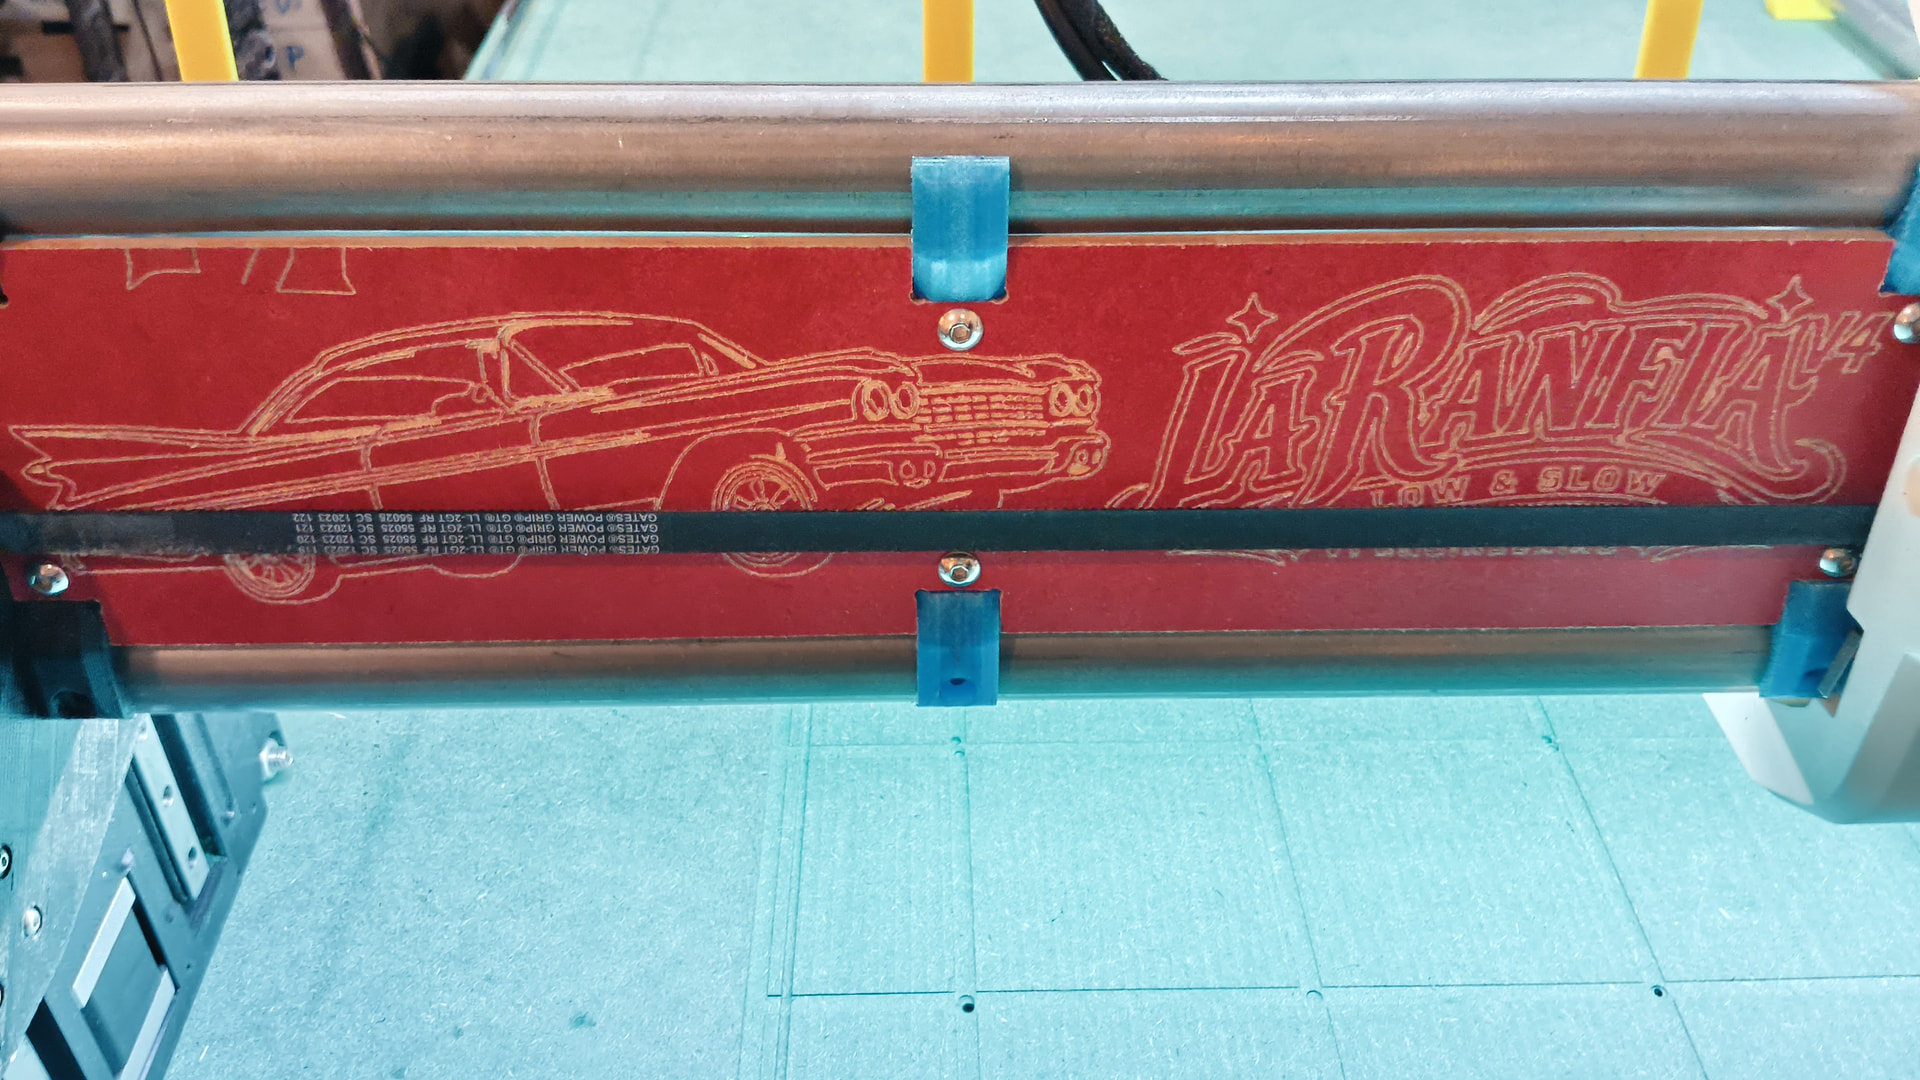
I’m quickly running out of my daily allotment of free time as issued by the one whom must me obeyed… did manage to get some steel framework on the bottom of my table. Big improvement but not quite perfect. 25x50x1.4 mm tubing, 6m stick only managed 3 crossmembers.

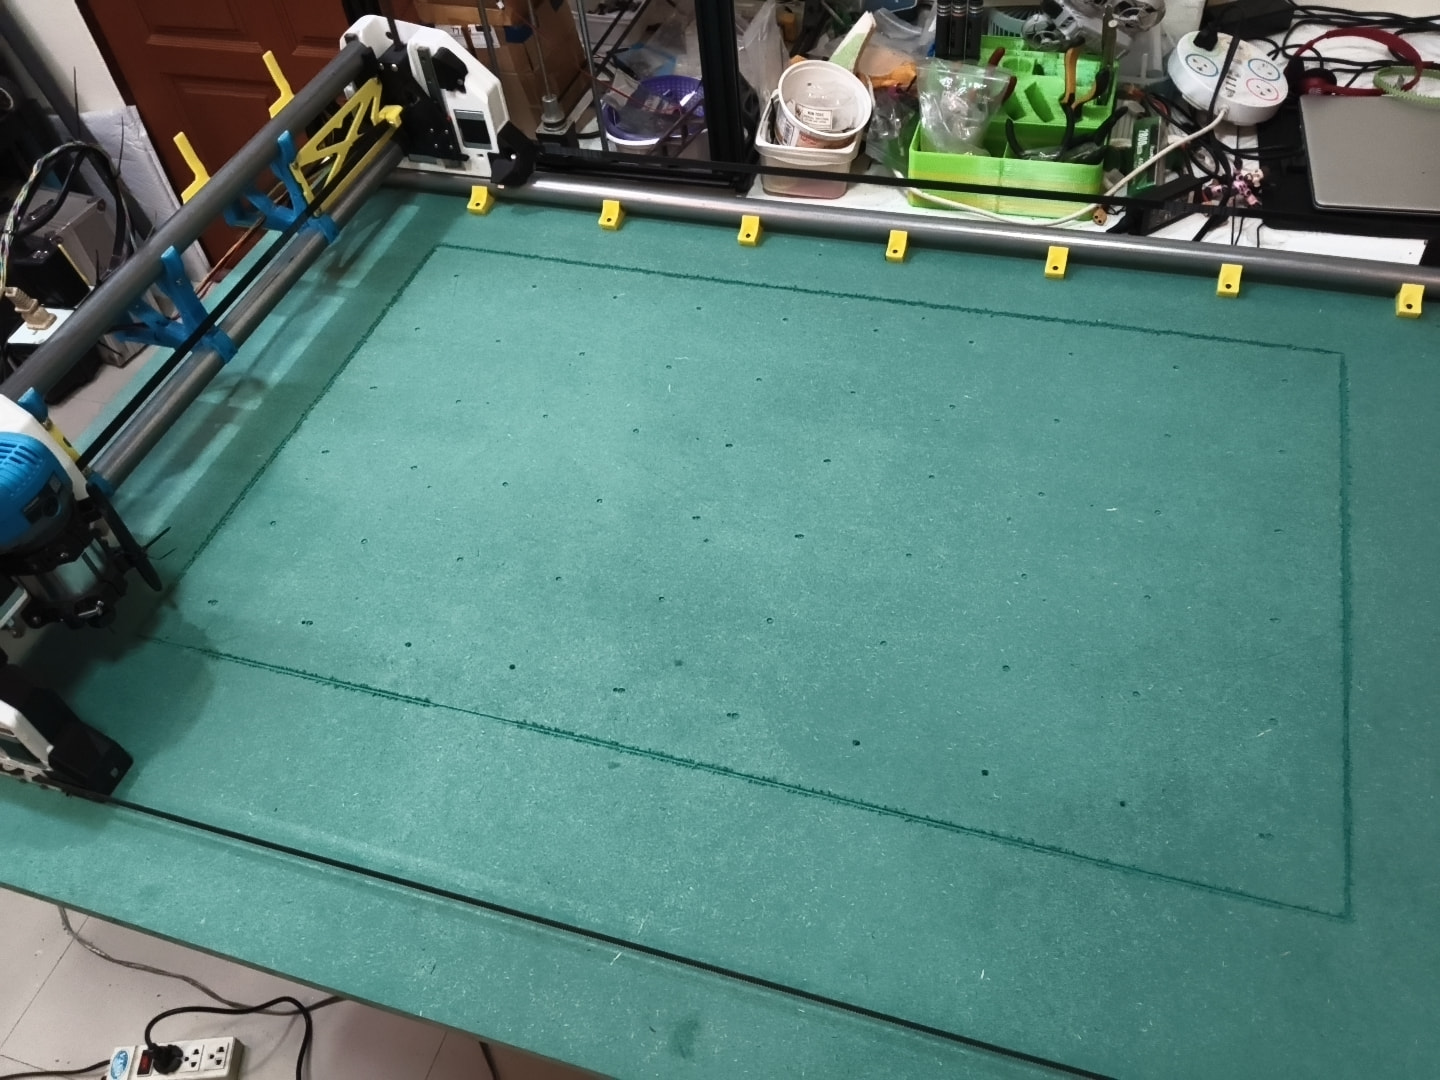
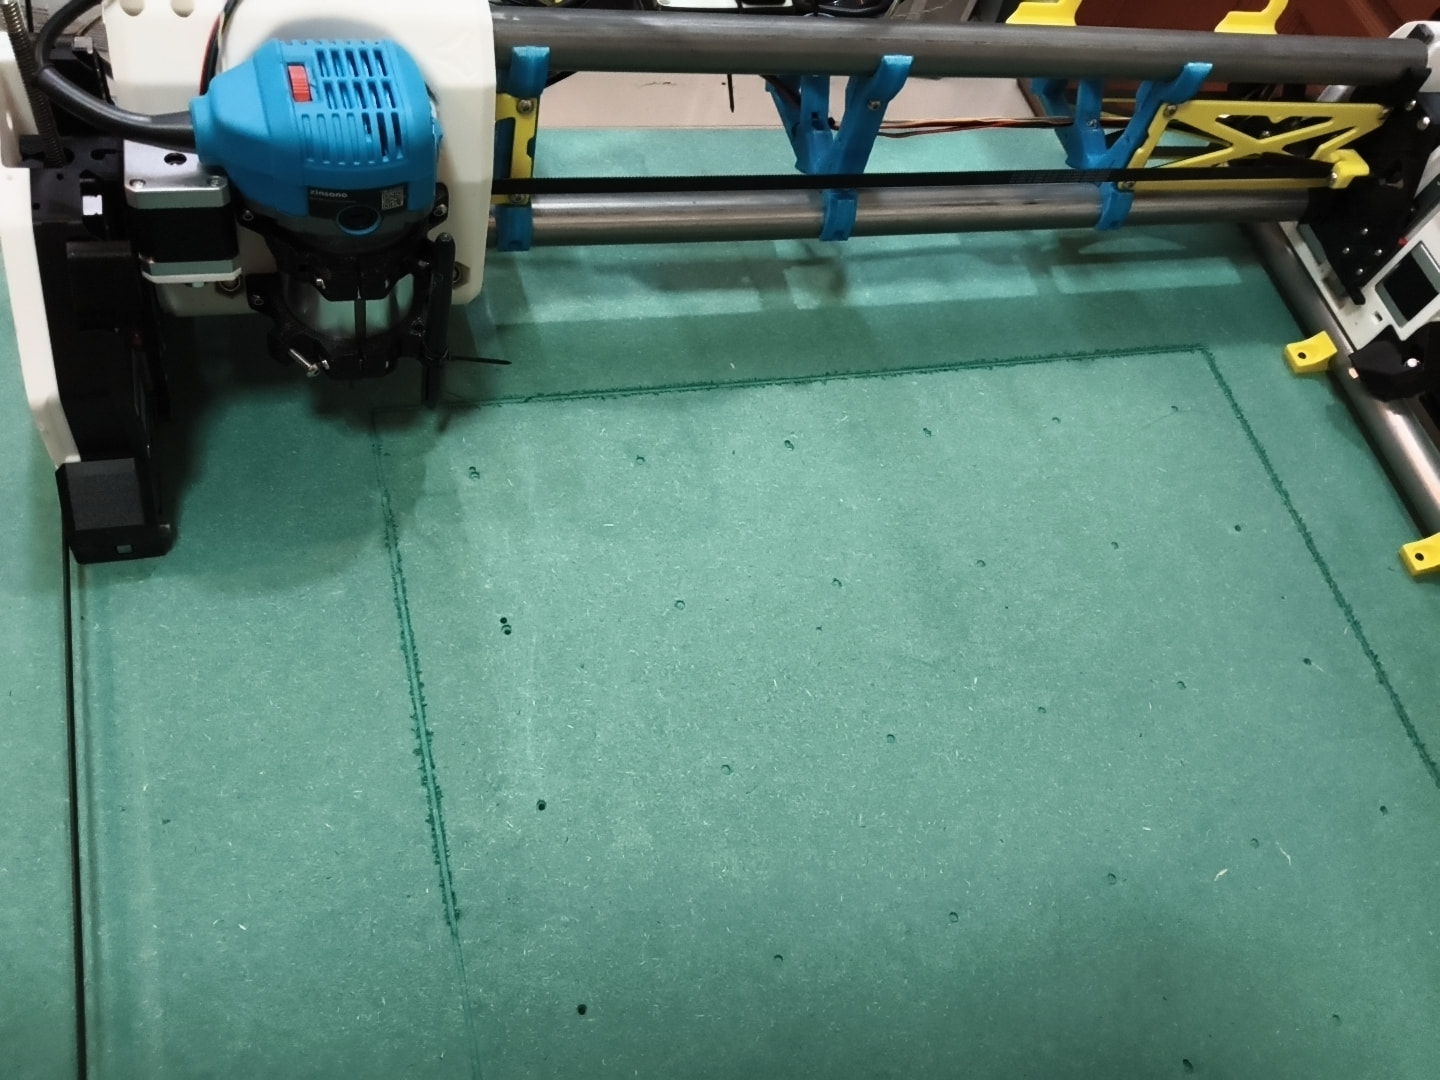
I managed to mangle one of my y limit switches while I had my gantry off working on the bottom of the table and didn’t notice until after I started laying out my T-nut hold down grid. Fortunately I was being quite conservative with my layout and caught the problem fairly early. No real damage done but a couple shallow marking holes that won’t disappear once I get the T nuts in. Is there any solution to shield the switches? I haven’t looked too hard but I don’t see an obvious way to mount anything.

I did run a single 2mm deep perimeter cut around my primary 600x1000mm work area with an 1/8 single flute upcut which left a less than stellar edge in the mdf. Cleaned up with a fingernail but wondering if it’s the nature of the beast or cause by very conservative cut speed and subsequent light chip loads? Used a 1/4-1/8 collet adapter, my first use of it and the 1/8 bit.

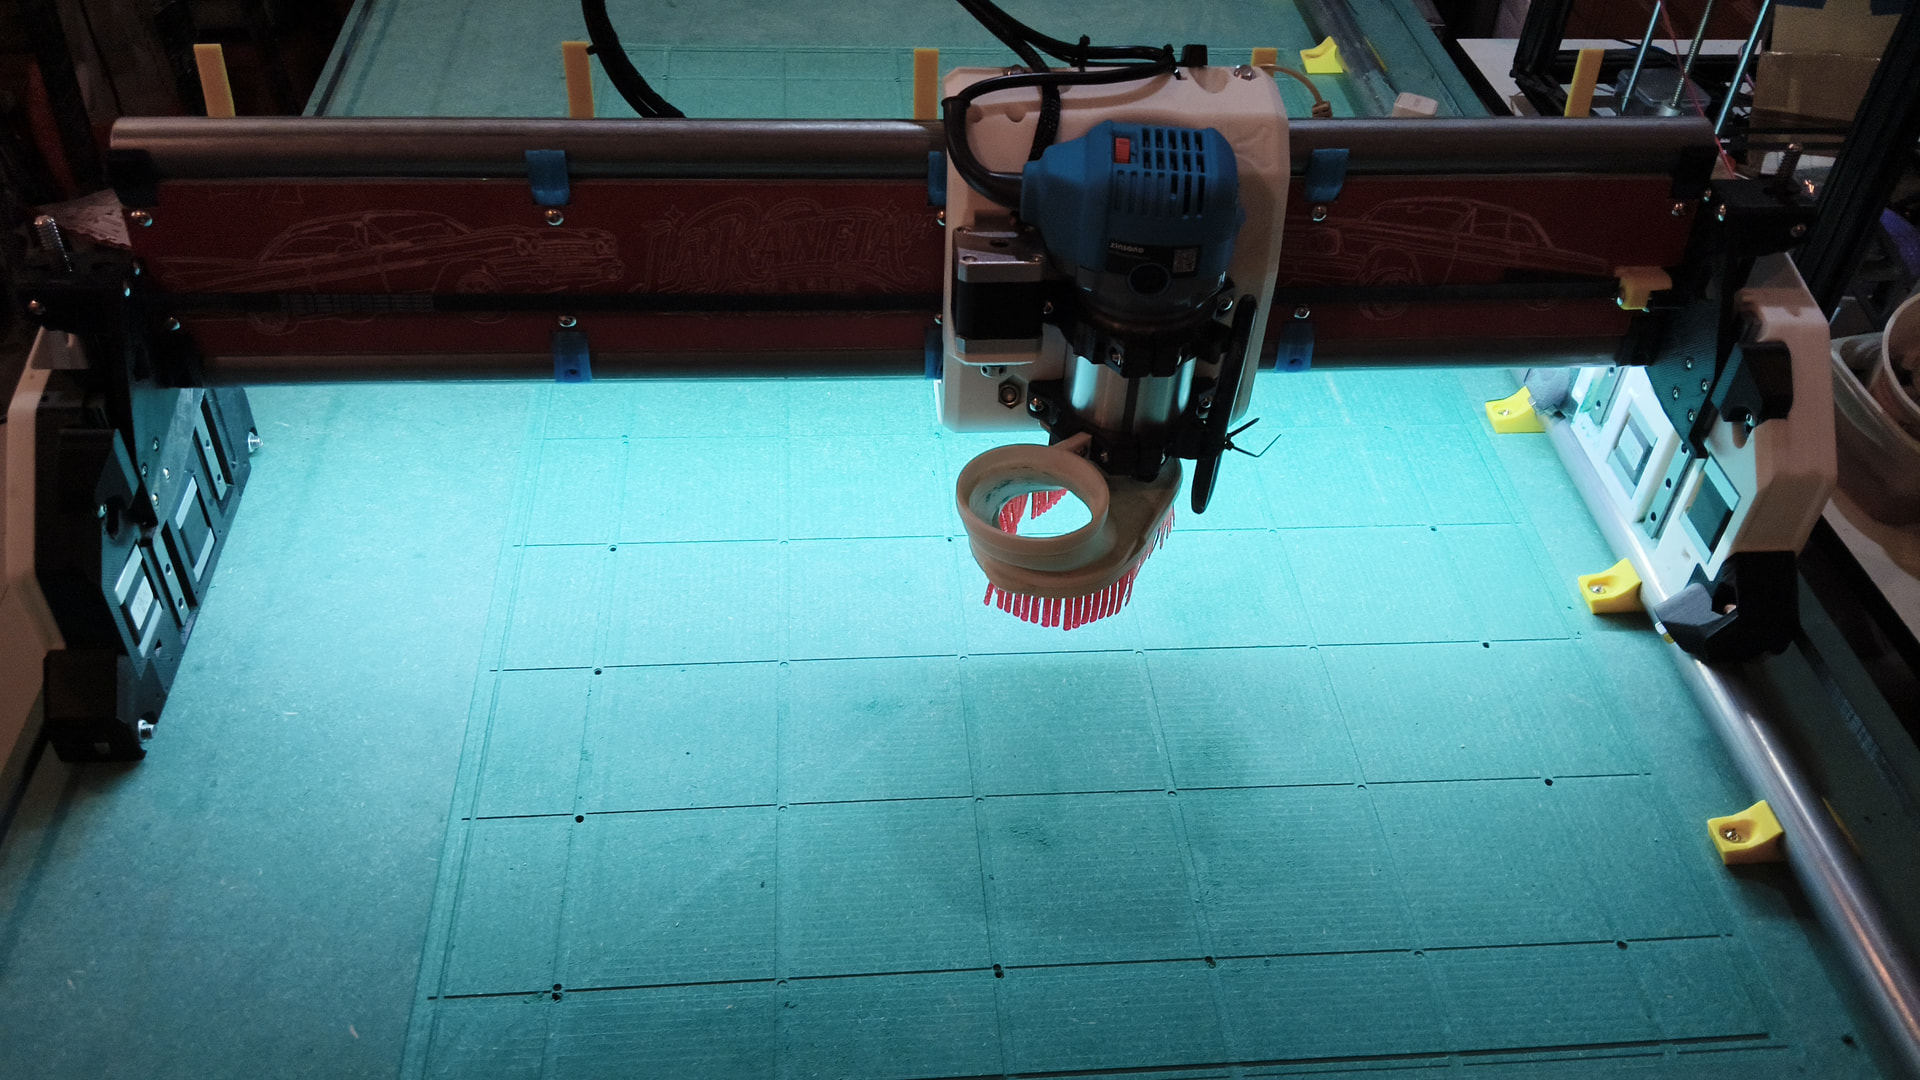
Baby Steps but happy to have the spindle spinning!

where were we??? been a couple days.

Have had a few more issues with raspberry PI dropping from the network and the limit switch I bent back straight broke.

Learning about CAM stuff in Fusion. No rapids or tool changes in the hobbyist version sucks! was avoiding screwing into my table b4 my hold down nuts arrive. 2 bad cuts, 2nd while trying to burn up my cutter!!

Spindle is faster than I thought.

Router dial RPM reference — provisional
Position Dial marking Estimated RPM
Initial / lowest Lowest 15,700
Click 1 Unspecified 19,300
Click 2 2 20,800
Click 3 Unspecified 23,600
Click 4 3 26,300
Click 5 3½ 29,200
Click 6 4 31,300
Click 7 4½ 32,800
Click 8 5 34,200
Click 9 5½ 34,900
Status Audio-derived estimates; not tachometer verified.
Method Assumes lower tone is one shaft revolution; RPM = Hz × 60. Higher tone is approximately 8× lower tone.
Source 20261017_113108.m4a; recorded 17 October 2026.
Mapping Initial lowest setting followed by clicks 1–9, matched provisionally to spoken sequence.
Limitations Some intervals were brief and speed was still settling. Maximum was not forced to 30,000 RPM.
Toolpath use Provisional planning reference. Set the router dial manually; confirm absolute RPM with a tachometer.

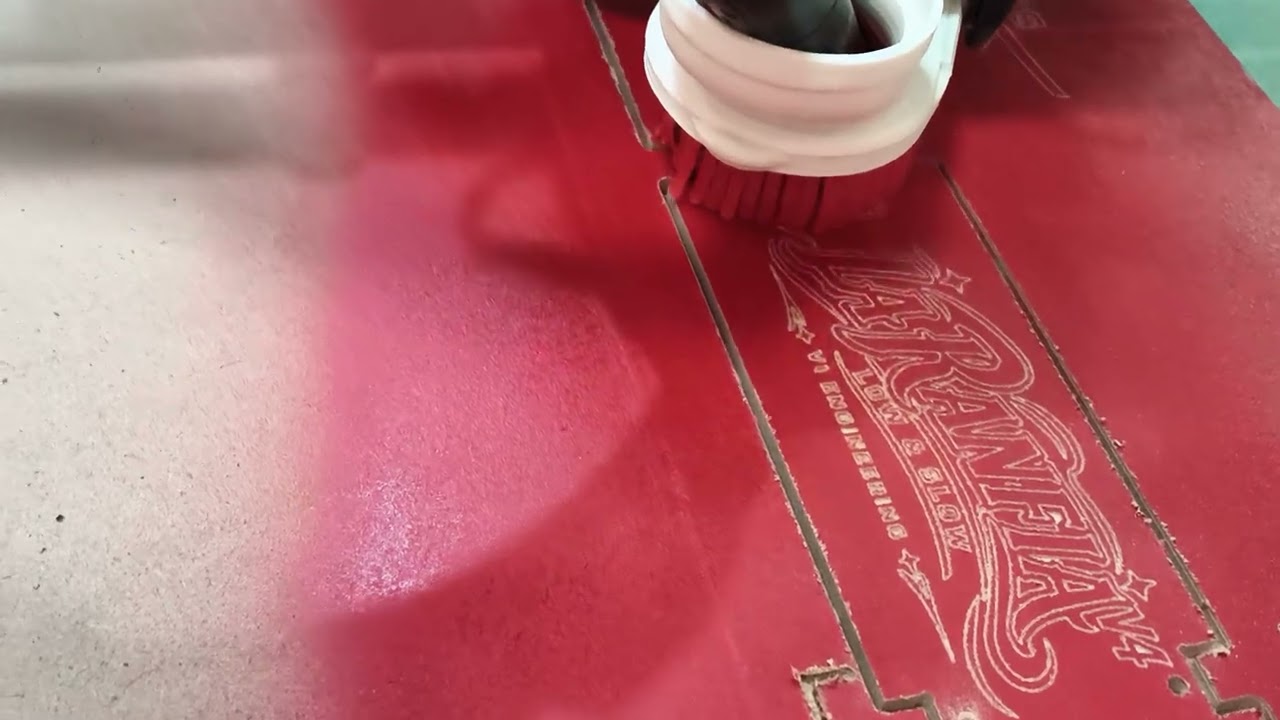
Still waiting on tooling so I pressed a carbide burr into engraving duty.

Sorts feels like cheating but have been using chatGPT extensively. just makes things SO easy?

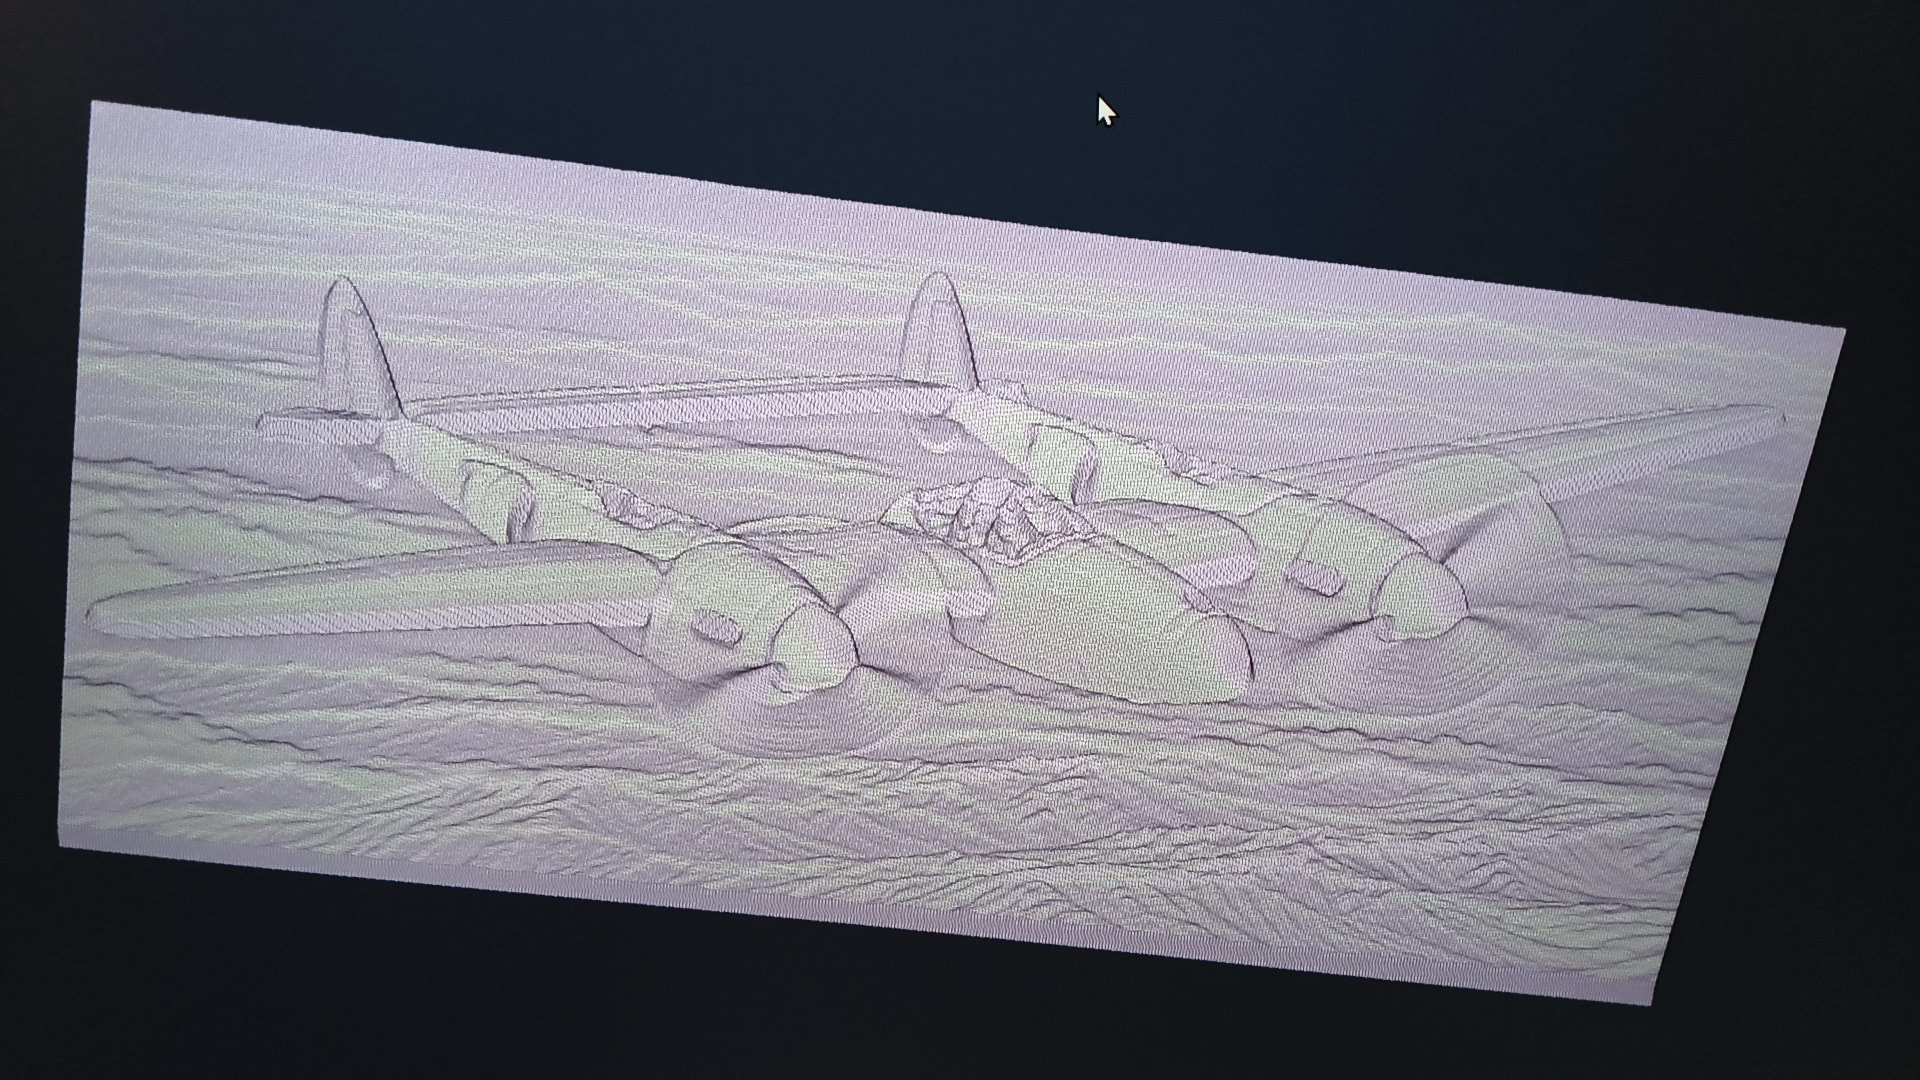
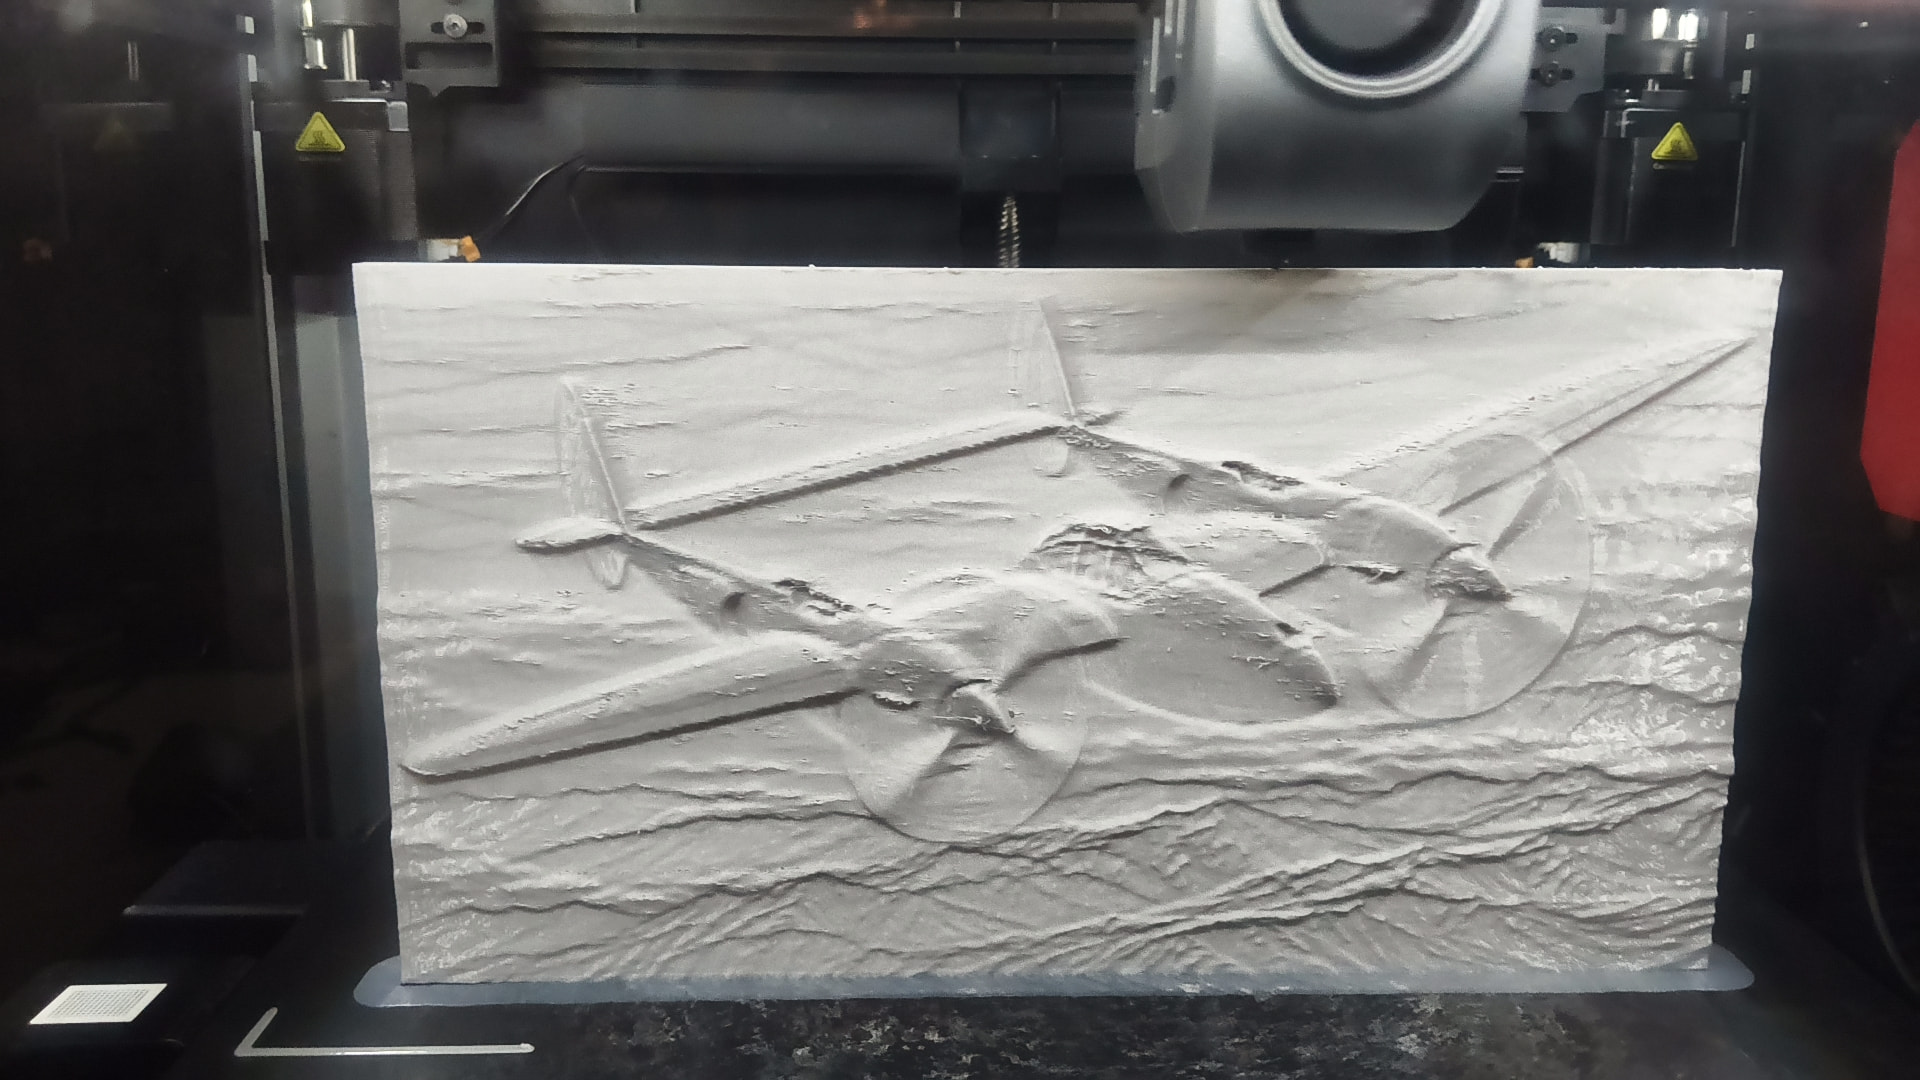
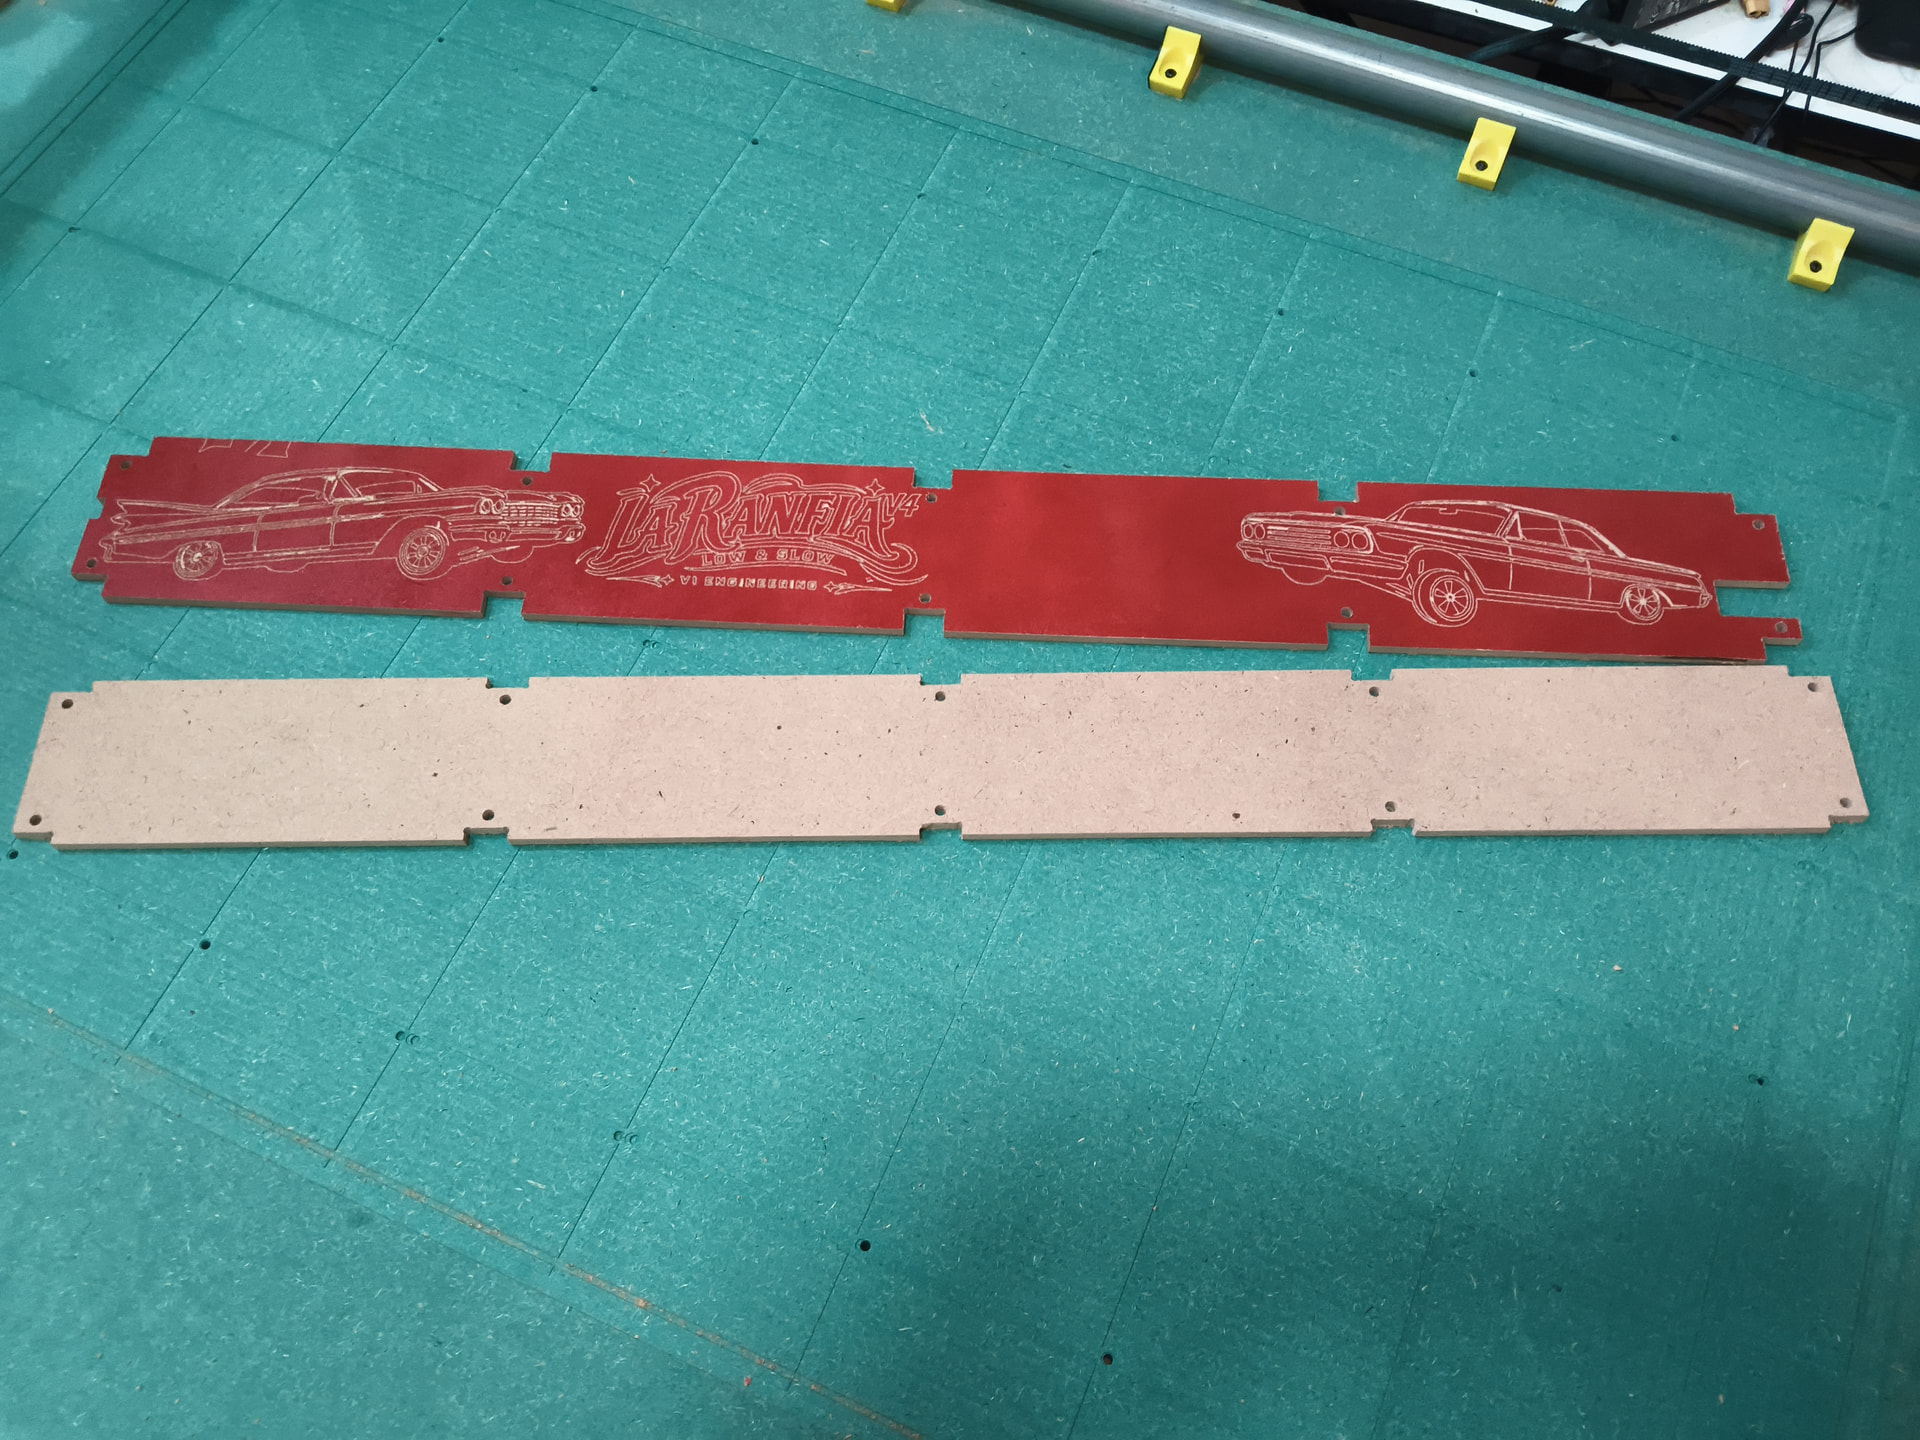
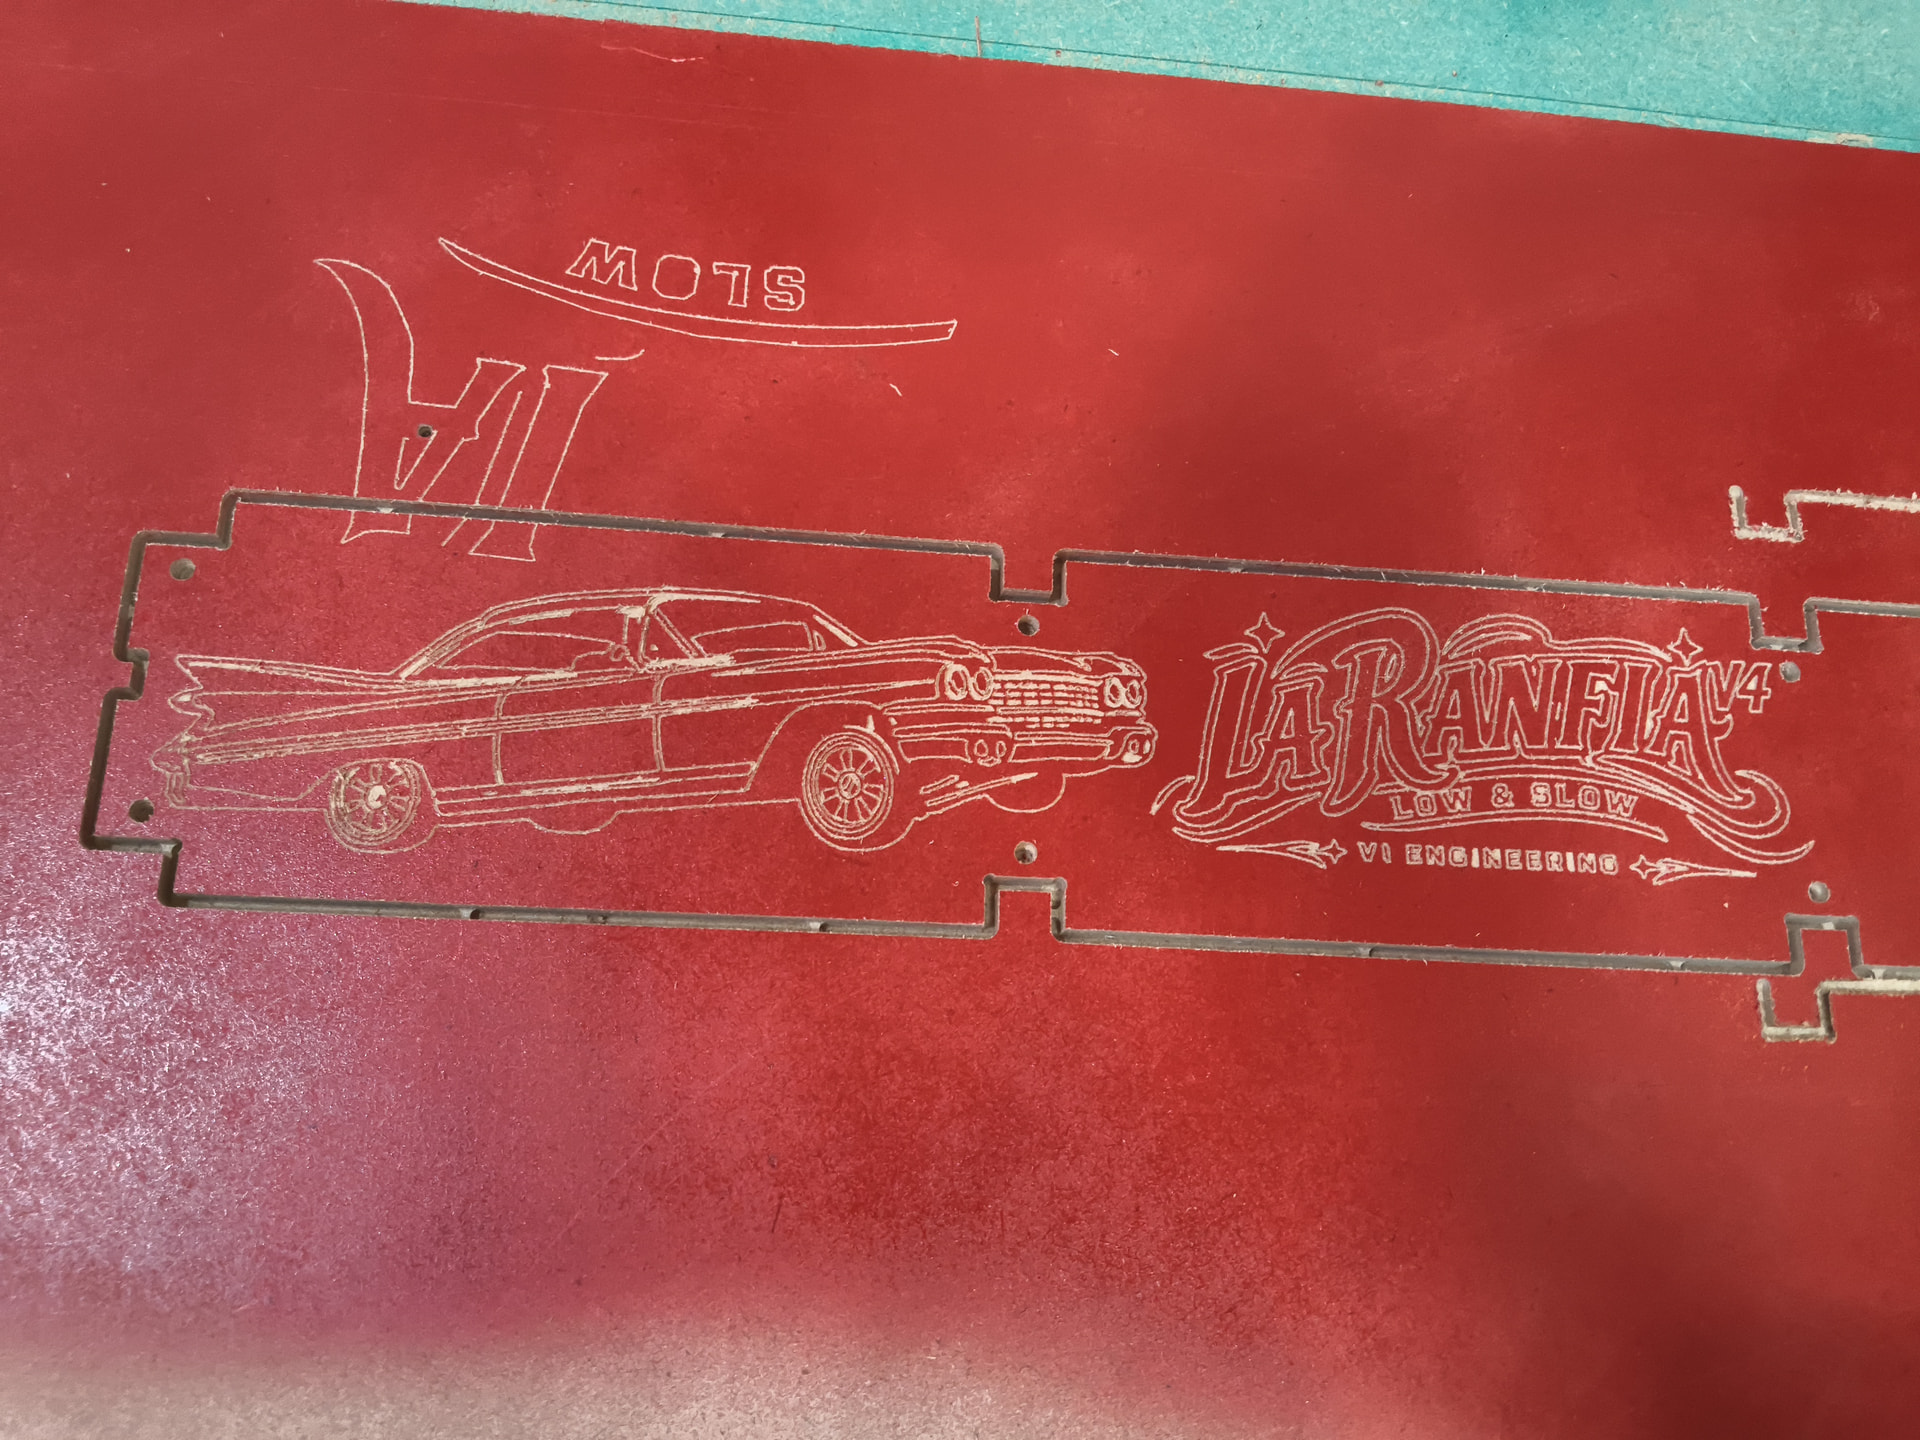
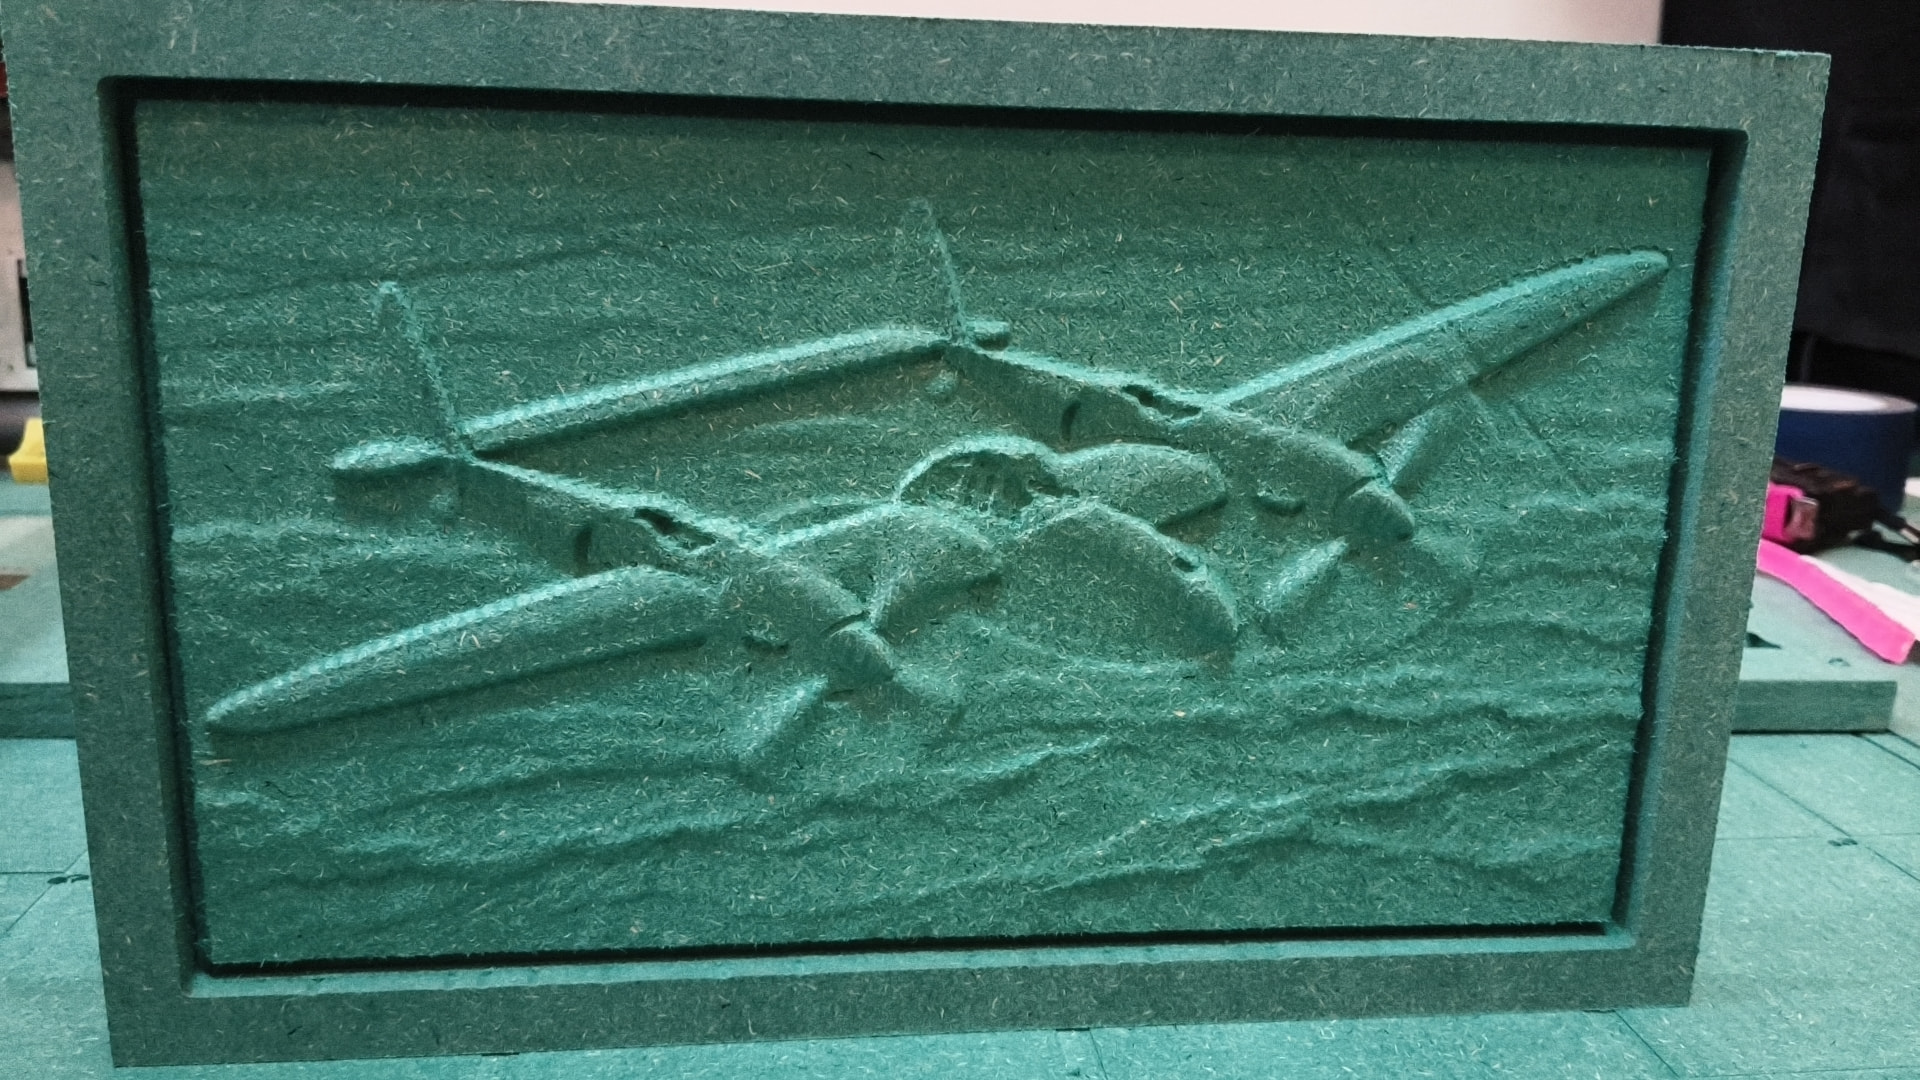
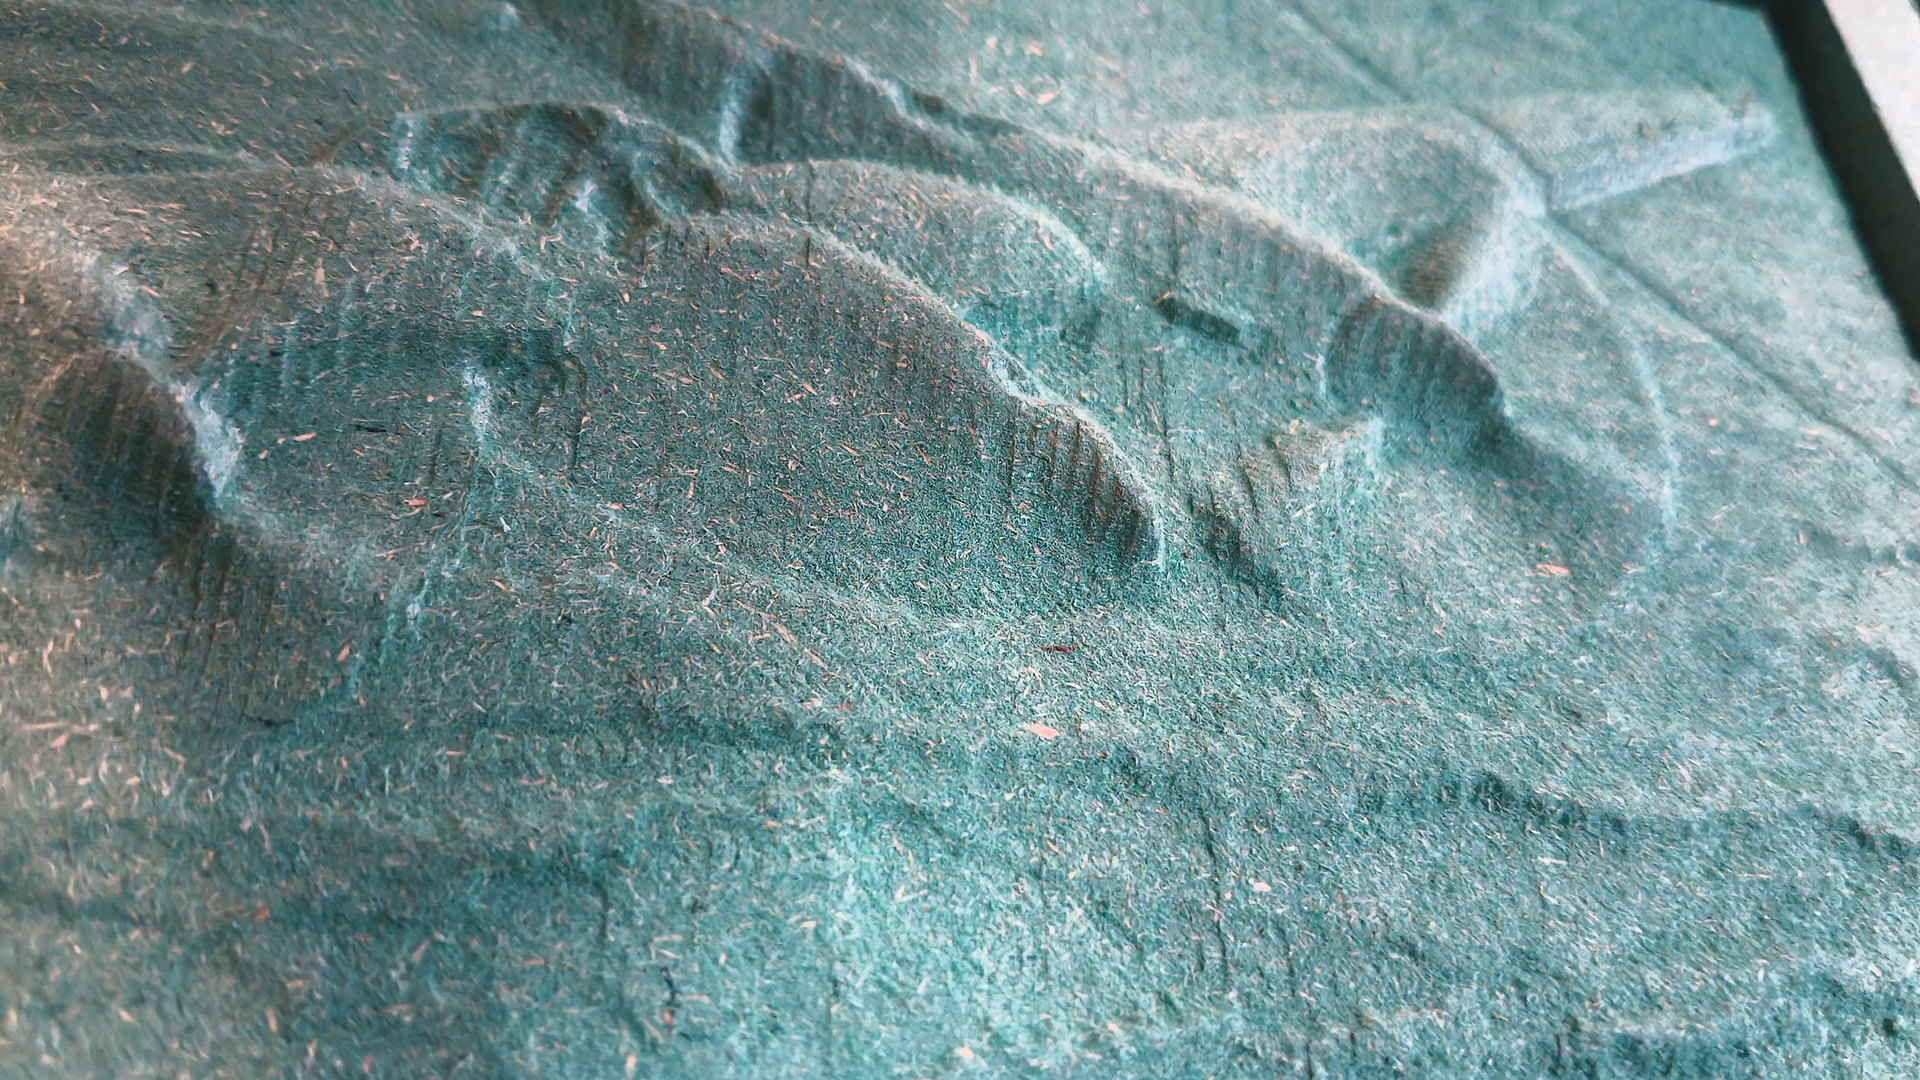
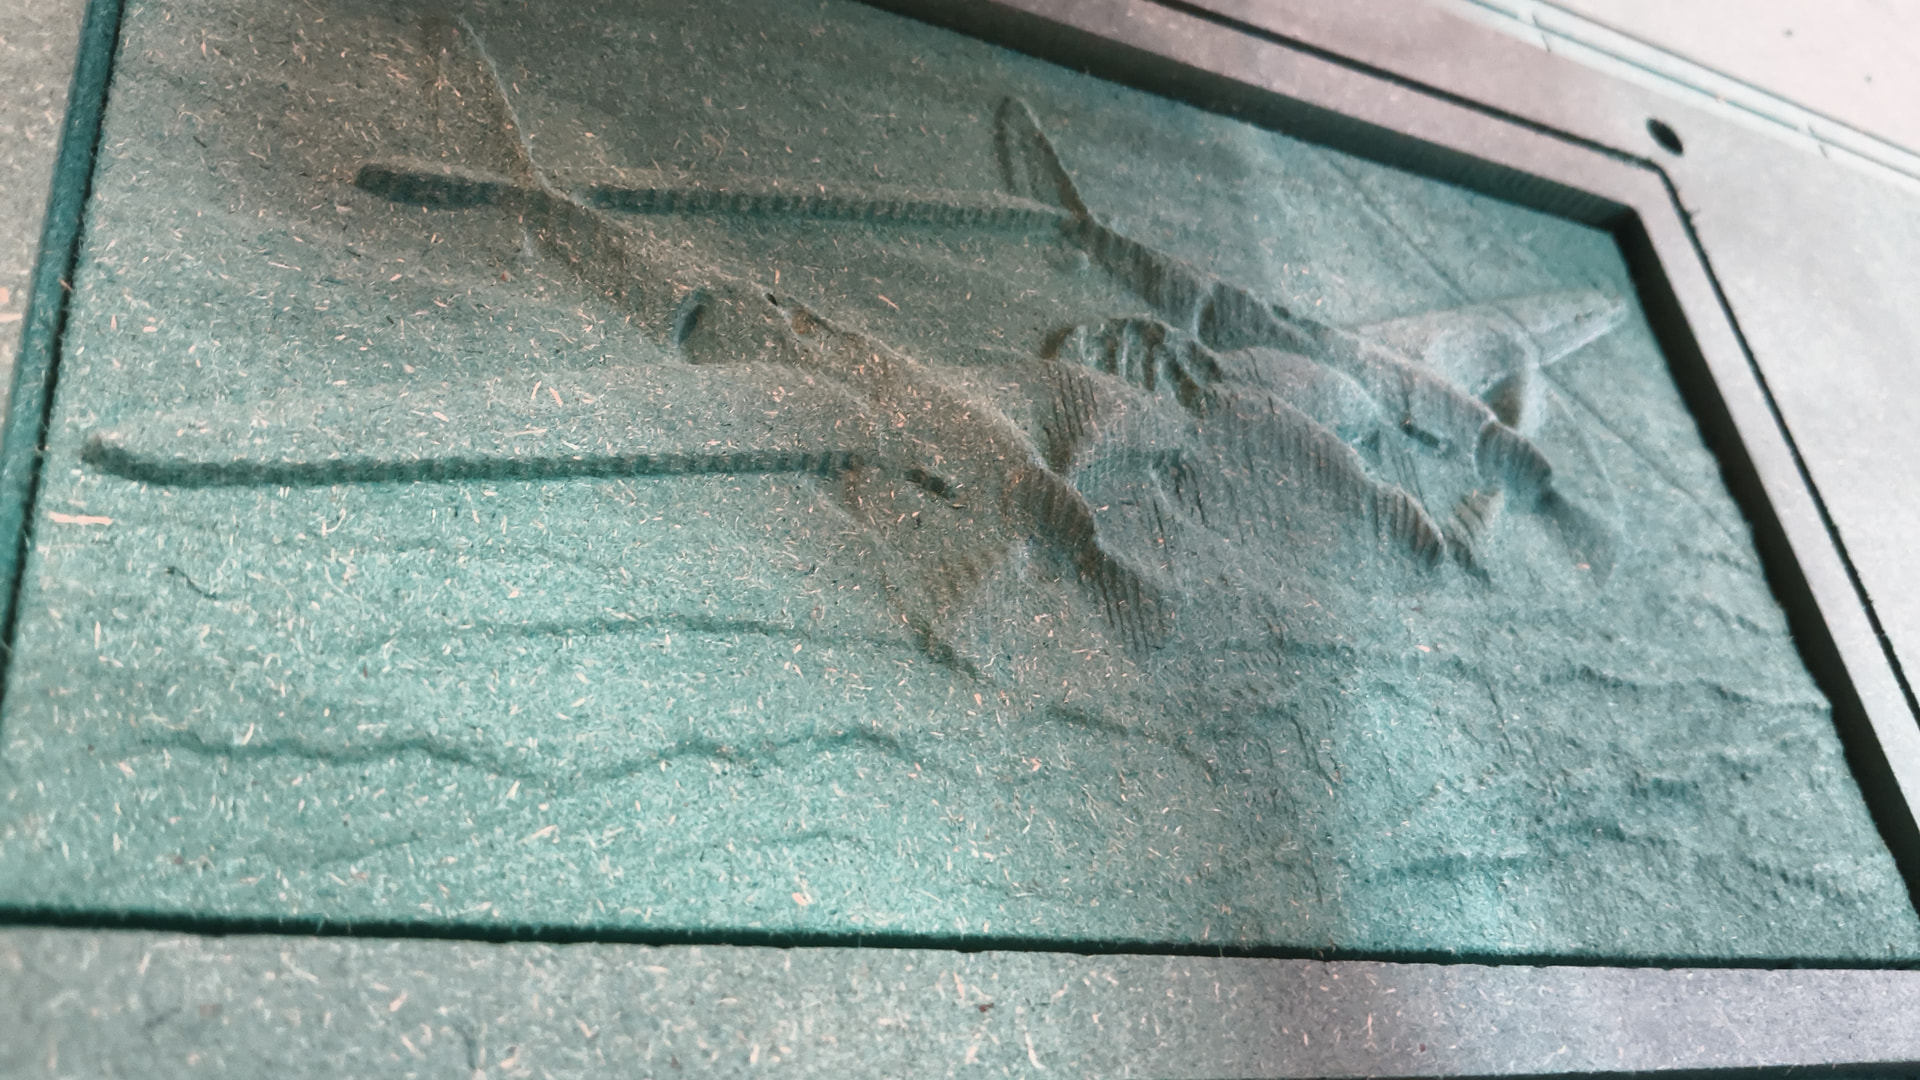
Fist project…After some 1mm end mill clean out…Finished:

After furst cut with 3mm upcut endmill

After clean up with 3mm ball end bur.

Lots to learn and remember. Not super happy with the result, the clean out paths could have been more effective & efficient. Not really have cutters for the job yet.

LR4 is working great!!

this makes me very happy!!!

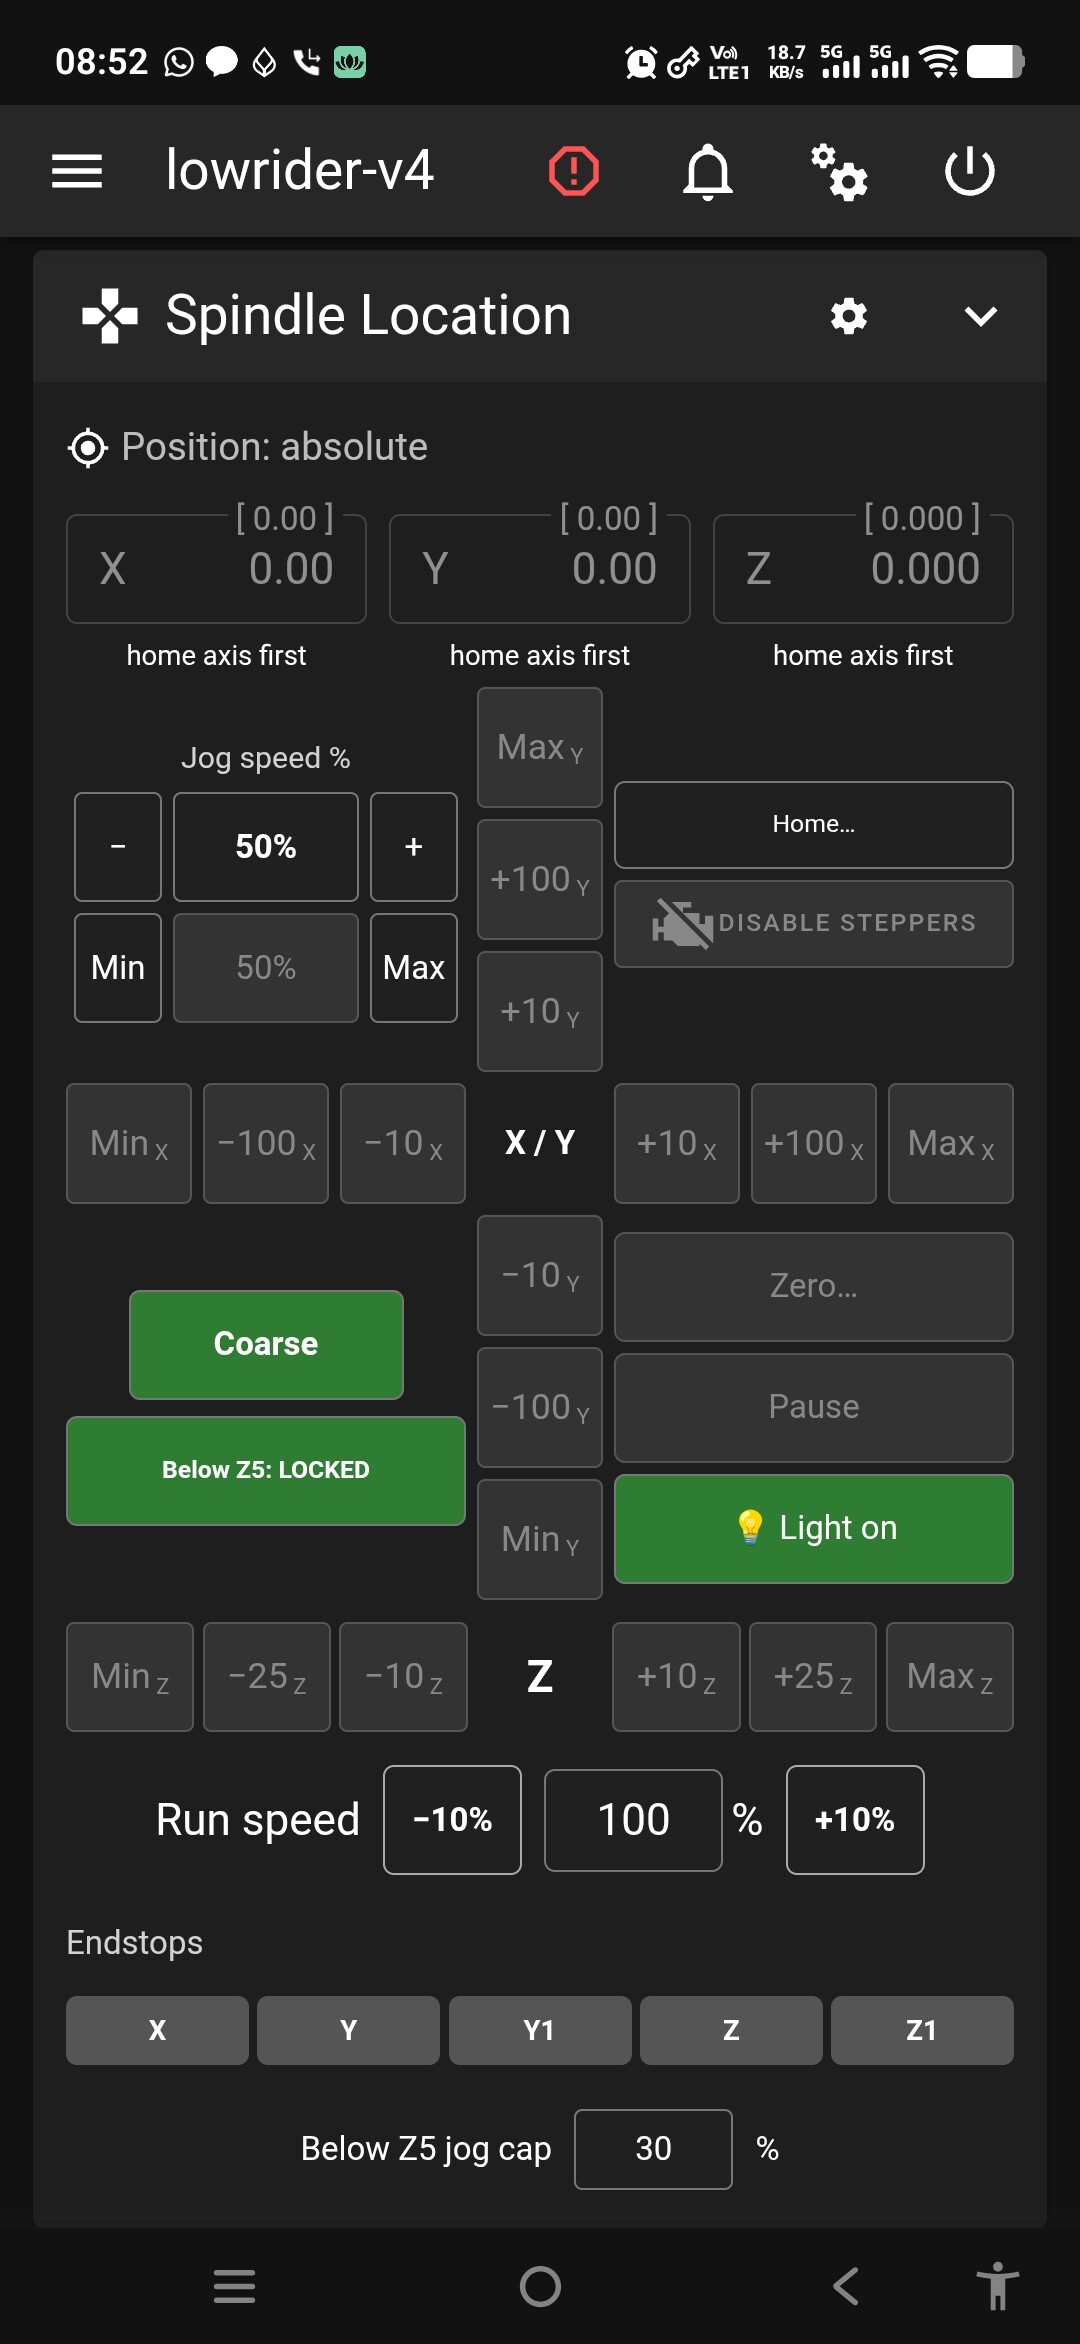
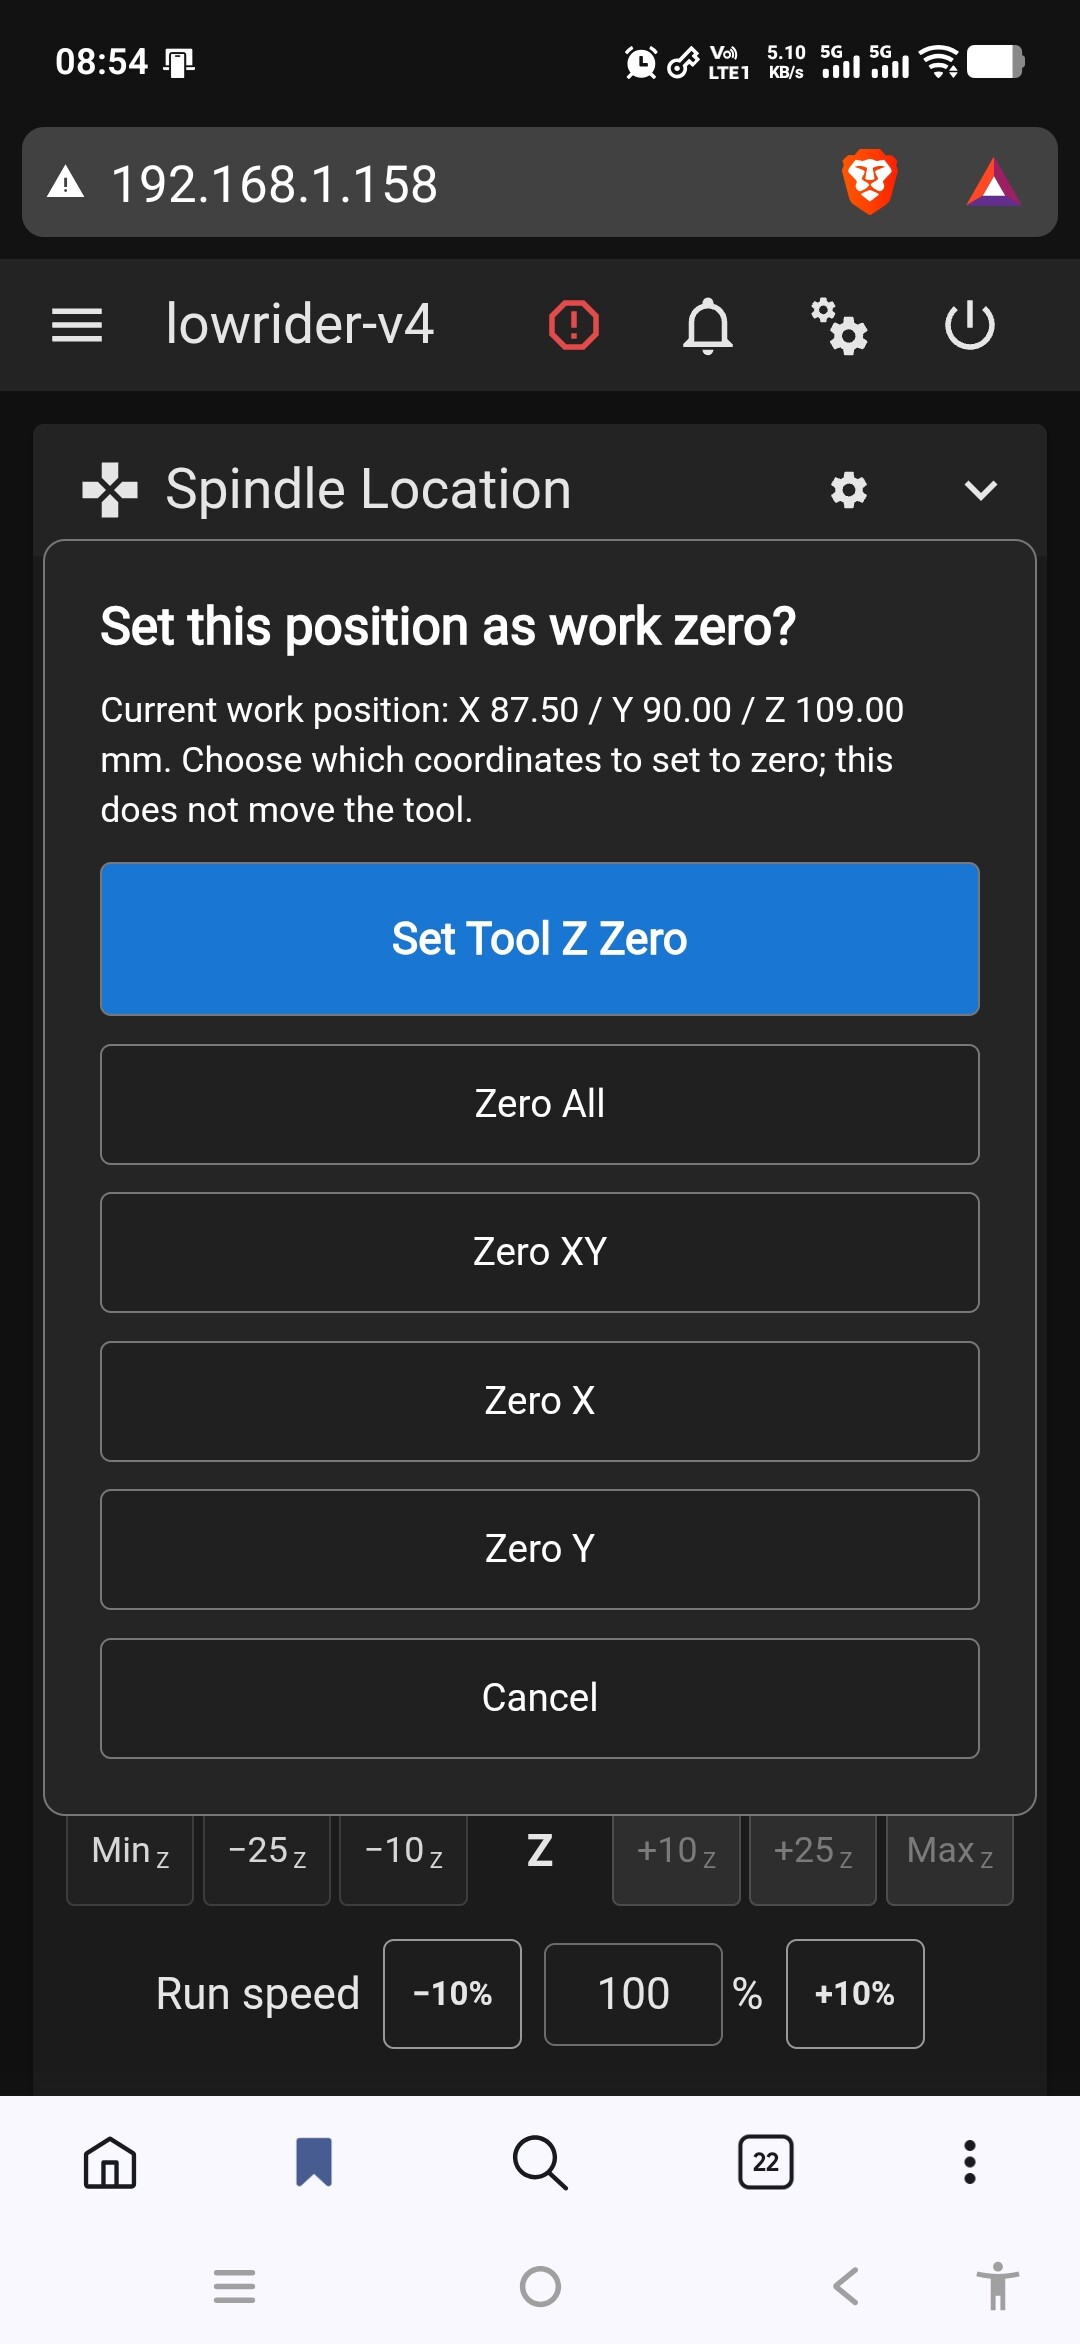
Been reading that klipper isn’t so great for CNC for many reasons. I started trying to configure a single phone screen UI for the LR4 and am quite pleased with the progress. Still early days but have tested interactively and all seems well. Intent is a single phone screen that includes all info necessary to run the machine and jobs. Many of the buttons deactivate if not available and many spawn dialog boxes for further input but avoid scrolling. There is a coarse/fine button to change the range of button travels. The jog speed is adjustable and there is an adjustable jog speed override anytime Z is under 5mm to avoid rapid travel into bad things.

I also moved my rails to the other side of my table yesterday with the intent of allowing a dust collection hose to run cable chain style on the Xmax side which now has the table margin to run on. Still have an enclosure planned but will now clamshell open from the end/Y-min/user station.

Added a strip of 24v leds under the carriage… powering them thru the hotend0 circut on the BTT SKR which allows them to run 100hz duty cycle/pwm dimming. I have set up an idle while steppers energized/no active job timer that flashes the lights and a screen warning that can be snoozed or disabled on screen.

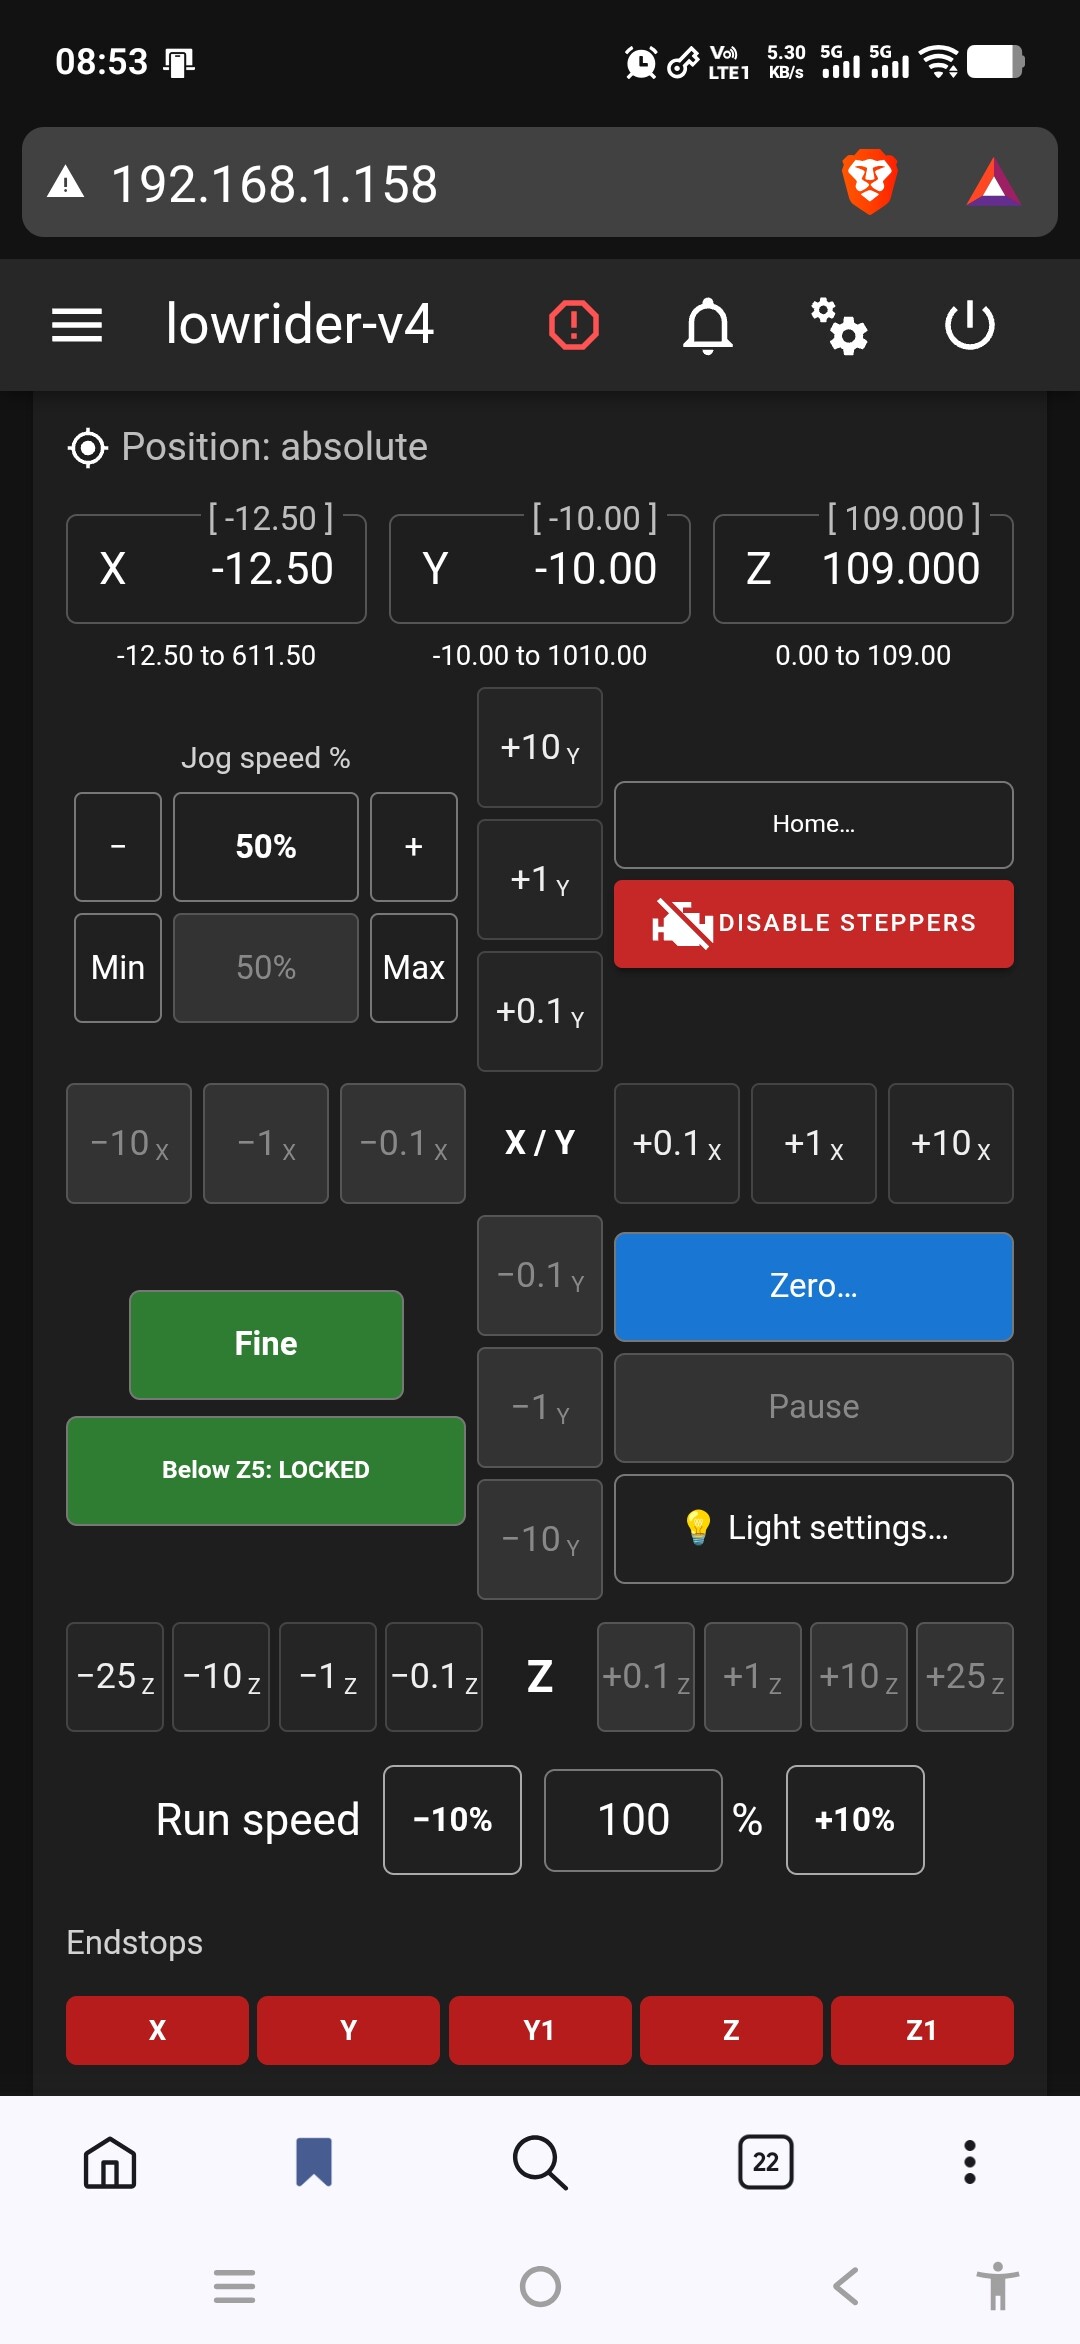
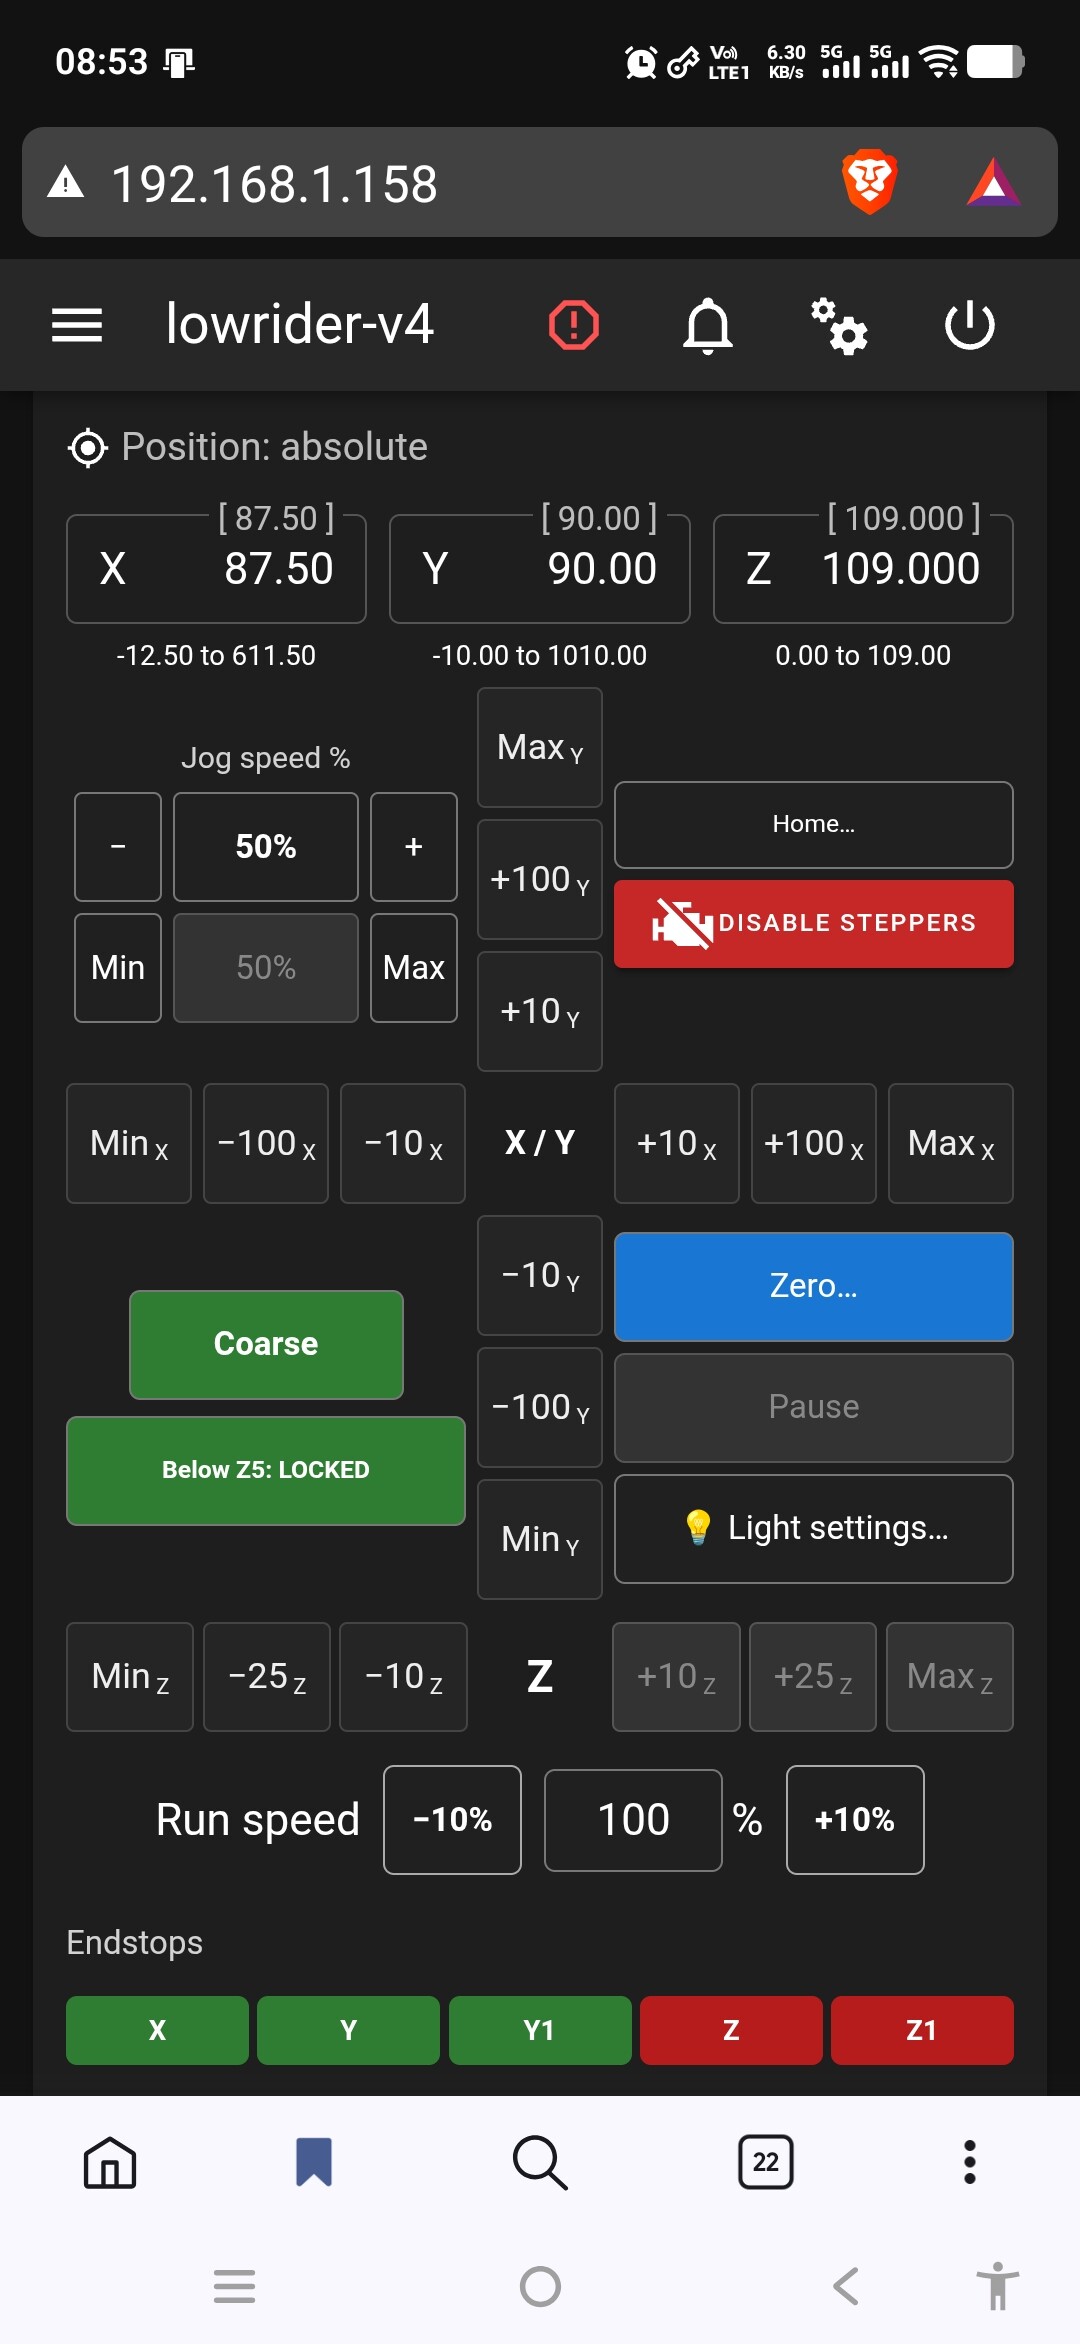
Have tried to keep it single phone screen. These are some random shots trying to show some features.

I think this a big improvement over the stock printer set up. If you have further ideas, I’ll try to include them.

This is AI log of changes. If there’s interest I can try to provide files but not sure how transferable they are.

Area Current Mainsail behavior Settings / safeguards
Dashboard layout Toolhead renamed Spindle Location. Normal CNC controls consolidated in its compact Android-friendly panel. Separate Homing & Zero Axis panel and Work Lights section removed from view.
Position and travel Current X/Y/Z positions with work travel range immediately underneath each coordinate. Ranges account for work-zero offsets; unhomed axes show a home-first message.
XY jogging X horizontal and Y vertical around the XY center. Every jog button has a small lowered axis letter. Unavailable travel and controls are grayed out.
Z jogging Horizontal Z jog row directly below XY grid; includes ±10 mm choices and coarse travel limits. Endstop indicators below Run speed, beneath the jog rows.
Coarse / Fine Single toggle shows the action: Fine switches to fine steps; Coarse switches back. Current mode appears in the tooltip. Step sets retained.
Jog percentage Direct percentage entry, ±10-point buttons, Min / 50% / Max. Default 50%; selection 10–100%. Percentage box shows active value first, selected value in parentheses when capped: 30% (50%). Tap to edit the selected value.
Jog base rates 100% dashboard jog base: XY 200 mm/s; Z 25 mm/s. Default 50% gives XY 100 mm/s; Z 12.5 mm/s. Jogging allowed when idle or fully paused; blocked during active file execution and while motion/pause lift is settling. Travel limits retained.
Below-Z5 speed cap Compact editable cap below the endstops. Default 30%; uses the lower of selected jog percentage and cap. Applies below work Z5 and to moves entering that region. Selection retained. Cap stored in this browser.
Effective jog rate Dashboard jog feed compensates for the current Run speed multiplier. Run speed cannot silently multiply a dashboard jog above its selected/capped rate.
Z5 permission Below Z5: Locked / Allowed toggle in lower-left quadrant; permission automatically relocks above work Z5. Also resets when homing status or work-zero offsets change. Upward escape does not require confirmation.
Guarded jog confirmation A below-Z5 jog while locked opens Move / Cancel with target work coordinate and speed cap. Explicit Allowed mode permits repeated button jogging below Z5; direct position entry still requires confirmation.
Direct position entry Coordinate boxes allow manual moves when idle or fully paused, with work-offset-aware targets and travel checks. Direct below-Z5 entry always opens Move / Cancel. Limits, clearance confirmations and speed caps still apply.
Home dialog One Home… button opens Home All / X / Y / Z / Cancel choices. Already-homed axes disabled. Homing blocked during motion, running jobs and paused jobs.
Homing confirmations Individual axis homing retains confirmation explaining work-zero loss; dialogs close immediately on Yes or No. Home All skips extra confirmation as requested, but keeps fresh-state checks. Live homing macro lights at 70% before Z-first homing.
Disable Steppers Red direct button remains visible beside Home access. Flashes during the automatic idle warning. Unavailable while moving, running or paused; disables only when permitted. Rehome and re-establish work zeros afterward.
Zero dialog Prominent Set Tool Z Zero, then Zero All / XY / X / Y / Cancel. While paused, only tool Z zero is enabled. Saved XY return point and original cutting depth are preserved. XY origin changes remain blocked.
Zero terminology Set Tool Z Zero establishes the current tool-tip position as work Z0. Work zero, not a separate persistent tool-length table. Recheck zeros after homing or disabling motors.
Run speed Renamed from Speed factor. Compact centered row with editable percentage and ±10-point buttons. Sets Klipper M220 job feed multiplier; separate from selected dashboard jog percentage.
Endstops One compact row: X, Y, Y1, Z, Z1. Green=open, red=triggered, gray=unavailable; hover gives full state. Refresh after motion / homing and on demand. No continuous active endstop queries, avoiding Busy/Standby flashing.
Console Commands Refresh Endstops, Shake X / Y / Y1 / Z / Z1, Get Position, Driver Status. Shake tests retain confirmation and job/motion restrictions. Refresh label explains what it reads.
Pause / Resume Pause captures original machine XY, cutting work Z and queued file byte cursor. Jogging away does not overwrite that capture. Resume lifts Z, returns to saved machine XY, then lowers to saved work Z using the updated tool Z zero. Homing and Disable Steppers remain blocked while paused.
Light hardware Work light moved from fan_generic to Klipper LED on P2.7, with 0.010 s PWM cycle. Default On 70%; PWM brightness remains adjustable.
Light button When off: green Light on turns on at 70% immediately. When on: black Light settings… opens brightness / breathing / off controls. Separate Miscellaneous Work Lights panel hidden; functionality consolidated in grid dialog.
Light dialog Editable brightness percentage (1–100), Apply brightness, Breathe / Stop breathe, Turn off, Cancel. Turn off requires Confirm / Cancel. Steady brightness restored when optional manual breathing stops.
Automatic idle warning After 15 minutes idle with any stepper energized: three rapid flashes then one second steady, repeating. Replaces the 20-second test setting. Light-off still suppresses the lamp warning. Running jobs do not trigger it.
Warning reset Machine motion or relevant dashboard / console input clears the automatic warning and restarts its idle timer. Disabling all steppers clears it. Automatic warning is distinct from manually selected Breathe.
Warning snooze During the warning, the light button becomes Snooze idle warning. First press restores steady light and snoozes for 15 minutes. Button then returns to Light settings…. Countdown below cap; no extra snooze button. Snooze resets the shutdown countdown.
On-screen motor reminder Disable Steppers flashes while the automatic lamp warning is active. Button retains job restrictions; a warning does not override lockouts.
Controller implementation Live Mainsail overlay: /home/dunga/mainsail/lowrider-light-controls.js. Lighting/timers in leds.cfg; pause capture/resume in cnc_macros.cfg. machine.cfg no longer uses the competing default three-hour M84. Timeout settings persist in lowrider_ui_variables.cfg via save_variables. Backups saved before deployment.
Scope of Z5 UI protection Guards apply to customized dashboard jog and direct-position controls. They do not rewrite uploaded CNC programs or arbitrary console G-code. Machine travel limits remain enforced by Klipper.
Validation / commissioning Simulated tests cover paused jog/Z-zero permissions, job/motion exclusions, Z5 guards, preserved XY/depth after tool zero changes, UTF-8/CRLF file cursor lines, and timer persistence. Live timeout dialog tested Disabled, then restored to 15 minutes. No machine movement or job started for verification. Home again after the configuration restart.
Next tuning step Use the uploaded air-circle test to evaluate paused jogging, tool access and ordered Resume when ready. Warning and snooze are now 15 minutes. Default shutdown is another 15 minutes after warning starts (about 30 minutes total inactivity).
Automatic stepper disable Stepper timeout dialog near the Z5 cap: editable 1–1440 minutes after warning, default 15, or Disable automatic shutdown. Saved across restarts. Warning/snooze remain available when disabled. Never auto-disables while running or paused; activity resets the timer. Rehome after disabling.
Paused file position Paused panel shows the captured file byte cursor and nearby line number, plus the original saved return coordinates. This is the queued file cursor, not an exact physical cutter-stop line because motion is buffered. Klipper retains its own file position for Resume.

No bad days when new toys arrive!

I think Mainsail CNC Pendant is now up on Github… I think it’s a big improvement, but I’m biased!!

Klipper with a couple macros works great for cnc, but it does not work on esp32 so isnt common with most everyone running the jackpot board. If you are using old 3d printer hardware, it is really easy to set up. In the US there are many ender 3 printers available used for free to $40 so with 2 if them someone would have 8 motors and 8 channels with 2 boards. Klipper can run motors simultaneously from multiple control boards. It is recommended if you do that to have all motors of the same axis in the same controller. Add a raspberry pi and you can build an lr4. The smaller motors will work on the cnc, you just have to turn down the acceleration so they dont skip, but in klipper that is easy to do.

I think you will be happy with klipper on your cnc. I use my phone to run it and timelapse render all of its cuts.

Great progress with your setup!

This, like many projects, spiraled out of control.

I wanted a single klipper screen solution that avoids accidental keypresses due to having to scroll. Once we started adding secondary pop up menus the amount of detail expanded quickly. Now only the e-stop is the only real thing you can screw up which is a necessary safety but I’m considering requiring a double click or swipe there as well. The android “app” came from the desire to force the phone to stay awake. The other benefit is not losing the screen in endless browser tabs.

The amounts of safety’s is bordering on boring, but I’m thinking there could be an “expert” mode or similar to streamline things back down.

I hate to admit it, but the lowrider is more about a tool I’ve always wanted than something I have a bunch of projects lined up for. Once having some basic understanding, AI has become a powerful enabling assistant.

Tonight, after looking around this sub forum, managed to set up a better Fusion post that adds comments that allow g-code changes inside of mainsail. This allows rapid moves almost seamlessly as the “post-post processor” can modify Fusion’s post output when loading a job. Still need to come up with a way to string post files together across tool changes.

I don’t yet have remote spindle power set up and need to get a tool touch probe going but I’m super happy how quick and easily this has come together to this point!

I guess I neglected mentioning getting a m6 T-nut grid mostly in place.