Inspired by this thread FluidNC Eggbot , I’m going to need an eggbot. I’m also using this thread as accountability so I can hopefully finish it by easter time. Probably going to be a few questions as well. I’m using this as the main build guide and will make modifications as necessary. ESP32 Wifi Eggbot - Drawing Robot Plotter Pen : 16 Steps - Instructables I bought the 2060 aluminum and the controller last year in optimistic hope I could complete it before Easter but other plans quickly got in the way. NOT This year!
I just got mine back out recently to see if there’s anything I wanted to change. Mostly I want to mount the controller somewhere and maybe change the egg holders to use some TPU.
I saw your post come back up as “unread” and was like “Oh yeah! I need to get on that” lol. Noted on the TPU, I was thinking that while spooling up the print plate of PLA.
With the bart-dring board no longer available, what boards are people using on these now? The board I had that I could have used for this is now on the laser engraver. I do have a crummy 2 channel grbl board, but I’d hate to have to deal with that thing again.
The egg holders straight from the thingiverse site fit a shaft and not the gears. I printed without any modifications and the hole is way too small to fit on a gear.
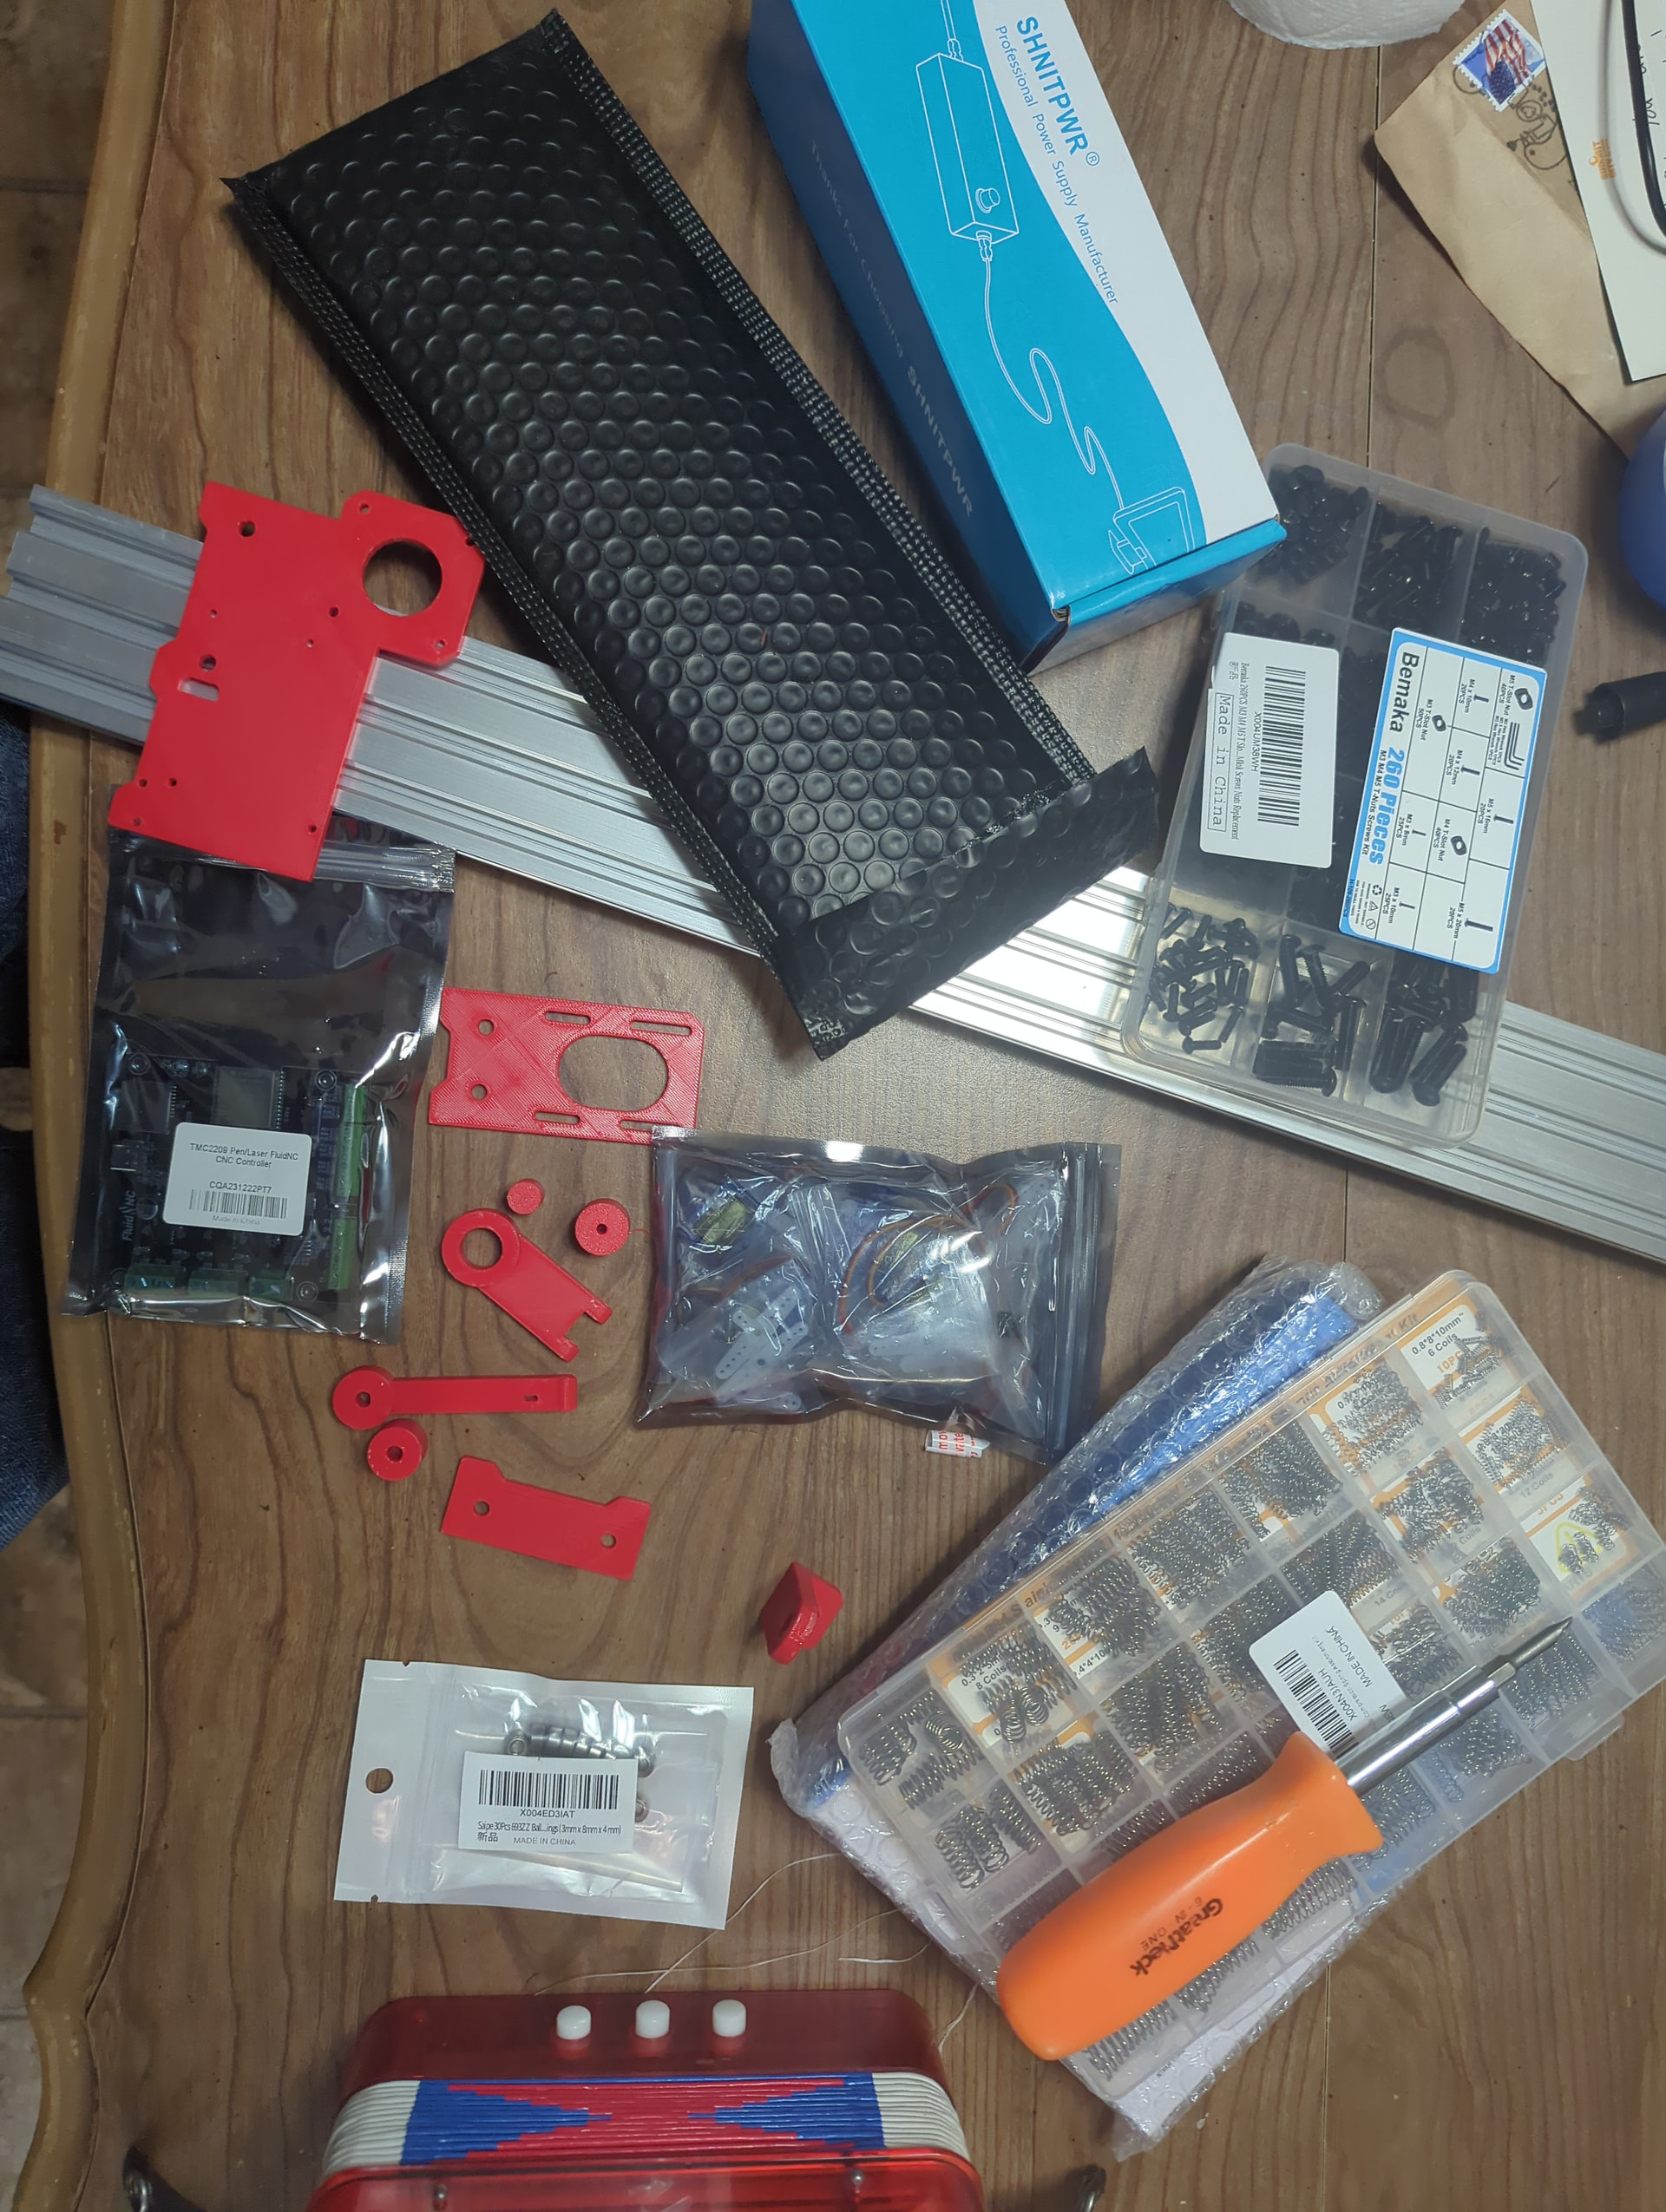
parts are printed. Hardware received. Now just need to find my nema 17s I ordered last year, cut the 2060 to six inches and start assembly. Hopefully can start it up this weekend.
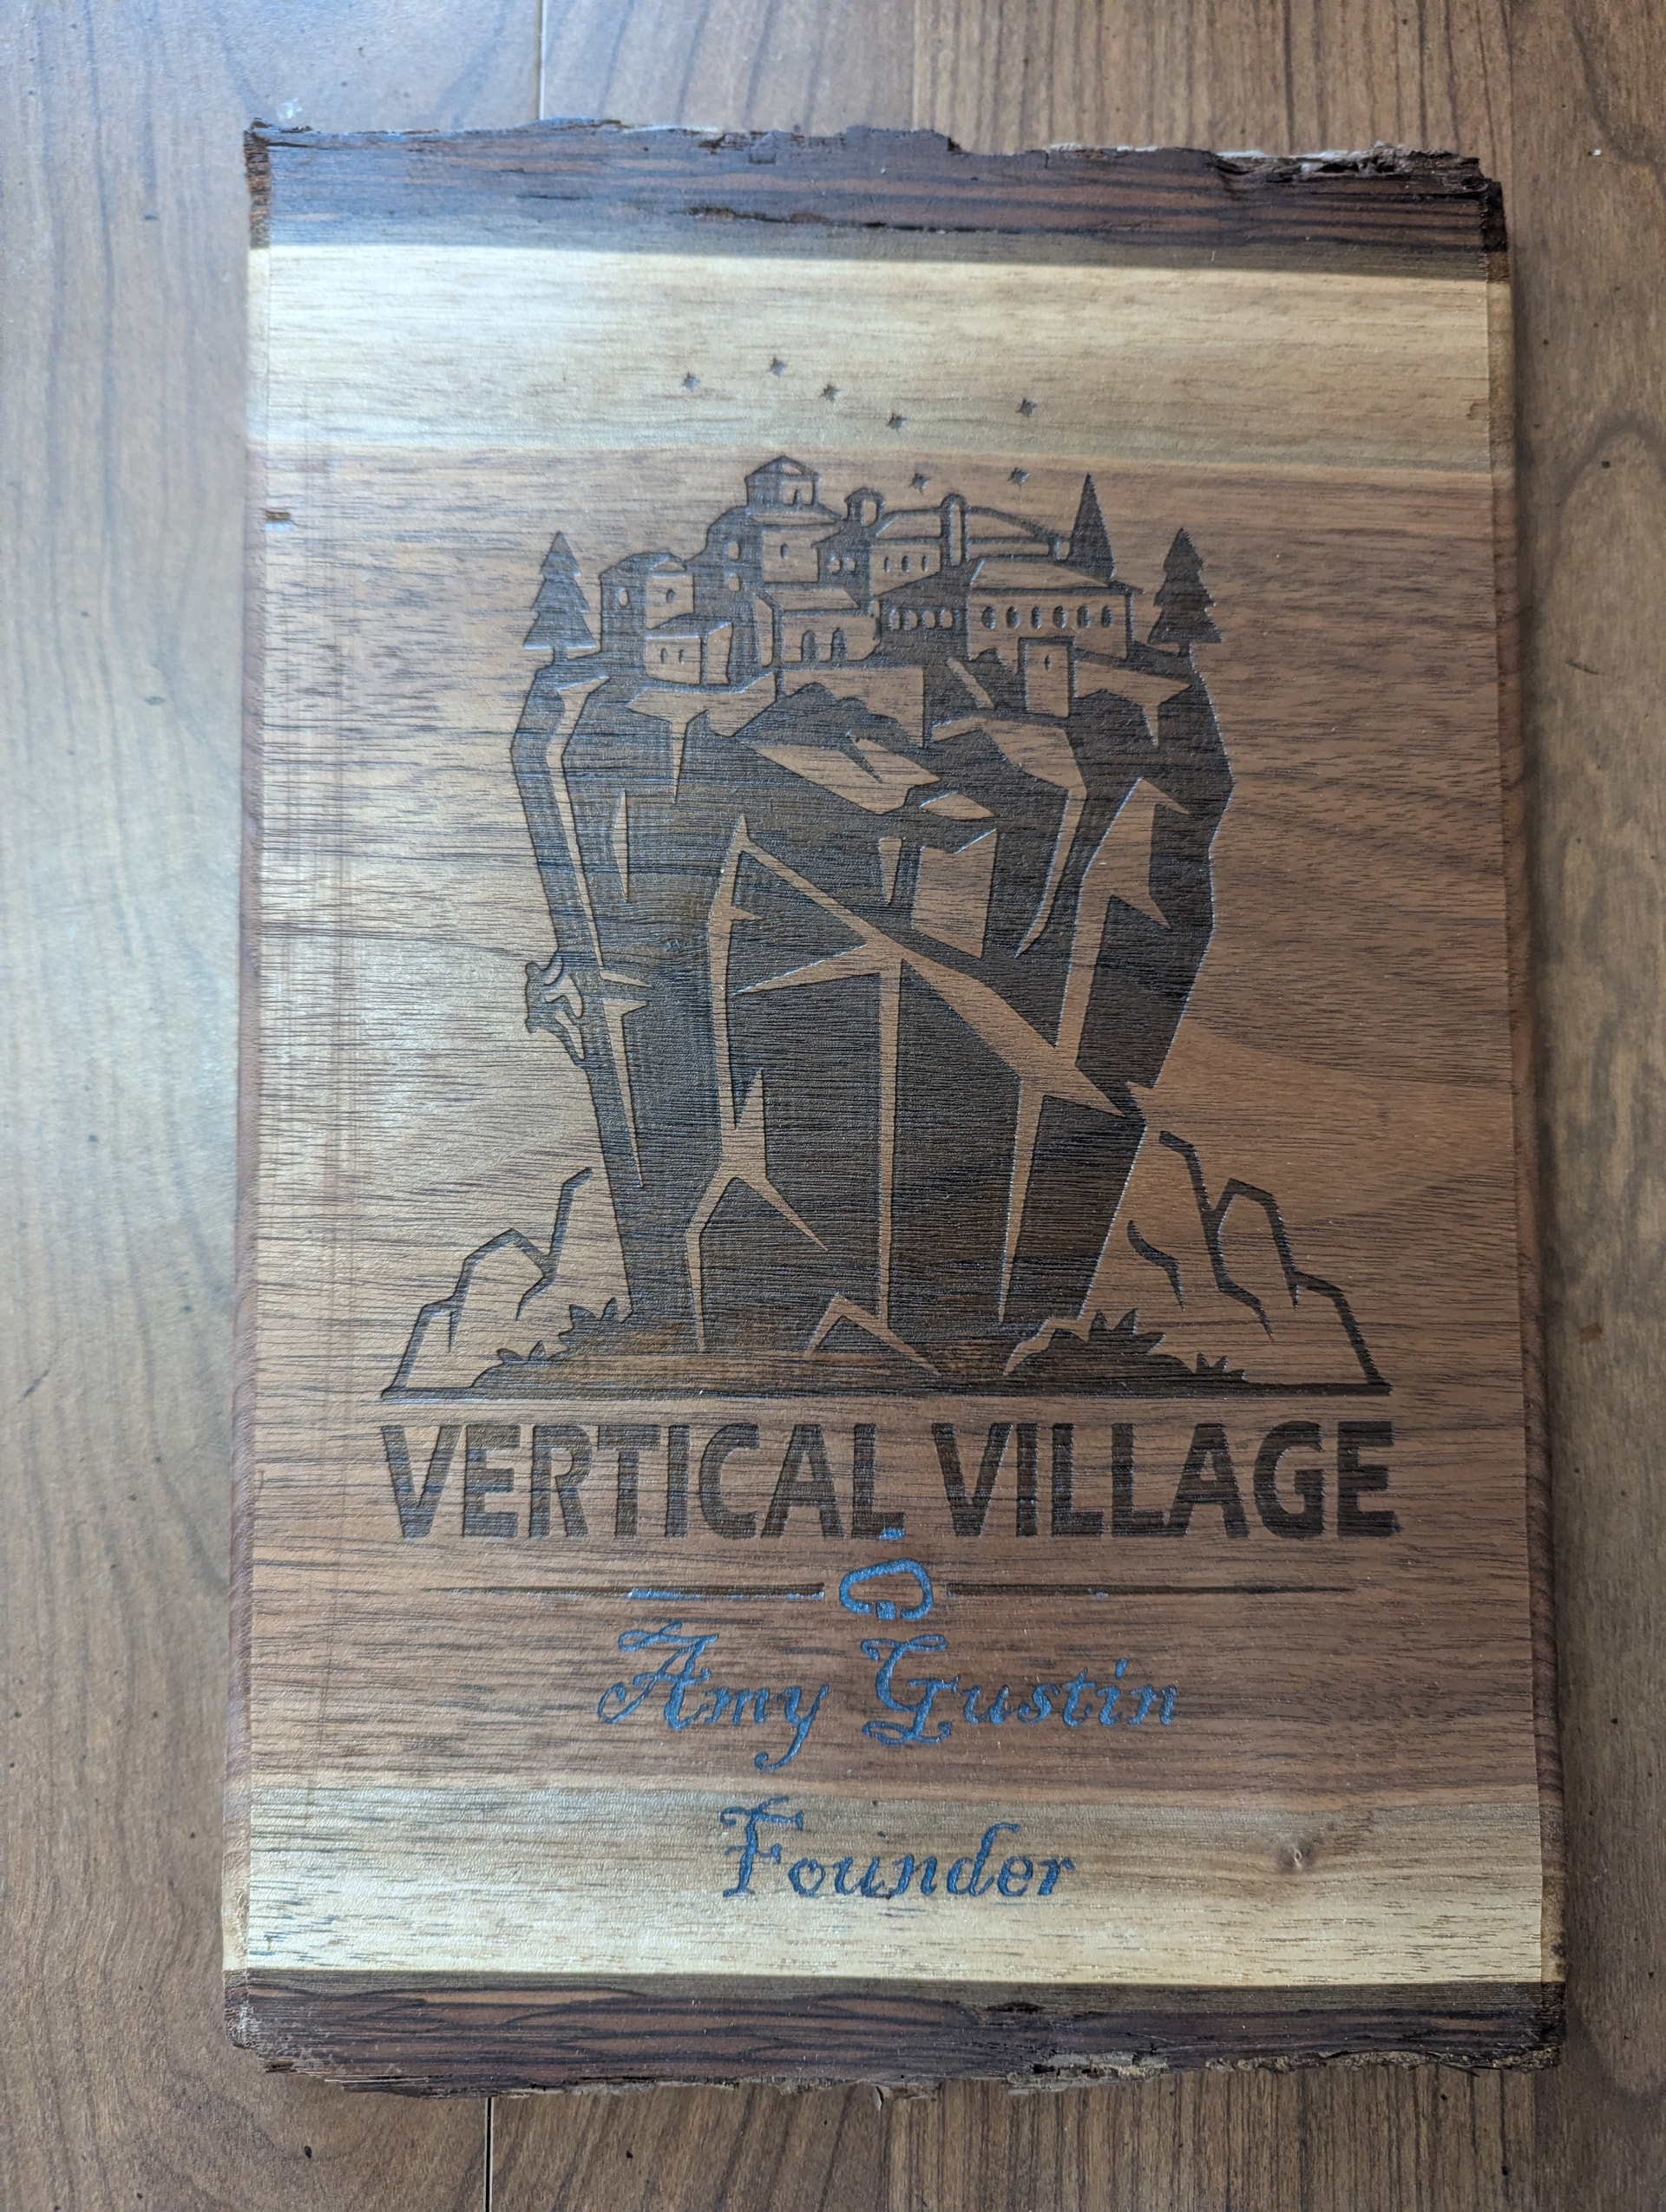
Had a three day delay making plaques for my co-investors in the first roped climbing gym in my town. Aside from the parallegramness (or maybe it’s just the non-parallel grain?), they turned out well. (Ignore the vertical scratch, this one is getting a better finish)
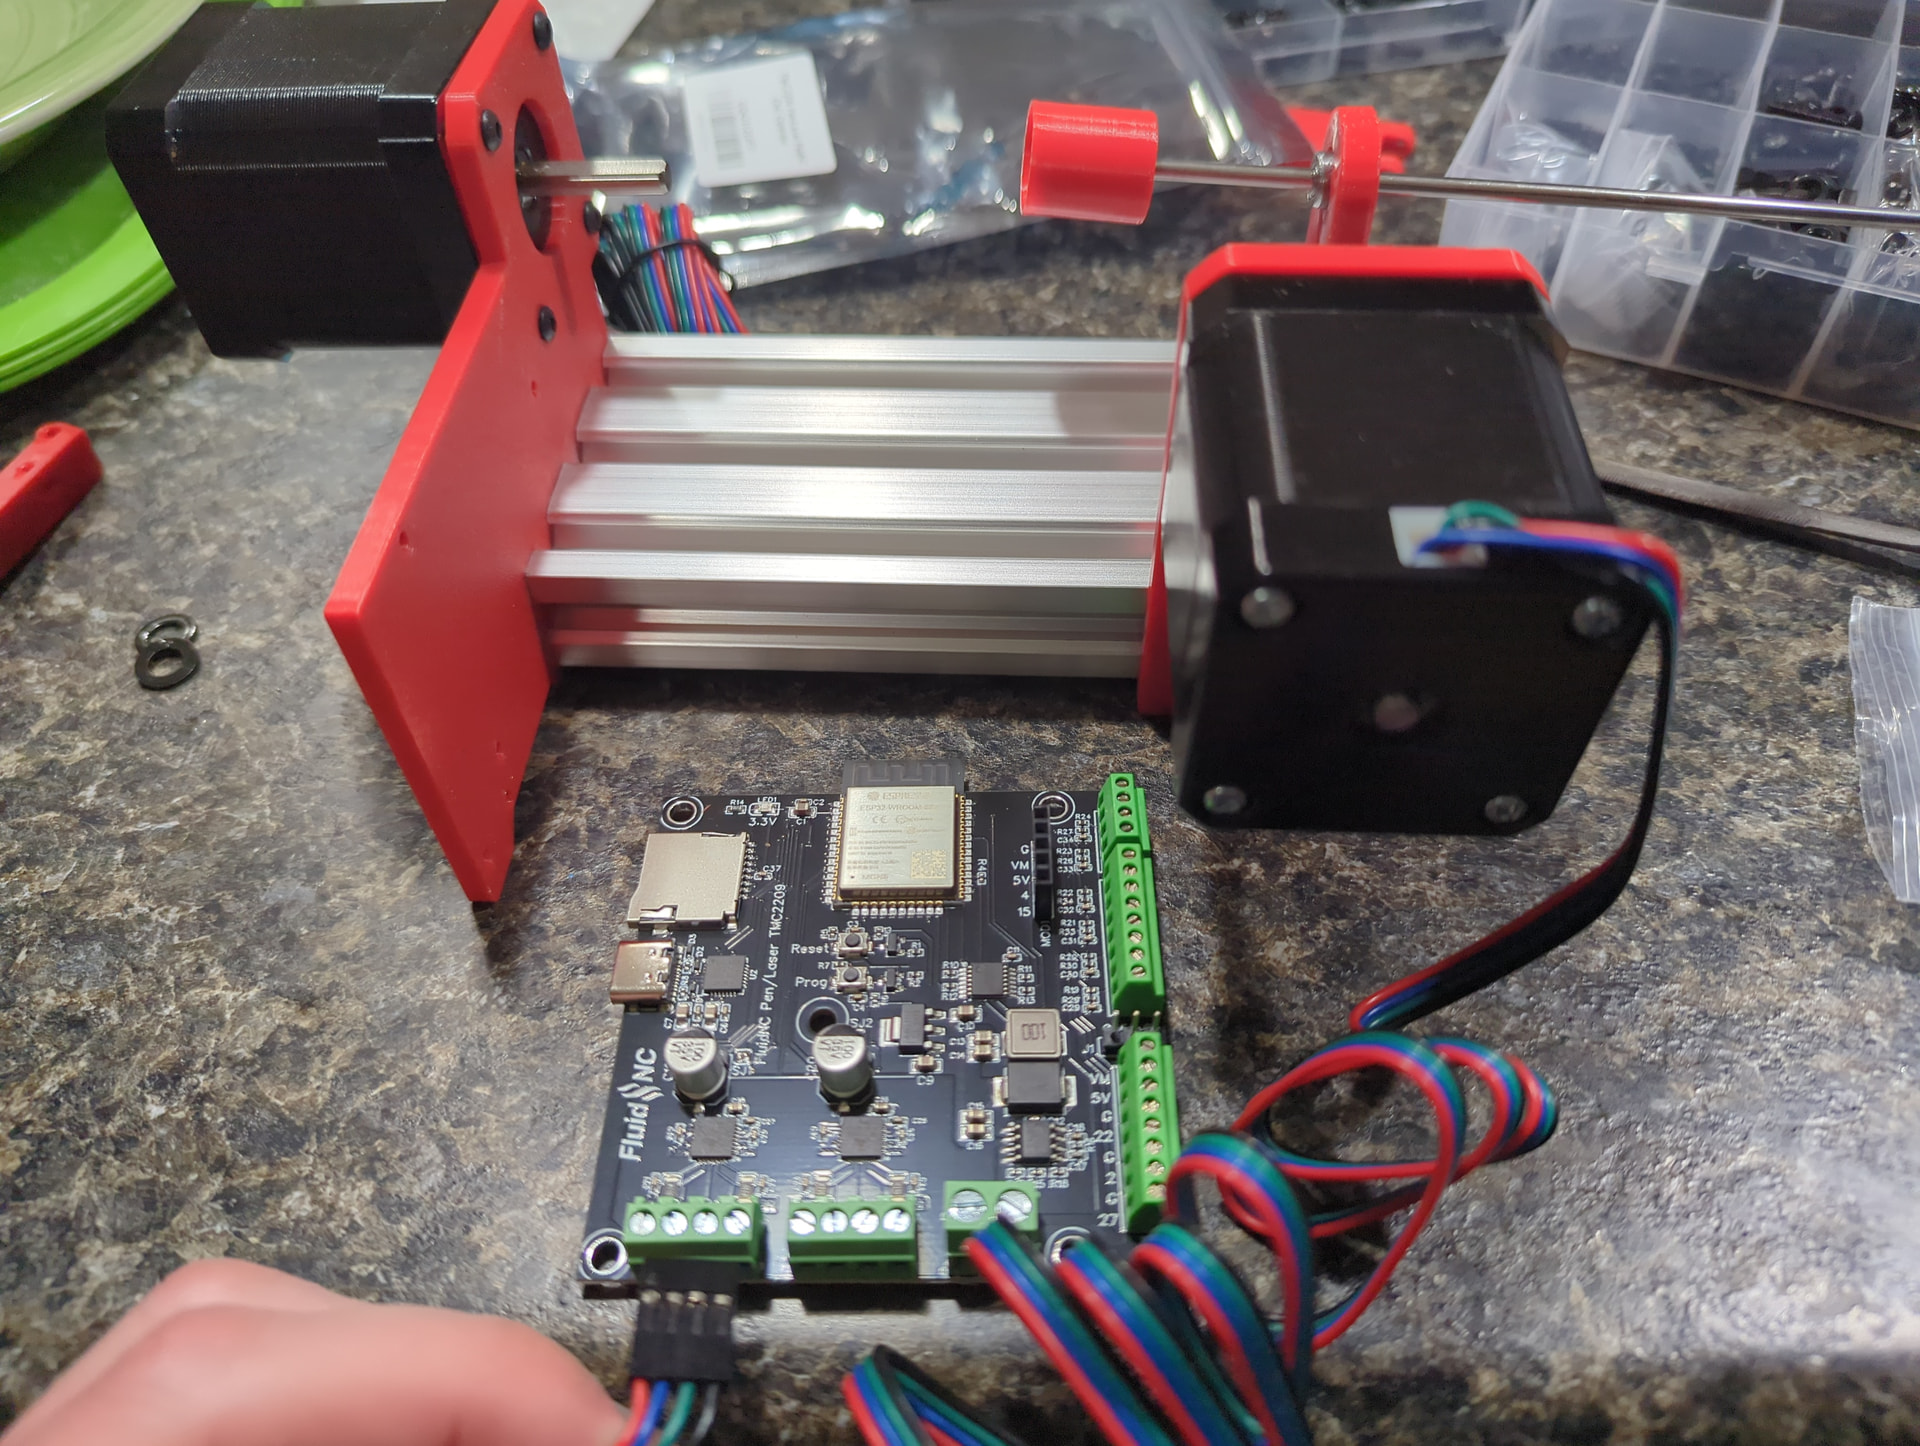
Got the end plates on. I forced the m5 bolts to make threads on one side since I didn’t think to get a tap which was a pain and frustrating. The other side I ran a 11/64th bit through the end first and that made the bolt tapping quite a bit easier, though still not painless; the bolts are a bit off perpendicular. A theme with most of my work I guess.
Another get together tonight so hopefully more progress tomorrow.
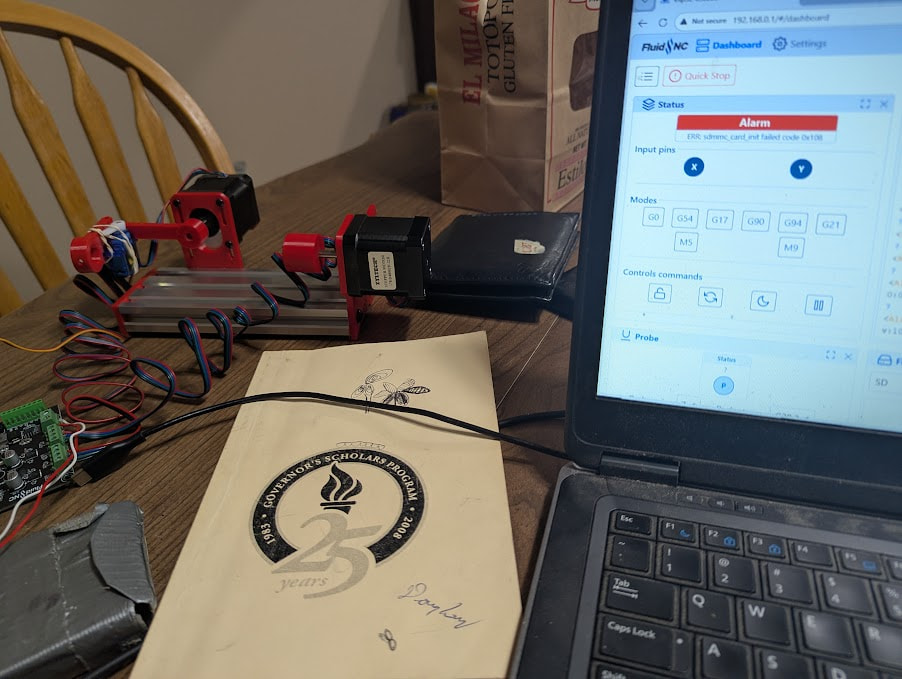
Pretty much everything is together but need to debug a few things. Probably need to chuck an SD card in there to resolve an error so need to go buy one of them. Super easy to get fluidnc onto the the board and connect to it which was suprisingly nice. Every time I try to connect to an industrial PLC, there’s usually about 2 hours worth of downdating software, updating firmware, changing computer network settings, then changing PLC network settings, then finally updating code. I like the change of pace.
Took a little sidetrack in trying to edit the Y stepper holder arm and learned how to use some of the mesh tools in fusion 360. Often I want to make a hole a little bigger or add some text so being able to edit the mesh without having to convert to a solid first will be handy in the future. I missed that all of the edited parts were already in FluidNC Eggbot - #56 by jeyeager which worked out perfect.
Hopefully tomorrow I can get an SD card and get everything moving.
What fortune! Realized I had one on top of my desktop which I rarely use. Plugged it in, X and Y are moving. My servo was making a ton of noise during start up so swapped the plug around. Now it doesn’t move using the fluidNC z movement commands or spindle control so need to figure that out.