I bought a 9 pack of servos for like nine bucks. I’m wondering if this one is a dud. As soon as I plug in the board, the servo starts at a low pitch and slowly increases in pitch over 1-2 minutes. So probably not a board configuration because its before it even fully boots and that I’m using the .yaml James provided and he’s not having issues.
Definitely a servo issue. I probably abused it by strapping it on too tight before letting it get to zero upon startup (it seems to move once Powered on) or something but a gear is definitely off of it’s axle and grinding in the bigger gears. New servo works fine using the Z jog commands. Now to tighten everything down and learn the gcode side of things!
That is definitely one way to make sure you never make the same mistake again lol. That would really put a damper on my day, I much prefer my way this is the first time I’ve wired up a servo so I’m content with the learning experience.
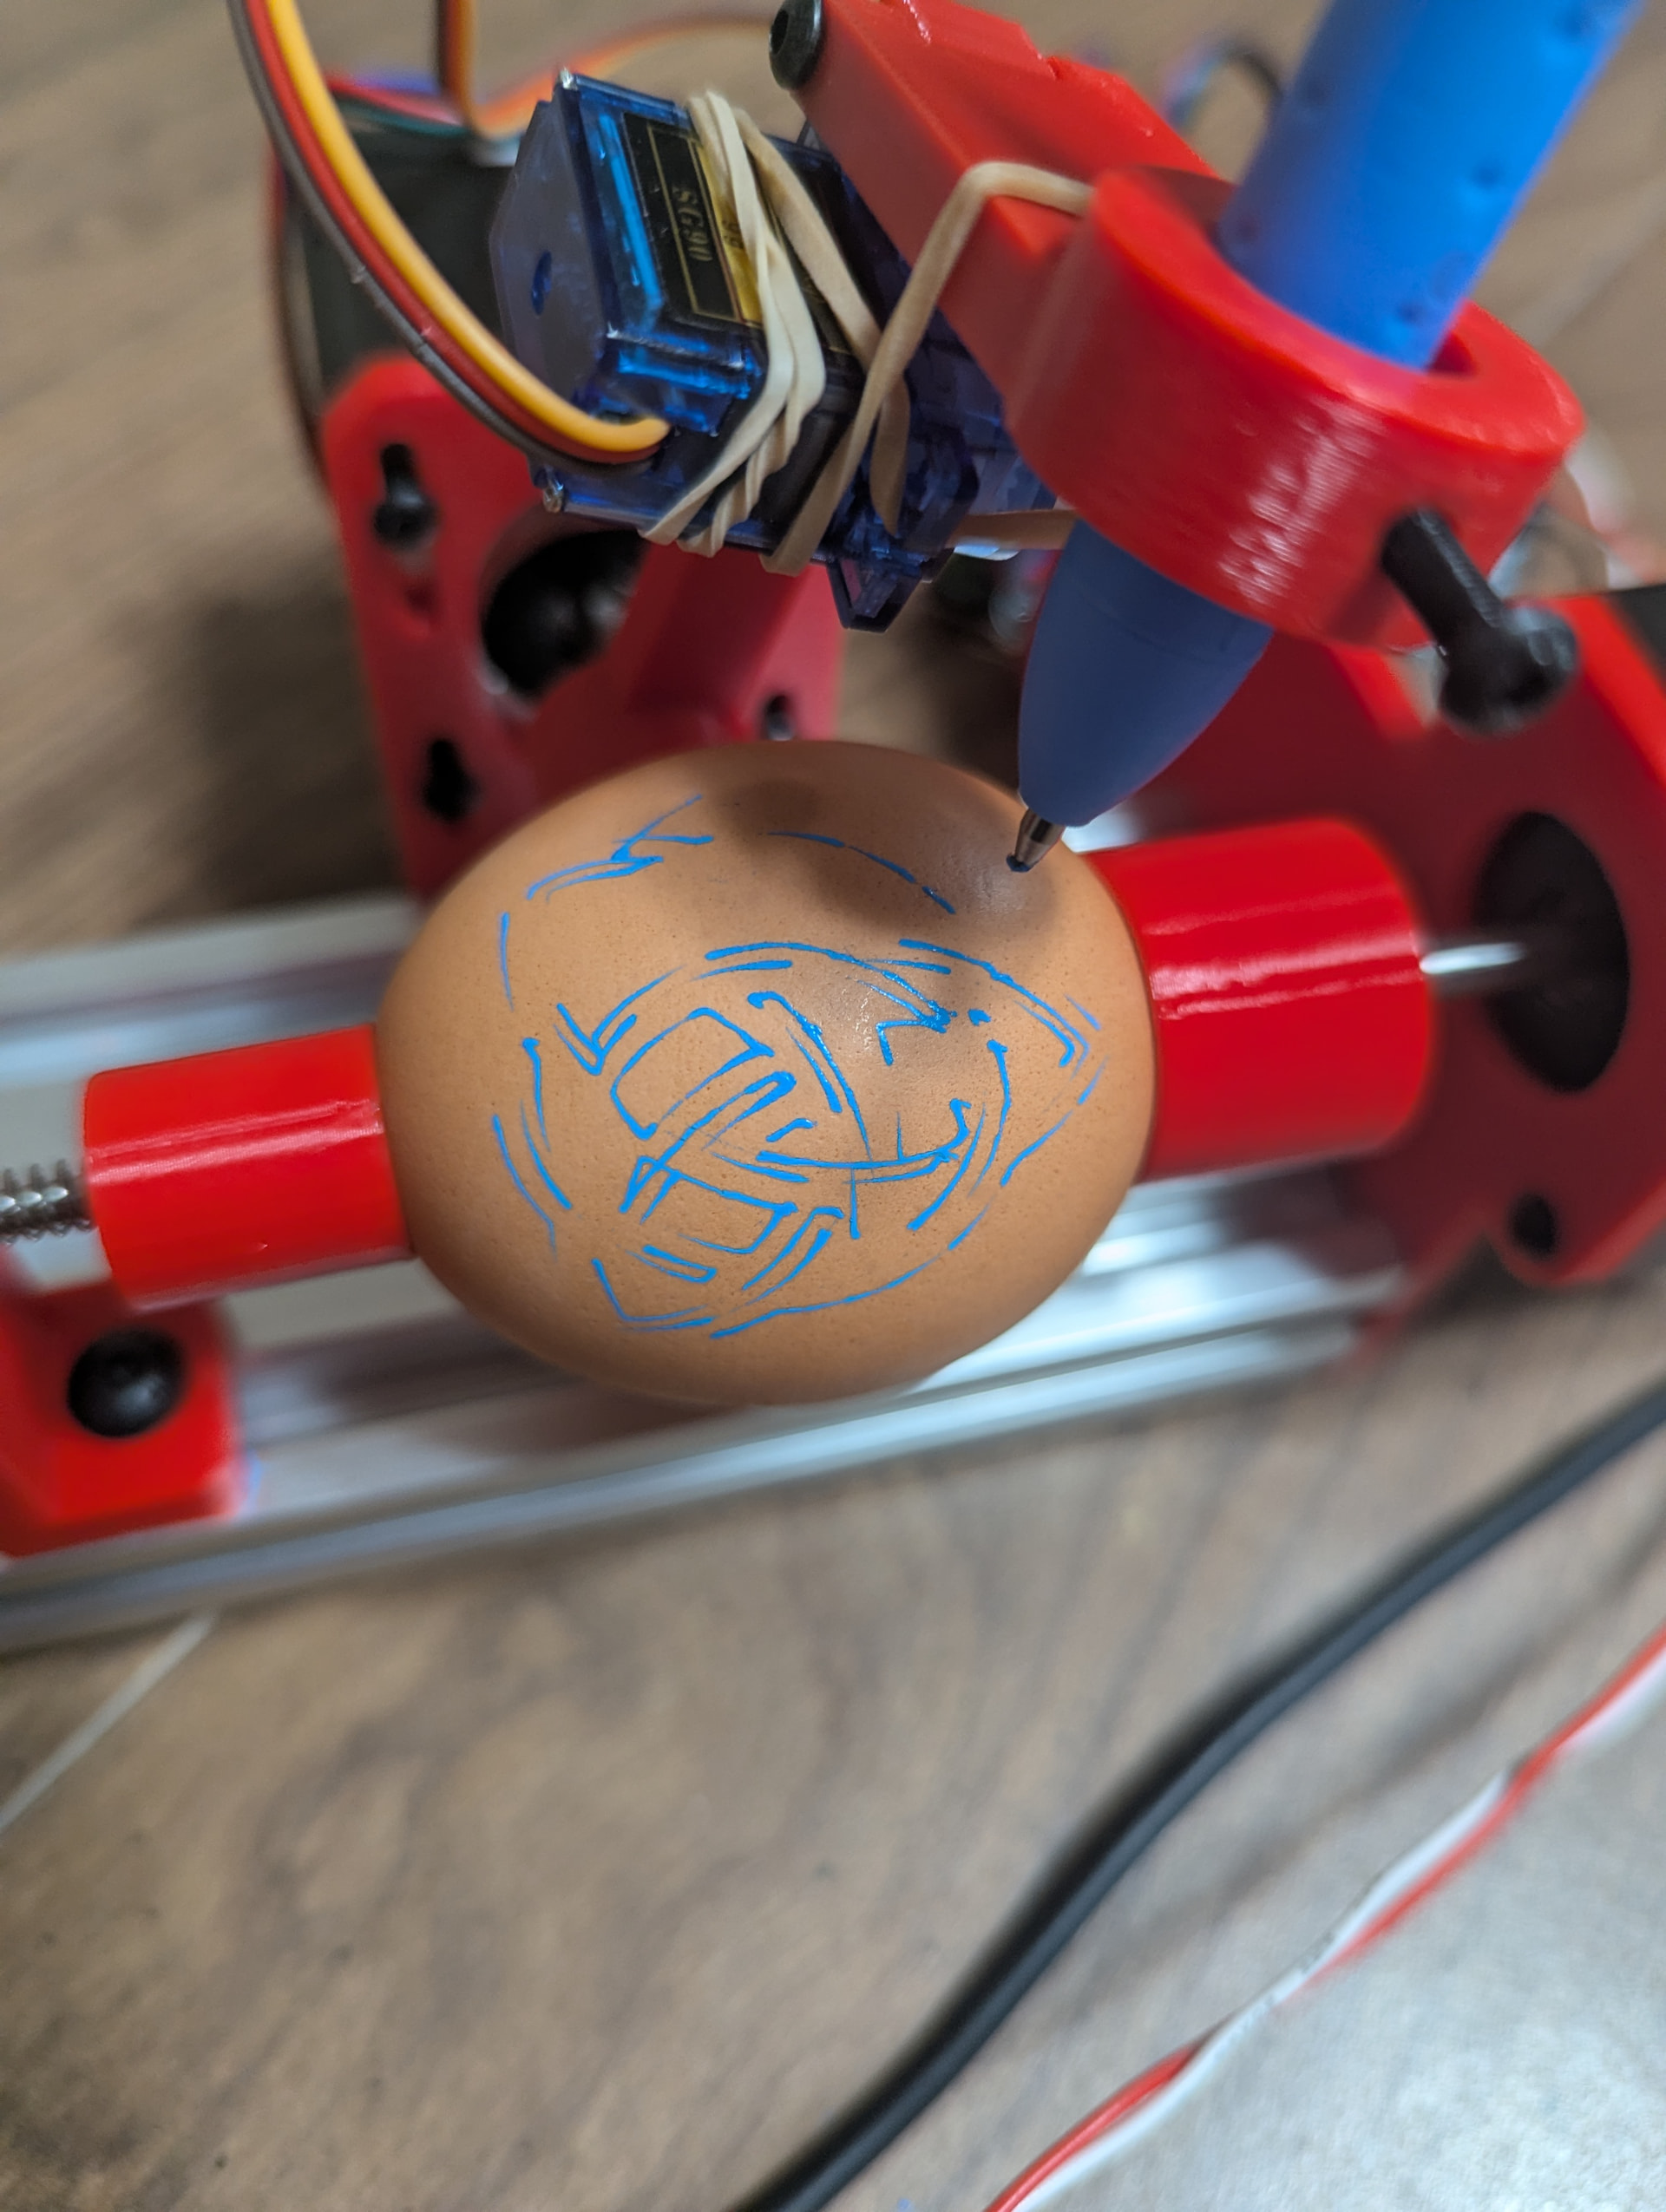
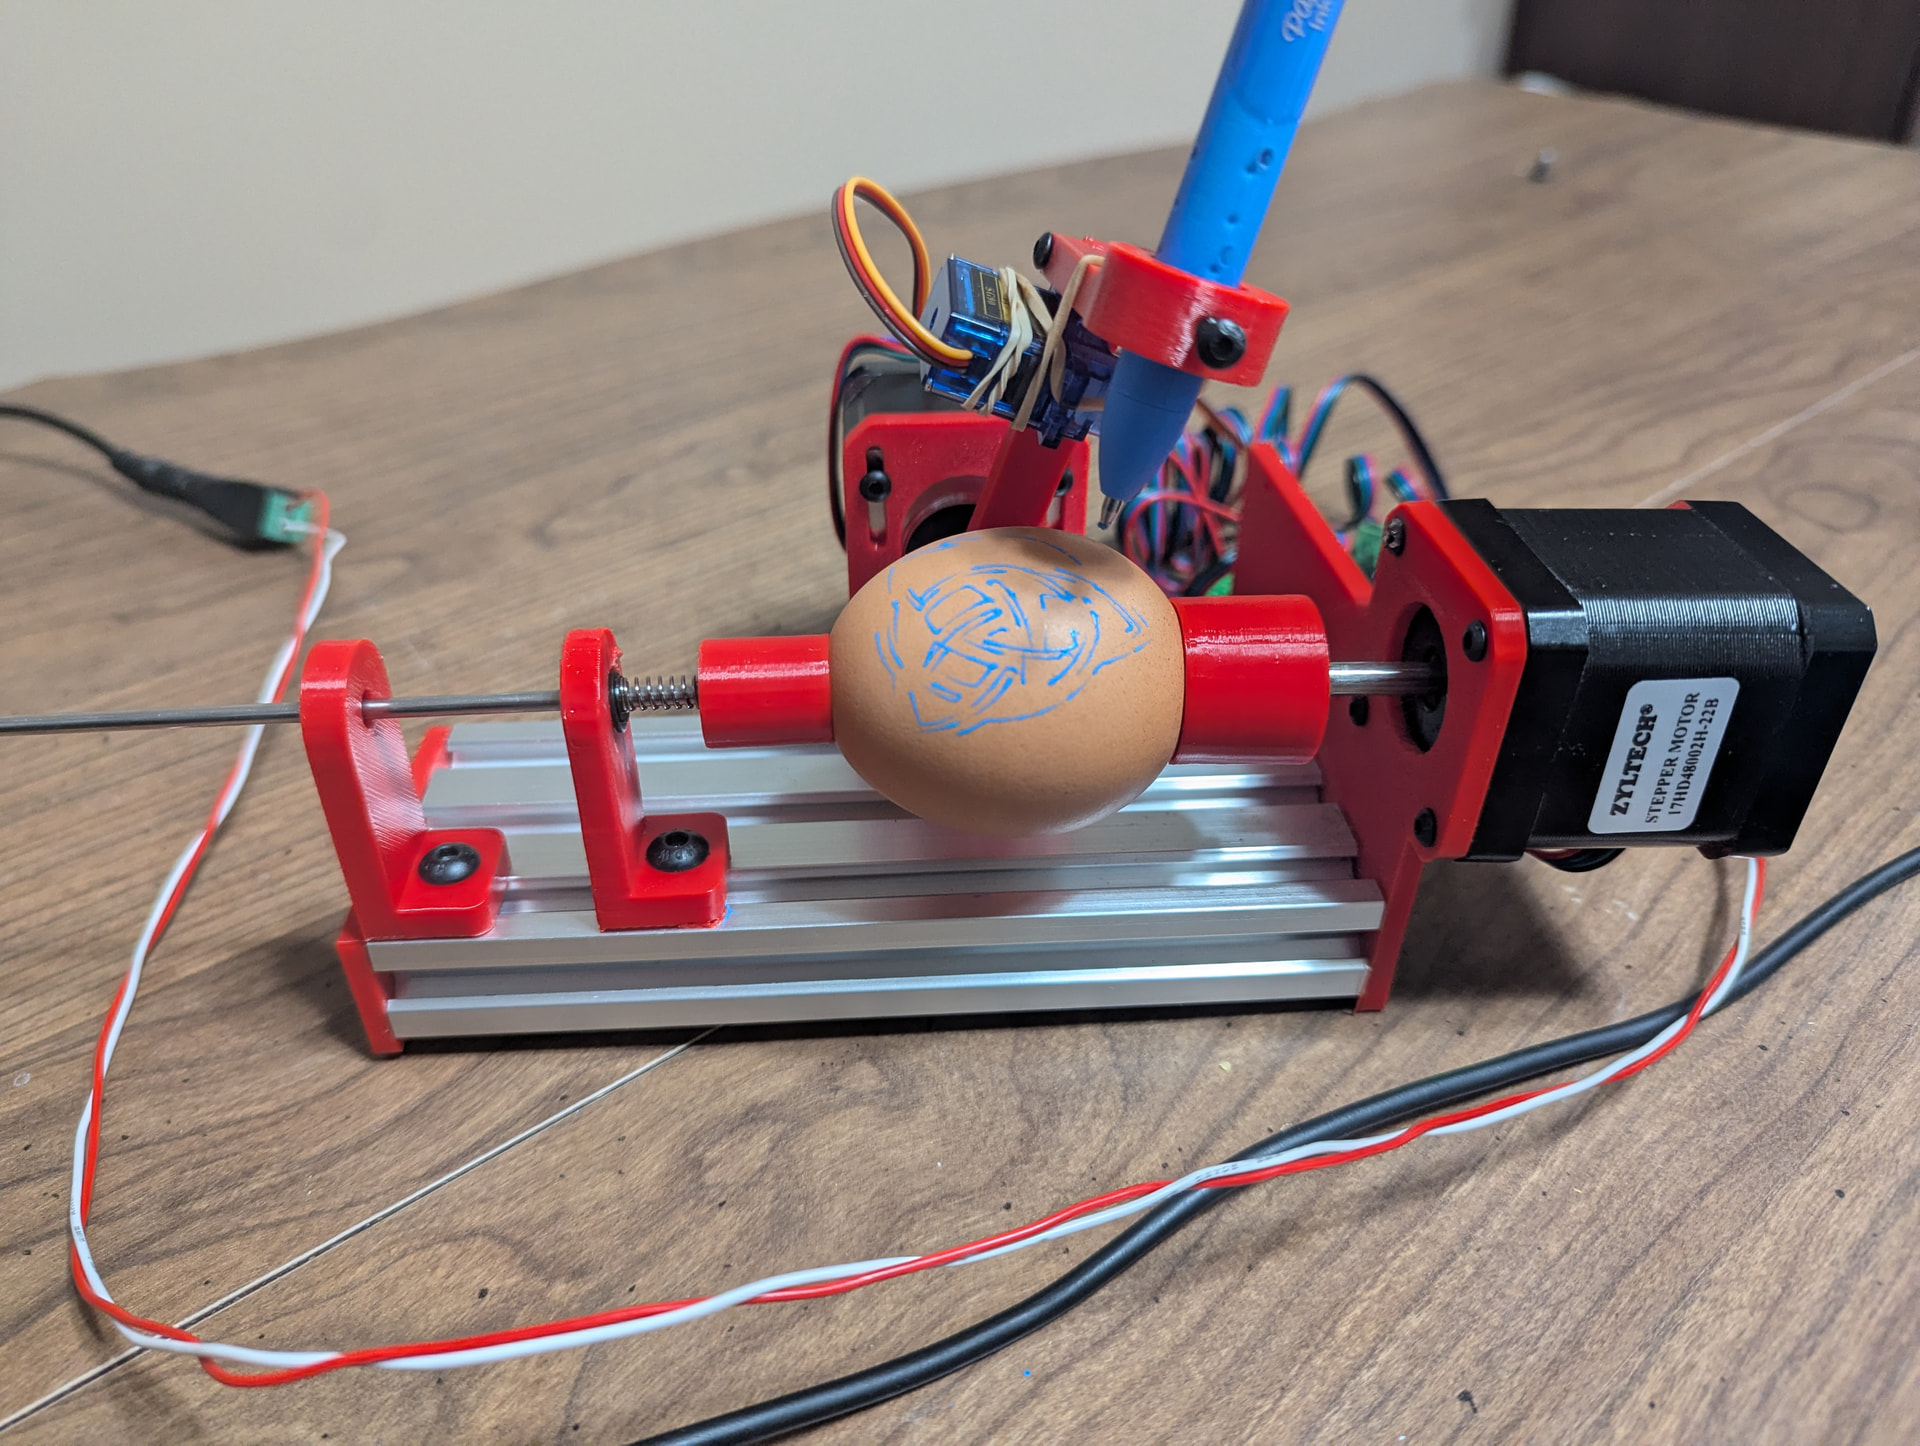
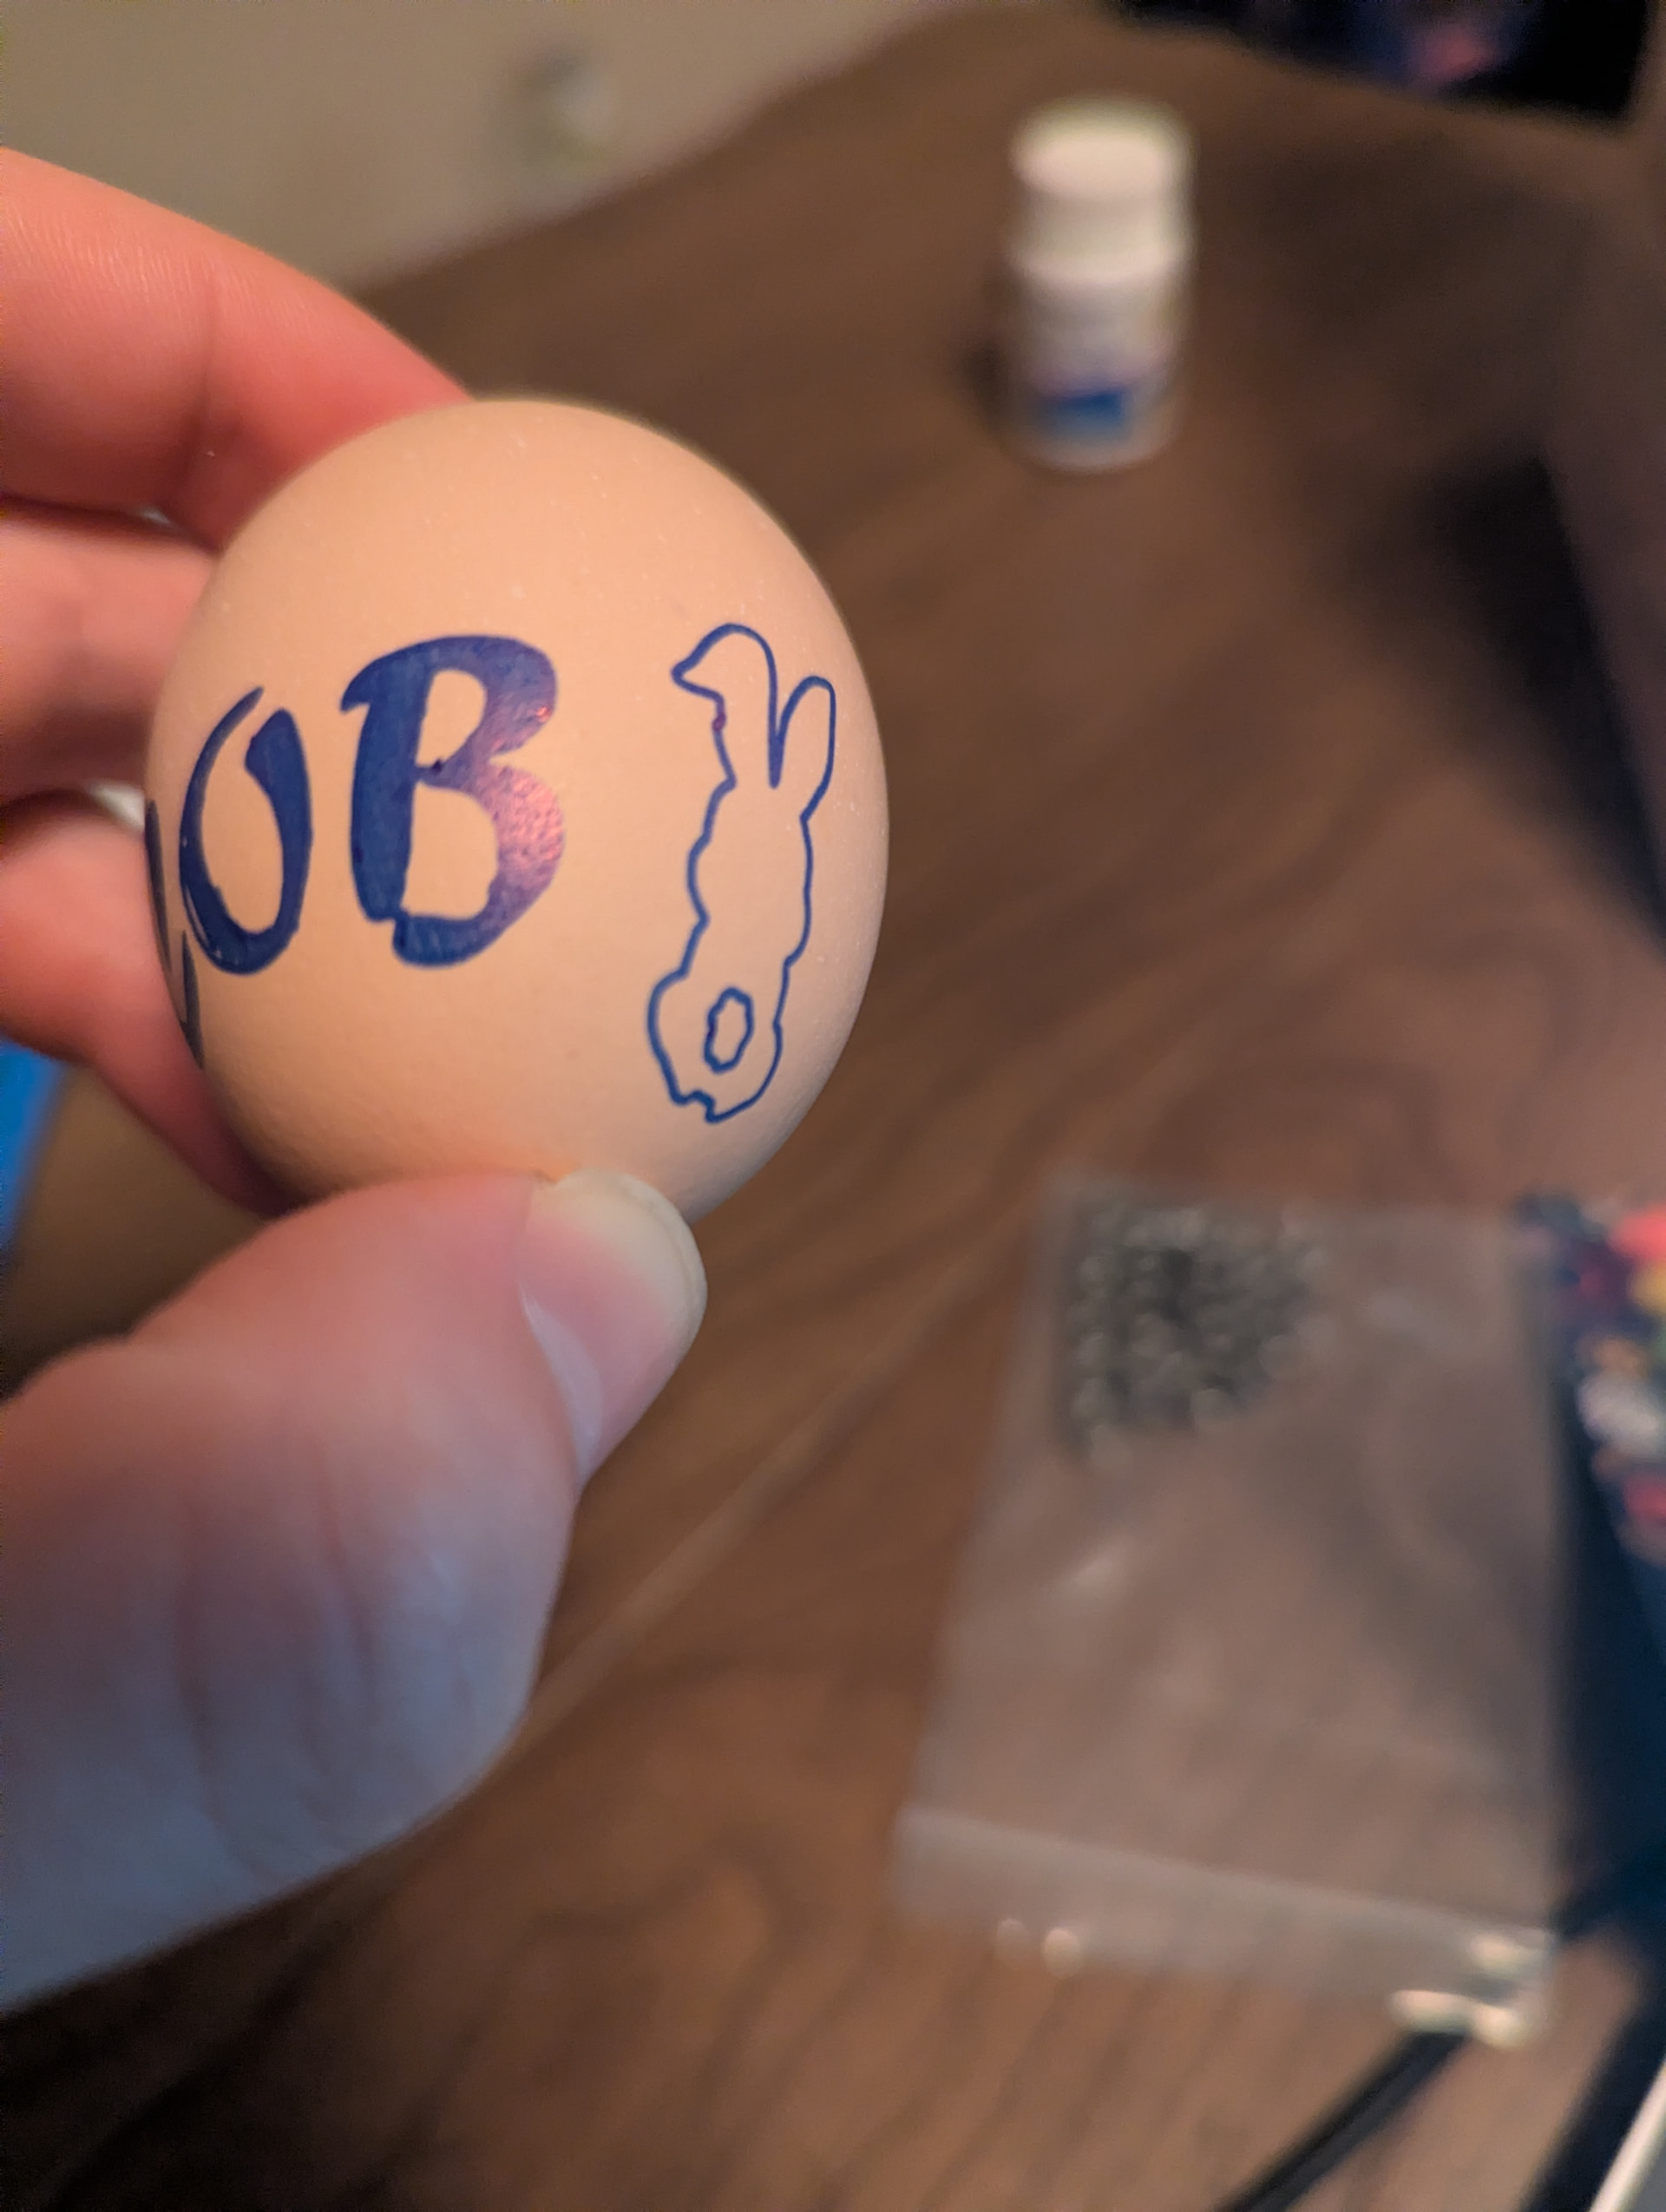
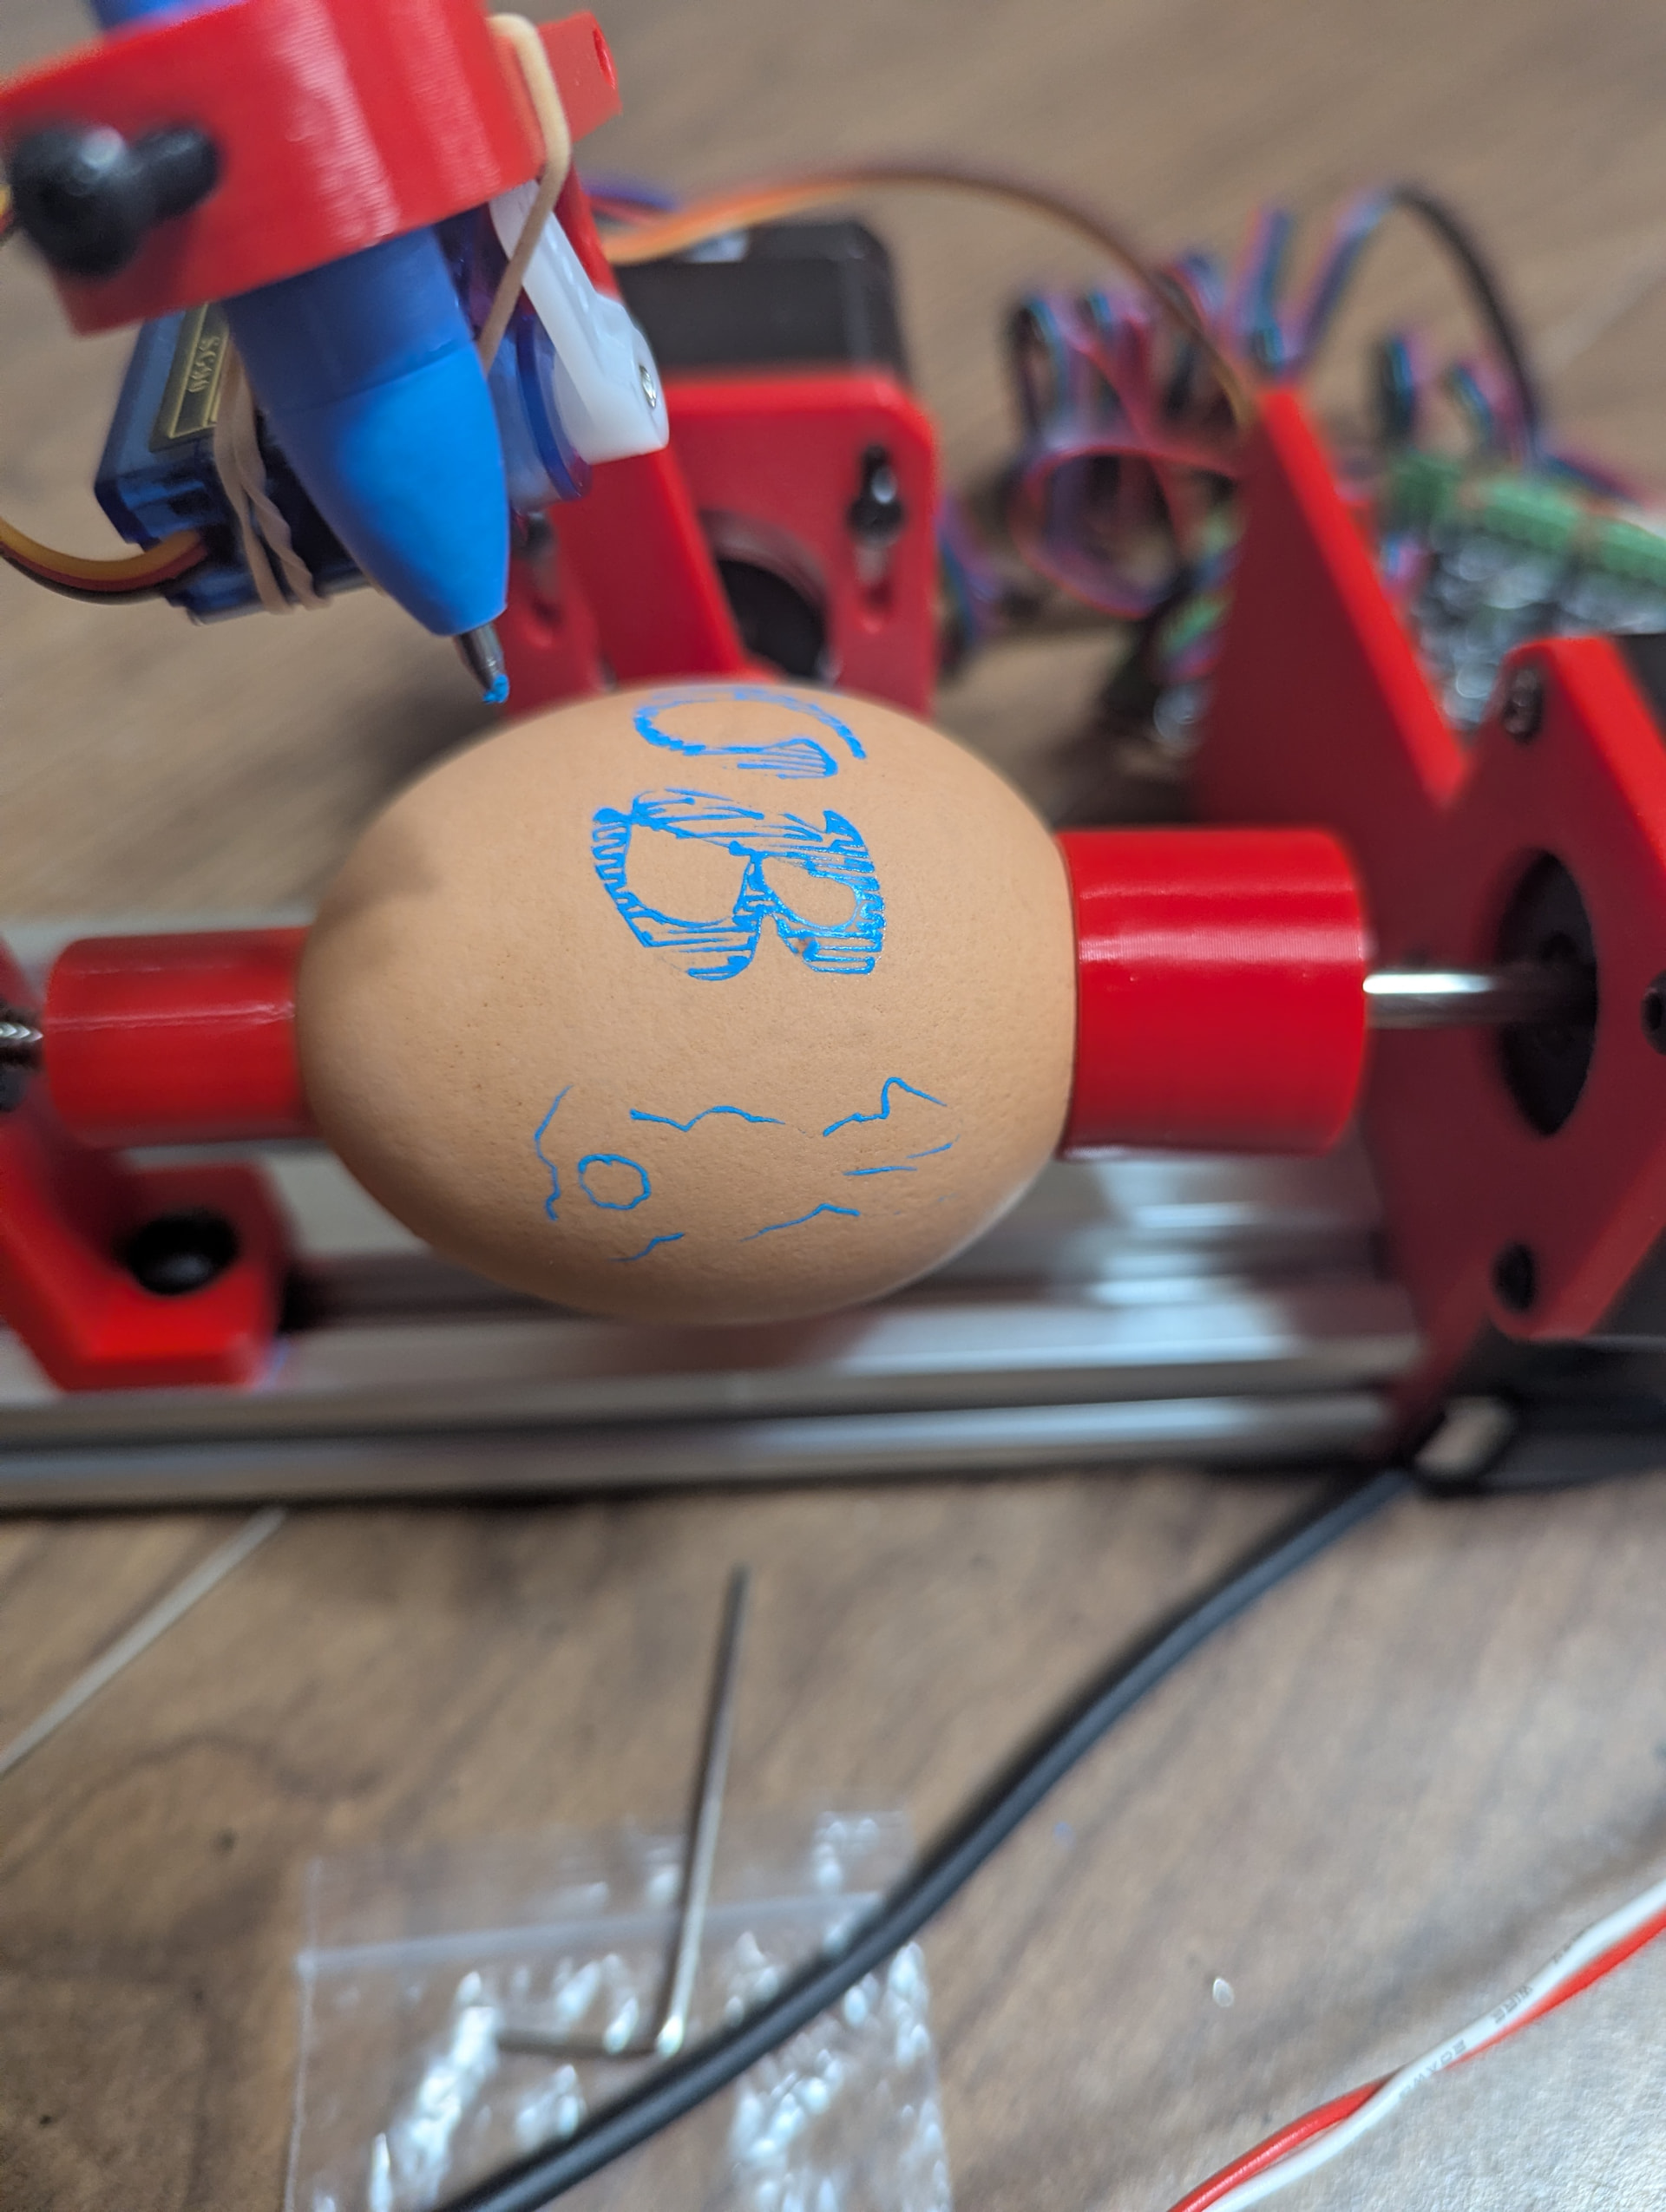
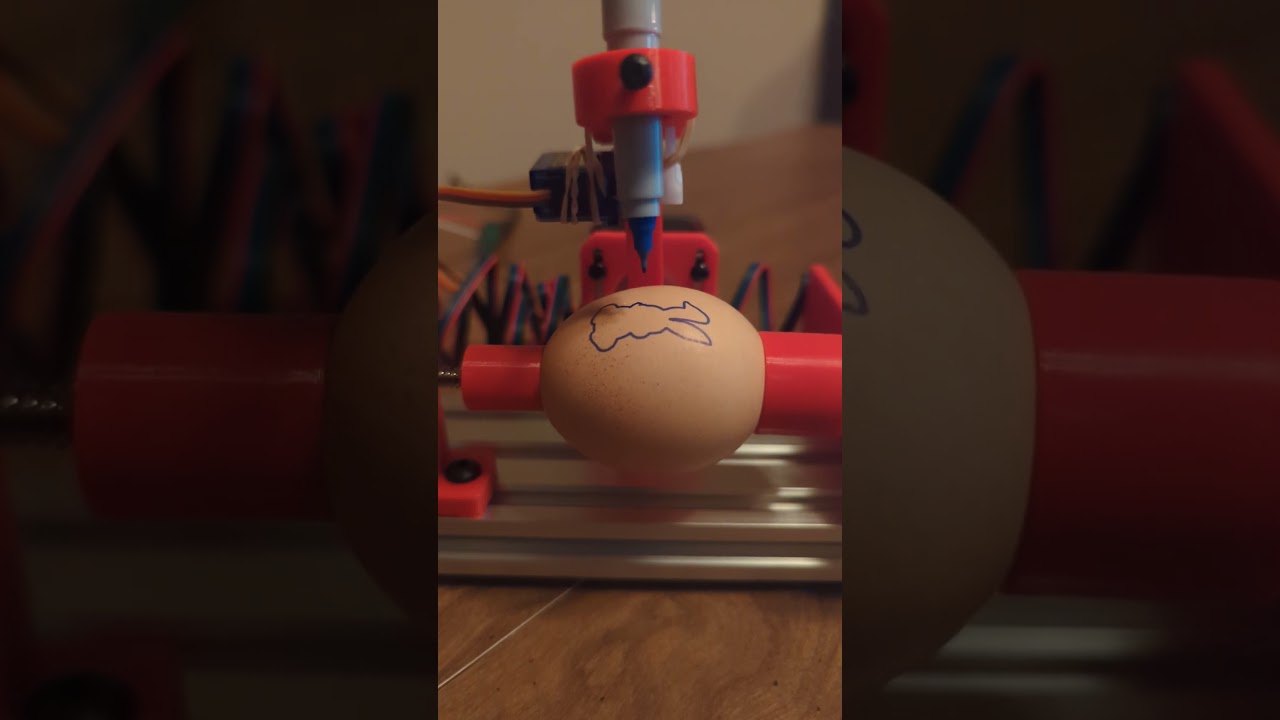
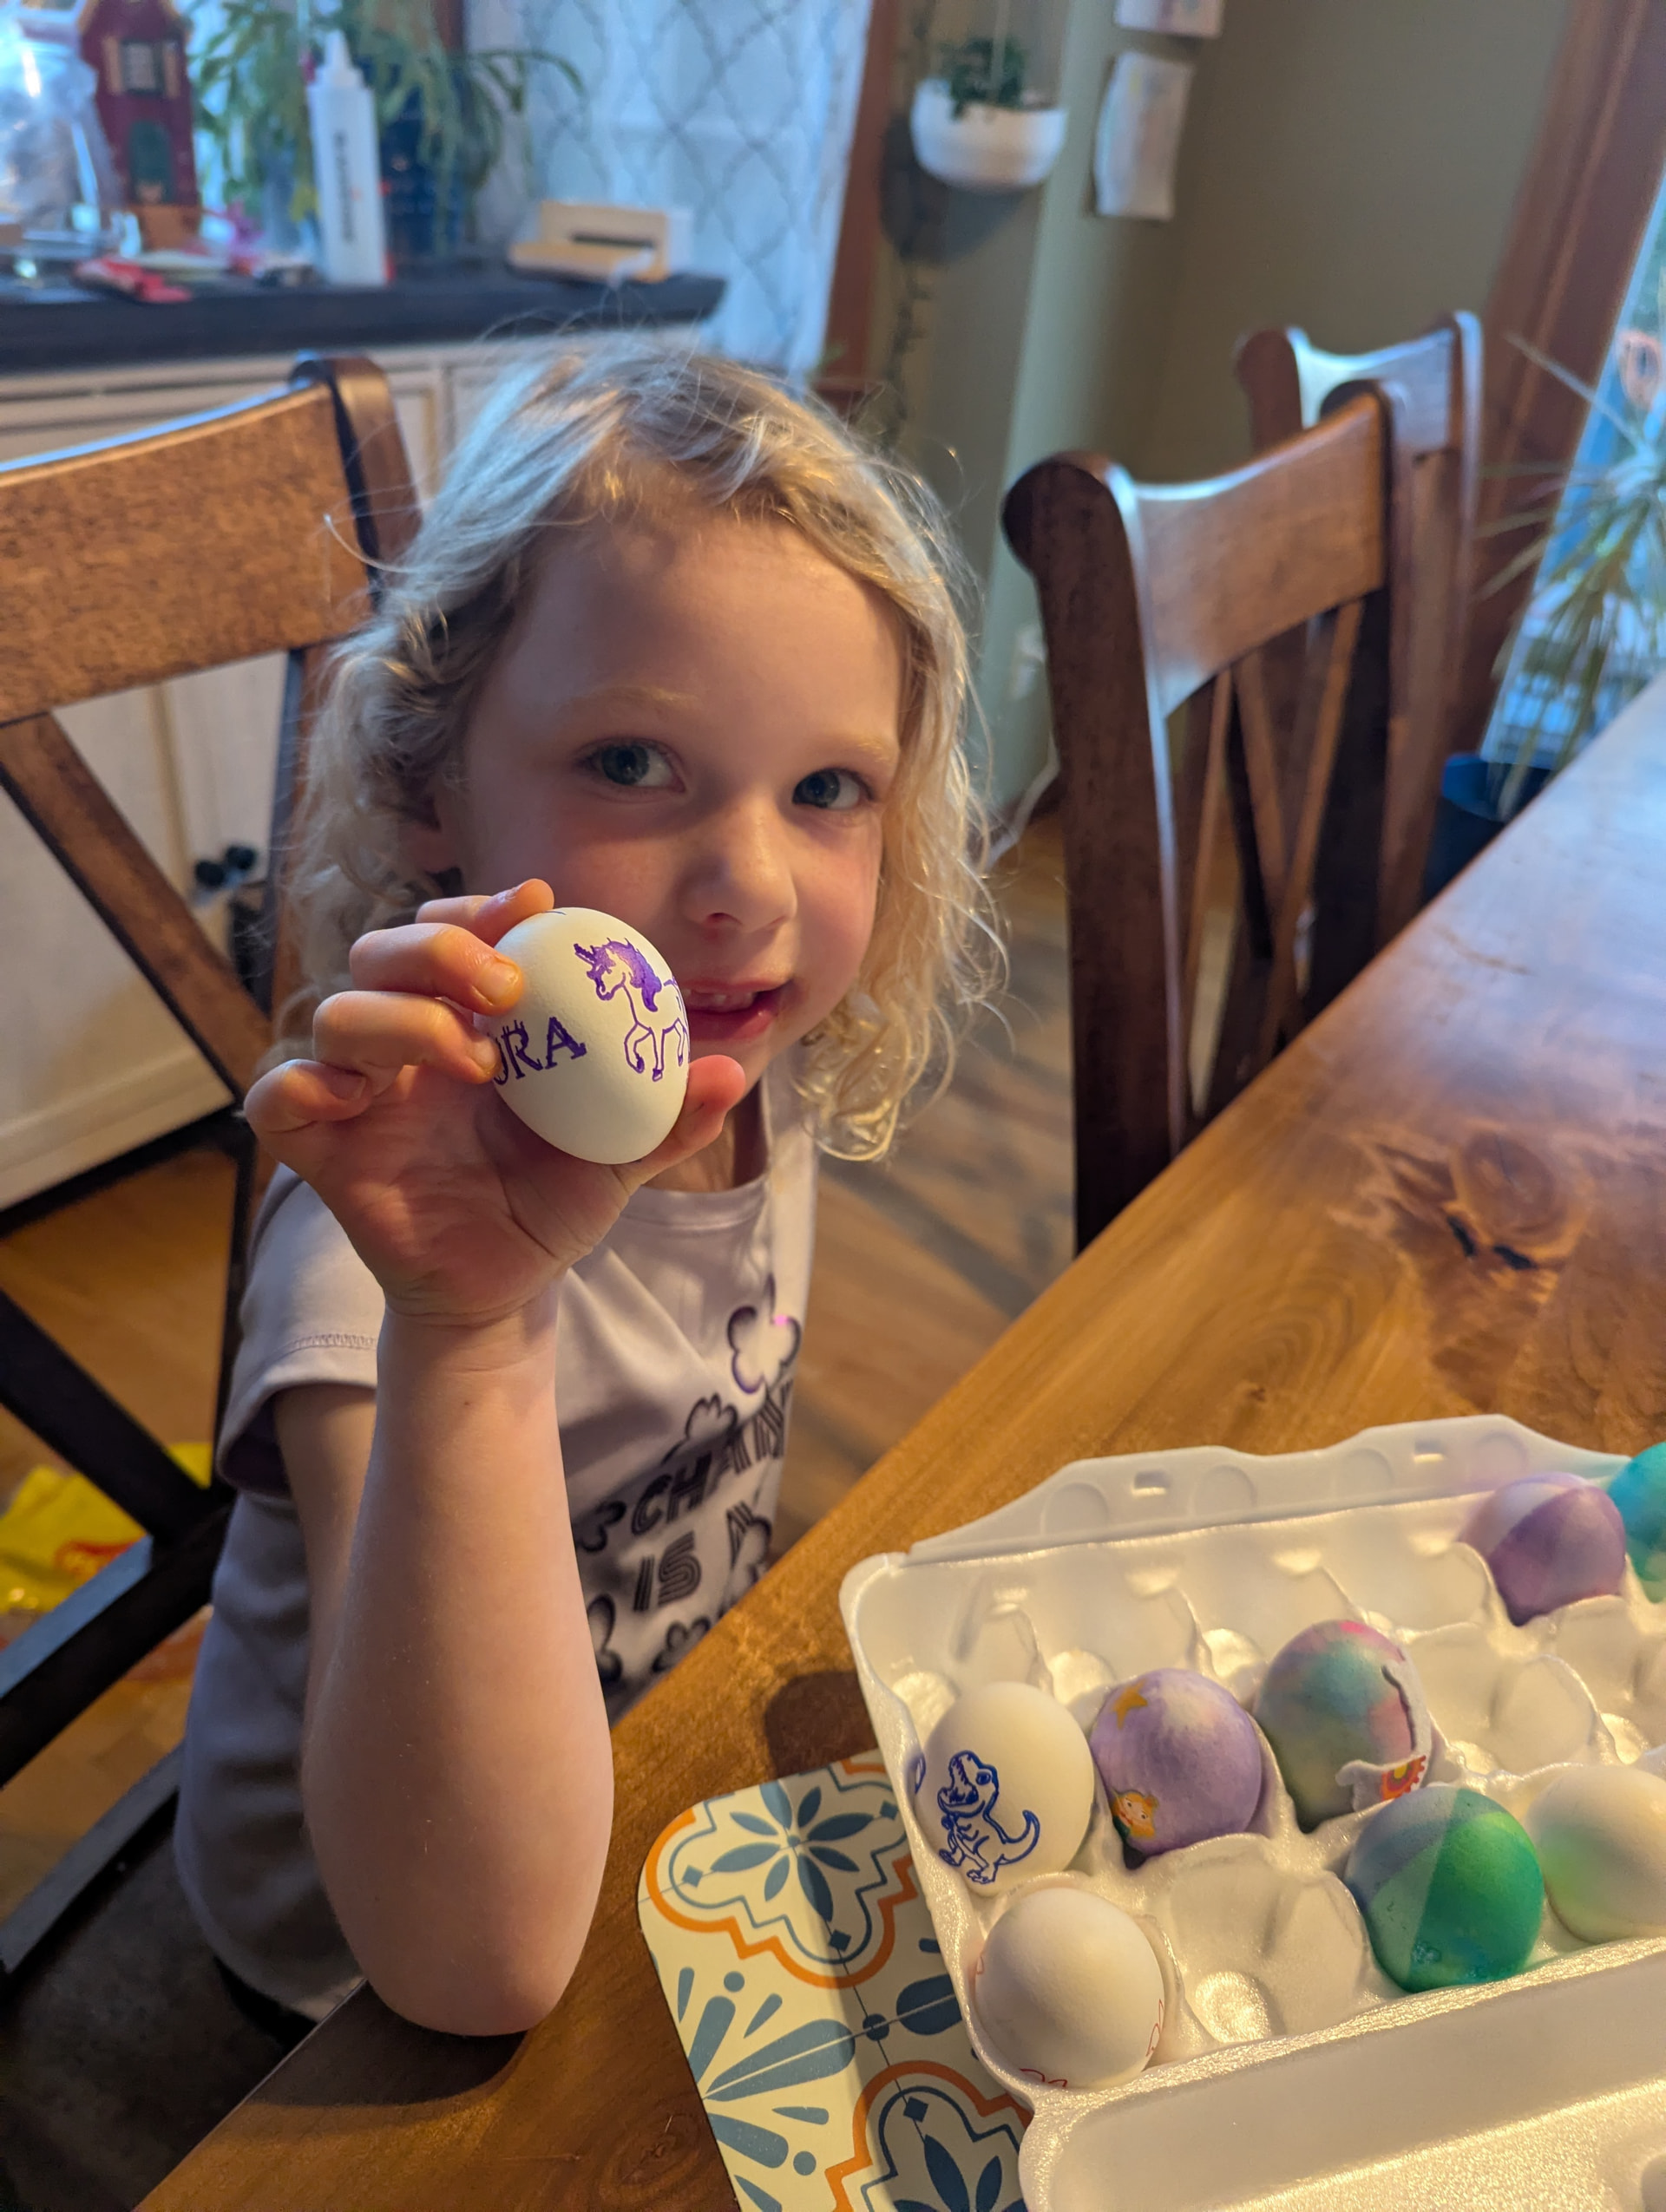
After some debating on which way the server goes and double checking the rubber band routing, I boiled some eggs and tried it out!
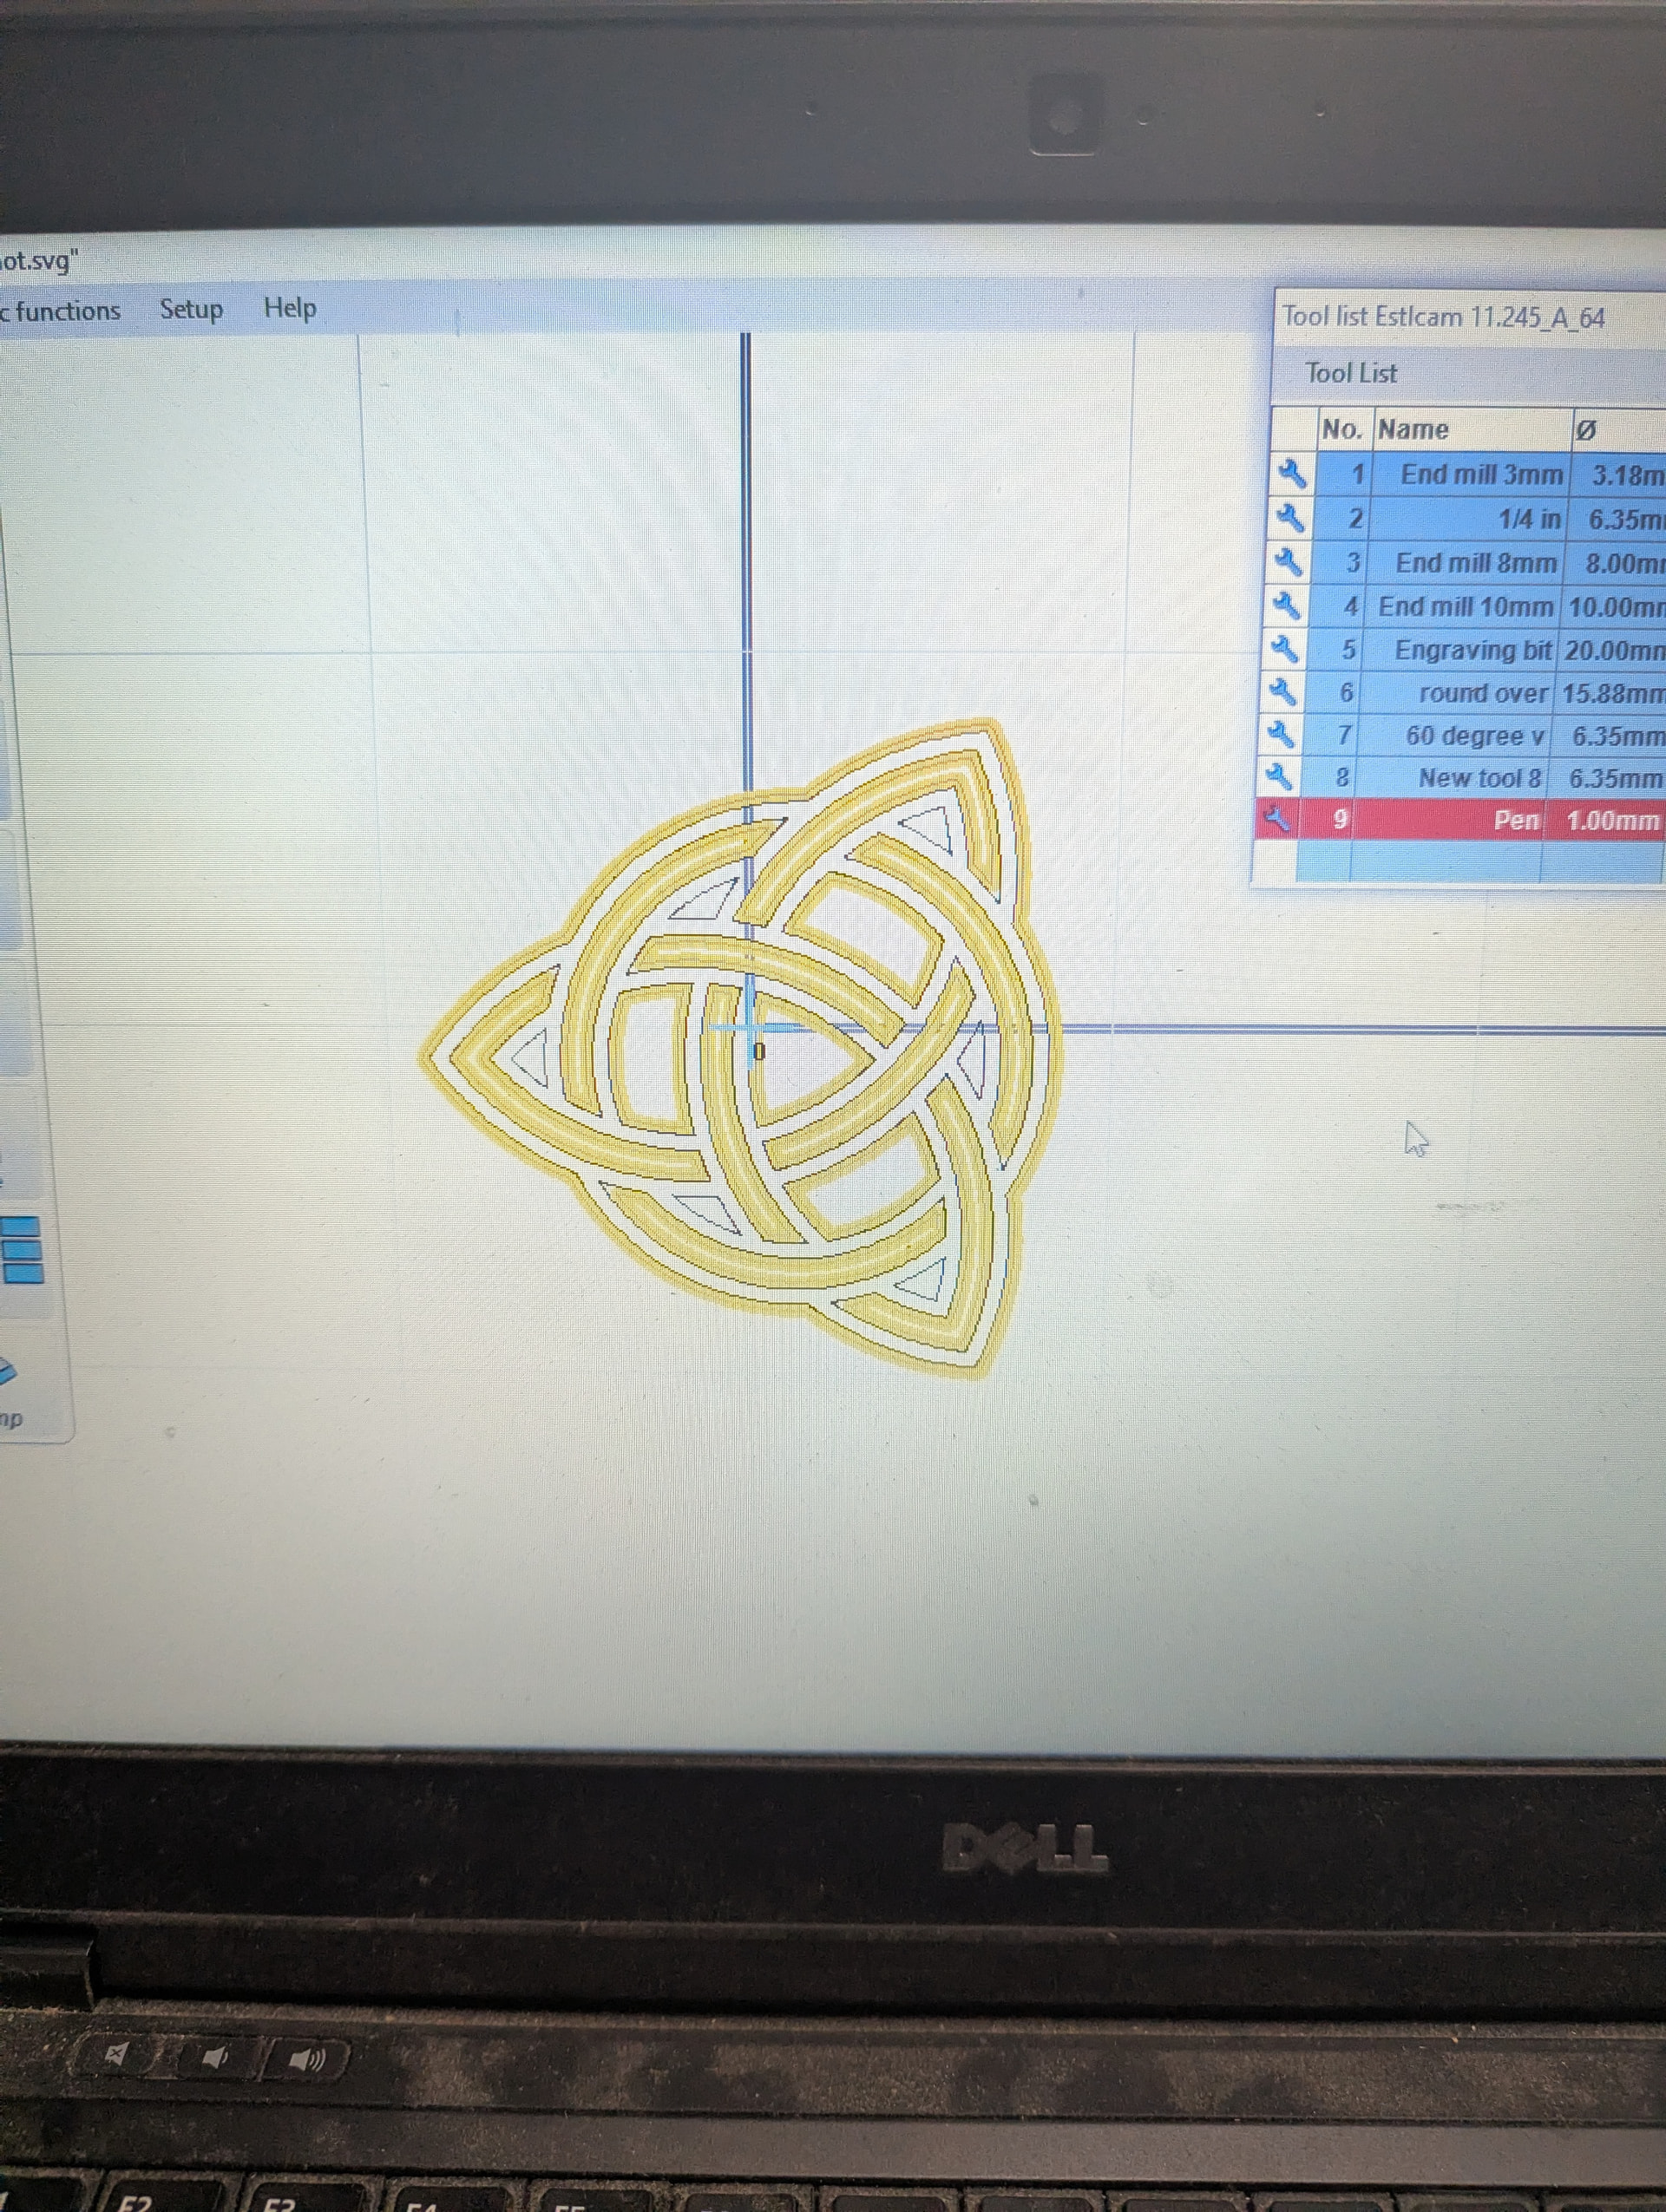
Using estlcam for control since all but the Hershey text box for the inkscape plugin was greyed out. 1 mm tool head for a gel pen seemed about right.
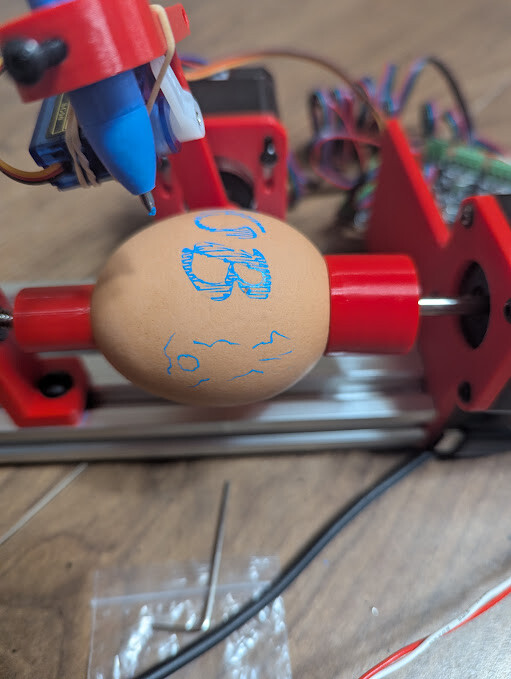
First test and the z axis seemed reversed. Followed the advice of editing the .ymal to swap the min and max_pulse_us (min to 2000, max to 1000) which made the directions a bit more intuitive for me and as well as making the file work.
Now to play around with making more complex files that don’t crash the pen holder into the steppers (totally going to happen a few times) and optimizing clearing planes, cut depths, and speeds in ESTLcam. Probably also need to beef up free spinning axle, its kinda crooked.
I added a second brace at the end of the 2060 and that did a lot to stabilize the free axle and making it easier to center the egg along its axis. Jason has a modification that stacks multiple bearings into one upright which would also probably work well. I wanted the horizontal bracing though and don’t think I’ll get to the end of the adjustment with normal eggs.
Full rotation around the egg worked out well. Now to practice a full, continuous wrap design. Think I’ll also swap the X motor (pen control) to make the small end point up. Change the hardware instead of trying to fix in software.
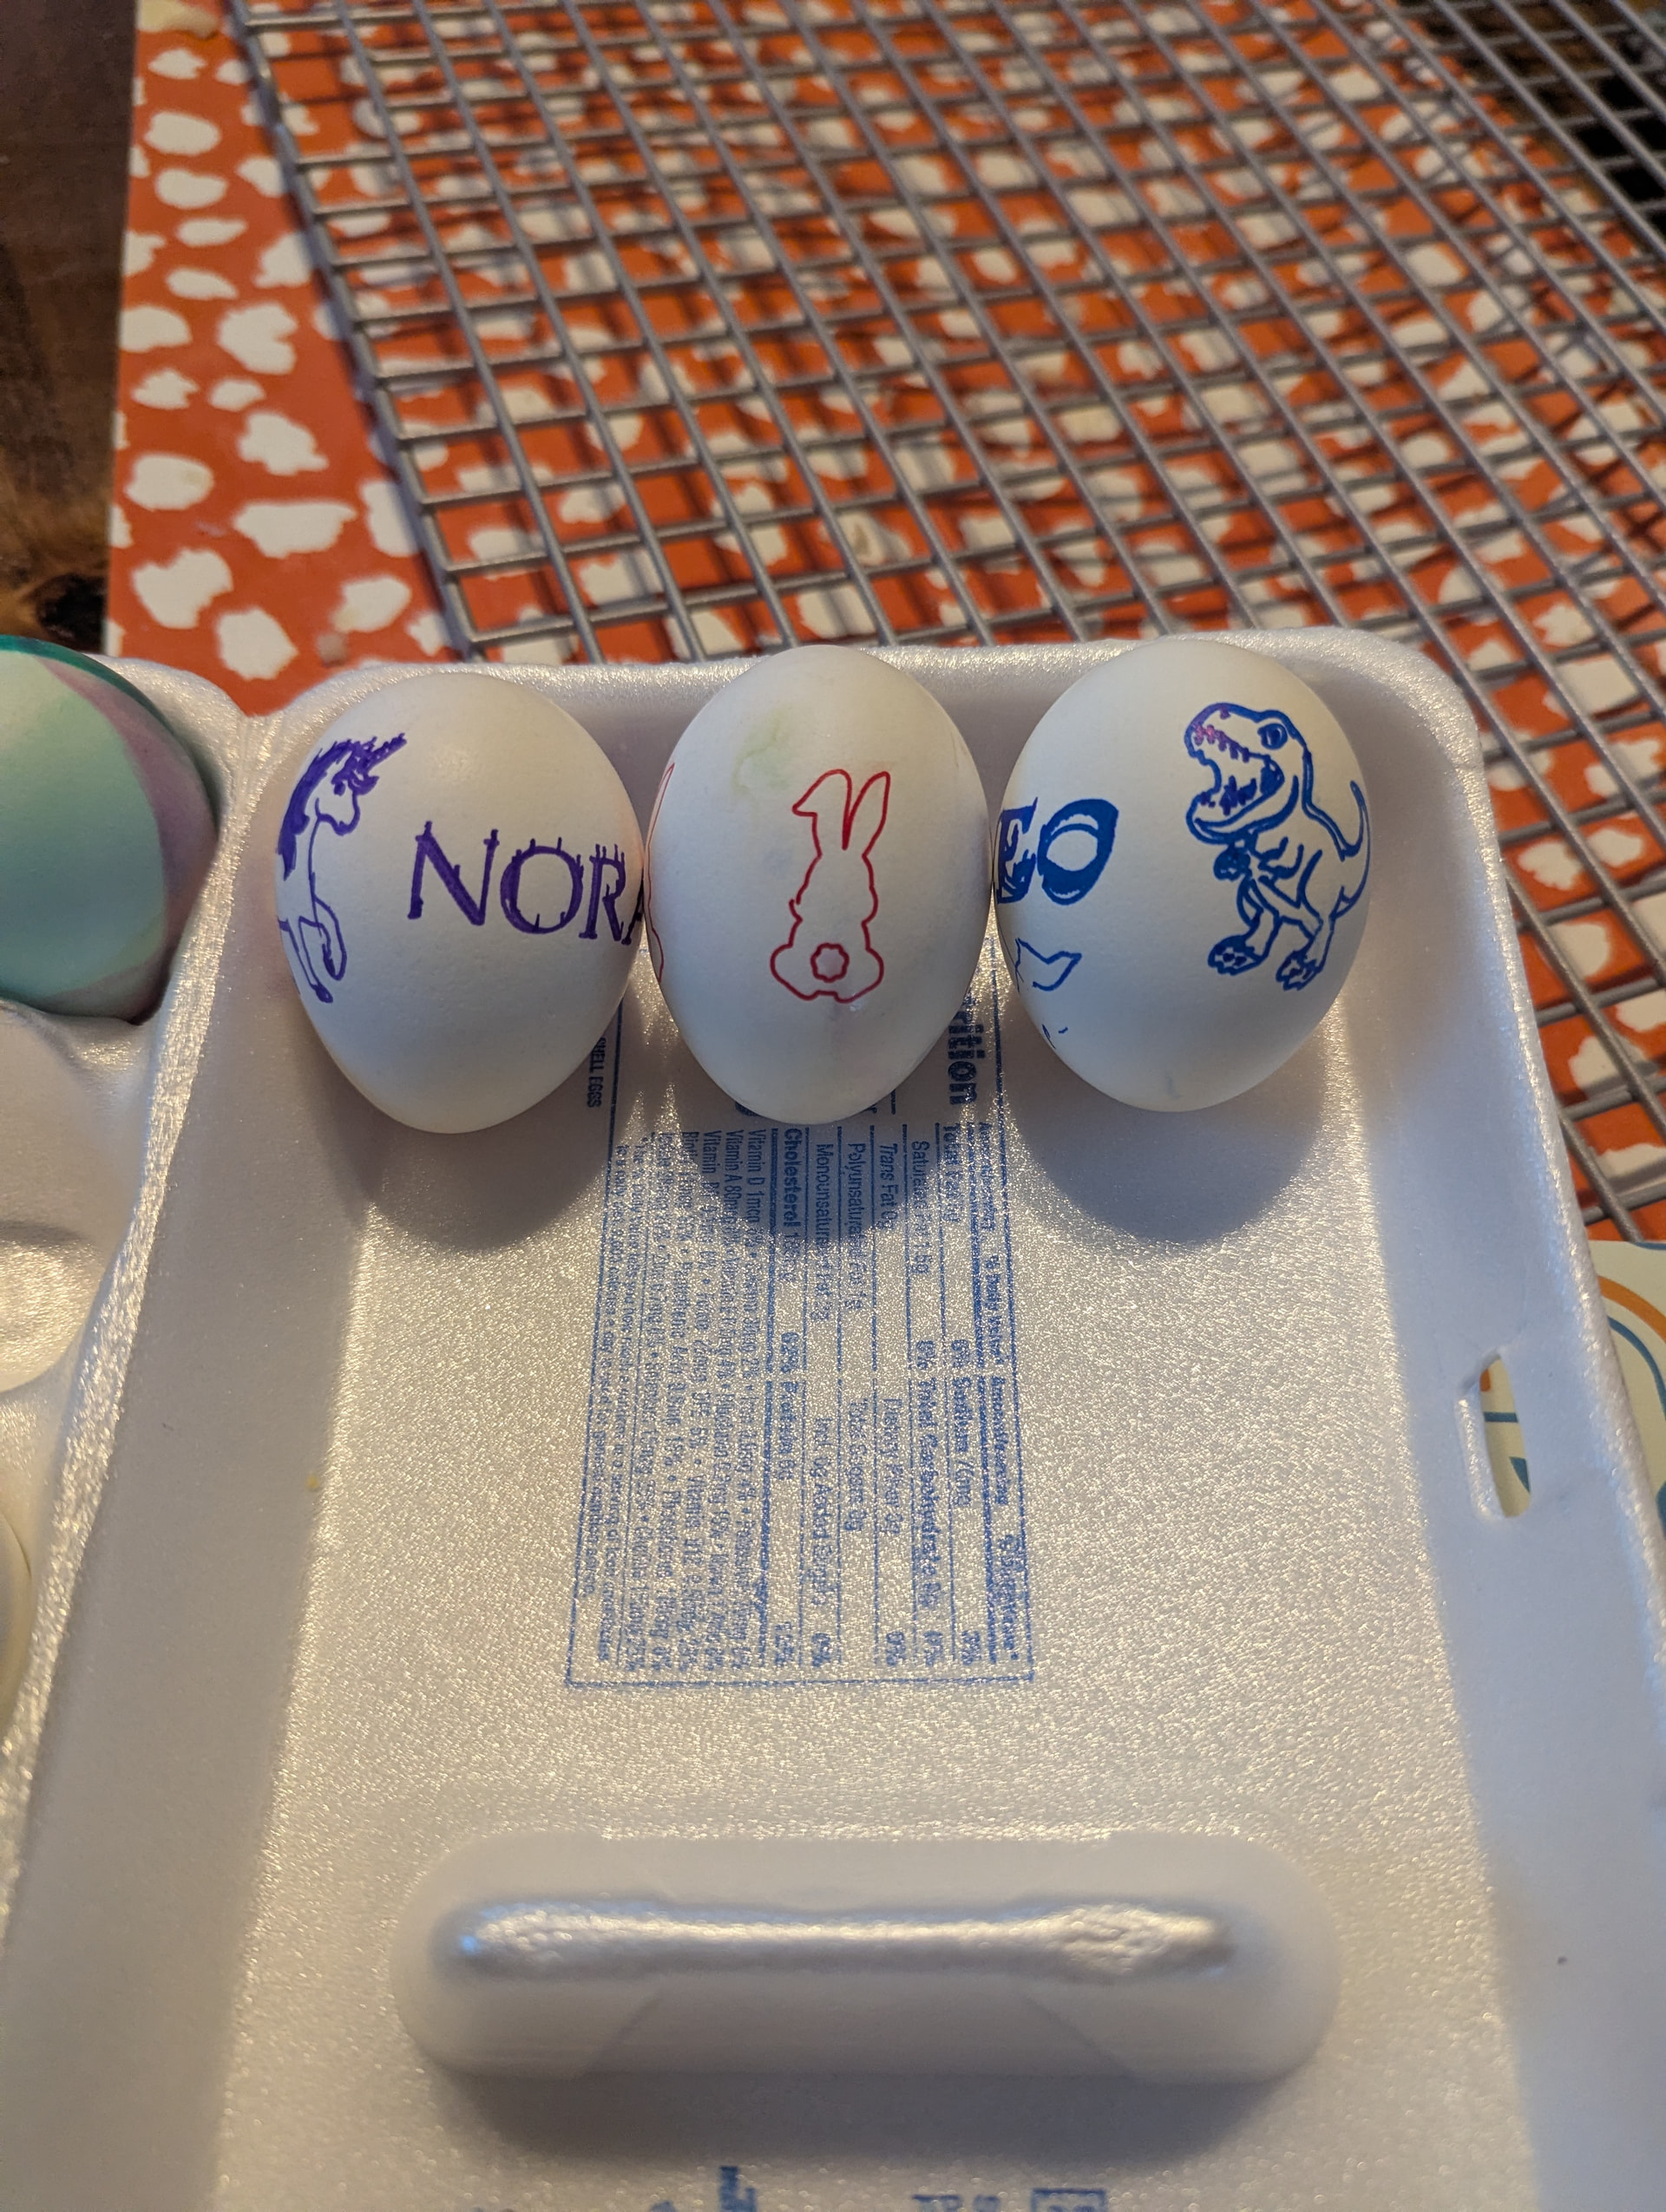
TPU holders might be helpful but the niblings enjoyed watching it run and helped in the design process. Mission accomplished, now to meet some stretch goals before Easter.
I’m using ESTLcam. Set the cut depth to 1 mm and the clearance plane to 1 mm and then zero the servo with it raised a half a mm or so. If you’re using a jackpot for a lowrider, there’s no other changes needed in estlcam except seeing up a small diameter tool.
The original eggbot extensions for Inkscape recommend defining your canvas to have the same number of pixels for wrapping around the egg as you have microsteps for one full rotation of the stepper motor. That way you never have to “do the math” to change the design for different diameter objects.
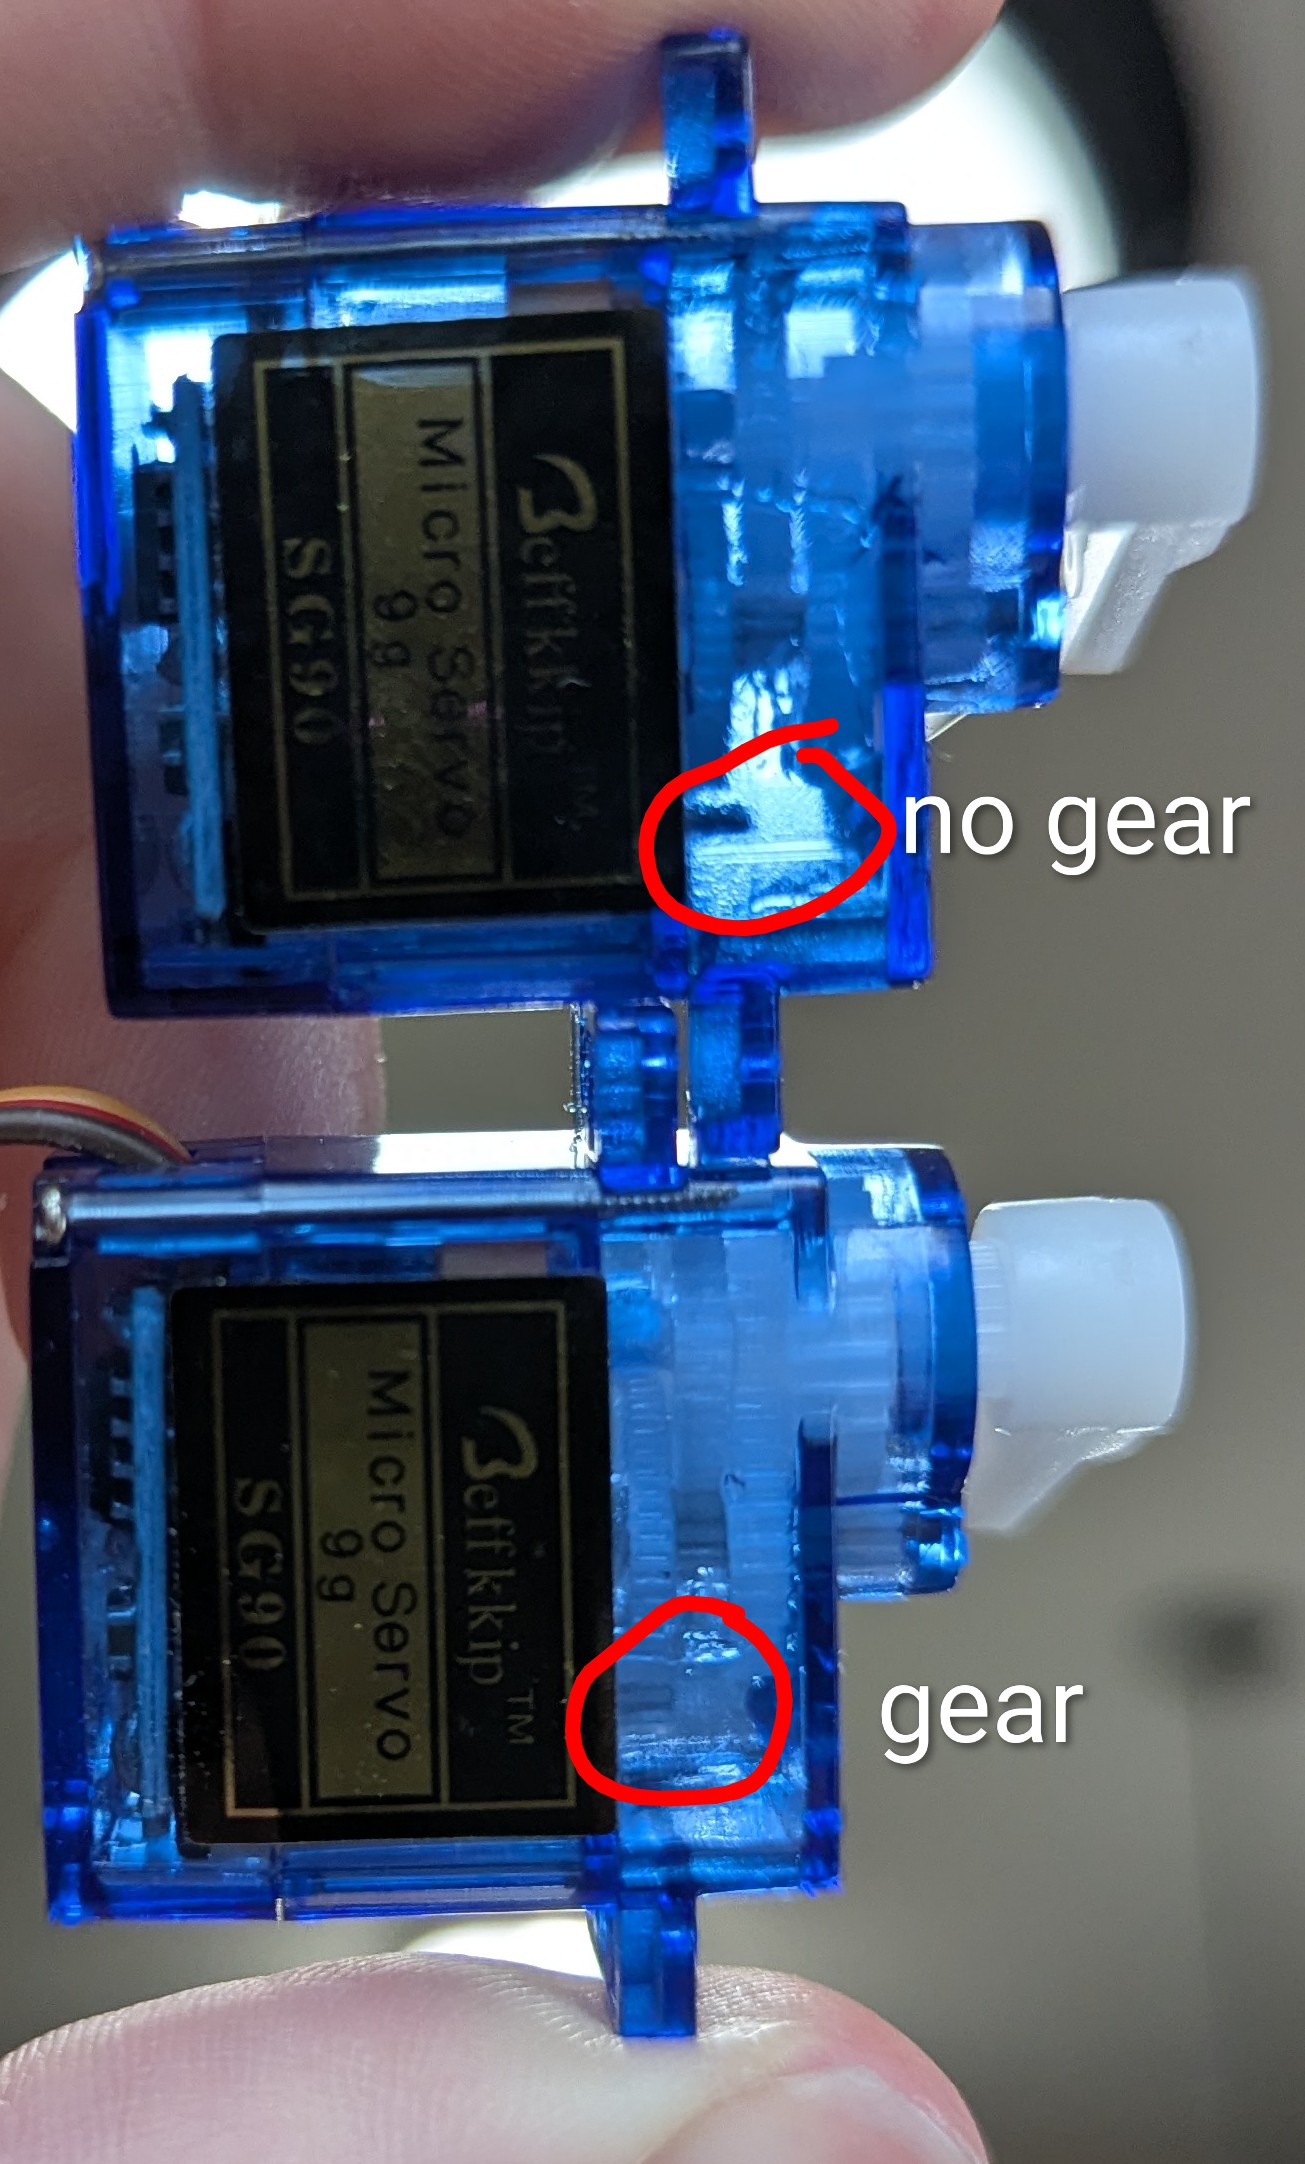
 this is the first time I’ve wired up a servo so I’m content with the learning experience.