Kinda going down this path, B3DPMC or BPMC (barely 3D printed, mostly cnc’d)? With the corners having tracks to allow diff board mounts, will share files if it’ll help? I understand if you don’t like the intentional look of corners being exposed, and raised slightly above the panel surface.
Mounting screens in my case but you don’t need to, intended to be modular.
What’s your board dimensions and mount hole spacing? Could maybe print the corner beams, for design you end up with, diagonally on your 18cm x 18cm bed to print corner beams that are up to ~25cm long?
I also figured out that it is impossible to get the belt into X if the strut plate is already installed… Might want to mention that in the instructions.
That is why the hole is in the front of the stepper mount (it didn’t used to be there), just push both ends in from the front. Or am I missing something?
No, I am just stupid. That would have worked… It was the middle of the night… But you could just add that. “Insert the belt through the hole in the front.”
Curious, is that a Matte PLA (with glitter…) or something else? Noticed layer adhesion isn’t as good for my Matte Black PLA Overture, compared to regular Black PLA (glossy). Am trying to improve layer adhesion by increasing temperature, and drying out the Matte PLA before printing. Didn’t think PLA benefited from drying out, but interwebs suggested to, what say you guys?
My dry boxes store stuff below 30% humidity, which gives you an idea of how wet the atmosphere can be. Most PLA filaments don’t lose any weight in the drying process (for me), some do so it’s easy to tell how much water is lost. I’ve found that with a cheaper PLA “drying” it even if that doesn’t remove moisture helps to avoid stringing and improve adhesion. I had awful trouble with a no-name brand and “drying” did help - perhaps it’s somehow tempering whatever the binders are?
Good quality PLA (Prusament) does absorb a tiny amount of moisture but it seems to be able to deal with it (in my experience)
The PLA is fine, I only once had a roll that was brittle from dasfilament.de. Normally it’s really good, and nearly as expensive as Prusament (but without the high shipping costs). I also have all my filament in dryboxes, though I really need to bake my beads, they are nearly completely green.
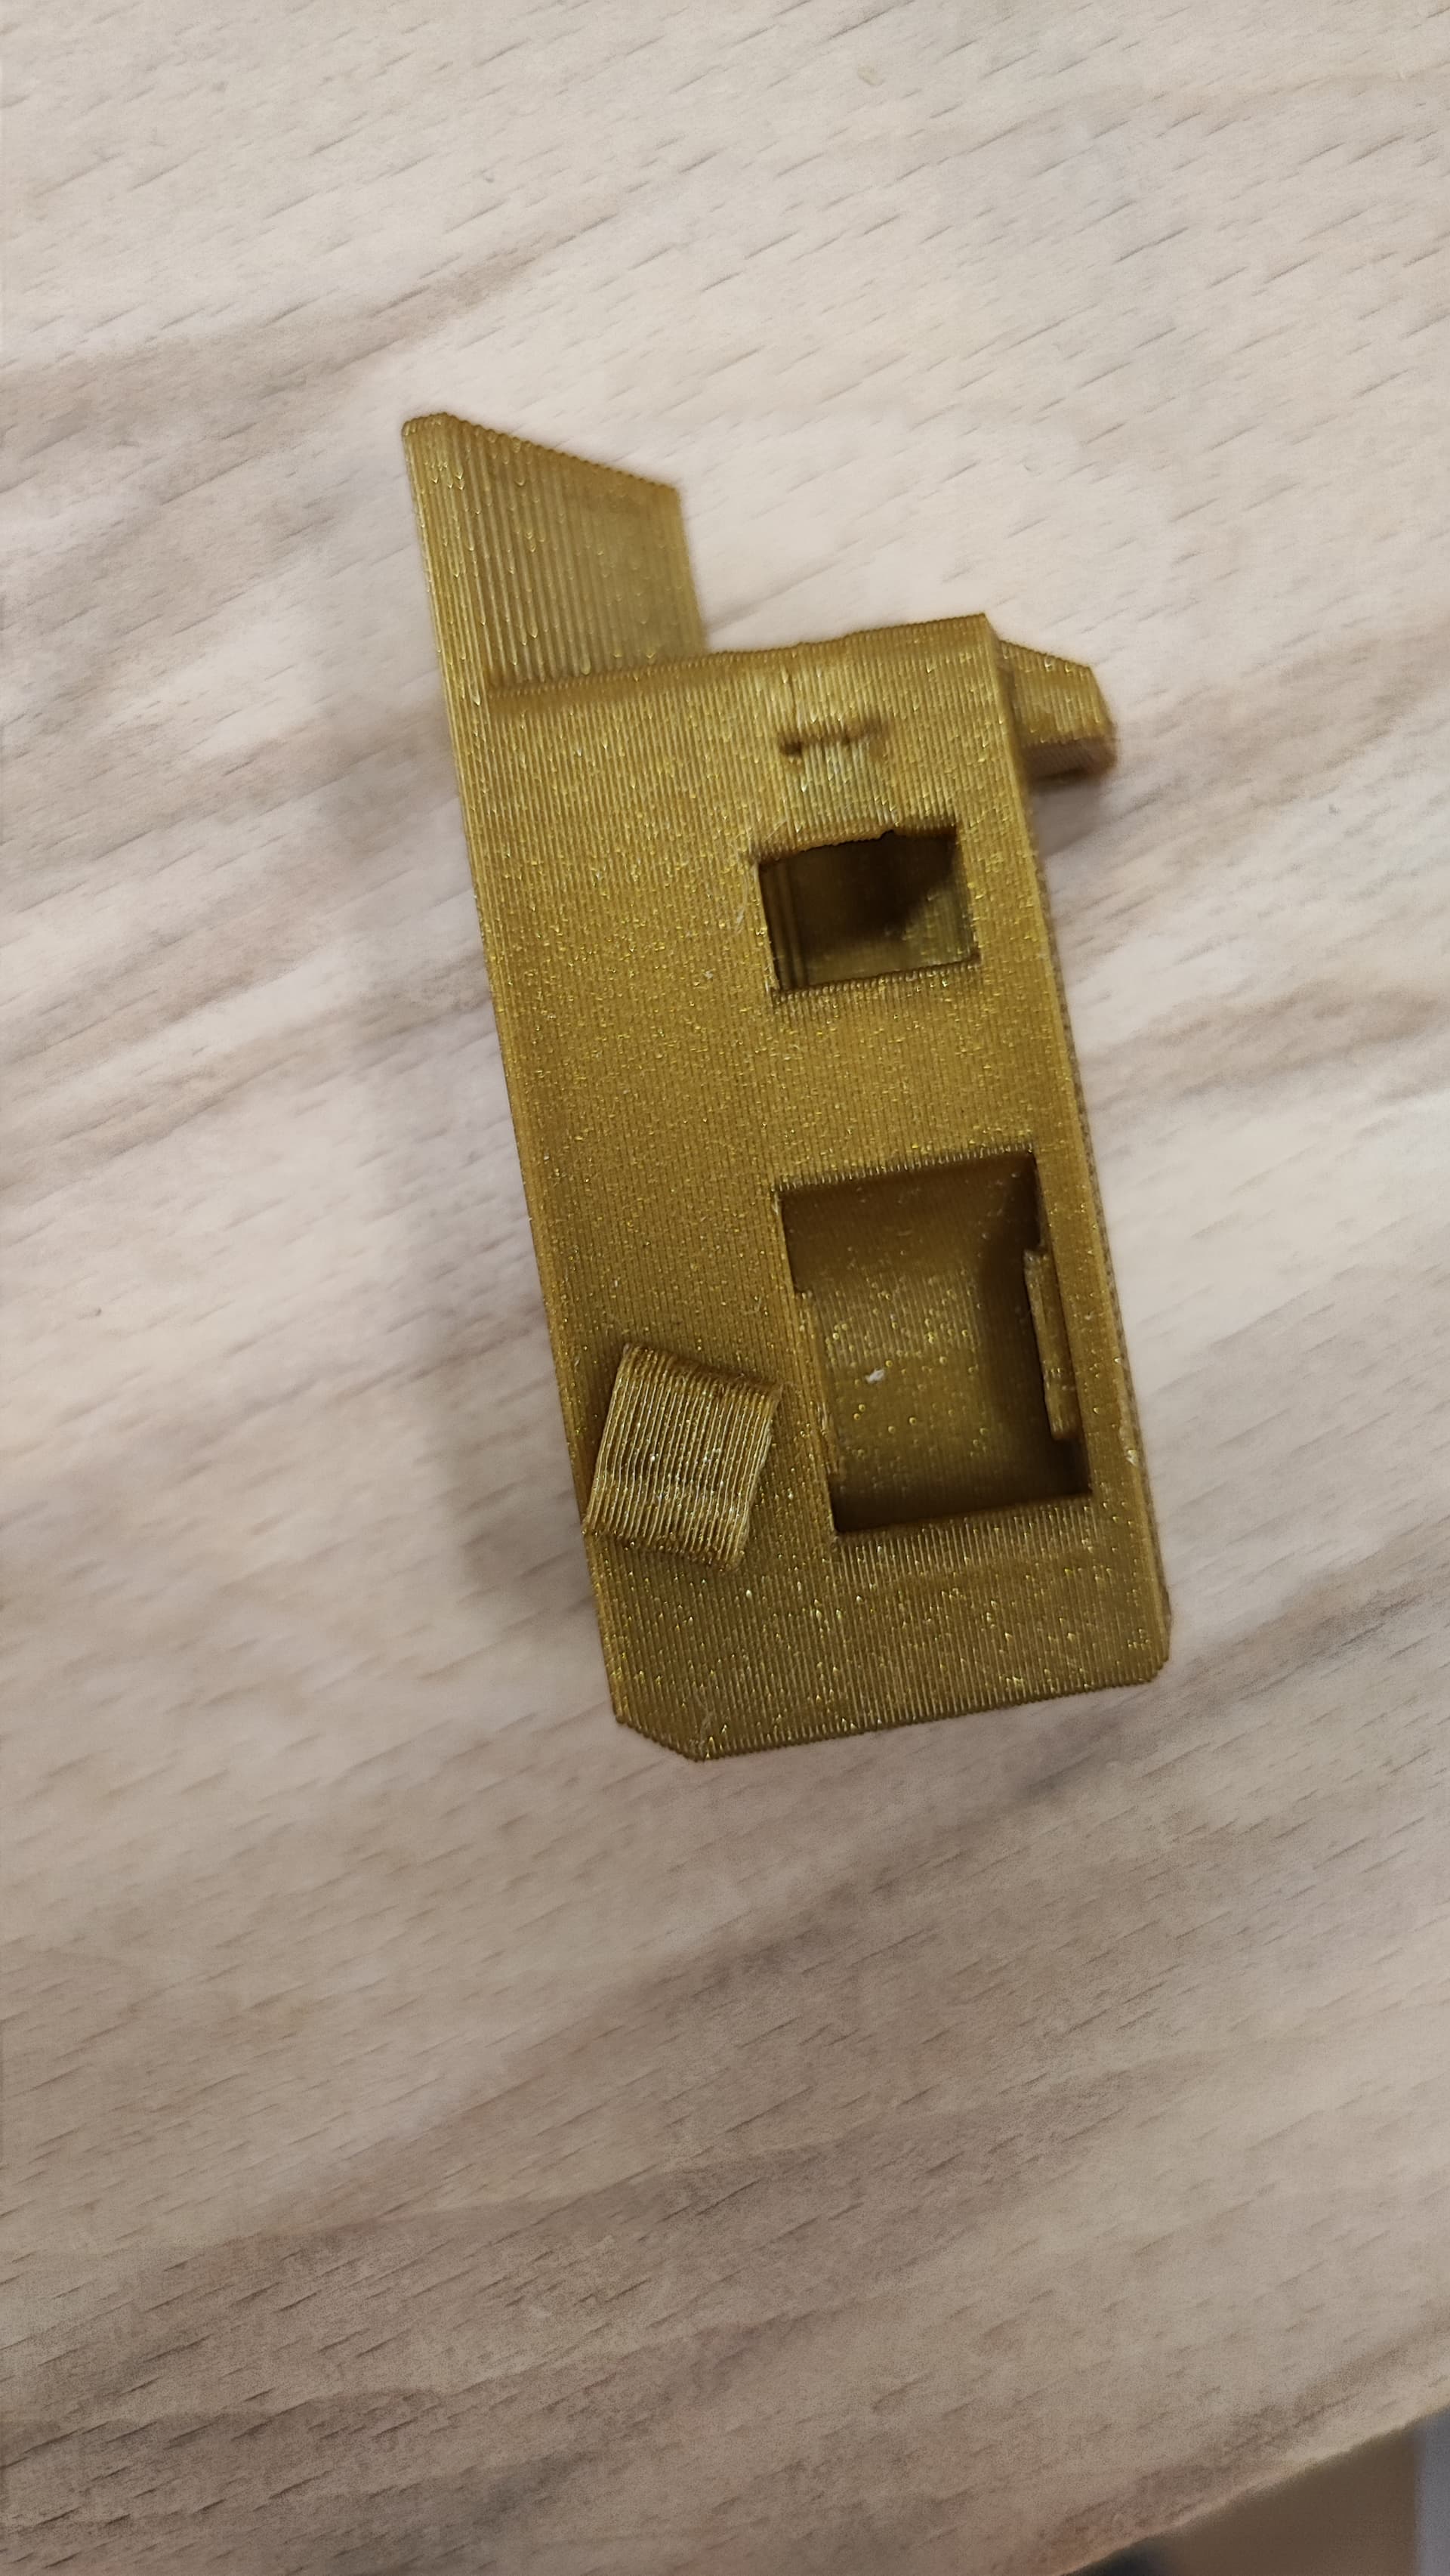
The little thingy broke when I tried to pry out the belt again. The screwdriver might have been a bit too much for the tiny thing. The next one did well.
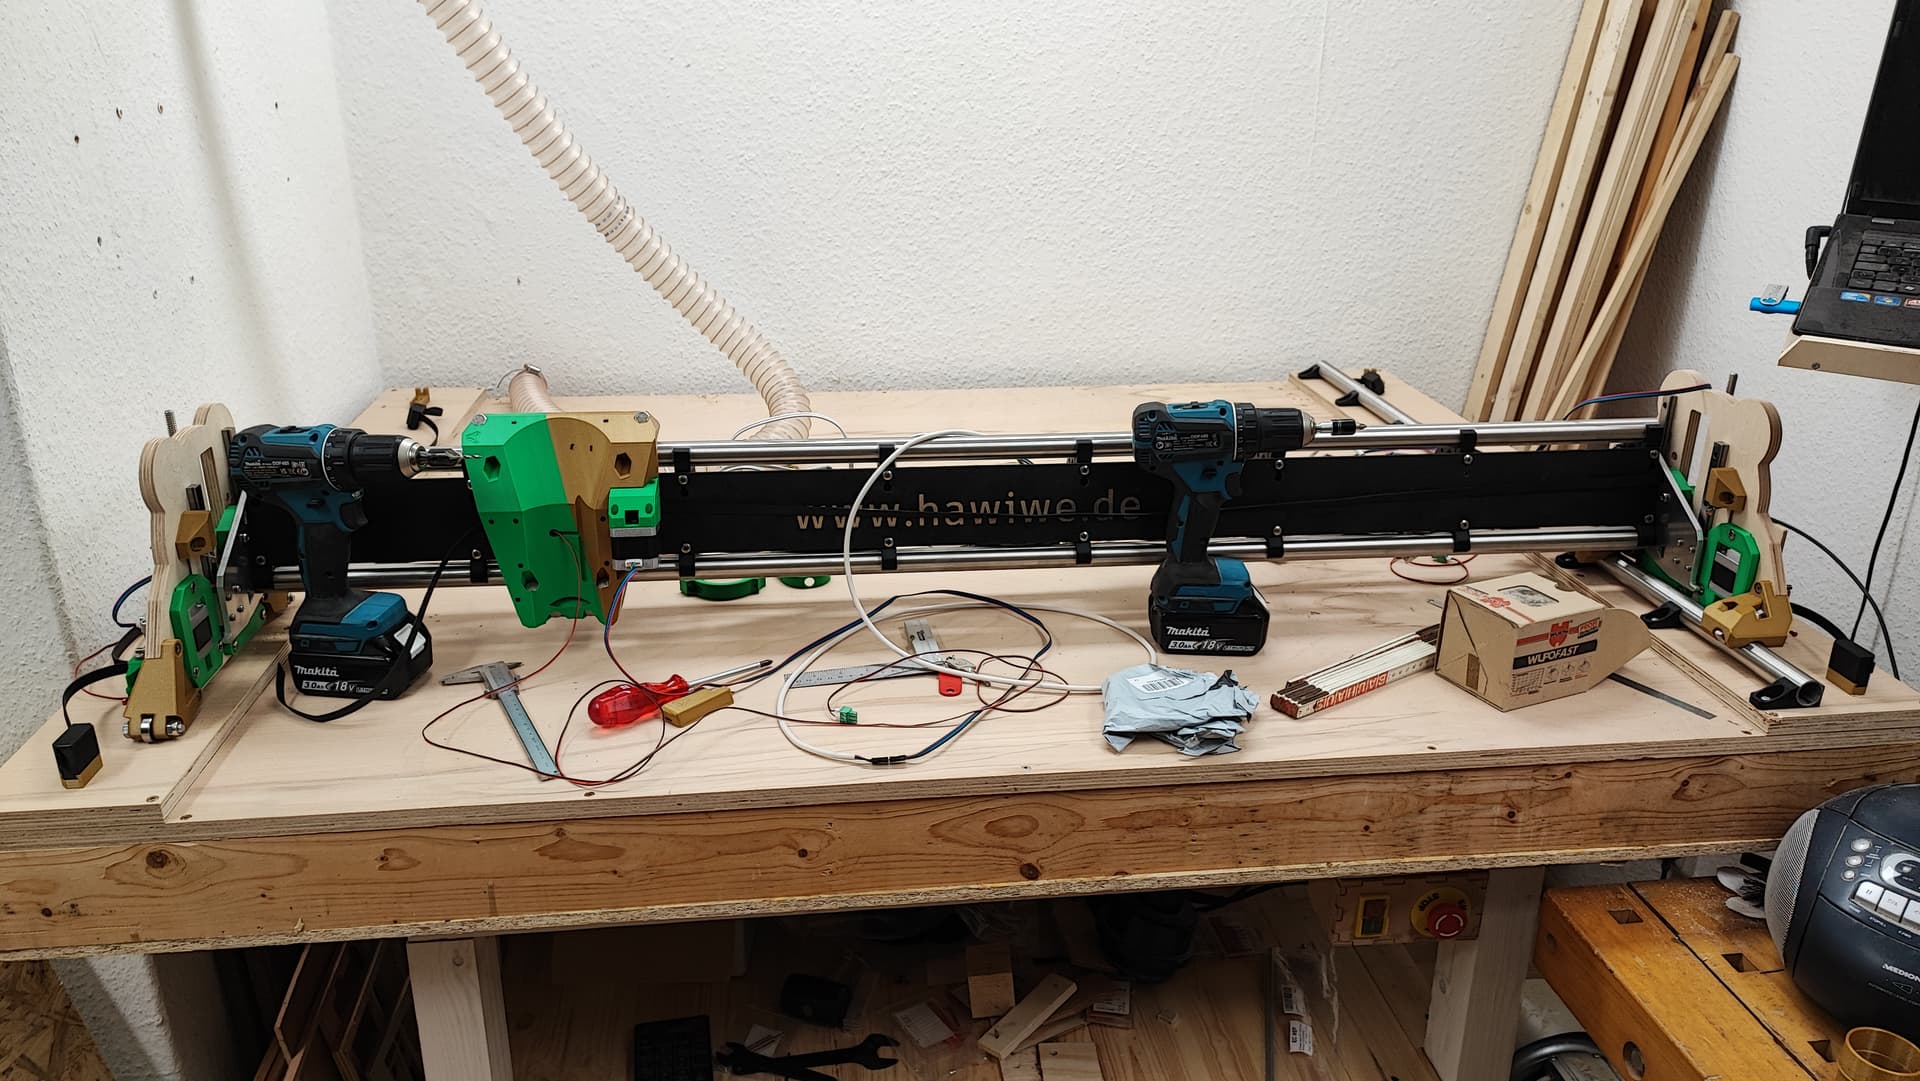
I am nearly finished with the Froschkönig, just the controller box has to be made, but for that the CNC has to run. Also: squaring. I need to figure out how to adress a pin on my board (see other topic), then I can autosquare as well.
Because MDF is not airtight. For the last vacuum table I needed to smear so much stuff on it to just be like, maybe, 70% airtight (Vacuum Table - Work in Progress, Vacuum Table for the MPCNC using Household Vaccum)… I used sealer and then wood glue watered down. Plywood will leave nothing through and I will skip all the messy parts.
Oh, ok, that makes sense.
Maybe not the best topic to discuss this but wouldn’t it be better to only use your spoilboard for the vacuum hold down (or a removable layer above), instead of the full torsion box?
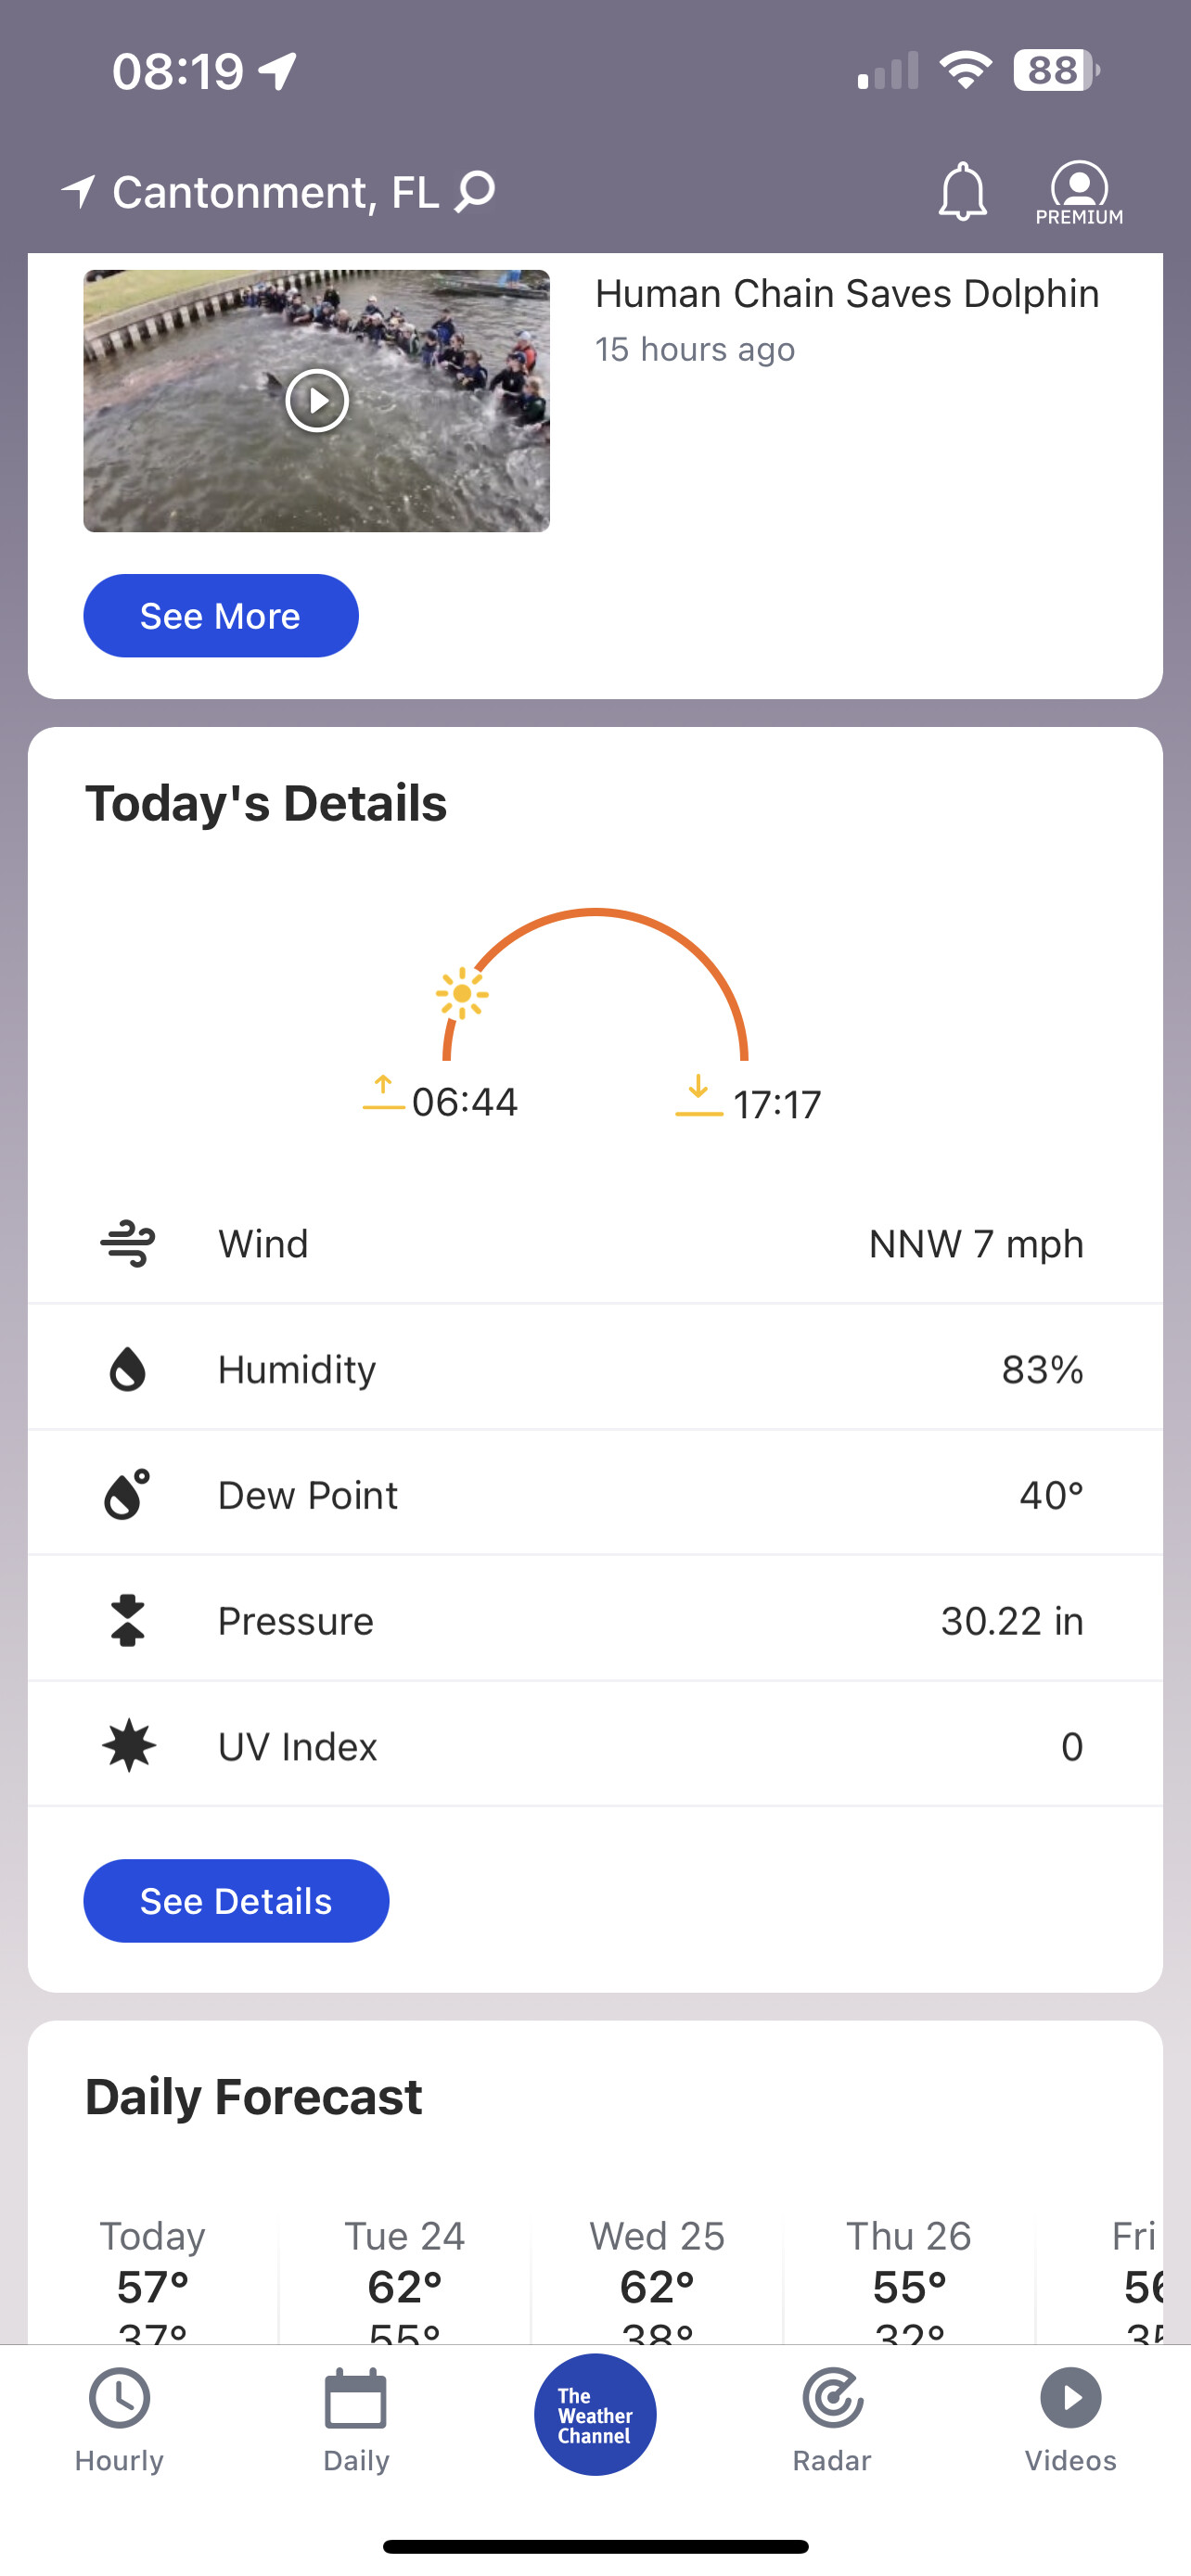
I used to think the PLA humidity problems were all bogus, because I have never had problems. But the relative humidity in my office averaged about 18% in the last 24hrs. So maybe the reason I don’t have problems is because of where I live.
I really need to do some research on making some dry boxes for all my printers. Y’all with that low humidity have it so much better than you realize lol