Black on Black - LR3

I’ve finally begun building my LR3.

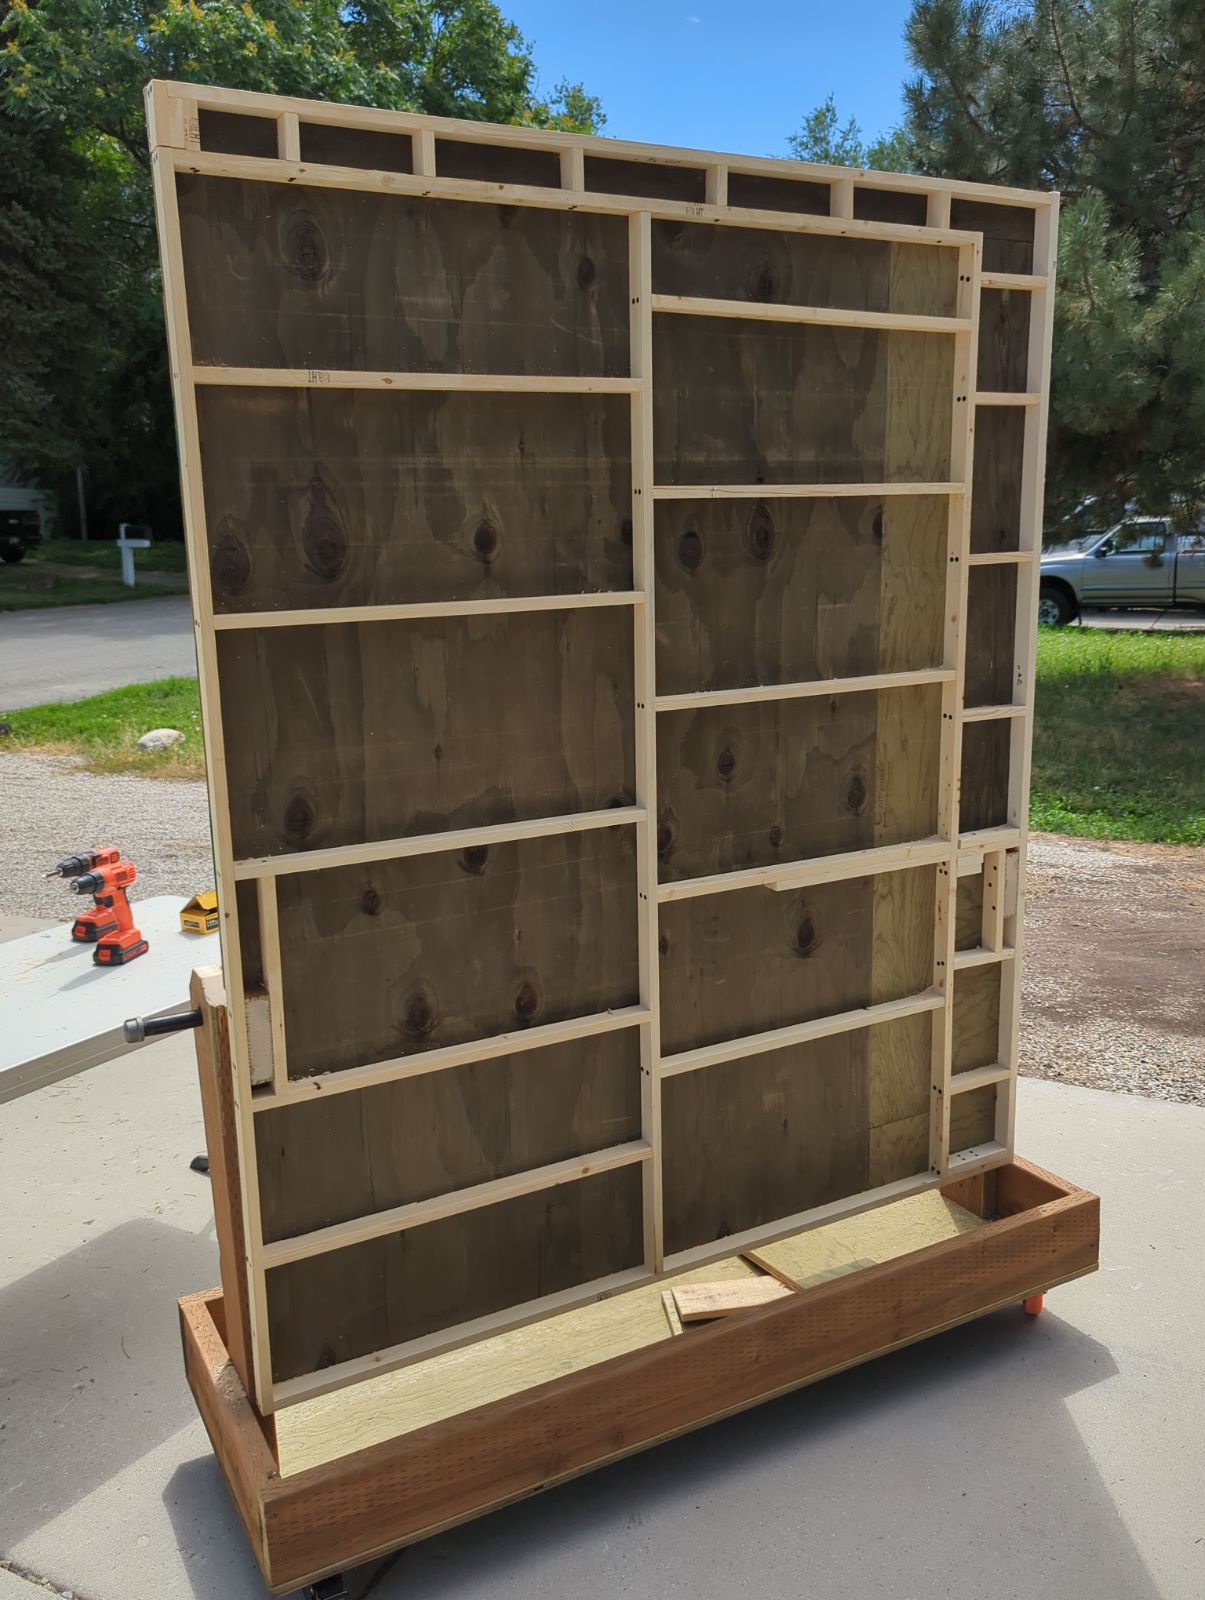
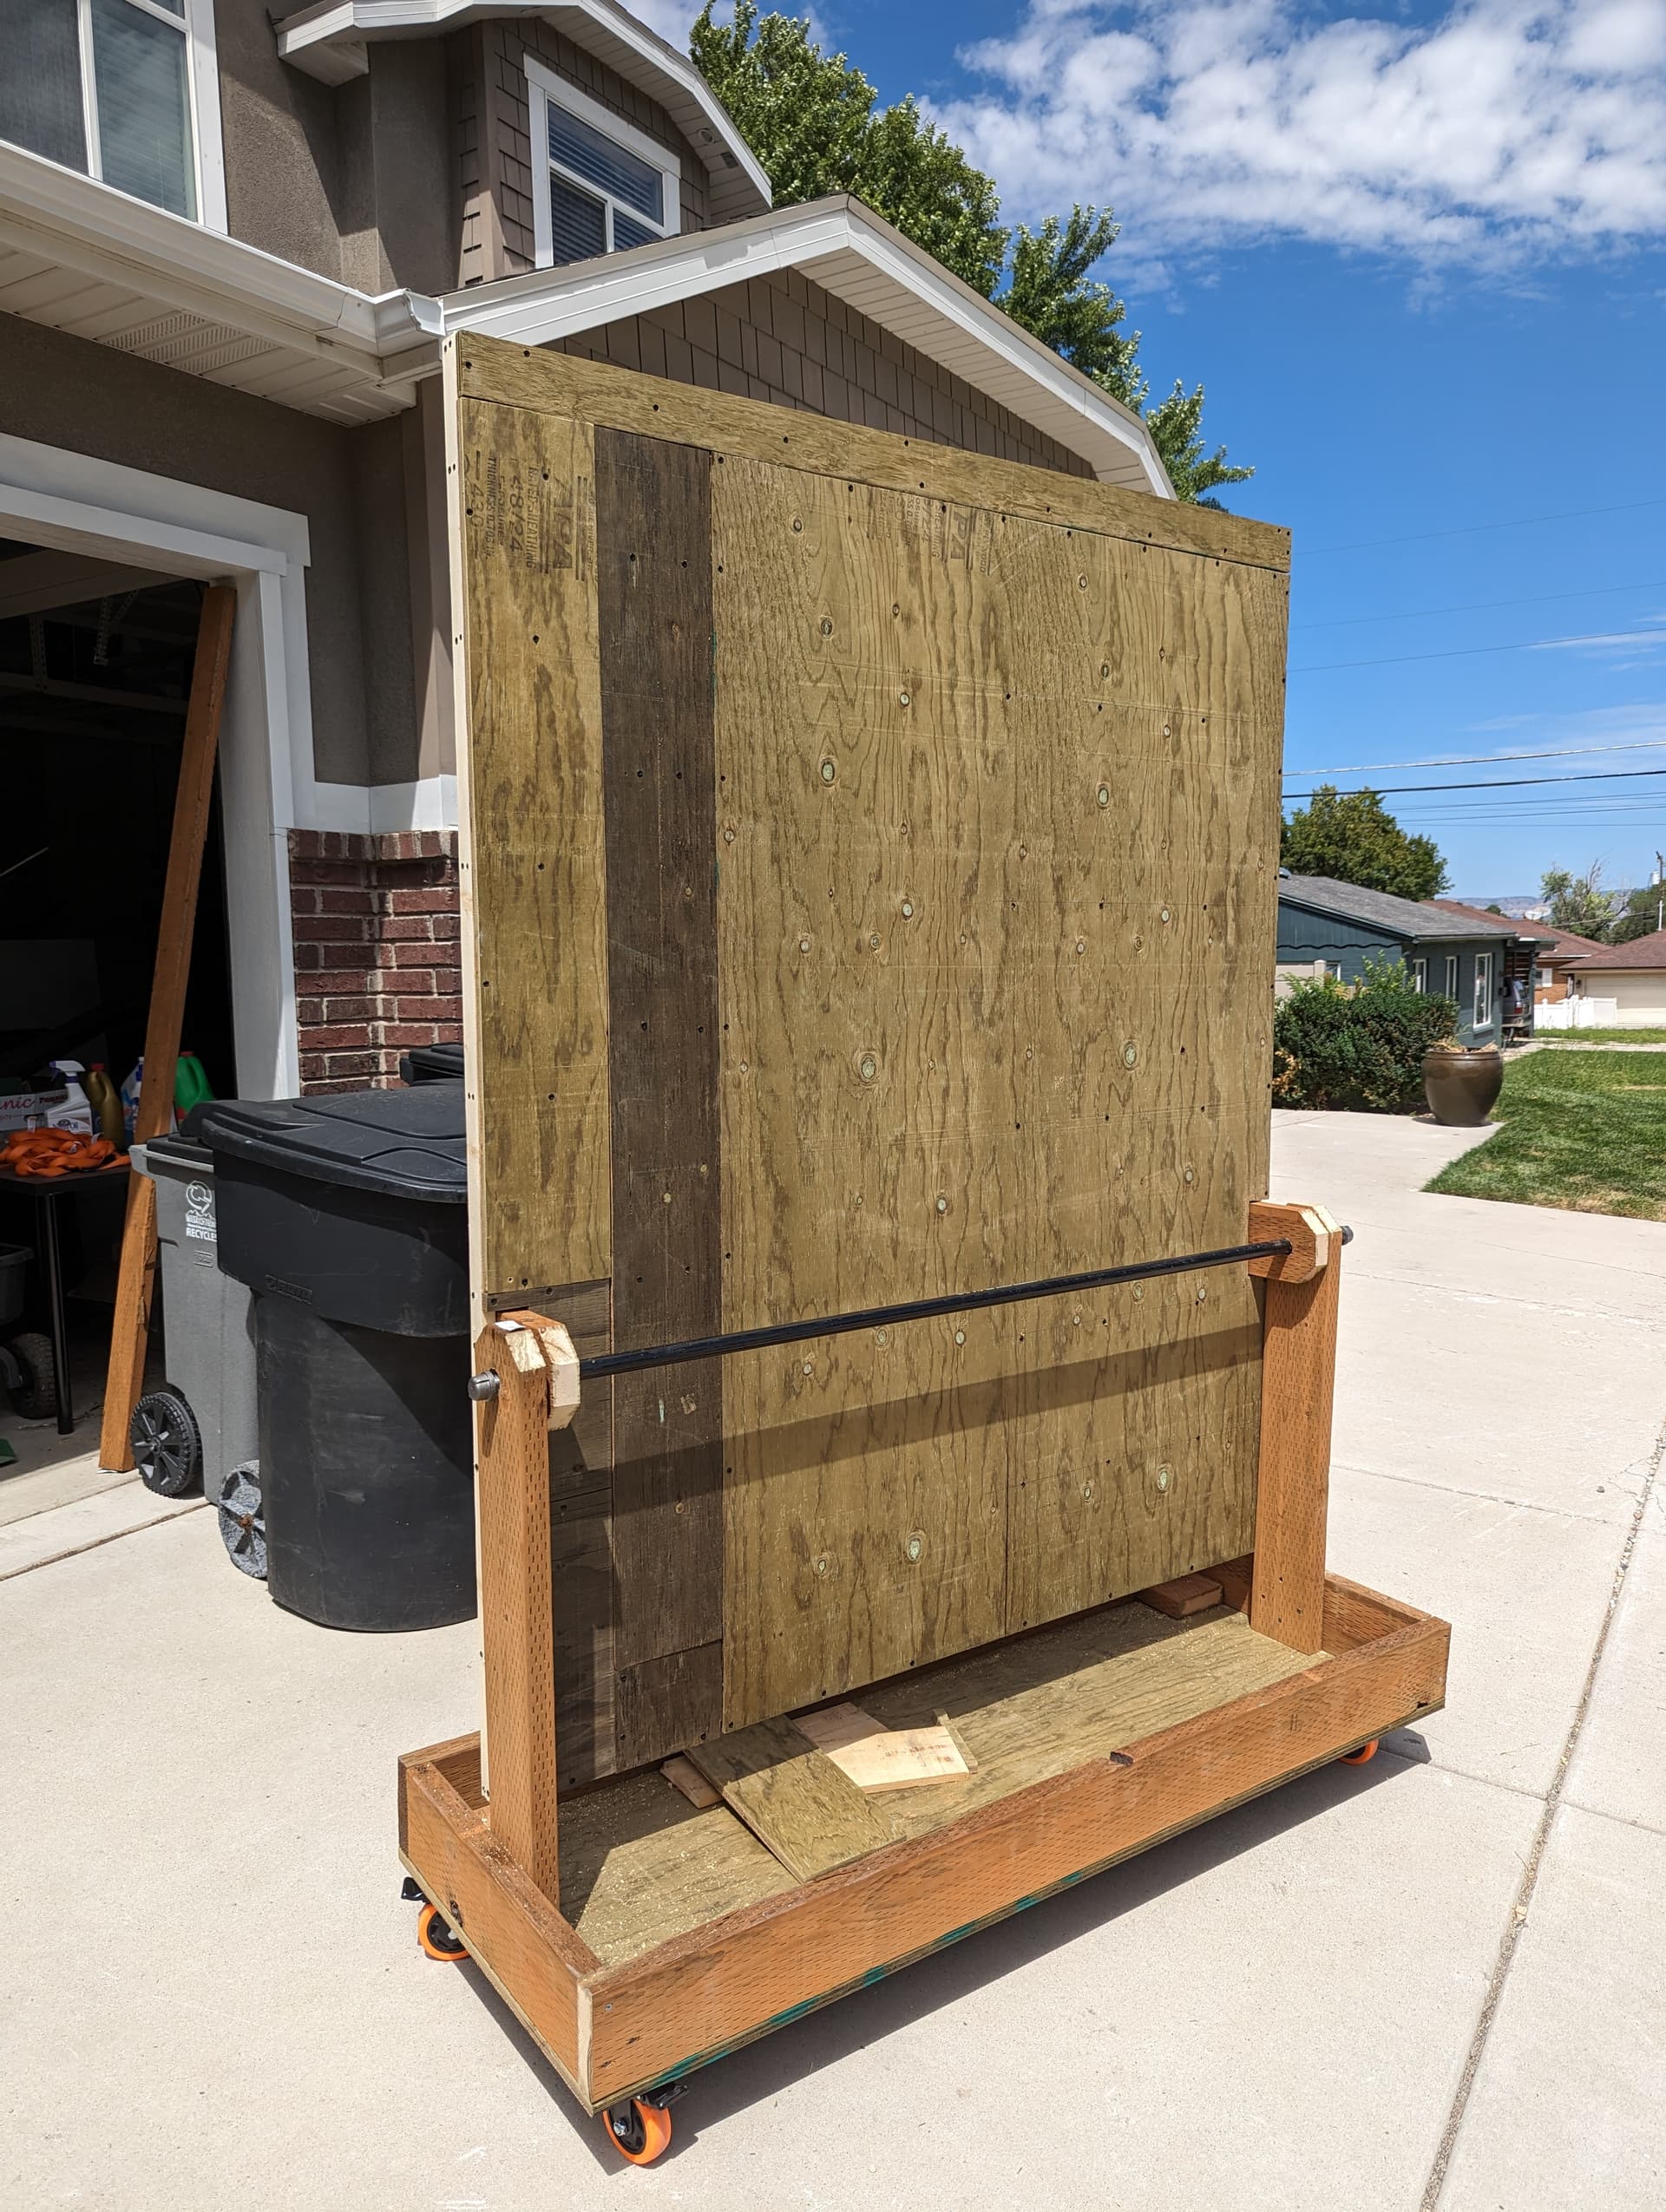
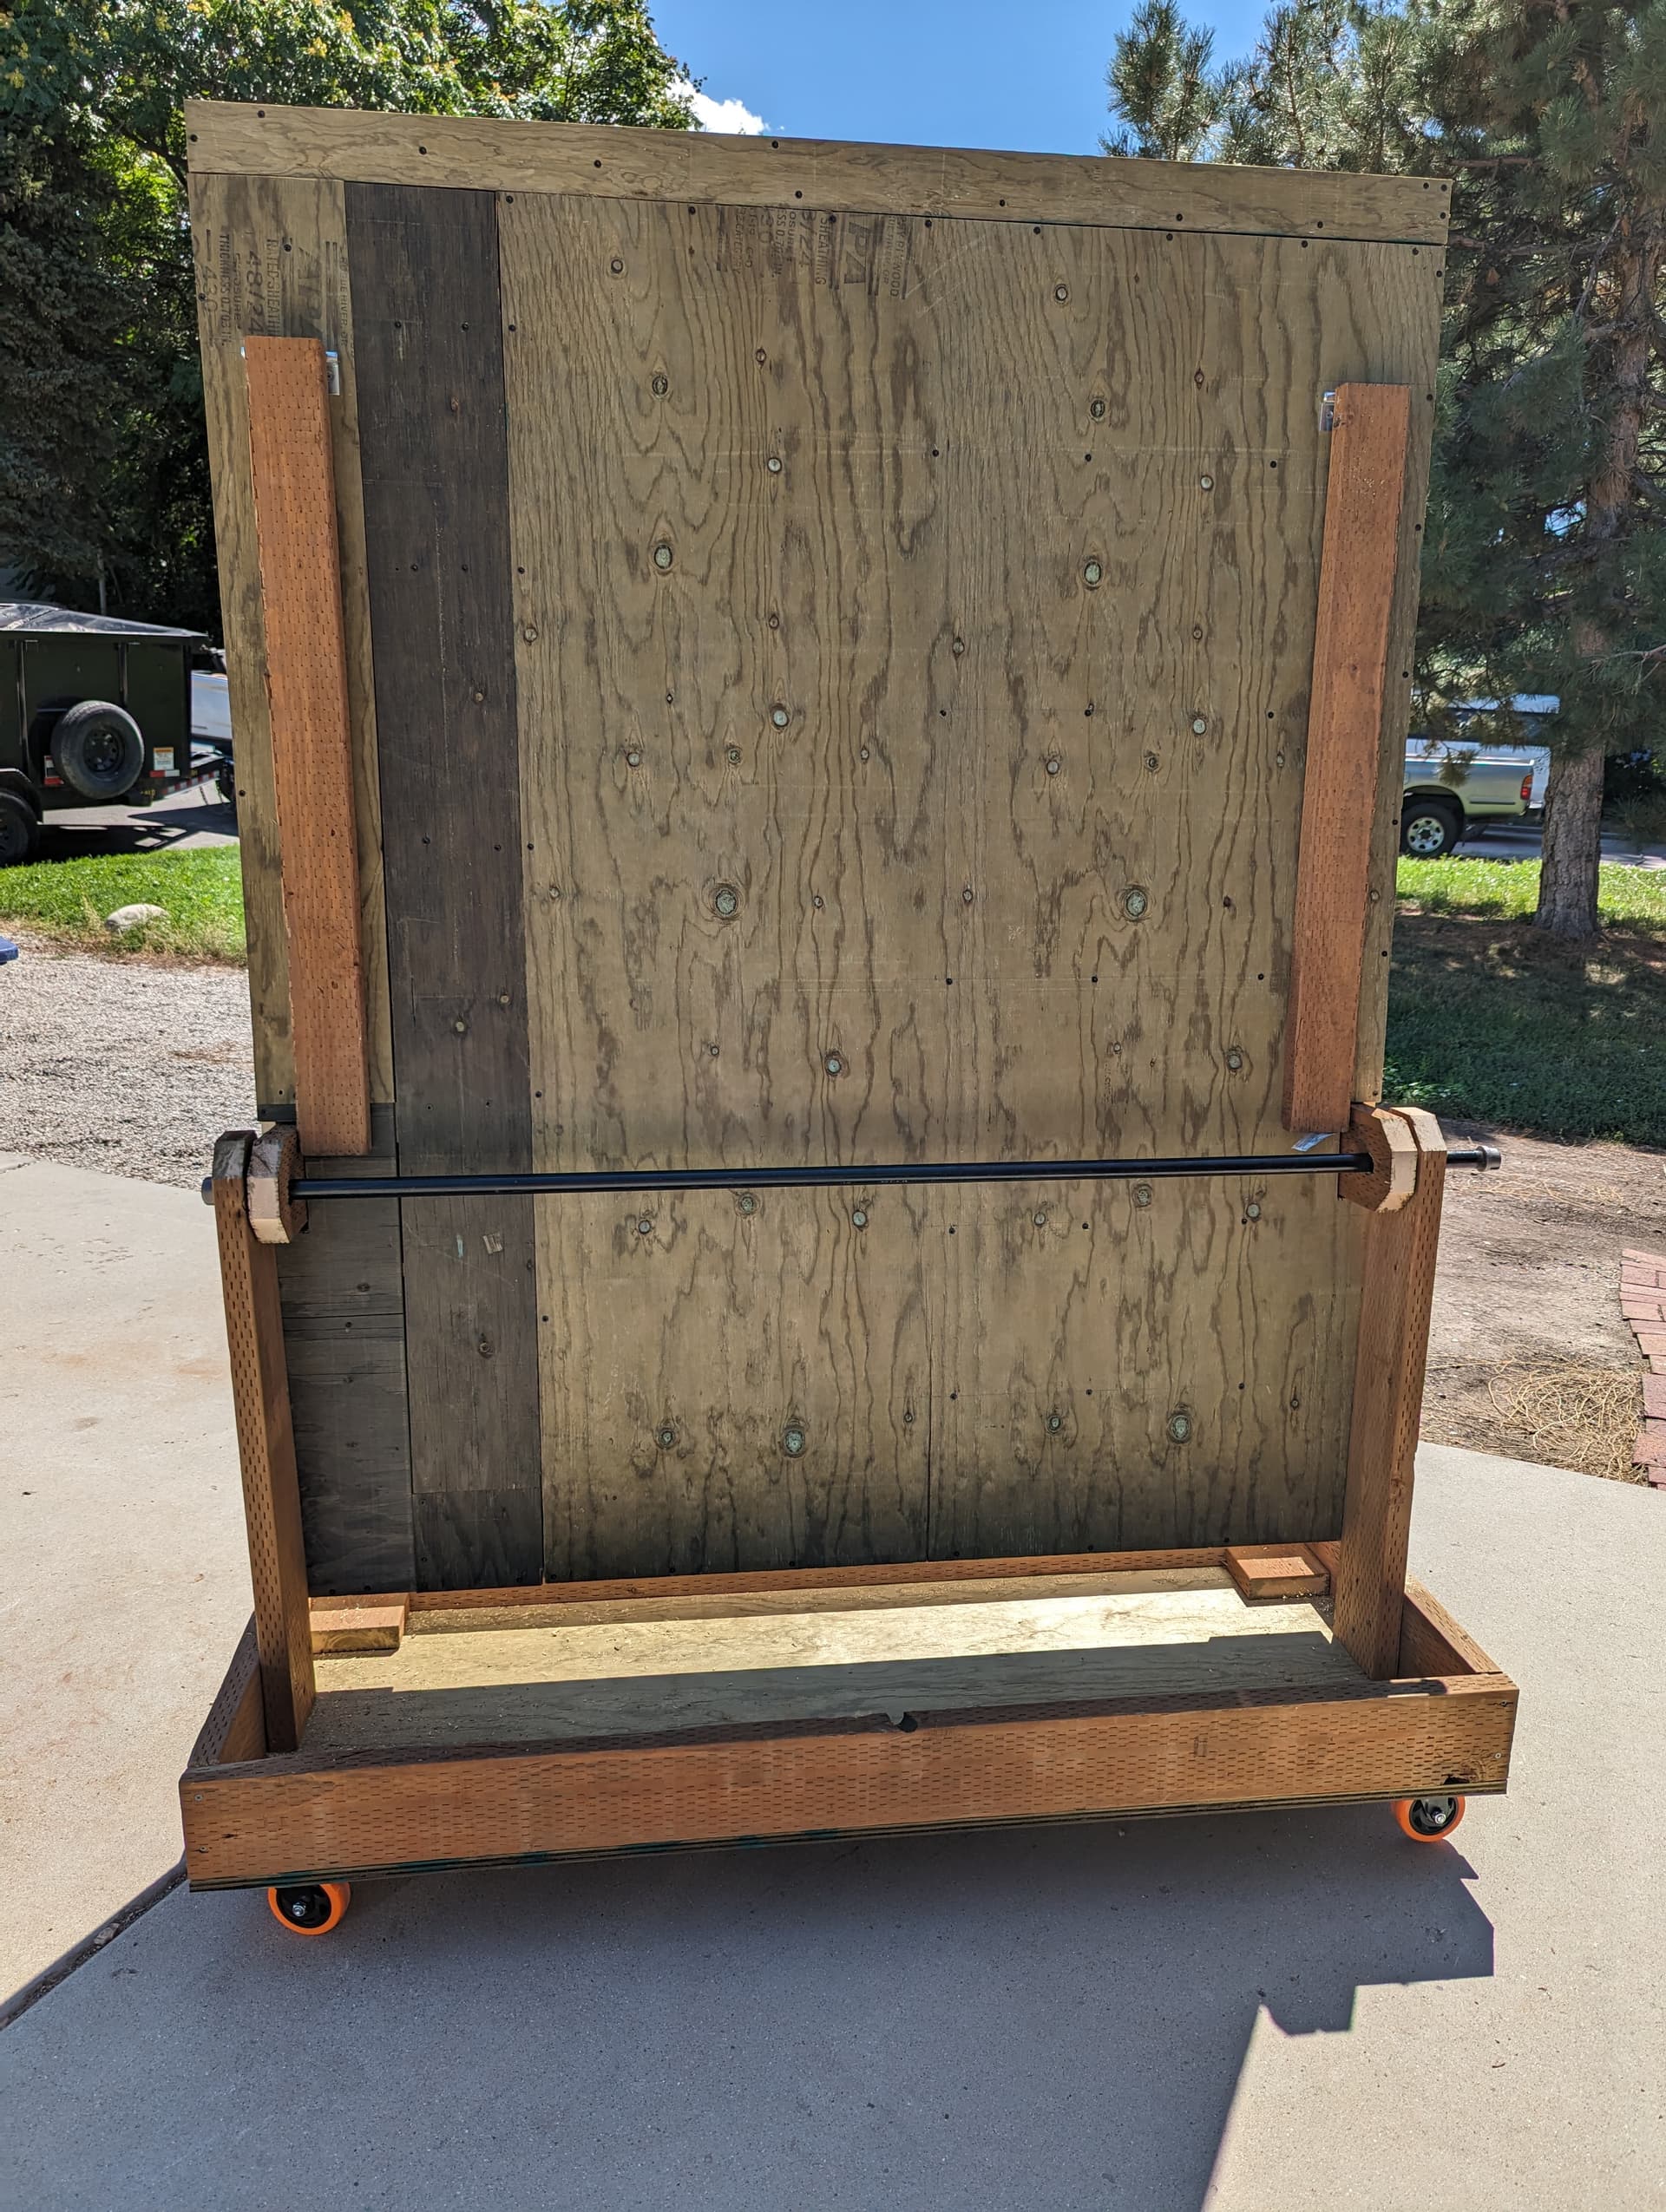
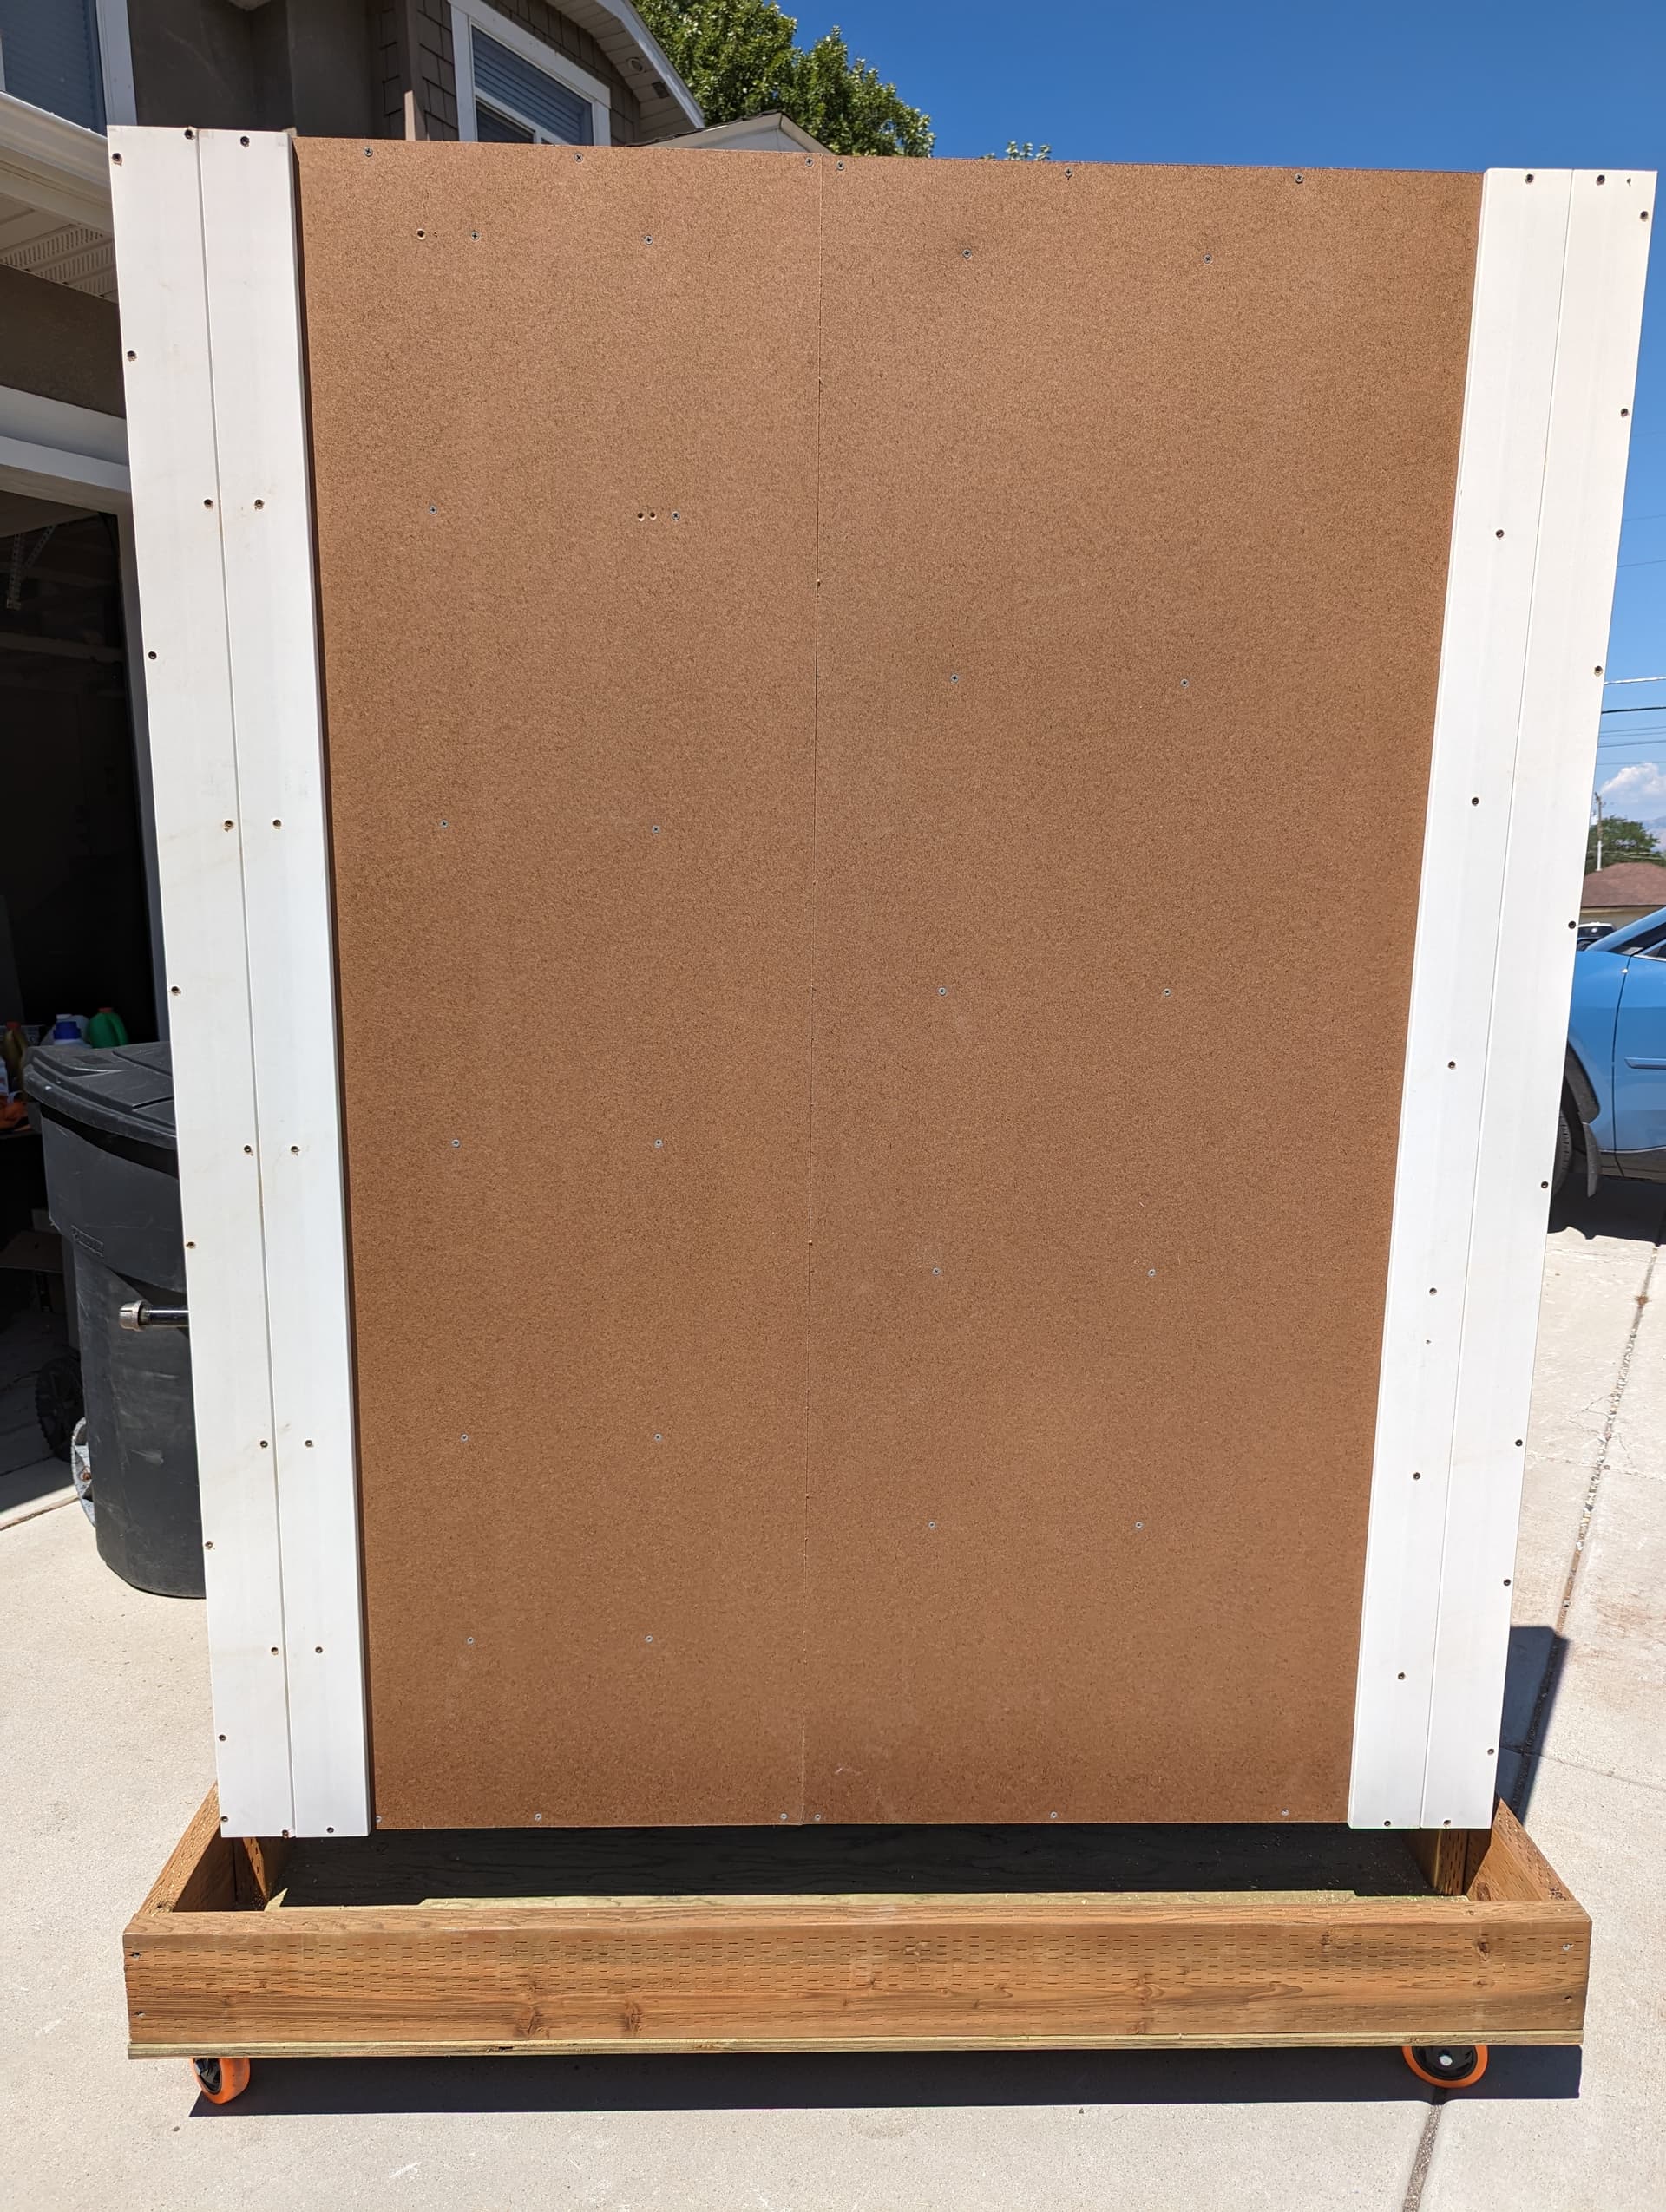
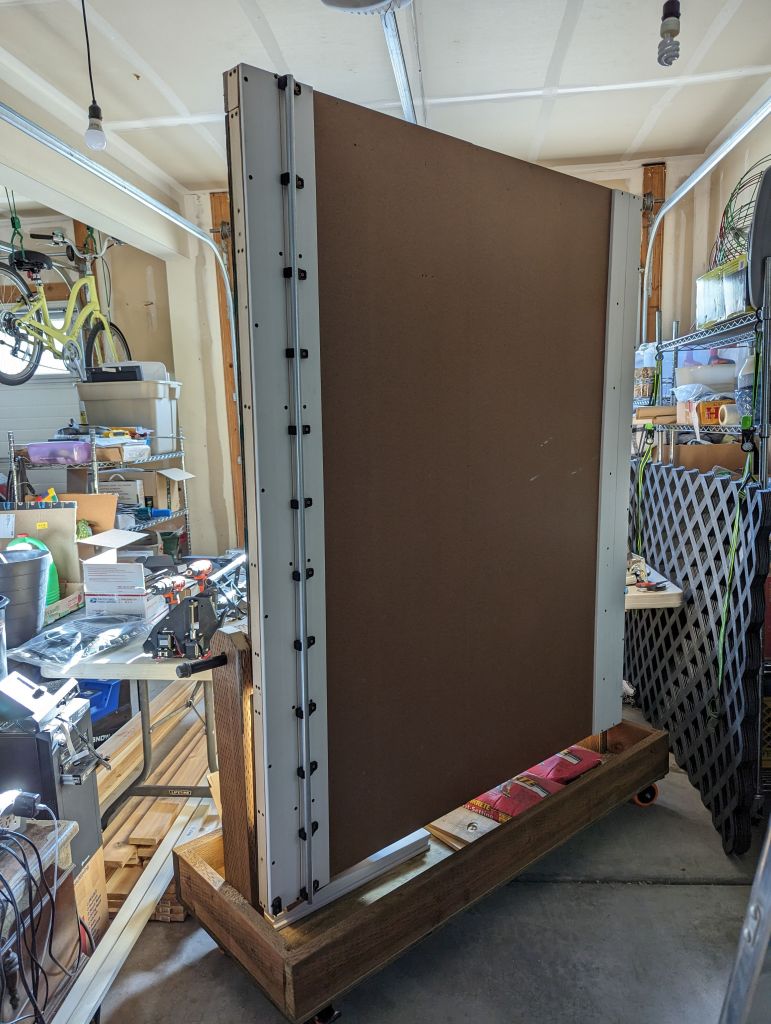
My table is heavily inspired by @Neilp’s The ‘Black and Blue’ LR3 build. Some errors were made on sizing the table (misread the tube lengths for table dimensions), which is the reason for the smaller addition on the framing.


9 Likes

following. Looking good so far.

Will be starting my own soon and plan a very similar table, except I think I need mine to be extendable.

I need a full sheet table, but I only have 8’ ceilings, so contemplating how to make a foldable table where it’s only full sheet “when necessary”.

I have nearly made the same mistake a few times. I wish the calculator was a little more compact, or at least, that the table size was at the top since, for me, the table size constraints are the most important thing to watch while playing with the calculator numbers

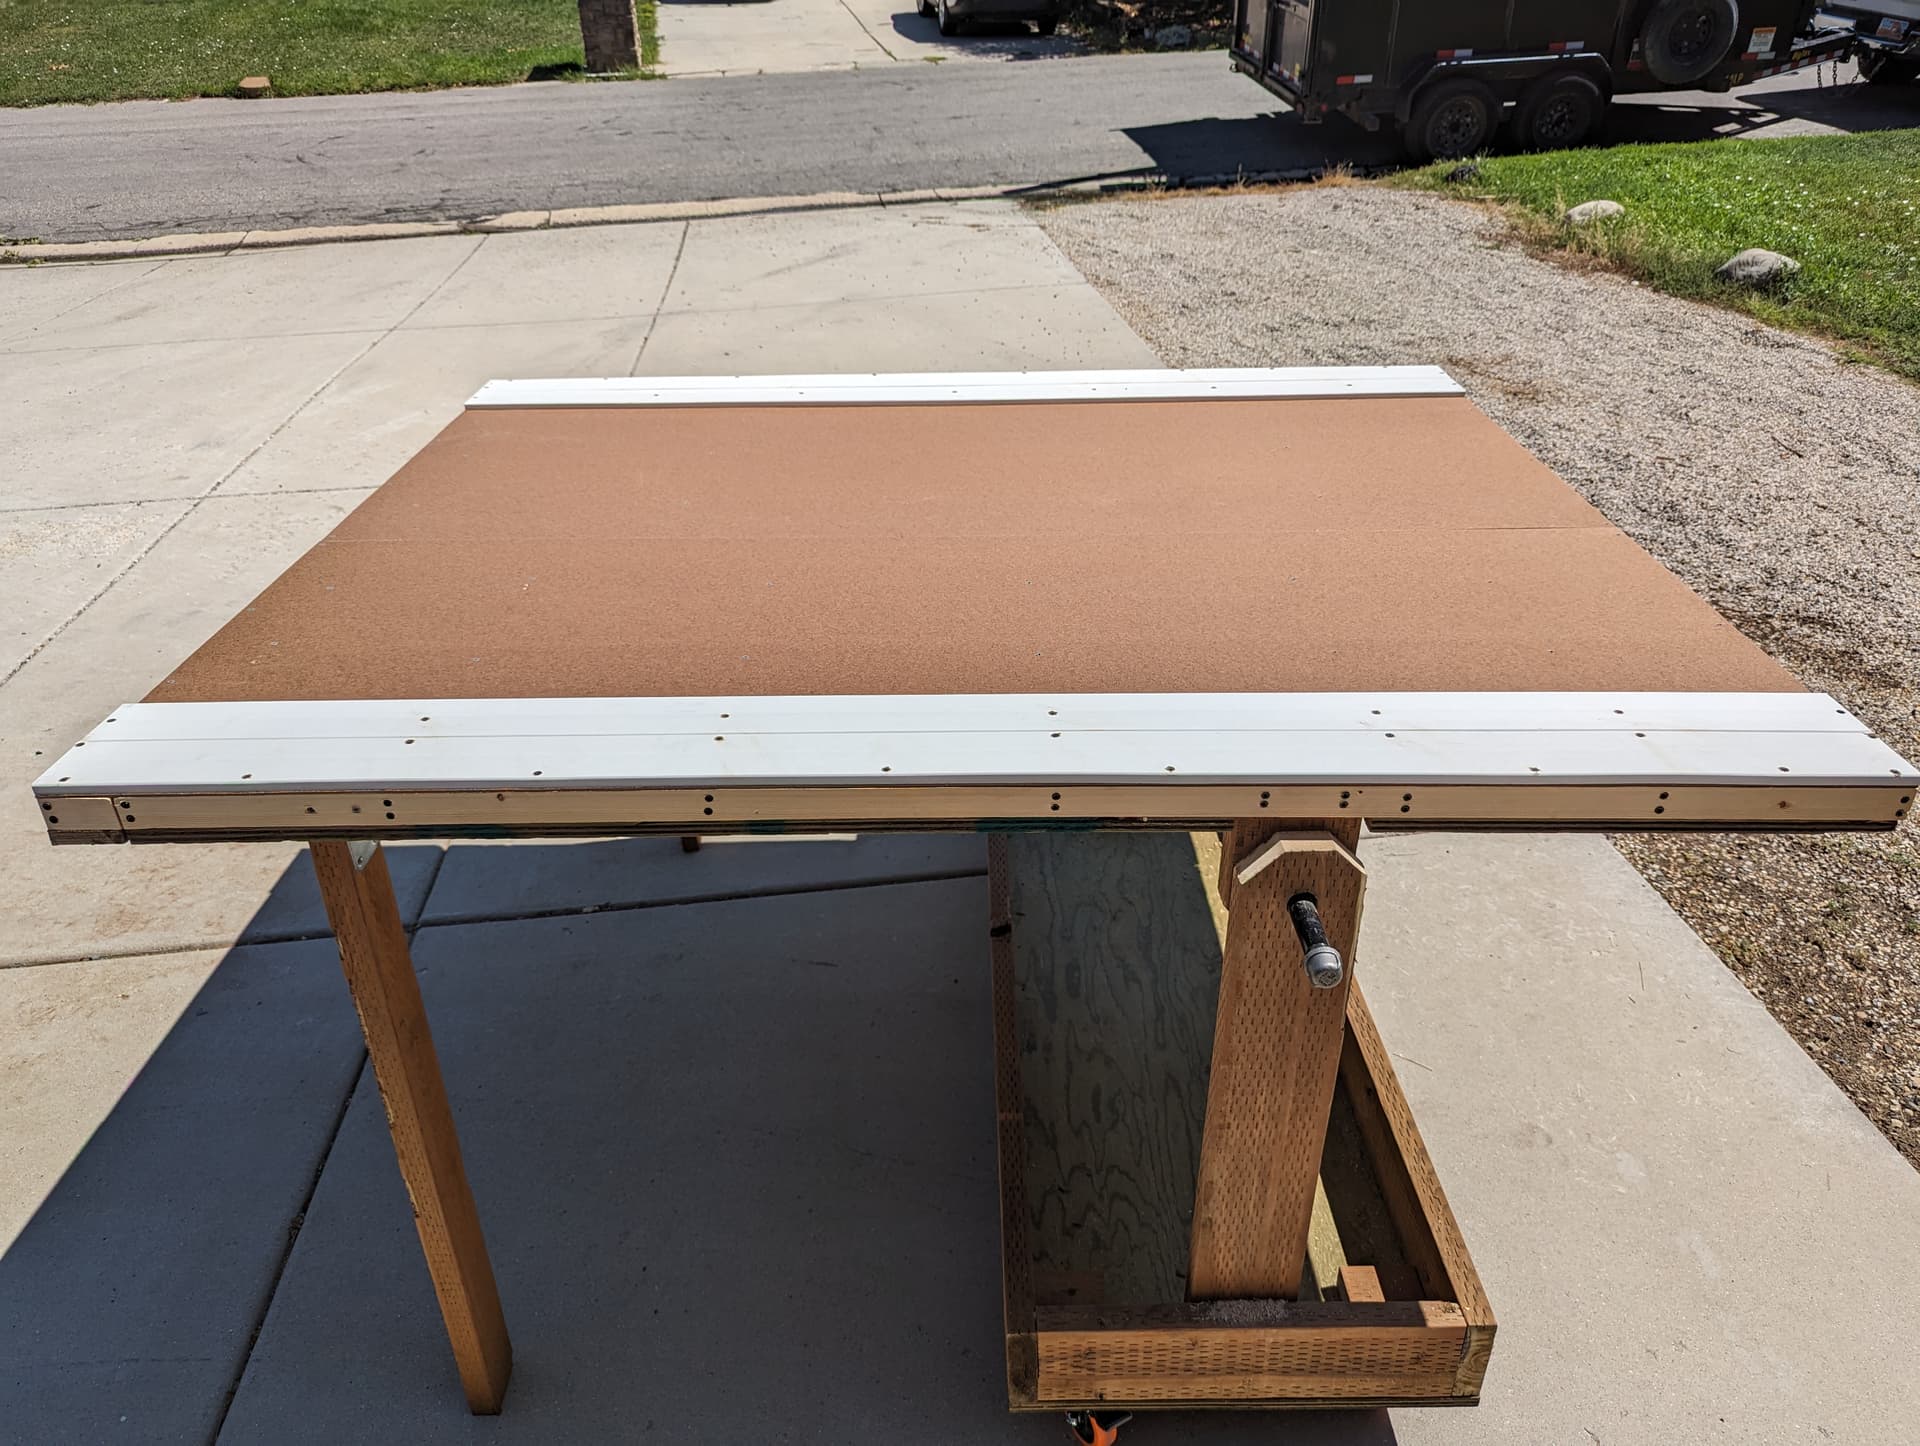
Yea only realized the mistake when I went back to the calculator to get my tube lengths and realized they were the same dimensions I’d just made the table :man_facepalming: . So, spent today adding 3" of length and 7" of width to the table. Should give me a 4’x5’ cutting area, and still barely fits under the shelving in my garage when raised.

Perfection! Off to a great start!

1 Like

Looking good!

1 Like

Finally, made a bit more progress.

Got the legs mounted:

Along with the top surfaced and the raised area for the Y rail and roller:

And a picture of the table lowered:

6 Likes

You could always tilt your table in landscape mode, rather than portrait…

1 Like

I considered that first, but I’m not sure it’s going to work in the space I have (Electric panel, etc. is on the wall that it would hide).

I was settled on attempting to build a table like this, as tall as would fit, that would have an additional hinged extension that could fold out from underneath when necessary, so it would be 4’ x 6.5’-ish most of the time, and the extension could fold out and the belts moved and turn into a 4’ x 8’.

But for now, just going 4’ x 5’ stationary table and I’ll solve that problem later…

2 Likes

Wired and tested the electronics. So far everything seems to be working correctly (after a few small issues).

Complete with movement test:

Also managed to setup the V1PI on an RPi4 2G.

Next up mounting the rails, beam, and guide belt to the table.

1 Like

Nice, you are almost ready to make a mess.

Nice. Looks great!

Did some cable management:


Got the Y rail mounted:

And the belts.

I believe I have full range of motion:

Now I need to mount the tool and do some tuning.

5 Likes

Heck yeah!

A few updates:

I’ve managed to square the table. Thanks Jamie!

I’ve rigged up a solution to leave the beam on the table when raised. Pictures soon.

And, I believe I’ve successfully built a Z touch plate sensor, testing it later today.

2 Likes

Attempting to cut the struts (1/4" plywood) has shown that the table has a fairly substantial dip, around 4-5mm, on the Y-axis.


Thinking of using Jamie’s Spoil Board Surfacing generator along with a Spoil Board Surfacing bit to trim the surface.

1 Like

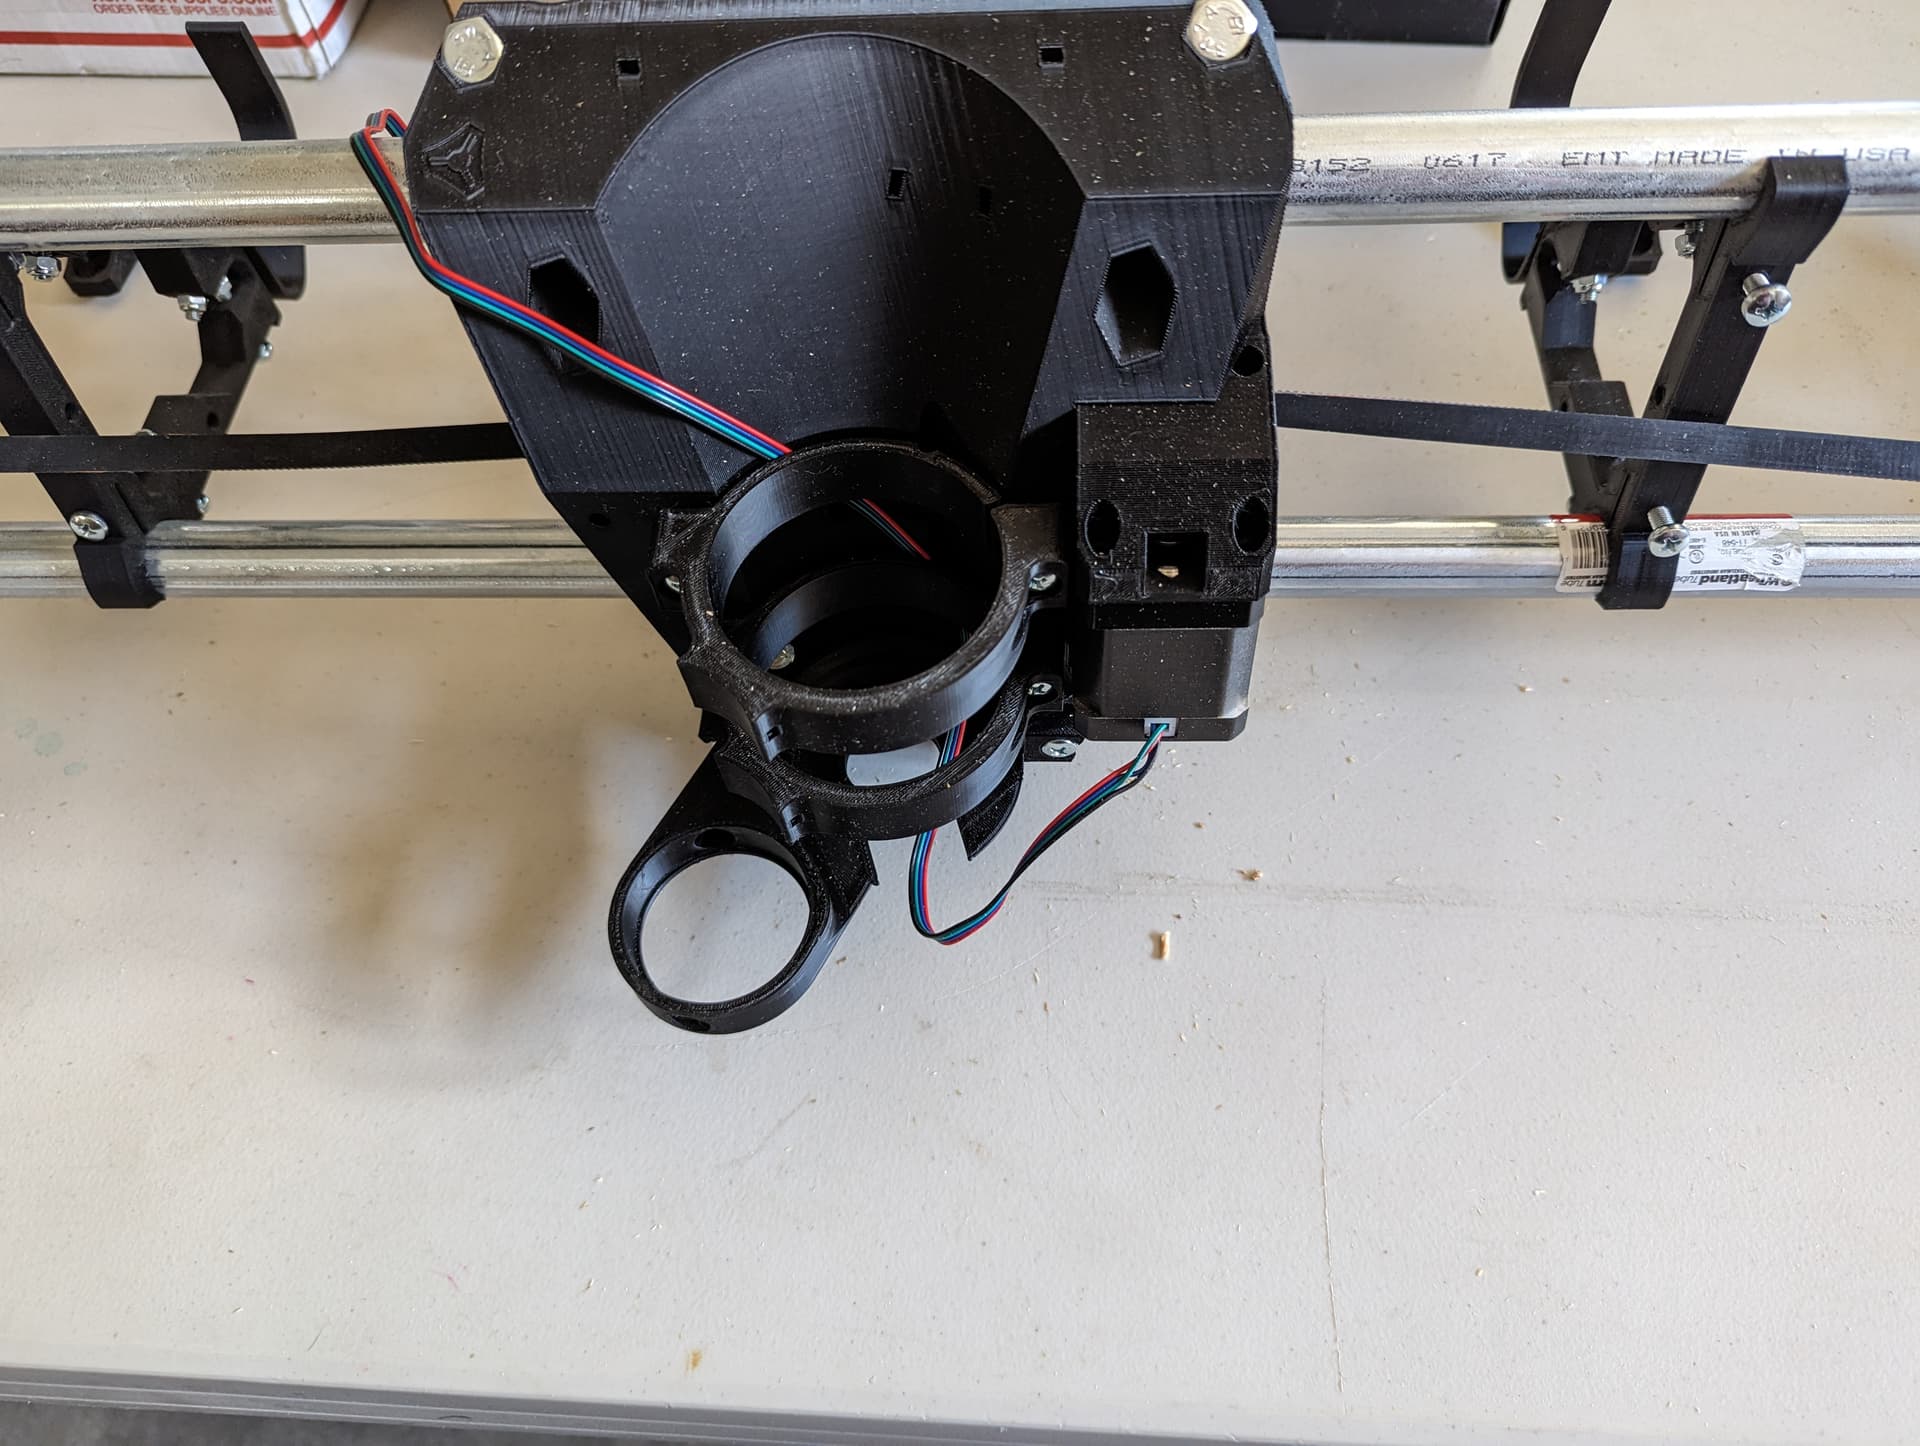
My experience is, do not try this without the struts. (Don’t ask me how I know lol)

You are better off shimming your workpiece level to get the struts cut and machine finalized, then square everything, then worry about surfacing, etc.

Those struts add a lot of rigidity to machine.

Attempting to surface it without the struts can cause the X Gantry to dip from the weight of the router, and then you’ll just have a dip in the opposite direction.

3 Likes

I can extend the cut depth to compensate for the dip. That should allow me to cut the struts.

1 Like

You can also shim with stacks of paper, magazines, as long as not immediately in the cut path.

1 Like

That should be fine. That’s what I did, but I only had ~1mm dip to contend with.

If you don’t mind the 5mm dug into the spoil board, go for it, just be sure you have no screws, etc lurking in that location at that depth.

Otherwise, shimming it up a bit temporarily will work too.

1 Like

Shimming worked.

Managed to cut 2 perfect struts and a 3rd decent.

Sanding, priming, painting, and applying spar urethane to the struts now.

5 Likes