A couple of guys on the Lightburn forum provided links to a small laser engraver on Amazon… for just $79 (now $75 since I bought one!).
Okay, the cat’s out of the bag… I bought one. As most of you know, I’m always looking for something new to play with as I’m slowing down… but I’m still quite comfortable with these little laser machines, so I figured, “What the heck!”. I can always use the parts…
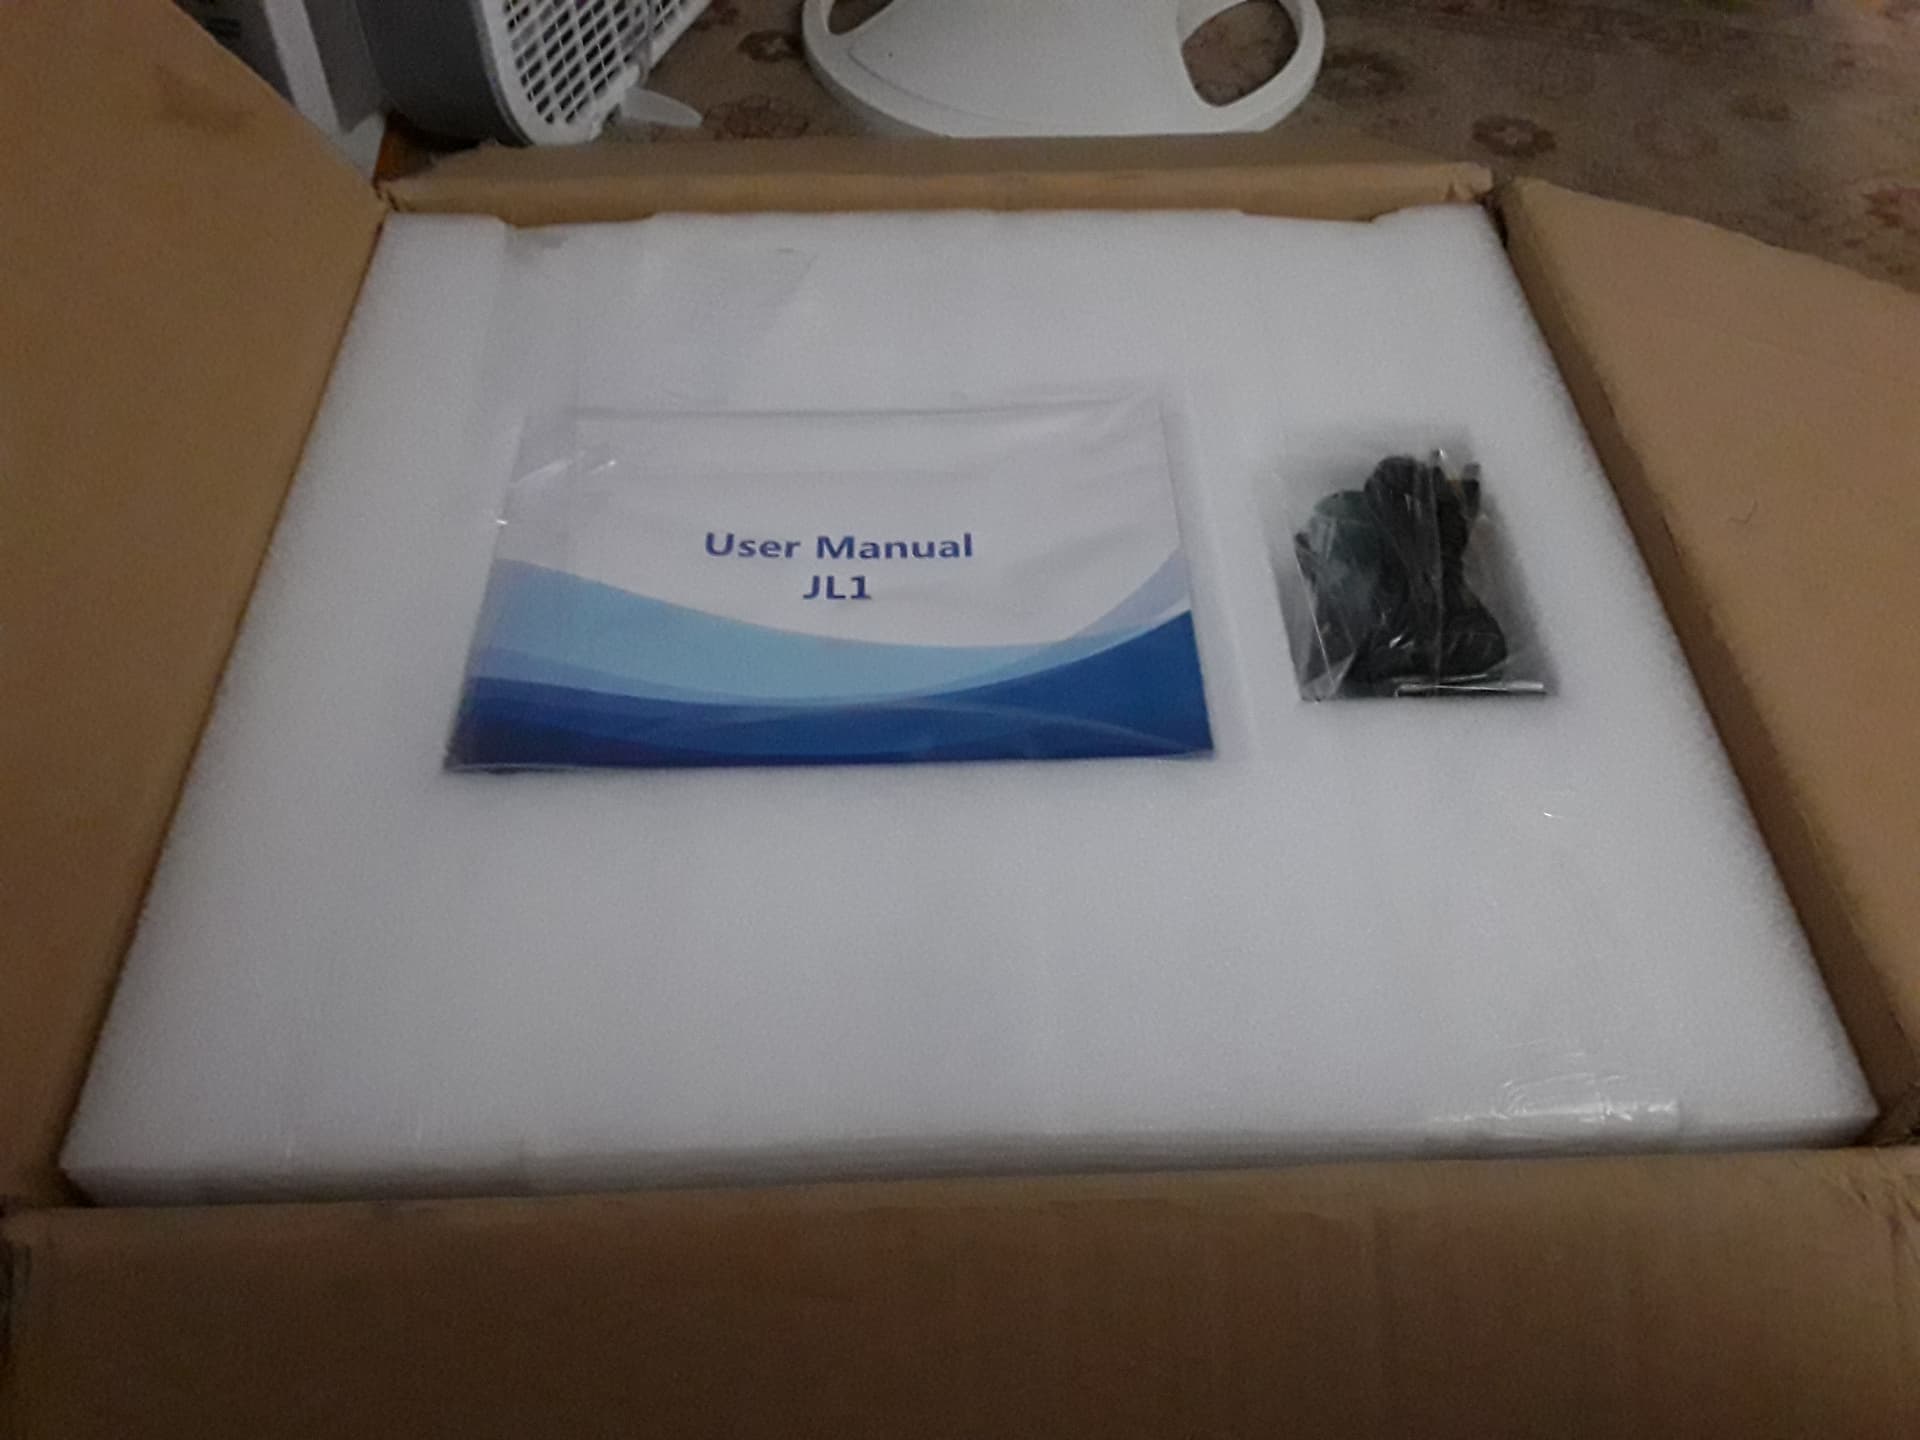
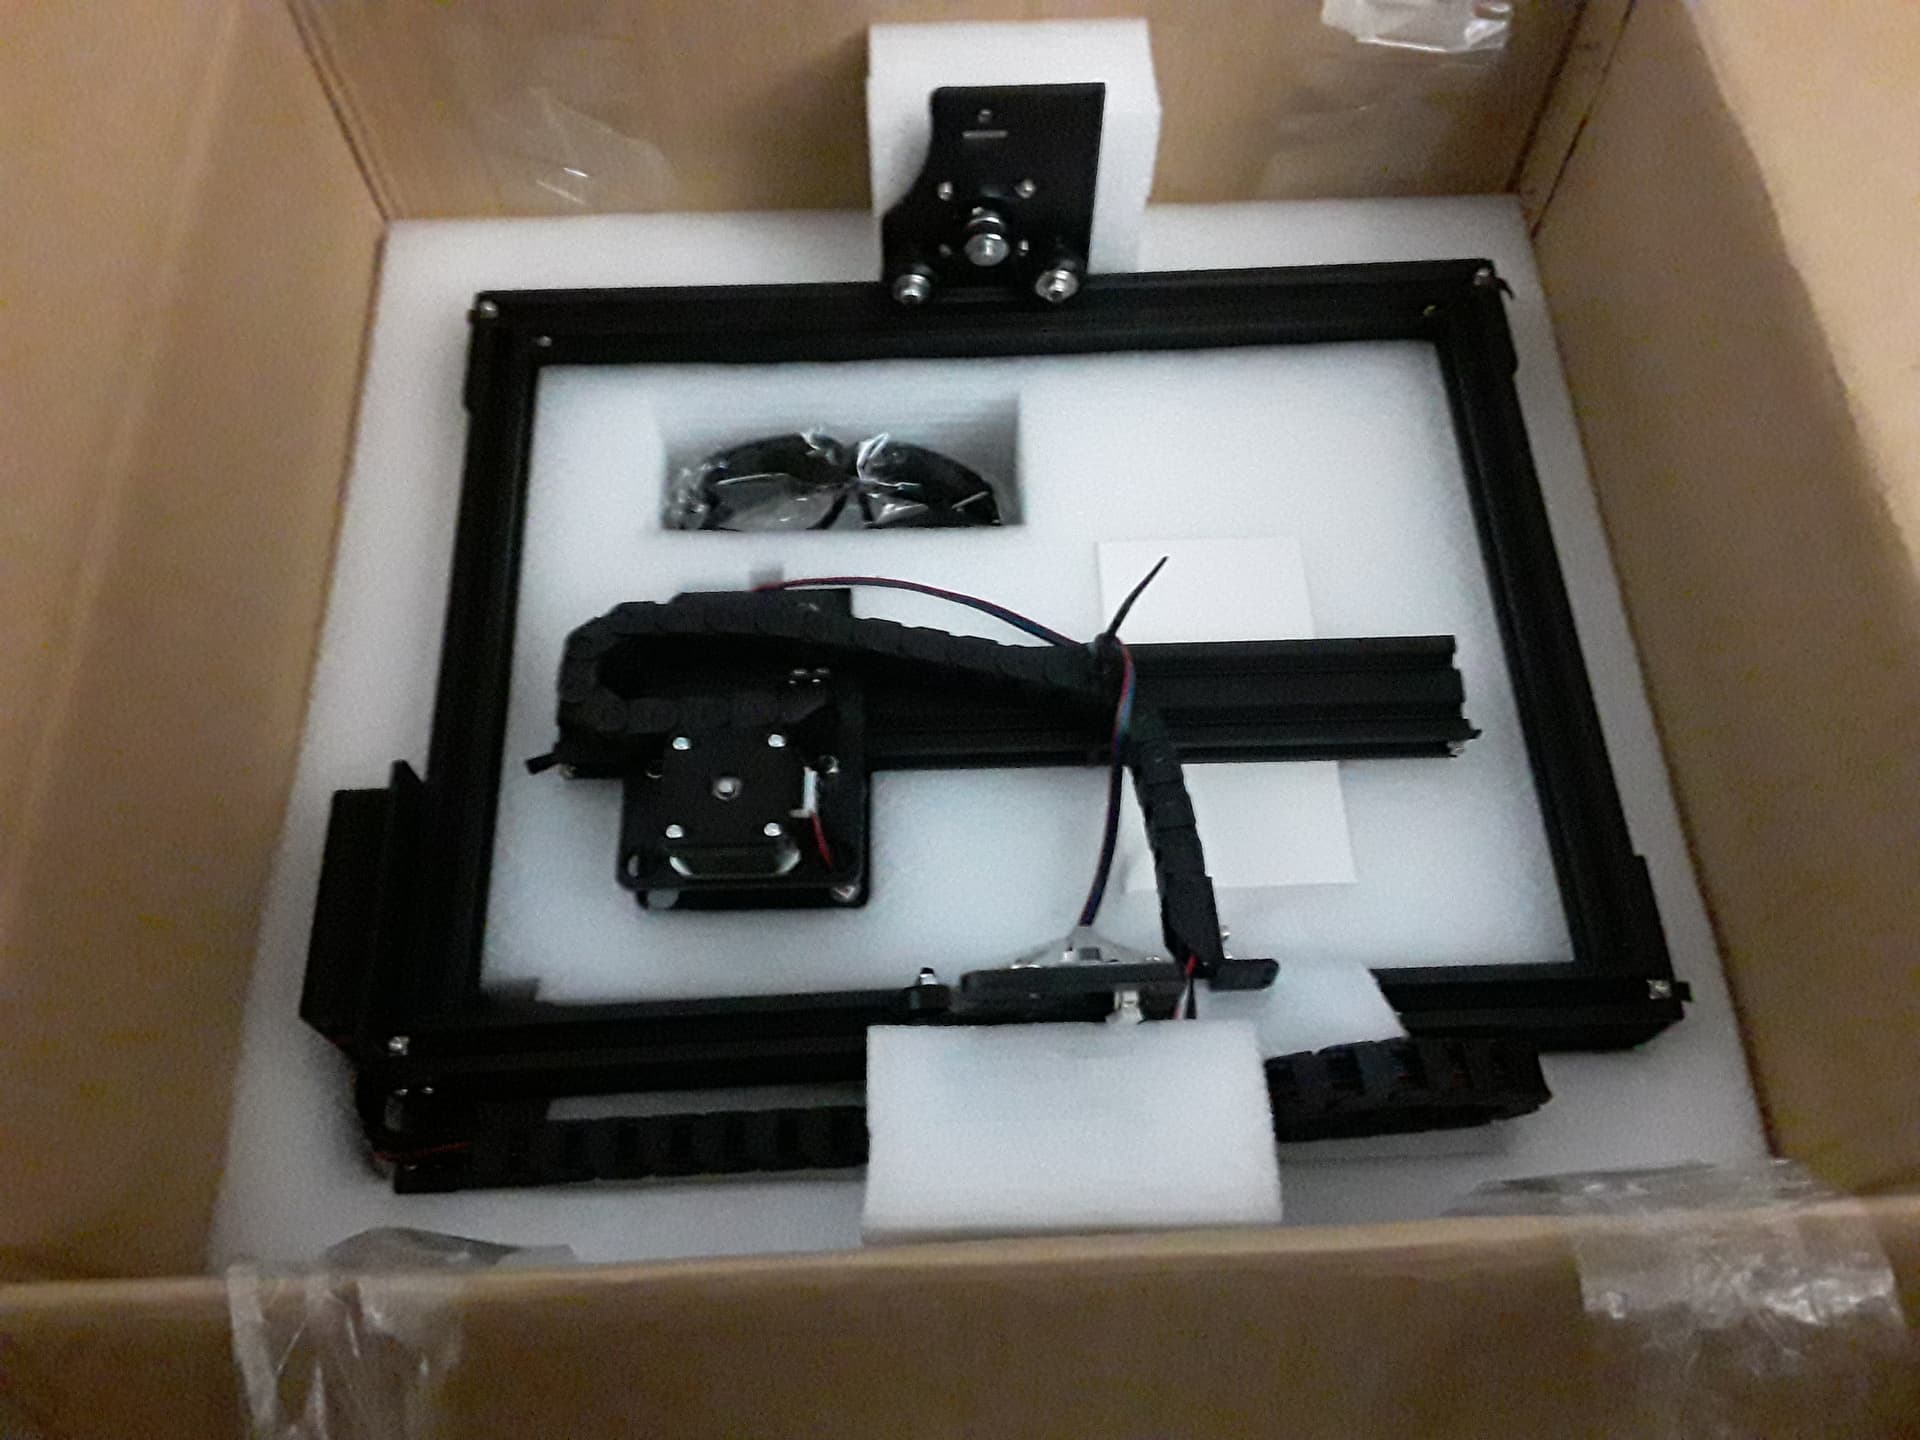
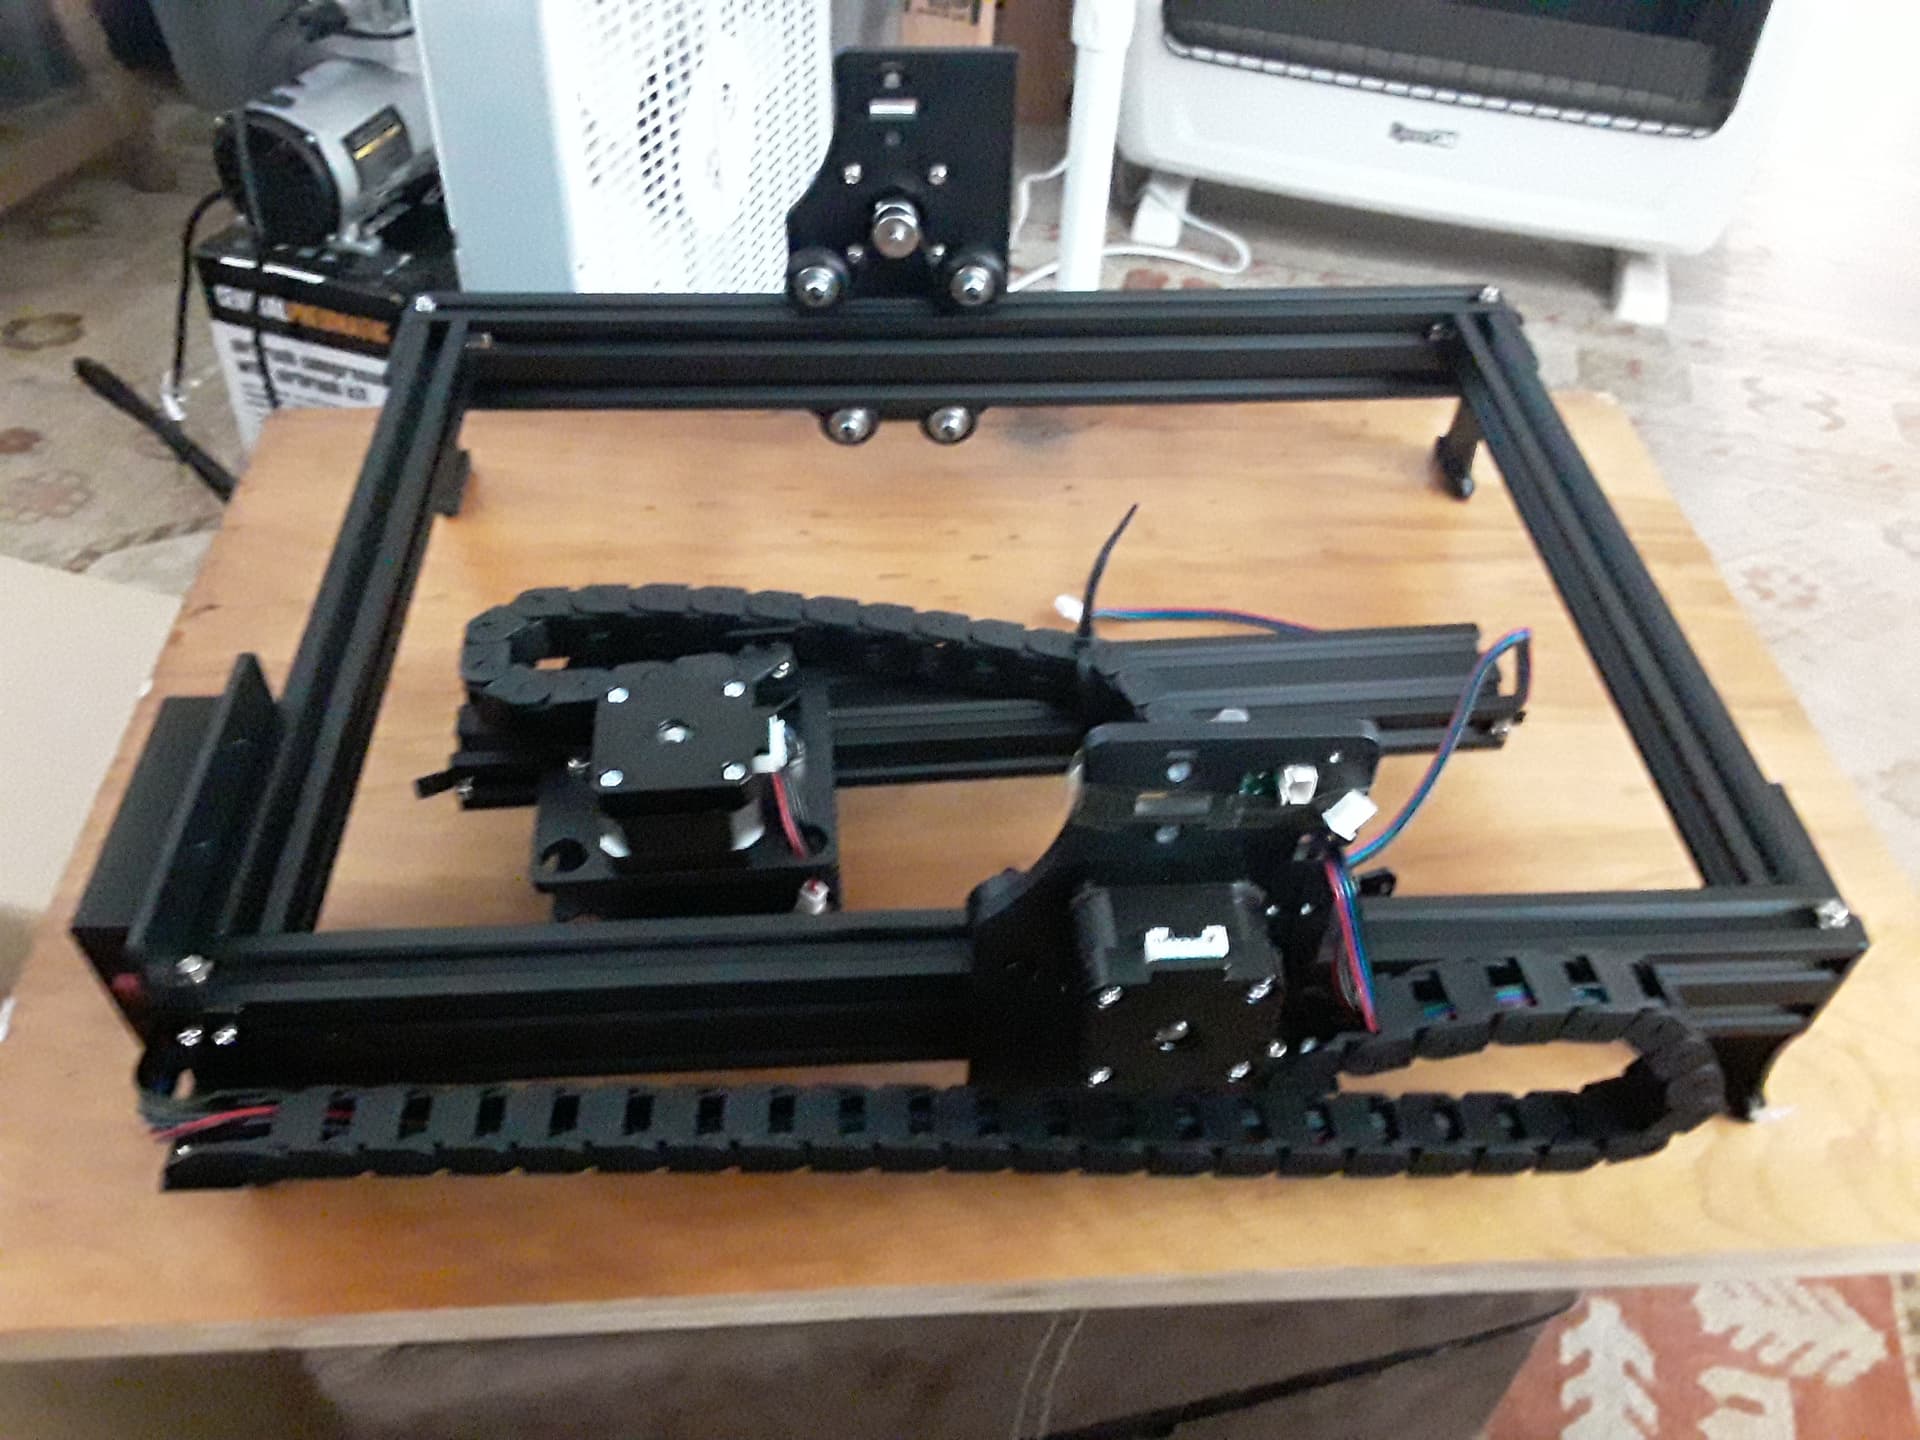
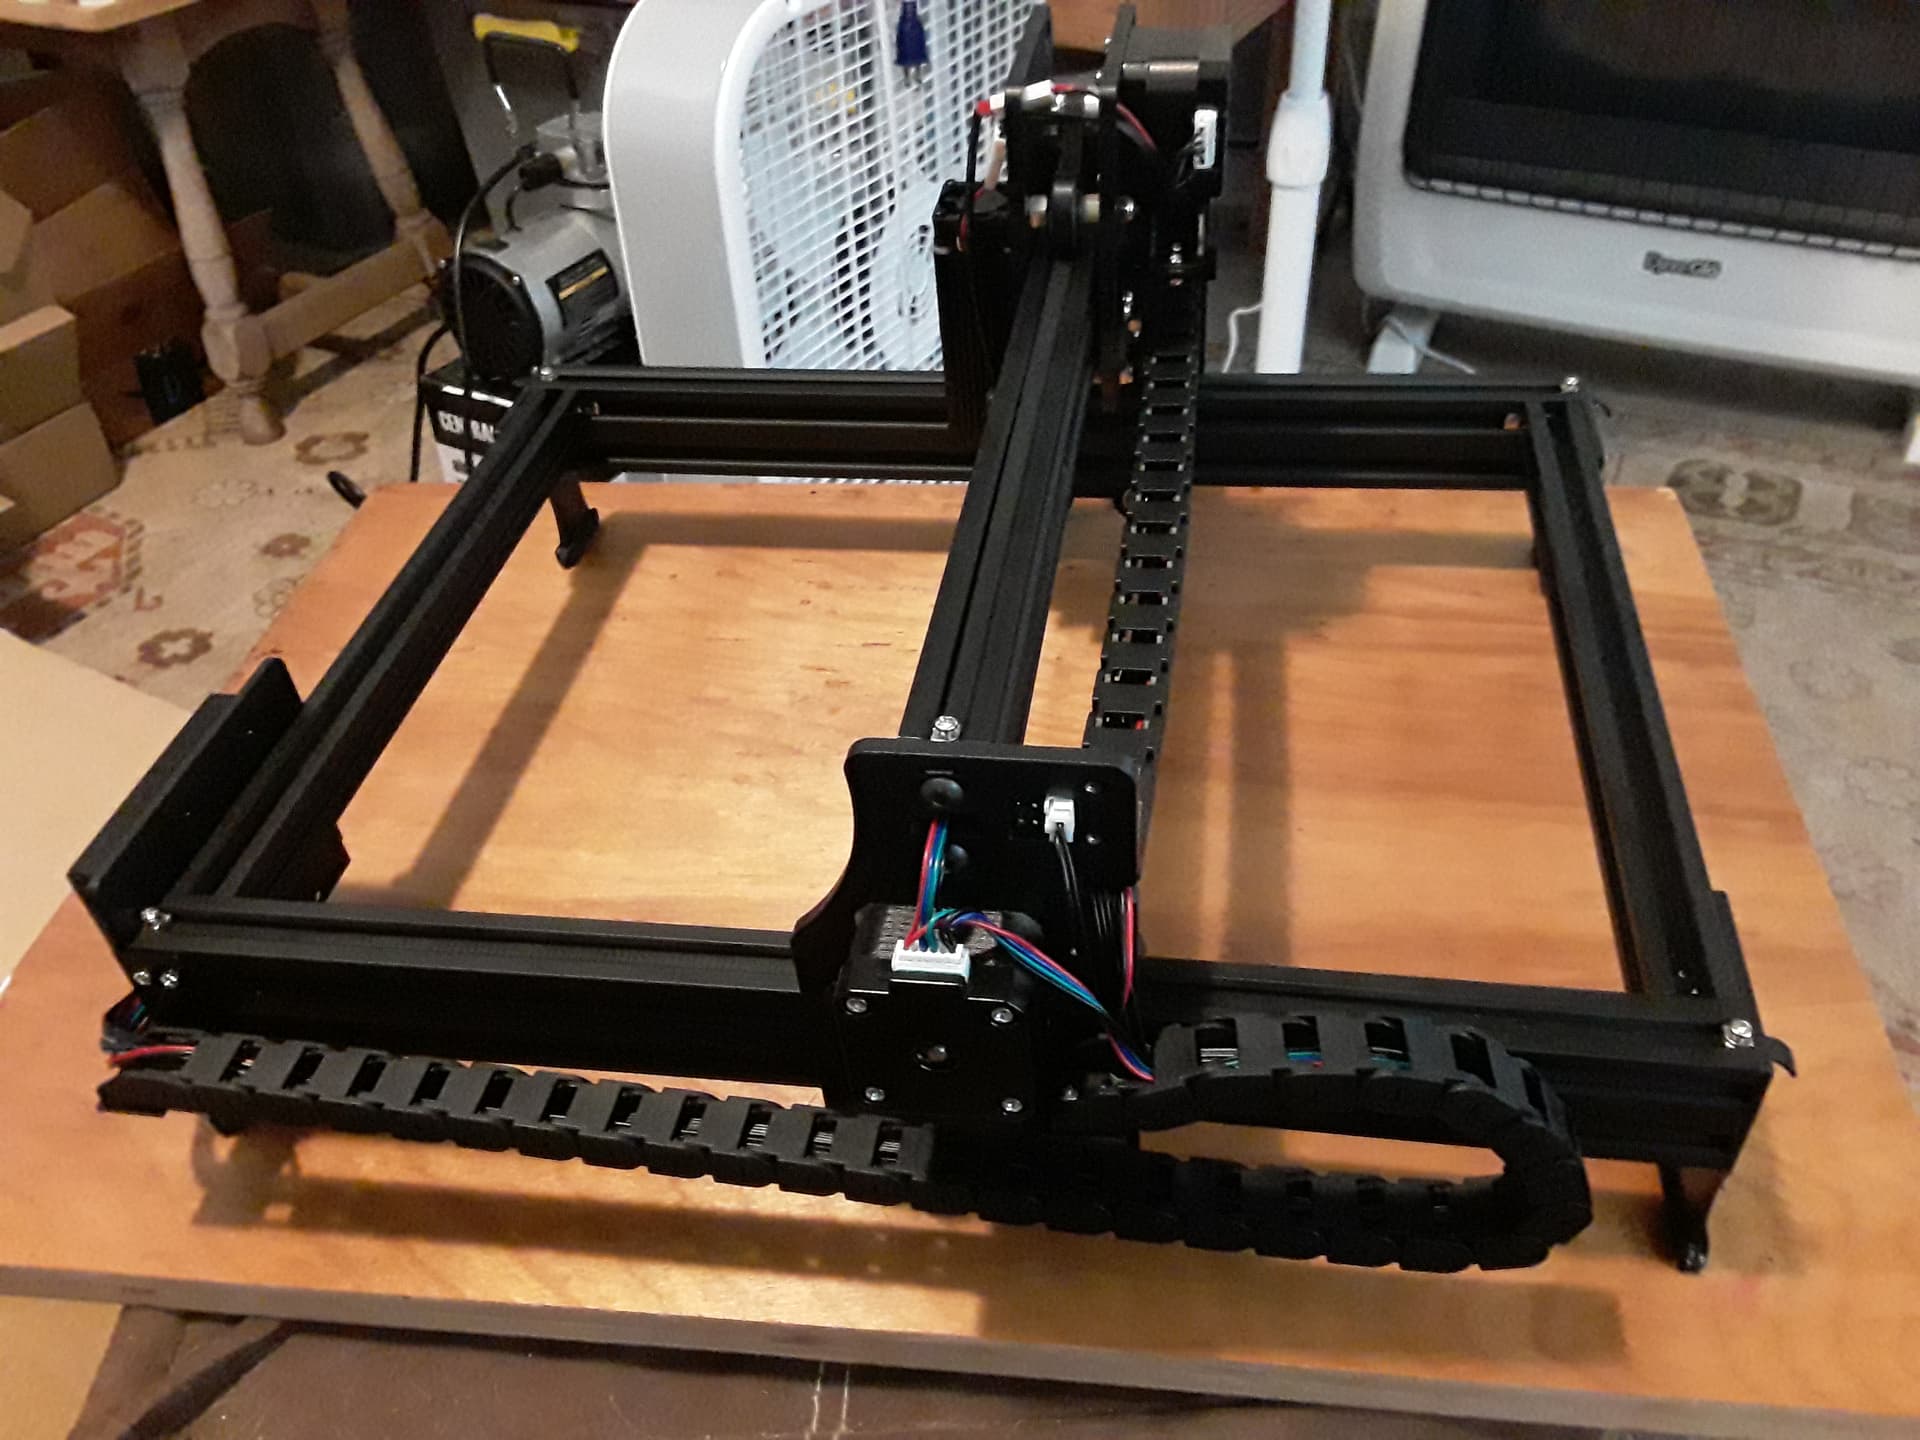
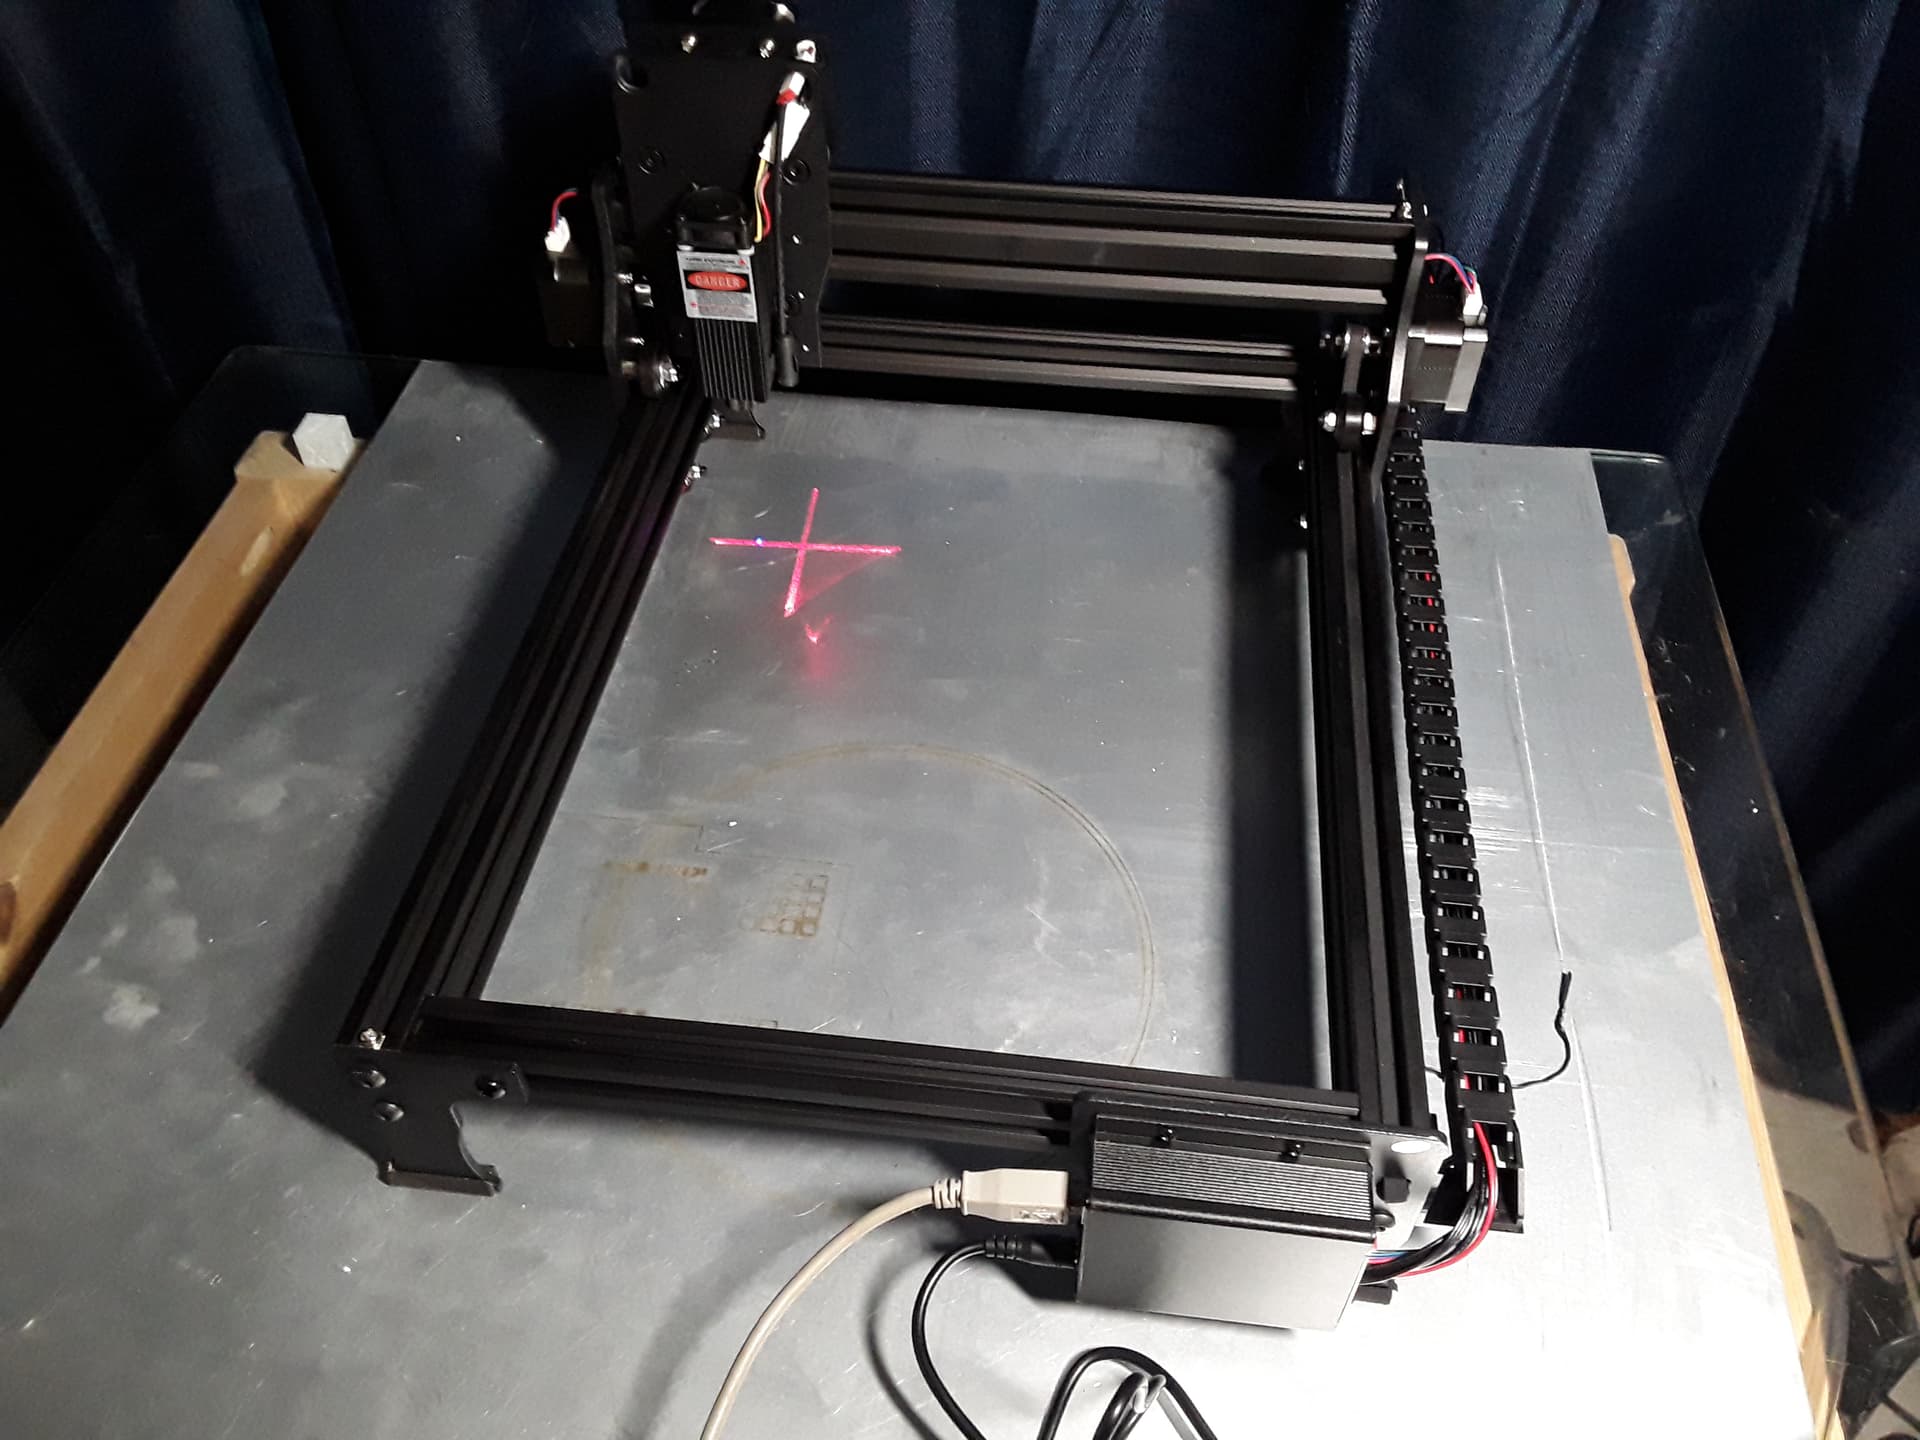
Absolutely shocked… ordered on Aug 9th, received on the Aug 12. Not for everybody but I will say that this is one sturdy little machine. All metal and uses 2040 (vs 2020) extrusions. Uses cable chains so neatest wiring I have on any of my other machines. Four M5 screws for the gantry and a couple of M3’s for the end of the gantry cable chain. Working area about 220mm x 290mm and 3W laser (claimed).
Powered it up… it homed and parked itself in upper left corner with a red cross and small laser dot. So everything appears to function as designed. Which is okay if you can read Chinese and don’t mind using crappy proprietary Windows software… which I didn’t install or try to use. I already knew about all that from the LB discussion thread… so was ready to make it better.
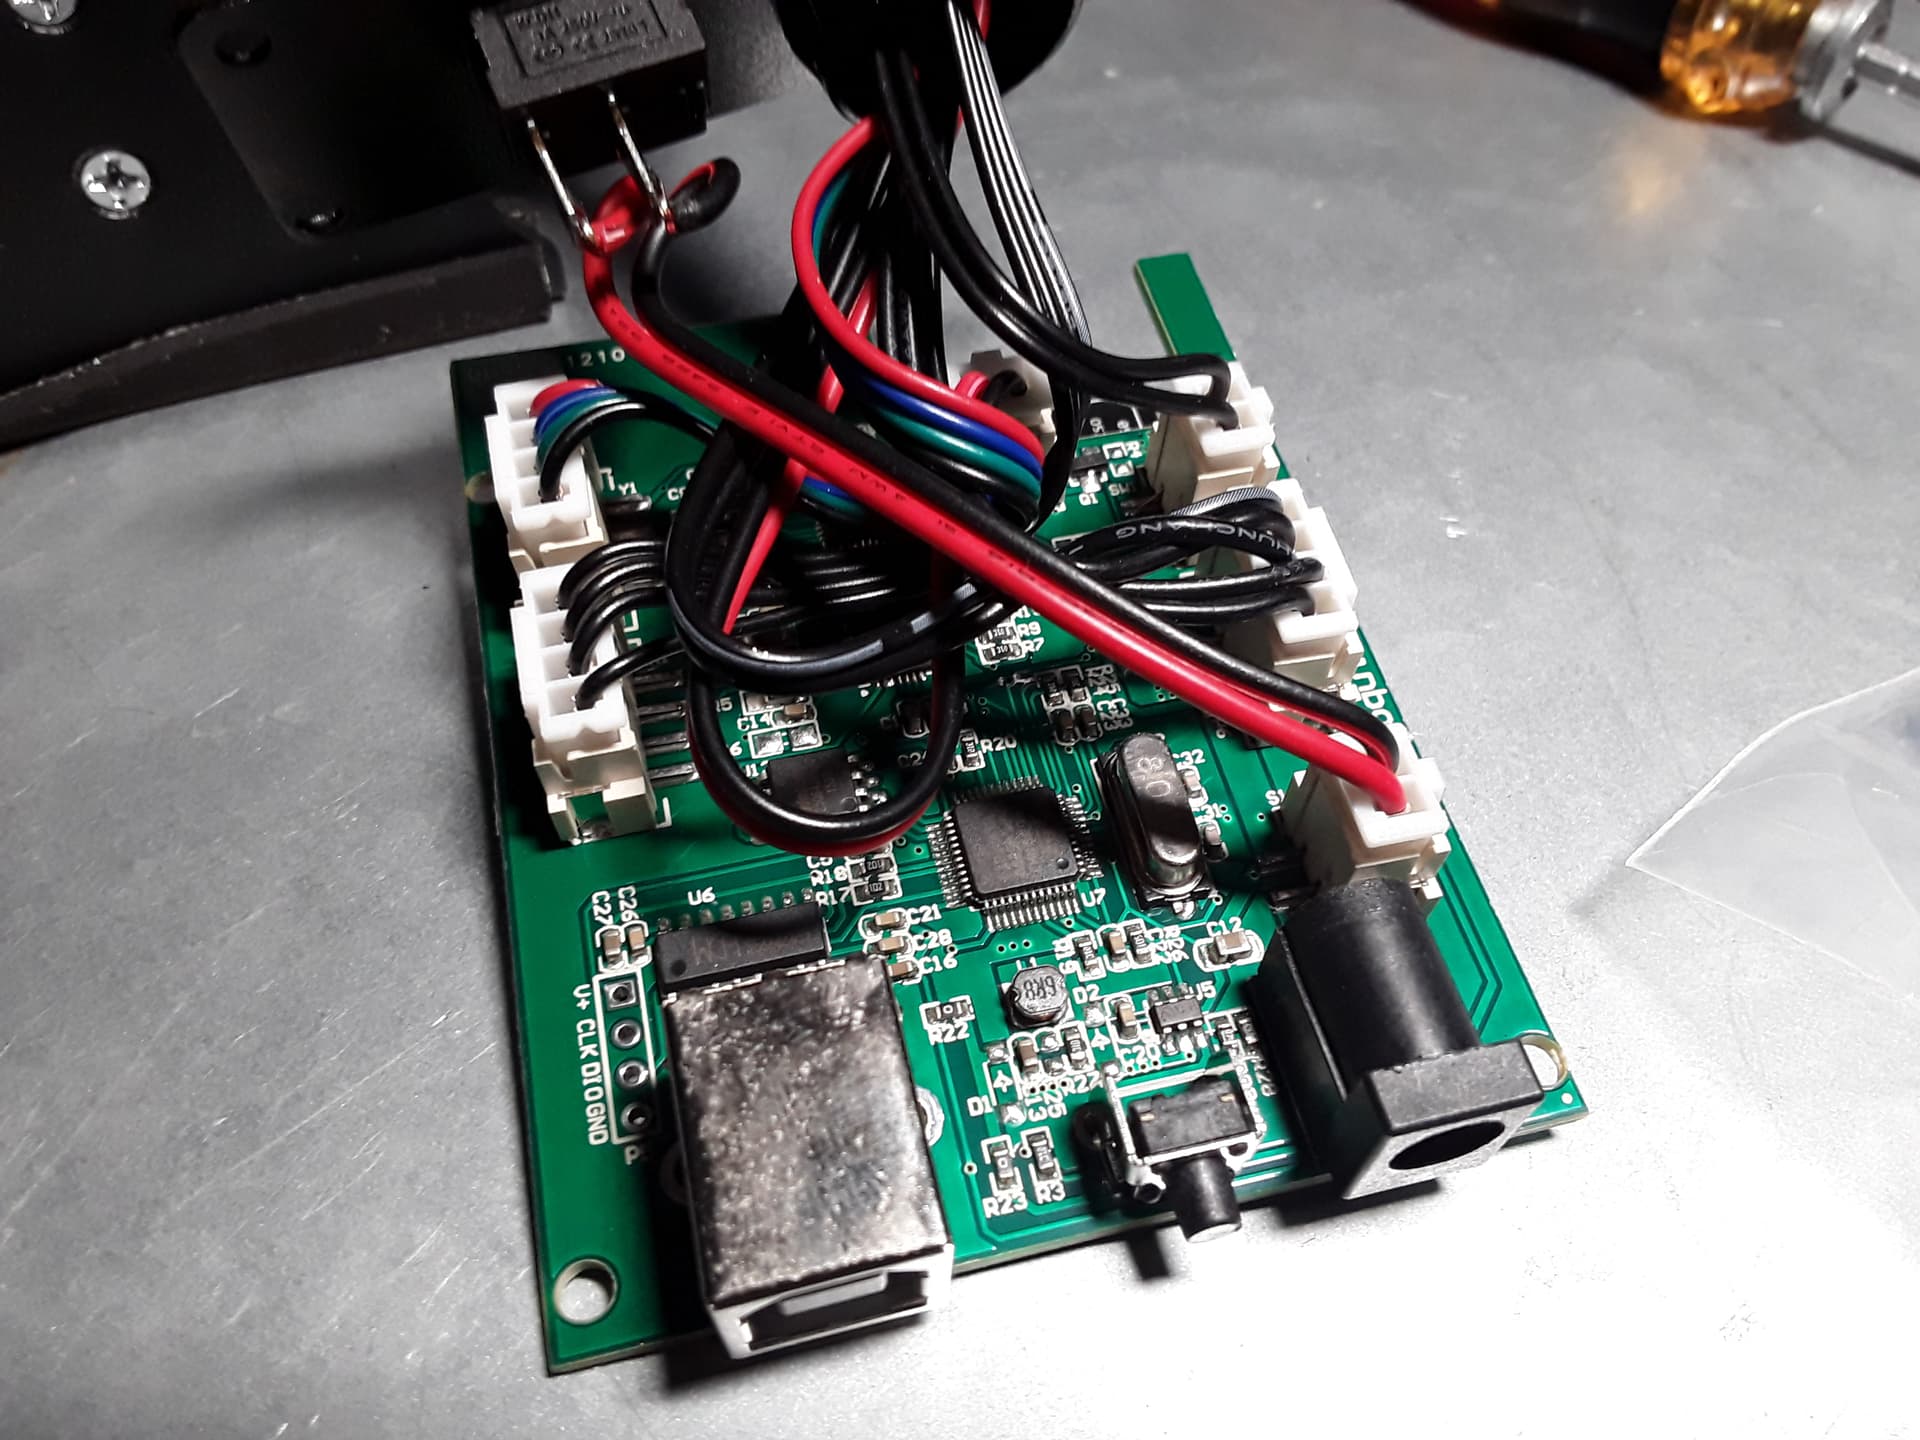
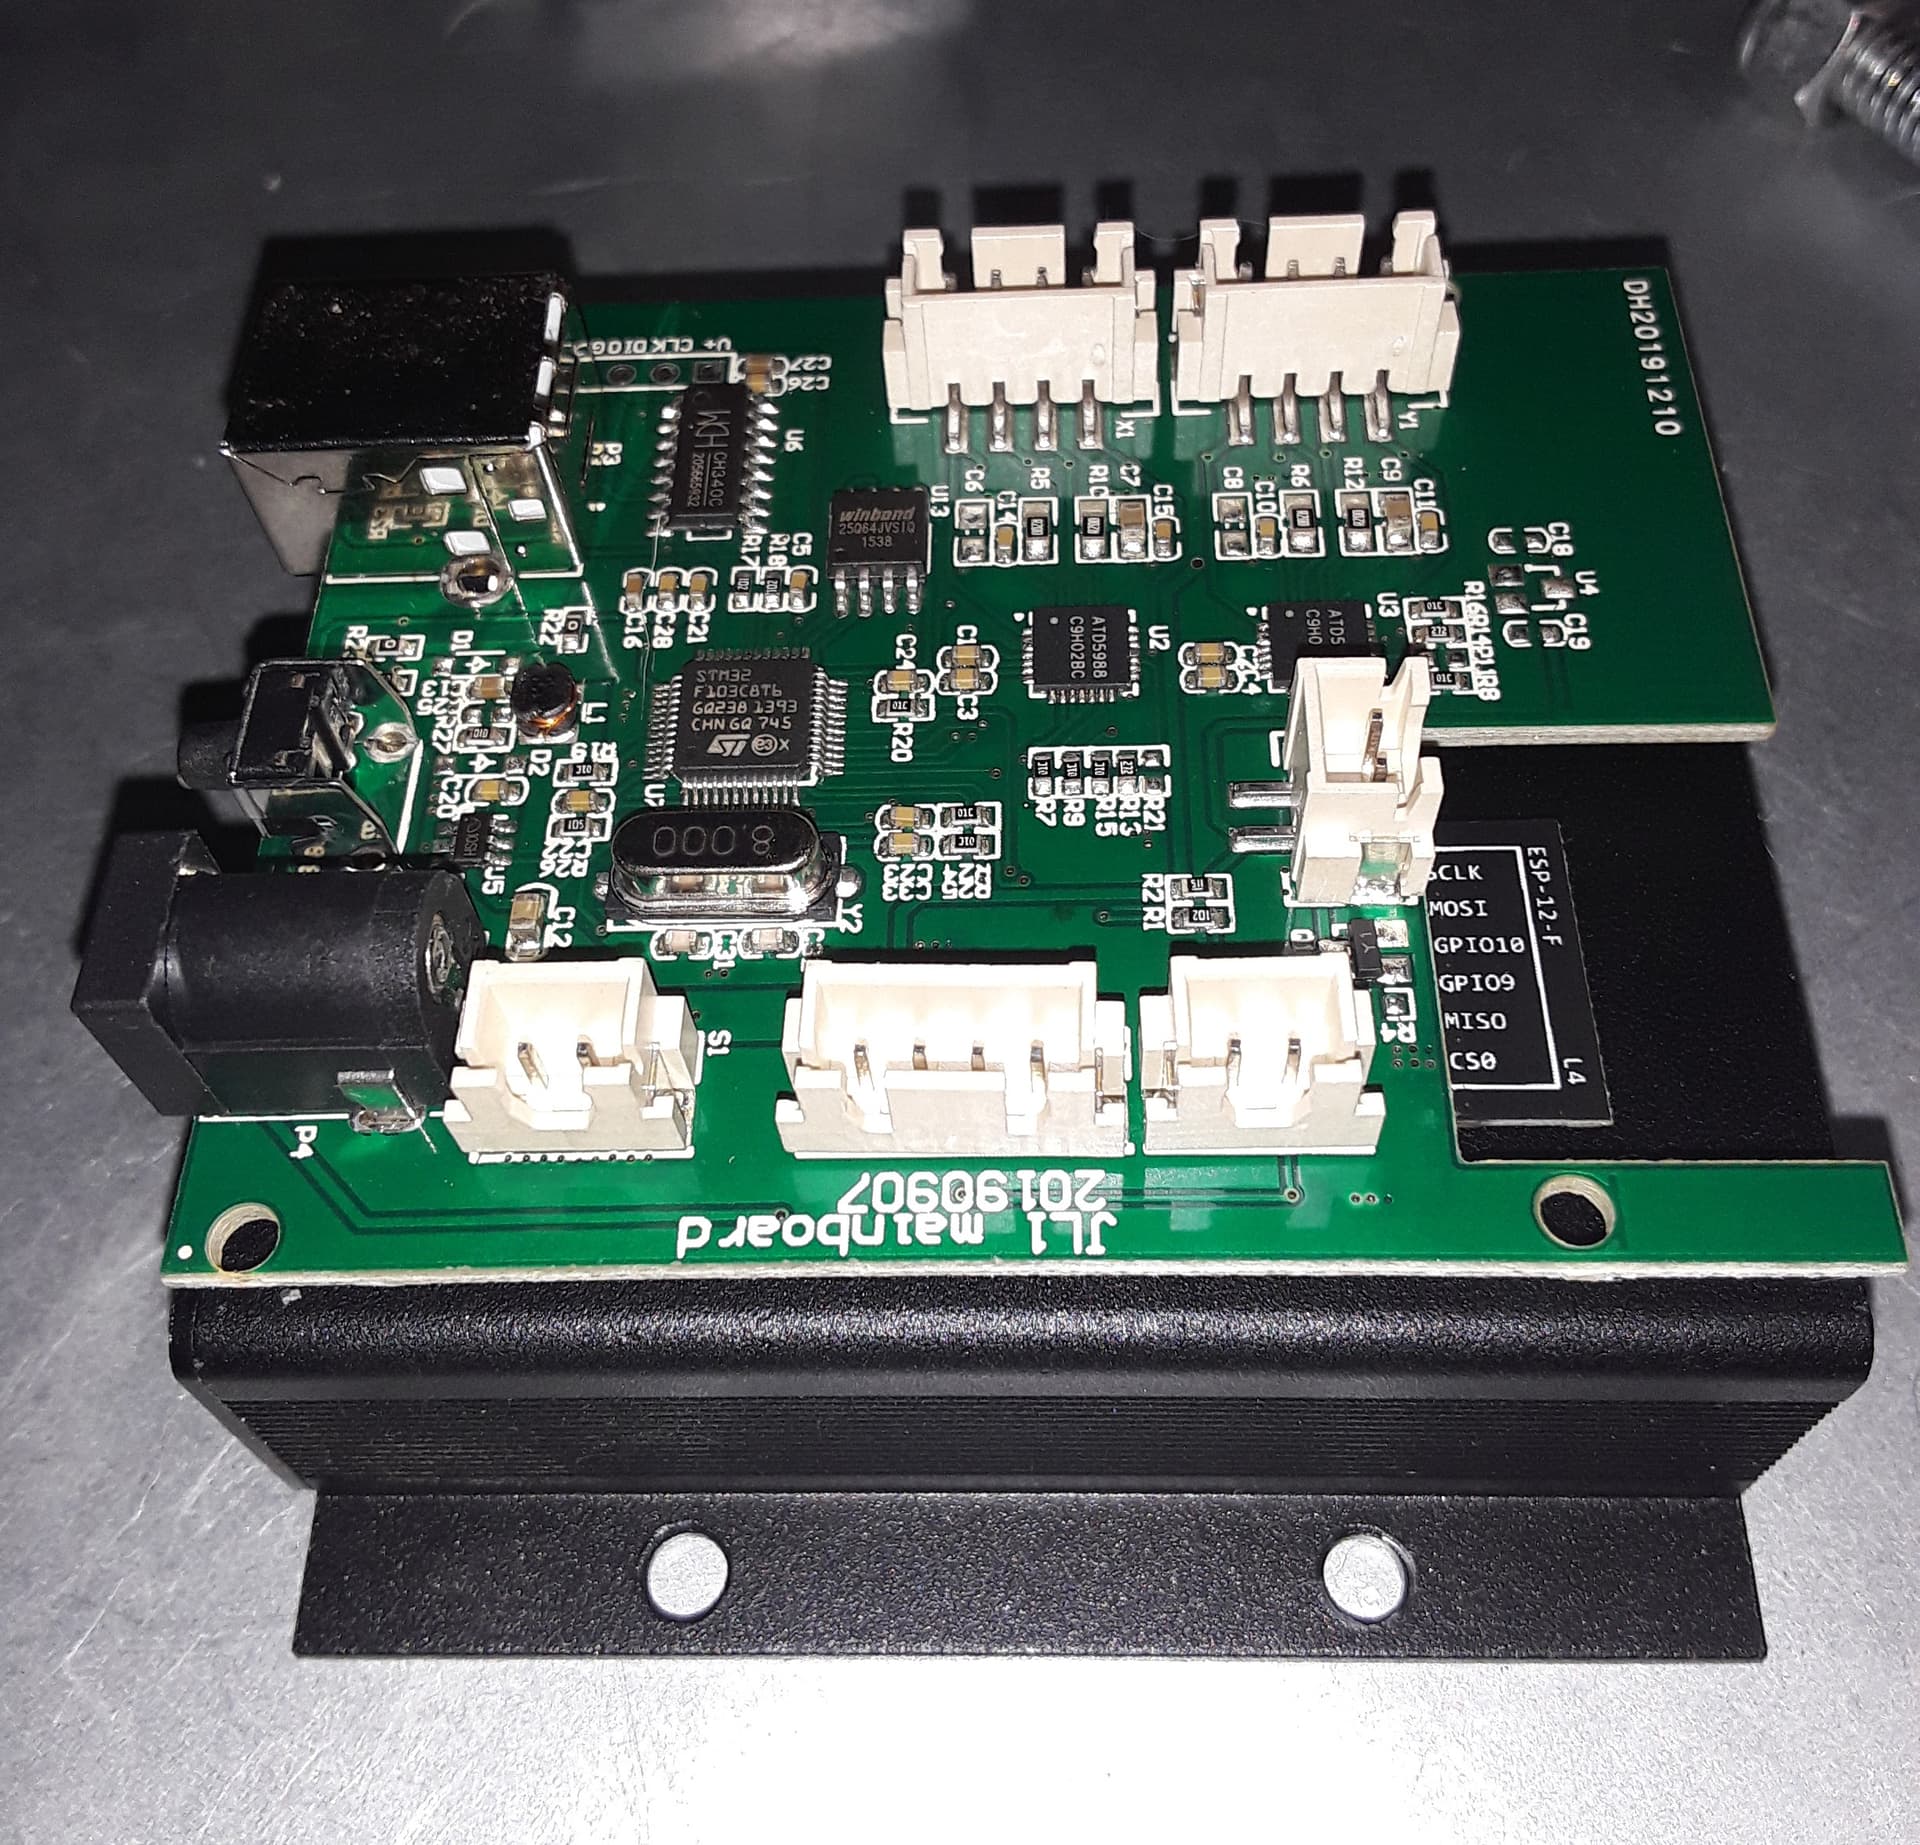
Opened the metal box containing the controller board… JL1 Mainboard. Found the X and Y connectors and fished them out of the box… along with the 3-wire laser connections…
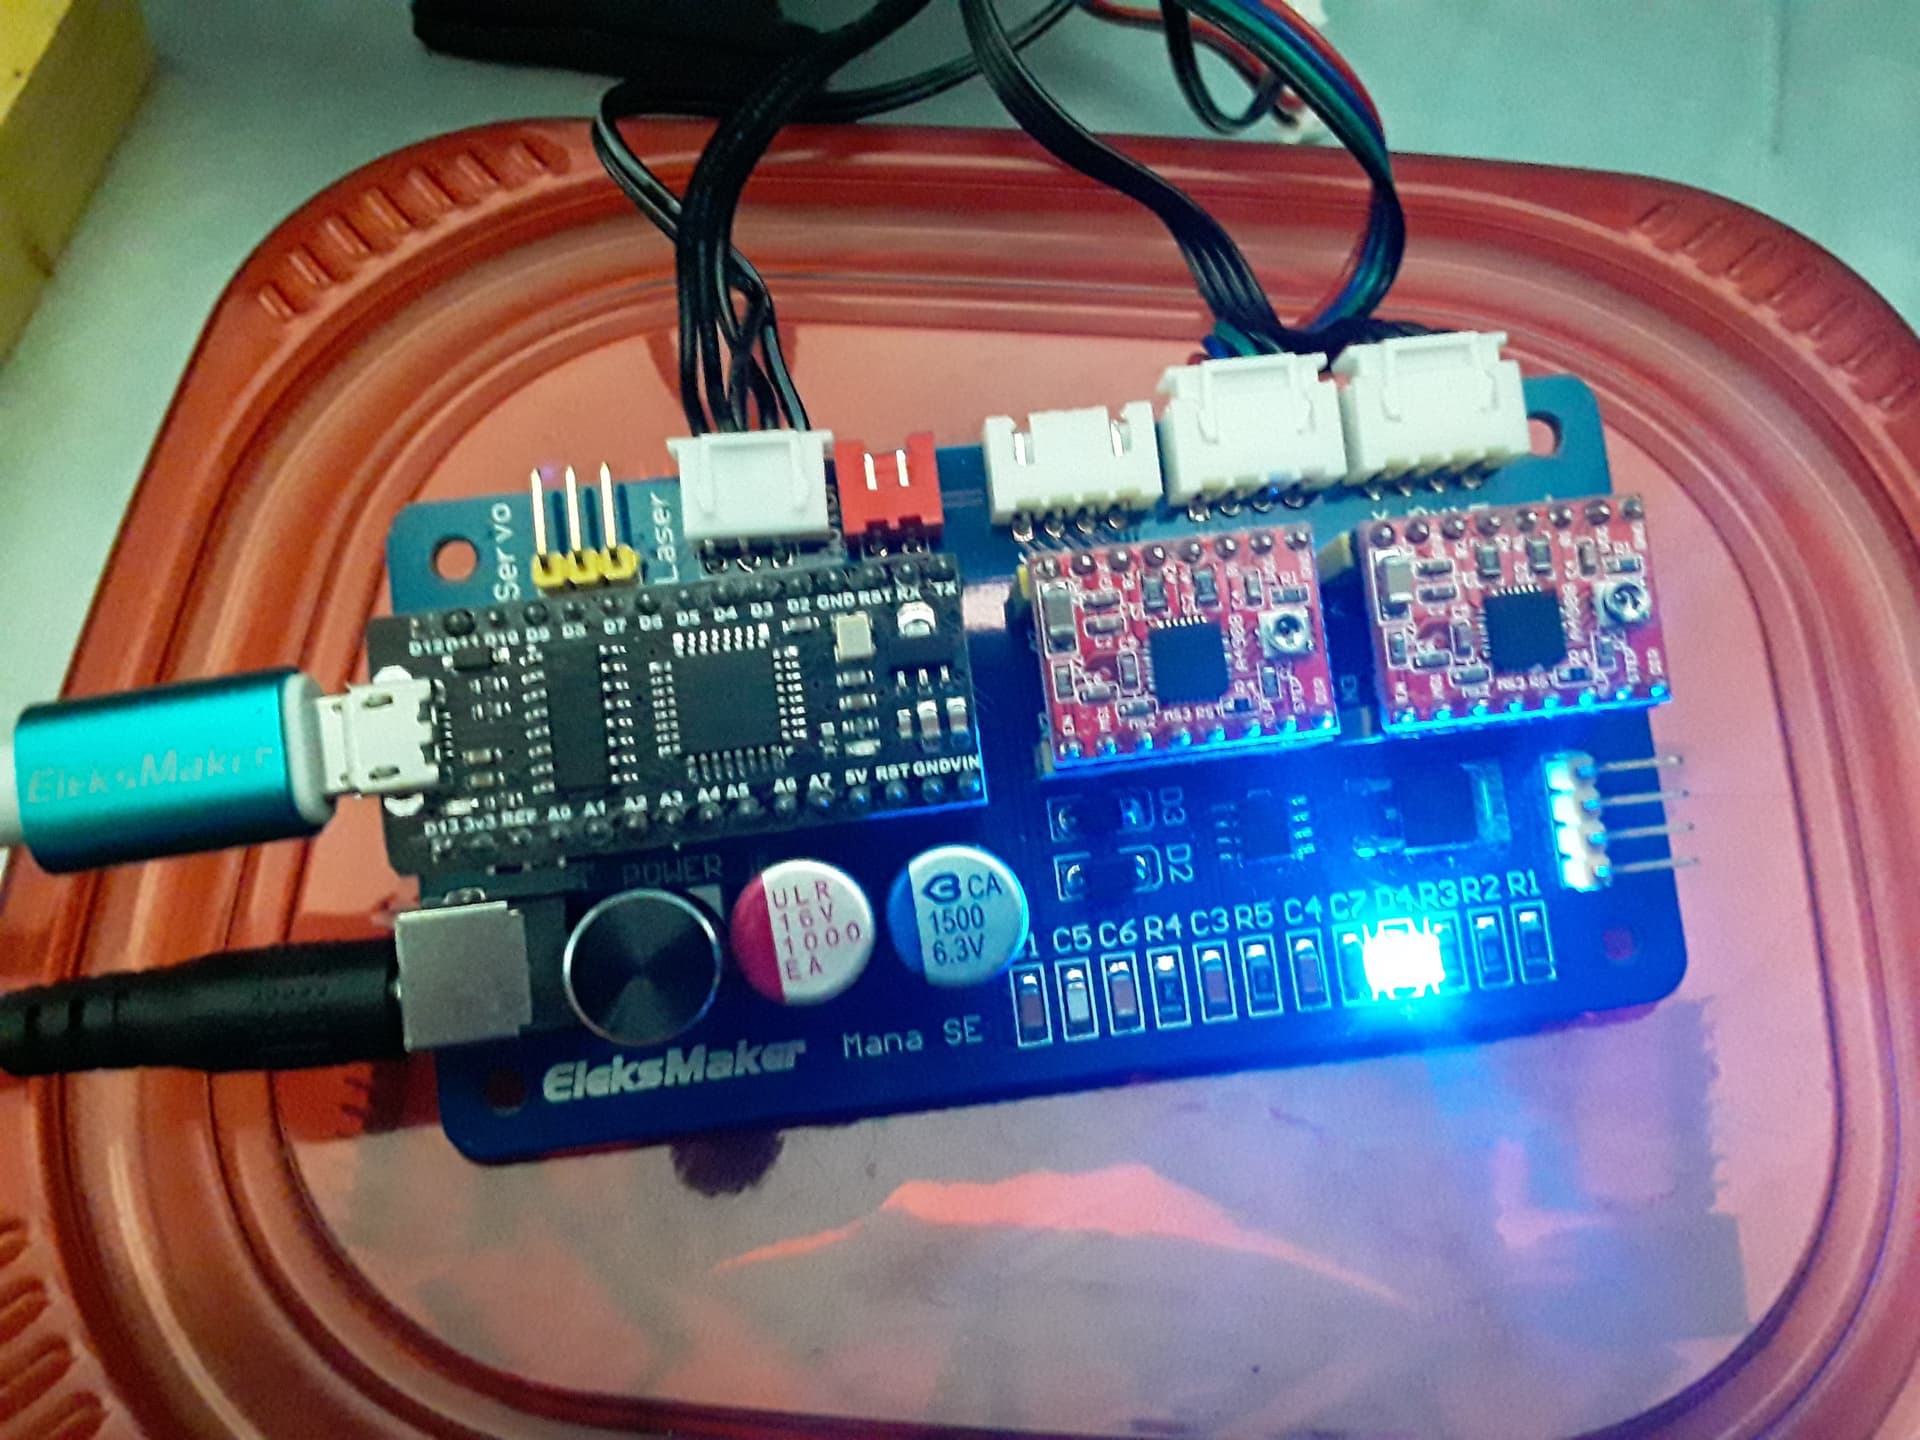
Took one of my trusty old Eleksmaker Mana SE 2-axis controllers that I’ve used to test many machines and was able to easily find corresponding connectors and pins to control machine and laser. I left out the limit switches and red cross laser… don’t need or use them
I’m genuinely impressed with the physical qualities of this little machine and, like I heard one fellow say… if they’d simply put a Grbl-based, Lightburn-capable, controller on this thing they could probably sell a million of them.
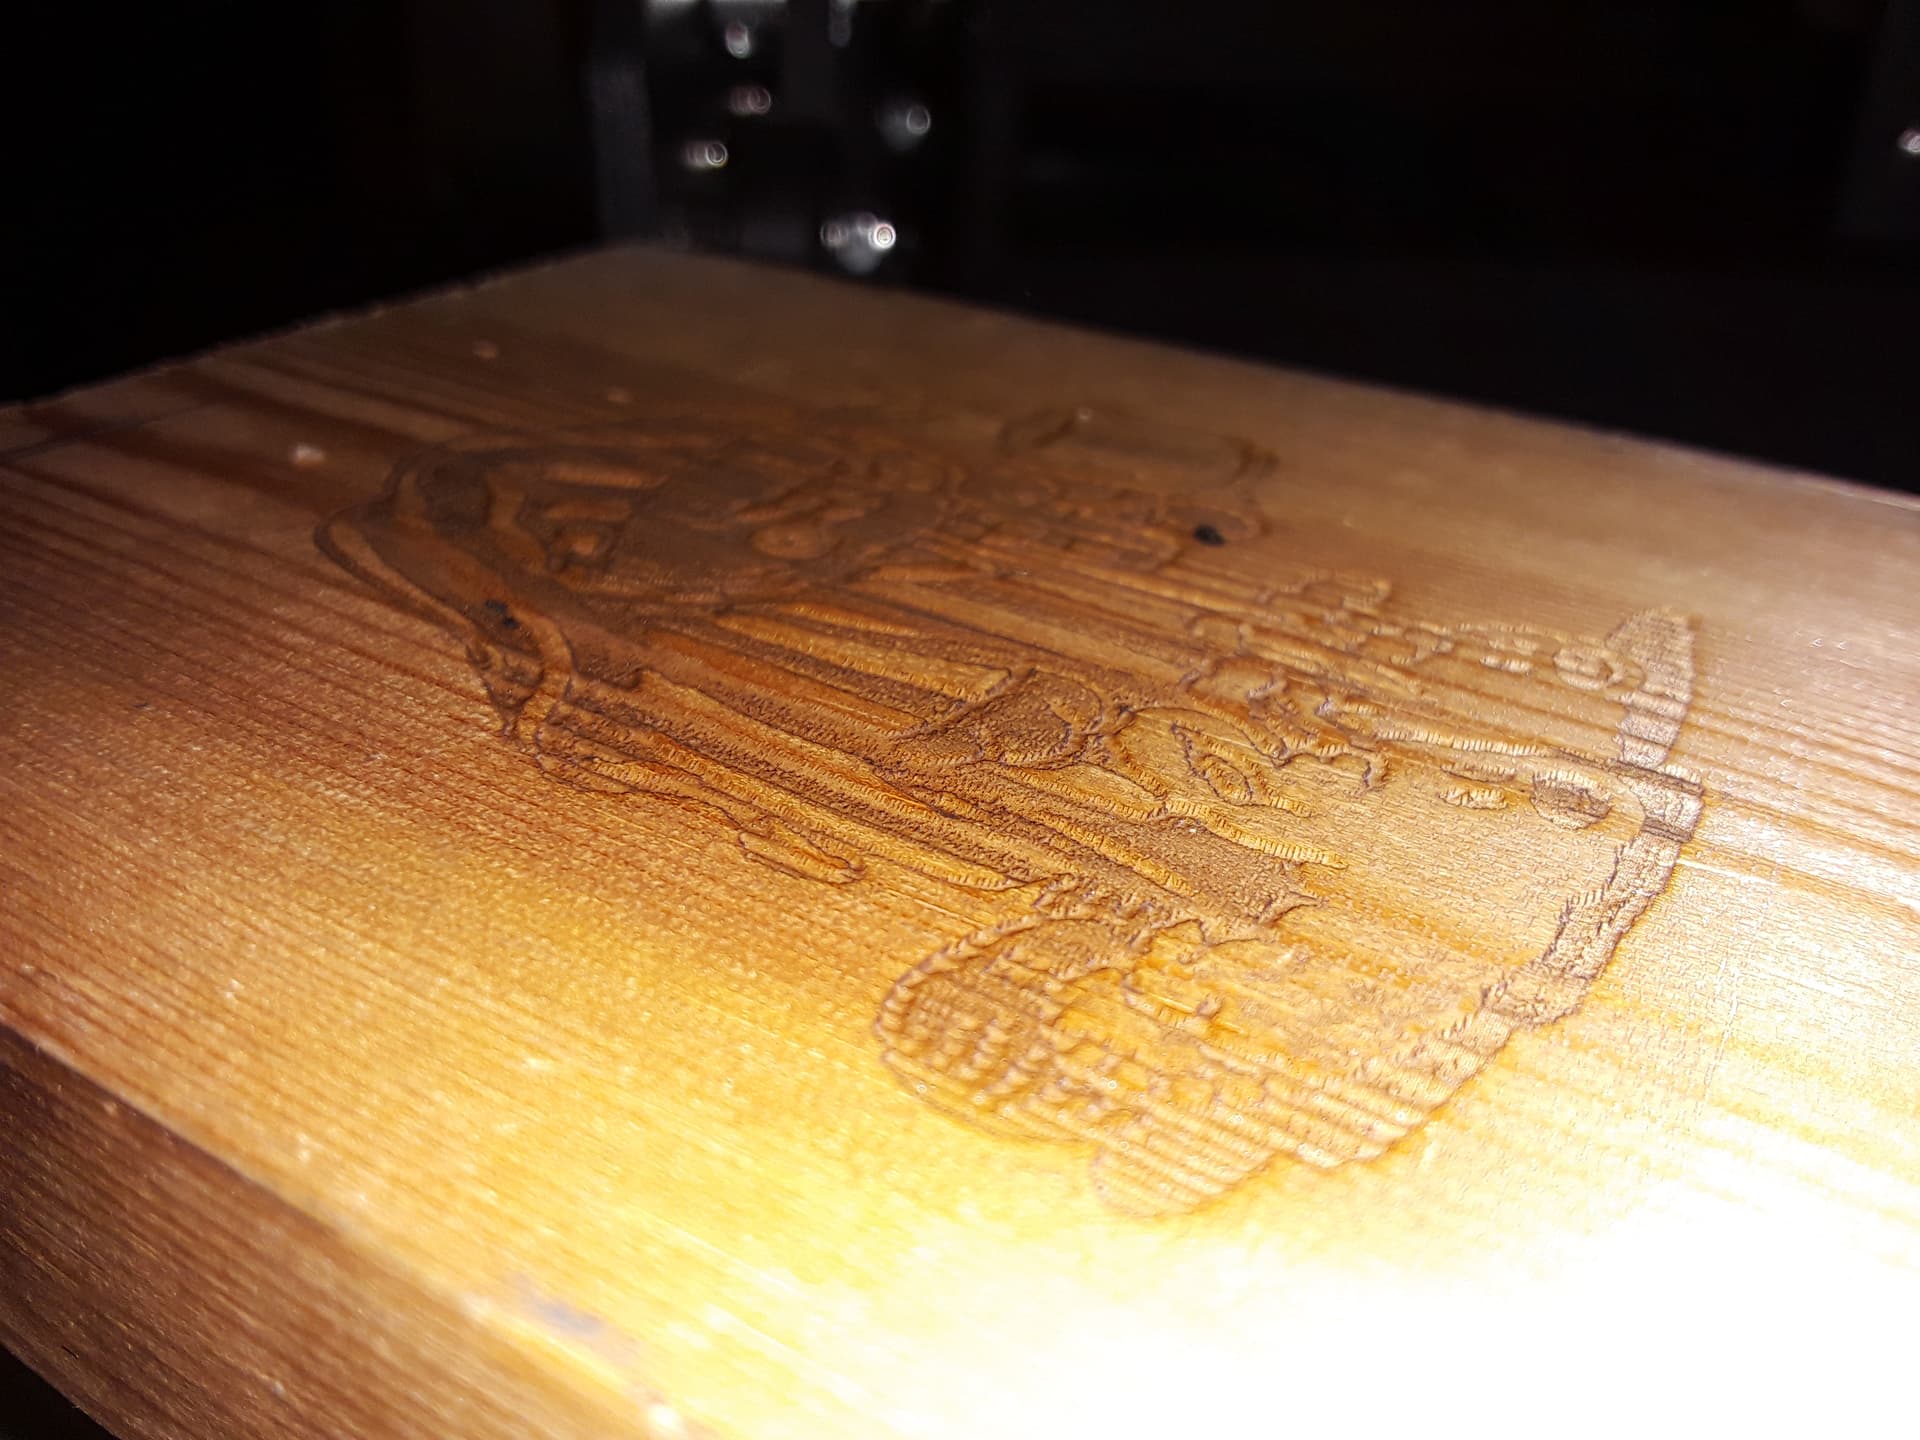
Of course, I needed another machine like I need another hole in my head but there it is. If you’re a little bit handy and looking for a low-powered machine to do small stuff like the ceramic tiles and rotary engraving… this machine should handle it nicely. I’ll also add a Z-lift mechanism to it to enable easier focusing but otherwise it’s a nice basic machine that I’ve enjoyed messing with…
No, it’s not. Almost everything is in Chinese and the firmware and application software are proprietary Windows… and I don’t do Windows. I think one guy did figure out the software and switch it to English but he also confirmed it’s quite limited. But as I said in my post… I already had planned to make it better. There’s easily $79 worth of parts there IMO so I was comfortable taking a chance on it.
Please note that most of these little machines use common, easily-available, parts… steppers, power supplies, etc. Once you disconnect the motors, laser, and limit switches from the original controller and hold the leads in your hand… you are now free to put just about any controller you want on there. Which is what I did.
I’m very comfortable doing this kind of stuff (retired EE) and I selected a little 2-axis Eleksmaker controller I have used many times before. I was able to literally plug everything in without shuffling pins and doing anything “electrical”… and I now have stock Grbl 1.1h and Lightburn compatibility. Took a couple of hours this afternoon and I still had time for a nap…
Has anyone had luck reprogramming the existing controller? I have most of the atmel programmers just wondering probably just as easy to use known board.
I bought one too. At the least, I’ll share the laser on my mpcnc and hook up m old ender board to the frame or expand it as well as do round stuff since I grabbed a rolling attachment. Should be here next week. Thanks for the link!
Tim, I’m sure someone has reprogrammed the existing controller… but I’m long past trying to delve into the innards of these things. I’ve played with the little Nano-based Eleksmaker controllers so much that I simply have to reach into my stash to find one already programmed and ready to go with Grbl 1.1h. Thankfully, the connectors and pinouts matched almost perfectly so I was able to just plug them into the new controller. Only drawback is that I “lost” the almost bullet-proof mounting/packaging of the original unit…
@orob, since I’ve been playing with ceramic tiles and rotary fixtures so much lately, the small but adequate workarea and sturdy construction of this little unit is appealing. It’s small and light enough to block up when needed to allow room for the rotary fixture below… and easily relocated or moved out of the way when not needed.
The lack of Z-axis adjustment is the biggest issue/inconvenience IMO. As designed, you’re expected to adjust the lens assembly for focus.
I’ve followed your laser work with great interest and when you posted the link for a $75 system. I clicked through and just bought it. I hope I can just use it as is, but for that price, there are lots of options given the hardware already in place in my shop corner of the garage.
Very good! Hardware-wise this is a very solid little machine… not junky in the least. It always helps to have a well-stocked stash of parts to draw from…
It also appears that a couple of guys over on the LB forum have been able to reflash the original JL1 controller with GRBL. Am chasing that down now. Wainlux supposedly has a Grbl upgrade for JL1 mainboard upon request. I put in my request just a few minutes ago. I’ll let y’all know how that goes.
I agree, GRBL boards are cheap and readily available… that’s why I’ve got several in my parts stash. And while it won’t break the bank… it does make our $75 “deal of the century” start looking less of a deal, doesn’t it?
I’ve flashed GRBL onto Arduino’s numerous times through the Arduino IDE… a while ago and really fuzzy. Seem to remember using a GRBLUpload sketch and .hex file?
I’ve got a new STM32 F103 board that came with $79 Cenoz laser engraver… replaced it with Eleksmaker board back in first post. But it even looks a bit like an Arduino…
Have since learned that some folks have been able to flash stock GRBL 1.1 on this STM32 board… even have a “ROM.bin” file. I too would love to flash STM32 board with GRBL 1.1h. Question is… how?
I’m absolutely completely lost and confused… and realize I may be my own worst enemy. I trust you guys and you know me… I don’t do Windows. I use Chromebook w/ DebianLinux (“bullseye”) almost exclusively… but can fire up Ubuntu if I need to. No clue what these are or how they might be used… FluidNC? PlatformIO? Other?
In short, I need gentle guidance (w/ probable “hand-holding” ) on how to easily get there from here. I’ve seen no instructions/tutorials that I can make heads or tails of… it’s all Greek to me. Can it be done… with what I’ve gor? Any volunteers? To help out an old man?
The arduino processor is made by atmega. The stm32 is made by st micro. They need completely different machine code and the pinouts and ports are completely different. The stm32 is even 32bit (at least the ones in skr are) so there is no way the same bin file will work on an stm32.
The bootloader is also quite a bit different. It doesn’t have the arduino bootloader on it. So it can’t be flashed with arduino (AFAIK).
The skr pro gets flashed by building the .bin (specifically for the skr pro) and then putting it on an sdcard.
I have flashed a new bootloader on my skr pro once. I used a uart adapter and a linux tool called (I think) stm-flasher that was available in apt.
But I would have to try it first before I could give you instructions.
And you would need to either have a bin compiled by someone, or compile it yourself (the “vanilla” way is to use the st micro compiler, but there is a compiler in platformio, but you need to set up a platform.ini file).
You said there are some people trying it already. Do they have any of the missing pieces working?
You have nothing to lose . But you may have to ask the questions and compile the instructions yourself.
Wainlux builds some machines with this exact STM32 board and the same crappy proprietary firmware this little Cenoz machine came with. BUT… they also will supply, upon request, a GRBL 1.1 upgrade for this board. A guy over on the LB forum has already downloaded the upgrade – and provided a zipfile containing the ROM.bin and a .exe file – and flashed it onto the JL1 board… as he says, “effortlessly”. He provides some instructions but these are the same ones that mostly seem like Greek to me…
I’ve asked here first for help as you guys know me and may be willing/able to do the “hand-holding” I’ll probably need. Here’s the zipfile he provided if that helps…
Grbl is open source (gpl, I think) so they legally have to provide the source code for free. Providing a bin is either nice or mean, depending on what you want.
I have no idea what is in that update.exe. If it came from the vendor, who knows what is in it. I would be careful about using that too.
It would be great if we could use the stm-serial-flasher with the rom.bin you have on chromebooks.
I would love to help. But I don’t have the board and I don’t have first hand knowledge of how to flash it.
Have you ever tried to get a windows virtual machine running on your chromebook? Or what about borrowing a windows machine to flash this board with the update.exe?
I’ve got an ancient WindowXP netbook that might fire up. IIRC my Lenovo/Ubuntu laptop might also be dual-boot… if so, it should have Win7 Pro on it. Neither of these machines have been booted up in the last couple of years but I can give them a try. Thanks, Jeff.
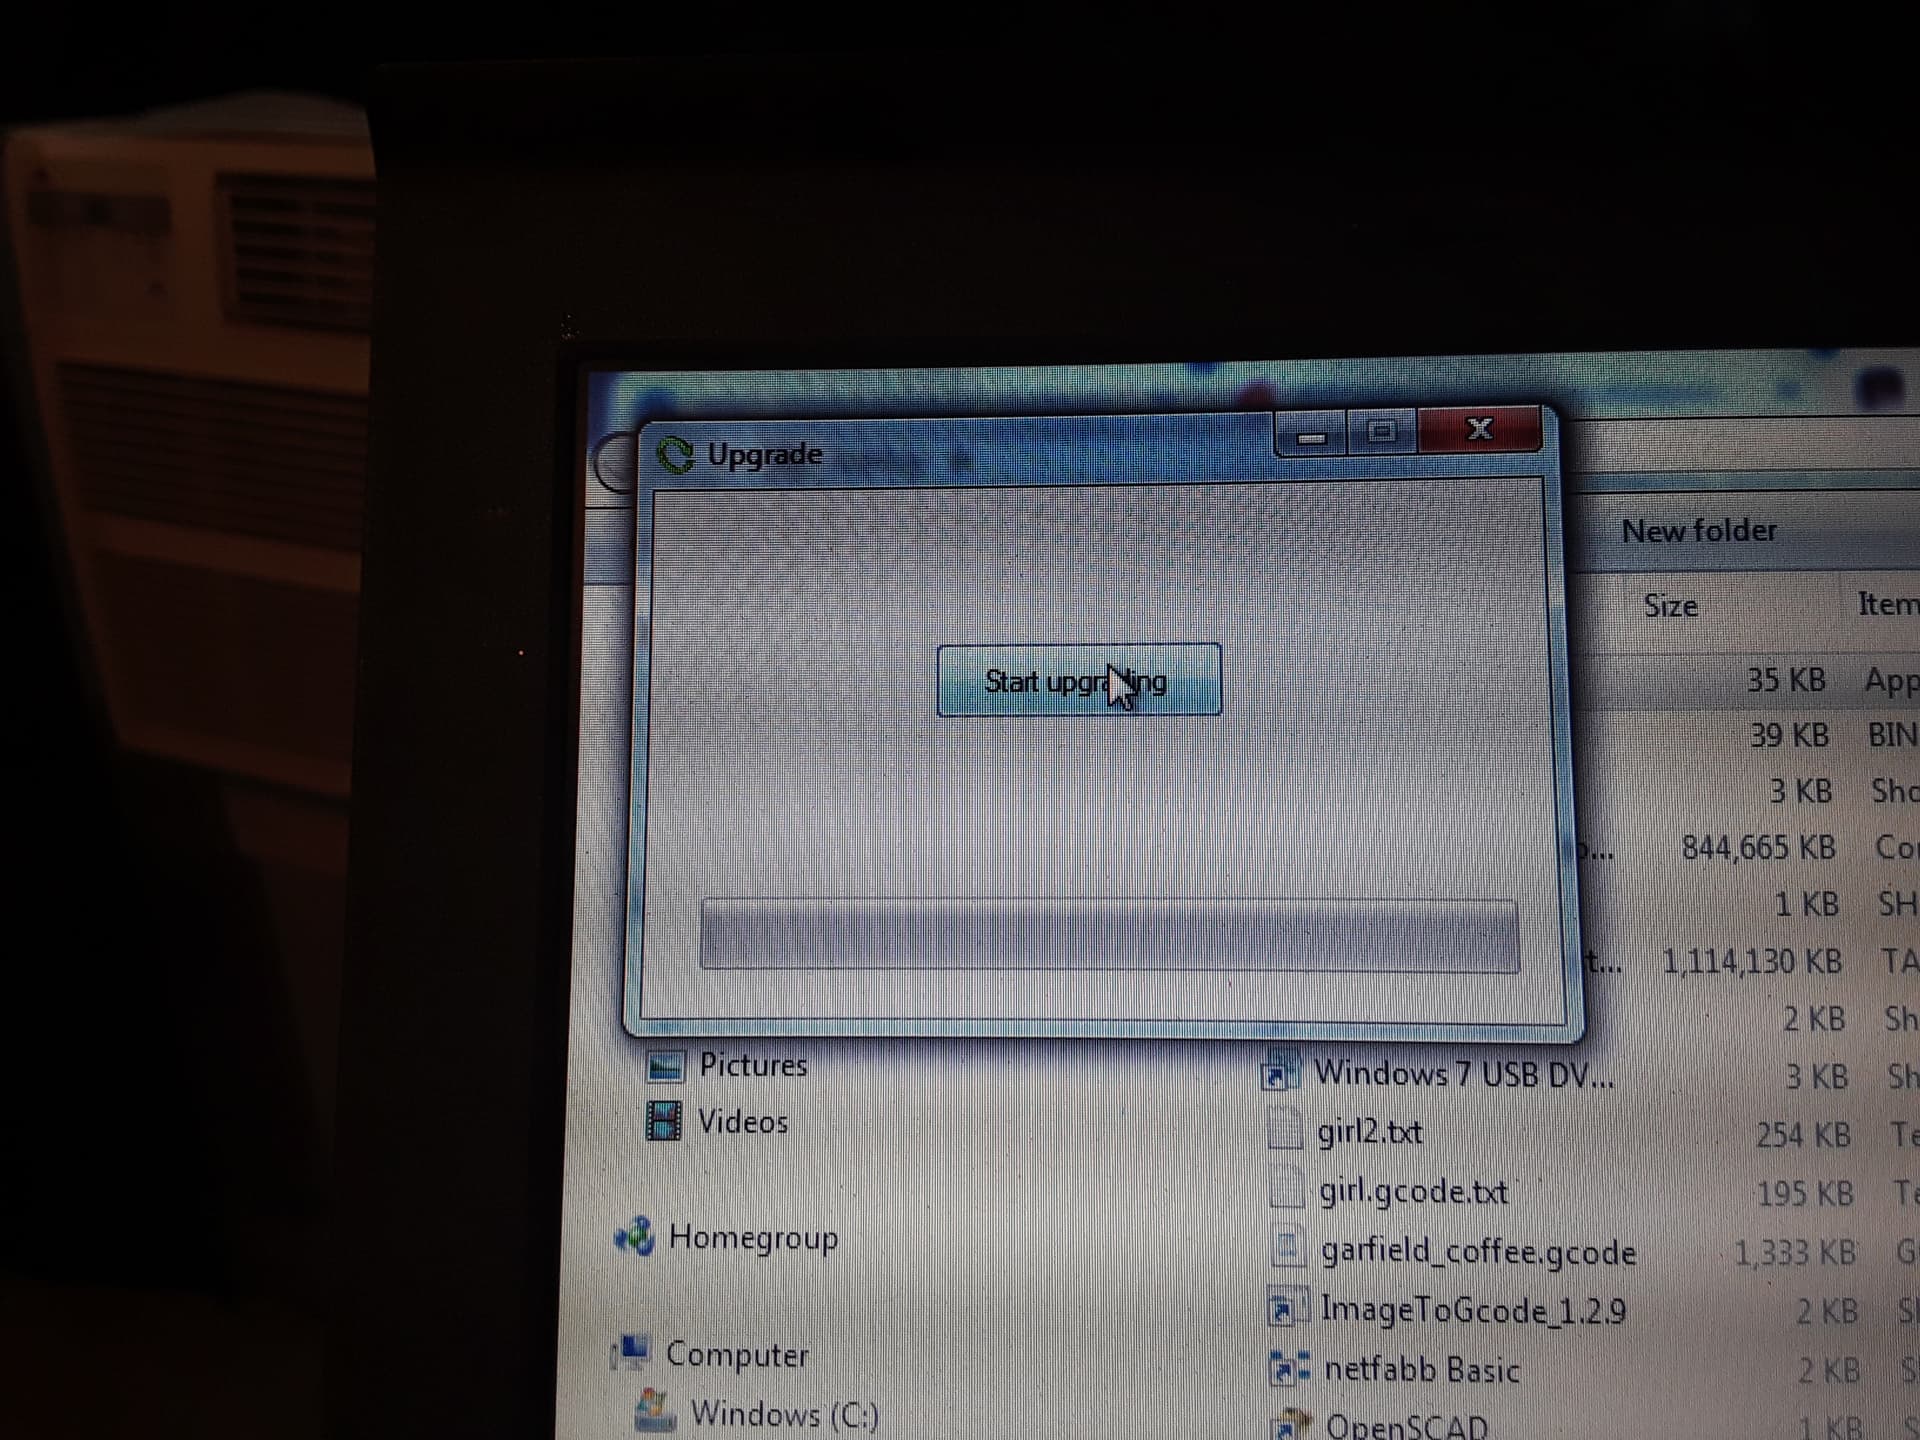
Click start button and indeed a green progress bar comes up and completes. No messages, status, nothing… but no error indication either.
Connected board back up to the laser engraver leads. Moved over to Chromebook and Lightburn… connected USB and got indication that a USB device was detected and connected to Linux side. In LB I was able to connect and console indicated GRBL 1.1f and a locked condition. I was able to $X to unlock it and do a couple of small X moves before GRBL errored out and locked again, probably due to machine dimensions and thinking it was out of bounds again. I saw generally flaky operation and it locked up every few moves… but, to it’s credit, it did connect to LB!
So, it looks as though it’s pretty easy to flash that board with a ROM.bin file and the .exe. Hate to have to fire up Windows but, given the tools I had, I guess that was my only recourse. Thanks for pointing me in that direction, Jeff [… though now I feel a little “dirty” ] And, given the generic filenames, I’ve no way to know for sure what board that ROM.bin was set up for. The upgrade.exe appears to do what it was supposed to do.
Again, I appreciate the help, Jeff. I’ve requested the upgrade files from Wainlux on late Friday, which should include a third file which indicates what board its for, but I haven’t heard back yet.
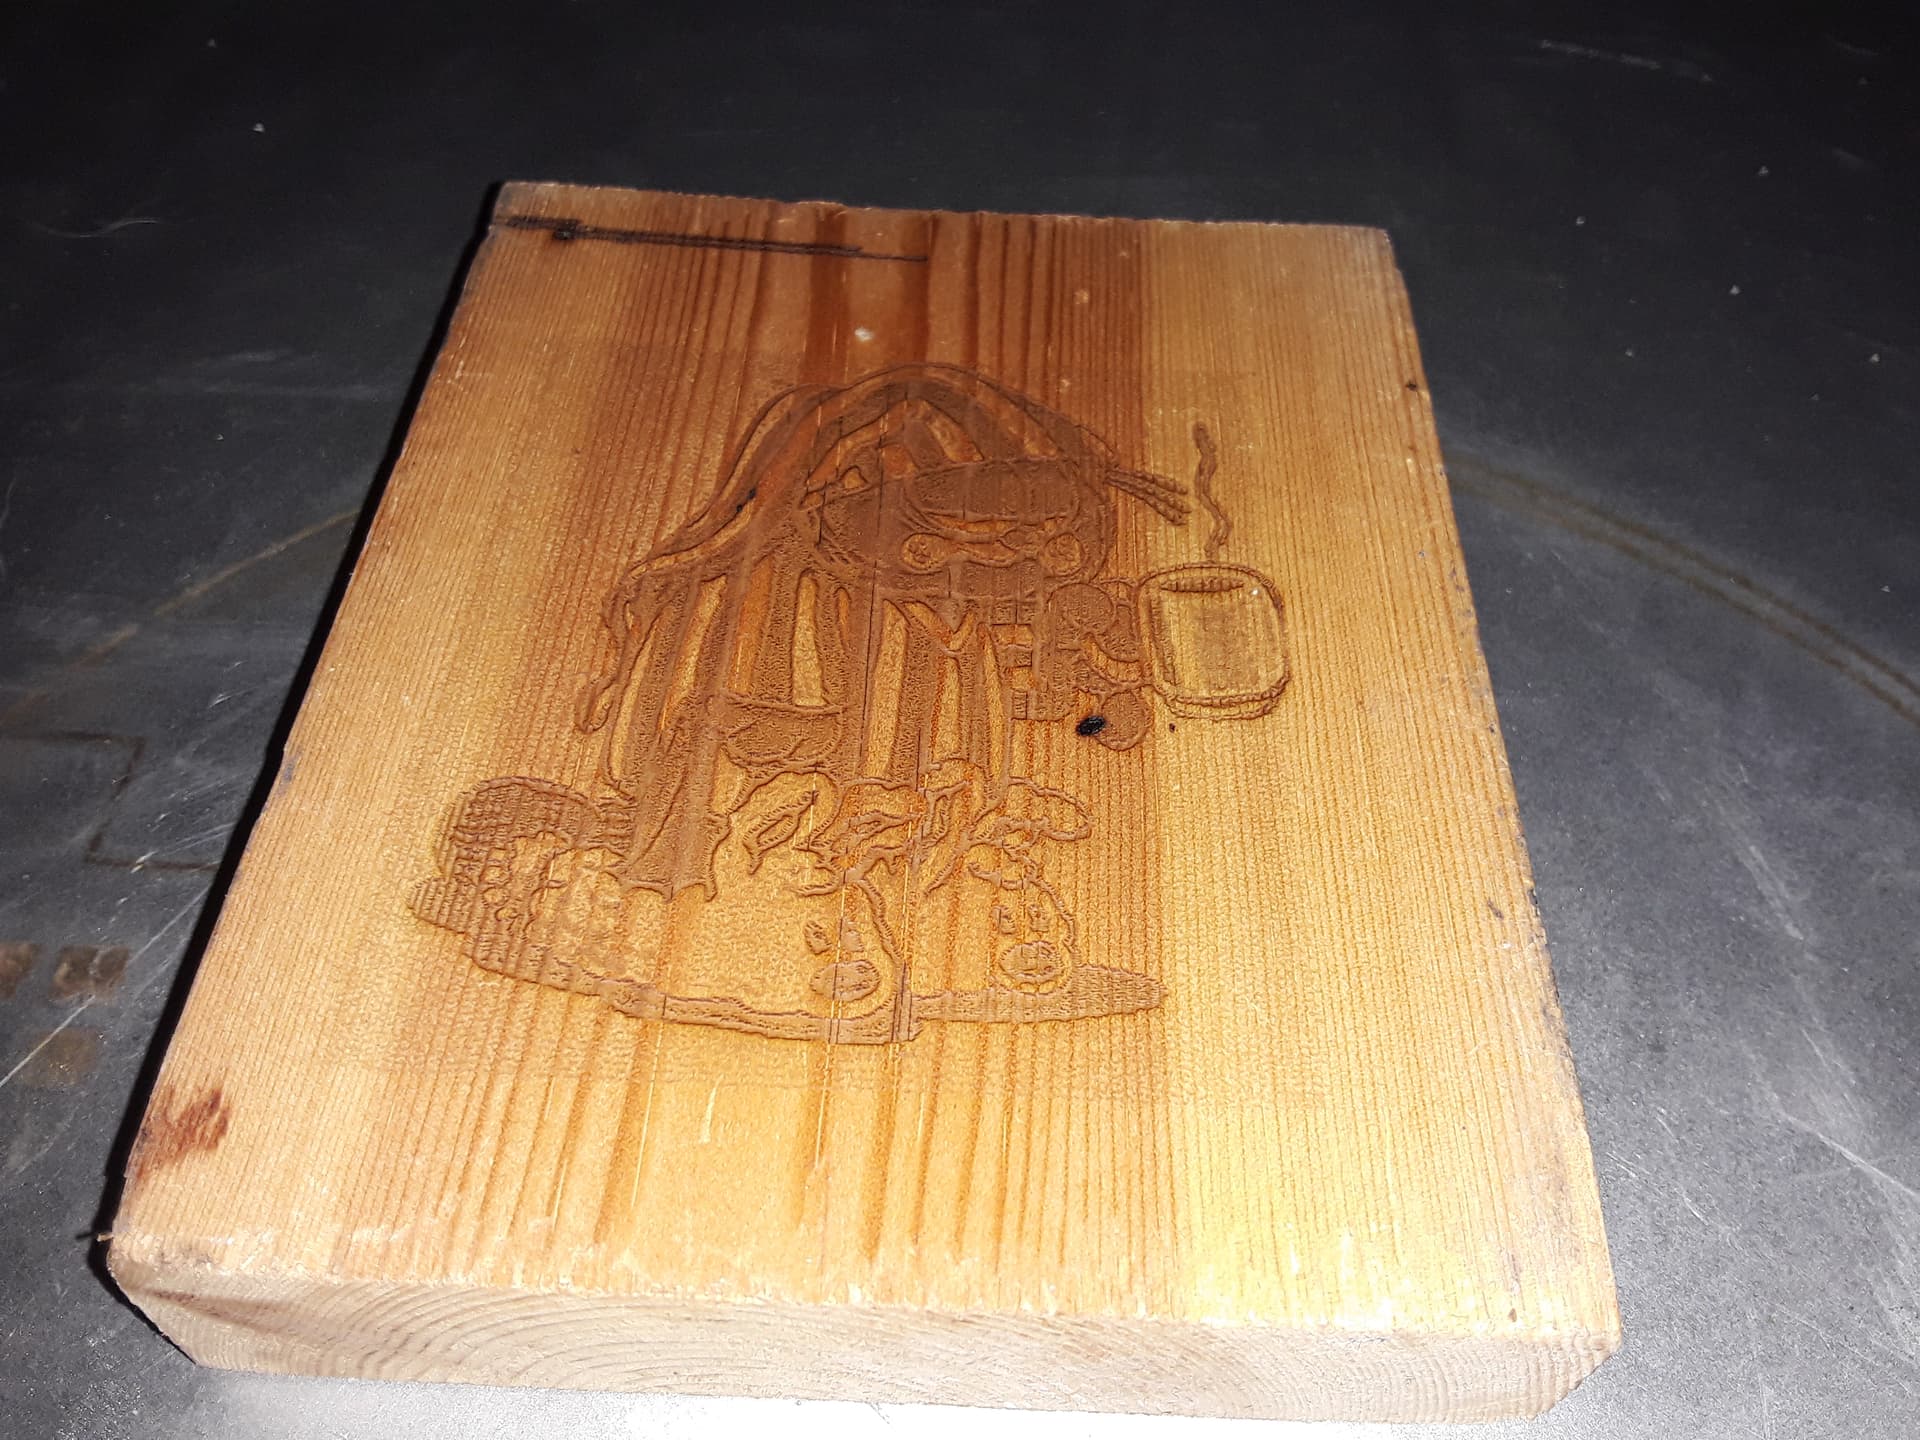
Must have been the limit switches… hooked them as well and changed settings to proper dimensions and Y direction. Fires laser and air-mills simple job under LightBurn control.
It would be nice if we had some documentation on the update.exe and what it does. I am pretty sure there is a linux tool that would work, and I am also sure we could compile the .bin ourselves. But this was a lot easier than trying to figure all that out over the Internet.


 ) on how to easily get there from here. I’ve seen no instructions/tutorials that I can make heads or tails of… it’s all Greek to me. Can it be done… with what I’ve gor? Any volunteers? To help out an old man?
 . But you may have to ask the questions and compile the instructions yourself.
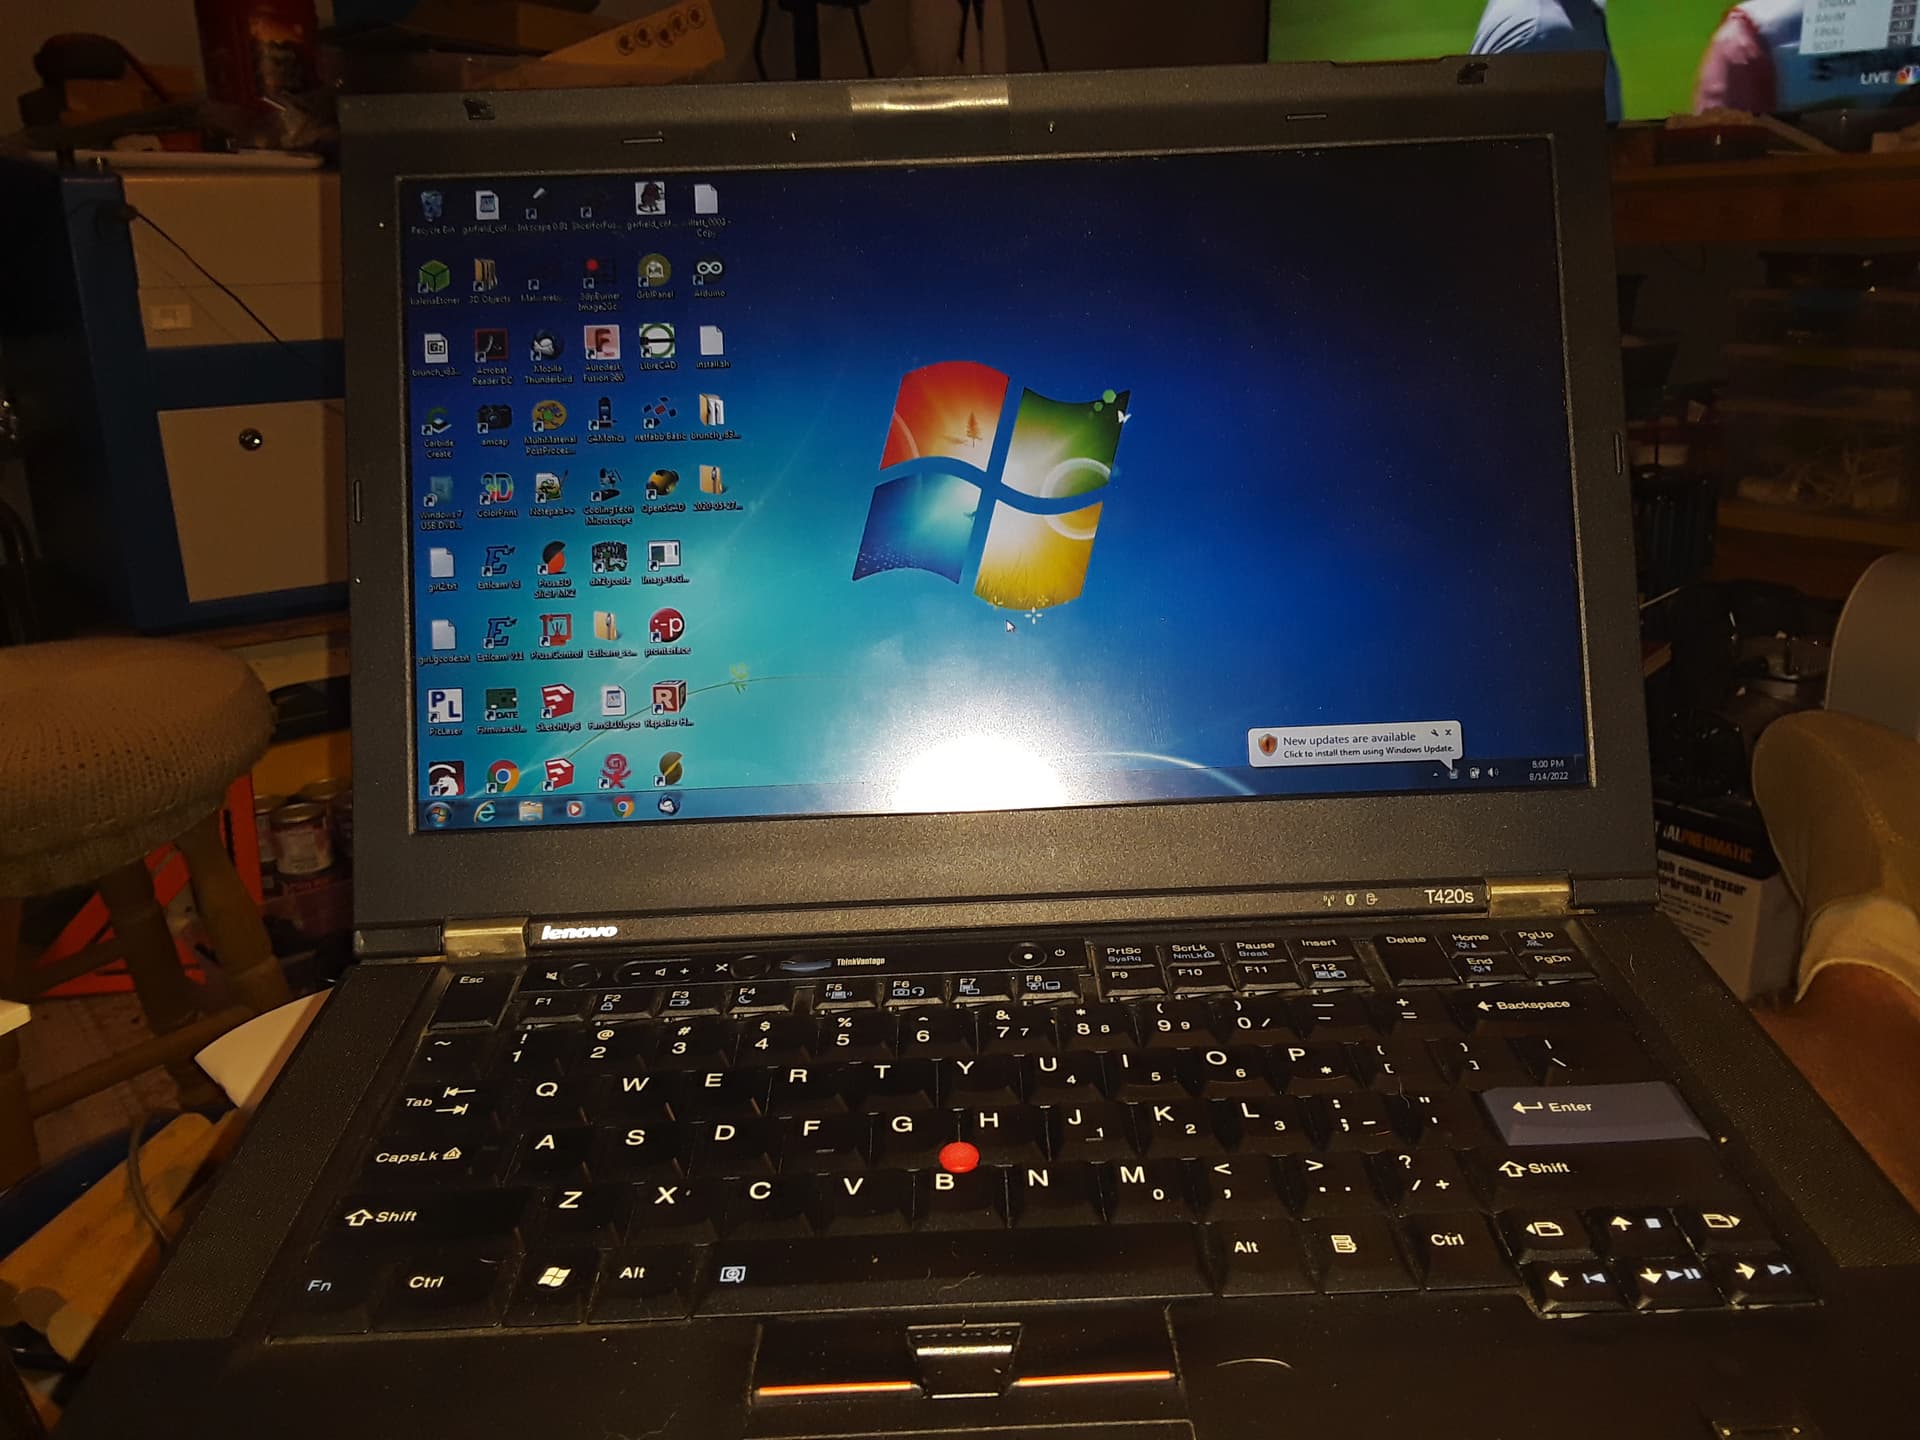
 ] And, given the generic filenames, I’ve no way to know for sure what board that ROM.bin was set up for. The upgrade.exe appears to do what it was supposed to do.