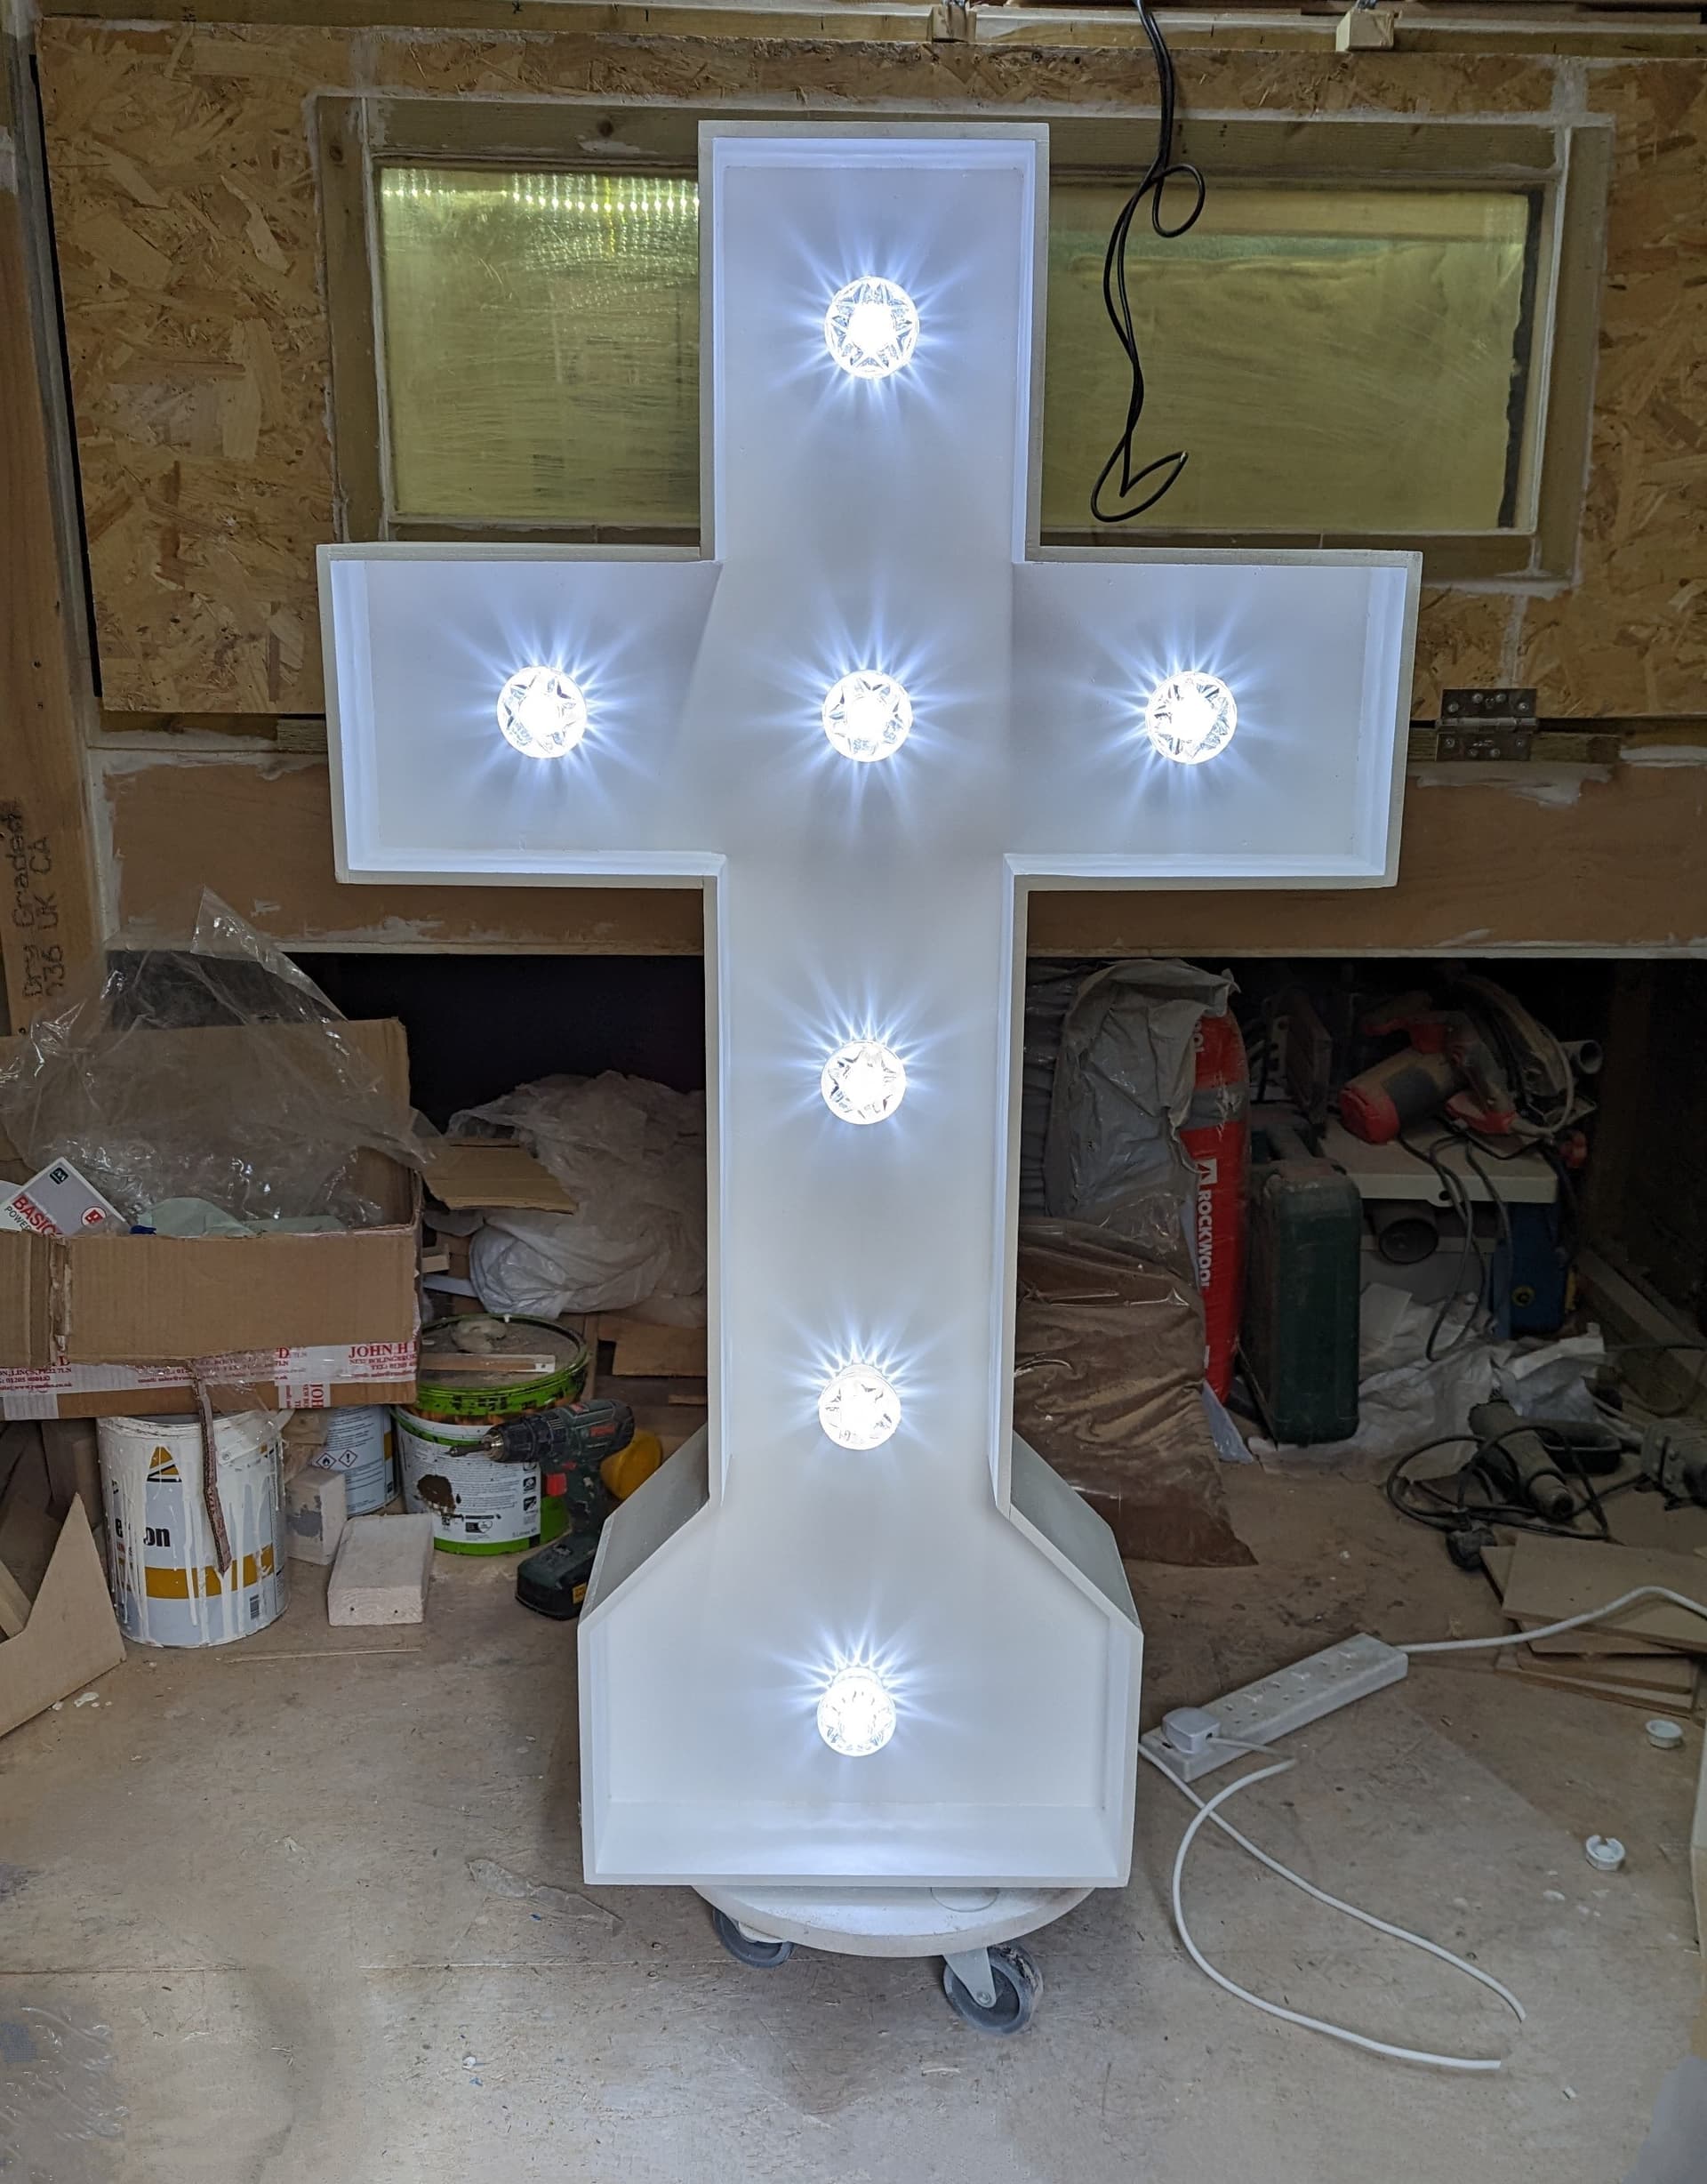
Ok nothing exceptional but I made it with the LR3 so put it online.
The neighbour wanted me to duplicate his existing numbers and letters so I have to measure each one with hole locations included.
Ok nothing exceptional but I made it with the LR3 so put it online.
The neighbour wanted me to duplicate his existing numbers and letters so I have to measure each one with hole locations included.
I think it is exceptional. I also know it is not as “simple” as it looks. It takes a lot of work to make things look simple.
Good job!
The lights in that are perfect, I really like the look.
Thank you Ryan, I’ll put instructions and links to lights etc in case anyone is interested.
Are these lights for a house or a business? They look really neat.
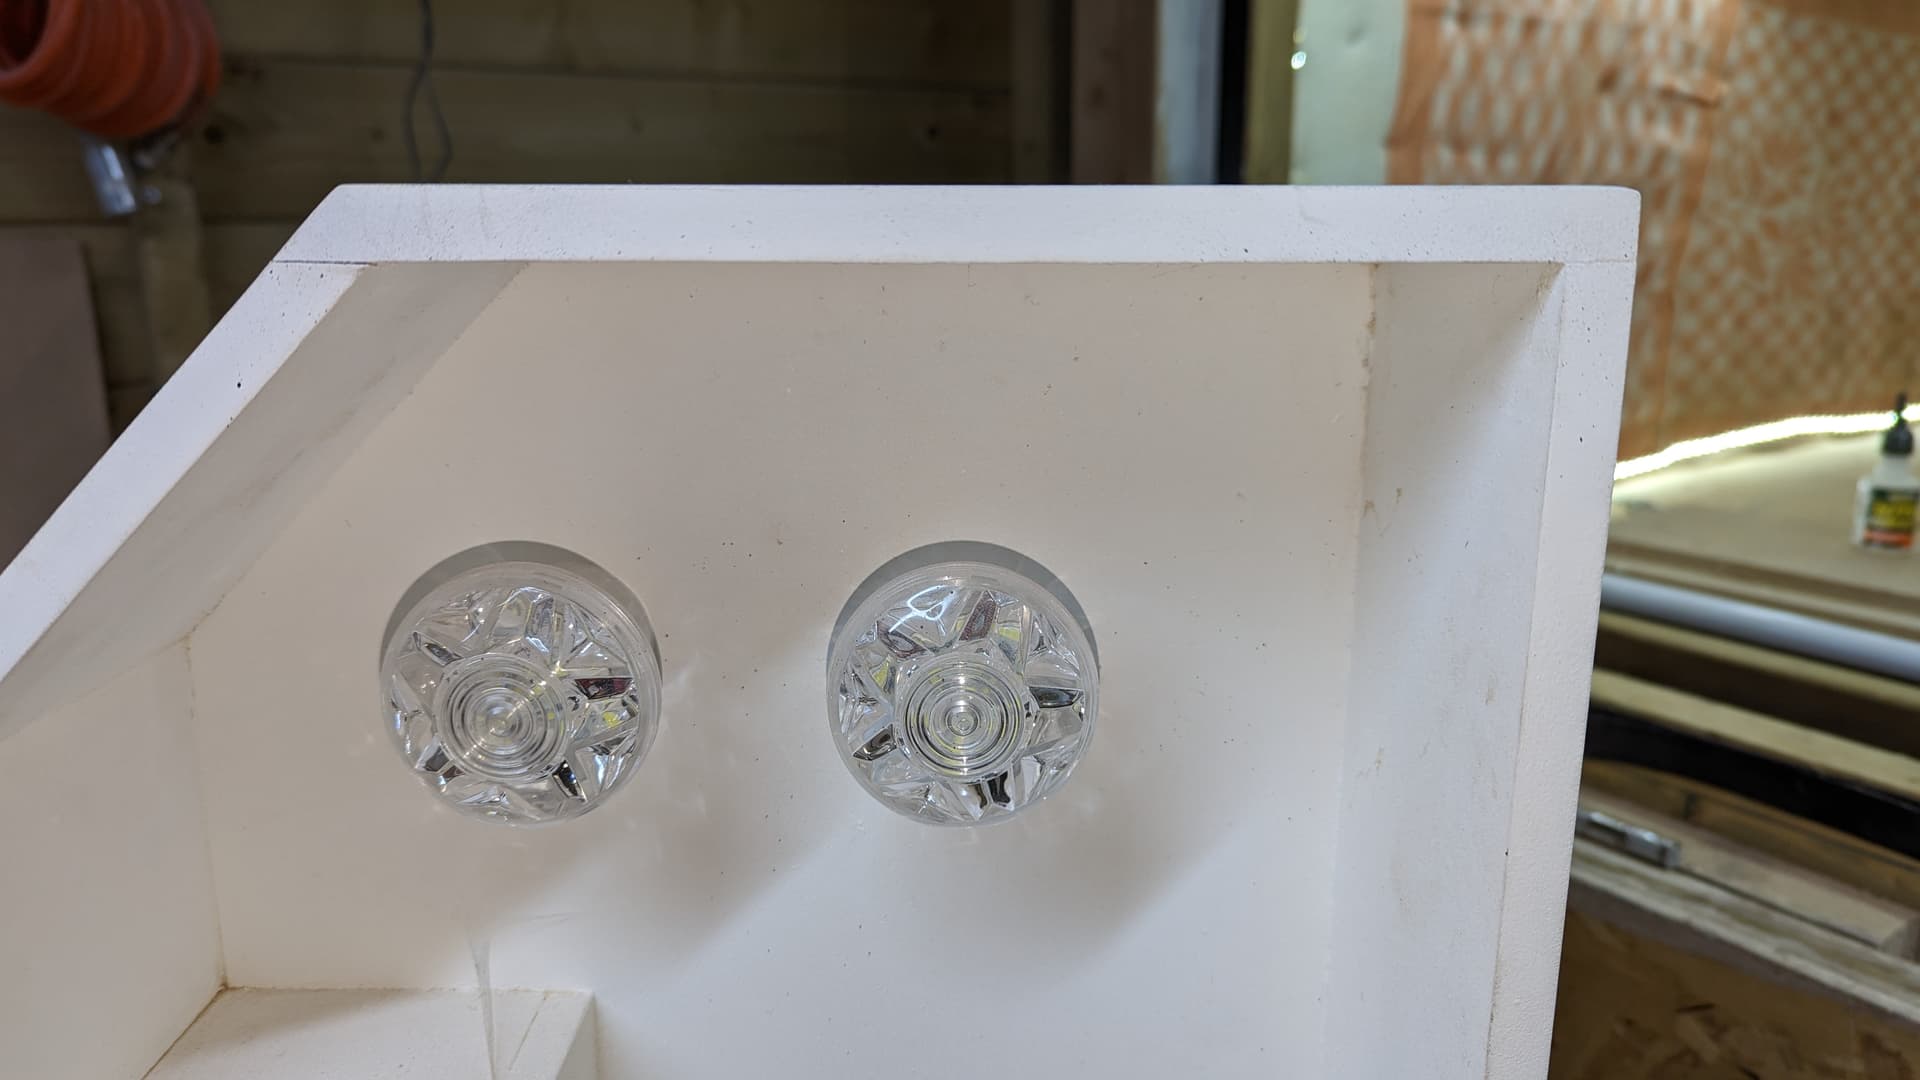
Fairground lighting. I use these, not coloured but clear. I use the Cool White 240v, I ordered the 24v the first time I ordered as I didn’t have my glasses on and thought they where 240v. I got a few more grey hairs when I turned the lights on and they all blew up ![]()
Bulbs come in 30mm @ 12v, 24v, 60v and 240v
Rundles are brilliant, they replaced the 24v bulbs for 240v without any issues.
Right, here goes… How I go about designing and building a number or letter.
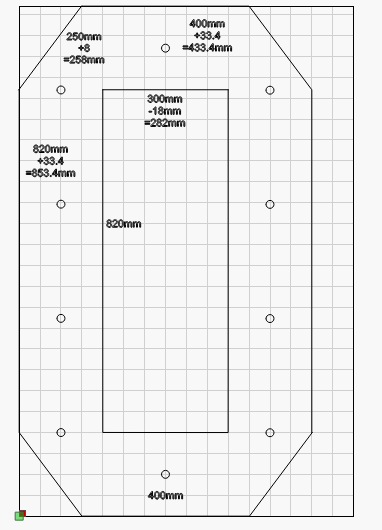
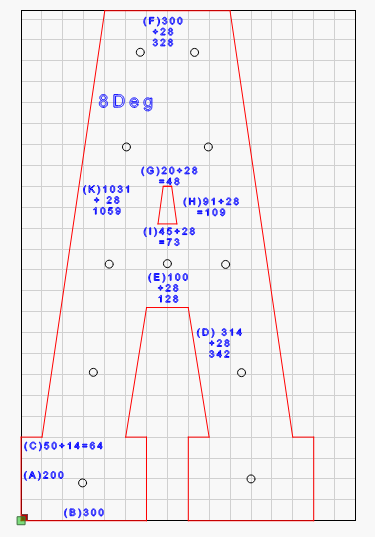
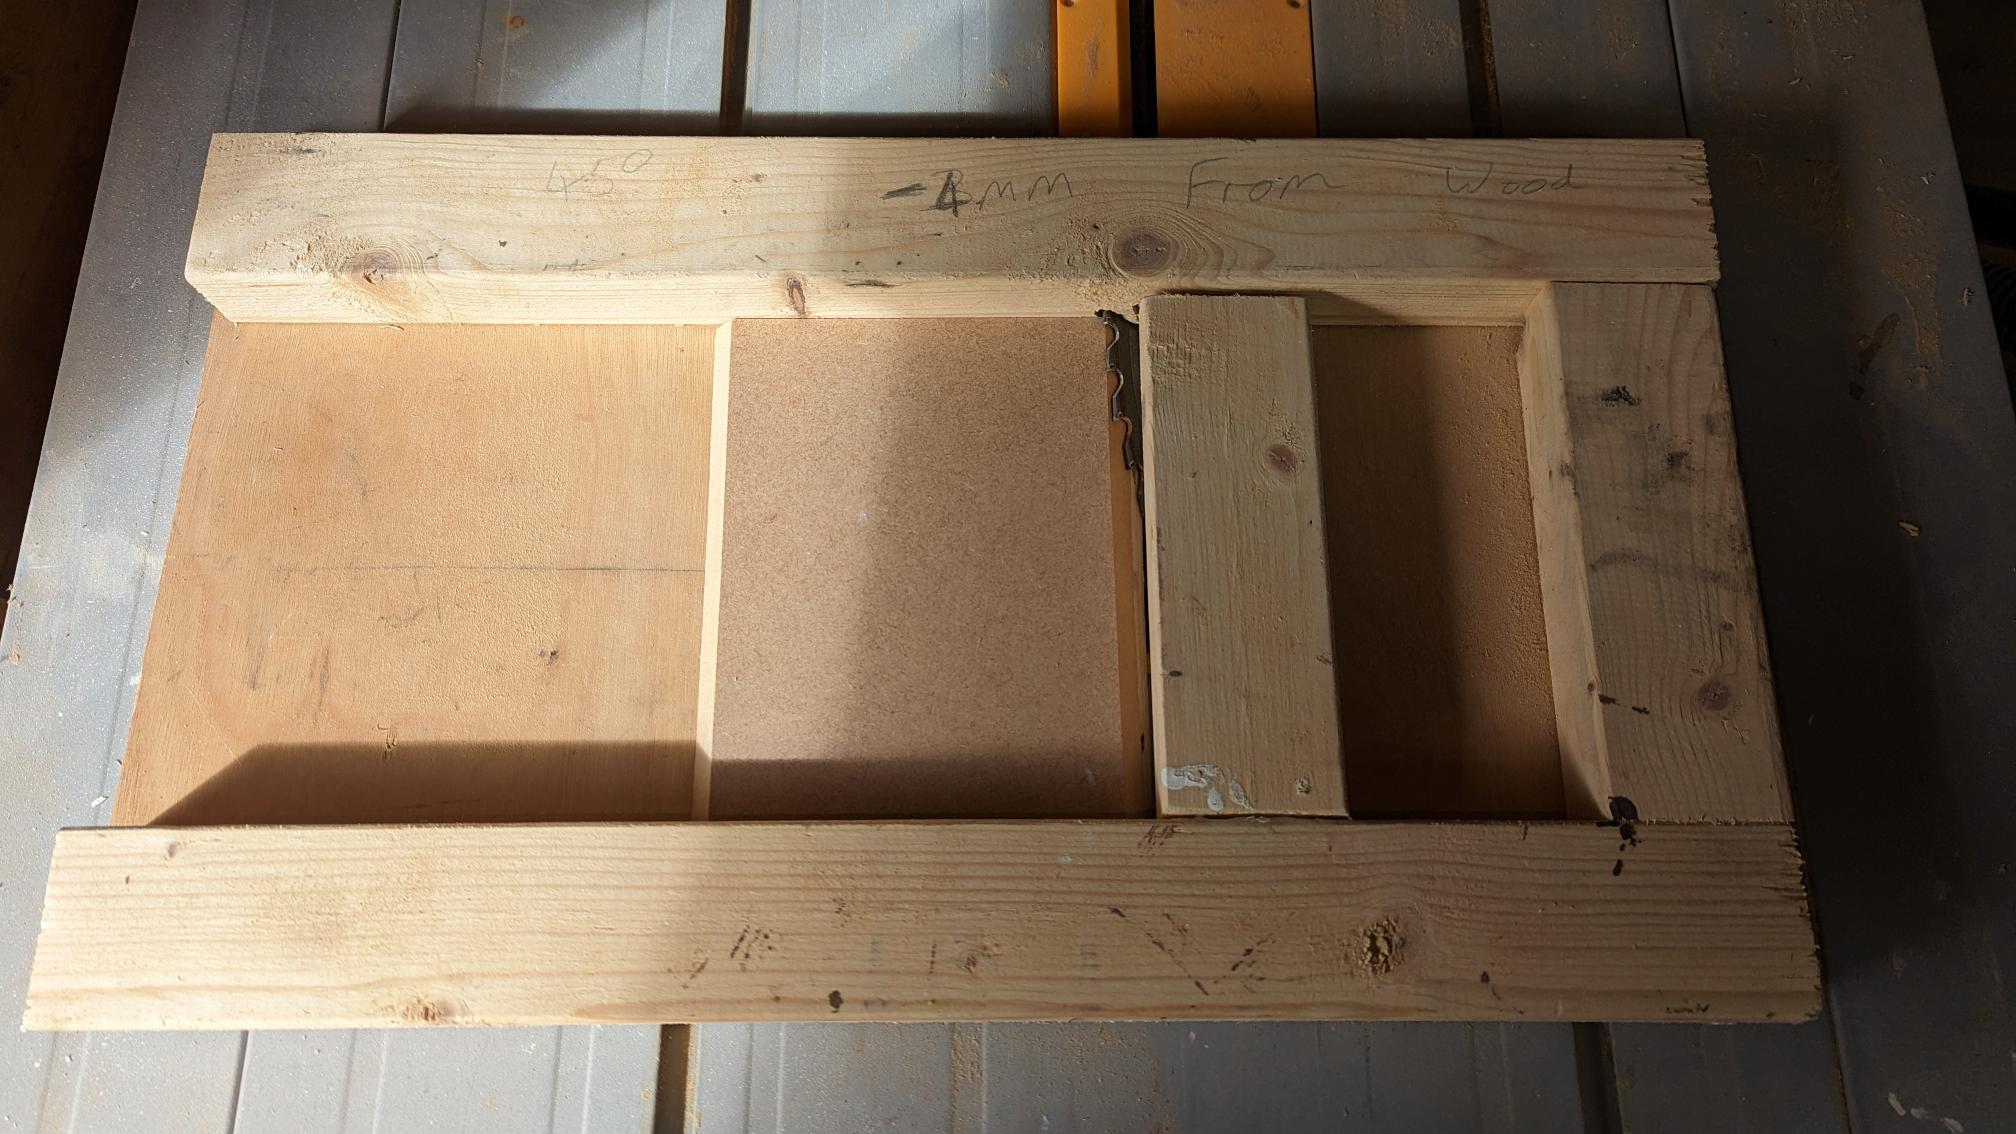
Once measurements are written down on paper (see above) of the number or letter to be copied, the measurements need to be transferred into Lightburn (or Eastclam, Aspire etc) The measurements below are to exact size (1220mm height - 4ft) as this will be used to cut the ‘0’ out of the 9mm MDF.
If you notice +33.4mm etc, this is because of the wood thickness (not needed as I only use 9mm MDF), angle of cut and if the piece will be an overhang or not (more on that later). I knocked this up in Excel to help so an angle of 10deg would have a shorter length of wood than an angle of 45deg. Someone I’m sure will prove me wrong but it seemed to work for me. The +4 at the end of the calculation is adding 4mm to the length to be cut as each time I make an angled cut using the sled I made for the table saw then I lose 4mm.

TBC…
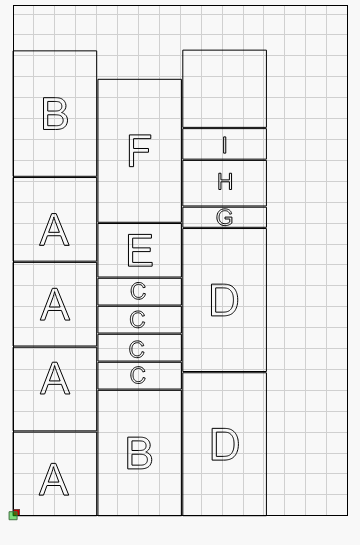
Once I have measured the character pieces, I letter each piece so I can cut the parts out to size.
TBC…
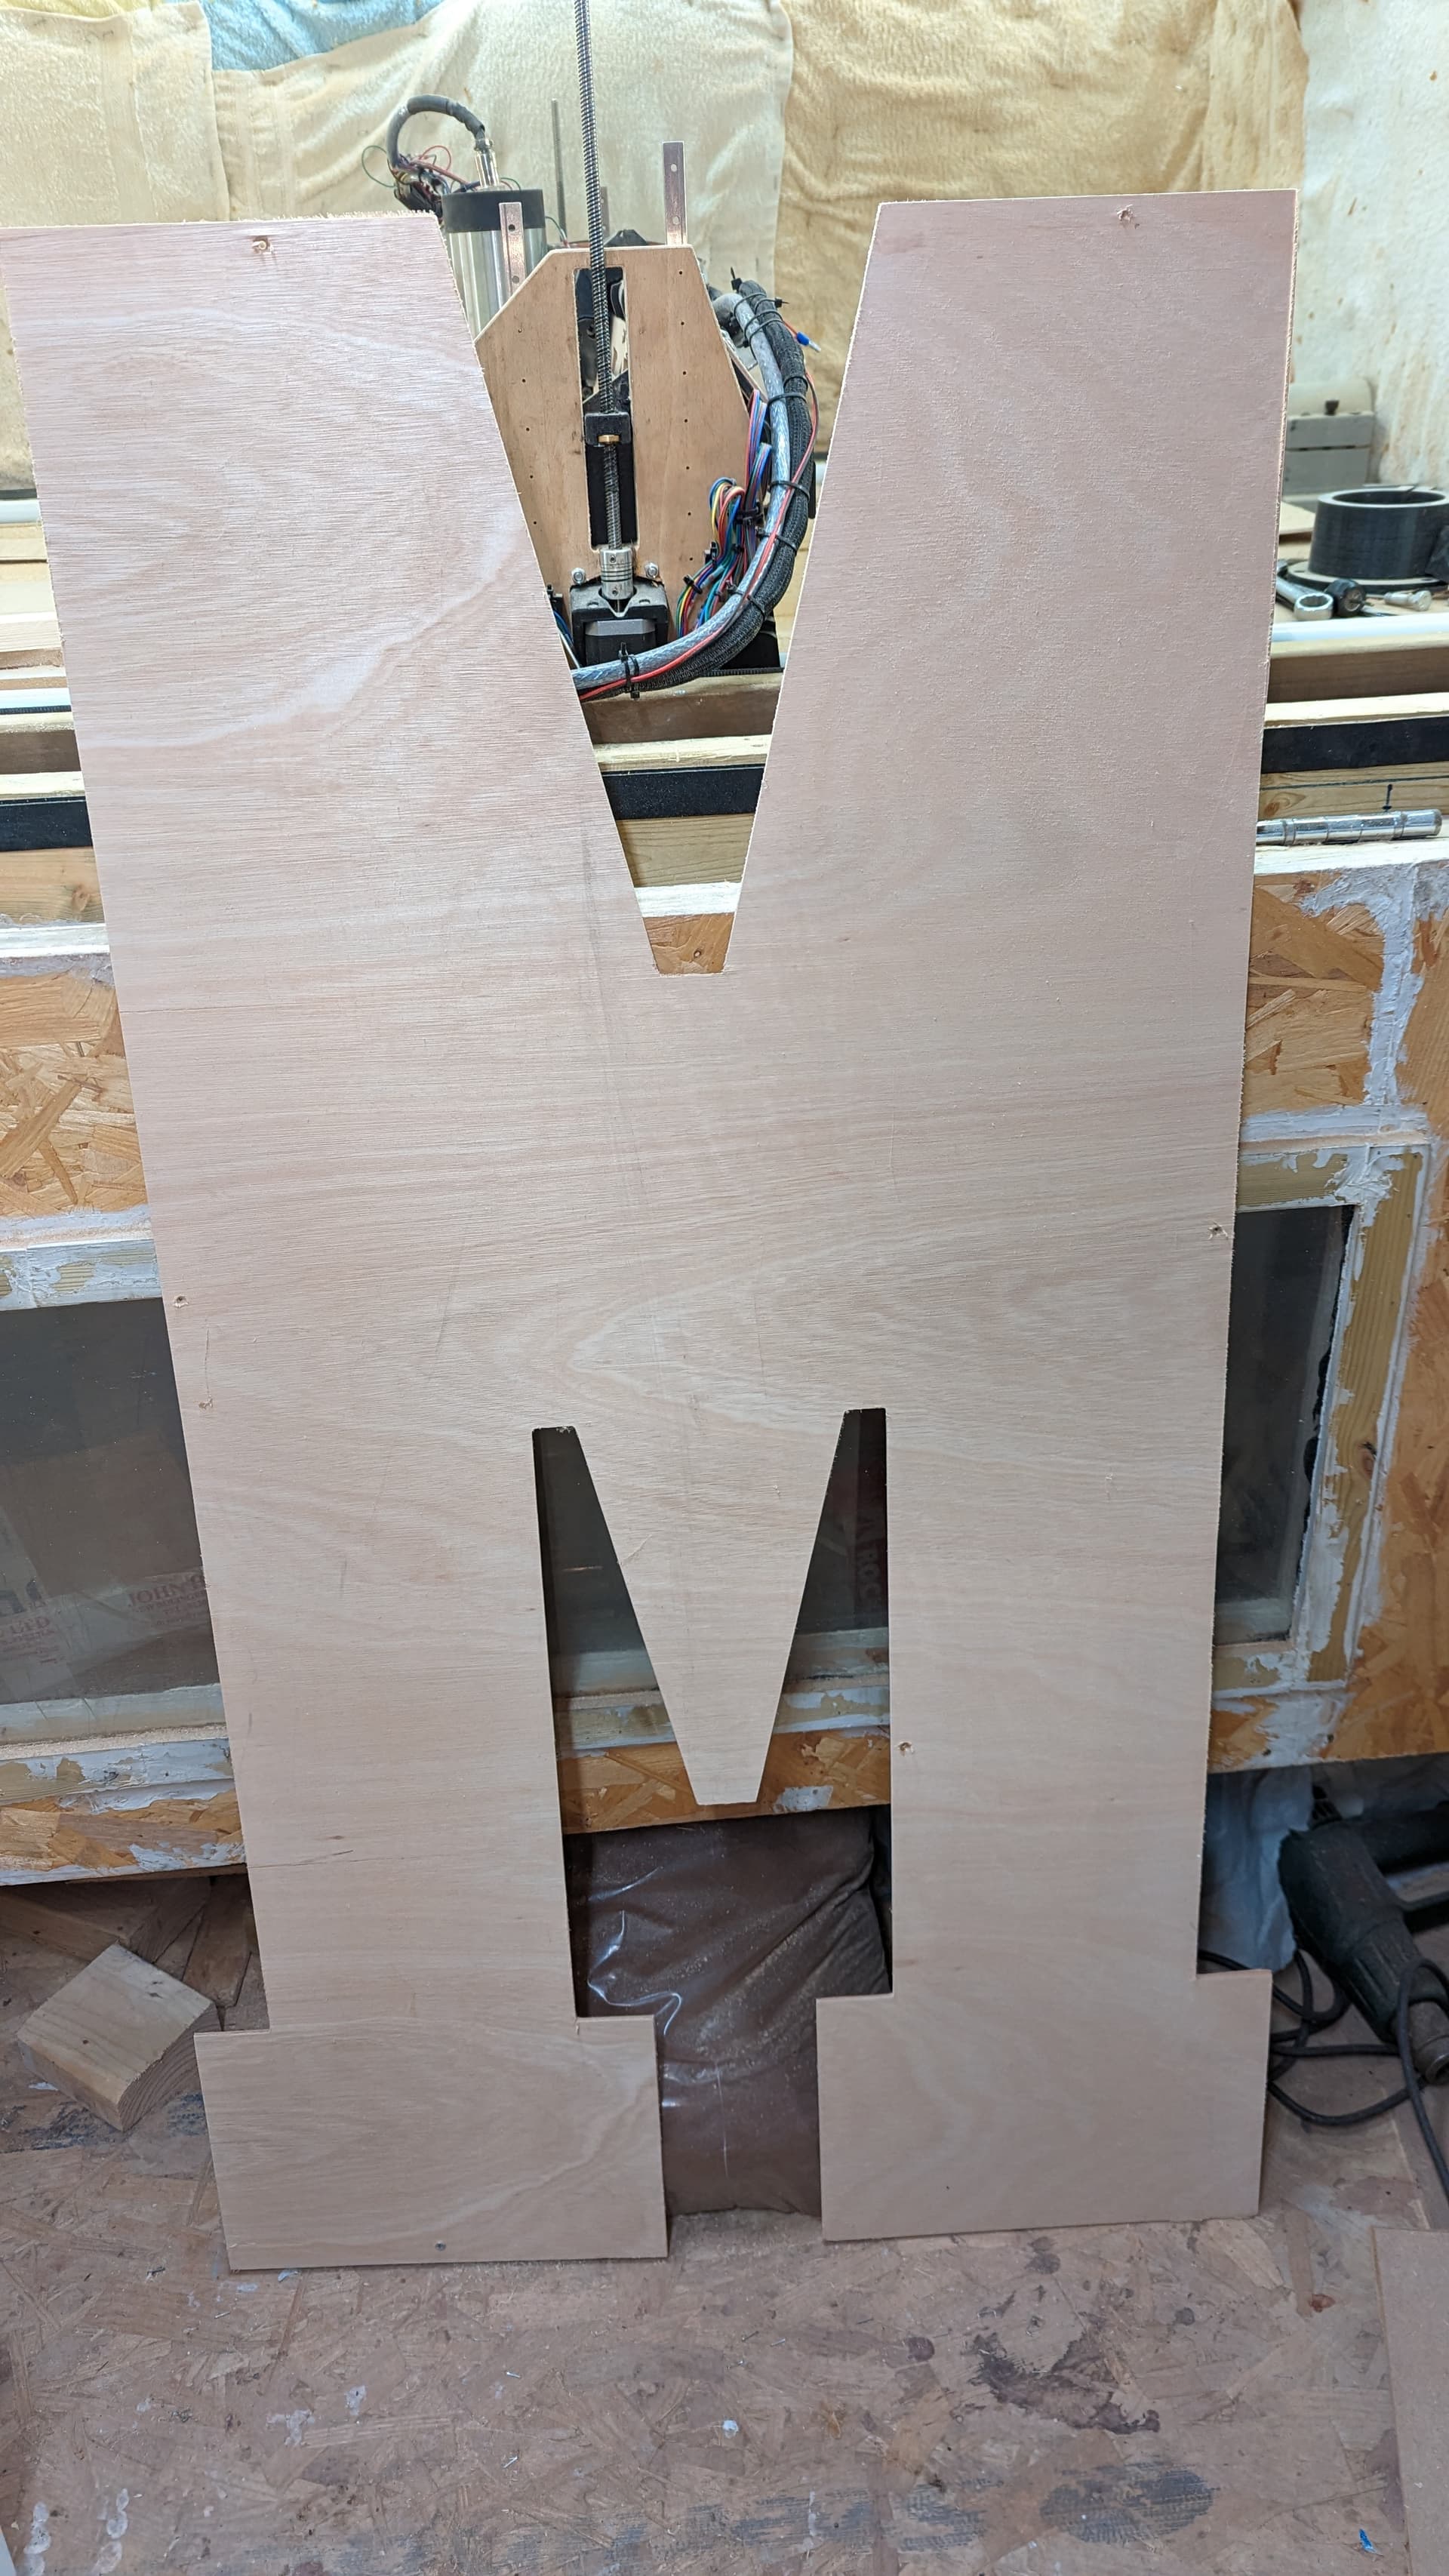
Cut out front 9mm MDF
Cut out Parts 9mm MDF (All mine are 200mm width)
Cut out back out of 3mm ply (same as front but without holes for the bulbs and with an inner offset of 3mm (I use 3mm but whatever as it’s at the back))
TBC…
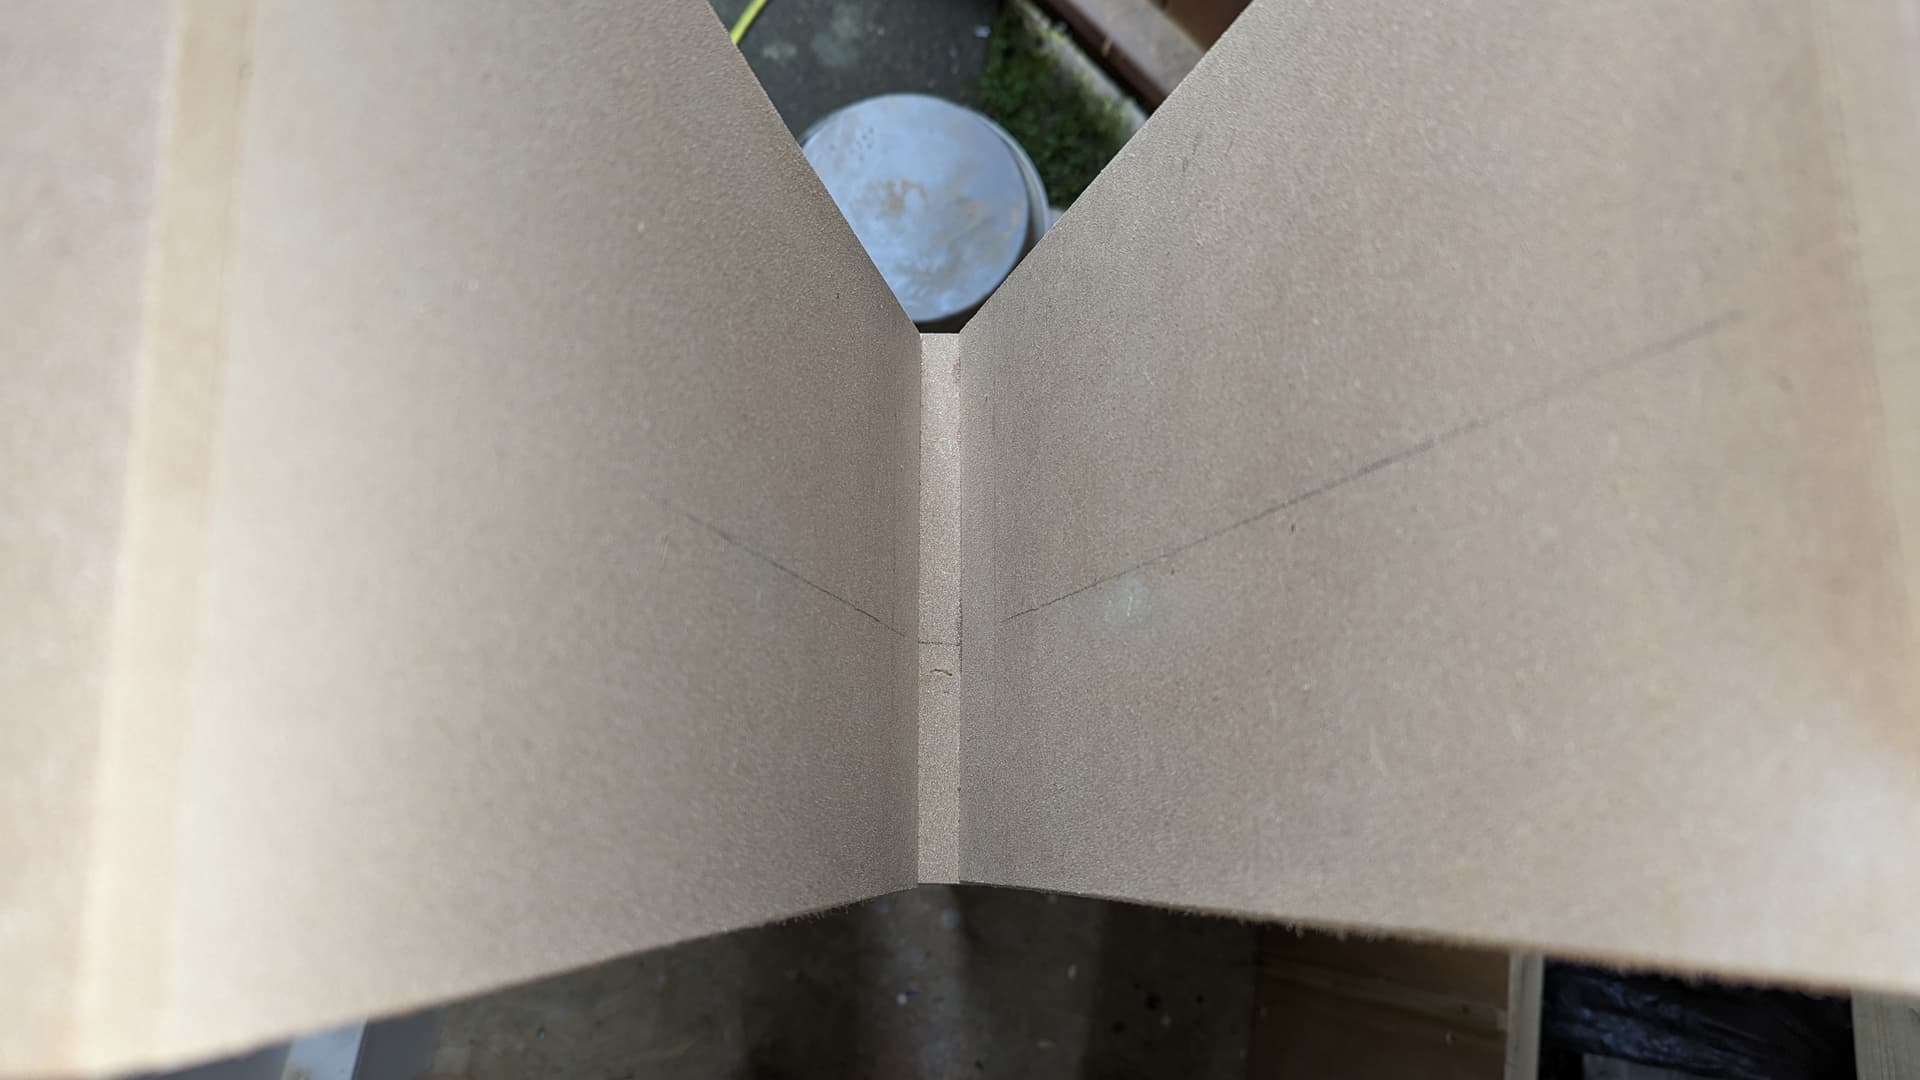
Work on 1 peice at a time. If peice has an angle then use the sled and table saw (you could use a compound saw or band saw I guess)
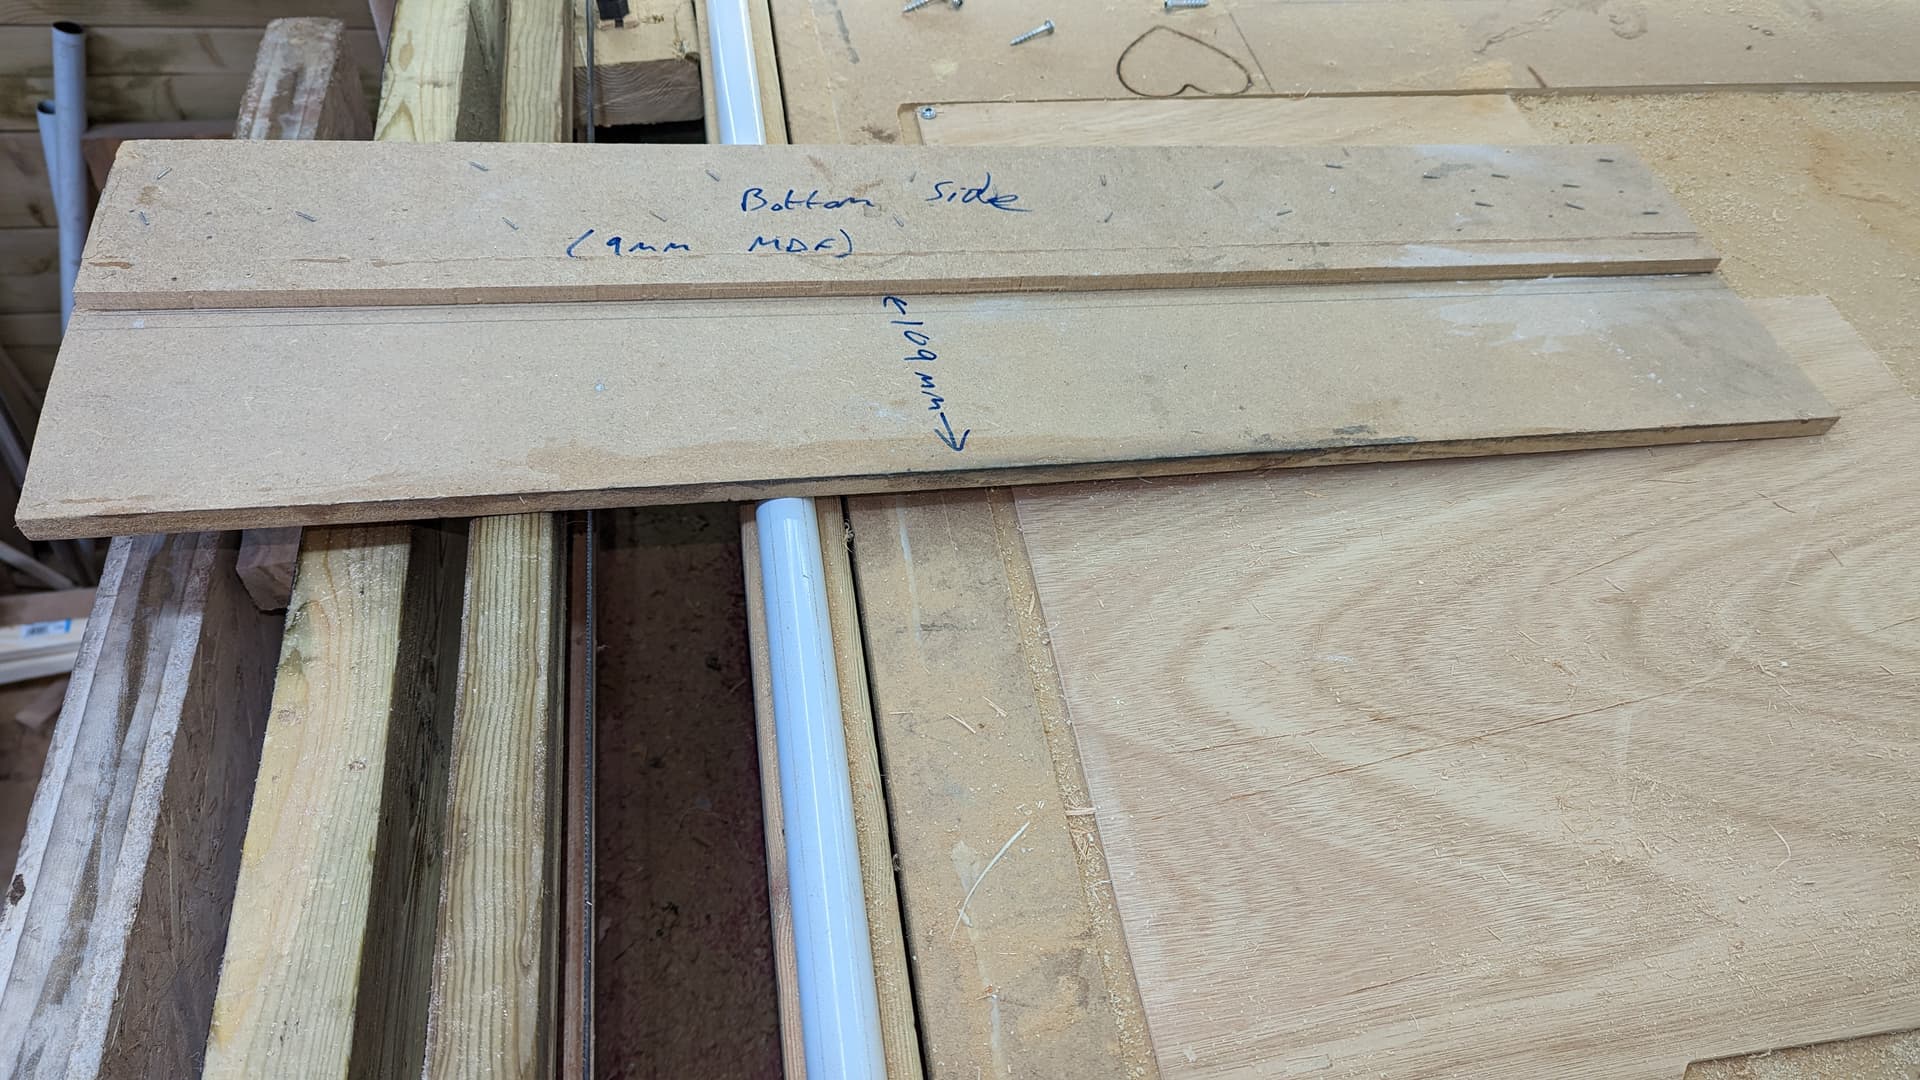
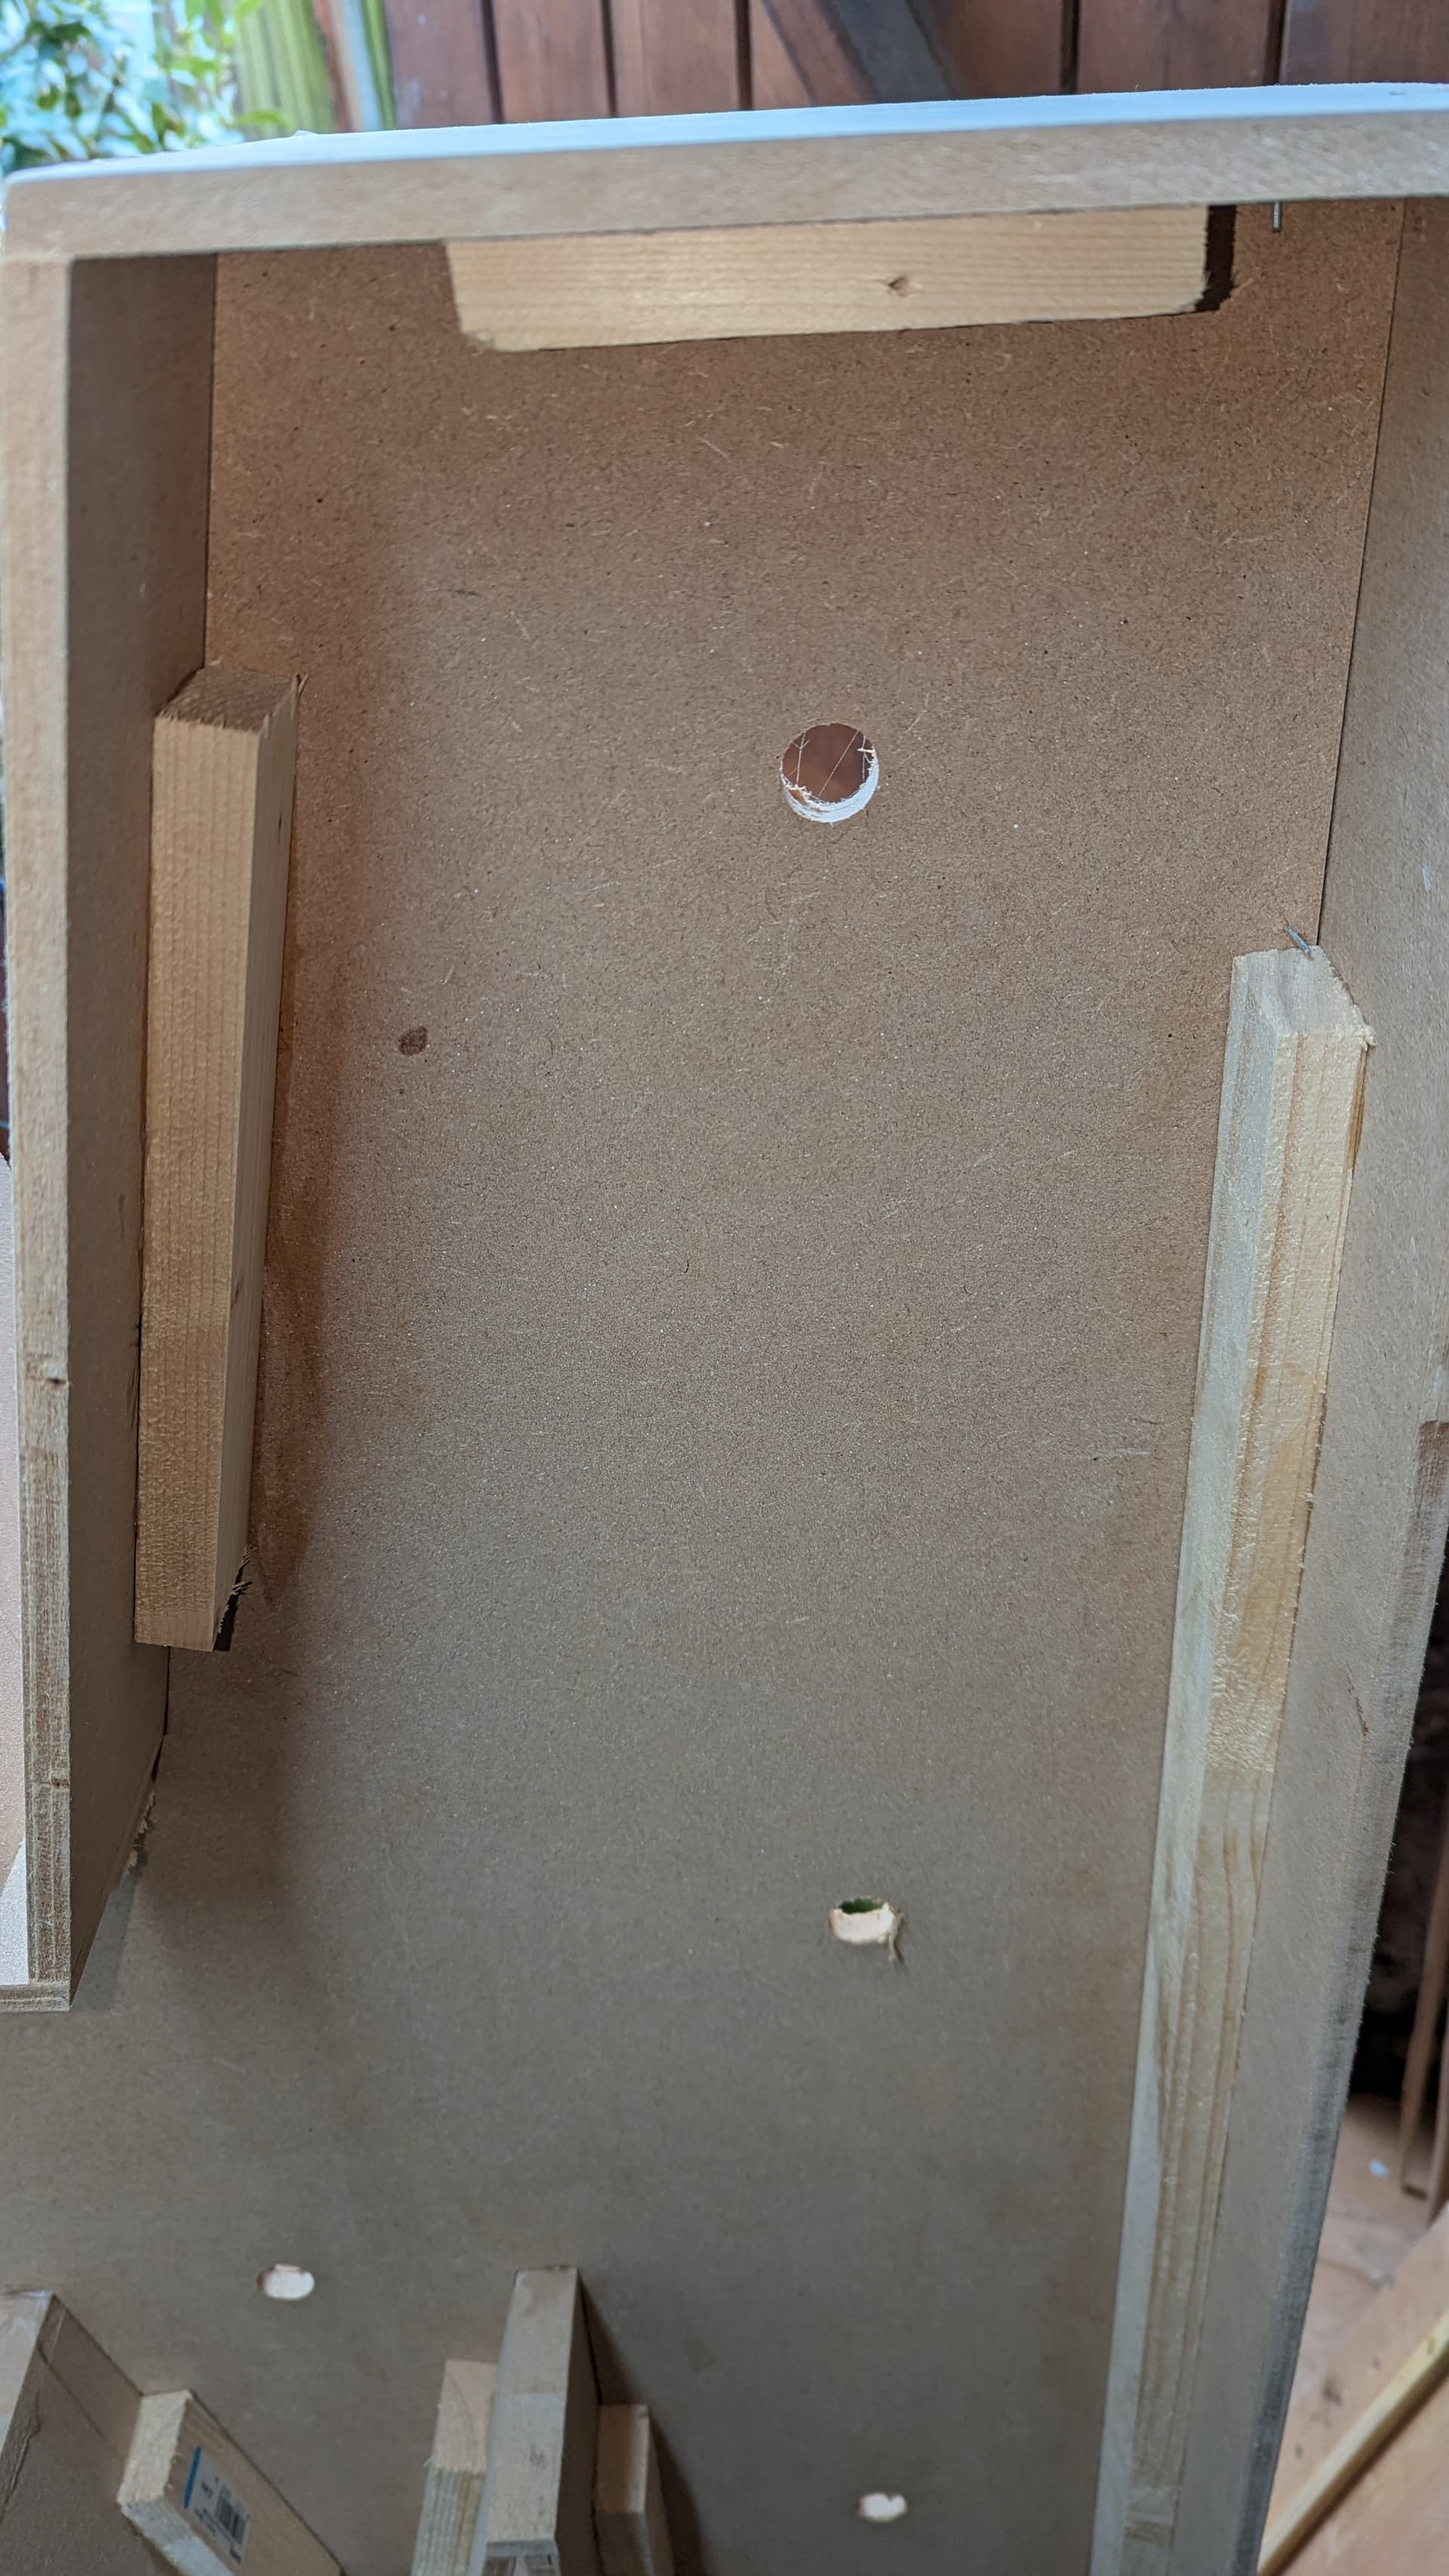
For fixing a battern to each part use this… (Dimension are important as there is 100mm overhang so I have written them in blue in the image below)
Push peice up against the underside (see above) and draw a pencil line flip peice over and insert again. Pencil lines are used to fire pins into the peice and front sides to give it extra stability.
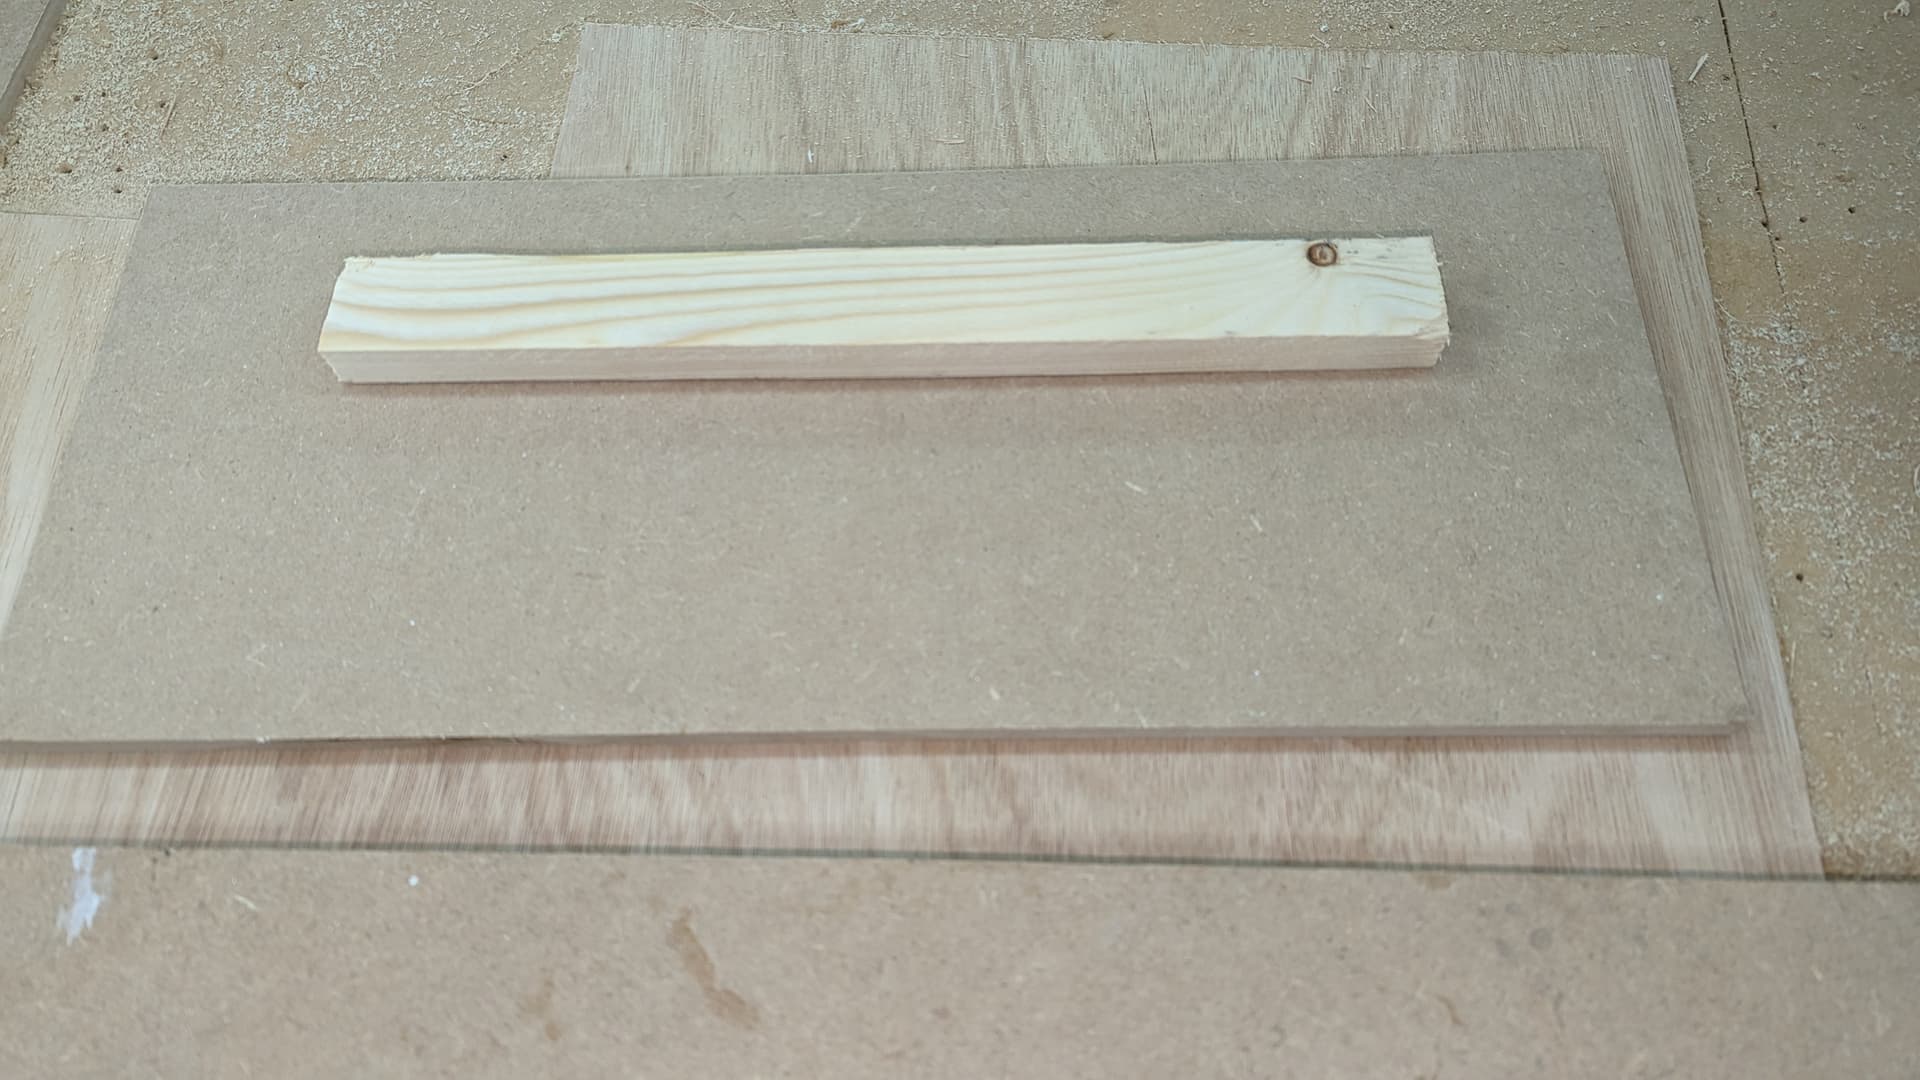
Every part must have a battern behind it to hold it to the front template so push the peice up tight against the holder and glue battern onto wood (I use mitre fast), flip peice around and fire some brad pins in to hold battern further. Pencil line can be used to judge height of battern on the underside.
TBC…
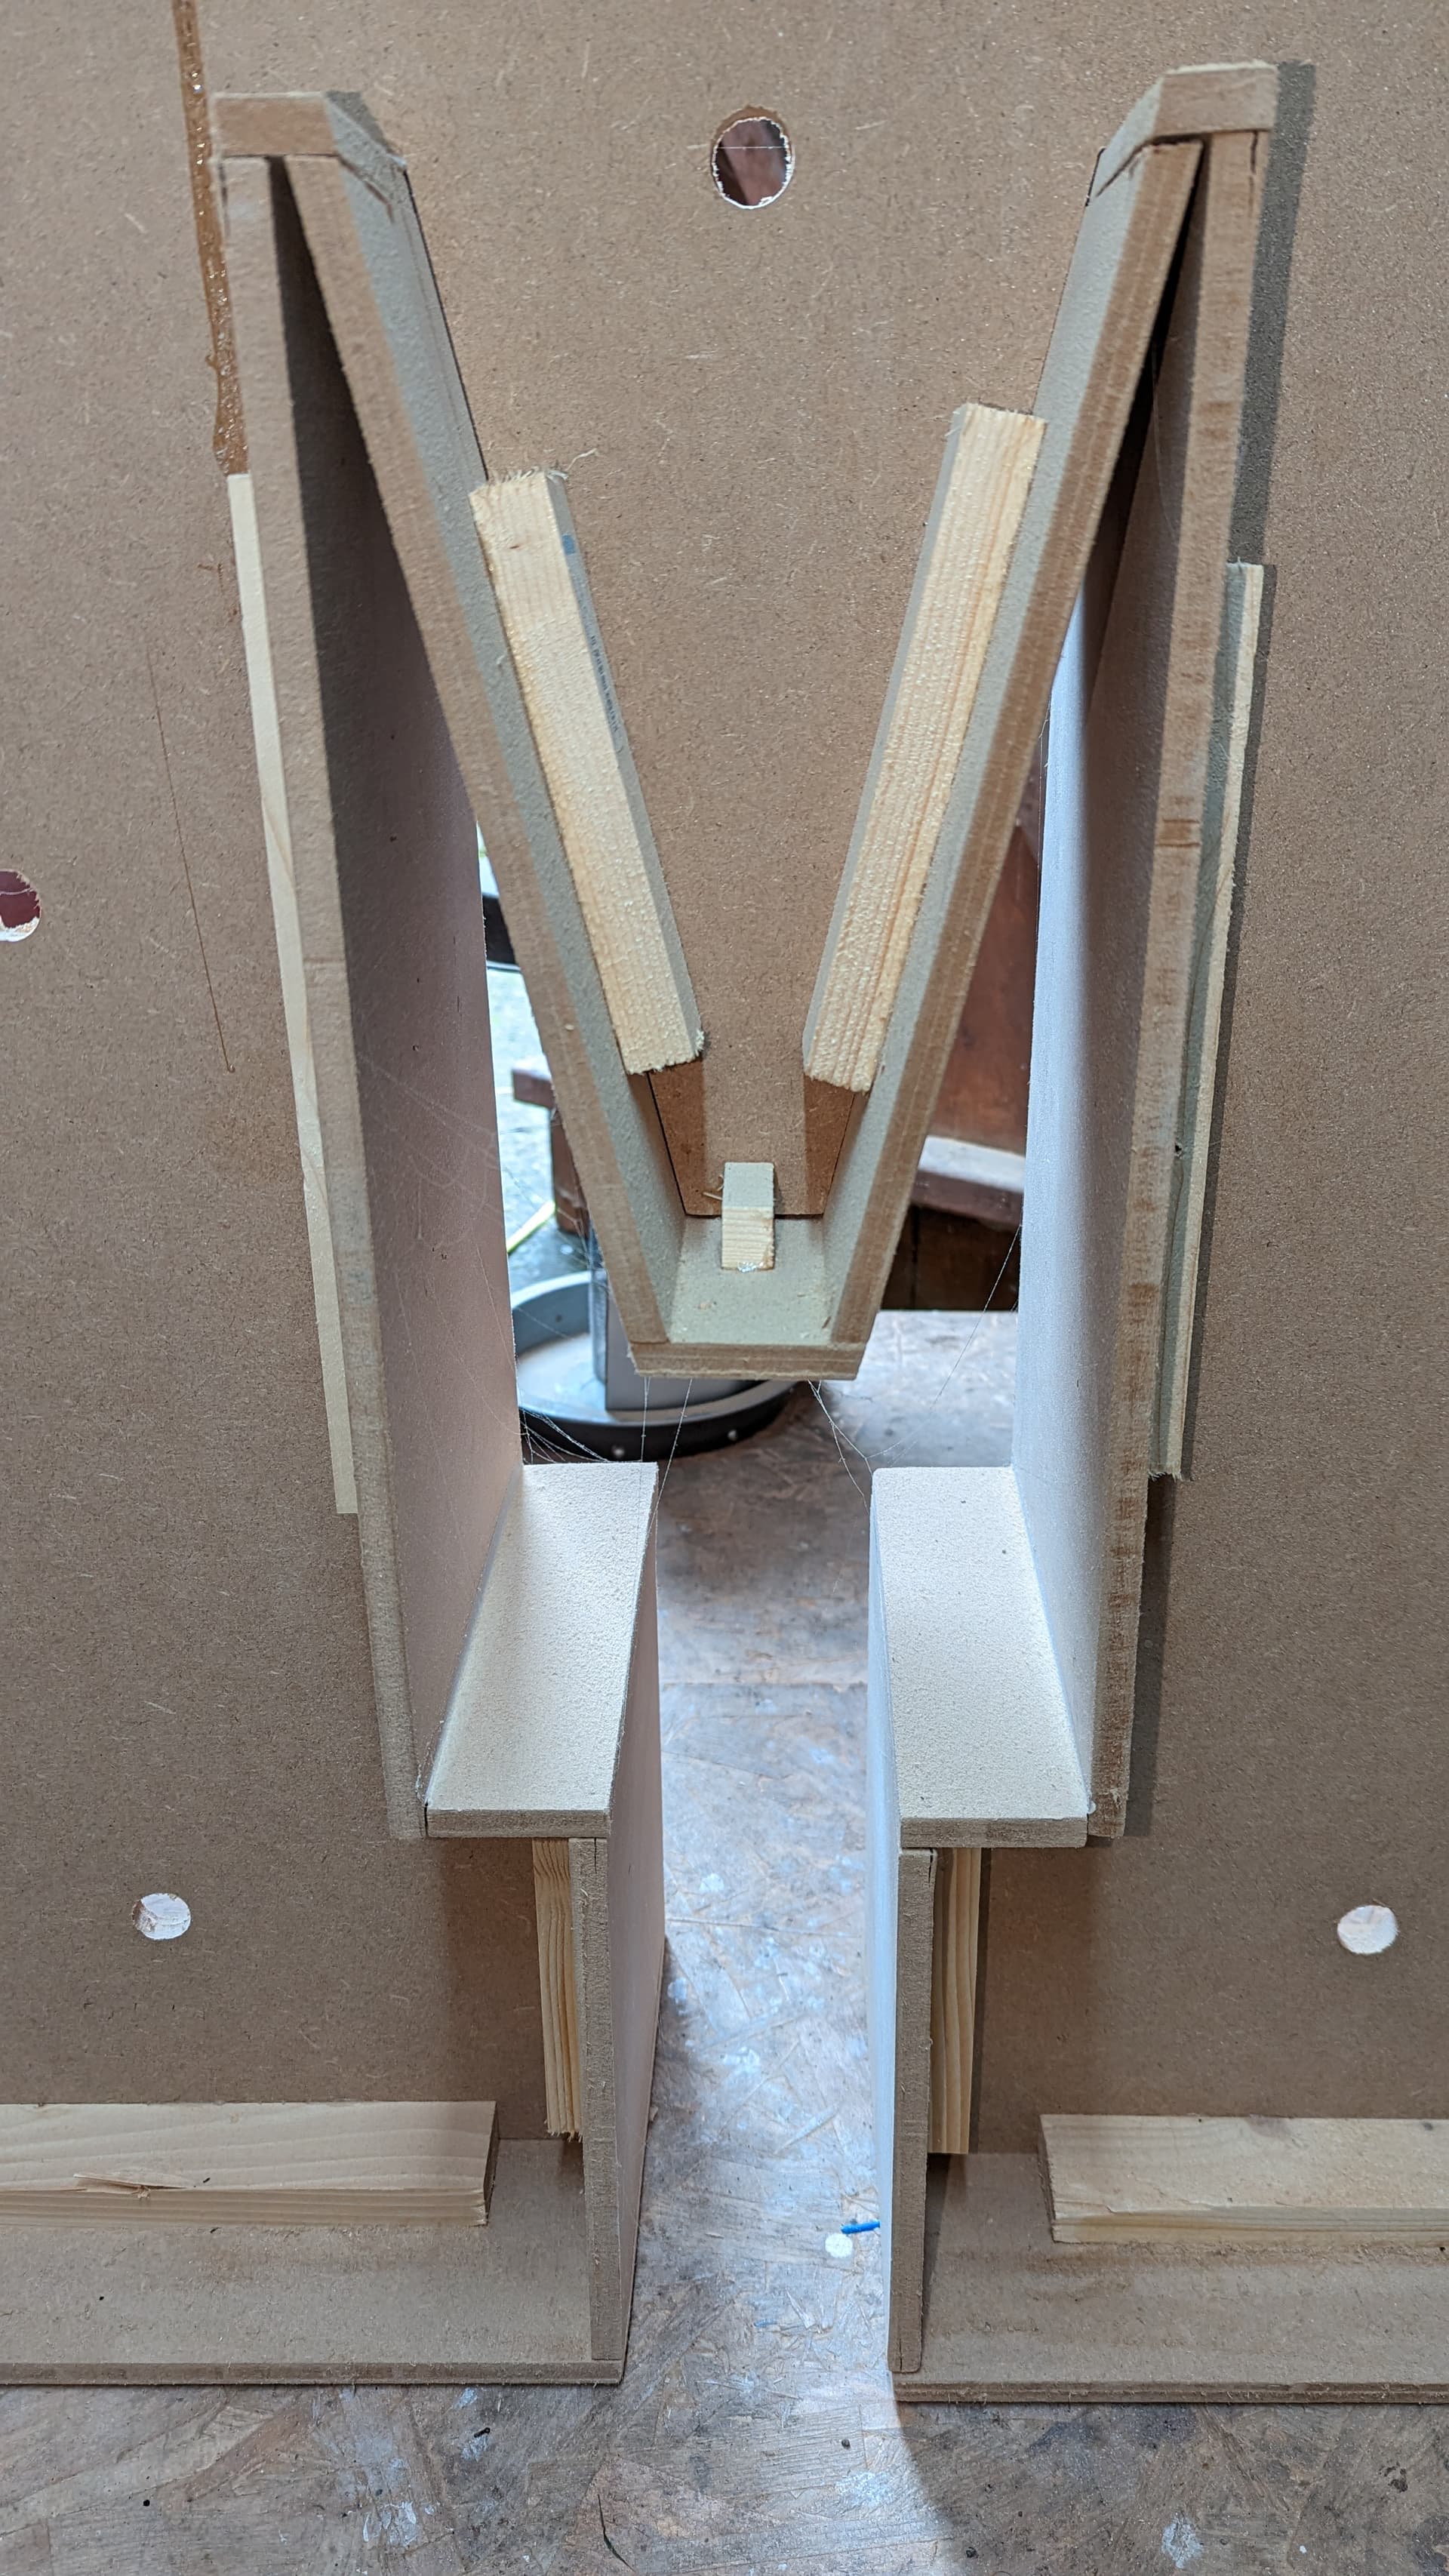
I install the longer peices first (wood glue and brad nails (20mm length) - wood glue on battern and back of number/letter and brad nails fired through the front of the number/letter into the battern behind it) to stop the front peice from wobbling as you install other peices. If brad nails not flush then use a brad nail punch.
Batterns in use…
Tougher patterns…
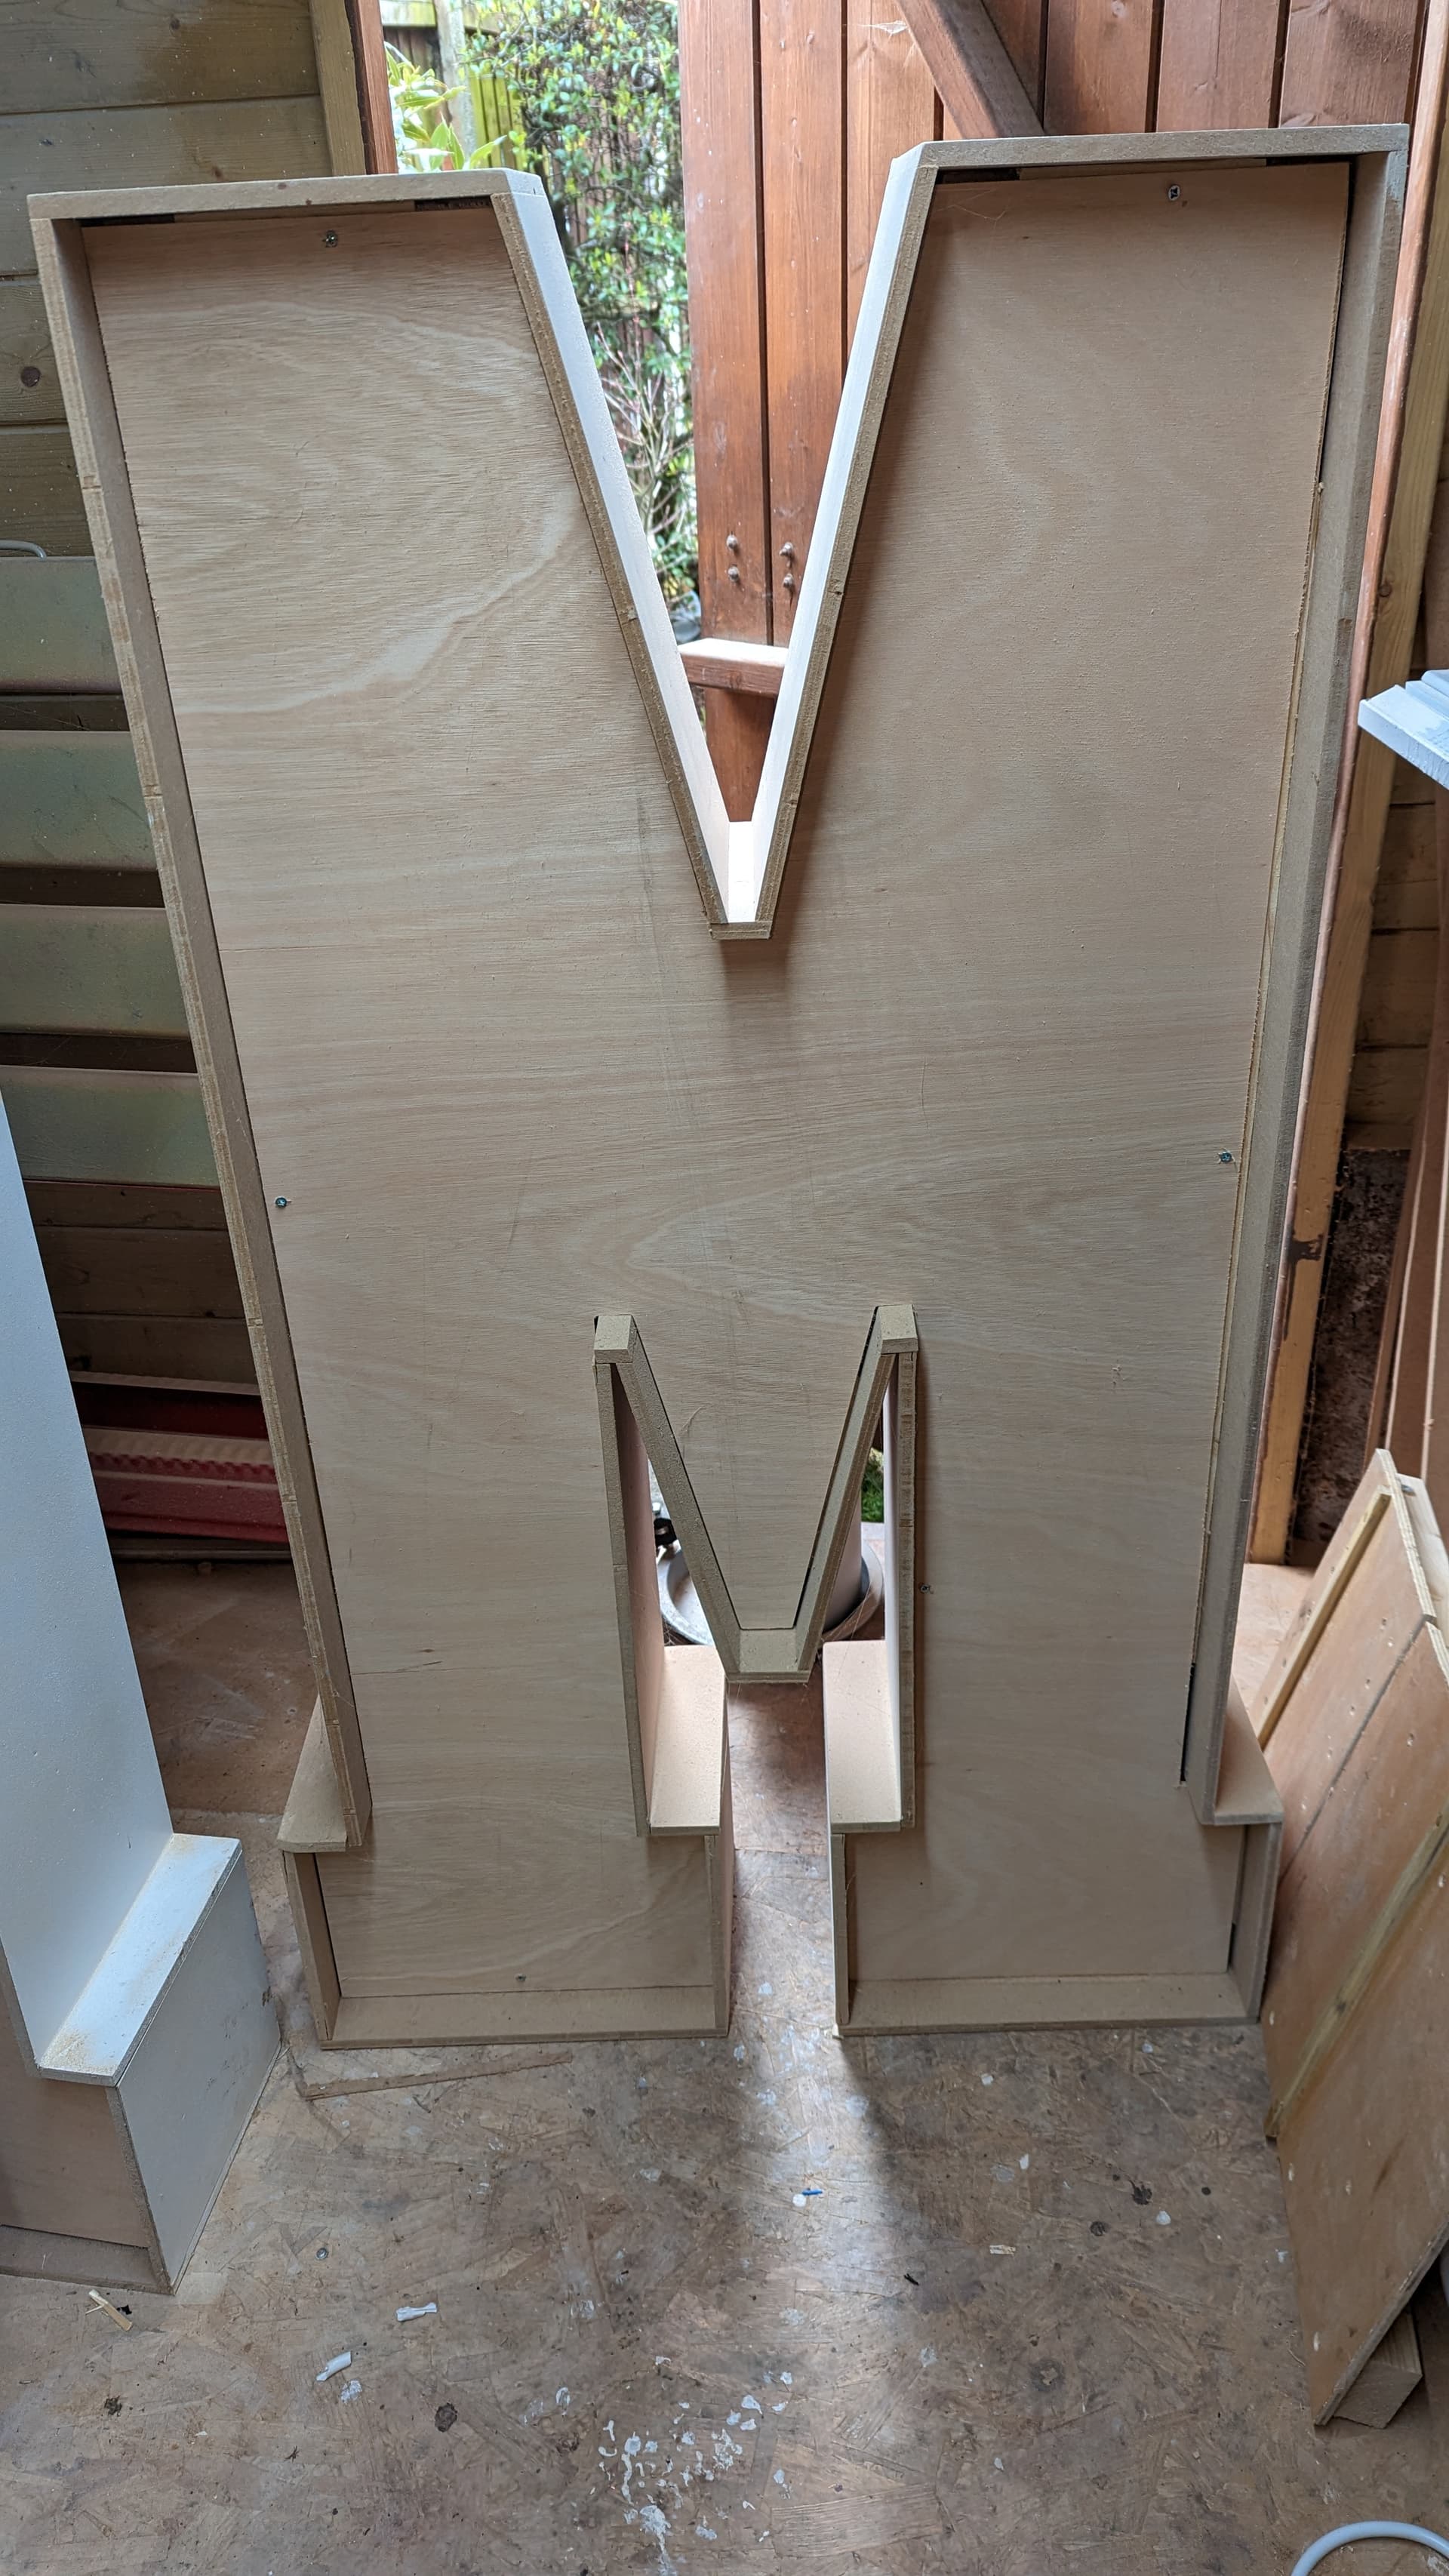
The back installed…
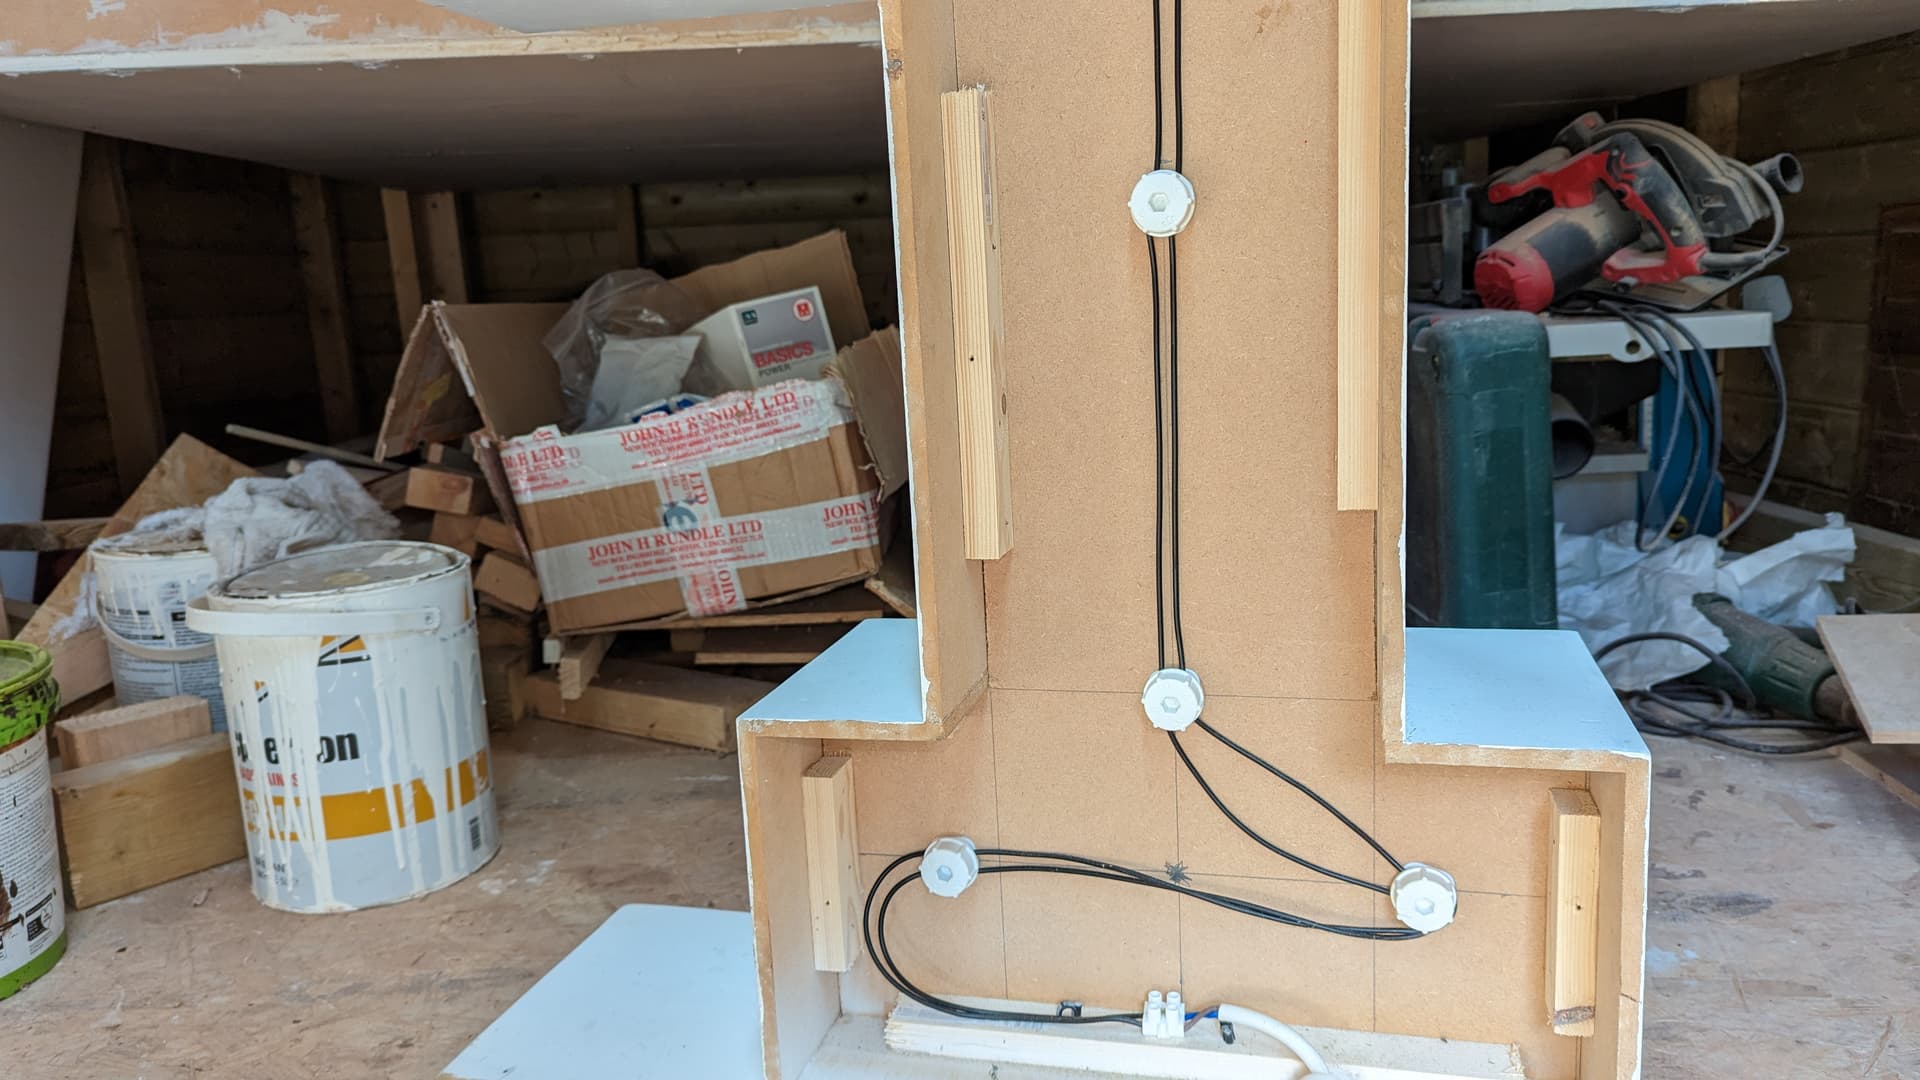
Cable and bulbs installed… IMPORTANT: Obviously get a qualified electrician to carry out the wiring if you are unsure what to do. These bulbs use Live (Brown) and Neutral (Blue) wires only, if you look at the back of the bulb holder where you connect the wires, there is a notch which is for the Live wire (Centre pin looking at the front of the holder). See below…
A few of the tools I use…
Remember to alter the length if there is an overhang so the top peice would have an extra 18mm (plus any extra mm if cutting an angle) as each side is overhanging.
Use builders caulke to fill in any gaps and cover the brad pin heads and then spray and wire in lights.
I think that’s everything, any questions then please ask.
If you want to give it a go then attached is a cross and the 4 dxf files you need. I usually use about 1 x 8x4 9mm MDF sheet for the front and sides and 1/3rd of an 8x4 3mm ply sheet for the back.
cross_back.dxf (27.2 KB)
cross_front.dxf (533.8 KB)
cross_sides_1 or 2.dxf (124.2 KB)
cross_sides_2 or 2.dxf (37.1 KB)
Which should look like this.
That is a great walkthrough, thanks. I bet there will be more giant letters built around here at some point and that will answer some questions.
My pleasure. I’ve not got them all yet but if anyone needs some and I have them then I’ll put them up
close older topics to help with spambots, and faster new user questions.