I’m assuming feedrate to go slow,
I’m on 8mm/s and it seems not right.
So based on my last setup. My pilot holes are correct in drilling 6mm. But then when it goes to cut out the strut. It’s now plunging 13mm deep again!
Gcode shows to plunge in 1mm increments z-1, Z-2, Z-3……z-6.
Some reason it goes down Z-6 and then starts goes down -1mm increments.
Bloody hell from one thing to another. I thought I solved it when the drilling was working correctly!
If you have a copy on top of the original it can cause a dubble cut in some circumstances. One stacked on top of the other identical shapes a copy ontop of original. I have not had it double the depth but have had it dubble cut
Ok so bit of update.
I have got rid of extension collet for now.
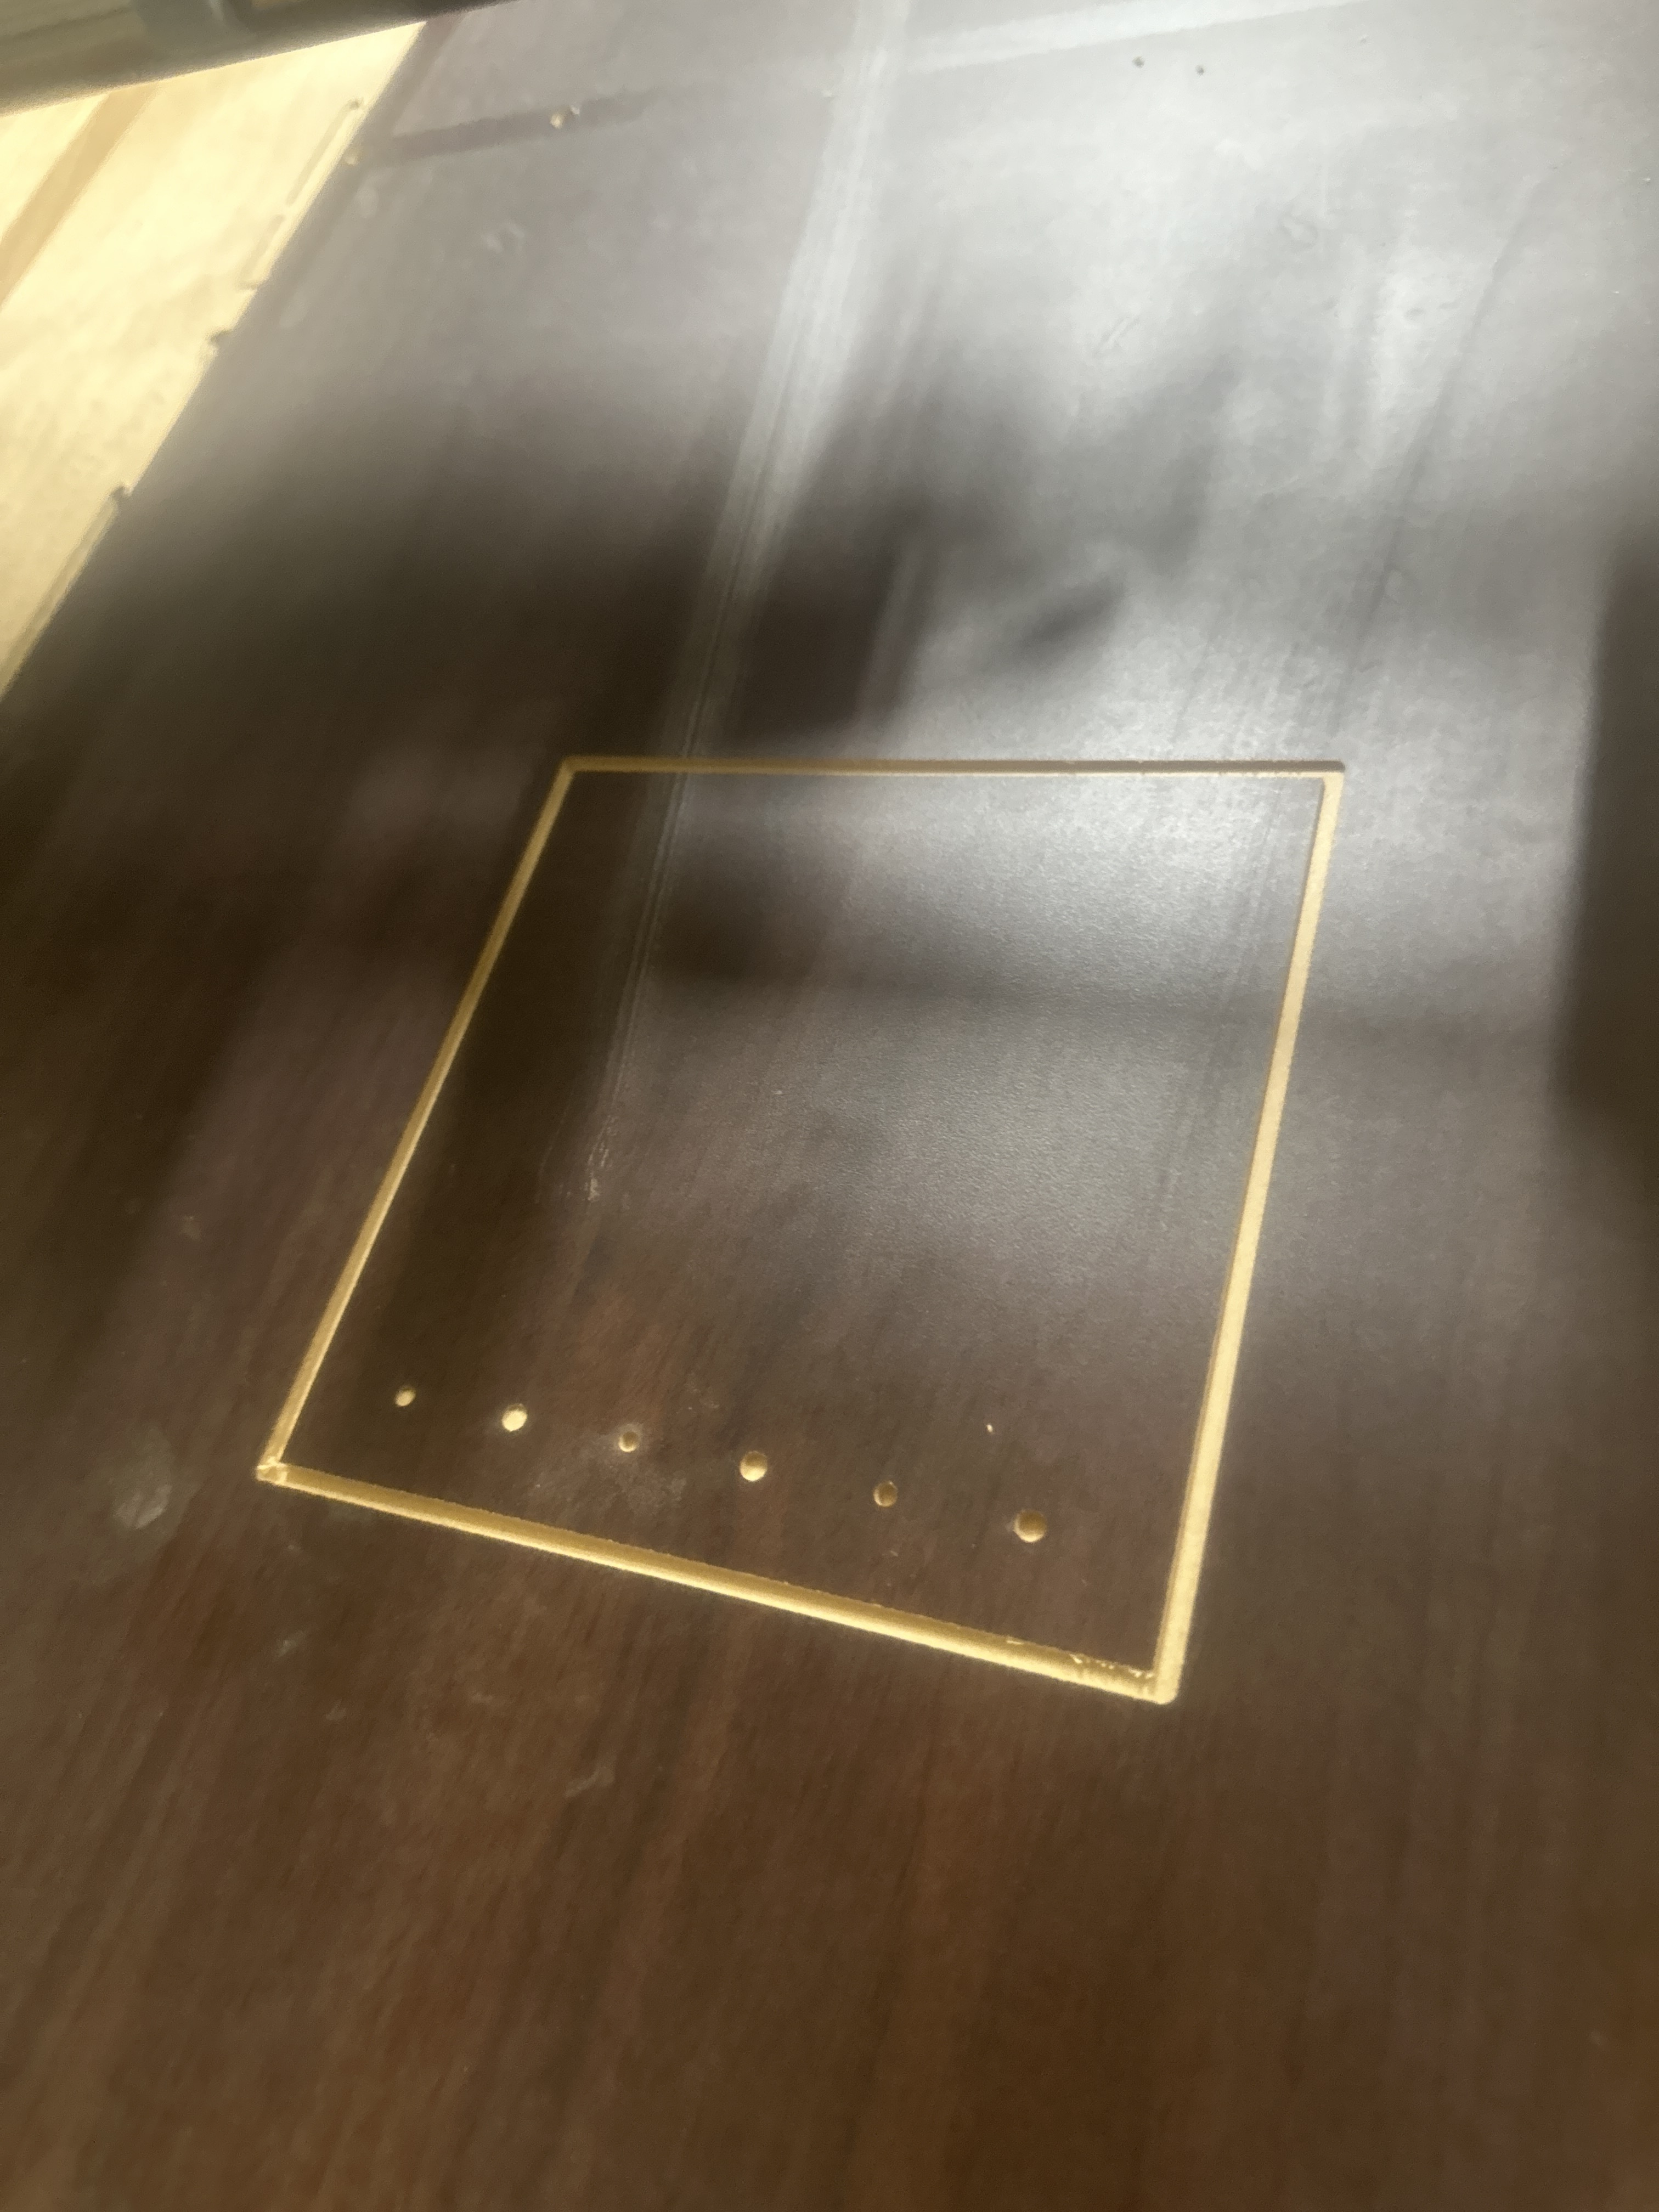
Had some 21mm Mdf so tried doing a test cut.
Square permitted 150mm x 160mm 2mm deep.
Then Inside the square drilled a 1mm, 2mm, 3mm hole
And also a 1mm deep circle pocket, 2mm deep circle pocket, 3mm deep circle pocket. All using aspire using the same pp as my strut issue.
And guess what it all worked fine!
So where does this leave me?
Only thing different is the removable of extension collet. Fml
I’m gonna try one more test, this time using a bit of ply wood just to be sure.
I’m still somehow not convinced it was the extension collet because I didn’t see any slippage and for it to plunge that deep has got me still raising eyebrows.
I’m also wondering if my the extended reach has anything to do with it. Not that it should matter cause I’m still zeroing my Z with touch plate. I’m just somehow not really convinced.
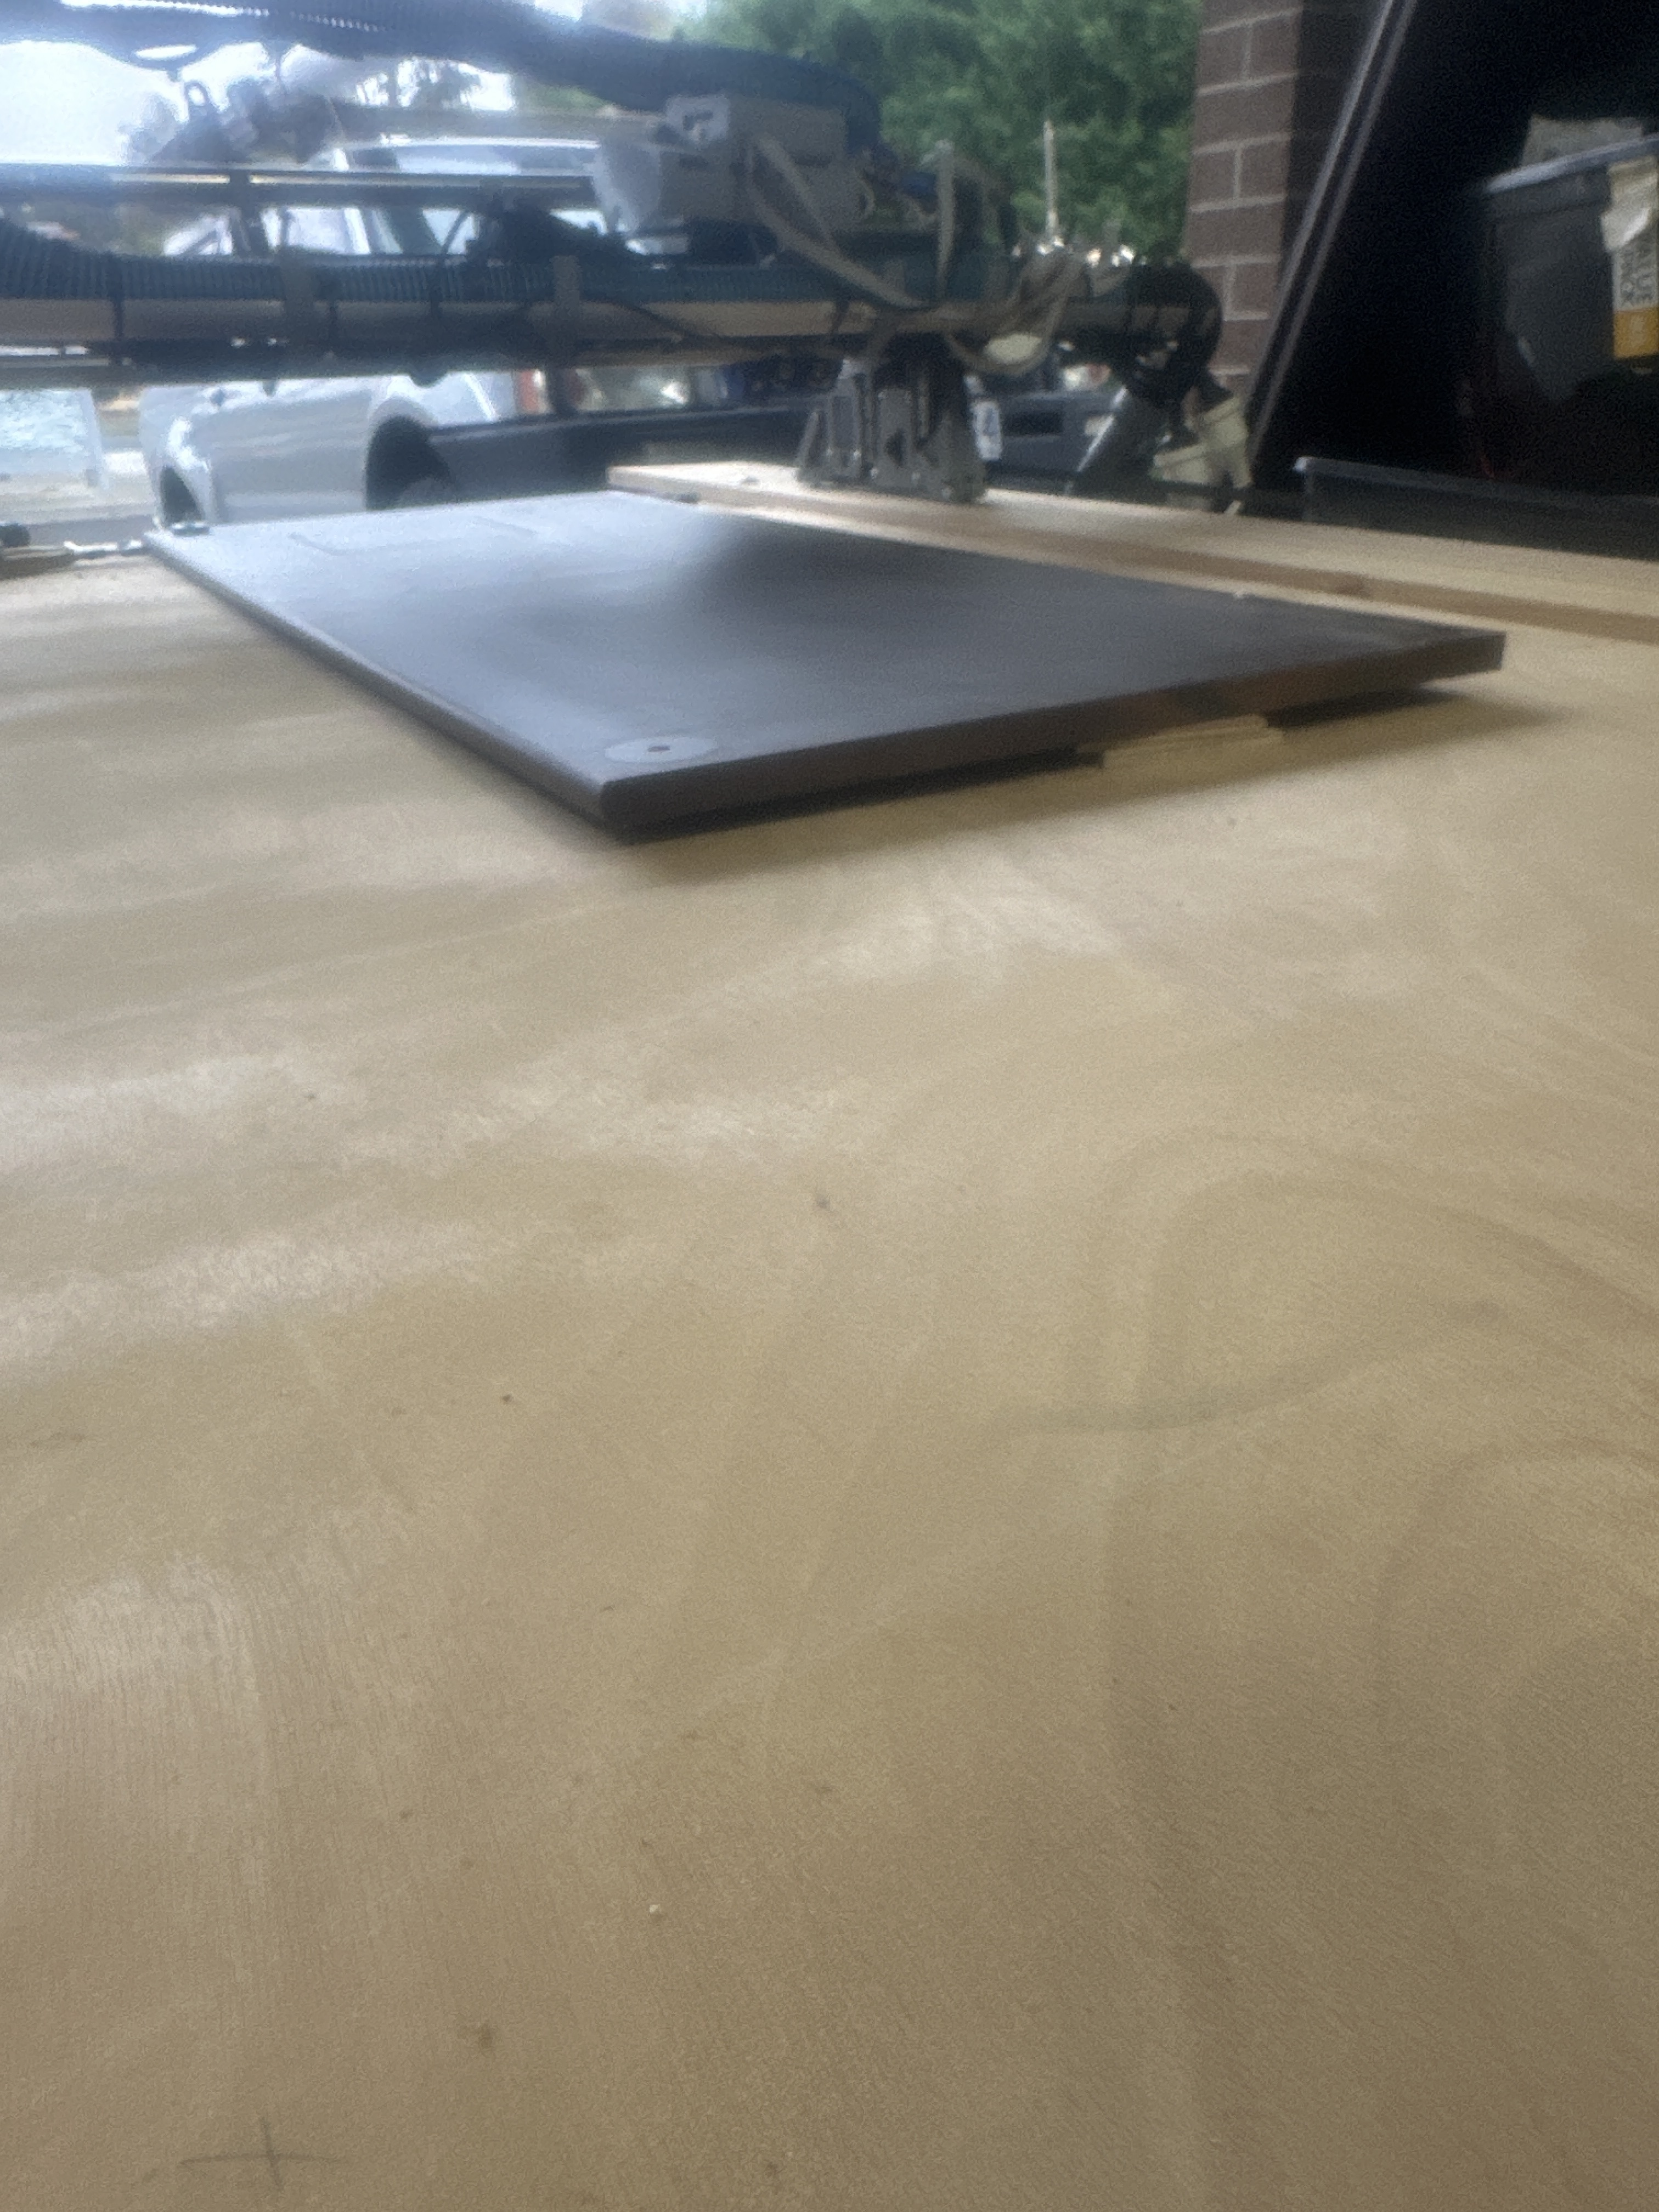
The other concern is the plywood for the strut has a lot of deviation, I did use touch plate on highest point of plywood.
But with my last test on Mdf, I made sure that was level on Bed by adding spacers underneath sheet. The Mdf sheet is approx 1metre long, and there is a spacer of approx 20-30mm just to get it level. So this could be my depth issue.
You should understand the difference between level and tram.
From your picture it looks like you have shimmed one end of your stock but not the other. If the rails are parallel (trammmed) with the table surface, then your shimming will create a lot of issues. If the rail and running surface is not parallel with the table surface, then you have some serious issues that need to be addressed first.
So if you probe at the near corner and then again in the middle of your table it is 20-30mm difference? That is a lot I would highly recommend working on getting that much closer. You do not want to surface a table to get rid of that much error. You also do not want to shim every job you put down.
What Bartman is getting at is level means absolutely nothing in CNC terms. Move your endmill to the surface of your material/table at the near edge and drive it Y +200 or more, does the gap change? Does the gap really change 20-30mm or maybe 0-2mm?
The construction of the table is.
60mm thick tabletop Mdf
10mm Mdf sheet
Then on Y rails I have a long 10mm thick hardwood
I still need to put a 10mm infill Mdf sheet. Hence why I need the extension collet.
It is dropped as this still needs the infill sheet.
The last pic I just placed on top of the ply that I was cutting. So the ply could be making it worse especially because I know it’s bowing.
I know my table isn’t 100% level. So I didn’t bother trying to prove that, it was more of proving if the programming and cutting was doing it right! Which it is.
The next plan is to try and level my tabletop as close as possible just to cut the struts out and to try somehow mitigate the bows in the plywood.
Once this is done, then I can work on getting my table sorted lol
Level means nothing, there is no reason to use a level near your table. There have been a lot of issues in this thread and it is a bit hard to keep straight. I suggest getting the surface on your table that is missing, the struts can wait. When your table is all done and if you find you need a critical Z depth you can surface your table, I never surfaced a table in ~7 years. I just overcut everything. Seems like this has been the root of the issues so best to get that sorted out first.
As mentioned above by Ryan, better to install this and get the cutting surface at the same elevation as the Y rail/roller surfaces.
There is a lot of confusion/misunderstanding/misuse of the term “level”. What you want to aim for is to have the entire cutting surface the same distance away from the bit when the bit is at a certain point on the Z axis. It doesn’t have to be perfect for most materials (+/- 2mm is probably okay), unless you are planning some very detailed carving or engraving where 1mm will make a noticeable difference. Cutting struts is NOT one of those situations.
What I would focus on is making sure that your Z axis is trammed (levelled) so that the bit is the same distance from the surface at XMin and XMax. Home the machine, then use the touch plate at XMin to set the 0, then raise it up, move it to XMax and then slowly lower it to 0 again. Watch to see if the bit is higher or lower than the XMin side, and if necessary adjust the Z endstops and re-home until you are close. You can dial it even closer using M666 command, but get it as close as possible using the endstops first.
Also do a “squaring” of the XY planes and adjust the Y rail endstops to make sure the build is as square as possible (see the build instructions for details)
Once that is done, and once you have the struts cut and installed, THEN you could look for bumps and bulges in the table surface. You are aiming for flatness, not level. Your table is sitting on a garage floor which slopes towards the door (they all do, they are built that way so that water flows out, not in), so your table may be flat but it isn’t level, but that doesn’t matter, because the Y rails are sloped the same amount and everything is trammed in relation to each other.
If you do find that your table isn’t flat, and you REALLY REALLY REALLY need/want to do so, you can perform a “surfacing” using a cutting bit to shave down any high spots. This should probably only have to remove 2-3mm max of material, and that much only in a few small areas (unless you built it really sloppily, the rest of the table shouldn’t need much more than 1mm removed). But again, this isn’t needed for the vast majority of projects that you will use the LR3 for. Note also that wood swells and contracts with the seasons, so just because you have surfaced it to be perfectly smooth today doesn’t mean it will remain so in a year or two.