Why the extra F3000 on a separate line? IDK. Why is it climbing all the way to Z=30? IDK.
There aren’t any Z commands to go deeper than -6.
So that leaves a few possibilities:
The machine doesn’t have the right steps per mm, but you’ve checked a 10mm Z move is a 10mm Z move.
The machine isn’t square, flat, and the Z=0 at the start is not Z=0 at the end. You’ve seen this, but it is 1-2mm, not 7mm
The machine is skipping steps, or the grub screws are loose and it is slipping during cutting.
Your 12/24V power supply doesn’t make a difference.
We have seen these have a lot of runout and wobble, which can cause some other issues later, but I am going to ignore this. The one thing to check is that the bit isn’t drooping and getting longer.
The next thing I would want is some clue from the way the error looks. Are you letting the whole job finish? Is it 13mm everywhere? Can you make a smaller square gcode that is 2" wide or something, starting near the touch plate? Watch it carefully and report anything weird.
It would be best if you used estlcam so we can more easily help you. Once we prove your build is correct, you can more confidently try other software but ESTLcam V11 is bulletproof and easy to diagnose.
Very easy to fix, the instructions have a section of correcting this. But save it for after your struts.
For learning you should be using an upcut they are just much more forgiving. For a down cut slow your move and plunge speeds down considerably, like 10 and 3mm/s. And since it is a two flute endmill the speed dial should be all the way down for now.
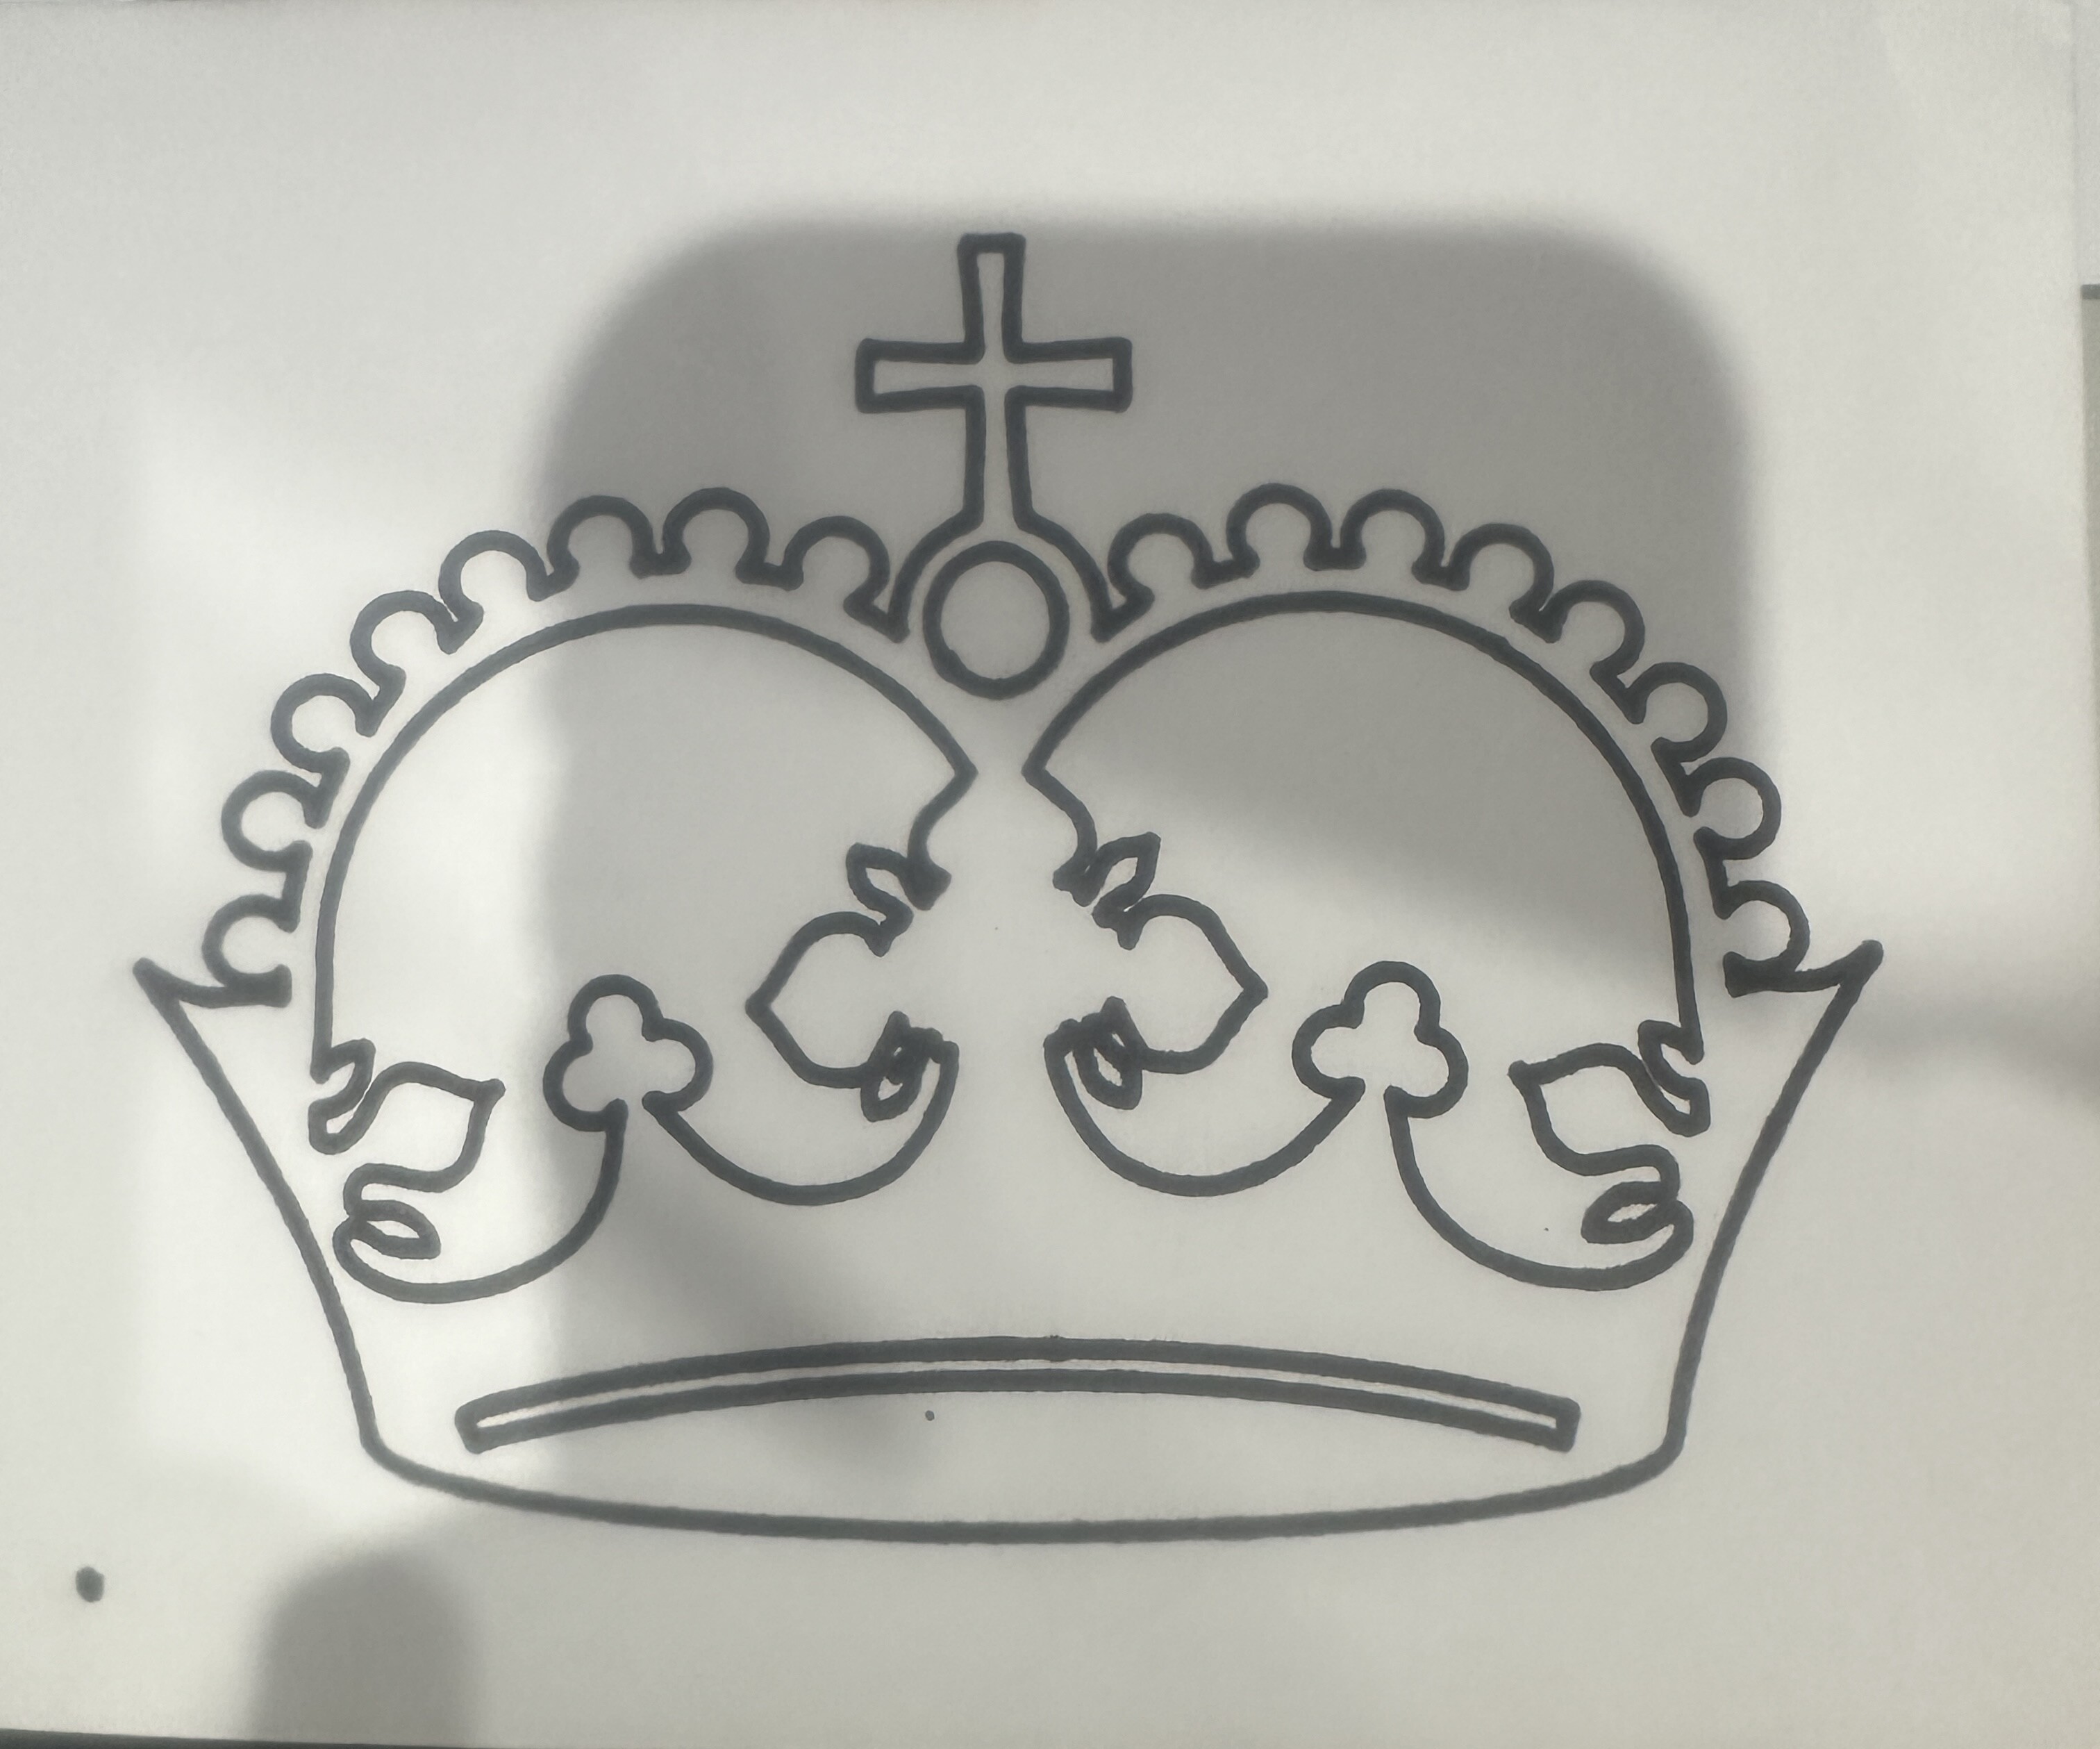
Let’s stick to some test cuts first. Some squares, the test crown, stuff like that. no sense is wasting a ton of material until you are sure you can easily draw a few shapes and cut out a couple cup holders.
These tend to let the endmill slip out. Rarely do they work well. Once a endmill slips in it, it is not usable any longer. You can mark yours or measure it. Stick it in the collet and mark it with a sharpie, check it at the end of a cut. If it moved that insert is no longer good. If it moved a lot, it could wreck your collet as well.
Frank, it seems you are trying to tackle too many things at the very same time. How about we take a bit of a step back and start over a bit. First things first, draw the test crown, does it work (show us a picture so we can look for issues)? Then follow the instructions and create your own test crown, does that work, is it exactly the same as our gcode (I recommend doing this in estlcam but if you want to use your software this is always the best first step)? Drawing the crown tests a lot of things at once. From there is it easy to find issues.
This adds up to what you are getting for cut depth.
If you are in relative mode (G91) rather than absolute mode (G90), the first cut is 2mm, your second cut is 4 mm from the first cut depth, and your third cut is 6mm from your second cut depth.
Absolute mode (G90), depths are 2mm per cut (numbers are interpreted as positions relative to (X0,Y0,Z0)
G90 is supposed to be default, but perhaps vcarve is changing that (or is setting the Z to 0 at the start of each pass).
Quick test would be to change each cut to 2mm. Or put a G90 command at the start of the gcode .
(Edit - previous posting had G92 instead of G91 for Relative Mode)
This may or may not work, depending if vcarve later changes to G91. or it may or may not break all of the other axis movements. Experimentation would answer those questions.
Ok, I looked at the gcode file you posted above, and there is a G90 command at the start, no G91 commands anywhere, and all of the commands seem to be in Absolute Mode. There are even several places where the Z axis is raised to 30mm, then set back to cutting depth.
I’m stumped, but it seems that absolute vs relative is NOT the issue here.
Not that is will cause this but what PP were you using in vetric? Thank you for your patience also some get testy when asked the same thing multiple time but you stud aand answered everyone you fit in like a finger in a glove
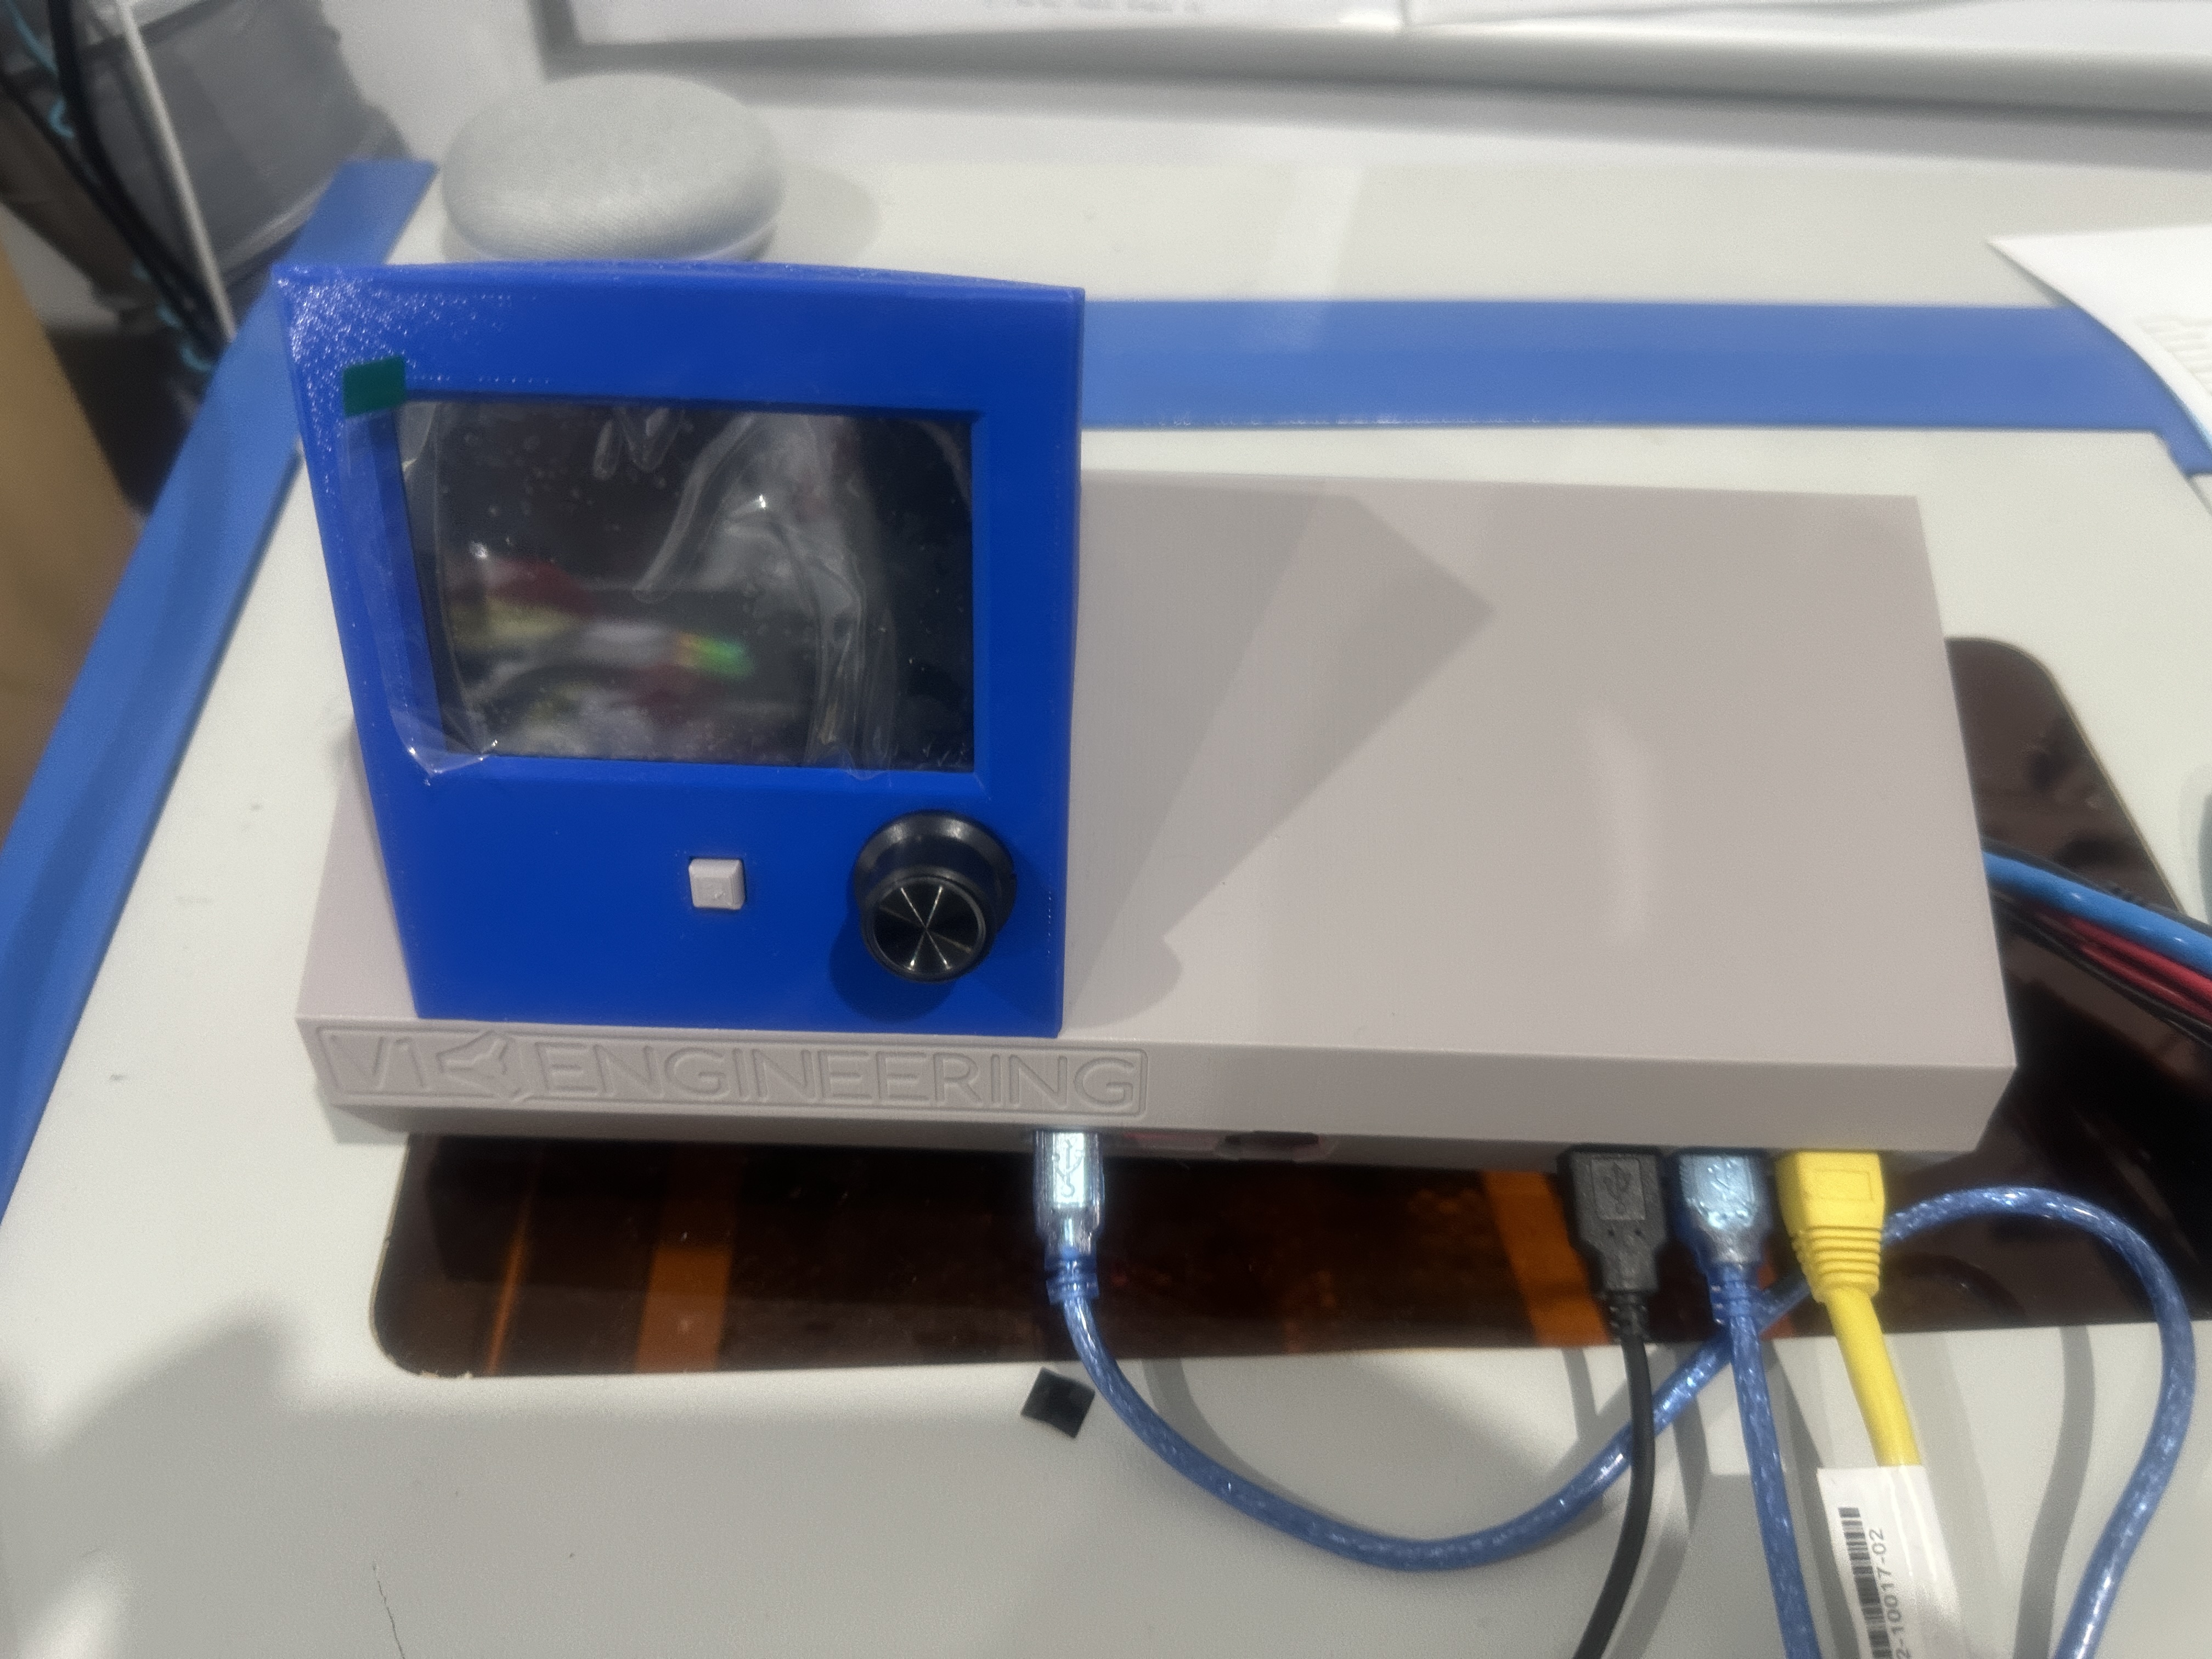
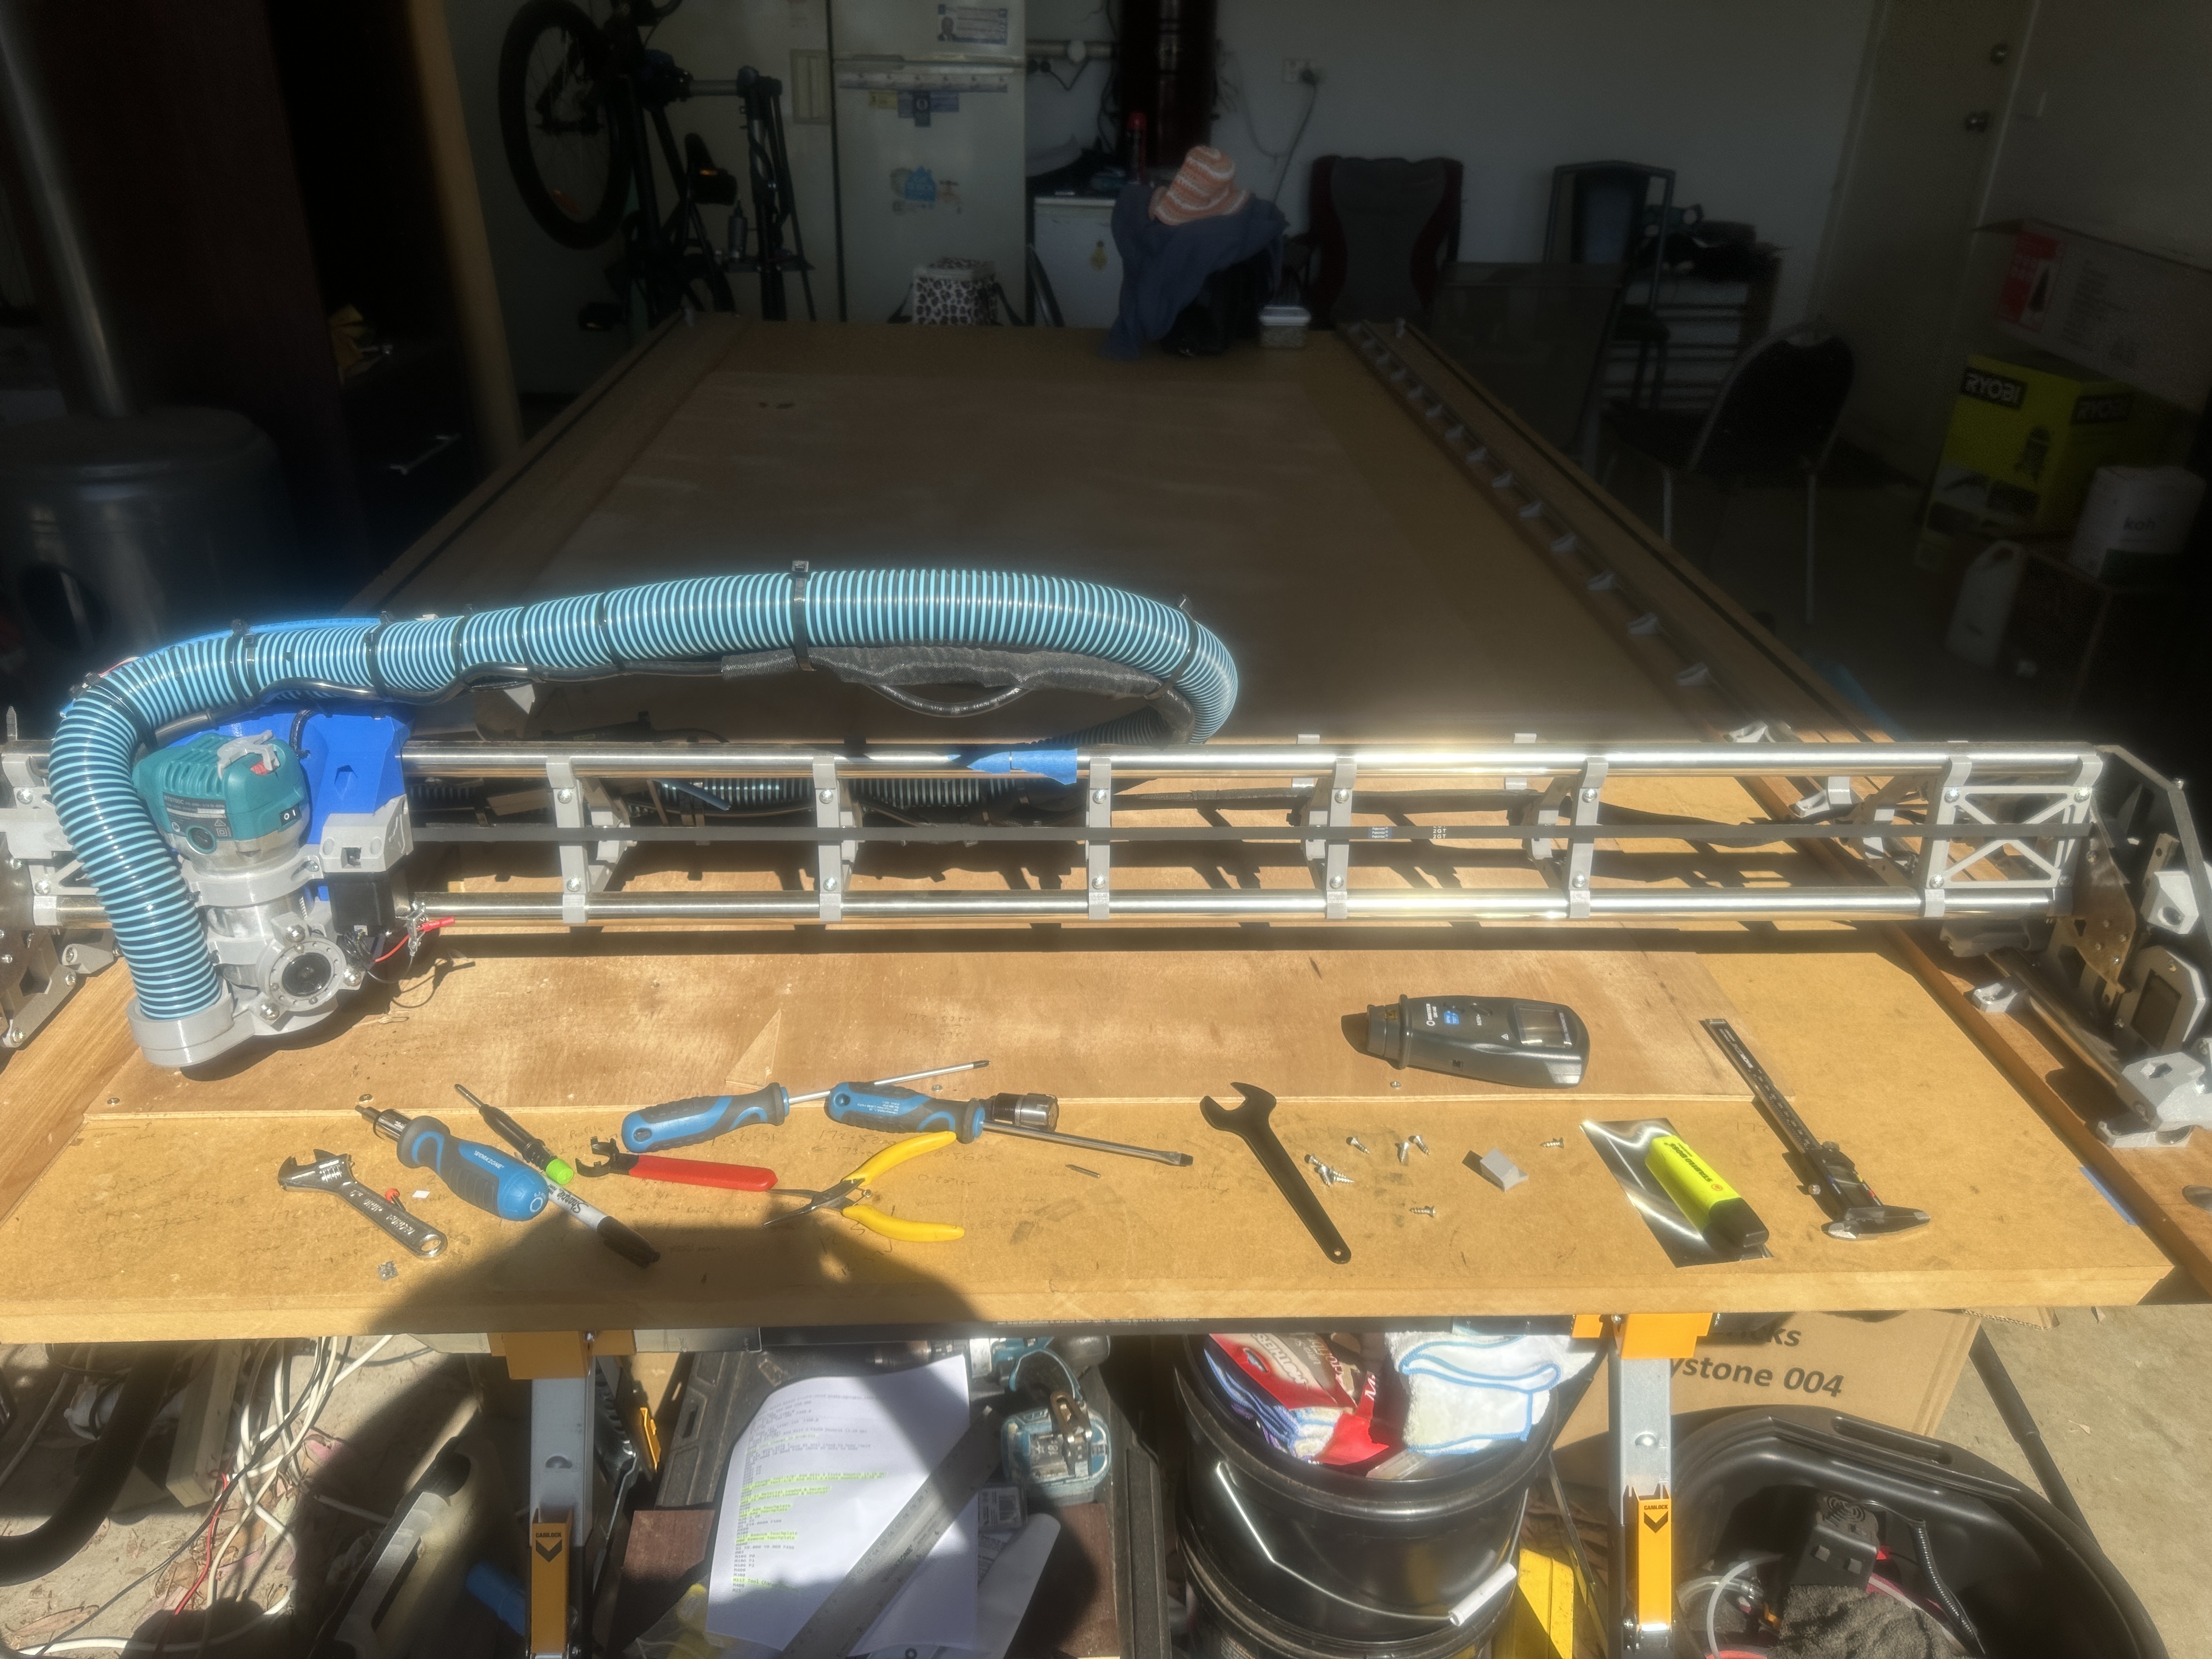
My controller (skr pro) is currently a mess lol, wires everywhere!
I have another skr pro in my test lab which is also connected to rpi. Once the struts are printed I was going to transfer this to the lowrider. As the skr pro in there now is just to get it going for now.
Still it’s the same skr pro v1.2. But just wanted one for a test bench for testing purposes, who knows might build another lowrider in future lol
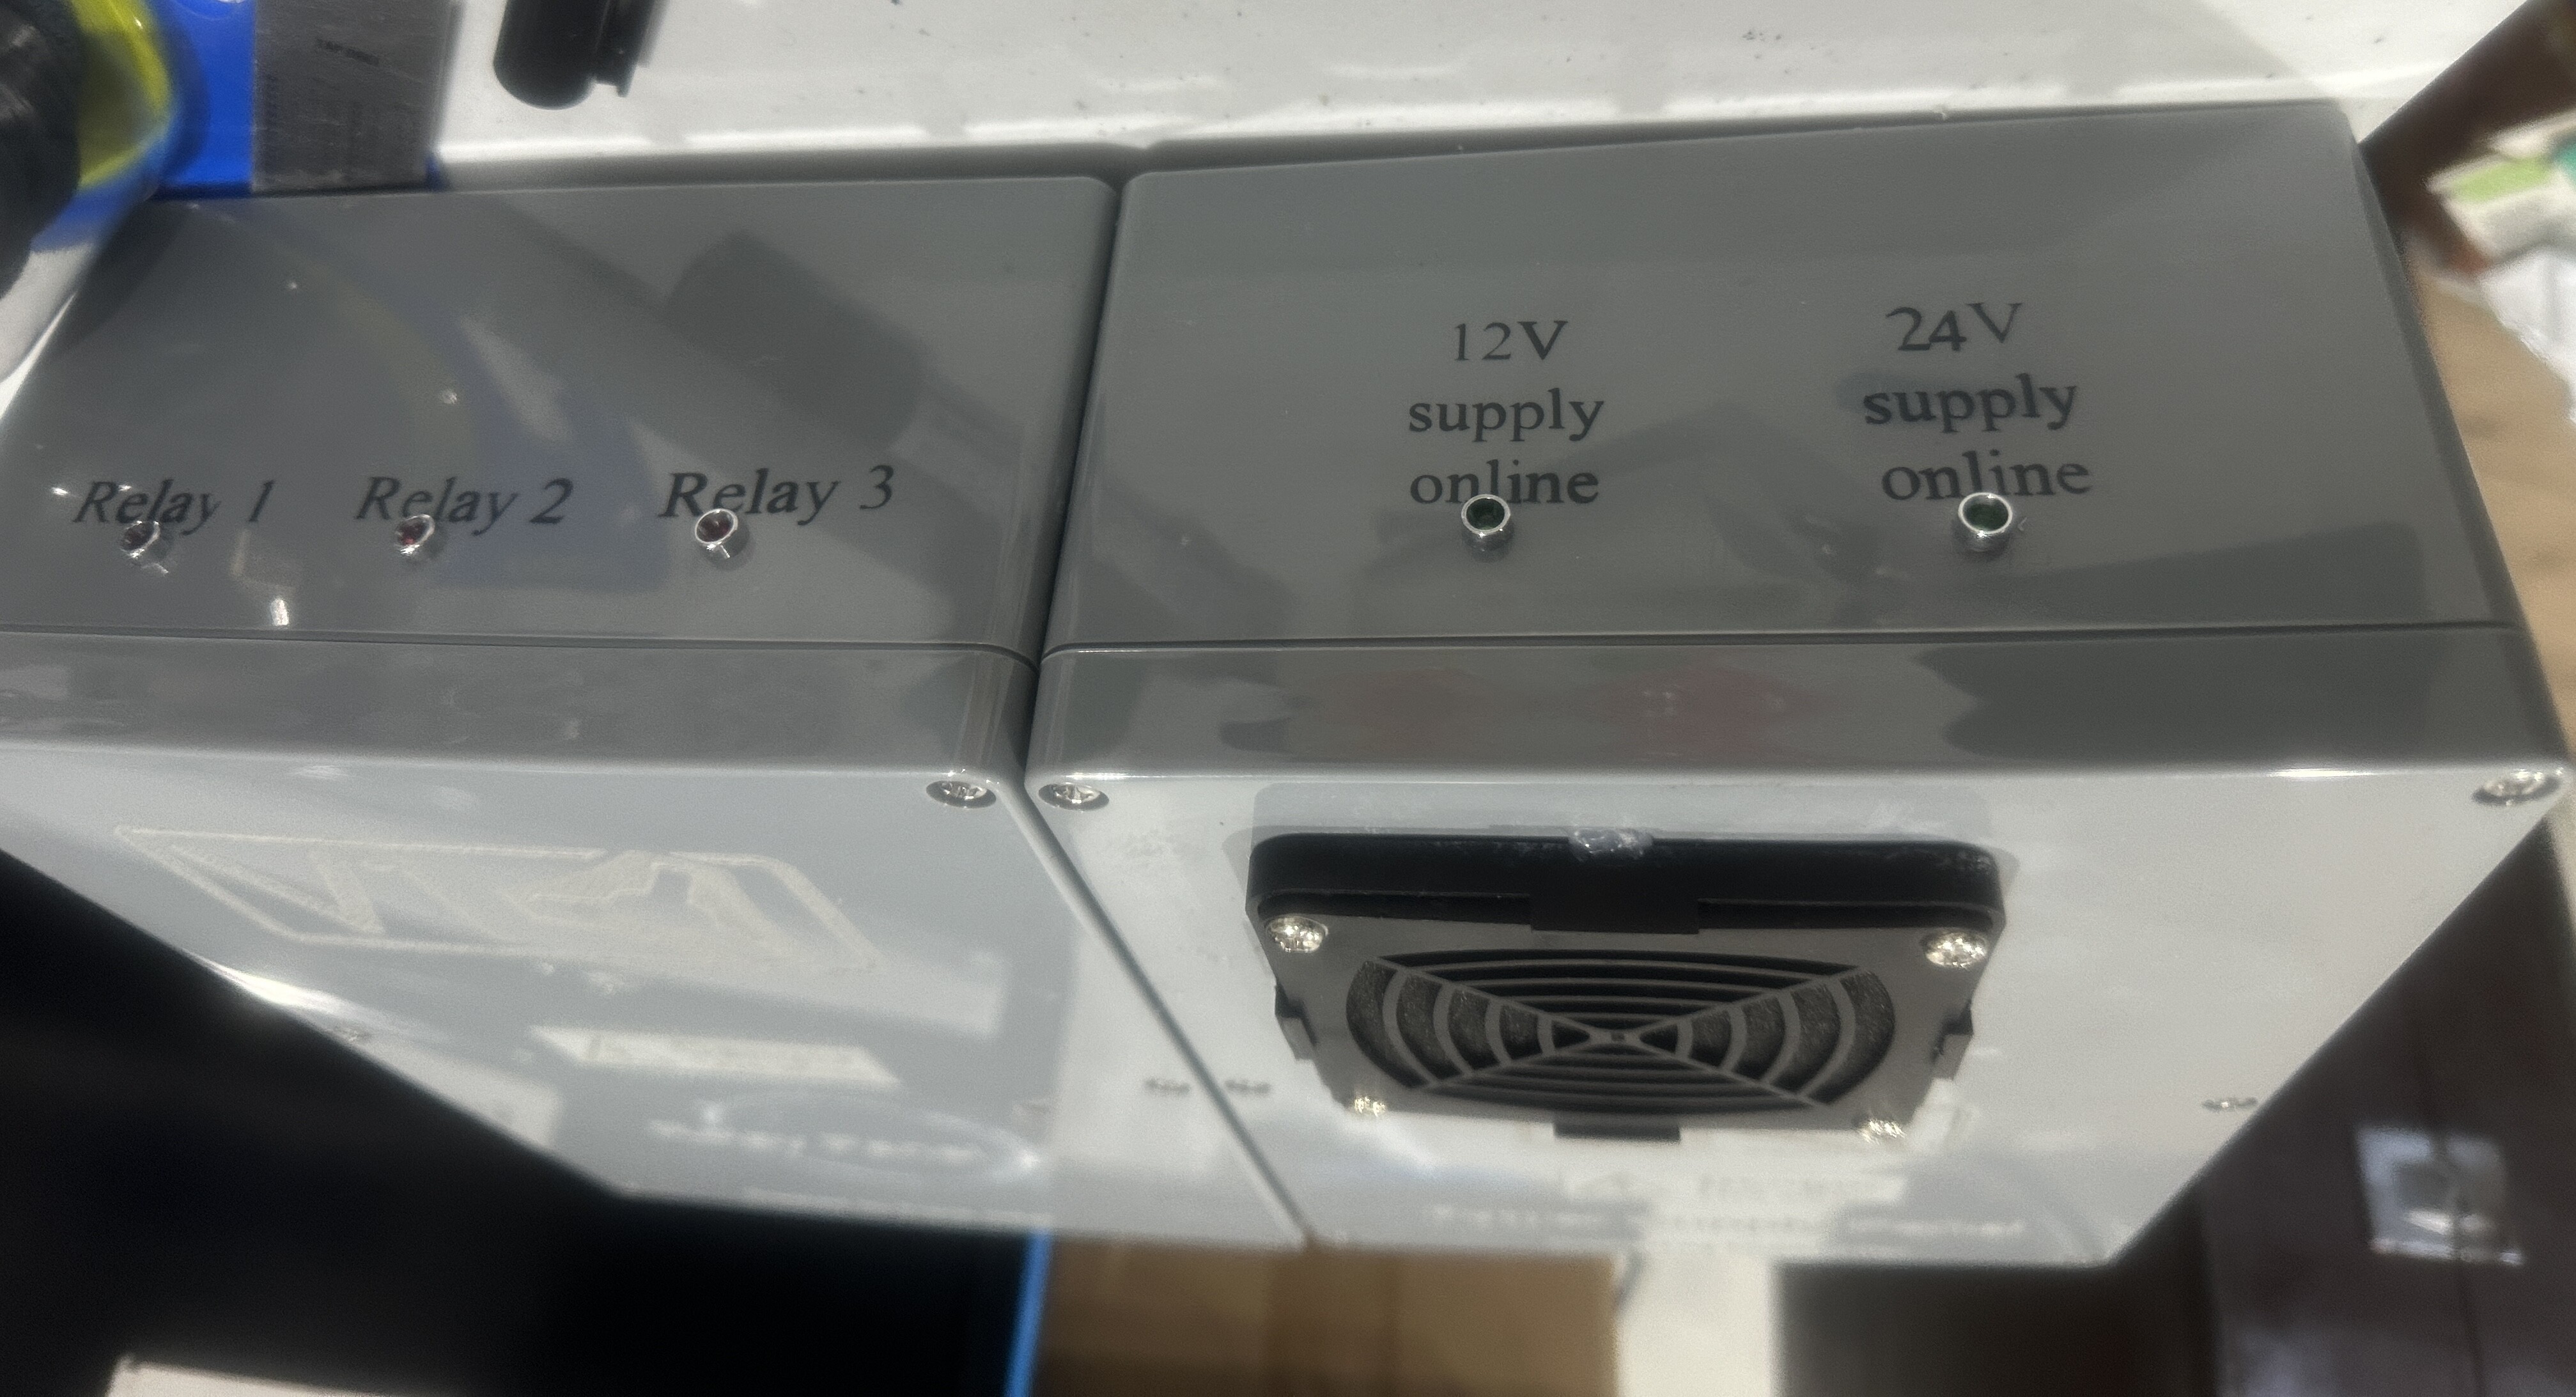
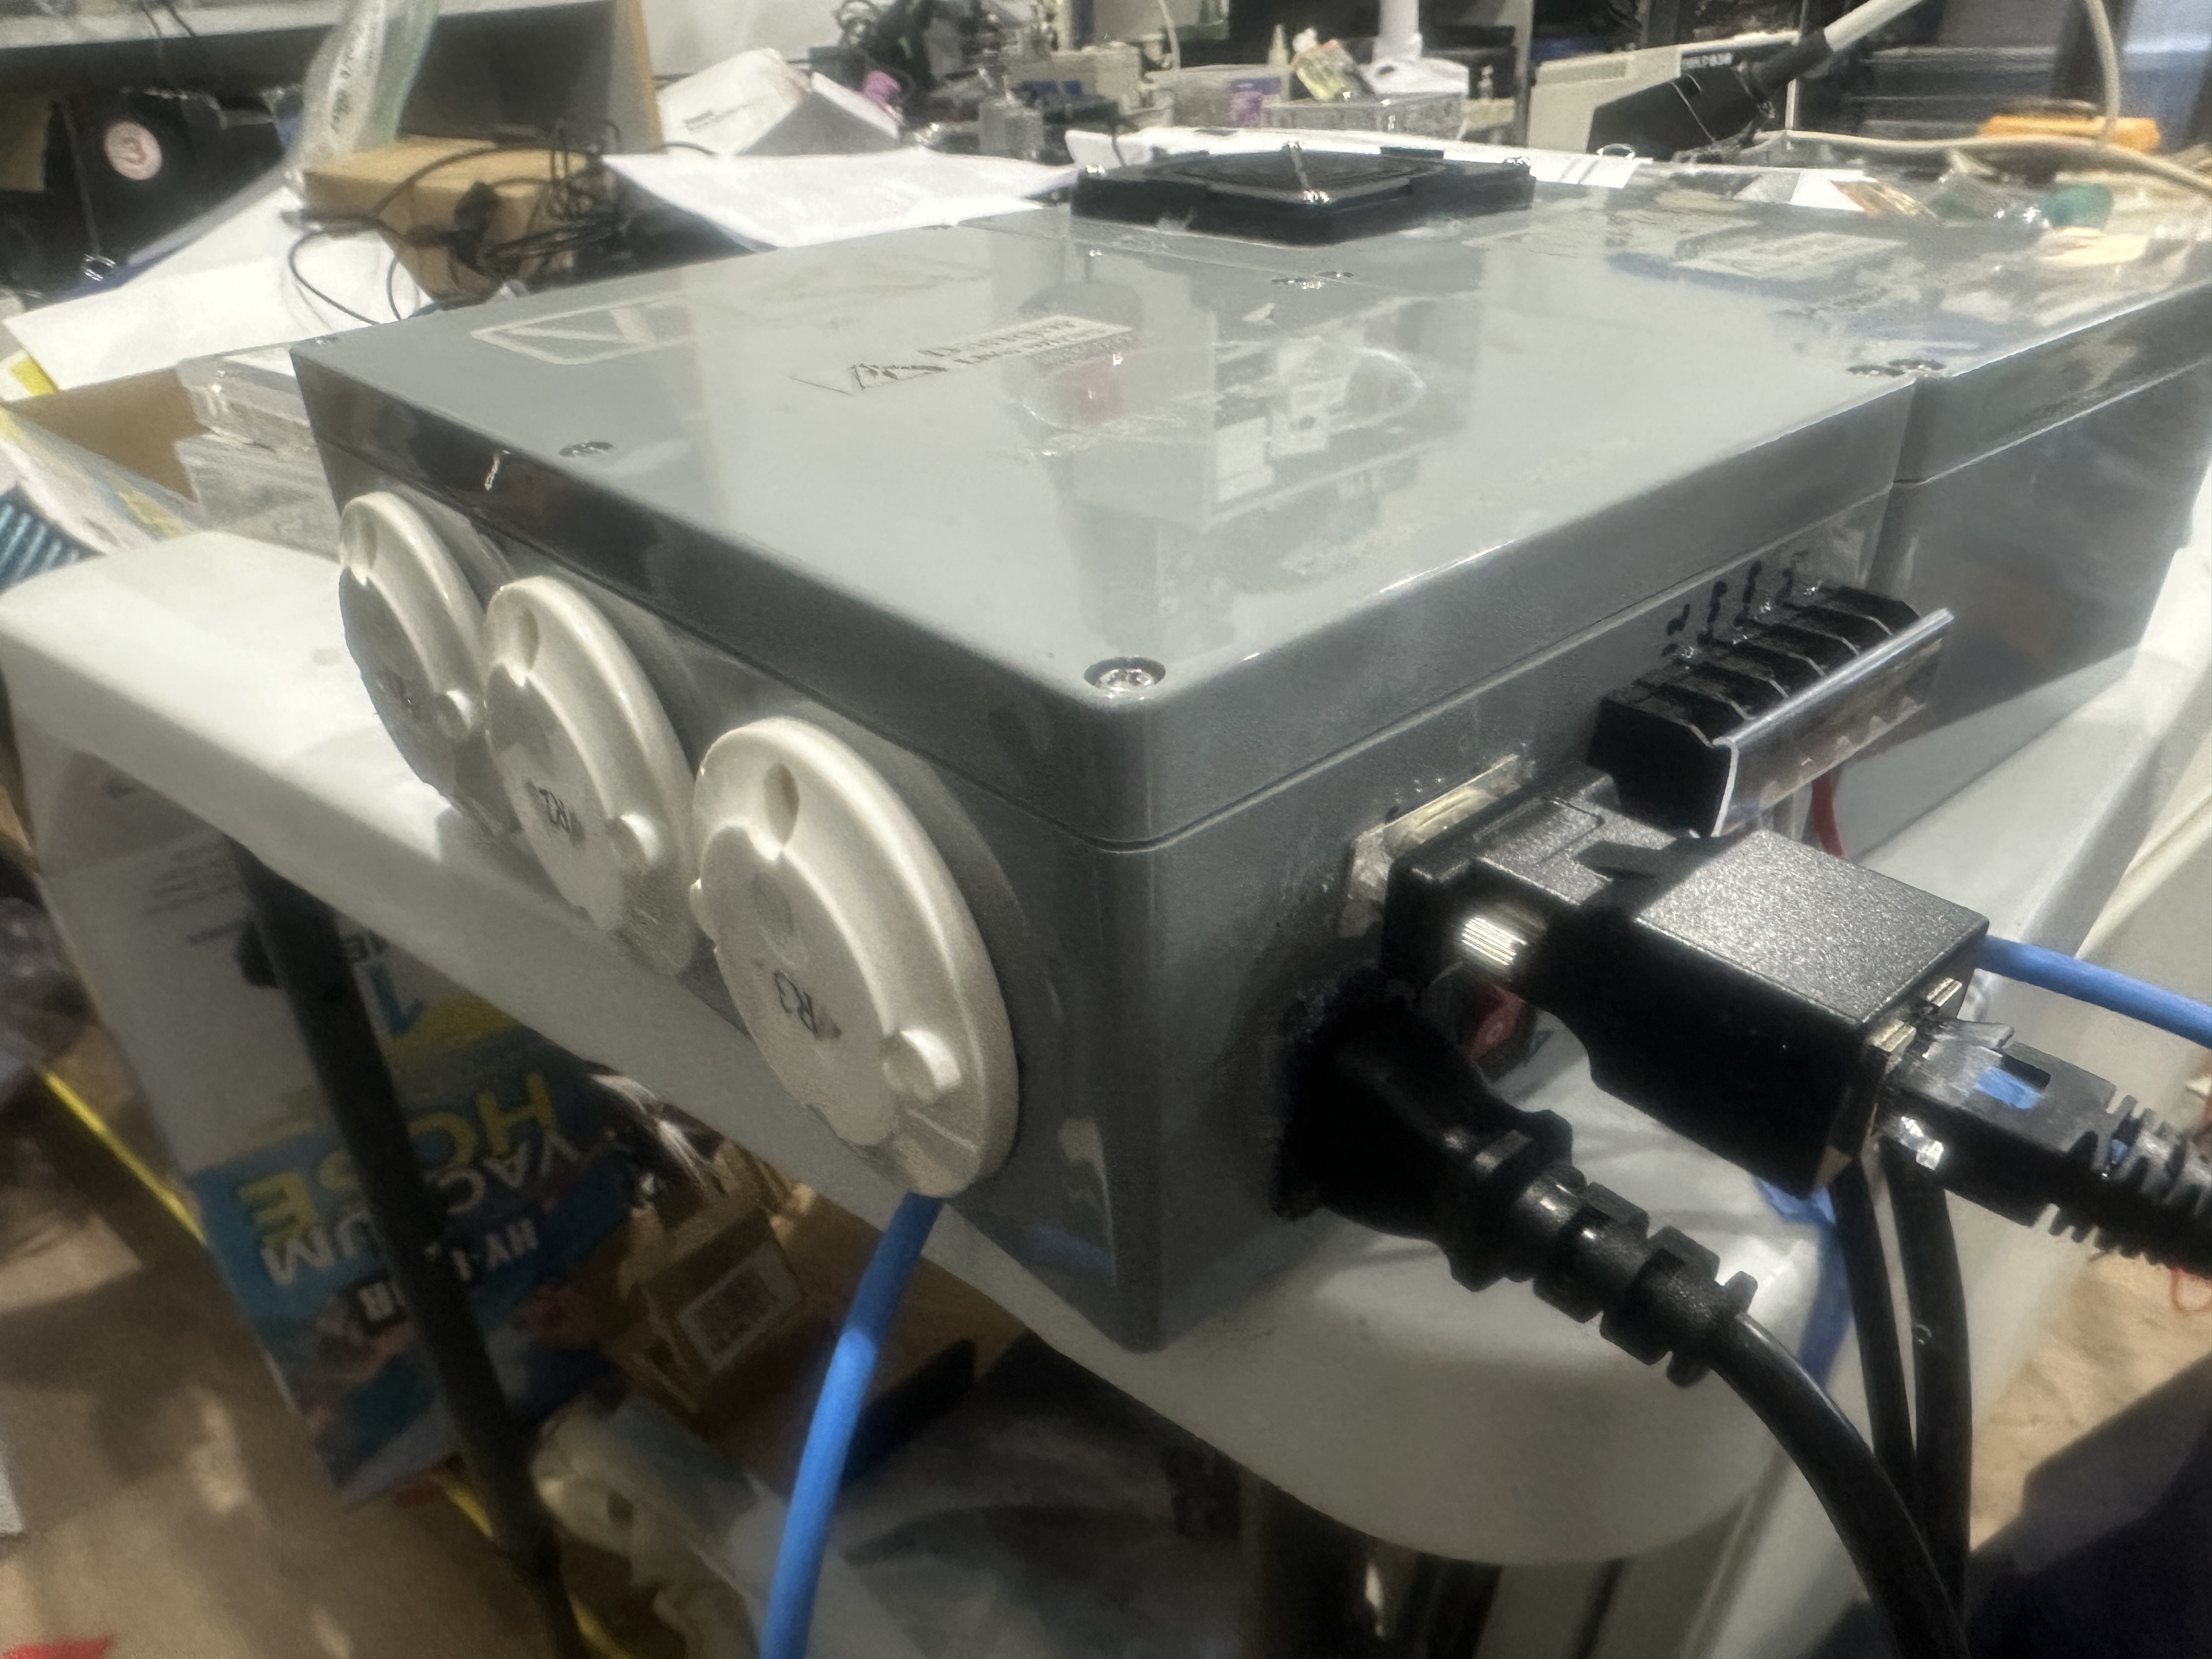
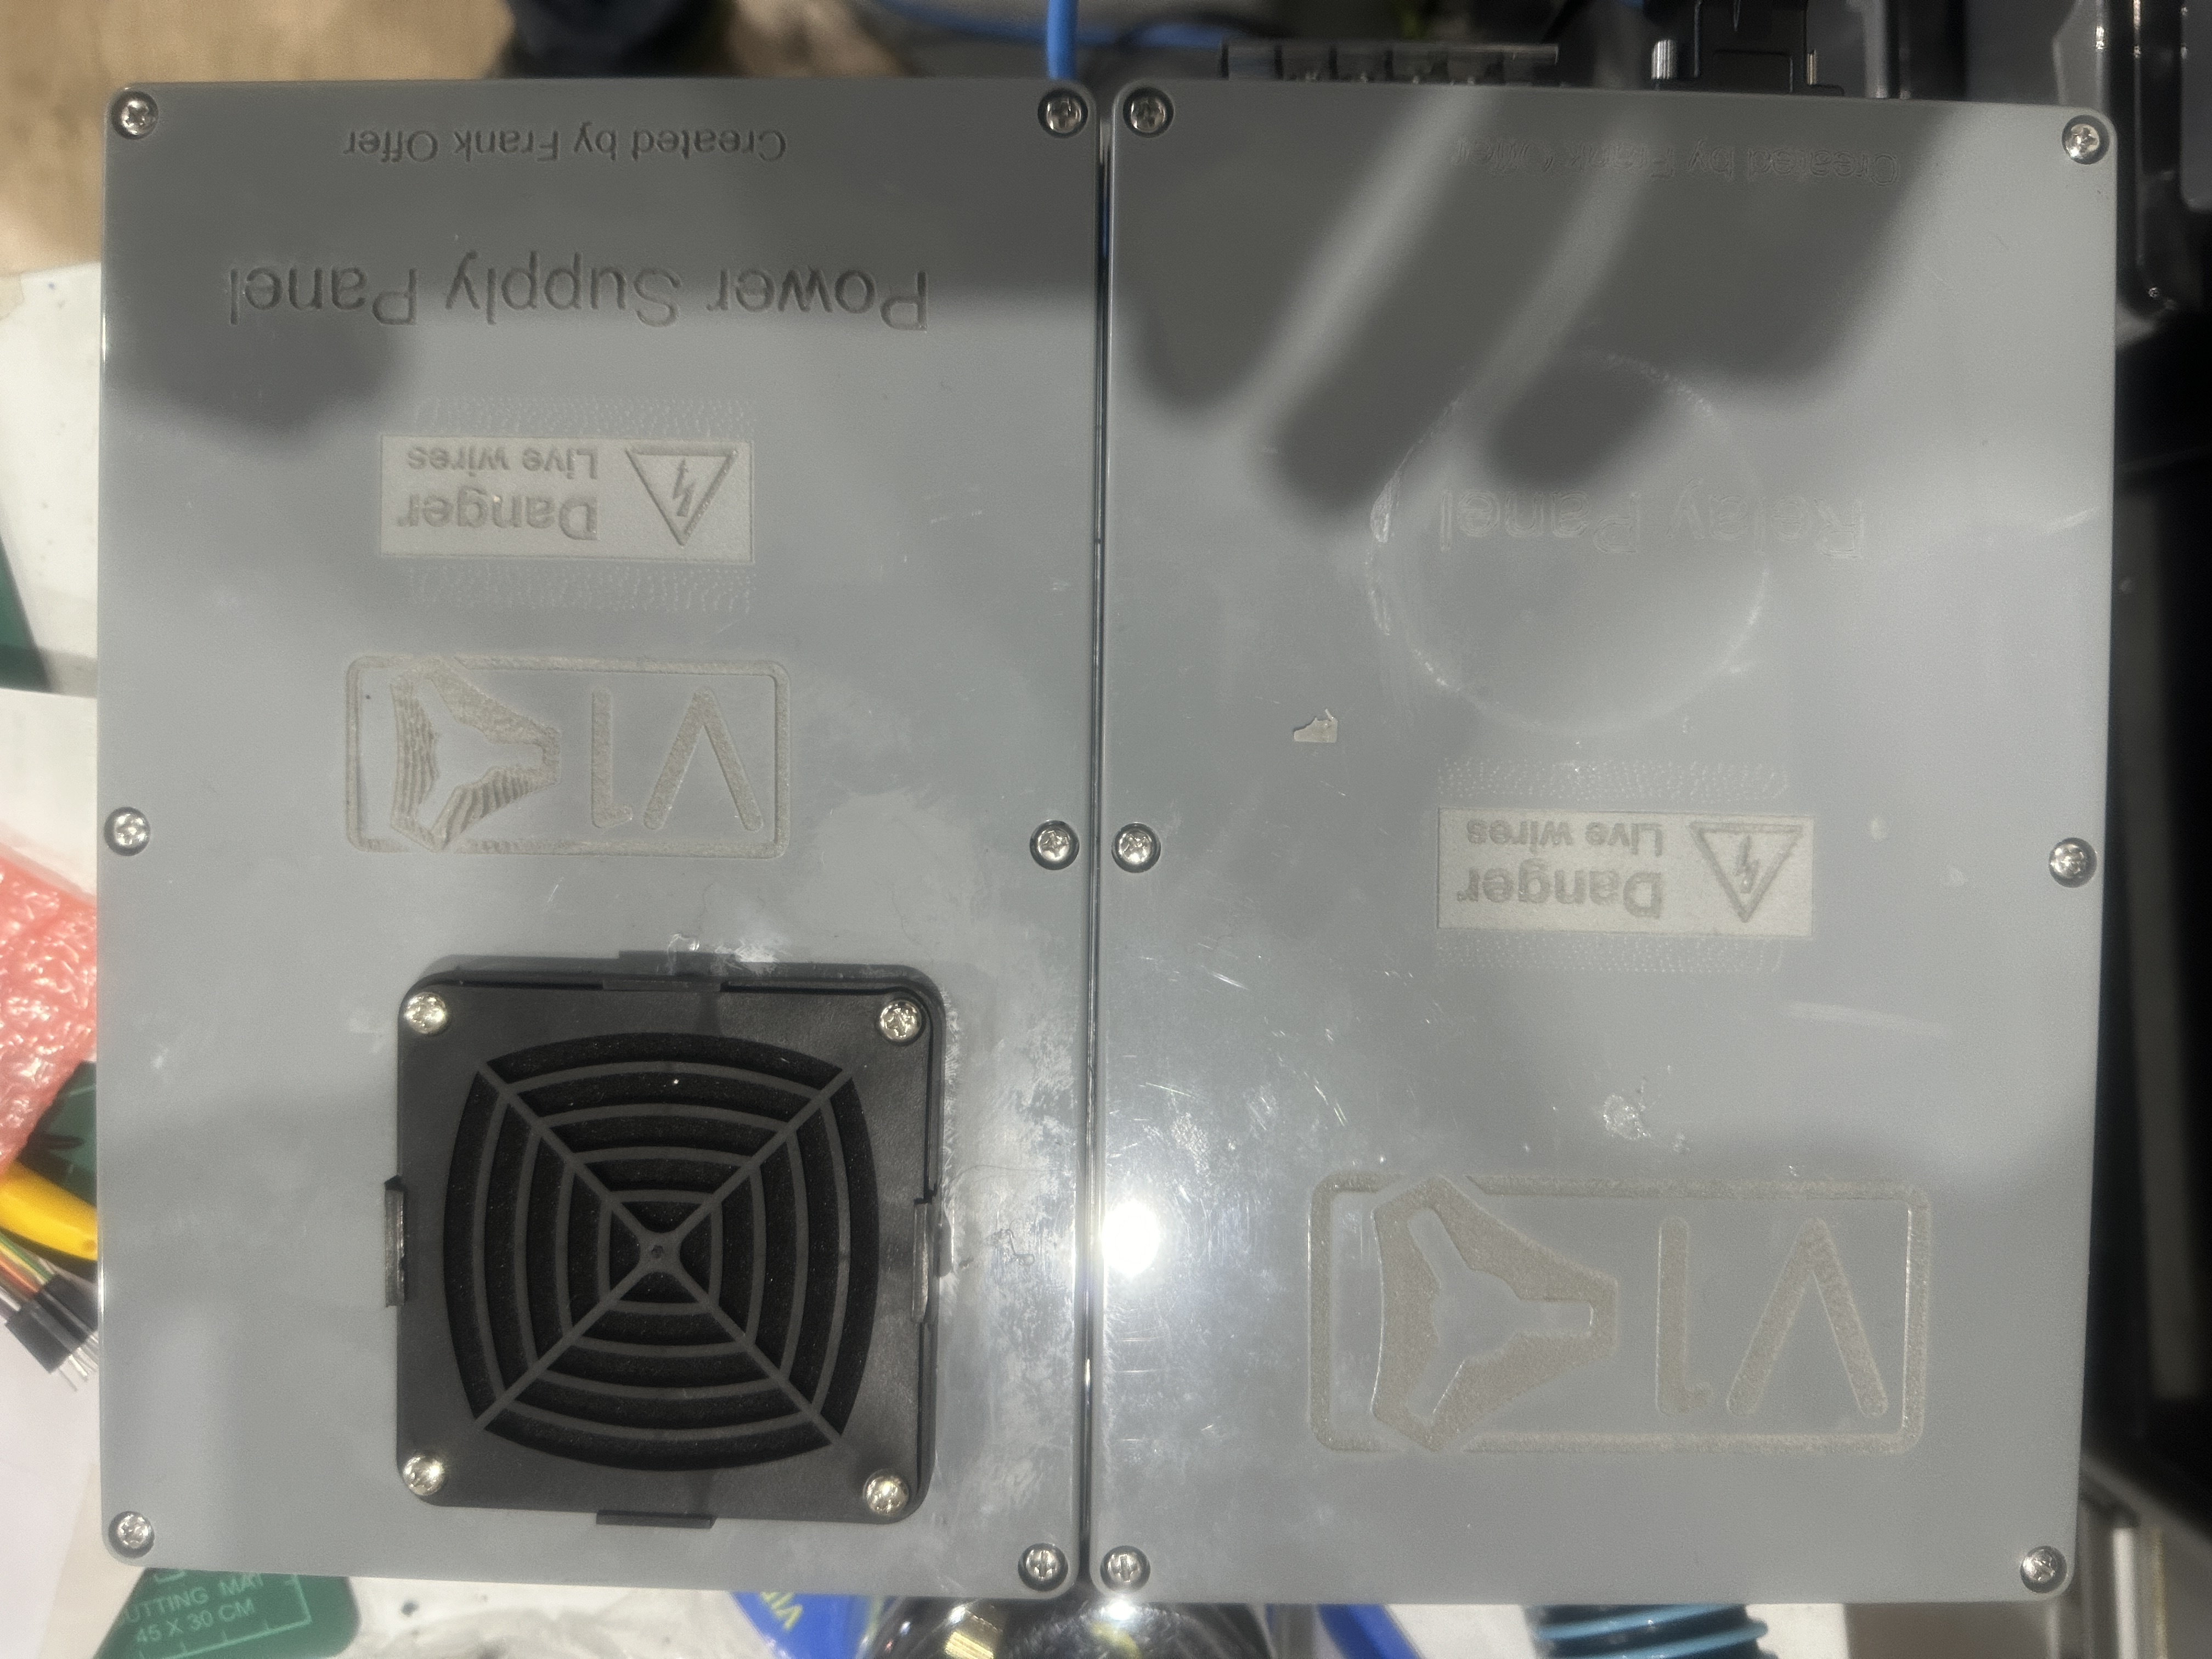
The test bench skr pro, I have it wired to another control board which turns on relays, with dual supplies, etc. but wanted to get the one in the lowrider going first before I go to advanced mode lol
Here is a pic of my test bench skr pro, which will eventually replace my current setup once the struts are done.
I was using the marlin test5 pp on vectric,
I did do some editing on that which controlled my relays etc.
air cutting seemed to function fine.
Also in regards to the extension collet, this was only temporarily to cut the struts.
As I plan on adding another bed on top of mine as currently I don’t have the reach on my setup.
The extension was purely just to cut the struts out for now.
Then once I install the bed i will then have the reach and won’t need the extension collet.
This was going to be my question. Though I haven’t used a v1 machine yet, I do use vectric. All your settings look good in vectric, so I would look to the PP that you were using. I’m not real good at understanding gcode, and though your movement code looks to be on, there is a lot at the beginning that could be making something not right. I am more used to GRBL, and I know Marlin can have some weird stuff in it, but I don’t know.
Of all things, I would follow what @vicious1 is saying and start from the beginning.
I use GRBL and vcarve pro on my primo and it works great will be changing to the new controller soon and se how it goes but I don’t really like marlinf so won’t be going there but it is not the issue here at all many people use it here without issues. But his mods may have changed something but the air cuts sould be bad also if the gcode was wrong
The only thing i can think of is maybe my bed is way out, intially during the drilling, it had a clearance plane of 2mm which did hit the surface when it moved to drill. Hence why i changed clearance to 30mm.
Maybe this is the issue why its drilling deeper? as where im probing (HOME (Xmin/Ymin) maybe a low point from approx 100mm towards Ymax and 100mm towards Xmax? But when i sit a spirit level on the bed its all reasonably level which throws me out?
Ok I think that is the problem. Xmin/Ymin is lower approx 6mm from roughly the centre of the sheet.
It sinks down approx 6mm about 200mm towards Xmax.
So I’m gonna try probe Z where it’s level. And see if that’s the issue
@Ryan so I used upcut bit, set Makita on 1 and it seems like it’s struggling to cut plywood.
Does this need to be set higher on Makita?
I found the downcut was cutting nicer except for the depth issue which I think I may have found the cause as per my last post.
It struggled and pretty much seized in one spot.
I’m going to get rid of the collet extension as I think that’s just another variable.
So will need to add another bed as per my plan to get height
Are your legs the same lengths? Mayne one didn’t get seated to the same depth? I hade one move when i plunged without the router on and pushed the whole x y o ut of alignment. Not sure how that would happen to a lowrider
Legs?
I know mine sometimes is temperamental.
Like if I sometimes click home on the tft. It plunges down all the way, popping the leadscrew nuts.
Not sure why it does it only sometimes, most times if I click home it does what it should. Guessing some sort of bug in the firmware.