Wobbly Core? (build in process)

Maybe it’s the accuracy of my printed parts, but I feel whenever I follow instructions of the documentation, parts always feel loose, and I have to be tighten everything a bit too much, which I knew it’s not recommended.

(video for proof)

The rattling is just…, doesn’t look good, and I don’t want to just overtighten everything, hoping it will solve itself.

Two things I’ve done that aren’t stock, one is to add washers (I didn’t add washers in the places that would mess up tolerances, like between bearings and my parts are 95% infill, everything else is as stock as possible.

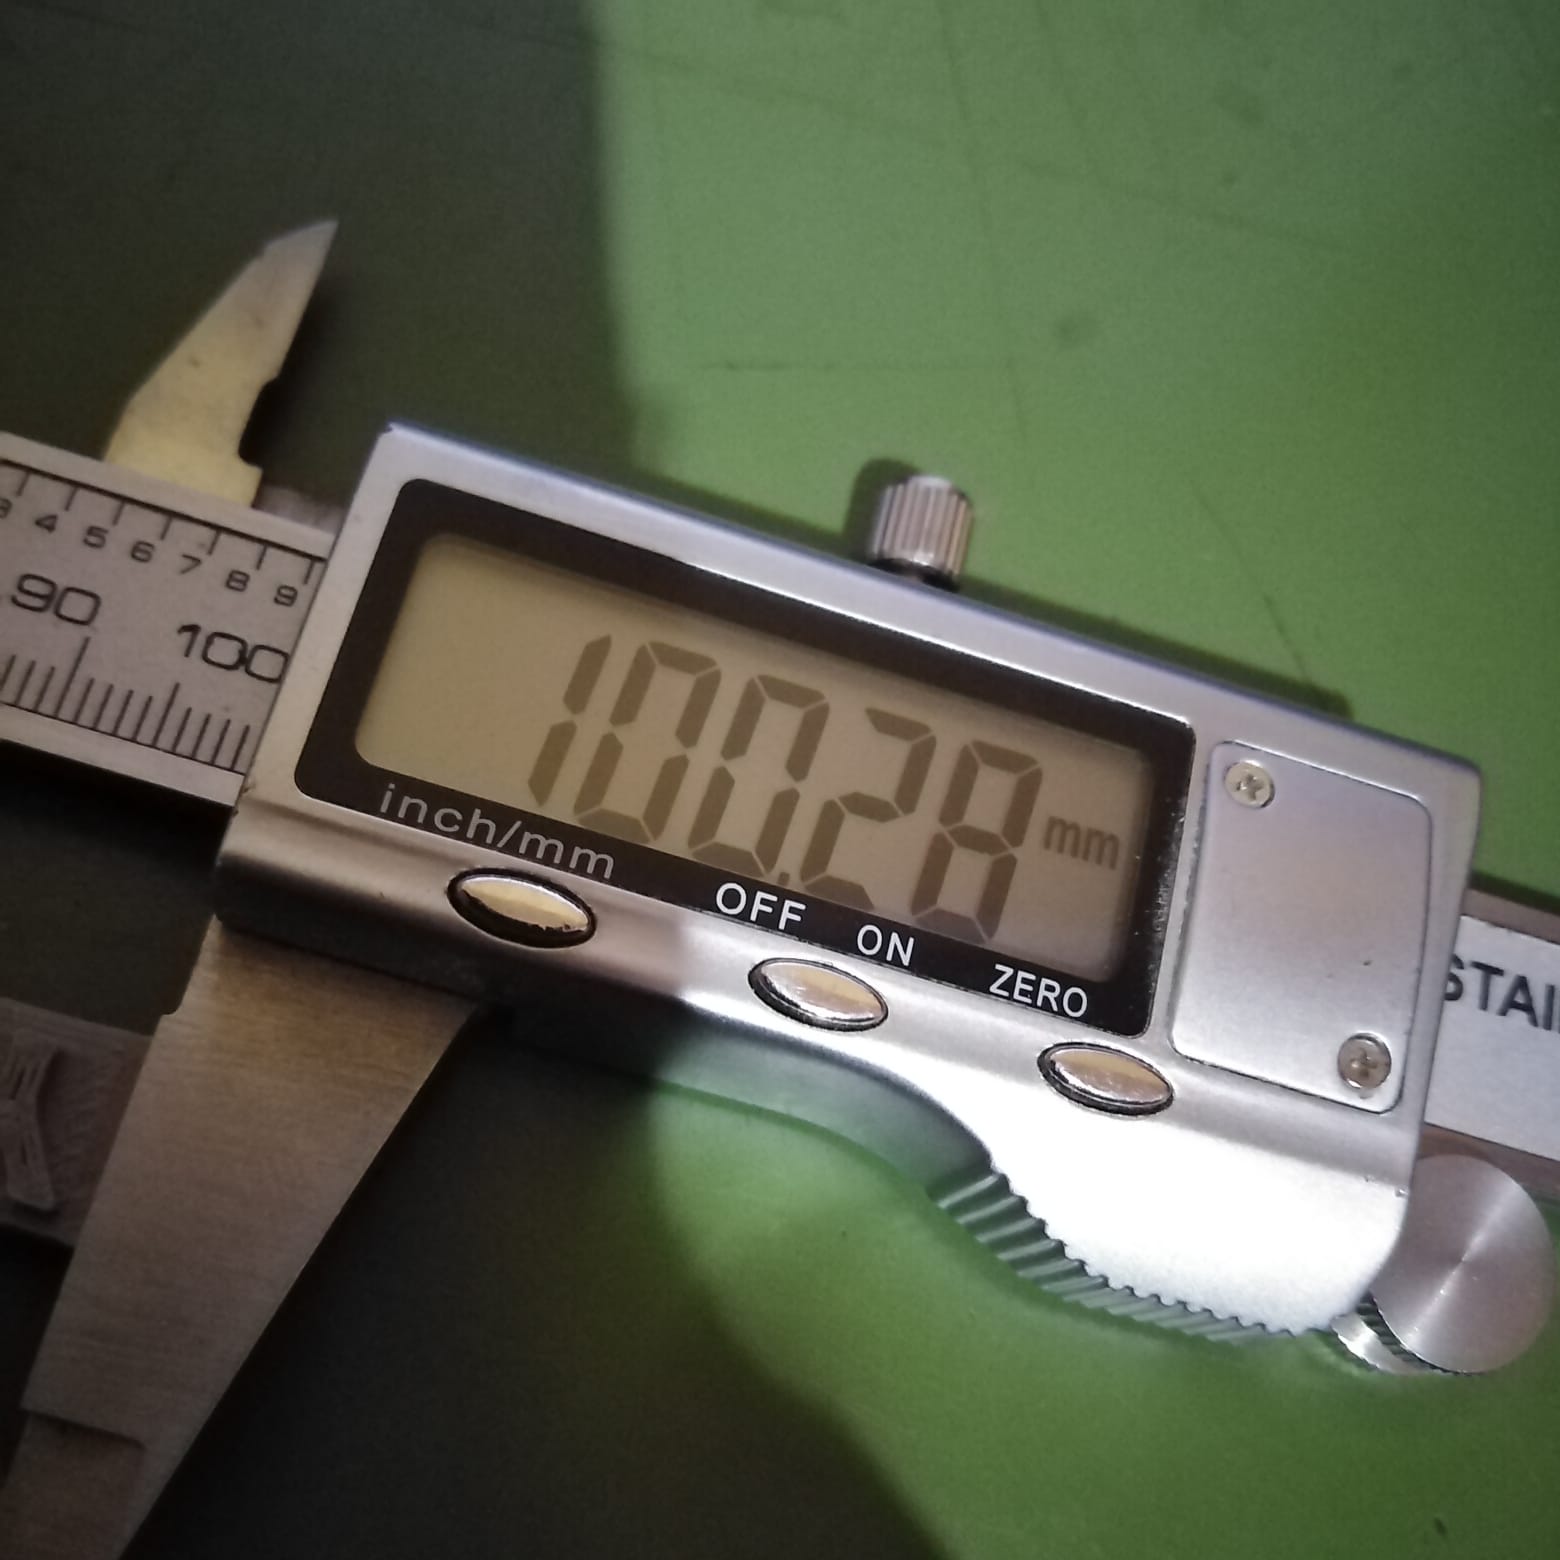
Any guess?, is this normal?, would this create some backslash on the spindle?, it can also tilt a little bit, which would mess up accuracy I guess.

Trucks and the corners are amazing btw

(the leg corners kinda needed too much bolt pressure to grab the steel tube)

Measure your conduit. It that is spot on ±0.2mm than your printer needs calibration. The feet should be very snug and kinda don’t even need a screw. I am starting with the feet because there is nothing you can do wrong there. Either it is the print of the rail. Conduit is way more accurate than most expect, I have not seen a case of bad conduit, only completely the wrong size.

Already measured conduit, it’s spot on.

Darn, reprinting everything is a pain…

edit: I don’t feel like reprinting everything, the corners work perfectly, the trucks are a bit loose on the rails, so I might reprint them.

and I might cheat the core by either calibrating the printer or printing a SLIGHTLY undersized core clamp, this whole drive in the middle bearing closer into the rail, this is off by about 1mm

Fix your printer. not fitting is one thing, crooked is a whole other can of worms. Lots of good calibration prints out there.

doing that as we speak

1 Like

oh btw, I meant undersized core CLAMPS, not the core itself, but yes, I’m just trying to save the core I currently have, and maybe replace it when I’m planning some upgrades later on.

doing the calibrations right now, the cube measures 30.3 instead of 30, doing a 100mm calibration to have a clearer idea

Skew and XZ YZ tilt are just as important.

This is an excellent print and calibration for fixing skew issues


Found a simple calibration tool just to see if my printer was too skewed.

A 0.02 difference on the diagonals shouldn’t make my core clamp be 0.5mm off target, another calibration tool would give more information, but at least its not a huge margin.

I’m printing another clamp as we speak and I’ll se if it fits, maybe something happened when I printed that clamp a few months ago.

call me a trickster, a wizard, or a fool; but I’ve done it.

following calibration tools, it shows that my printer is calibrated (at least in bed skew), most measurements are below the 0.5% error (which could even be attributed to bad PA settings because my edges have some blobs on them).

there is a chance the core got some under-extrusions due to lack of flow of the hotend (previous testing shows my printer has trouble with most flow settings, need an upgrade, I’ll most likely upgrade the whole toolhead)

or wathever I had…, I decided to try something.

I printed a core clamp in 99% size, and it was still a loose fit, but the fit was better, second part was printed at 97.5% size and it’s a perfect fit, the core hole and the clamp hole where misaligned by…, 1mm maybe?, it was very small, the bolt went in without much trouble, and that lil clamping pressure was enough to drive the bearing “into” the rail, and make a snug fit, now without the nuts, the rail moves perfectly as the documentation suggests.

I’m not sure if this same trick would work on the trucks that feel slightly loose as well, I’ll just move forward in the build, then replace parts with an upgraded printer if I see a problem in my cuts.

I also printed at 40% infill, to add a little more flexibility (previous ones used 95% infill) and avoid breaking the clamp (more rigidity would mean directing the force tot he weakest part, which is the part facing away from the core), now nuts don’t need to be tightened as much, I’ll inform you all if this breaks xd’

(also, with only ONE clamp added, the Y gantry literally has 0 wobble, X gantry remains the same)

All the rail parts are an interference fit, so the fact that you are still going lower is proving something about your setup is not correct. Are you using the 25.4mm set instead fo the 25mm set or something??

You can keep shrinking parts you are going to get a cascading error where all parts are going to need top be printed and tested and reprinted. …namely the core. If that is not right you are going to hit the screw heads or have a super tilt on your router.

print a test object as large as your printer volume, a least 150x150x150mm and see how that looks. 10-30mm does not help much.

I promise it is best to print the parts as designed or you are just going to run into issues everywhere and each time we are going to suggest reprinting.

1 Like

Using the F, which is 25mm.

Used a 100mm calibration, measured around 100.2 (will re-check), no bed skew, at least not enough for my digital caliper to register it.

I will design a larger calibration tool and double check my conduit

Check your parts to make sure you are actually using the F parts with your F rails.

All the numbers you are stating are showing you have perfect rails and your printed parts are showing as some of the most accurate I have seen, more accurate than mine even.

These MPCNC parts have been out for a very long time and this is not an issue so something is missing here. As I already said, The clamps are all interference fits, one of the things you have measured is most certainly not perfect or the clamps would be tight even without screws.

The only other thing I can possibly think of is your slicer has some sort of hole compensation or scaling on. These parts have been printed a thousand and thousands of time all over the world and if you search through the forums this is not an issue that has come up before.

Interference fit.

Sorry I missed this statement. The washer have 1000% messed up your machine. All my parts have integrated washers. The parts that do not have them are parts that should not have them because they are for adding tension.

Take out your washers.

they have the F stamped and I’m taking them from the .rar, so I didn’t mess that up (Unless I’m beyond stupid)

btw, my washers are only for the bolt head and the locknuts, they aren’t on any bearing to mess up geometry, I’ll remove them on some parts and comment on it.

Rechecking everything, my rails are slightly off, maybe I didn’t check them with the digital caliper

They average 24.85

I could replace these and find more accurate conduit


X axis for 100mm calibration


Y axis for 100mm calibration

(I was actually surprised btw)

That should be fine.

Both of those are good.

How tall is your core?

I was fighting a loose core not too long ago. I thought I had a tuned printer but in the end. I back tracked and first tuned the flow rate then a few repetitions of the V1 test print then a few iterations of the Calilanterns. When I reprinted the core everything went together as expected, with no noticeable movement.

Tuning matters

1 Like

139.99mm

my printer doesn’t have the best flow, apparently the stock hotend struggles with lots of stuff, I want to revamp the whole toolhead, but I don’t personally feel inclined into doing so and delay my CNC projects for so long.

(and I can’t buy one from V1 store, because over here in Chile with shipping it goes for around 120usd to just purchasing the core, and asking someone around here to print it could end up with the same result I currently have)