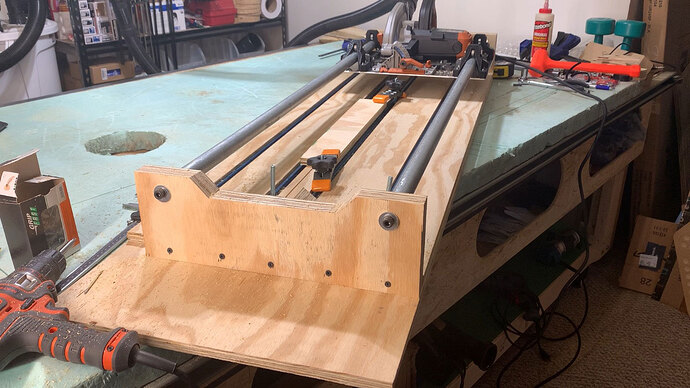
This thread is to chronicle my build / my take on the panel saw I first mentioned over here:
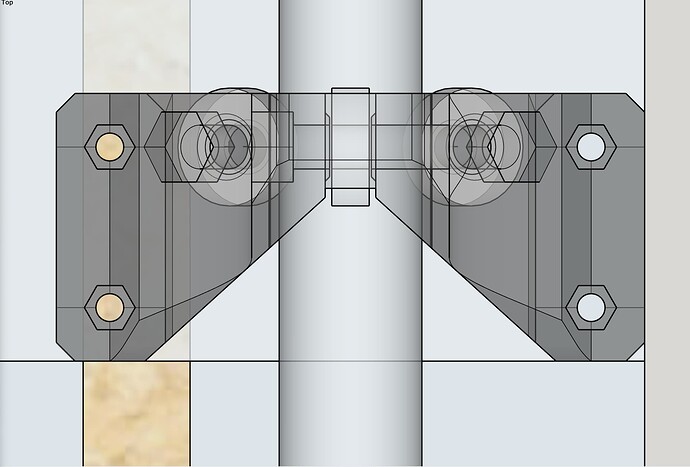
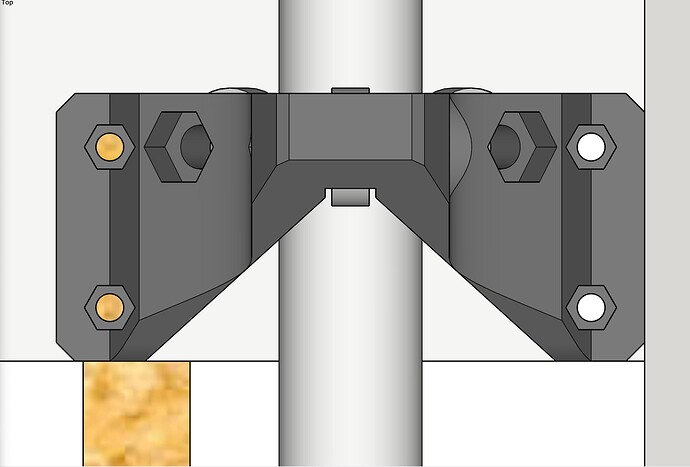
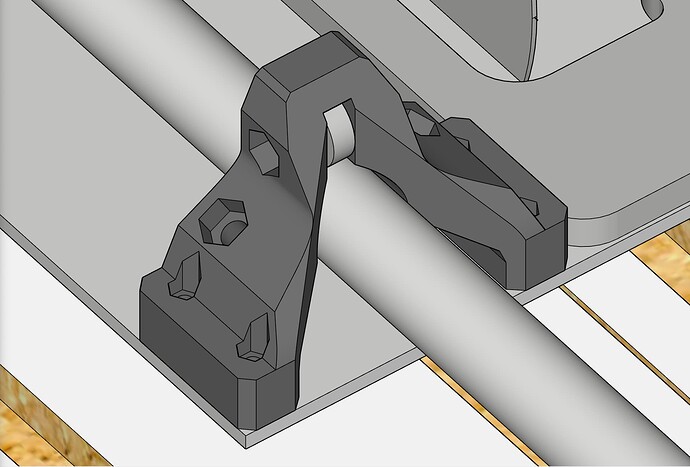
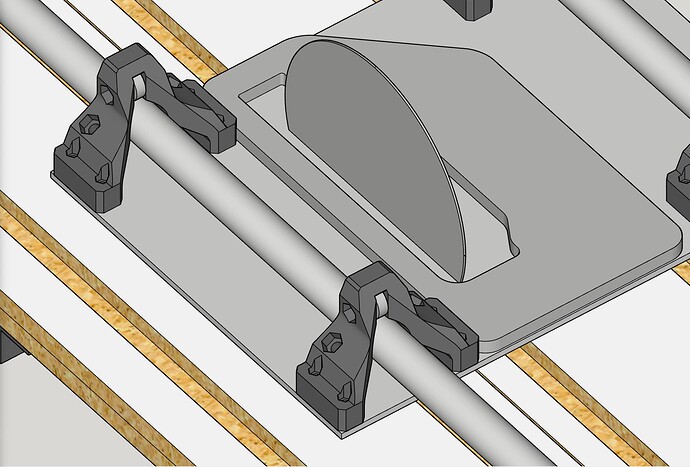
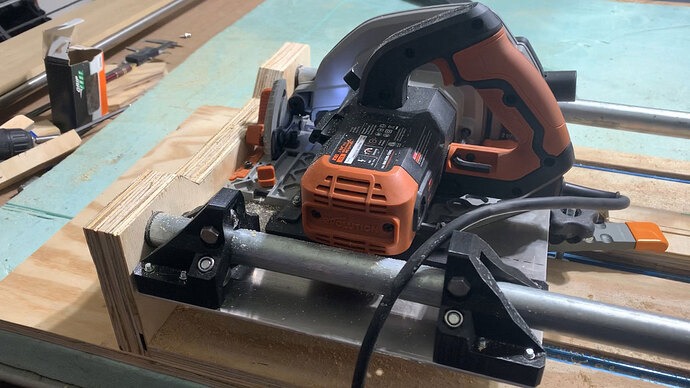
My new X mounts (which will really be Z mounts in this project) are inspired by the LowRider 2 X mounts, although I modeled mine from scratch, and went through quite a few iterations. Mine have capture slots to hold the nylock nuts.
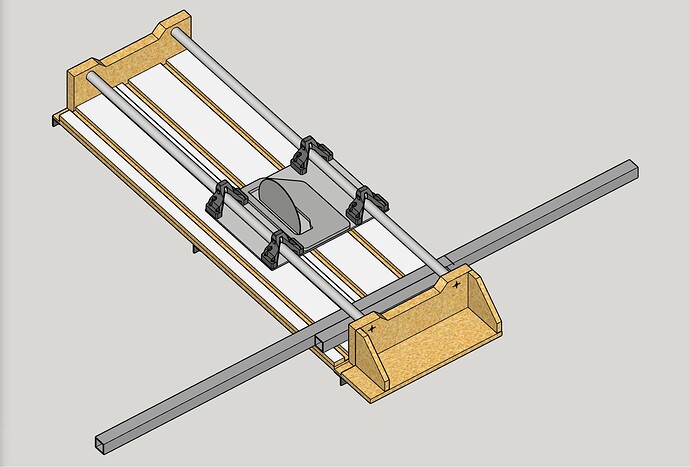
Here are snapshots from my SketchUp Pro modeling.
You might consider spacing the rails far enough apart that you can rotate the saw so the blade is perpendicular. You can use it for ripping and cross-cutting that way.
I made my sled extra wide so that I’d have room to tilt it to a full 45° That neede a bit of extra room between the rails, since the body of the circular saw needs to tilt in there.
@SupraGuy good tip! Will check if I have enough width.
@ttraband Can you help me understand how that would work? I’m not sure I’m following you.
My plan is for a throat length / opening of 49” and if any wood is short enough in width or length it could be either rip cut or cross cut. That would depend on rotating the wood not the saw, so I’m not following your tip yet.
I think the rip cut mode is the kind that made radial arm saws get a reputation for being super dangerous. The kick back can be pretty bad. The panel saws at home Depot can do that, but the sheet is supposed to stay put (and be clamped) and the operator moves the saw (so a kickback wouldn’t put their fingers into the blade).
Thanks. This saw will have wood clamped down, and the saw would move as opposed to wood moving
I have enough width for the saw to tilt for 45 degree cuts, but still need more width because there is not quite enough room for the saw motor housing to fit on normal straight cuts. More soon.
Sorry Doug. That was a response to Tom’s suggestion to flip the saw 90 and let it make rip cuts. I think your rig isn’t any more dangerous than any other DIY saw (and it looks really sharp).
Thanks for sharing. This project looks like a lot of fun.
Yes, and I had most of the supplies already in hand! I did order a new saw for it!
I don’t think I’m understanding this either. If the blade is perpendicular to the rails then the carriage can’t slide along the rails. I suppose if you could lock the carriage in place then you could send long stock through sideways by moving the stock, like an inverted table saw.
That’s exactly the technique. If the saw is only intended for 4’ x 4’ pieces, my suggestion doesn’t buy you anything, but if you can rotate the saw and lock it in position, you can take a slice of an 8’ long sheet by sliding the sheet through the saw frame. The panel saws I’ve used have had this capability and it works well.
I’ve seen DIY examples that mount the saw in a square cutout that is locked in place with a toggle clamp. This video at 1:18 shows another example of rotating the saw.
@ttraband Thanks for the additional info. The full blown panel saw shown in the video is more than I have room for, and even trying to position my currently planned one so I could slide 8’ sheets through is more than I have room for. Currently when I need to deal with cutting down full sheets, I place a foam insulation sheet on top of my LowRider 2 table, and then use an Accu-Cut XL track to guide my old circular saw. This new panel saw / wall mounted saw (a “limited” type compared to what you showed) would be for precise, easy cuts on somewhat smaller stock, pretty much how the Japanese designer (whose plans I bought) uses his. Thanks for the video link and the additional info!
You’re welcome. It clearly doesn’t make sense for your use case, but now the links will be there if someone else looks through the thread.
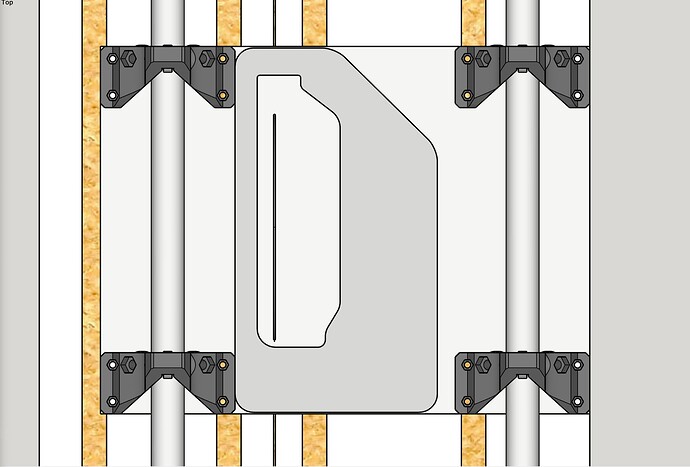
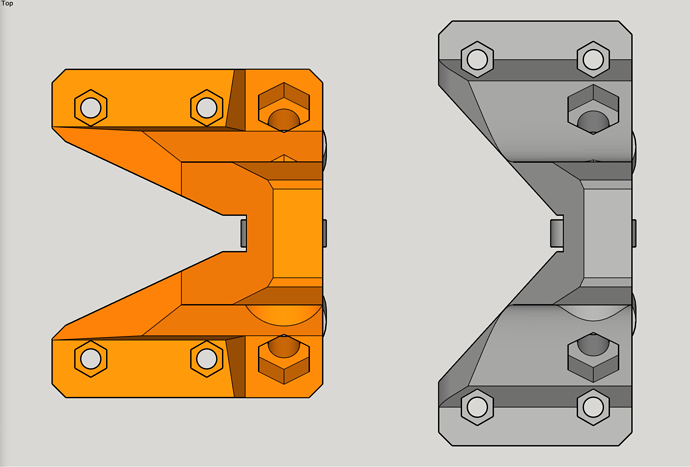
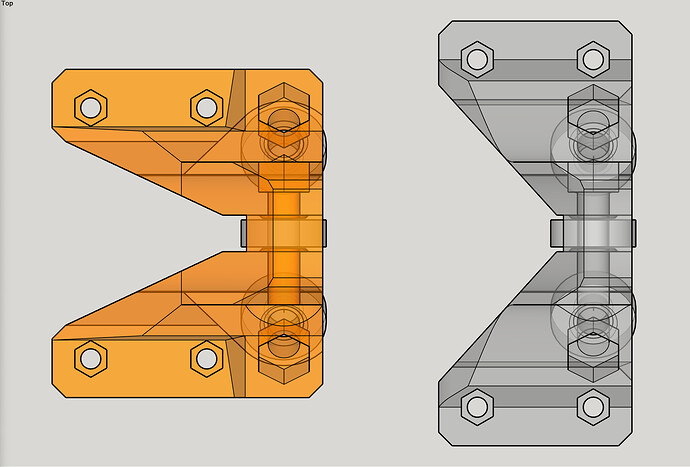
I had designed several different approaches to the X mounts (actually Z mounts), and one of them was quite a bit narrower than the ones shown above. Well, it turns out that I need to go with the narrower ones, because I had not adequately allowed for needed clearance for the motor housing regarding the .75" ID (1.05" OD) pipe on the far side. So, now I’m printing new Z mounts and going for round 2! Below are screen shots comparing the narrower version with the wider version Z mounts.
Major progress on the panel saw / sliding rig. I am basically to the point of installing the “fence.” I will post a couple of pics. I have been recording video of the build, and if I can get it edited I will likely post something to watch.
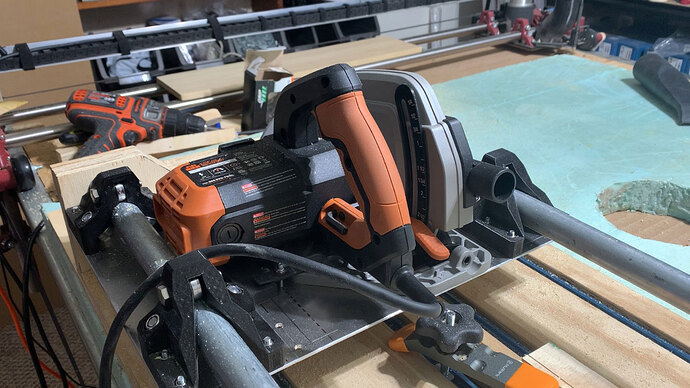
The multi-material circular saw I have mounted on the rig is a beast! It can cut steel and pretty much anything else. Price was pretty appealing, especially considering all it can cut. Seriously, I cut some angle iron (mild steel) with it, and it sliced it like butter.
I want to build this and put some hinges on the side of my bench so it hangs down out of the way. Sheet on tbe bench, flip the saw up, slide the sheet over, cut, fold it out of the way.
Gotta wait to see what the LR3 looks like though…
