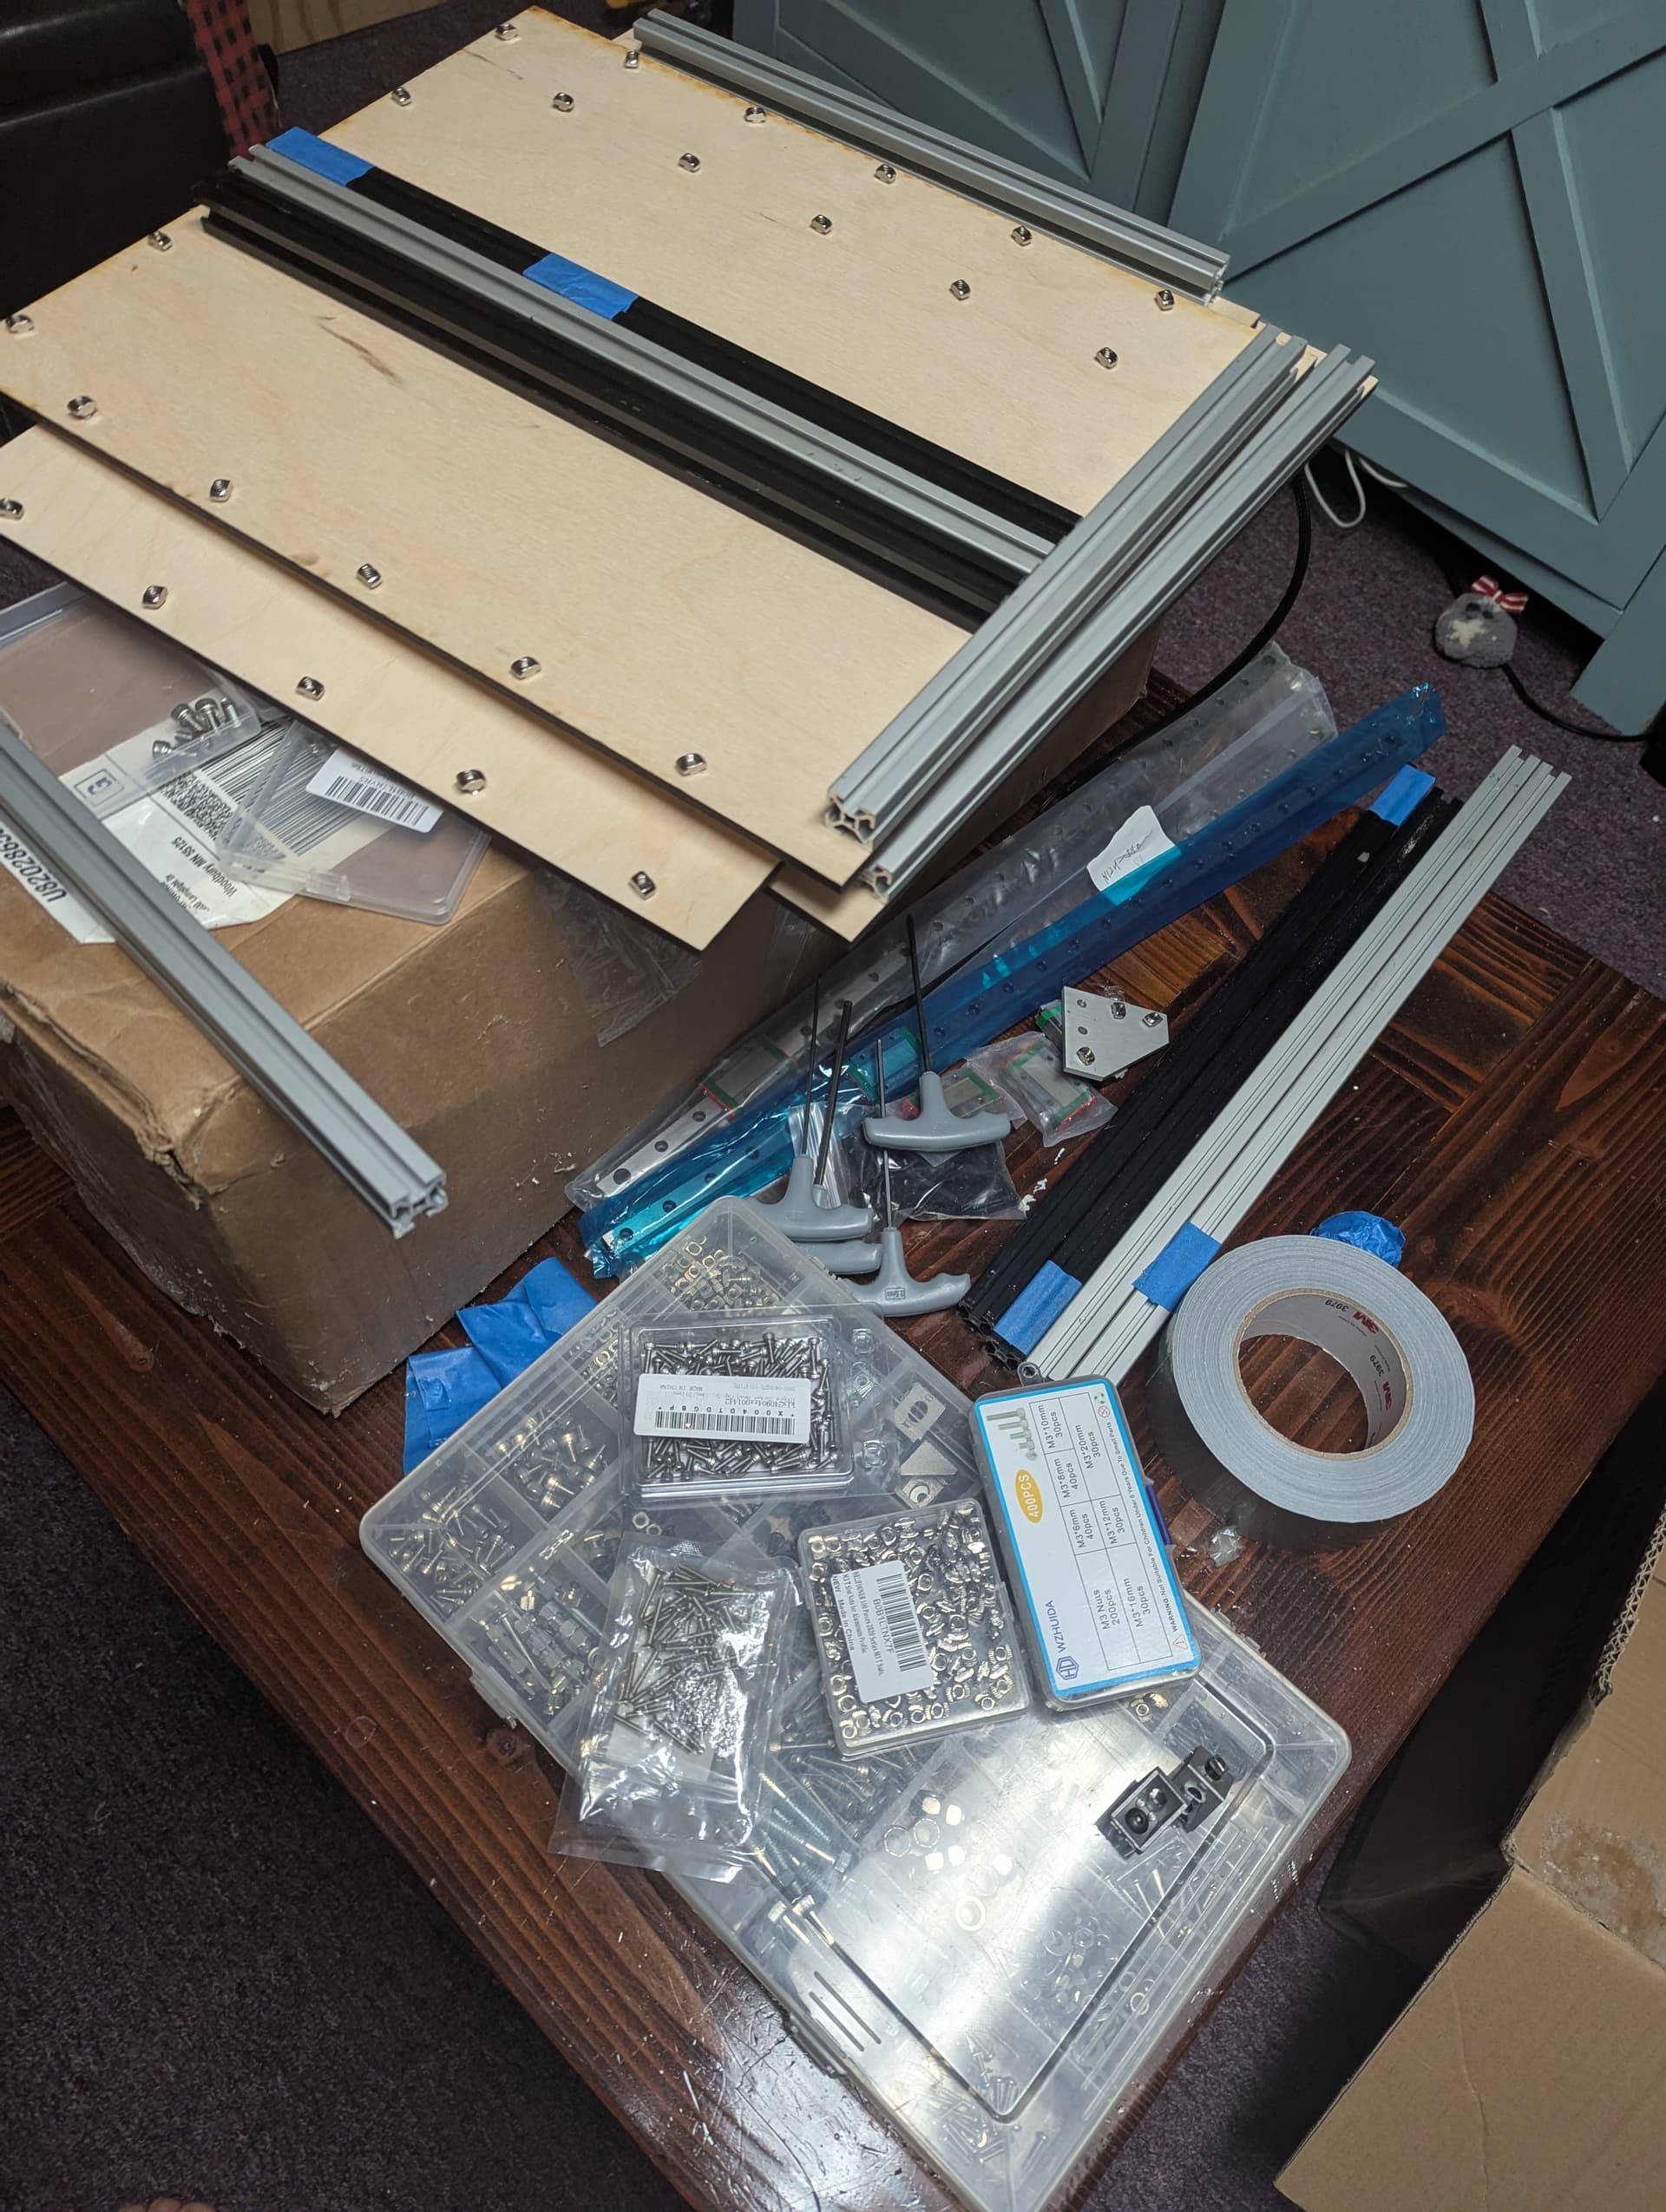
Been gathering parts for the last year. Some new, some are reuse. Original intent was 200x200x200. Should end up 250x250x225… Last minute linear rail option allowed for it and the measured heated bed was a bit larger than anticipated.
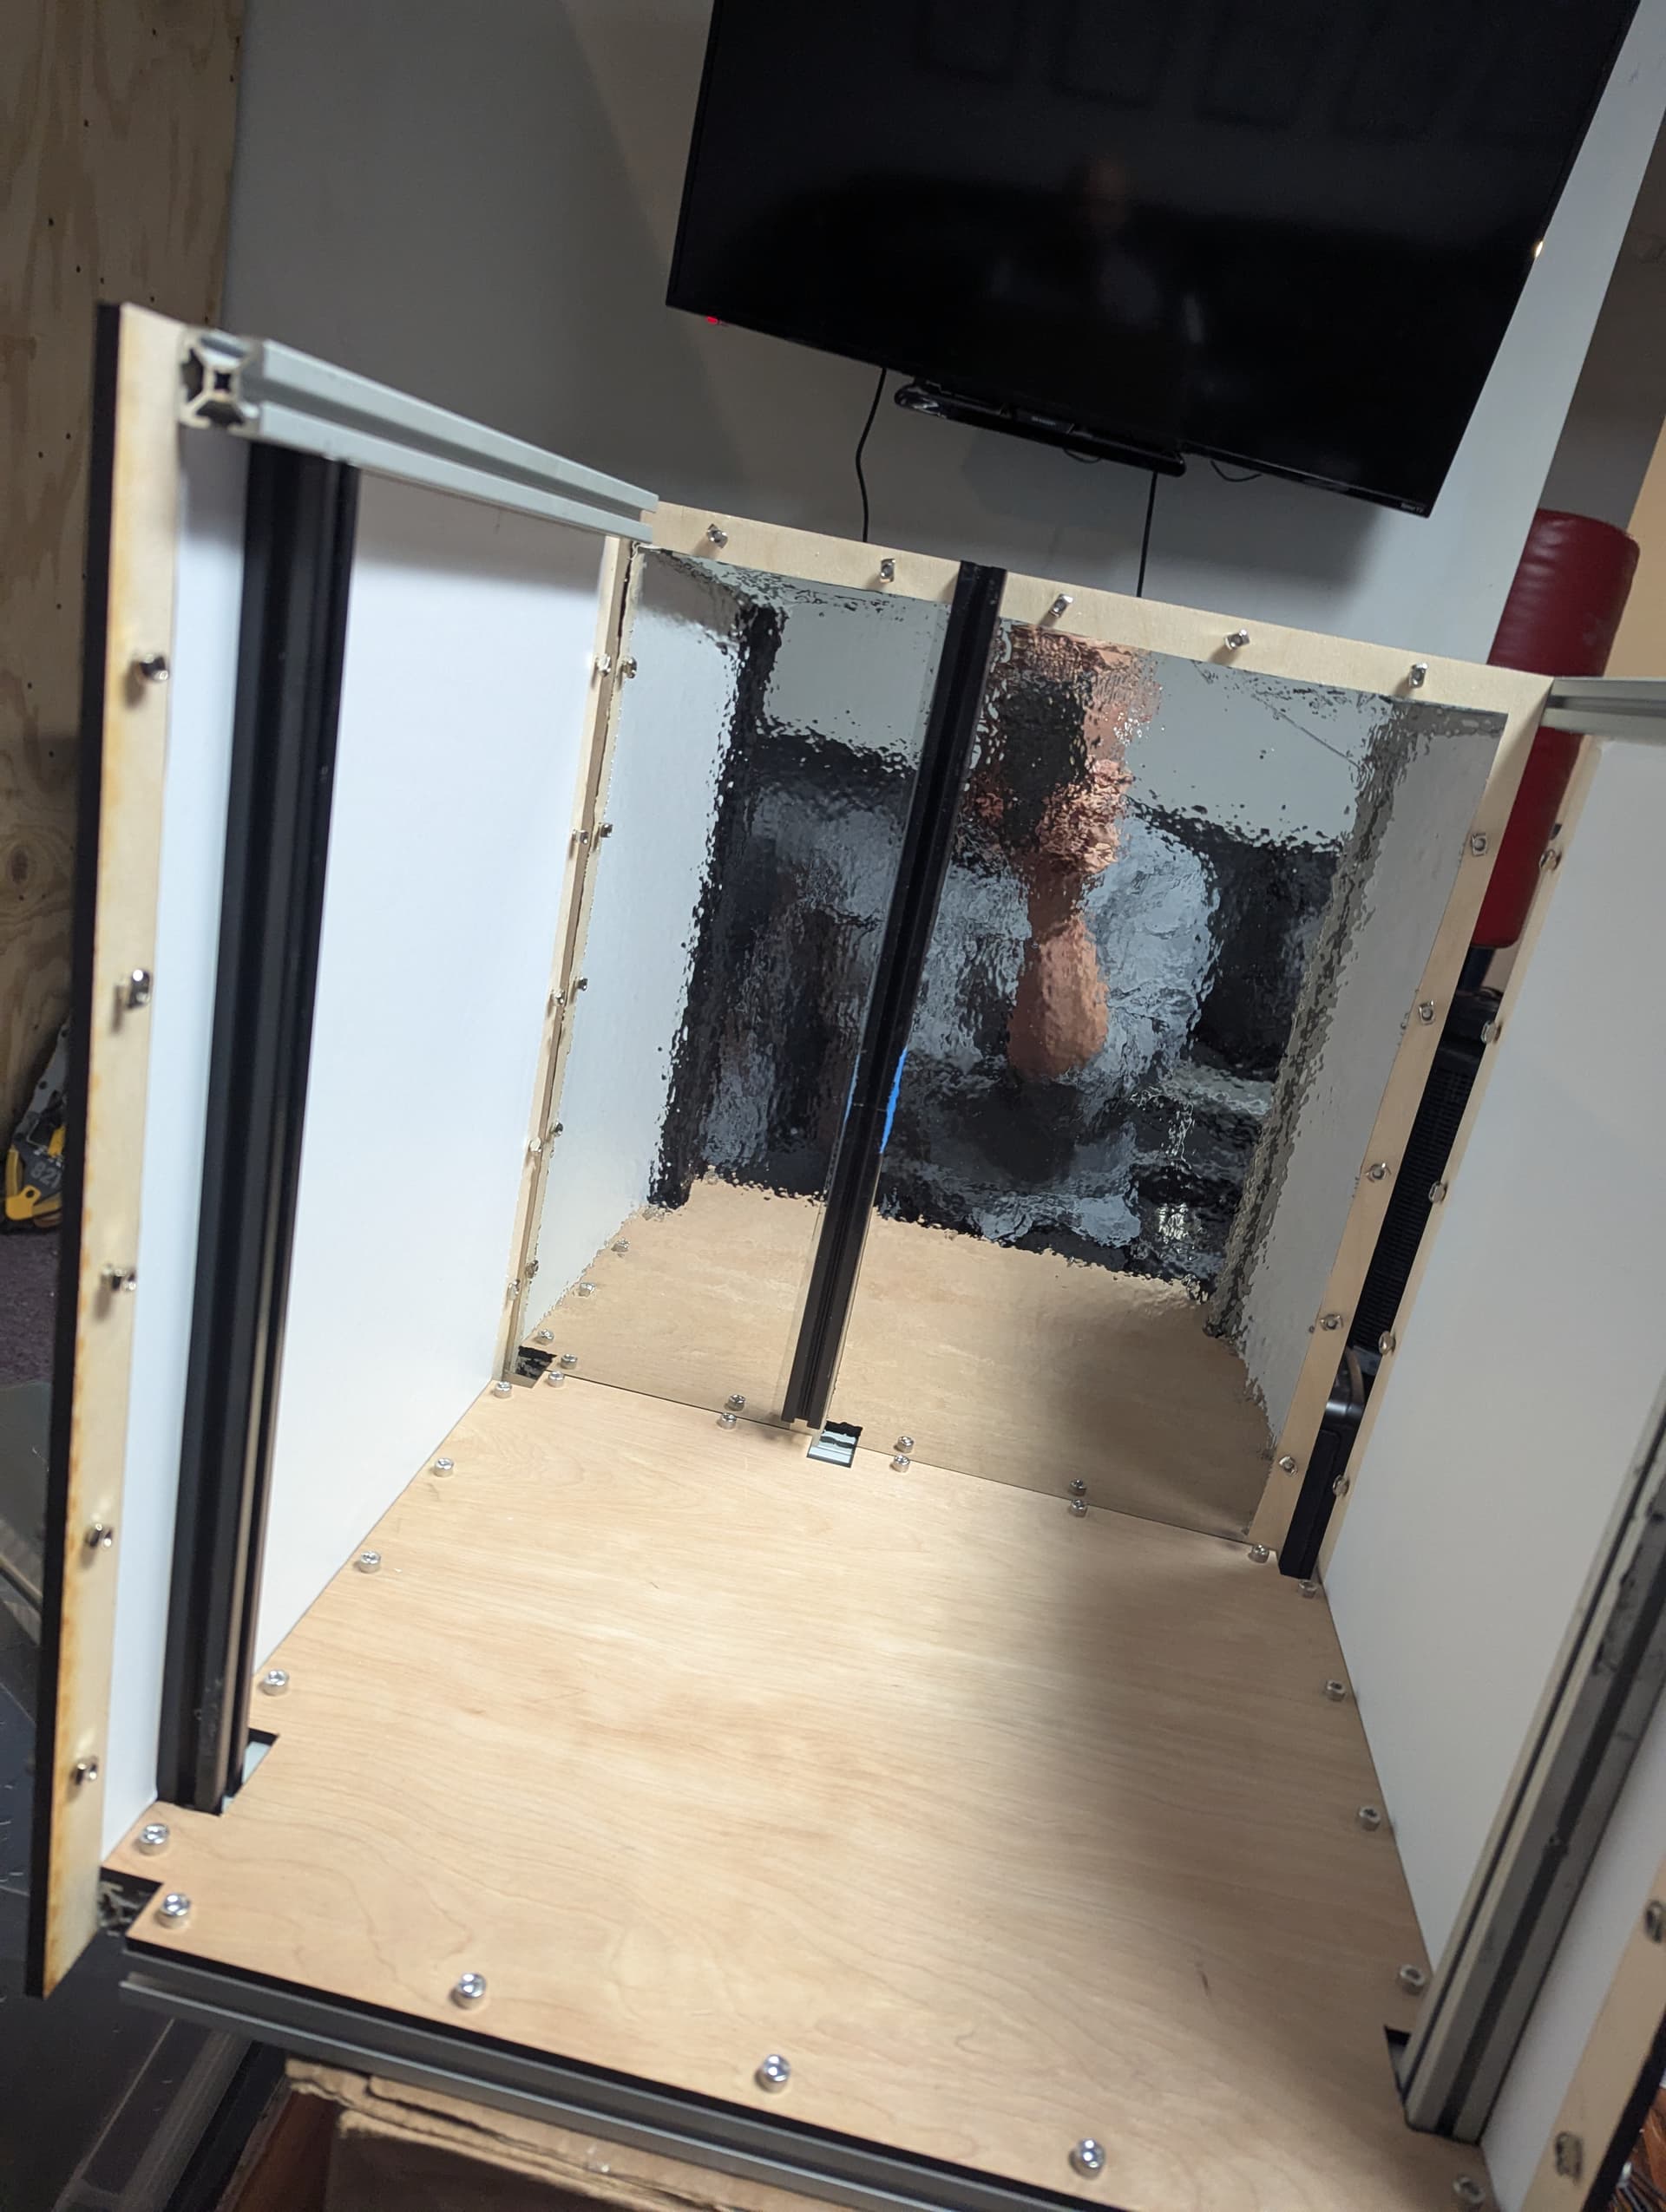
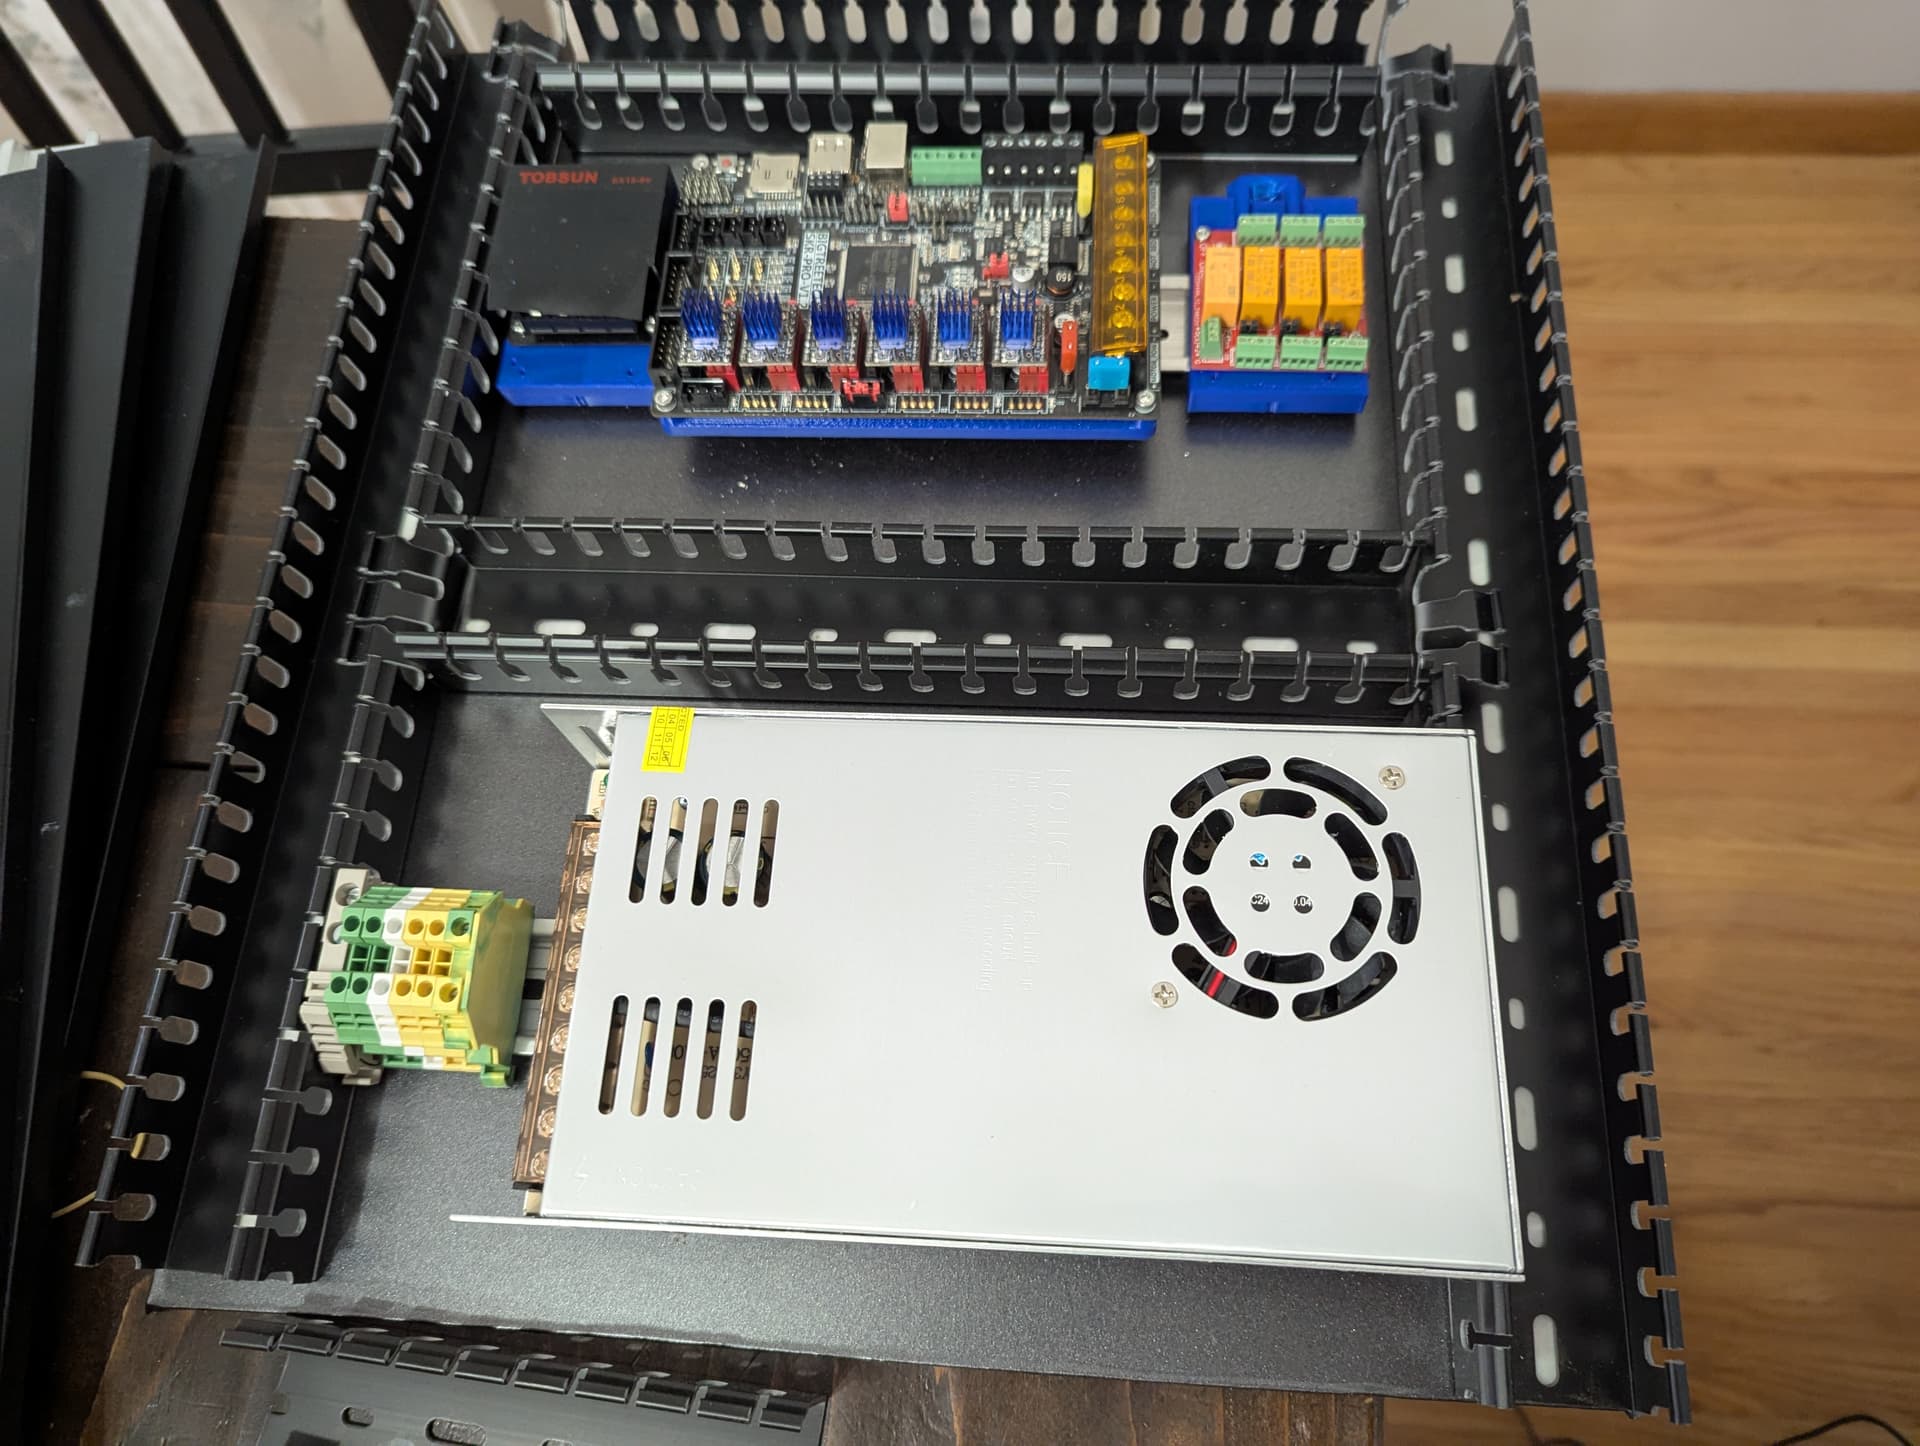
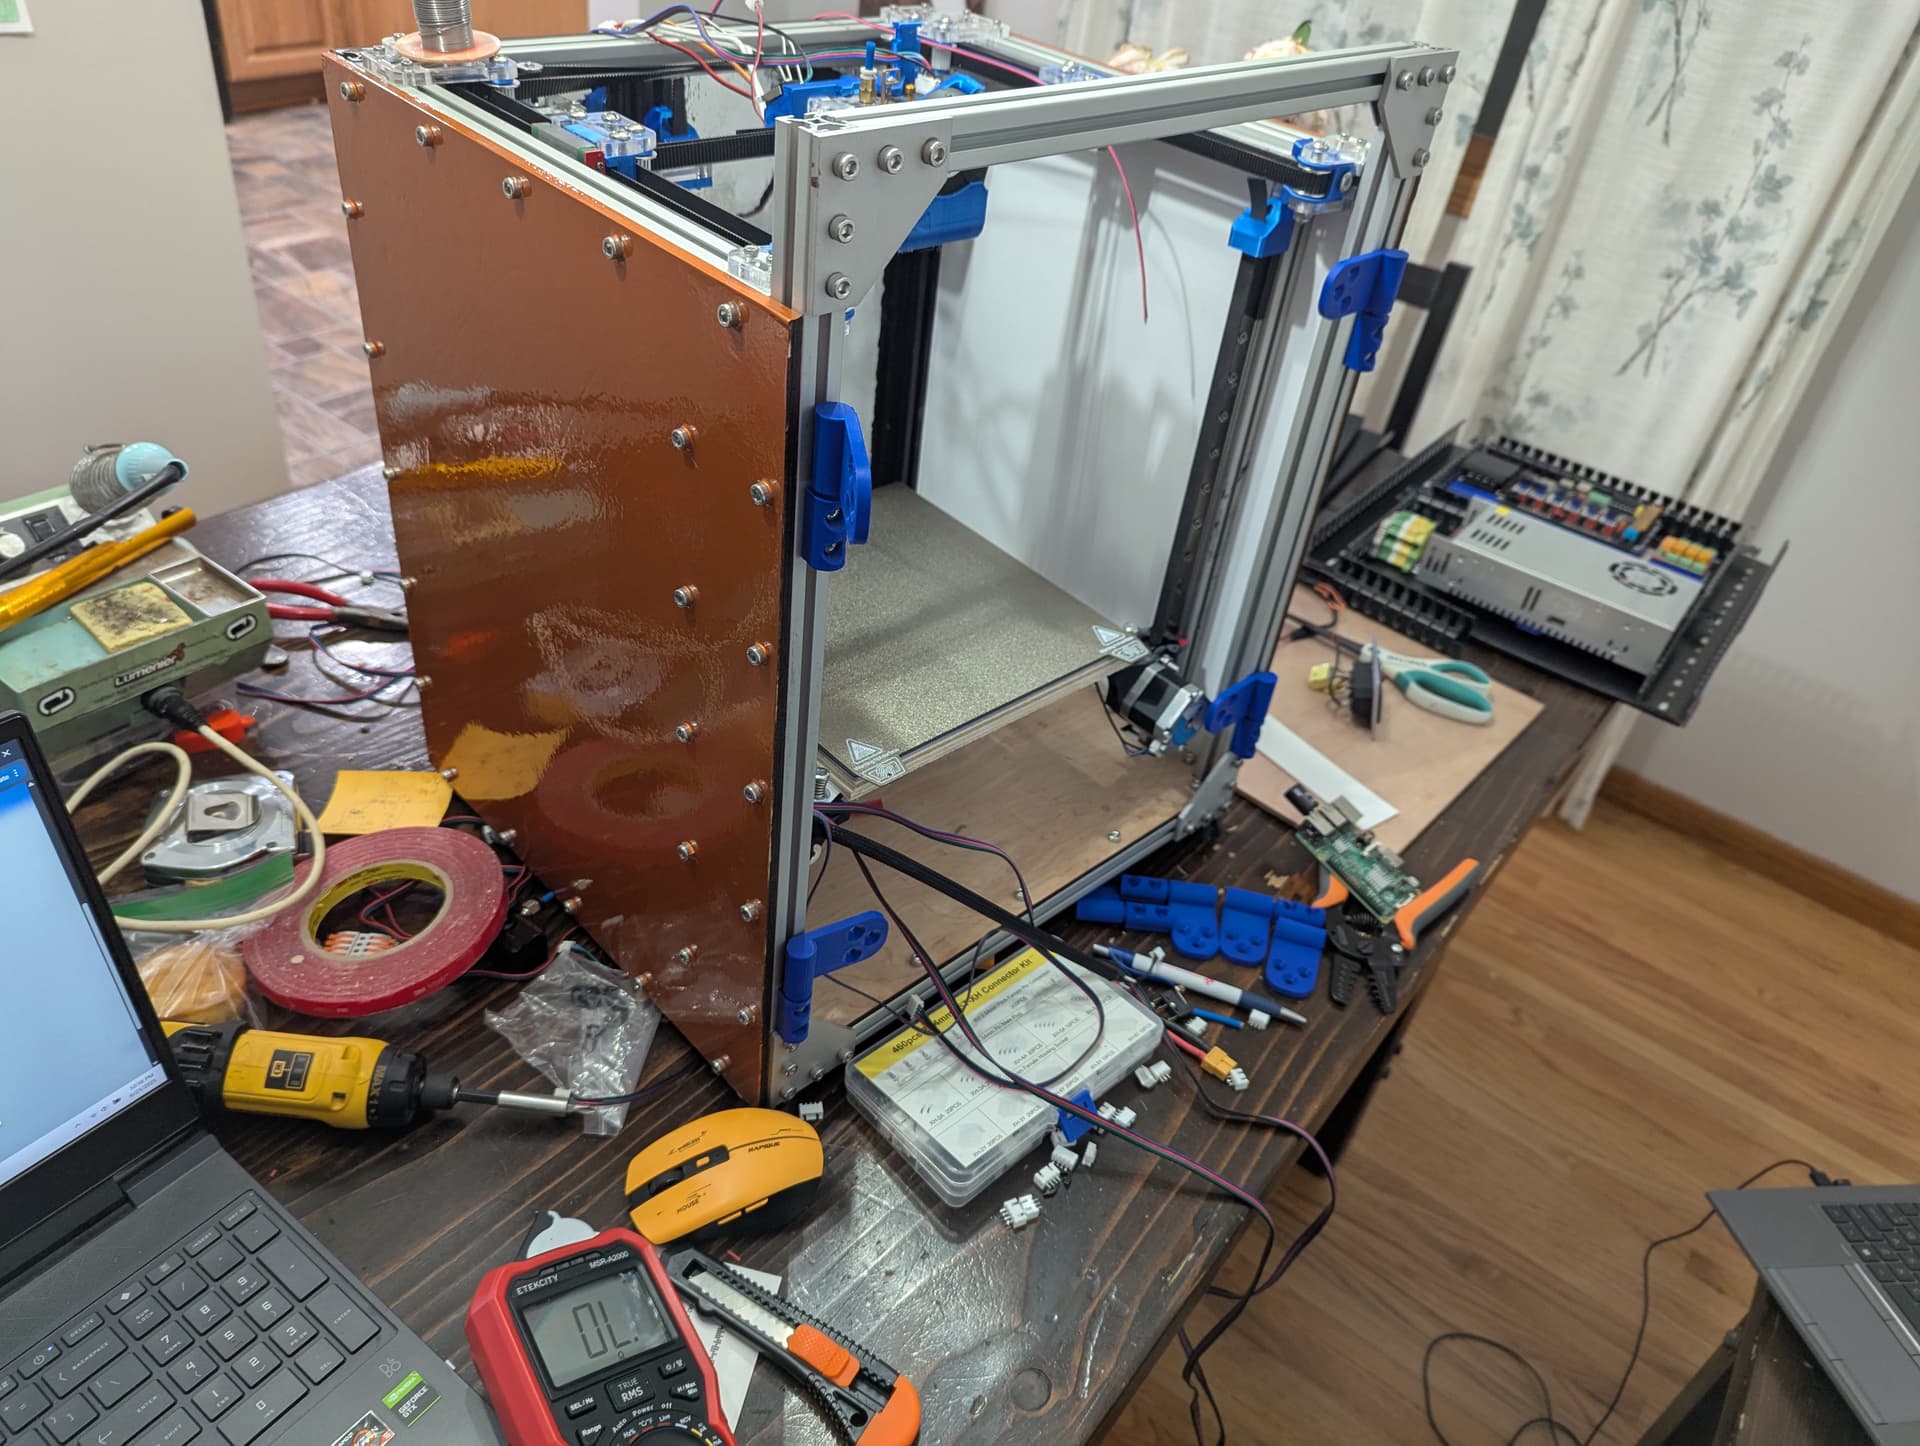
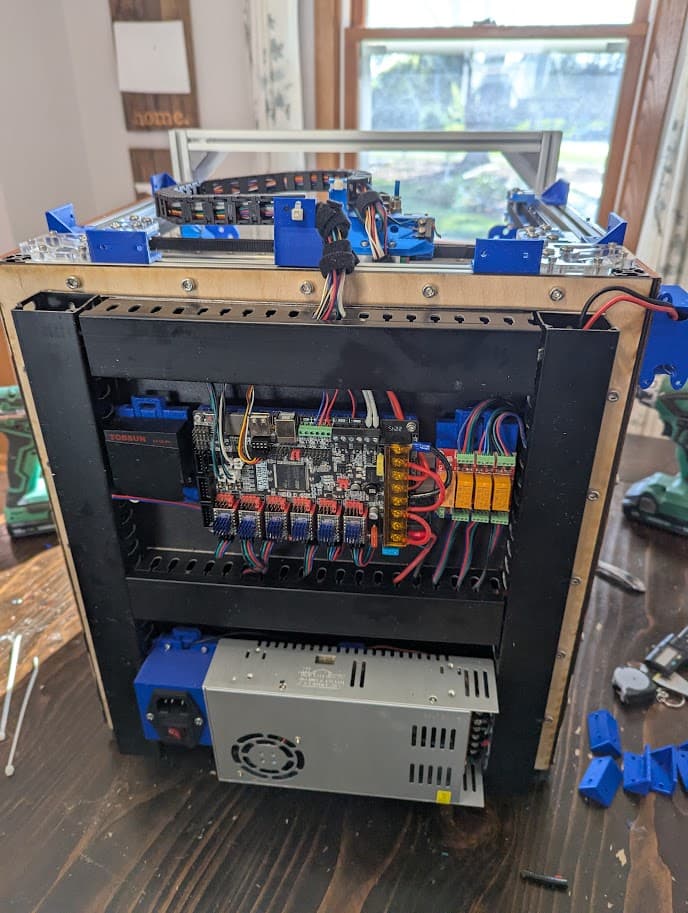
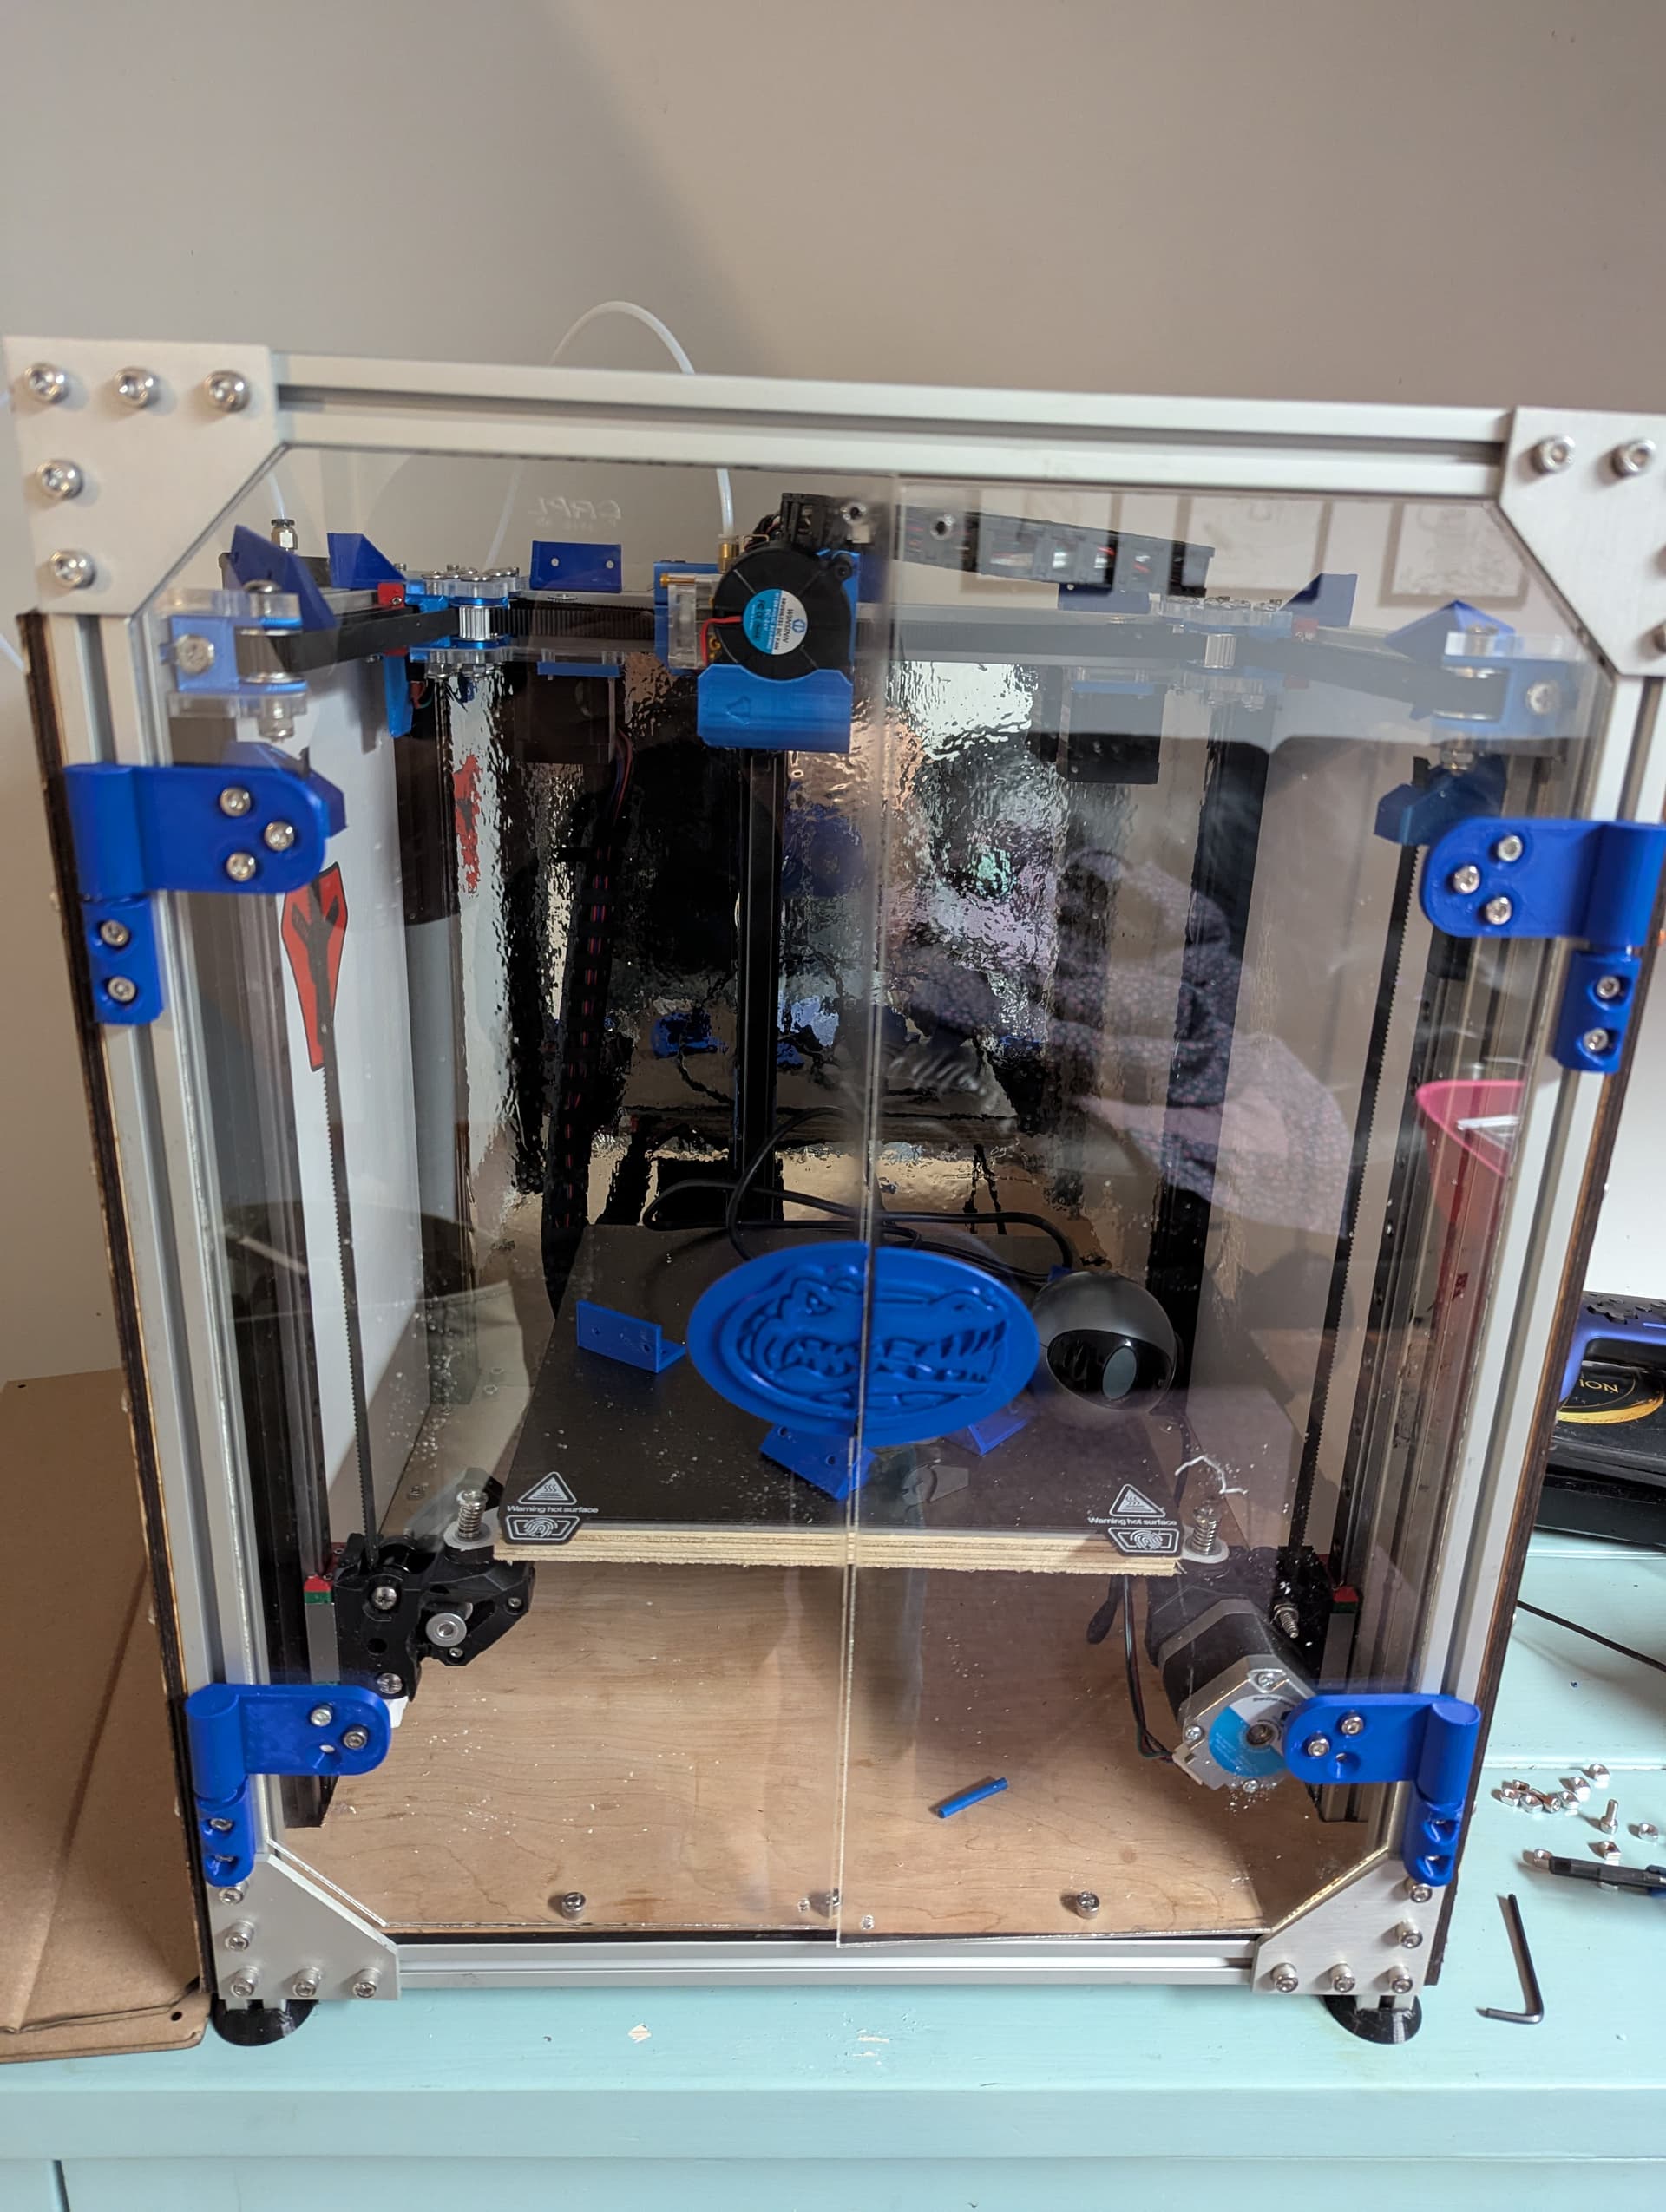
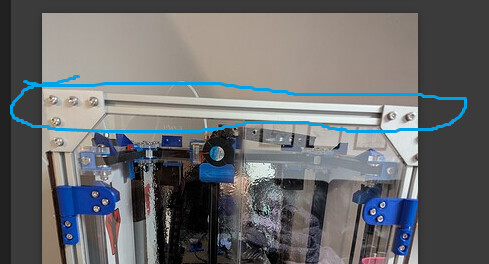
Mid build photos. Vinyl “wrapped” wood back, sides and bottom with laser cut extrusion bolt holes. Front and top will be clear acrylic to complete the enclosure. Skr pro and h2v2s lite will round out the hardware.
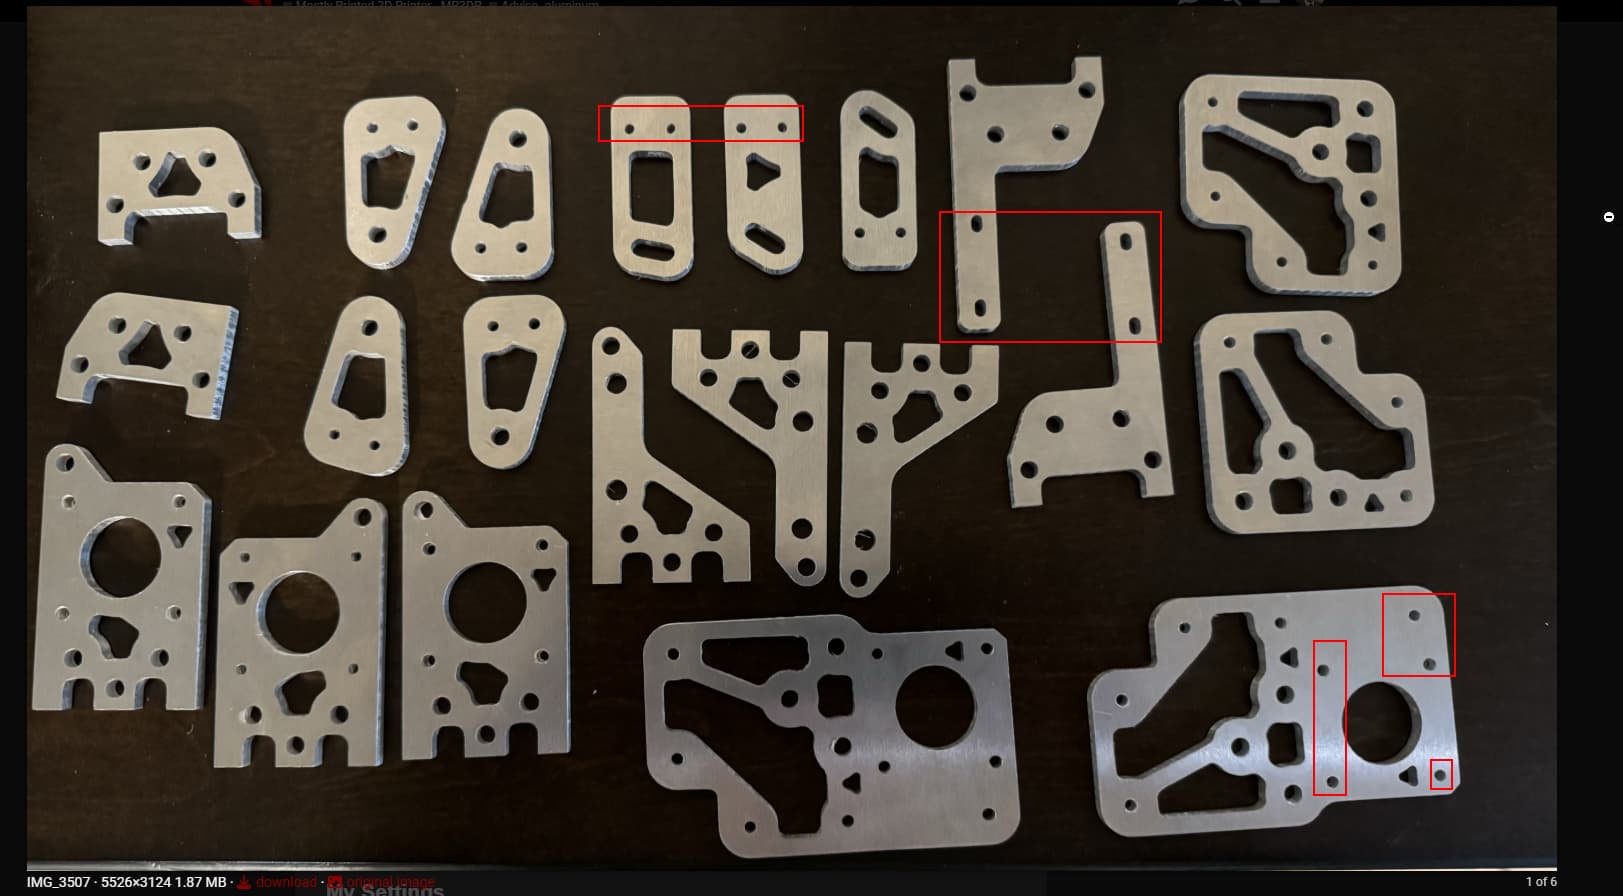
Ok, so my other v5 had lasered acrylic for the milled parts. After seeing the yellow anodized aluminum, id like to try aluminum on the lr4 and i want to anodize it orange, but Im terrified ill just break stuff. Typically this doesn’t stop the work and i break stuff anyway, but my aluminum sheet is just the right size.
A few questions:
Can it be done with just a 1/8th mill? 1 or 2 flute cheap Amazon 10 sets are what i have. IIrc others were doing both 1/8 16th mills for them. Is that really necessary other than the logos?
I have a mister setup for cooling. Never used it before, so does anyone who has have any tips?
Probably going to not try trochoidal first round. Feed will be super slow and doc super shallow. Will likely take days to cut.
It’s troichoidal, but very safe way to pack parts for MP3DP and mill from a single 12"x12" aluminum sheet detailed here
I used both 1/8 and 1/16.
If I remember correctly, you need the 1/16th for some of the screw holes in the X rail mount on Y Trucks, and I also had better luck getting accurate holes in some places using the 1/16th bit and using the helix drill method instead of just plunging the 1/8th directly down
I probably used the 16th for all of these sized holes
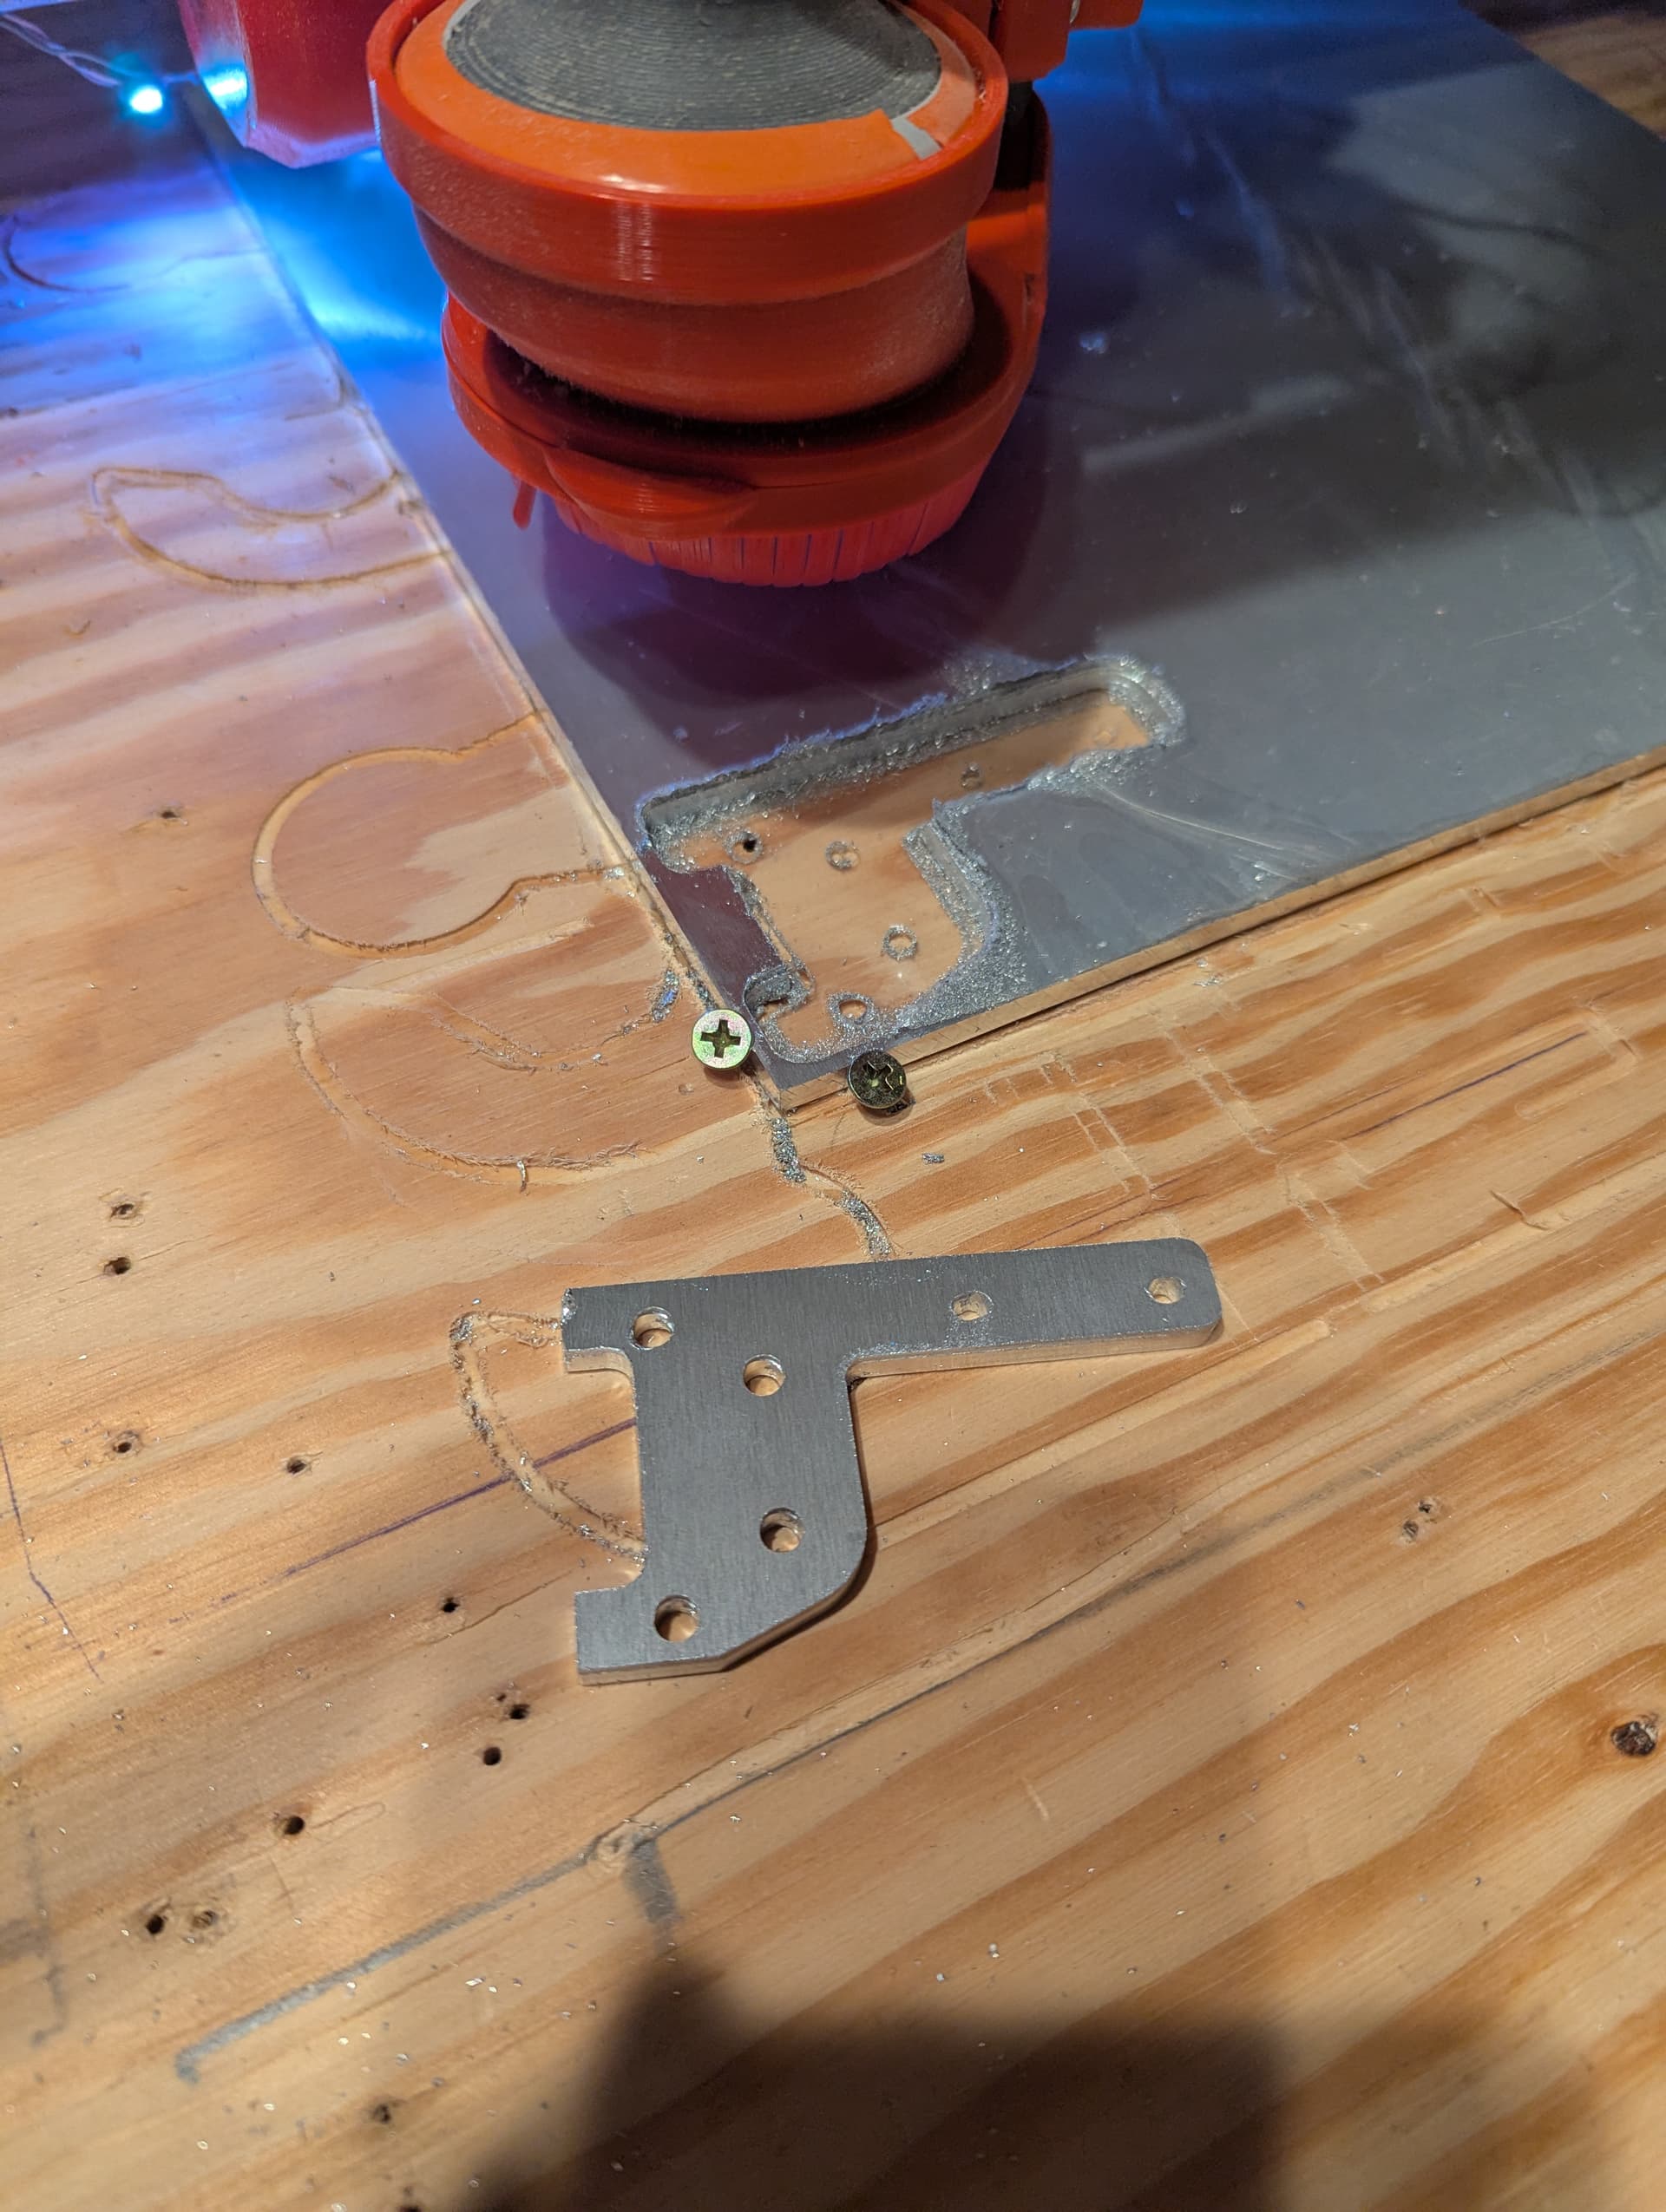
Thanks for the link to your tutorial! I remember reading that a while back. I’m using a different CAM software and it doesn’t use trochoidal. The LR4 has recut the same section like 6 times now because when it starts to skip, I stop motion and redo the cam. Had some thickness mismatch and then the speed was wrong, and then the depth was wrong… each time recoverable. Still working on the first piece, but making headway. Cutting the holes was easy, but the part outline has been quite difficult. Going about 4 mm/s and 0.25 mm/pass. IPA mist not set up. 5 mm Aluminum plate. Laser cutting acrylic was super easy compared to this. Still working with the first mill, but questioning how sharp it is now.
EDIT: 5.5 mm/s, 0.25 DOC, no finish pass. 20 parts to go… left the sticky stuff on the aluminum and it holds the piece in from below, so not screwing down the parts either.
Around the same time I did that, I know @vicious1 and @Jonathjon were both experimenting with non-trochoidal settings, they may have some better insight into feeds and speeds for that.
I didn’t either. I just held an air gun from my compressor set to about 20 psi at the cutter for most of the time to help clear chips and cool it down a bit. seemed to work ok.
Still milling oarts and planning to anodize… Just planning to swap the pieces in as they become available. I laser cut all the pieces on the epilog in less time than it took to mill 1 of them. Time is the issue. With 20 parts left to cut, it will take a while. I didn’t have enough acrylic for all parts, so im reusing the v4 z bed mounts until the milled parts are ready… Great junk drawer find! And the floor setup doesn’t allow me to use the v5 lower z belt mount anyway.
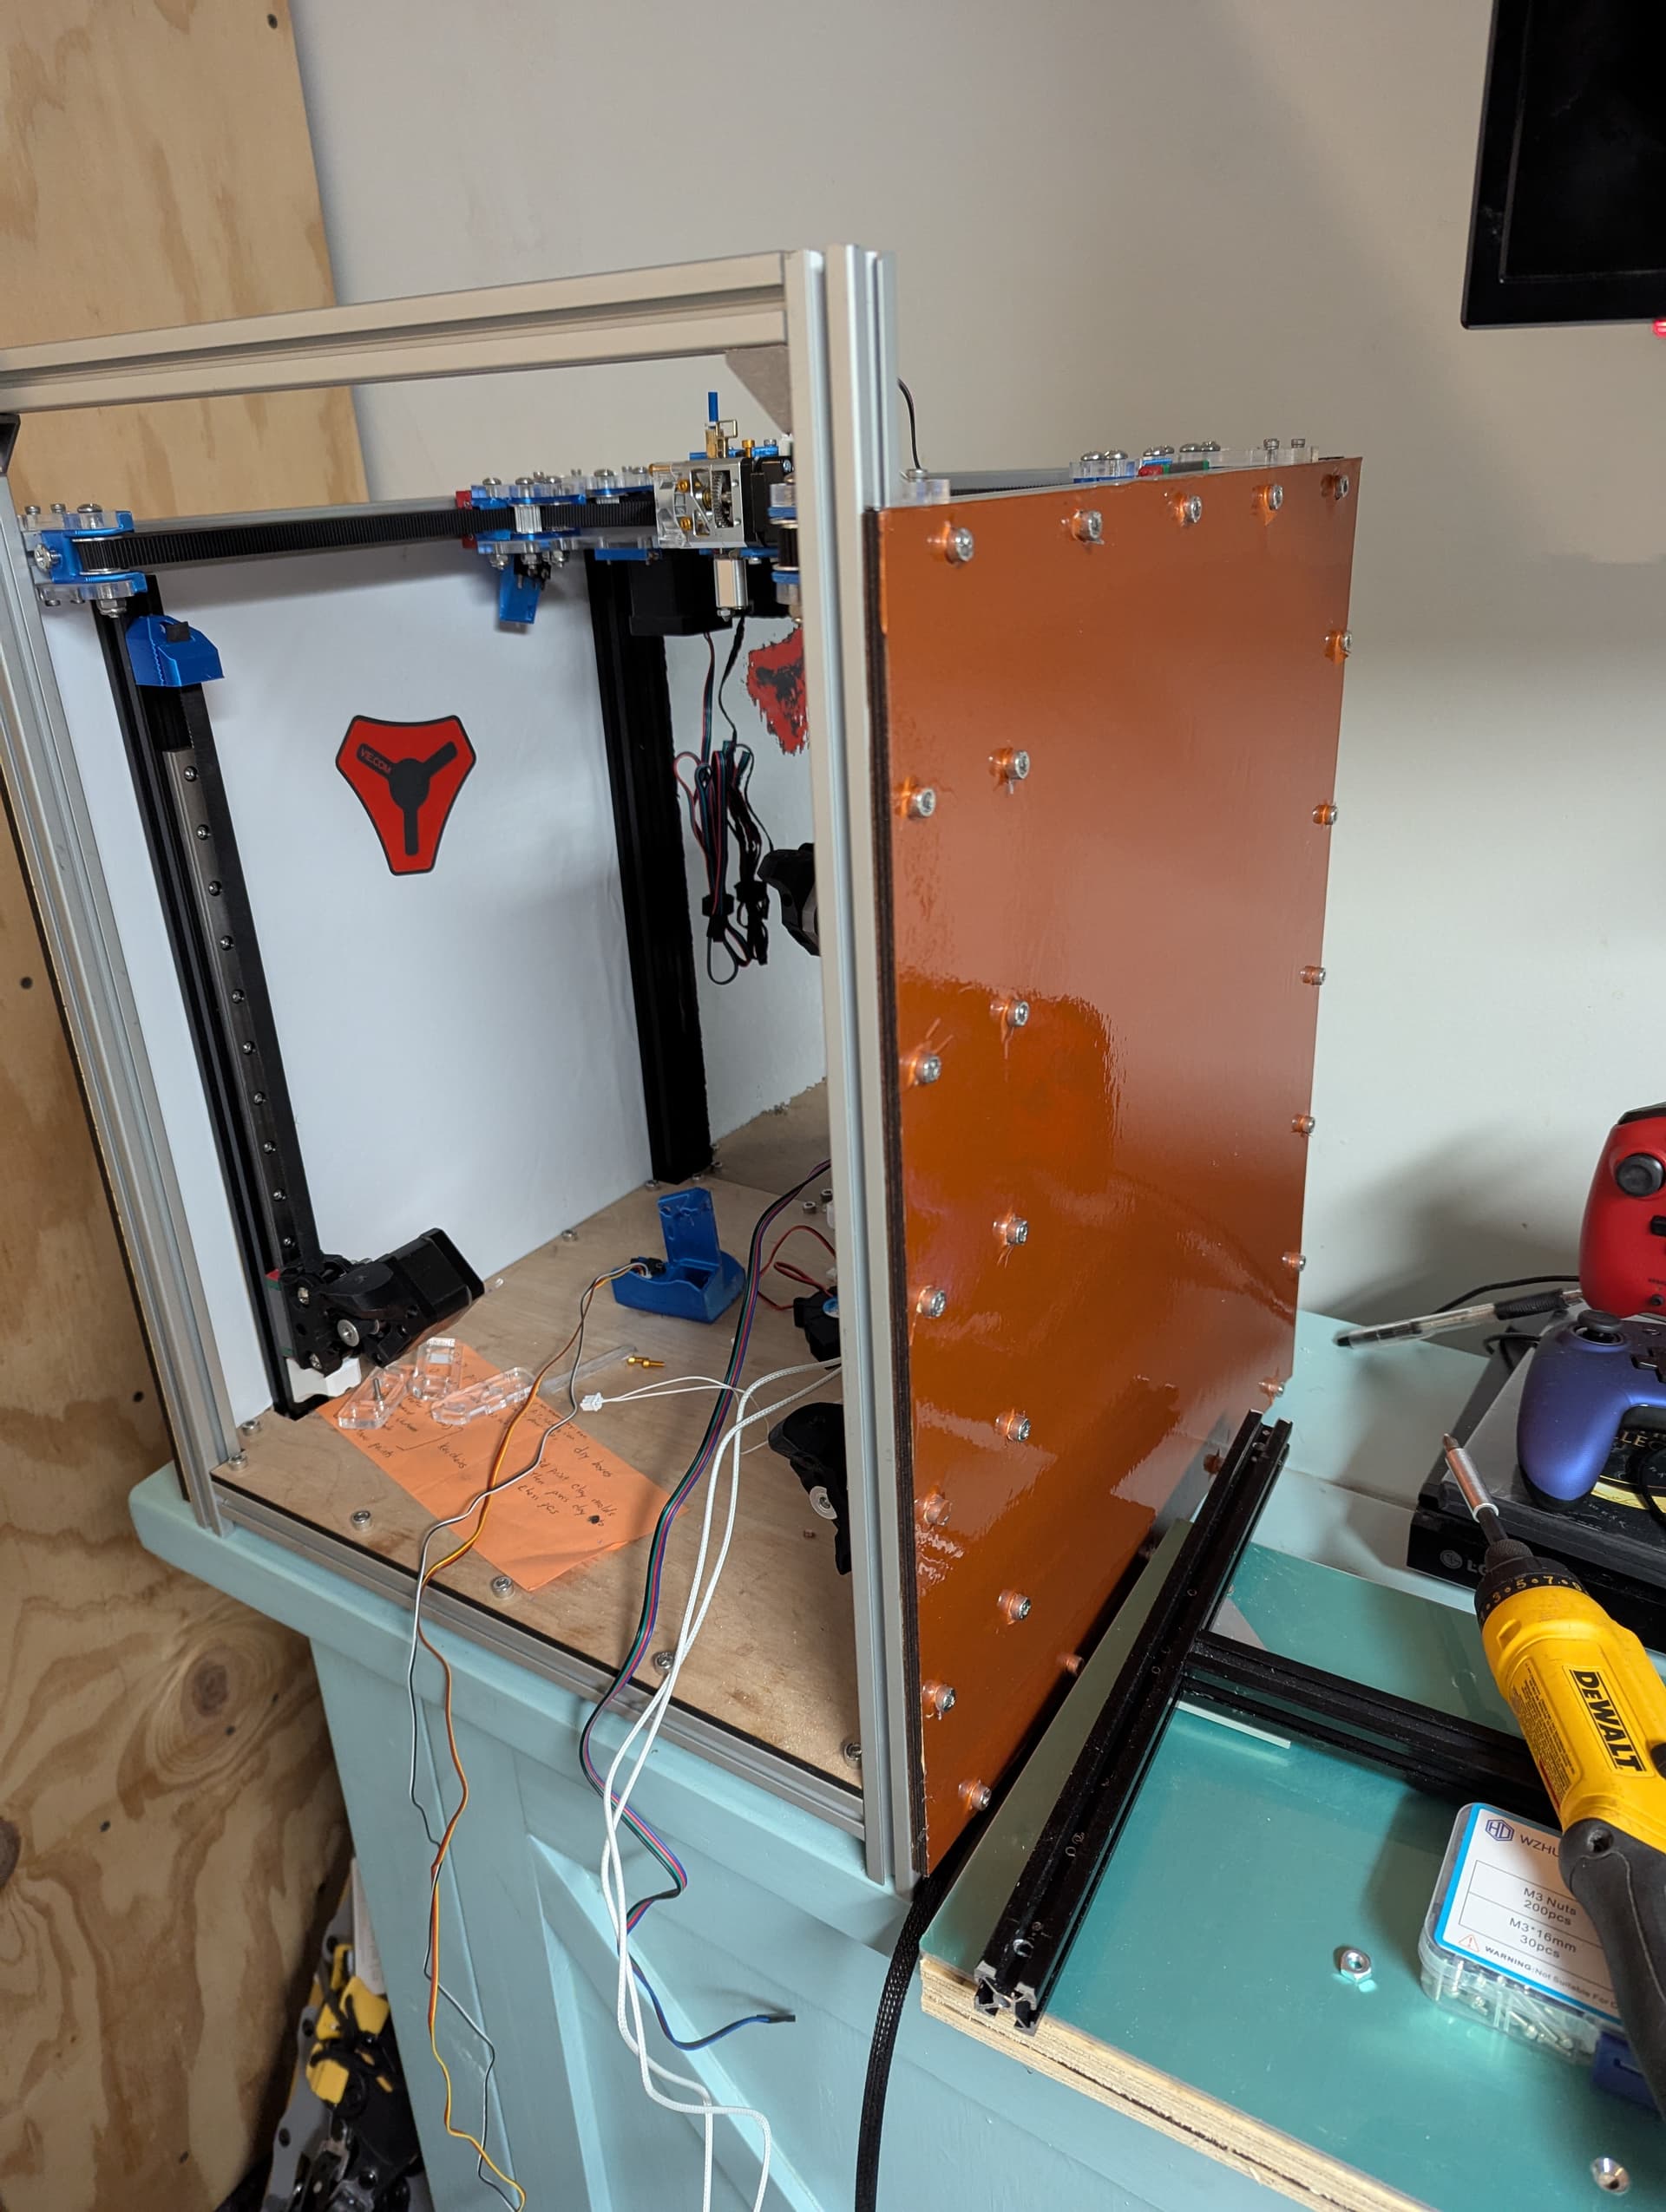
The orange side wrap went on last night… It may not be on very long. Pro tip… Wrap before you put bolts in and have it assembled. Had i planned to wrap before assembling it would have been done then.
The plan is to fully enclose and abs print all the parts once the aluminum parts are in place.
Next: figure out how to get the print cooling fan at the right height with the lite’s longer nozzle setup then figure out the controller location…
Nice! Am starting to appreciate socket cap head bolts after wasting lots of time stripping M3 button head bolts on another project.
Great to see various V5 builds making progress. I appreciate seeing updates like this by various folks.
Curious whether Eng/3D-experienced people here have an opinion on whether to have a front top support or not, will that help combination of rigidity/vibrations without introducing Y-friction as you try to print ludicrously fast test benchyJamie gridfinity cubes ( source code )?
What other fully enclosed printer does not have a top strut?
These are mostly m5 socket heads and m3 socket heads. The Philips screws i got are a mix of #2 and #1 size so they tend to strip with the wrong screwdriver. Im a socket fan.
A little more progress. Klipper is configured and skr board is flashed, but it will not boot if the btt microprobe is plugged in.
Initial tests have been with usb power to the board. I found that several people have had issues with the btt microprobes not working. When the servo pins are connected, the indicator buttons flash and klipper loses connection. Seems like a brown-out situation. The probe didnt appear to be damaged. It ohms at 6 MOHM. So it isnt shorting…
Just to verify, i plugged it in to a 4A 5v supply and it worked by cycling the pin in and out 3x, which it never did before.
Answer: usb power is not sufficient to test the microprobe. The probe is not likely bad or damaged. Usb supply amperage is too limited.
Having cooked other parts in the past I was afraid to put 24v to the board with the onboard 5v regulator running board power without checking things first. The microprobe servo takes a bit of current to run That current is likely more than the 100mA usb can provide.
Update: System extruder is calibrated. X, Y, and Z home. Z tilt works. Brake disables too soon before motors are powered, but bed is so small it very very slowly creeps down. Still need to figure out the top cover and print a bezel for the 5" screen. (the “touch” in touch screen is silent right now for some reason… USB perhaps). Need to get the first layer calibrated so it can print its own parts now and get it tuned. Still waiting for the adxl345.
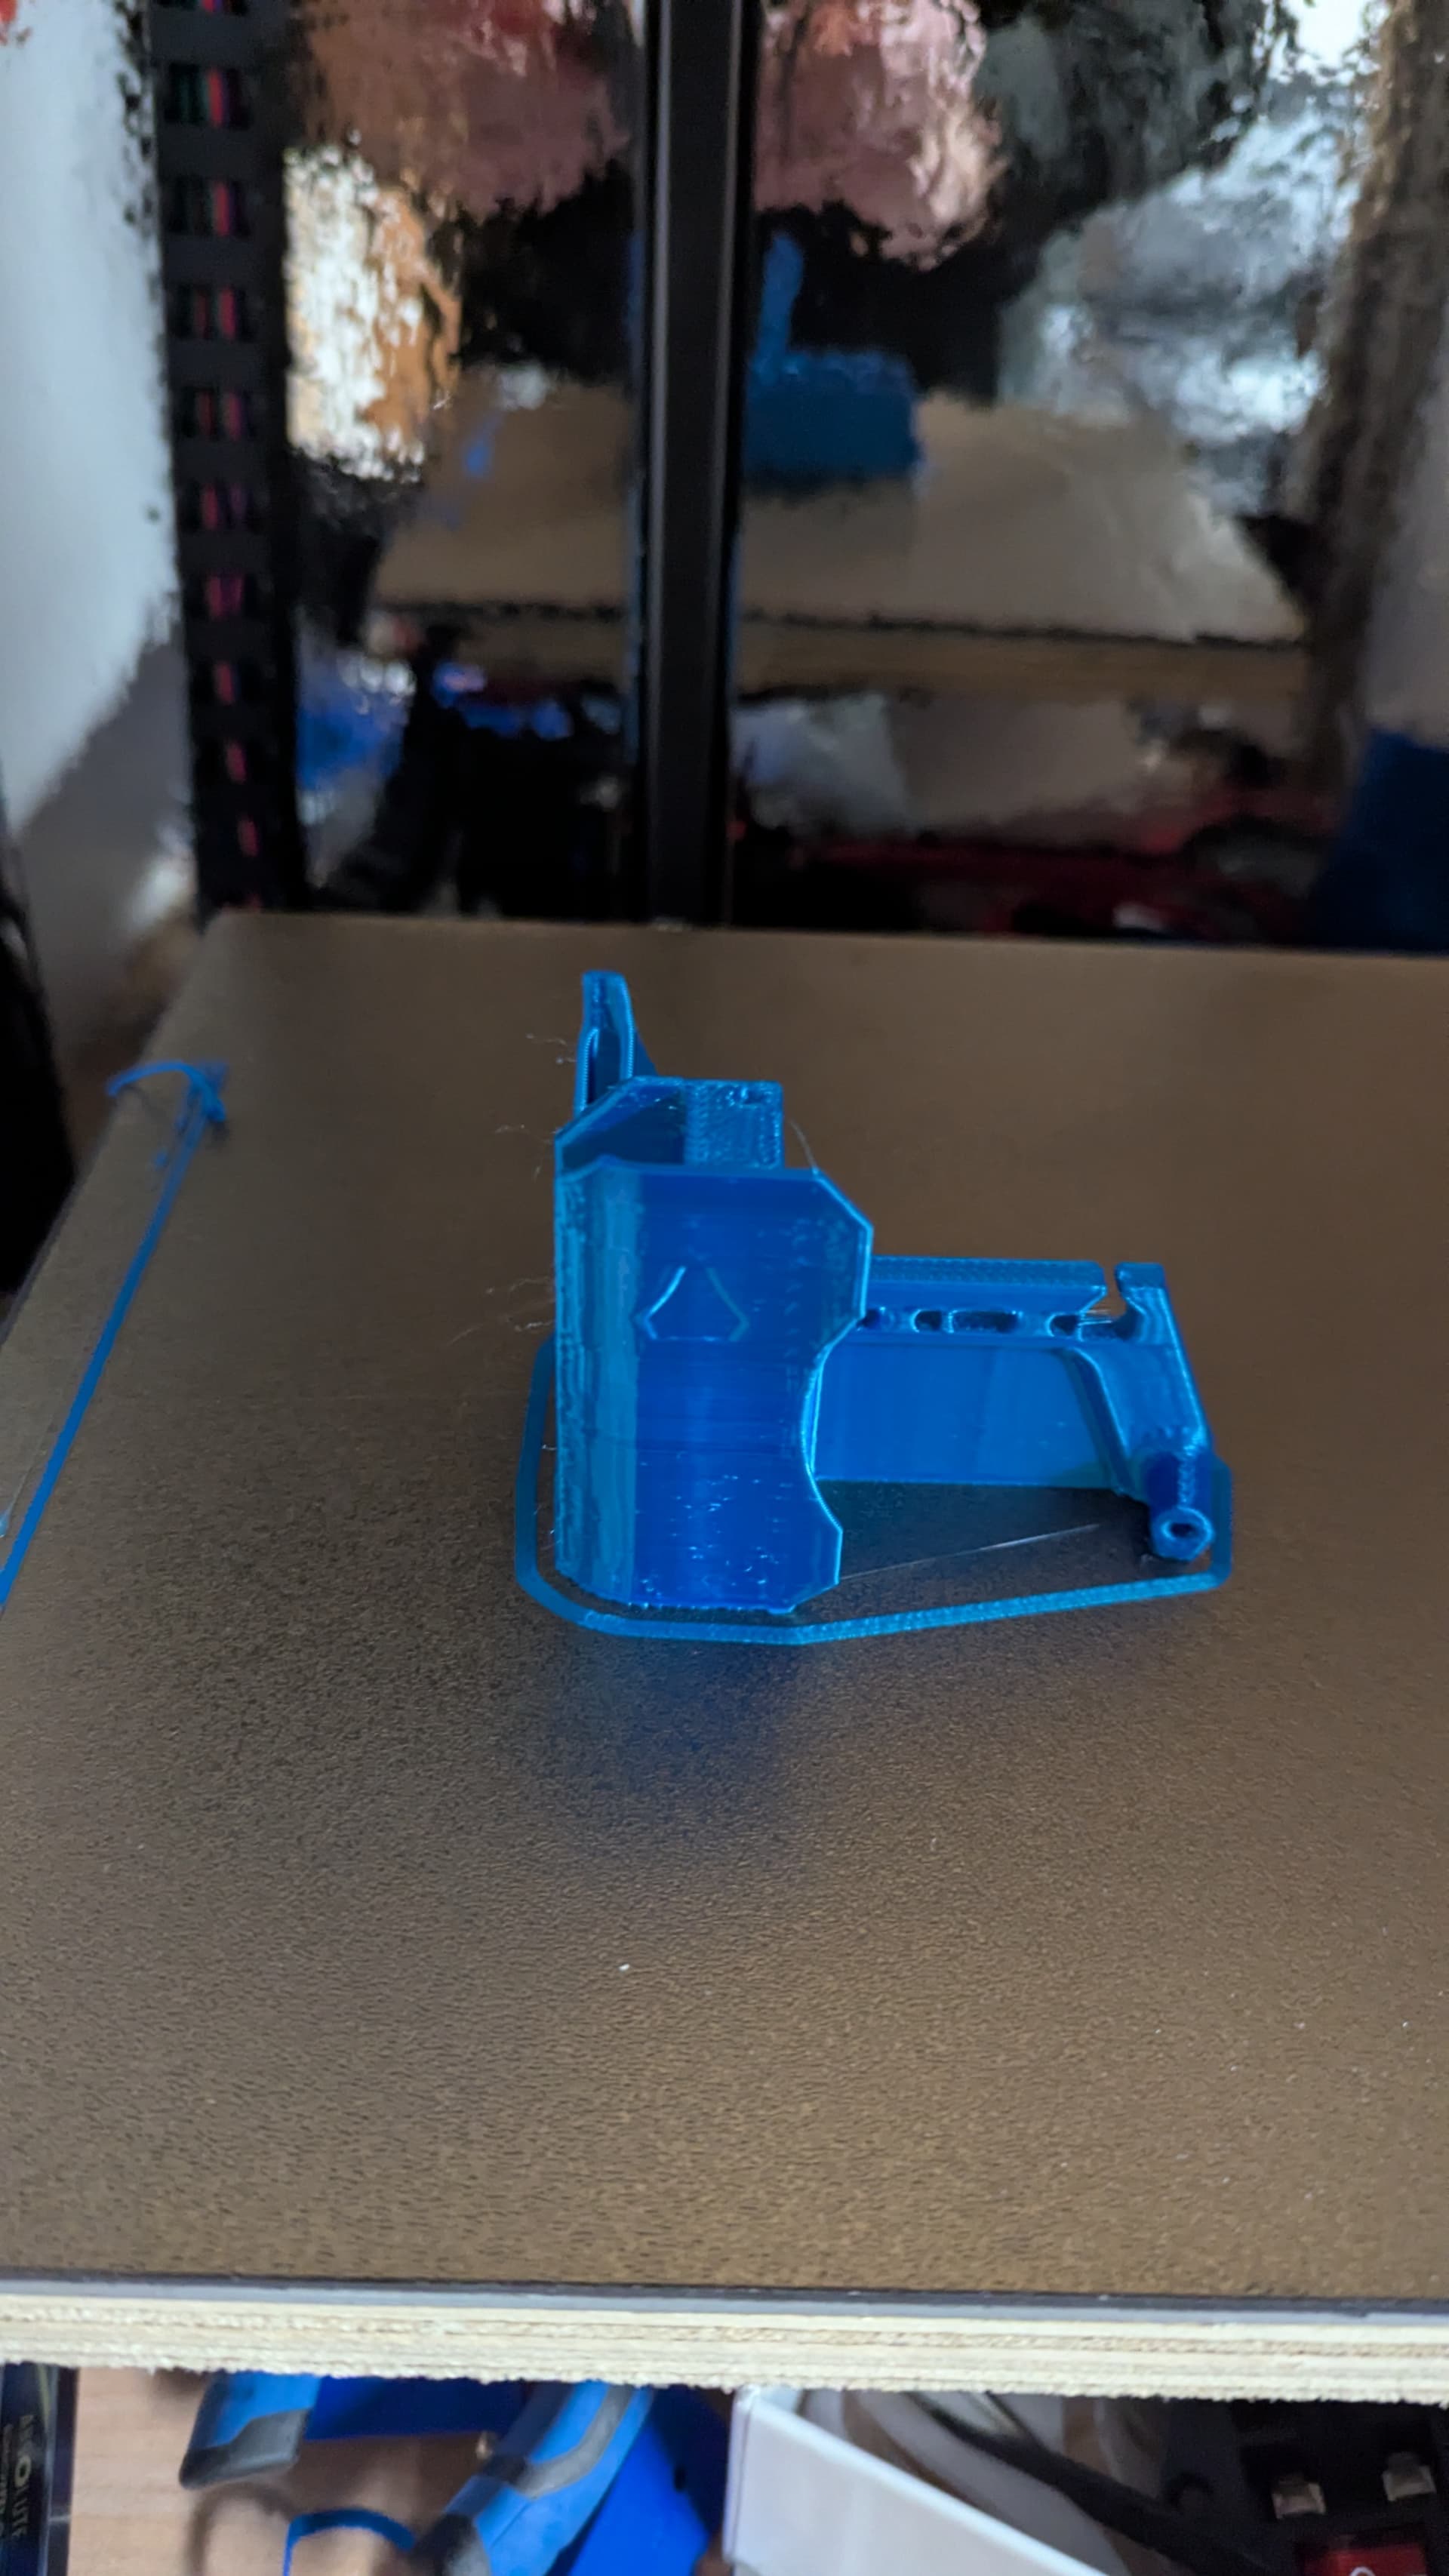
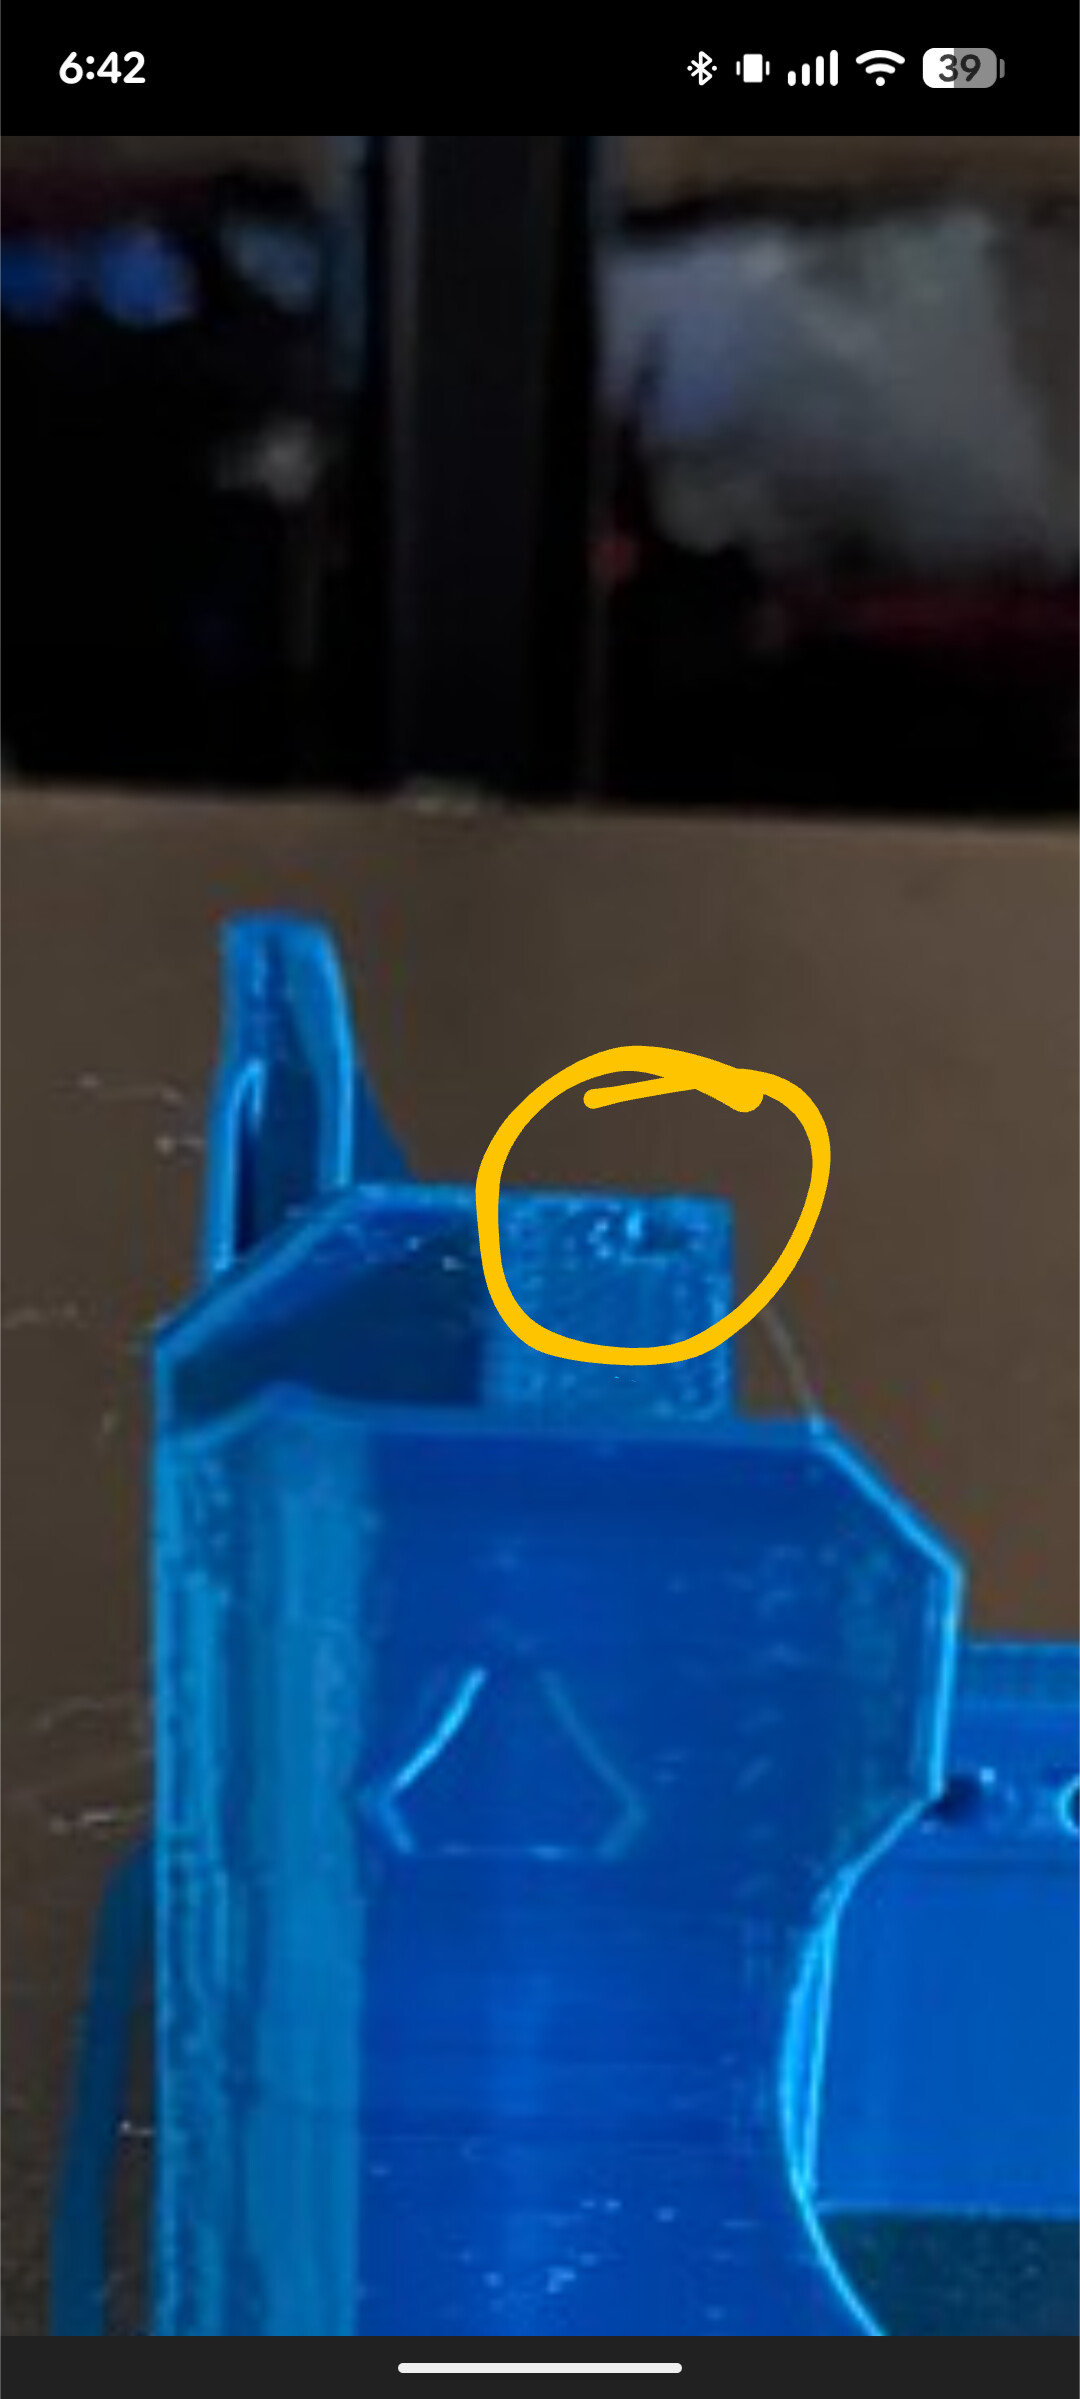
The h2v2slite has a different heater block that is longer than the h2v2s so the fan assembly sits too high for the microprobe to function before the nozzle hits the bed. The mount slots on the front don’t have the range, so with the other printer drives broken, i modified it with a soldering iron to get it close enough to zero z and tilt level and bed mesh and reprint a modified one.
(You can see the 2 holes I added)
The modified one sat too low so the nozzle could never print, so i again reassembled the first one, modified and printed another one. Assembling this one the microprobe position wasnt right and tightening it popped the wire socket off its solder connections to the microprobe. Resoldered, it and now it will no longer deploy the probe, though the probe cycles 3x on powering. Perhaps the pin was dead. First thing i fried on my v4 was the main board because of a badly wired endstop. The bltouch was the second.. Kind of like Ive done this before. But there’s more. I wired up an eddy current proximity switch that outputs a ground signal. I tested its output with a voltmeter powered at 12 v it output 3v and ground. So i connected it to the board power. It pulled high output at 24v, so the skr fried.
Some of us need a larger budget to play in this crowd.
Picked up an octopus board… need to print a mount for it but have no working printer. Those $350 multicolor printers are looking pretty good right now.
but perhaps they are for an inductive eddy current sensor like this:
It is printing once again and even better since the broken hot end/heat break fan wire has been repaired. Printing the octopus mount and then a rpi mount and hopefully a touchscreen case.
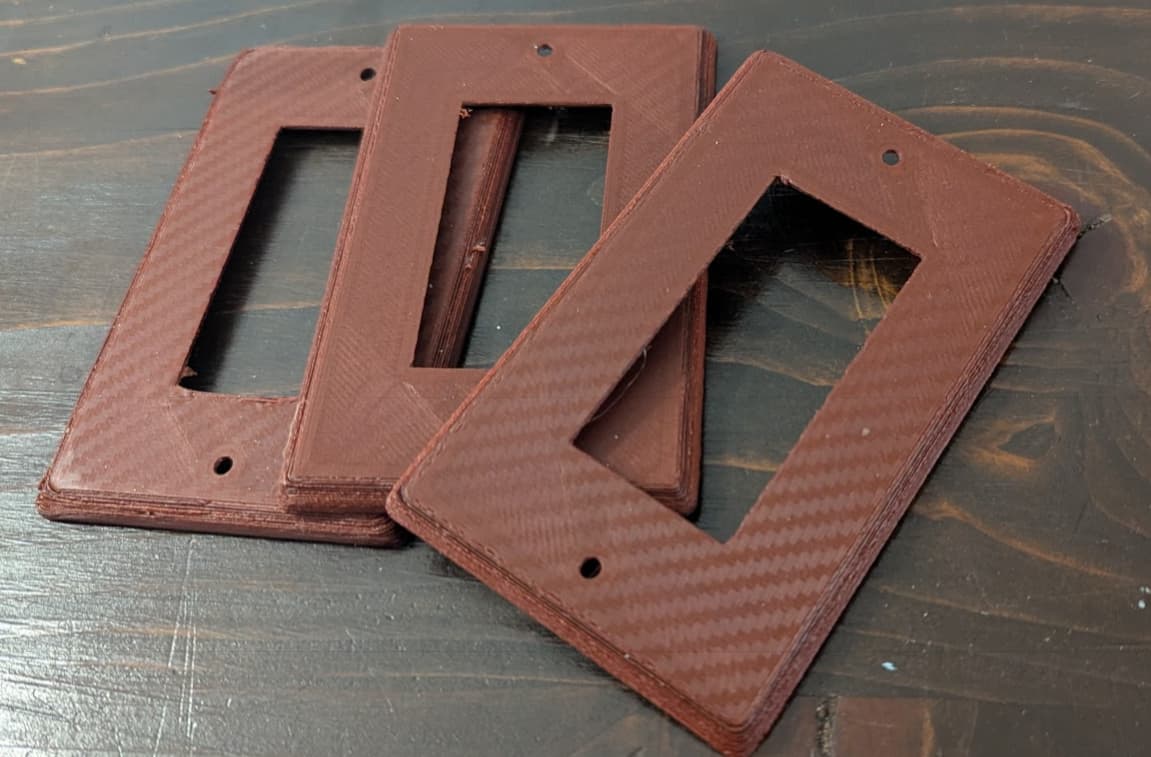
The magnetic build surface on this printer has textured pei on one side and carbon fiber on the other. Using a wood-filled PLA (that was pretty moisture rich, so the sides suck), the carbon pattern makes these look pretty cool I think:
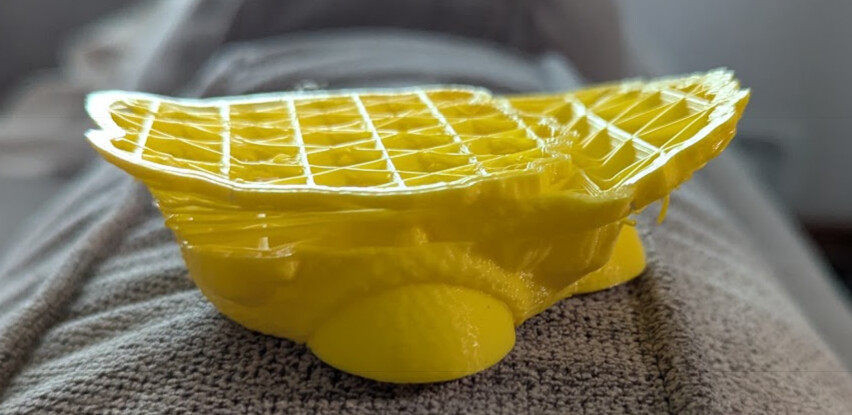
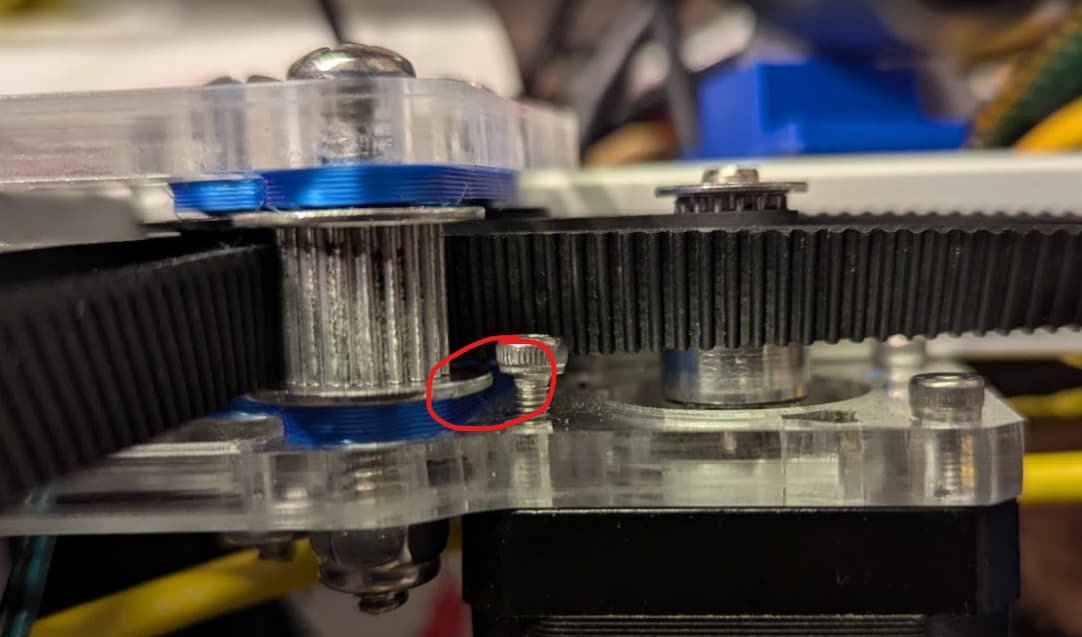
the sides being bent up was me trying to see if the layer adhesion was good (It is). The offset one way and thethen offset the other way was at 45 degrees, so it was the left rear motor. Grub screws are tight. The toothed pulley was catching on the motor bolt. Bolt was removed and then placed back in there for the photo to illustrate how it touches. It will get a philips head for each side now, but my preference is to not use the philips or the button heads because I strip them out and the socket head will balance on the end of the hex wrench for easy placement.
The socket head was causing the idler to bind. After powering off the motors, moving the core assembly by hand it was easy to feel it was binding. After removing the hot end core parts to manually move the linear rail trolley by itself, pointed to the motor side of the mechanism. In removing the motor bolts, that side didn’t want to come out because it hit the idler and once the bolt was out, it was free to move, so both bolts on the back motors were removed and will be replaced. This was a weird one and the fault of the author for not using the prescribed bolts.