Ok, so I am trying to use v bits and maybe I am not correctly understanding how they work. When trying to carve names with the vbit I am not getting the results I think I should be getting. For example it appears even though im chosing carve as an option I am not getting the effect that i think the vbit should be giving. How are you guys using your vbits with estlcam, like what settings are you using? Depth per pass, xy speed, plunge, etc? I am using dewalt dw660
Would you be able to provide a picture of the results you are getting? This would help identify where things may have been set up wrong in Estlcam.
1 Like
Yes , when i get home later today i will. Thabks for the reply
1 Like
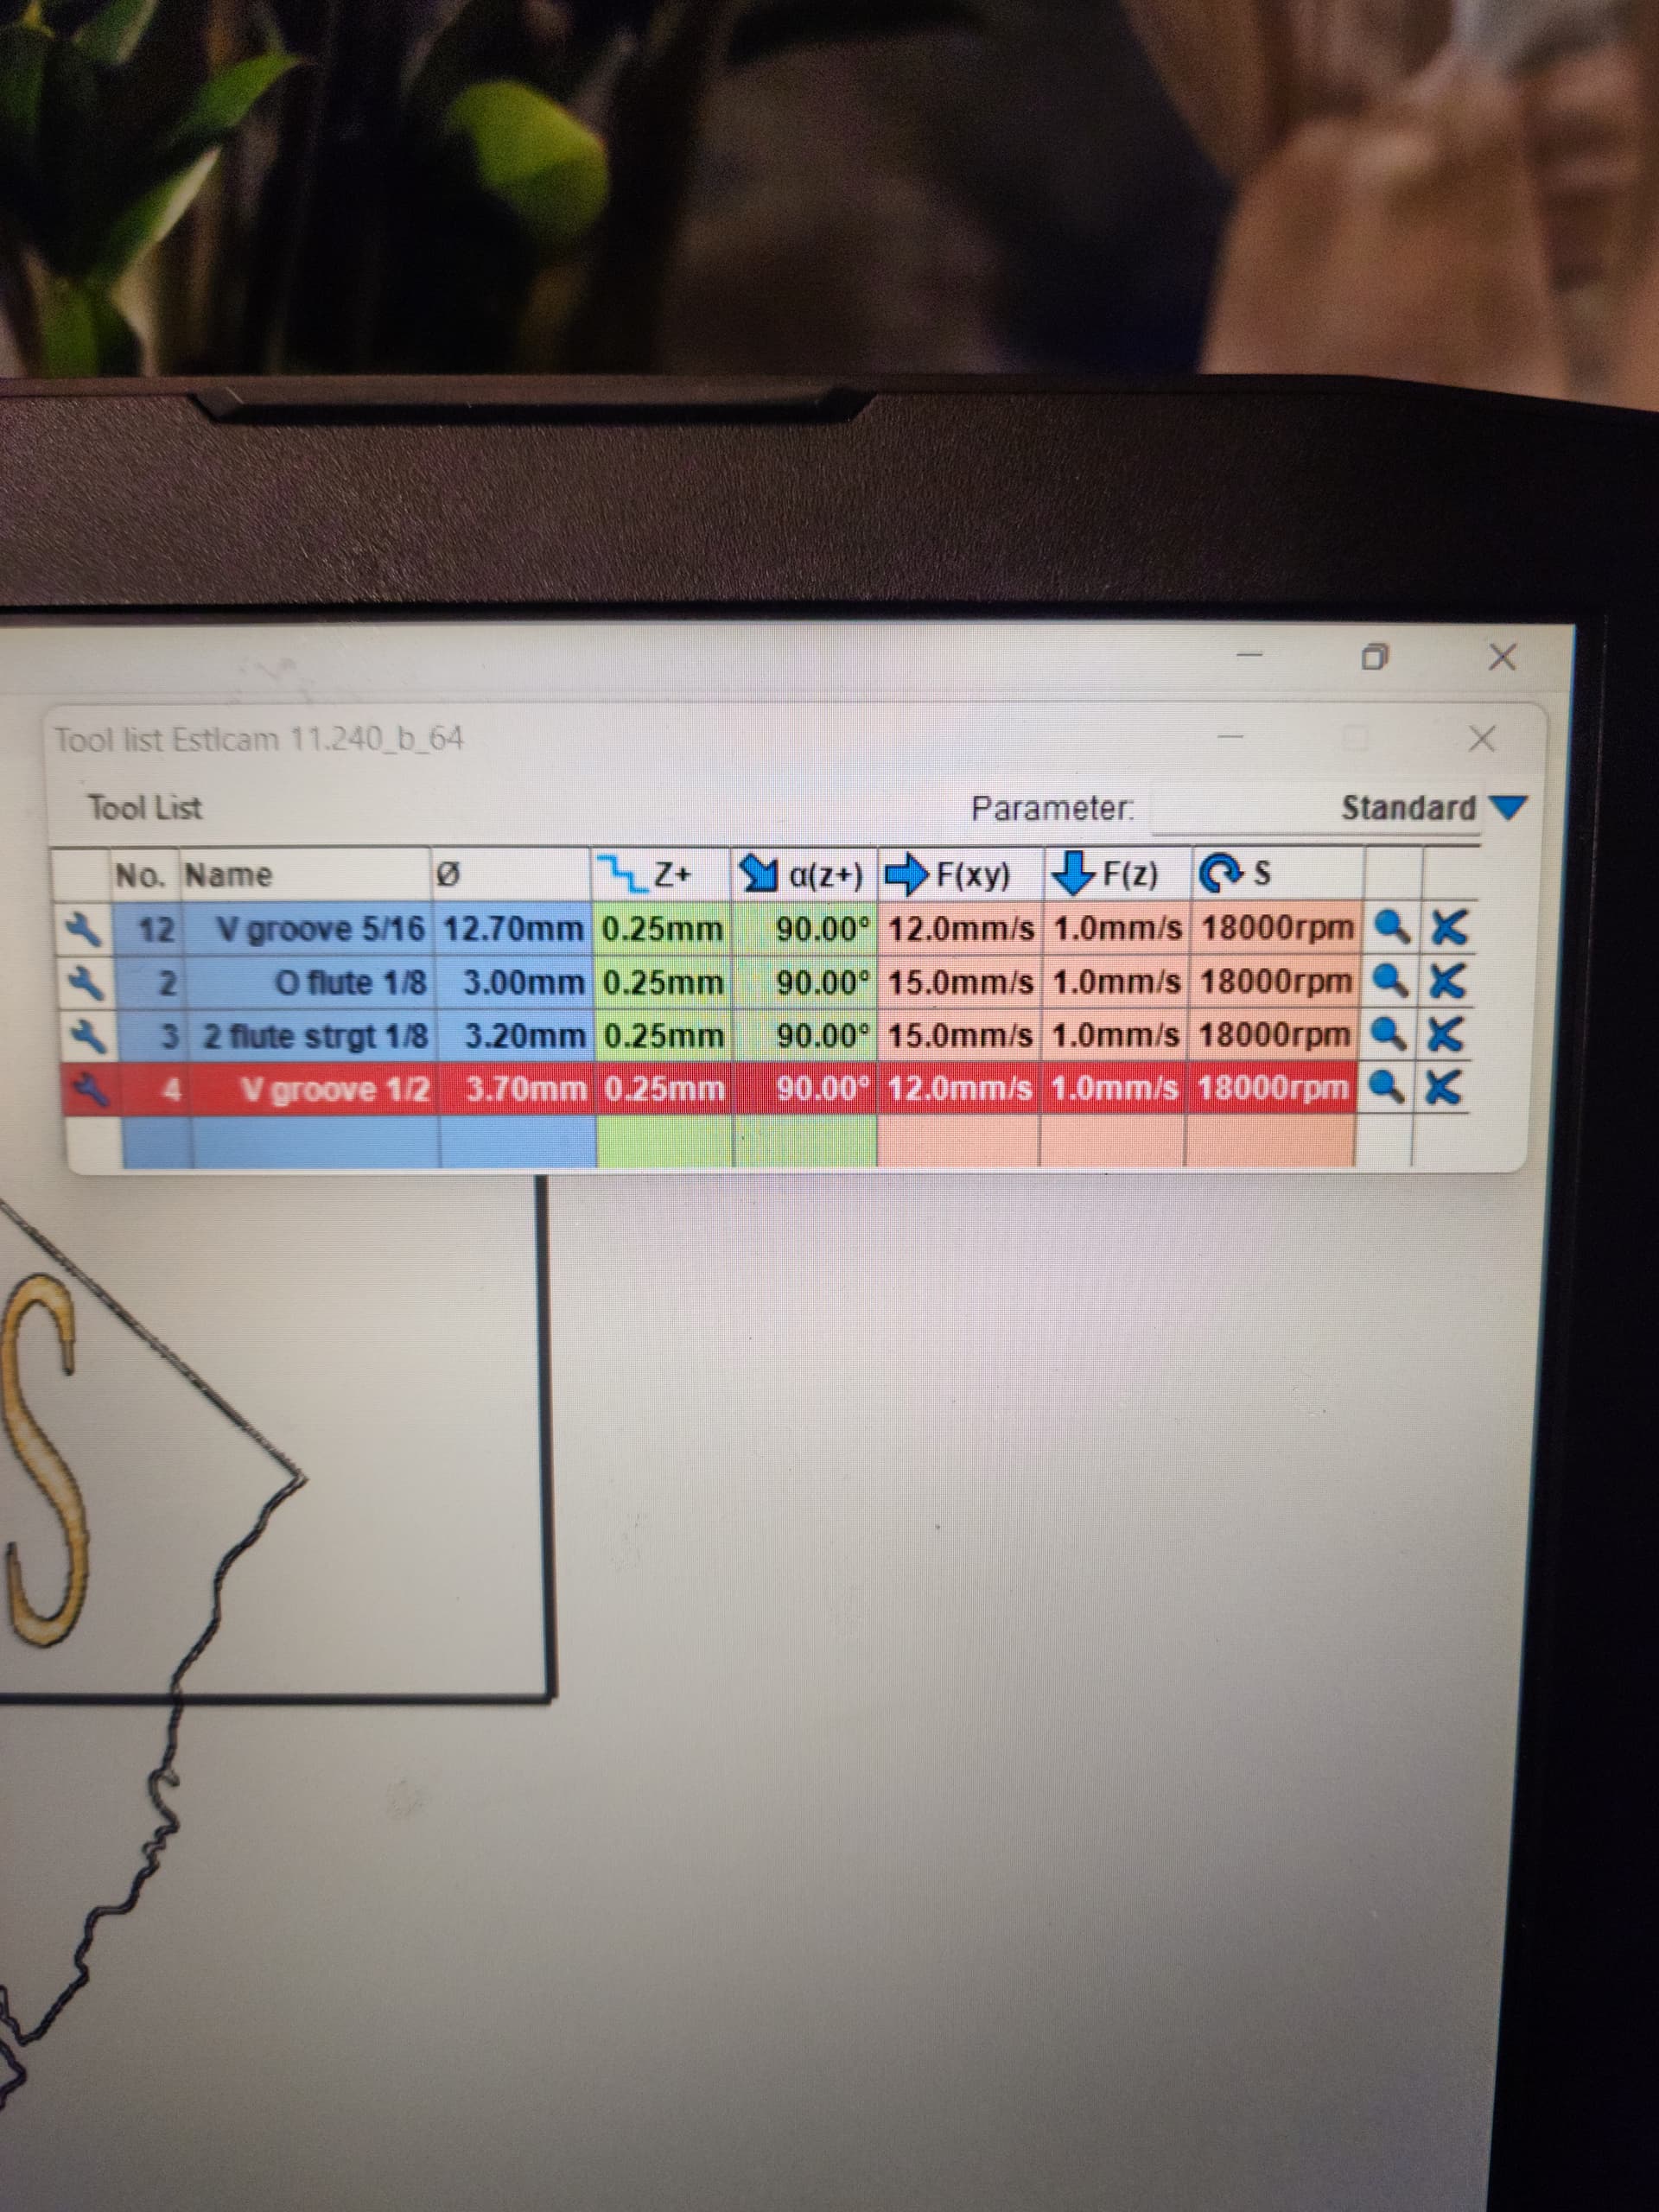
a pic of the estlcam setup with tool setup could be handy also.
I have played with the tool width and have done from 3mm up to 12.7mm. If i get close to the look i want then i cant go as deep as i want. I have also tried 1/4 up to 1 inch v bits
I don’t believe the images in this post finished uploading. We cannot see them.
Thank you I reloaded them
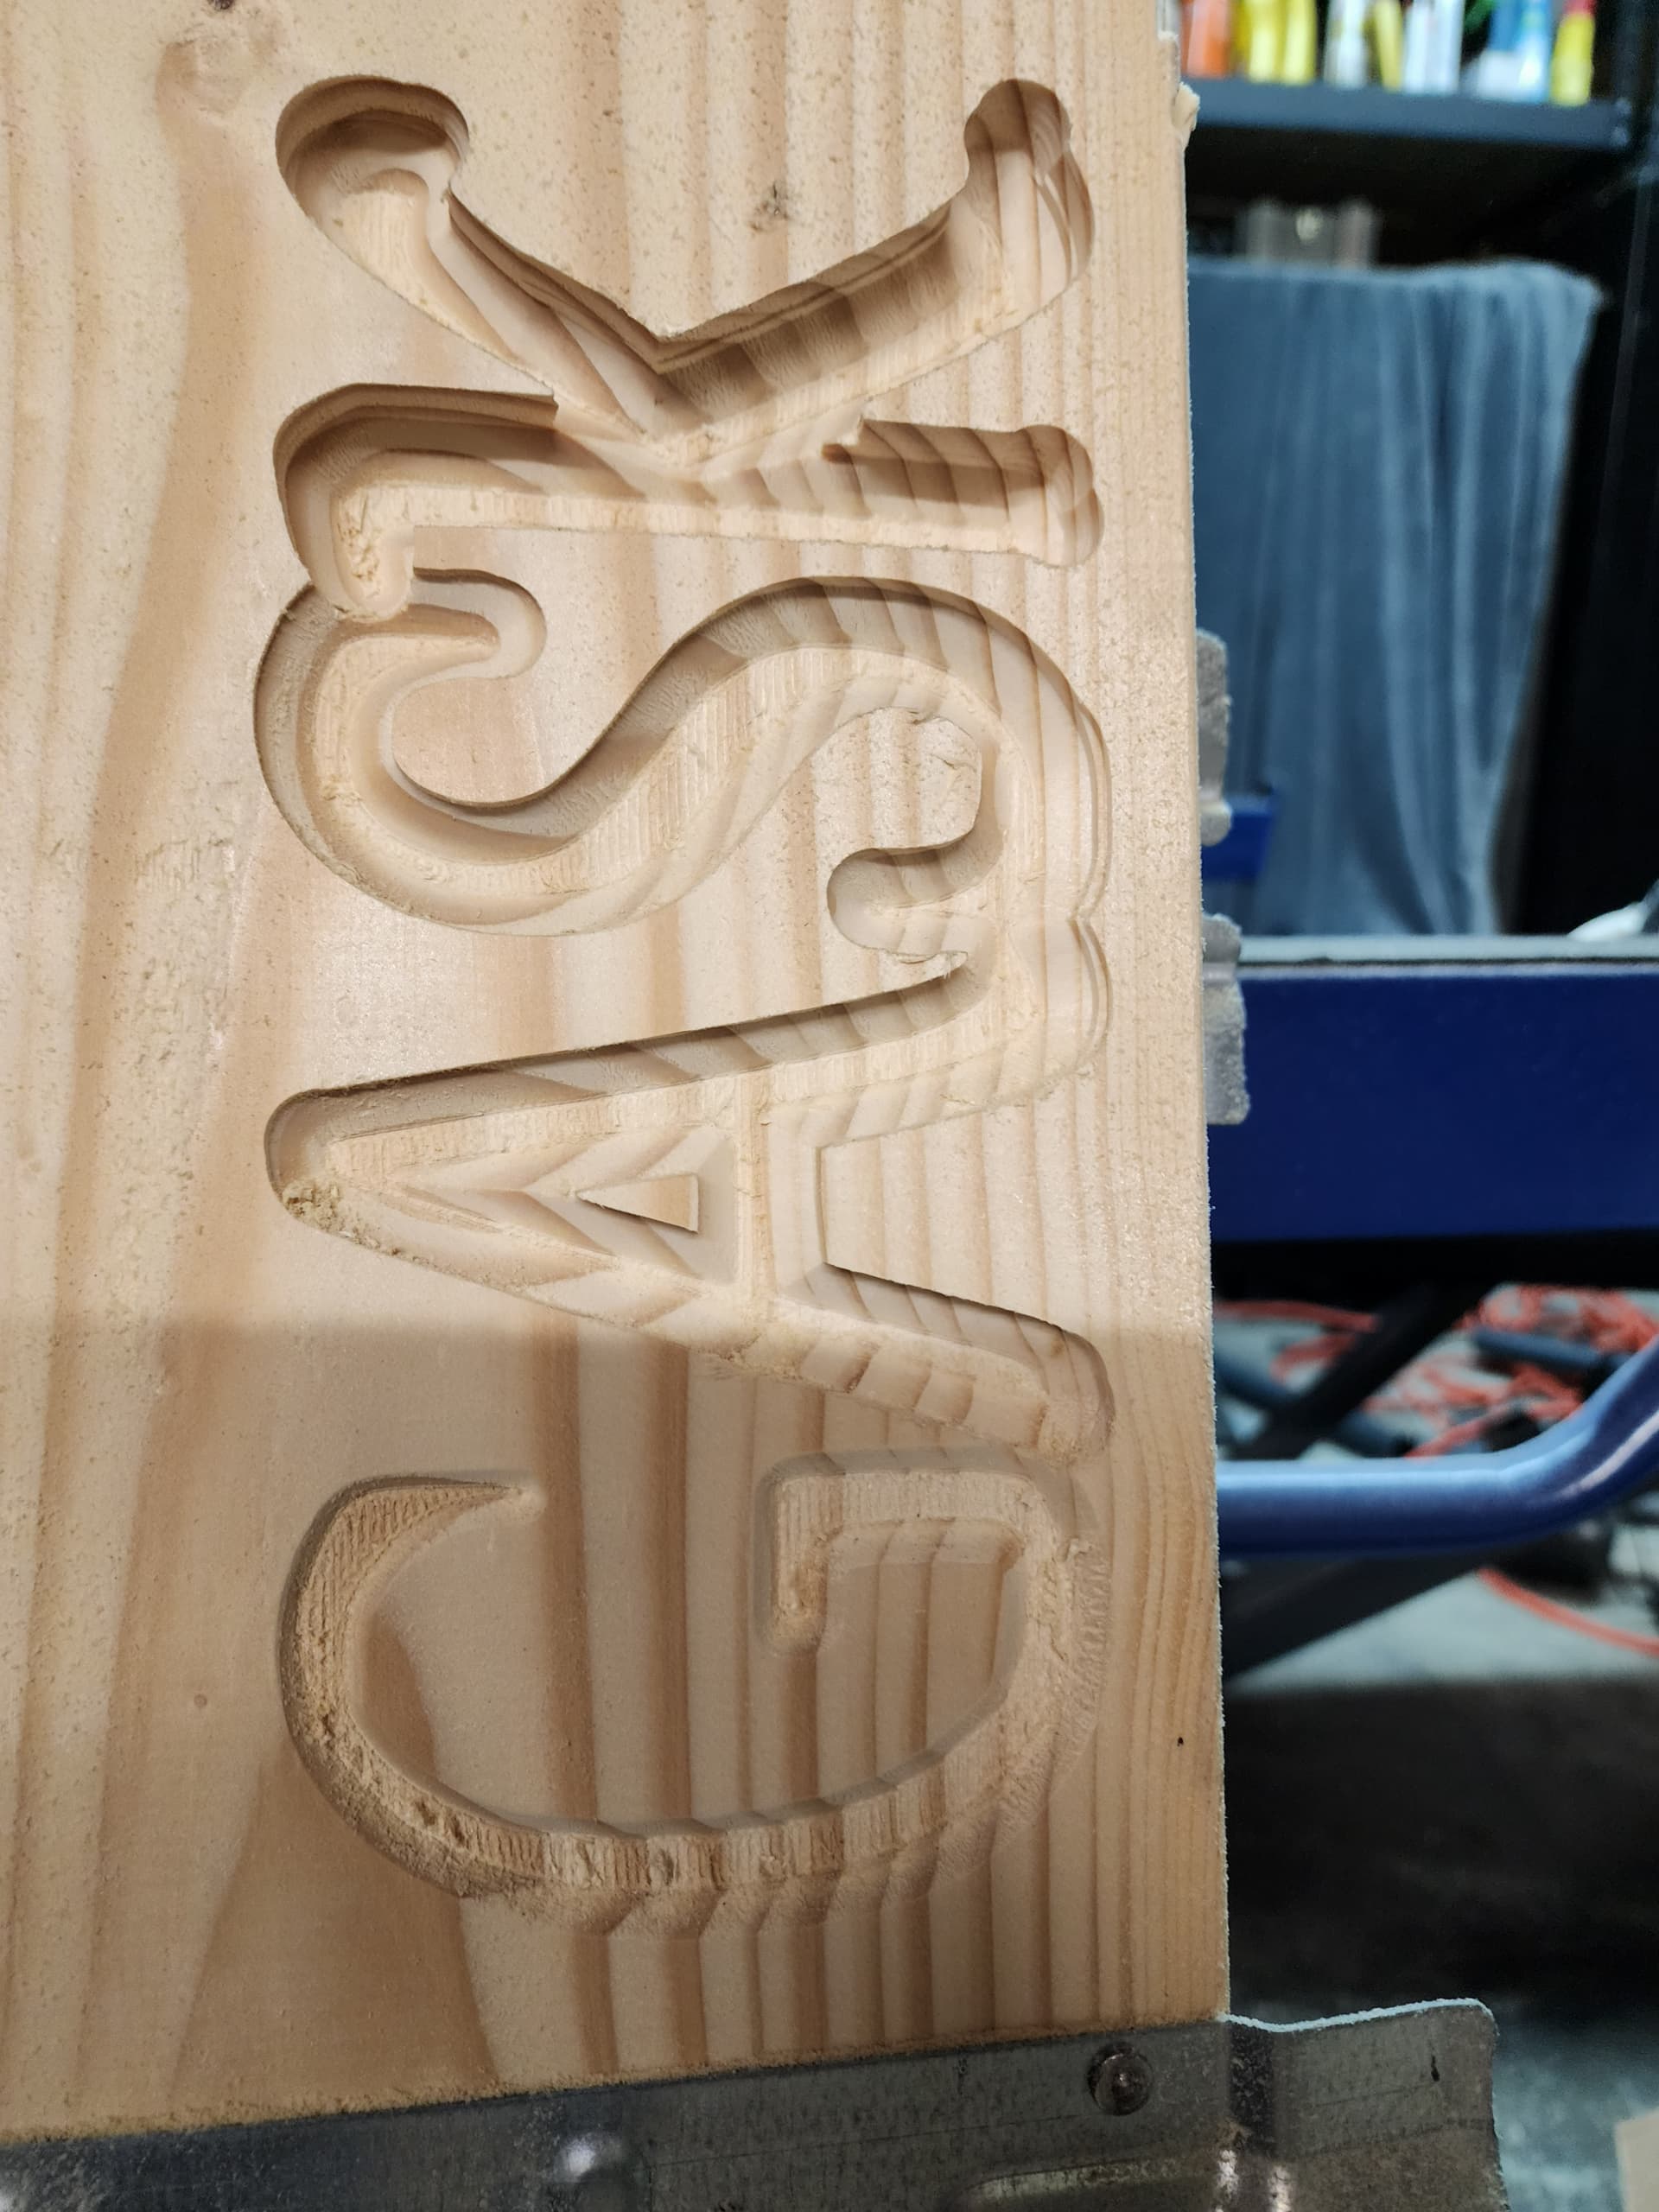
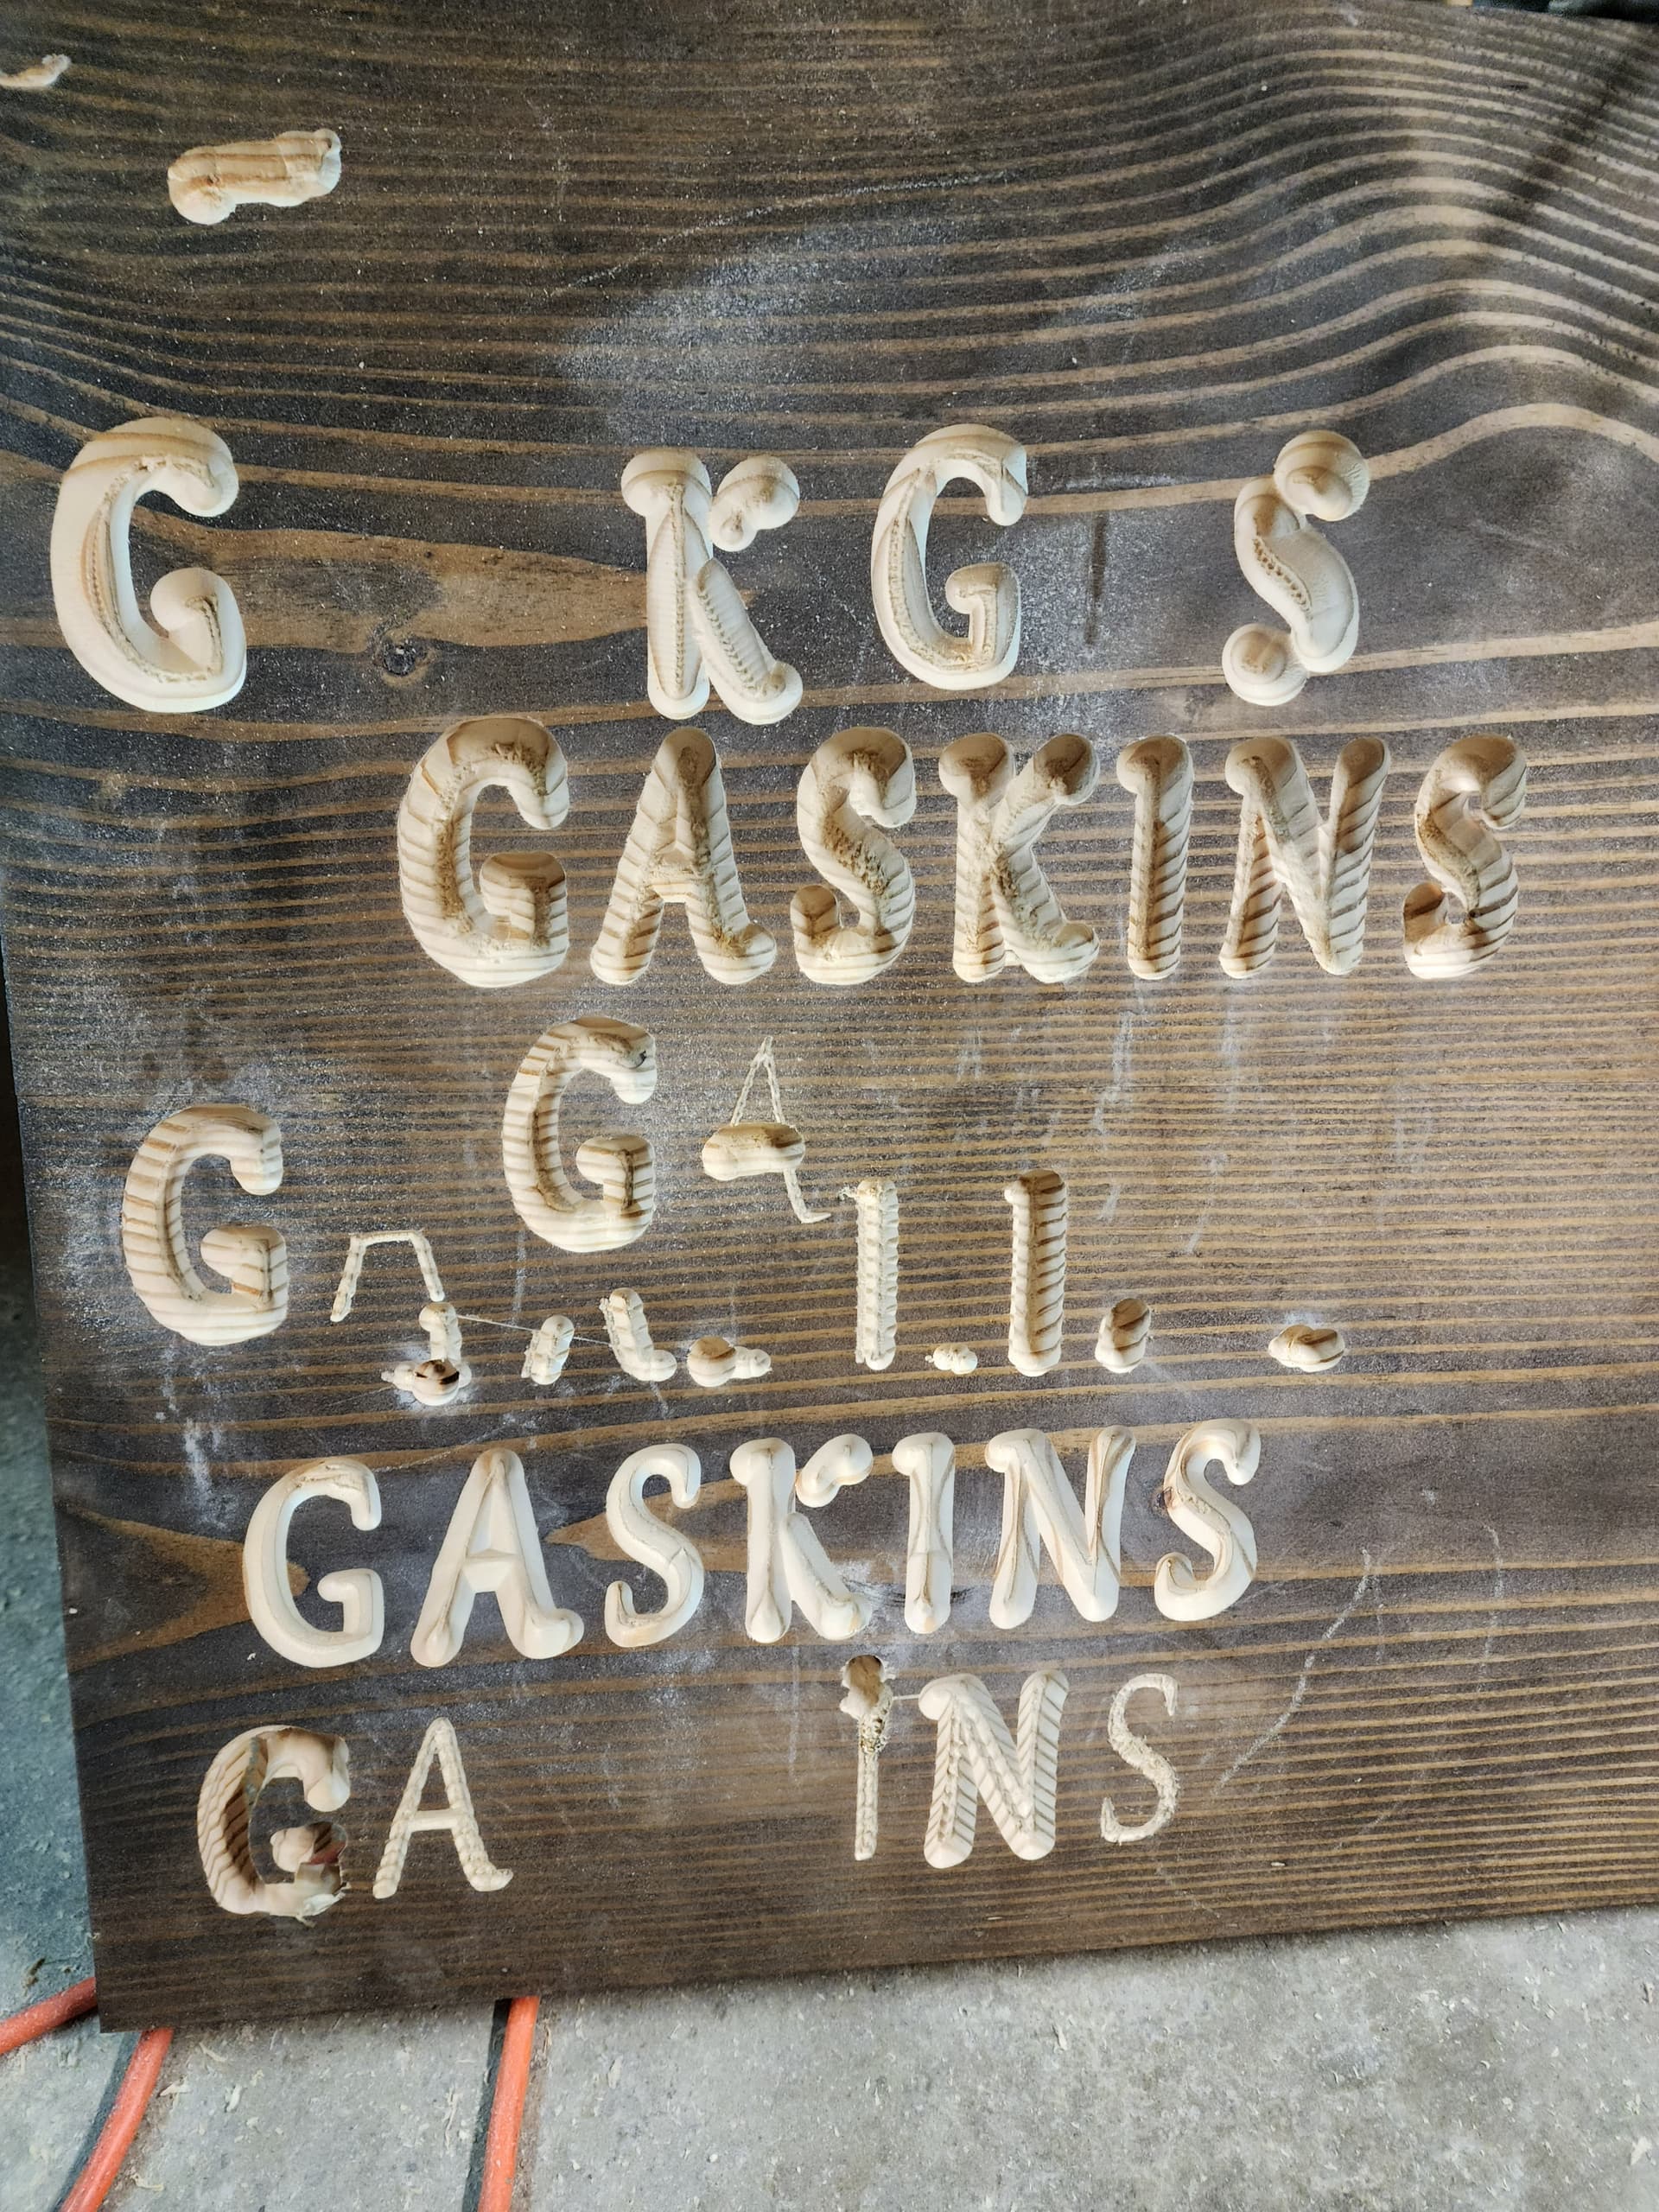
The first image is different depths the G is 1mm the AS is 1.5 and the k is 2mm however the effect on the G is what im looking for but want it to be about 1.5mm depth but when i go that deep it looses the definitioin.
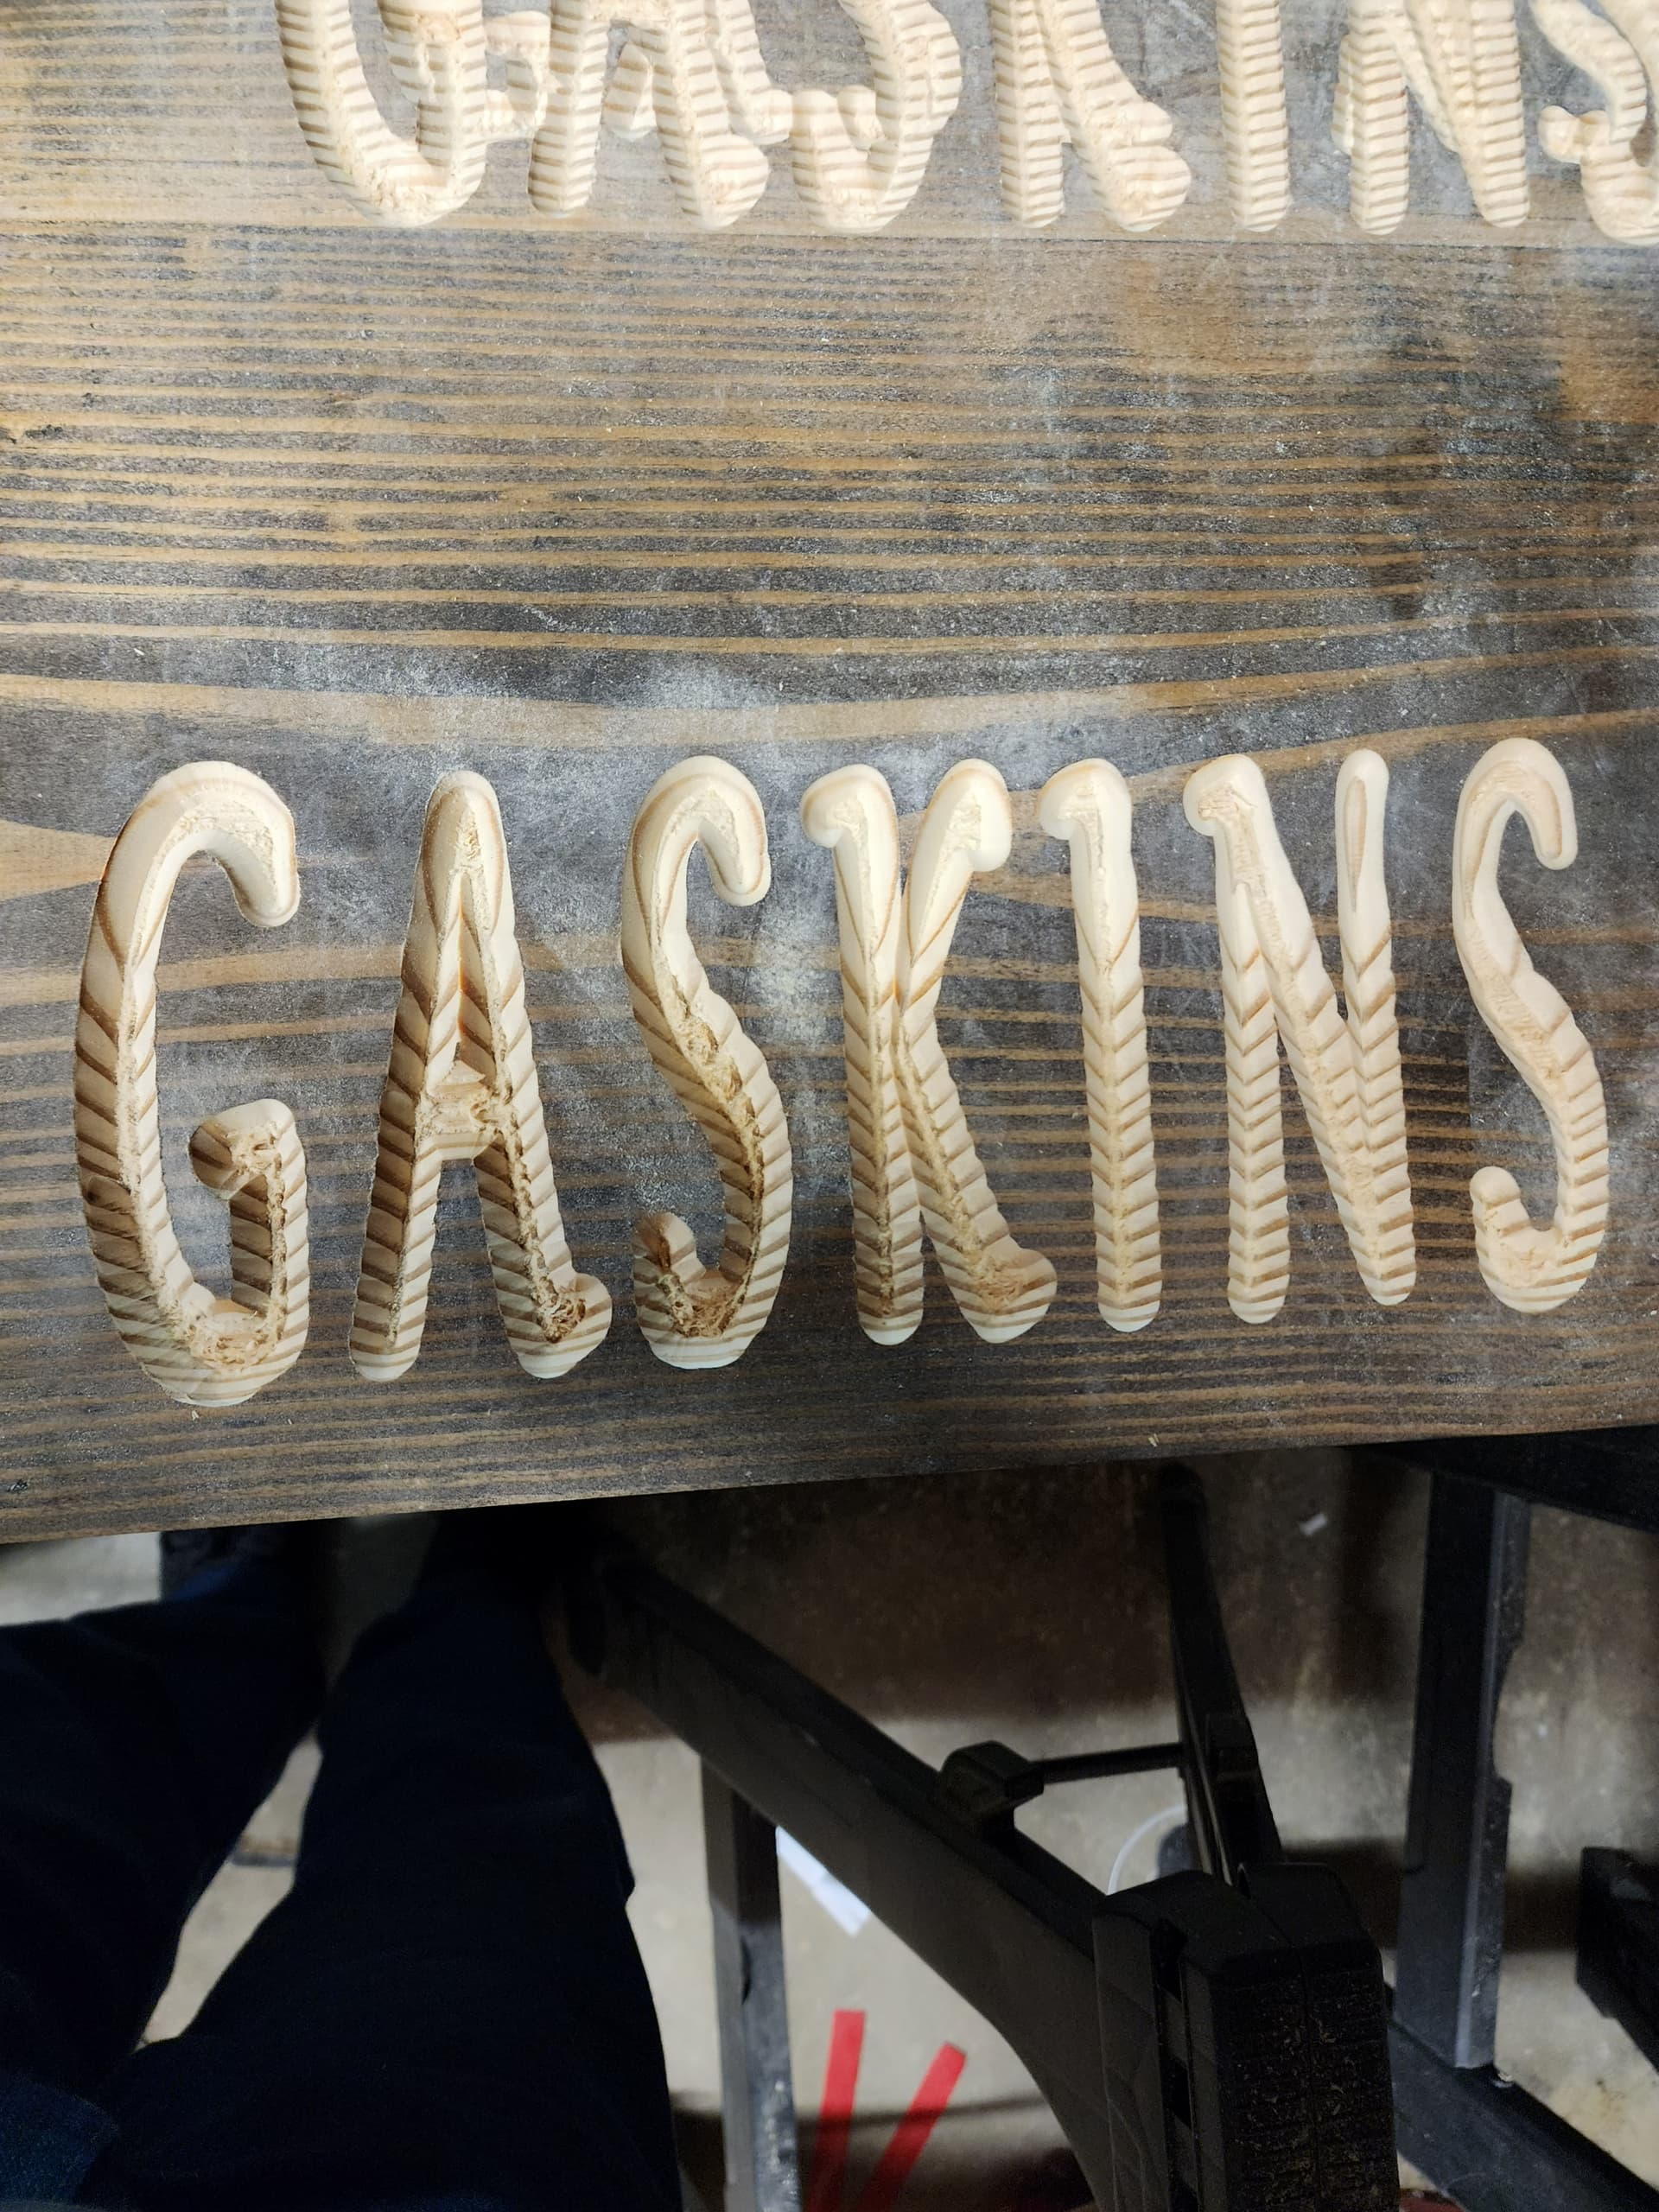
The last image is pretty close to what I want however it doesnt fully cut the inside of the letters out.
It has however cut with much greater details and having finer points around the tips of the letters which for some reason recently i have not been able to get the machine to do
1 Like
For the last one to explain why it didn‘t cut all the way to the bottom: Let‘s pretend you have a 90° V-Bit that is 10mm at the top. If you have letters that are 10mm deep and 10mm wide, it will cut them in one go, with the lowest part of the letter looking like you want it to.
If the letters are wider than 10mm, for instance 12mm, your endmill can still only go 10mm deep, so it will make two passes next to each other, resulting in those two fine lines you see in your last example.
It is important that you set the correct size at the top. It will always go as deep as possible with the endmill and double the lines if it can‘t cover more ground.
I hope this explanation was somehow understandable… ![]()
1 Like
Thank you for your reply.
I believe I understand. So if my vbit is 12mm wide at the top of the bit (the wideest part) I will set 12mm as the bits width which is defined under the O column, my depth per pass defined under the z+ column doesnt matter, my max depth will need to be set to mm from tip of bit to where its max width would be, correct?
Additionaly F(xy) is defined as the max speed x and y will travel during cutting, correct?
Estlcam calculates the max depth depending on the diameter (10mm wide for instance) and angle of the bit. It then automatcally goes as deep as needed (or does two passes next to each other if max depth is reached). You only need to set a depth if you want to limit it to, say, 5mm. If you do not want to make a toolchange, you have to set the stepover to 2% to have a somewhat even surface on the bottom.
The Z per pass does matter. If you put 10mm, it will do the 10mm in one go. That is definitely too much. Set it to 3 or 4mm first and see how that goes. It will then cut deeper with every pass until it hits the max or specified depth.
F(xy) is the speed of X and Y, correct.
I understand depth per pass i was meaning that it didnt matter what i set my depth per pass to as long as it goes to its max depth the depth per pass wouldnt effect the outcome of the carve if at the end the max depth of the bit was reached.
Can you elbaroate more on the stepover and about the toold change? Do i need to use the stepover on every carve? For example for name carves as pictured above shouod i be using stepover? Lets say with your example im using the 90° vbit and its 10mm wide and i only want the letters themselves 10mm wide. But only want to use the one bit to do the carve, i will then need to use a step over?
First statement is true.
Stepover is only needed for clearing (small) pockets, for bigger ones you would do a toolchange. For your engravings above a change is not needed. Stepover says how close the next “line” is to the one before when doing a cleanup job. So for a 10mm endmill a 2% stepover would do the next line 0.2mm after the one before. If you used 50%, it would do the next line 5mm away (which would be stupid because it calculates the stepover based on the diameter of the biggest part of the endmill).
Should i be entering anything in for finishing allowance?
And also wouldn’t a vbit be considered 2 flutes?
Ok maybe this will better explain.
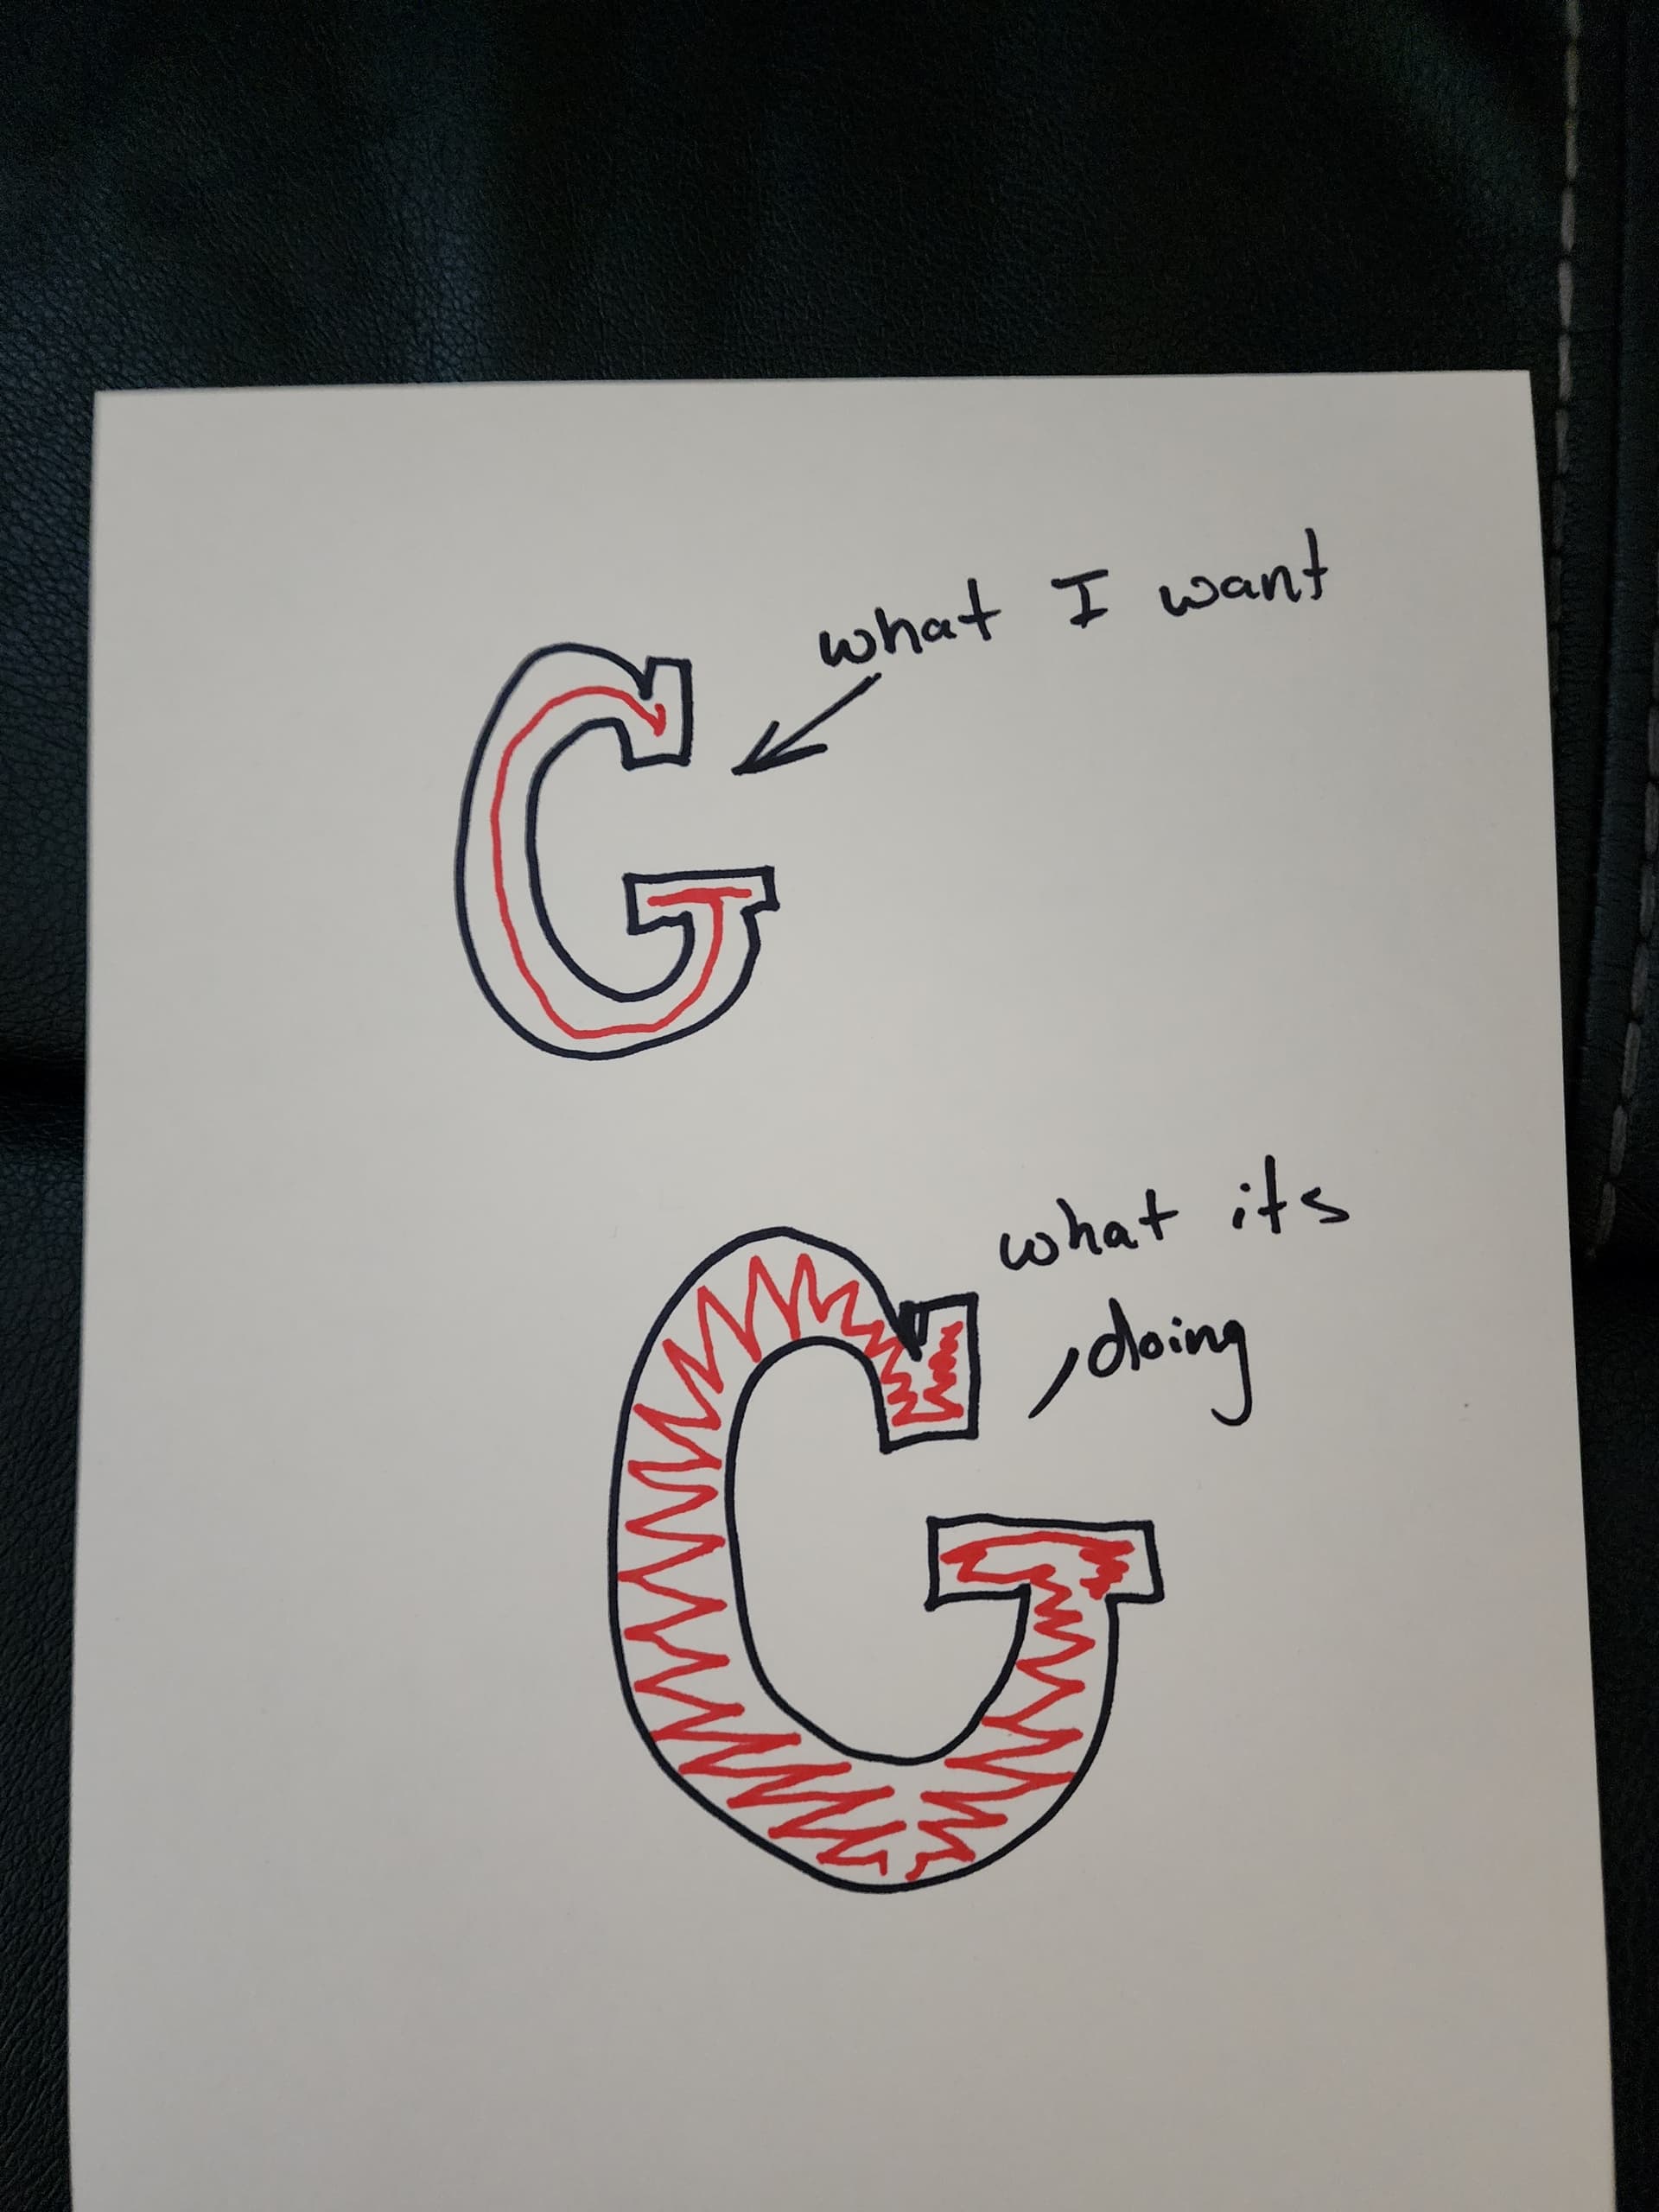
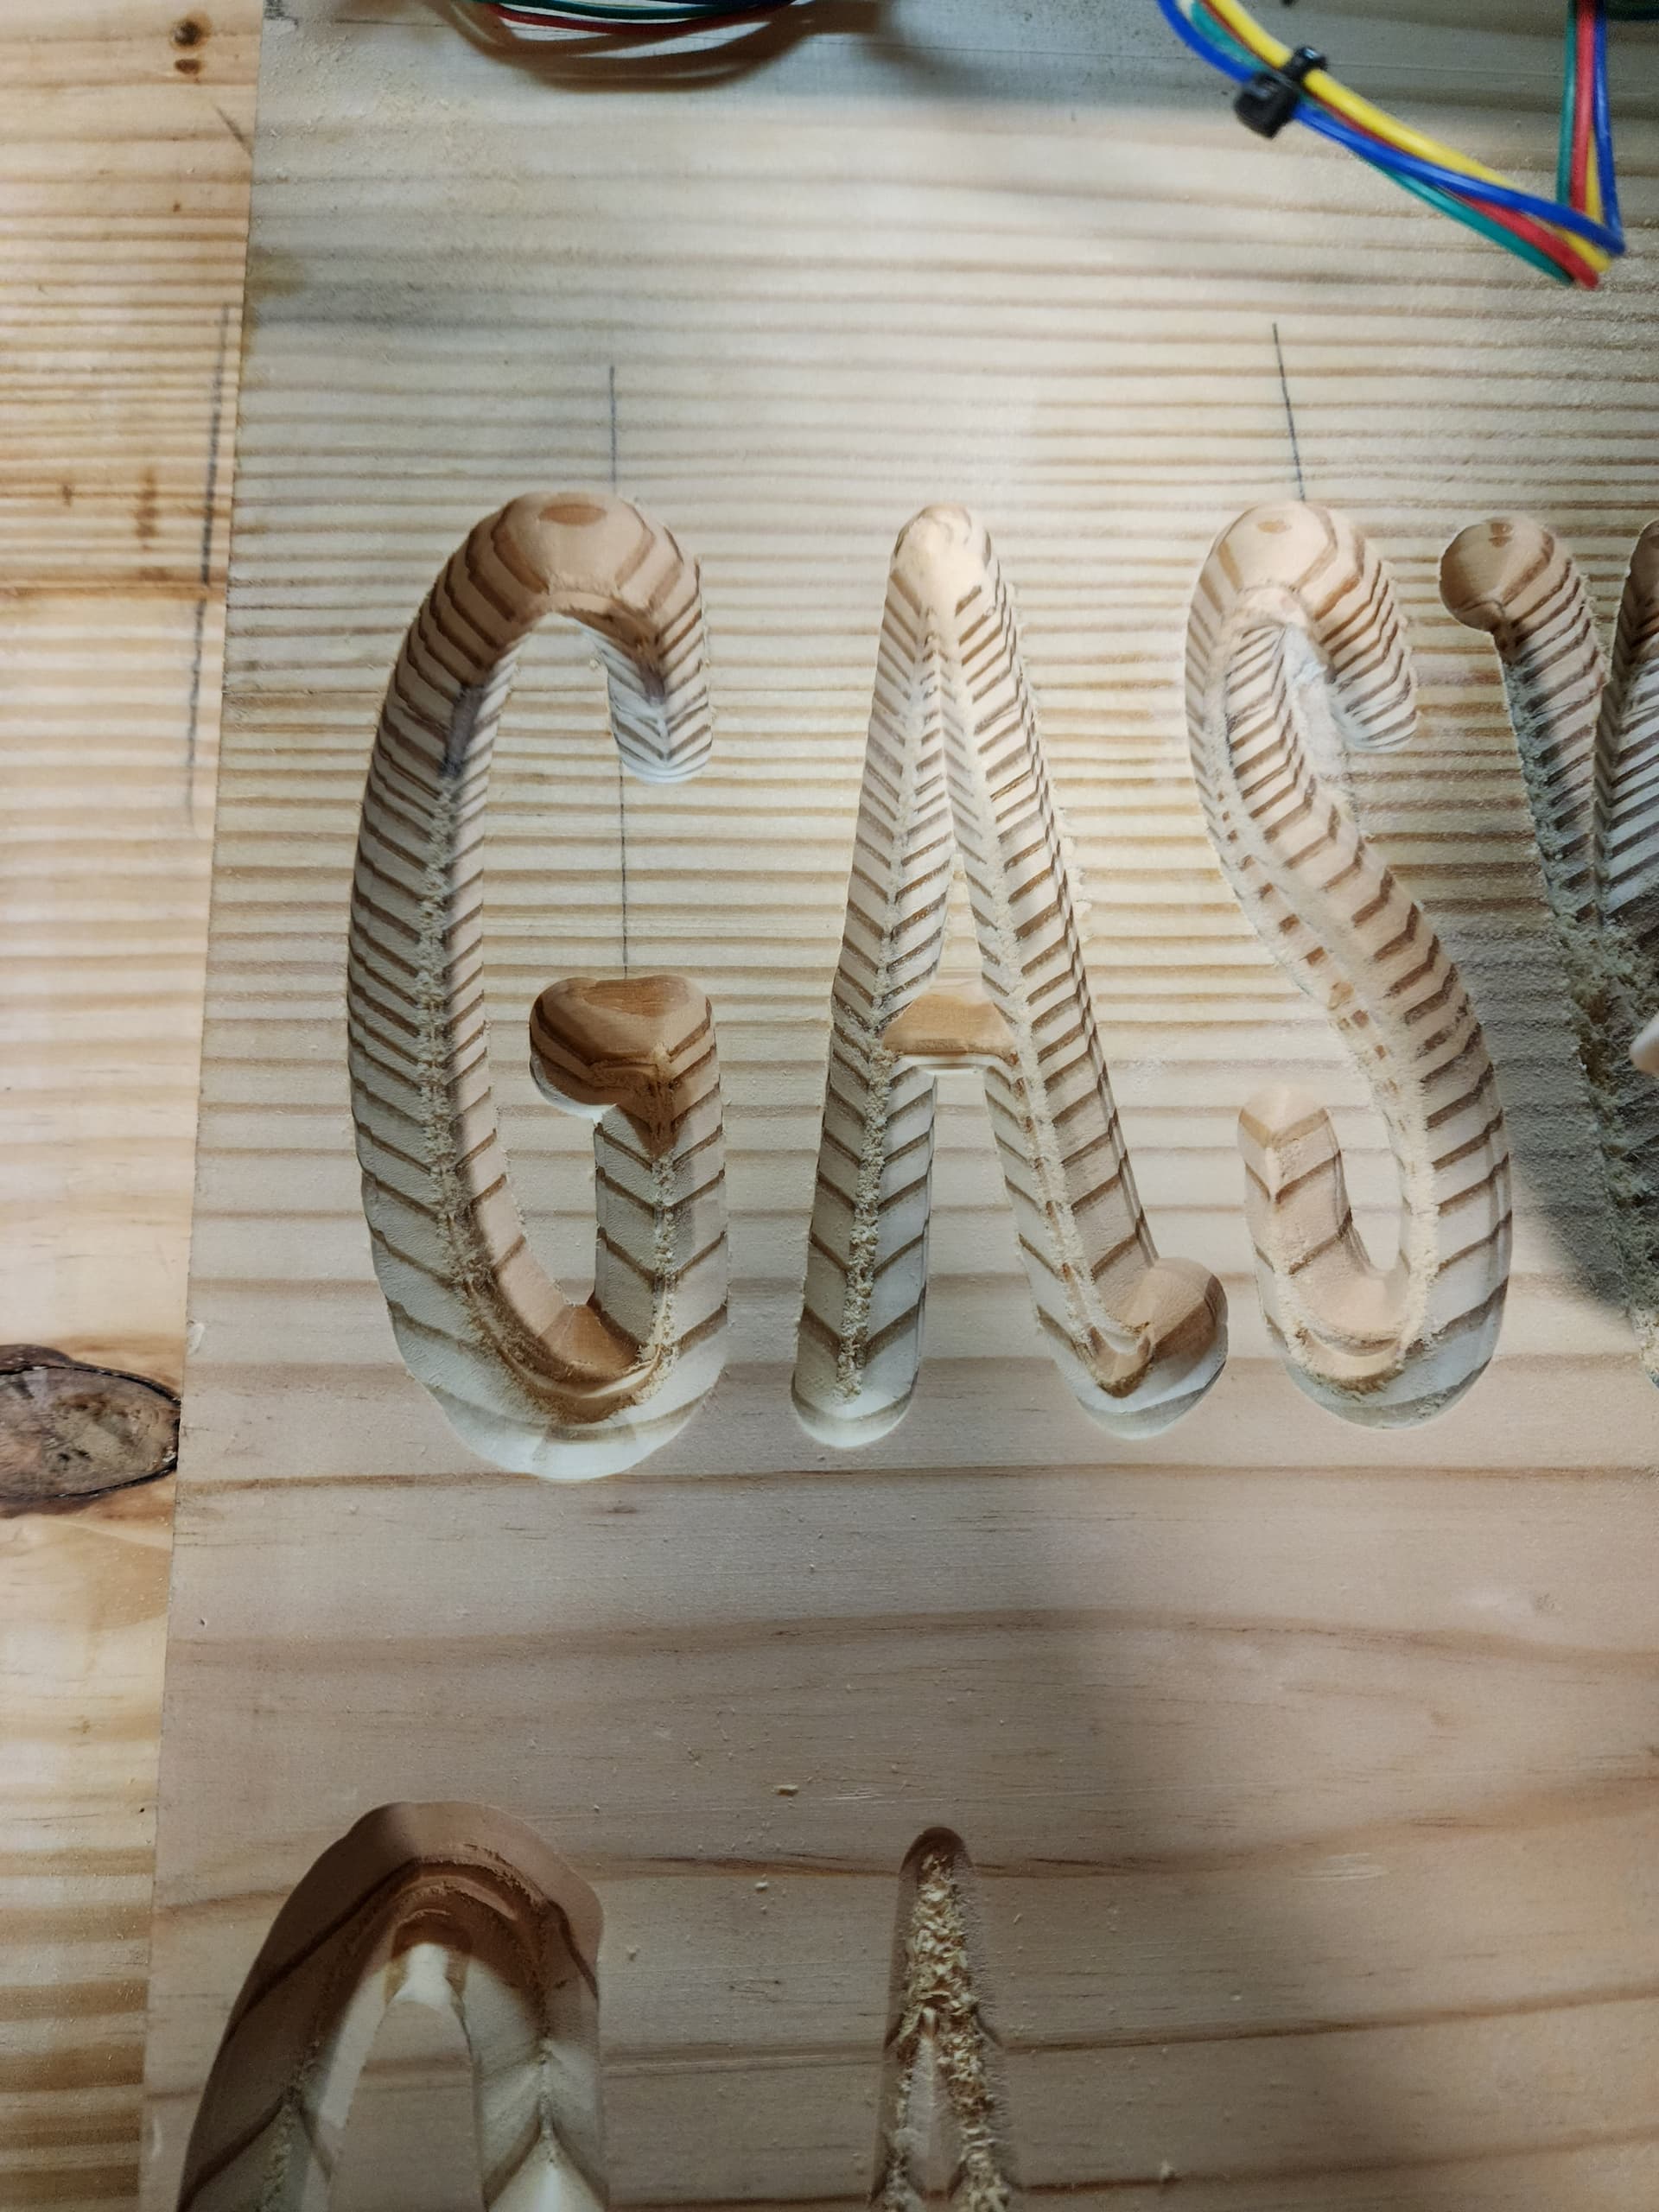
What i want it to do is single passes down the center of the letter as I believe this is what will give it the full most accurate effect of the vbit, however what it keeps doing is making its passes side to side inside the shape of the letters. Red being the bit
It goes side to side if it is not wide enough to clear it in one go. Then the letter is broader than your bit can manage.
You can see it in the letters here: A pencil case. Again. How many more, you might ask. A lot, I say!, right? That’s what you mean?
So if thats the case and i currently have the vbit at 12mm in the settings, would i just be able to say the bit is bigger than it actually is and get it to work correctly?
Can you upload your dxf please? I would like to have a look. ![]()
Yes give me a little bit when i can get back home to my laptop