Total cnc noob attempted build

Marked out my wood to cut and it appears the weather has changed for storm Dave…. seriously, who names a storm Dave?

Anyhow, got to playing with the jackpot 3 controller iinstead and messing about with wires and such. I am having a slight issue.

Firstly, it appears the controller isn’t a fan of using the webui to flash over OSX ( possibly as mac silicon ) and doesnt see what chipset etc.

Tried via parallels and worked fine after driver install.

Now, I have the 3.9.9 installed but I am slightly curious over Releases · V1EngineeringInc/FluidNC_Configs · GitHub

I tried deleting my configs on the device and uploading these ones but it wouldnt then boot and required reflashing. Am I meant to upload these?

Oooooo Amazons just been with cable tidy chinese finger lock things…. will get onto that for now!

You need to download and install the driver from here to connect to the JP3.

1 Like

Hi Britt, yes I did that so it works via parallels on mac osx, but not natively. Its not an issue as such just an observation for mac users.

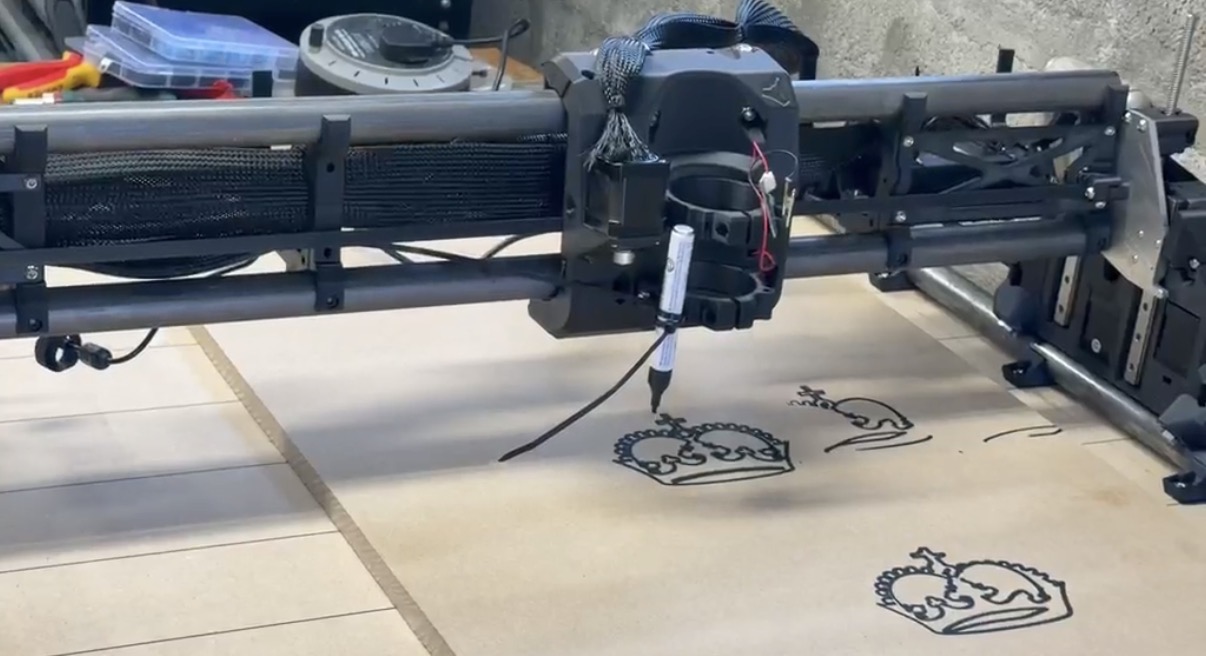
Good news! Half wired, managed to use the config today and it just decided to work - Im wondering if this was an issue between the chair and the keyboard tbh and it had swapped over wifi without me noticing last time! Limit switches all functioning and z works! Hopefully my router will be here tomorrow and I can do some more building :slight_smile:

I use a Mac also. If you install the driver, it will work on your Mac. You don’t need Windows to connect to the Jackpot. You have to enable it. Go to System Settings and under General - Login Items and Extensions.

1 Like

Aye, it didn’t allow me to flash it except windows. It connects ok but errored flash. Works fine since 3.9.9 was flashed :slight_smile:

Fun with a hand saw today… pretty straight tho Tbf :smiling_face_with_sunglasses:

All probes and wiring done bar core. All probes reading :slight_smile: amazed since I had managed to rub the writing off a couple of the markers ( gel marker pens )

1 Like

Spoke too soon, z and y on one side were back to front, being lazy I just swapped them over in the yaml file so alls good :slight_smile:

don’t think it will be long till she lives! Did a quick z test today and appears to run :slight_smile:

1 Like

Nothing wrong with that. Just remember if you ever go to start with a fresh config file that you will have to swap it again

1 Like

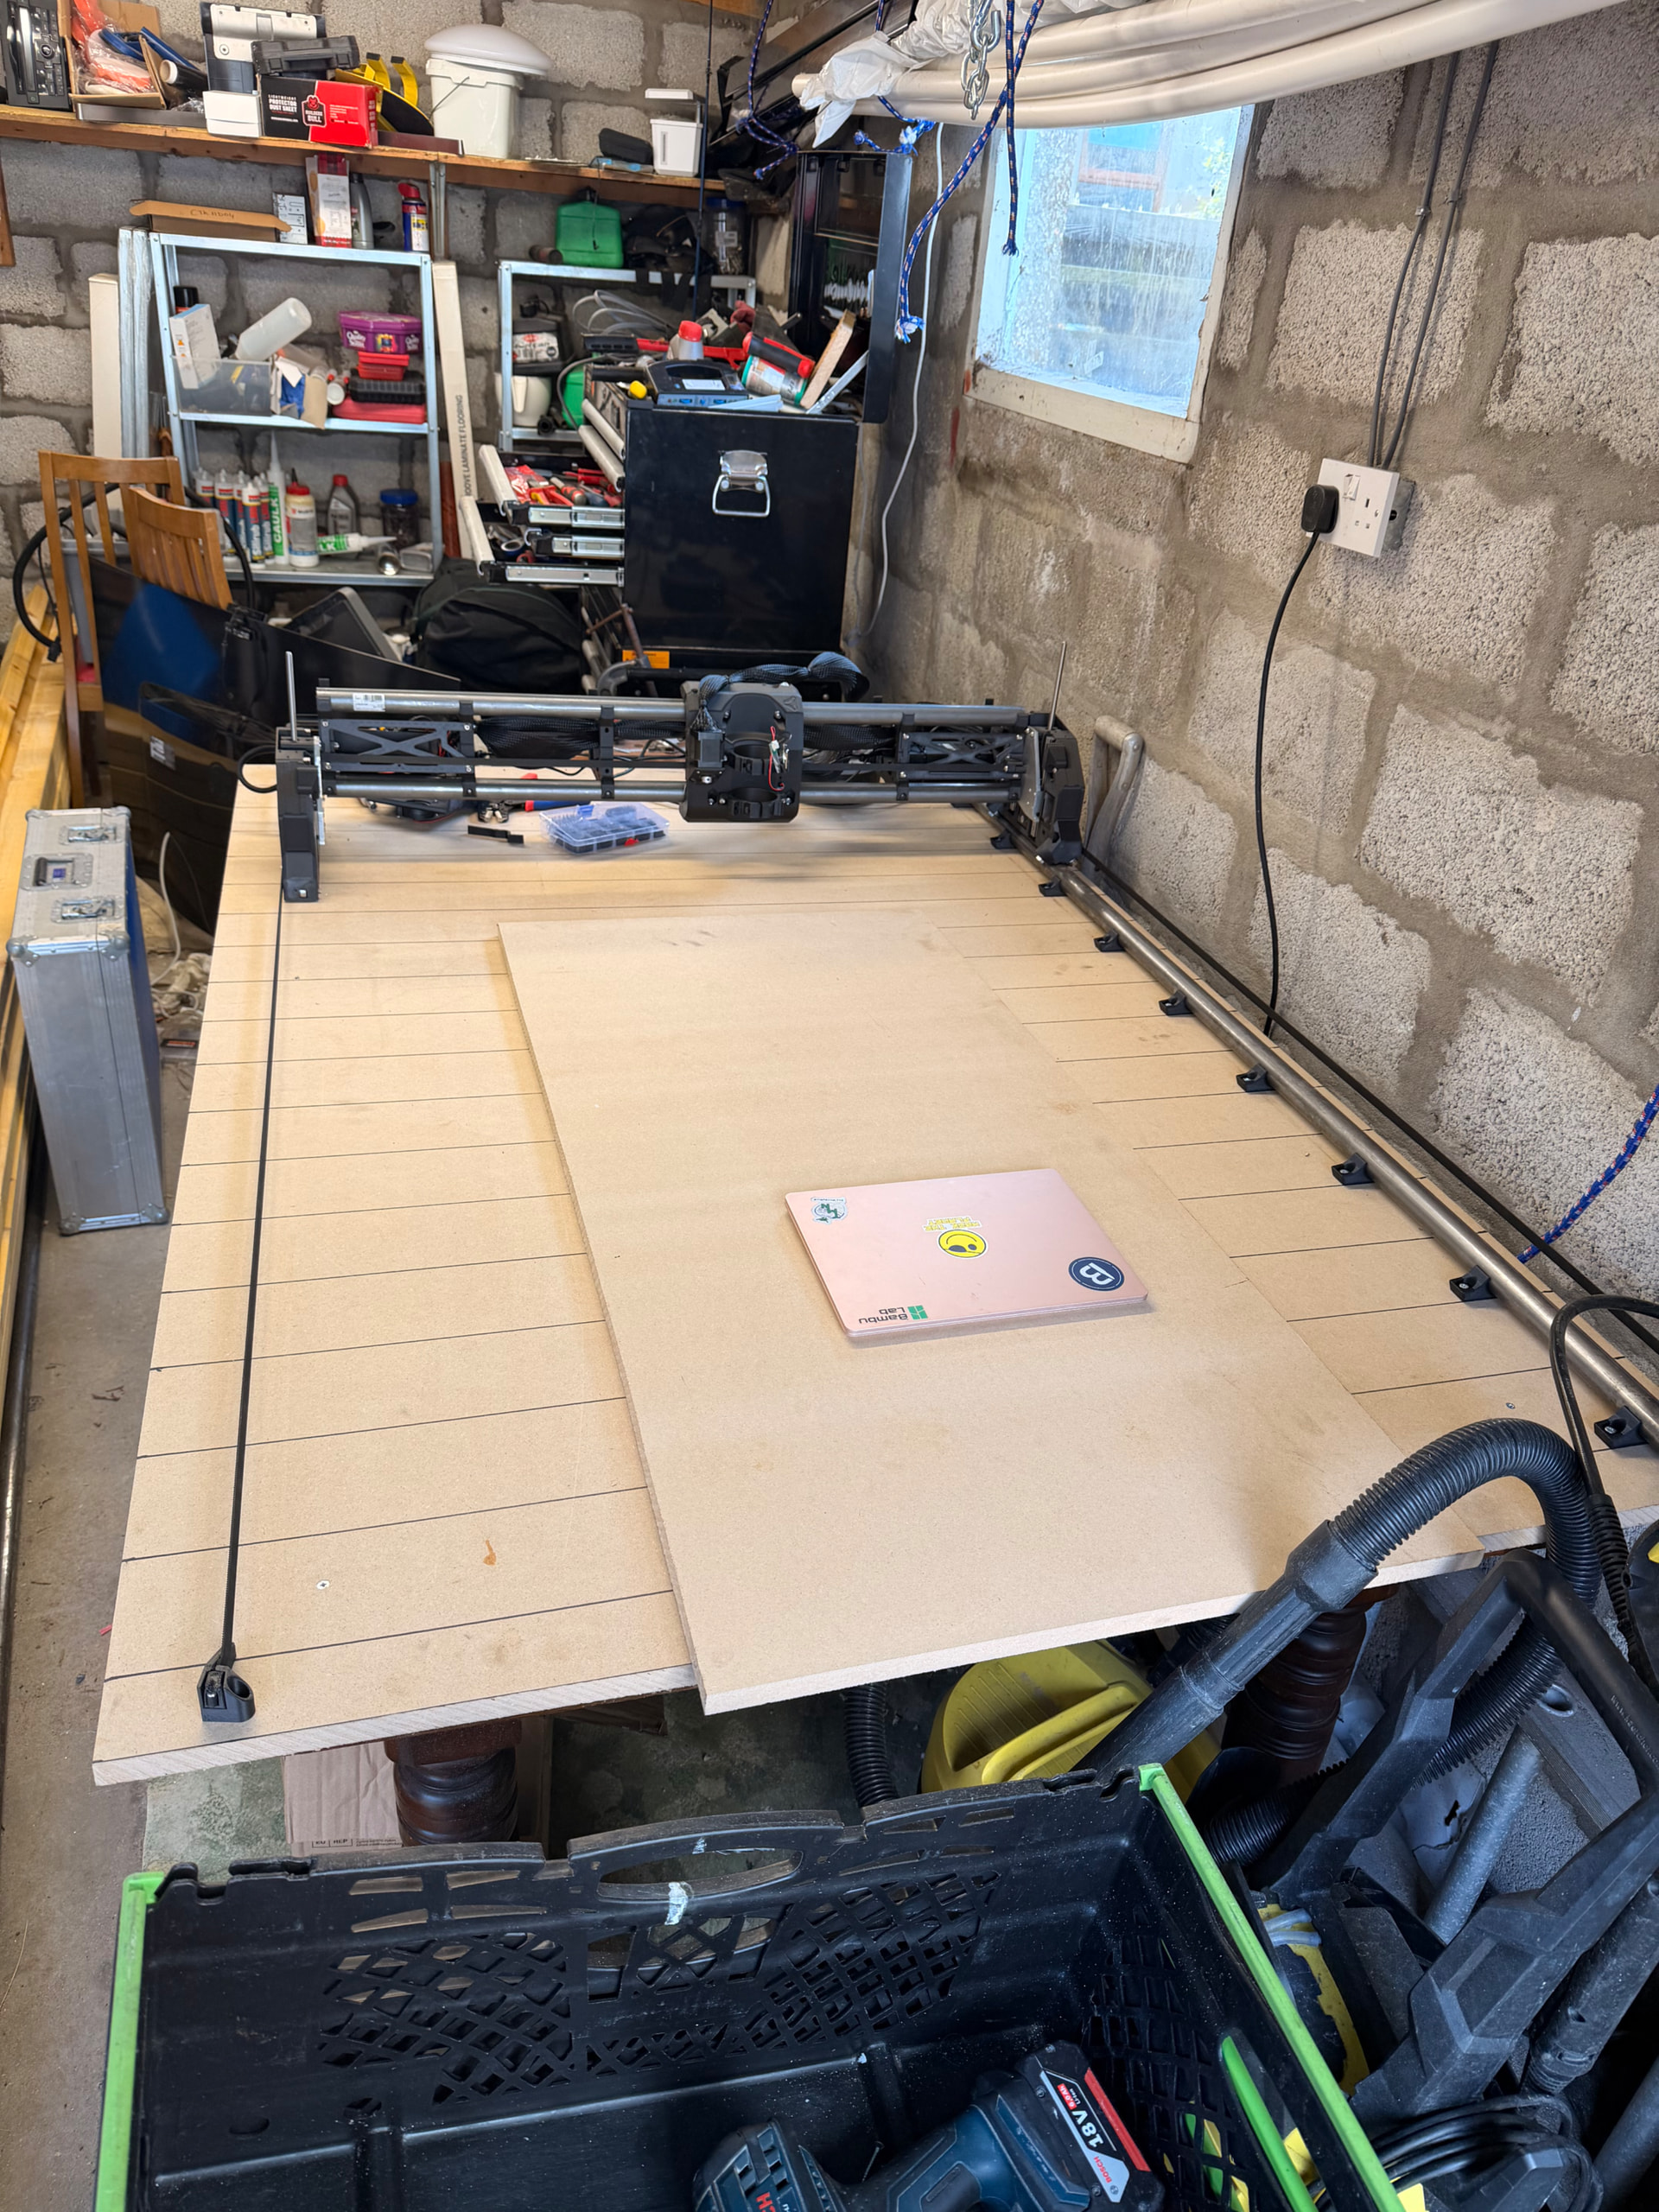
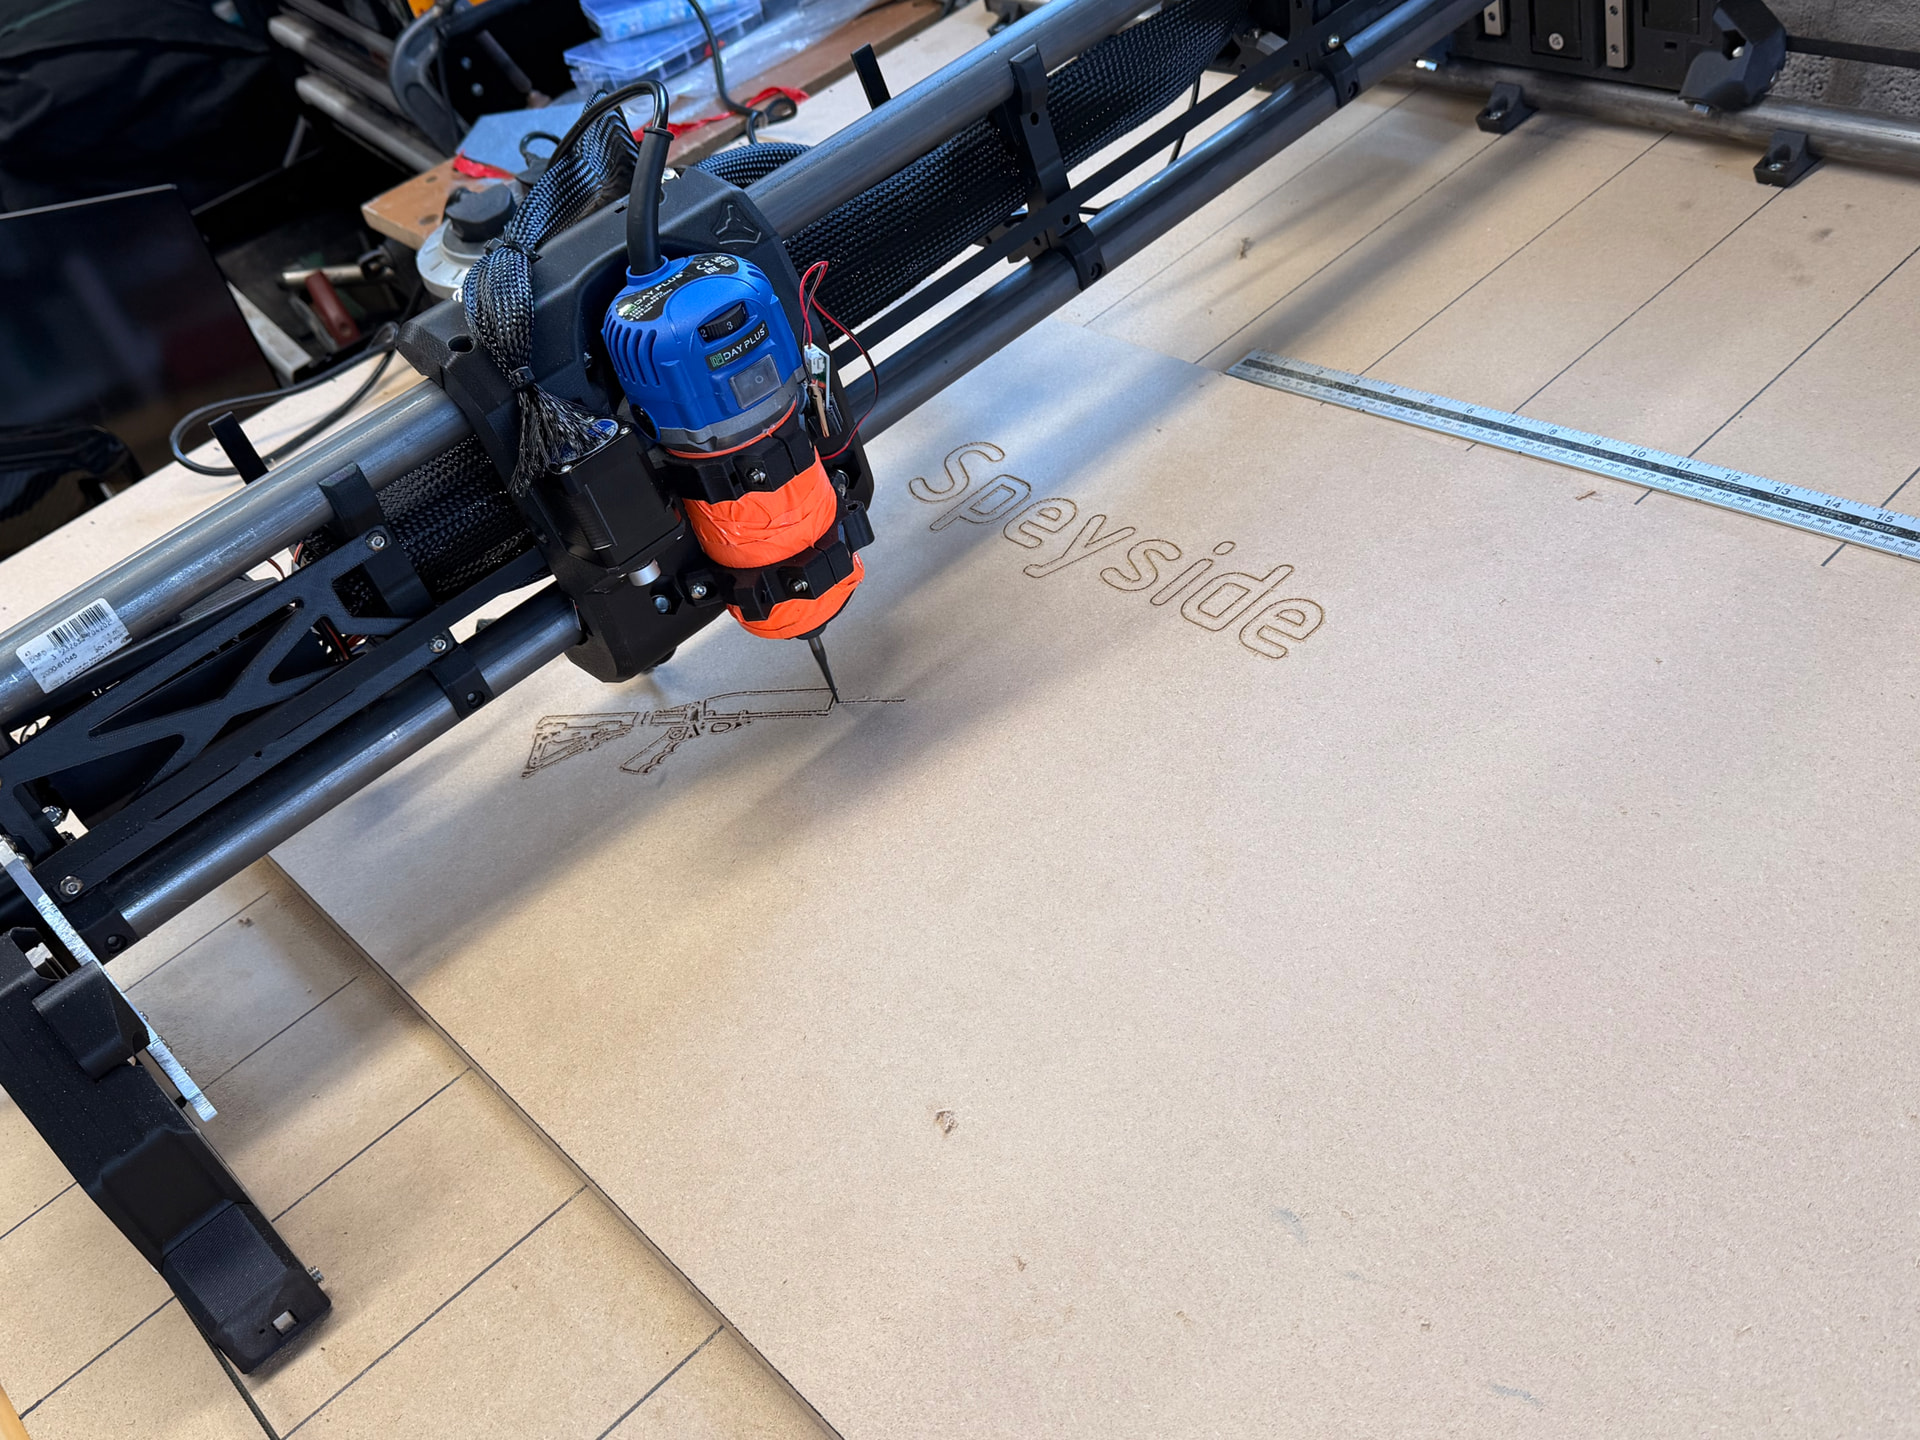
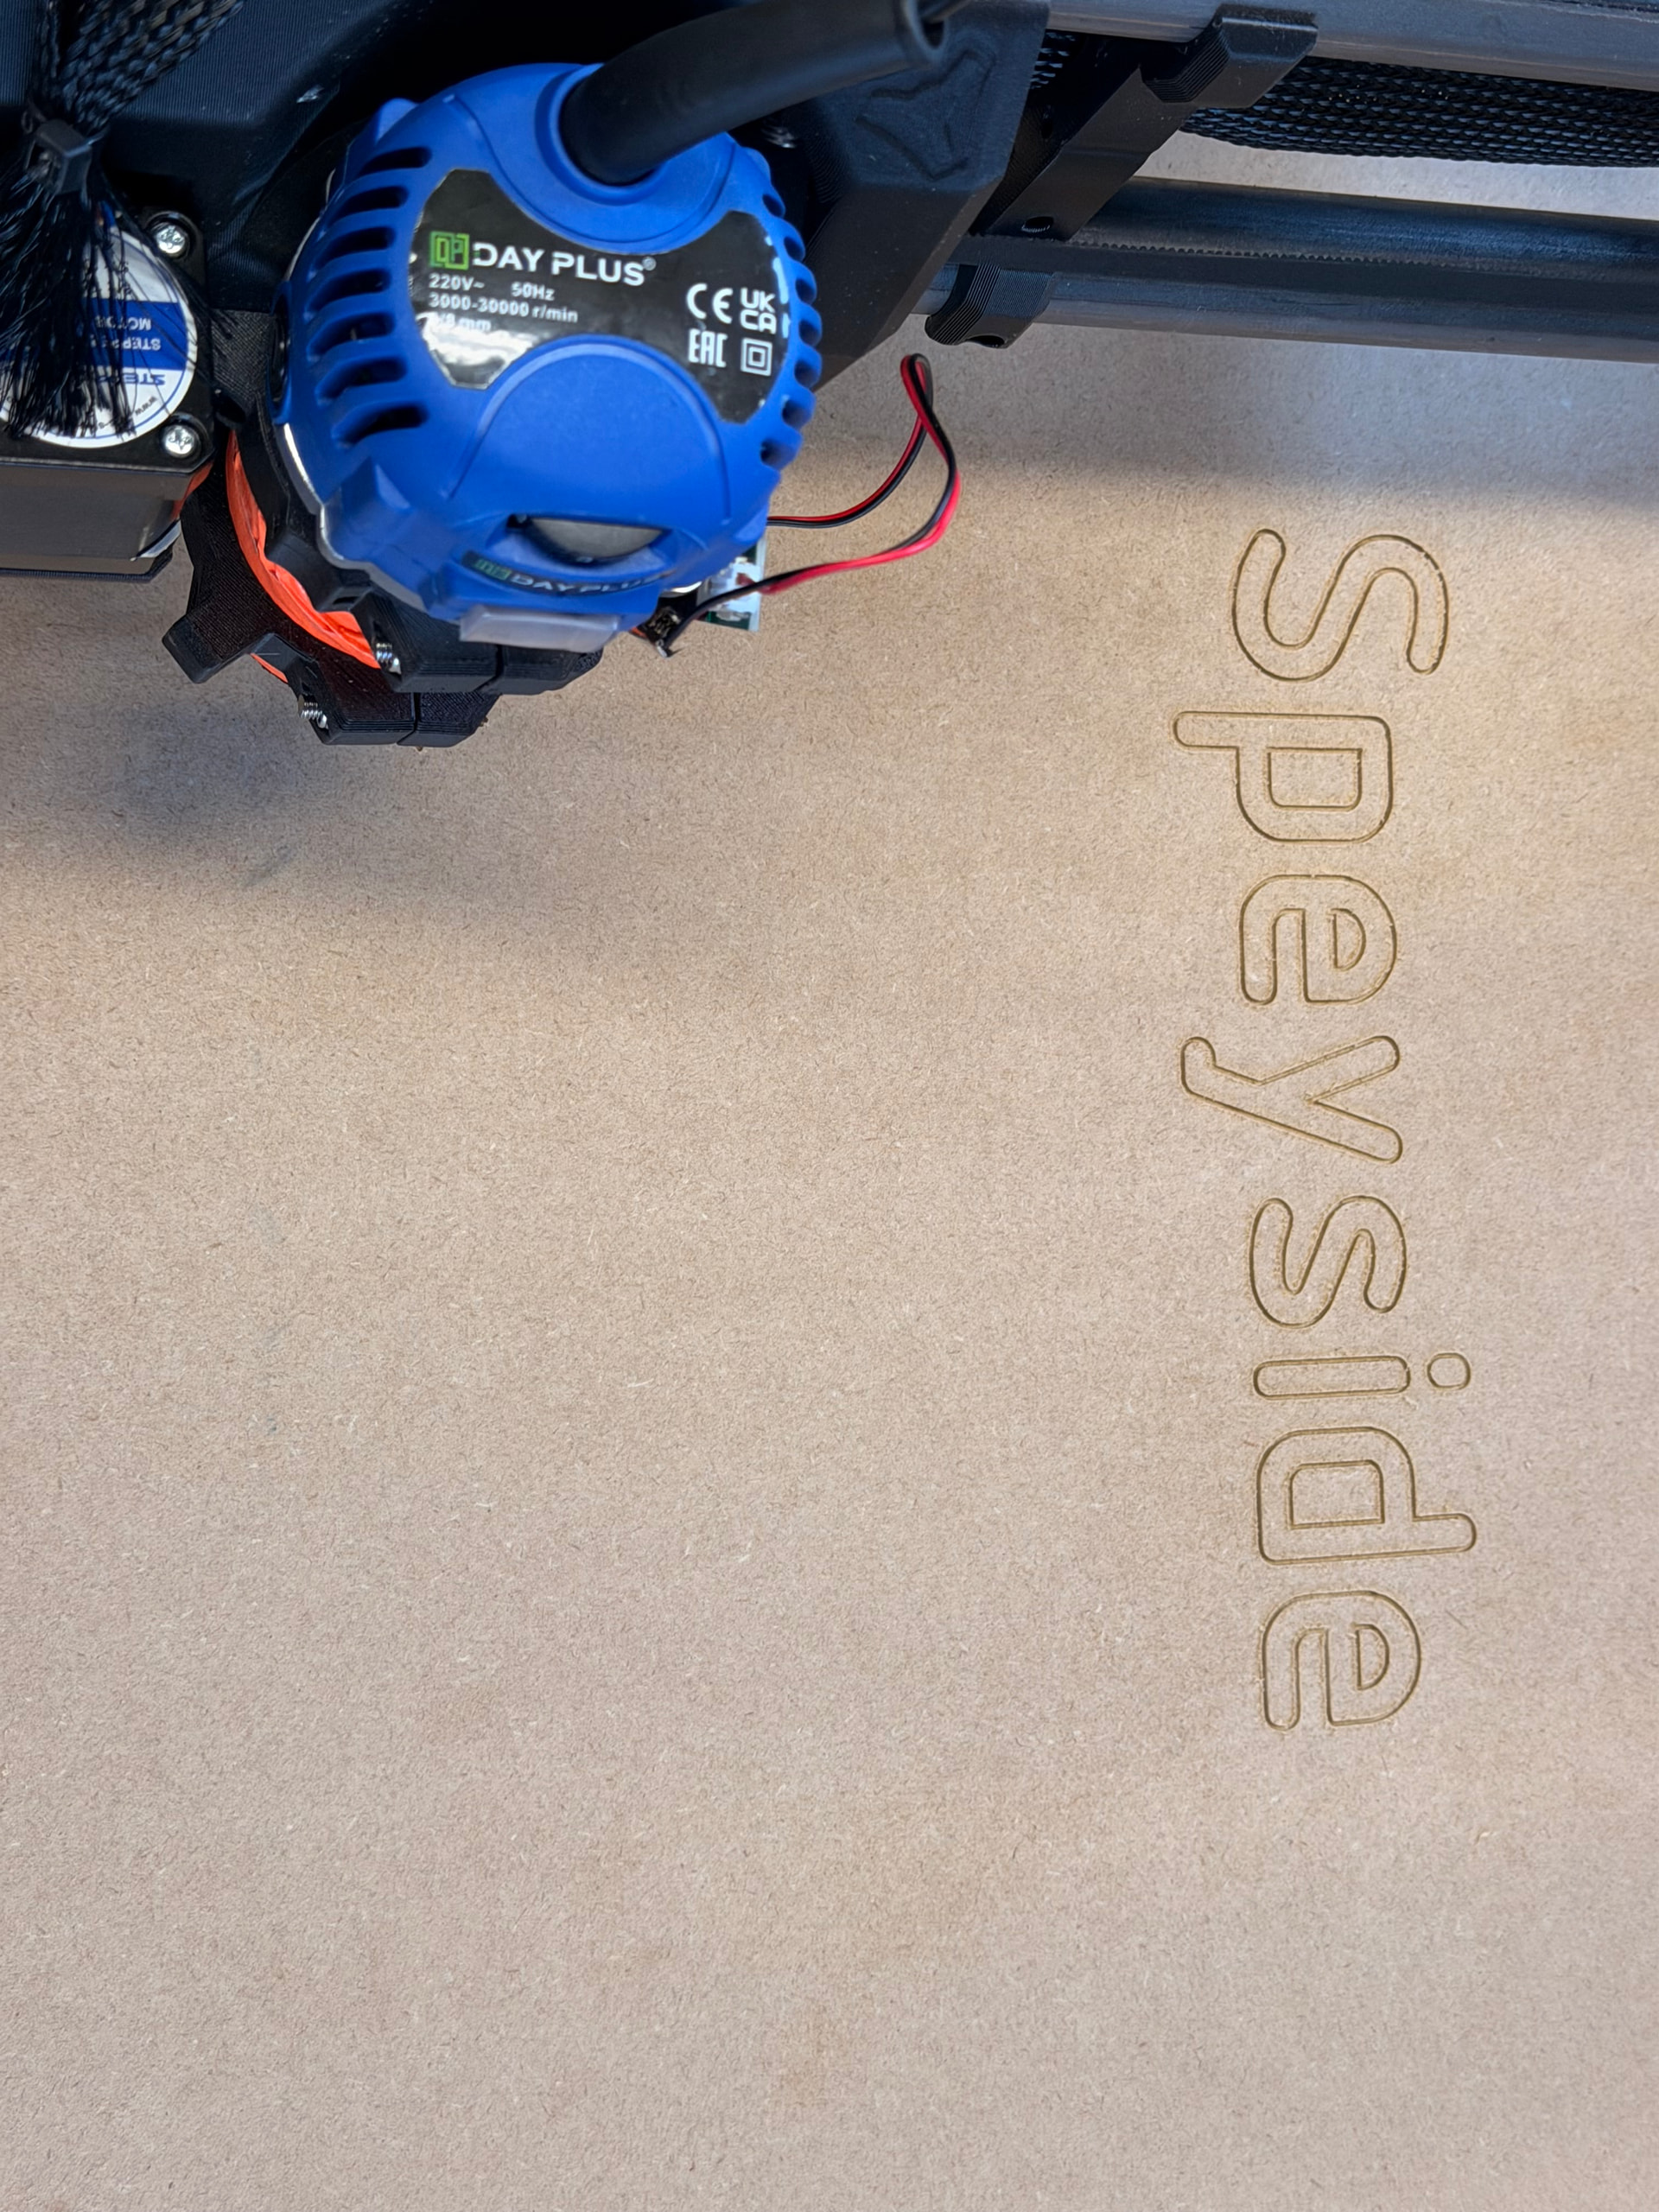
The saga continues. My limit switches are obv a tad short hence the offset placement of triggers. Belts don’t rub.
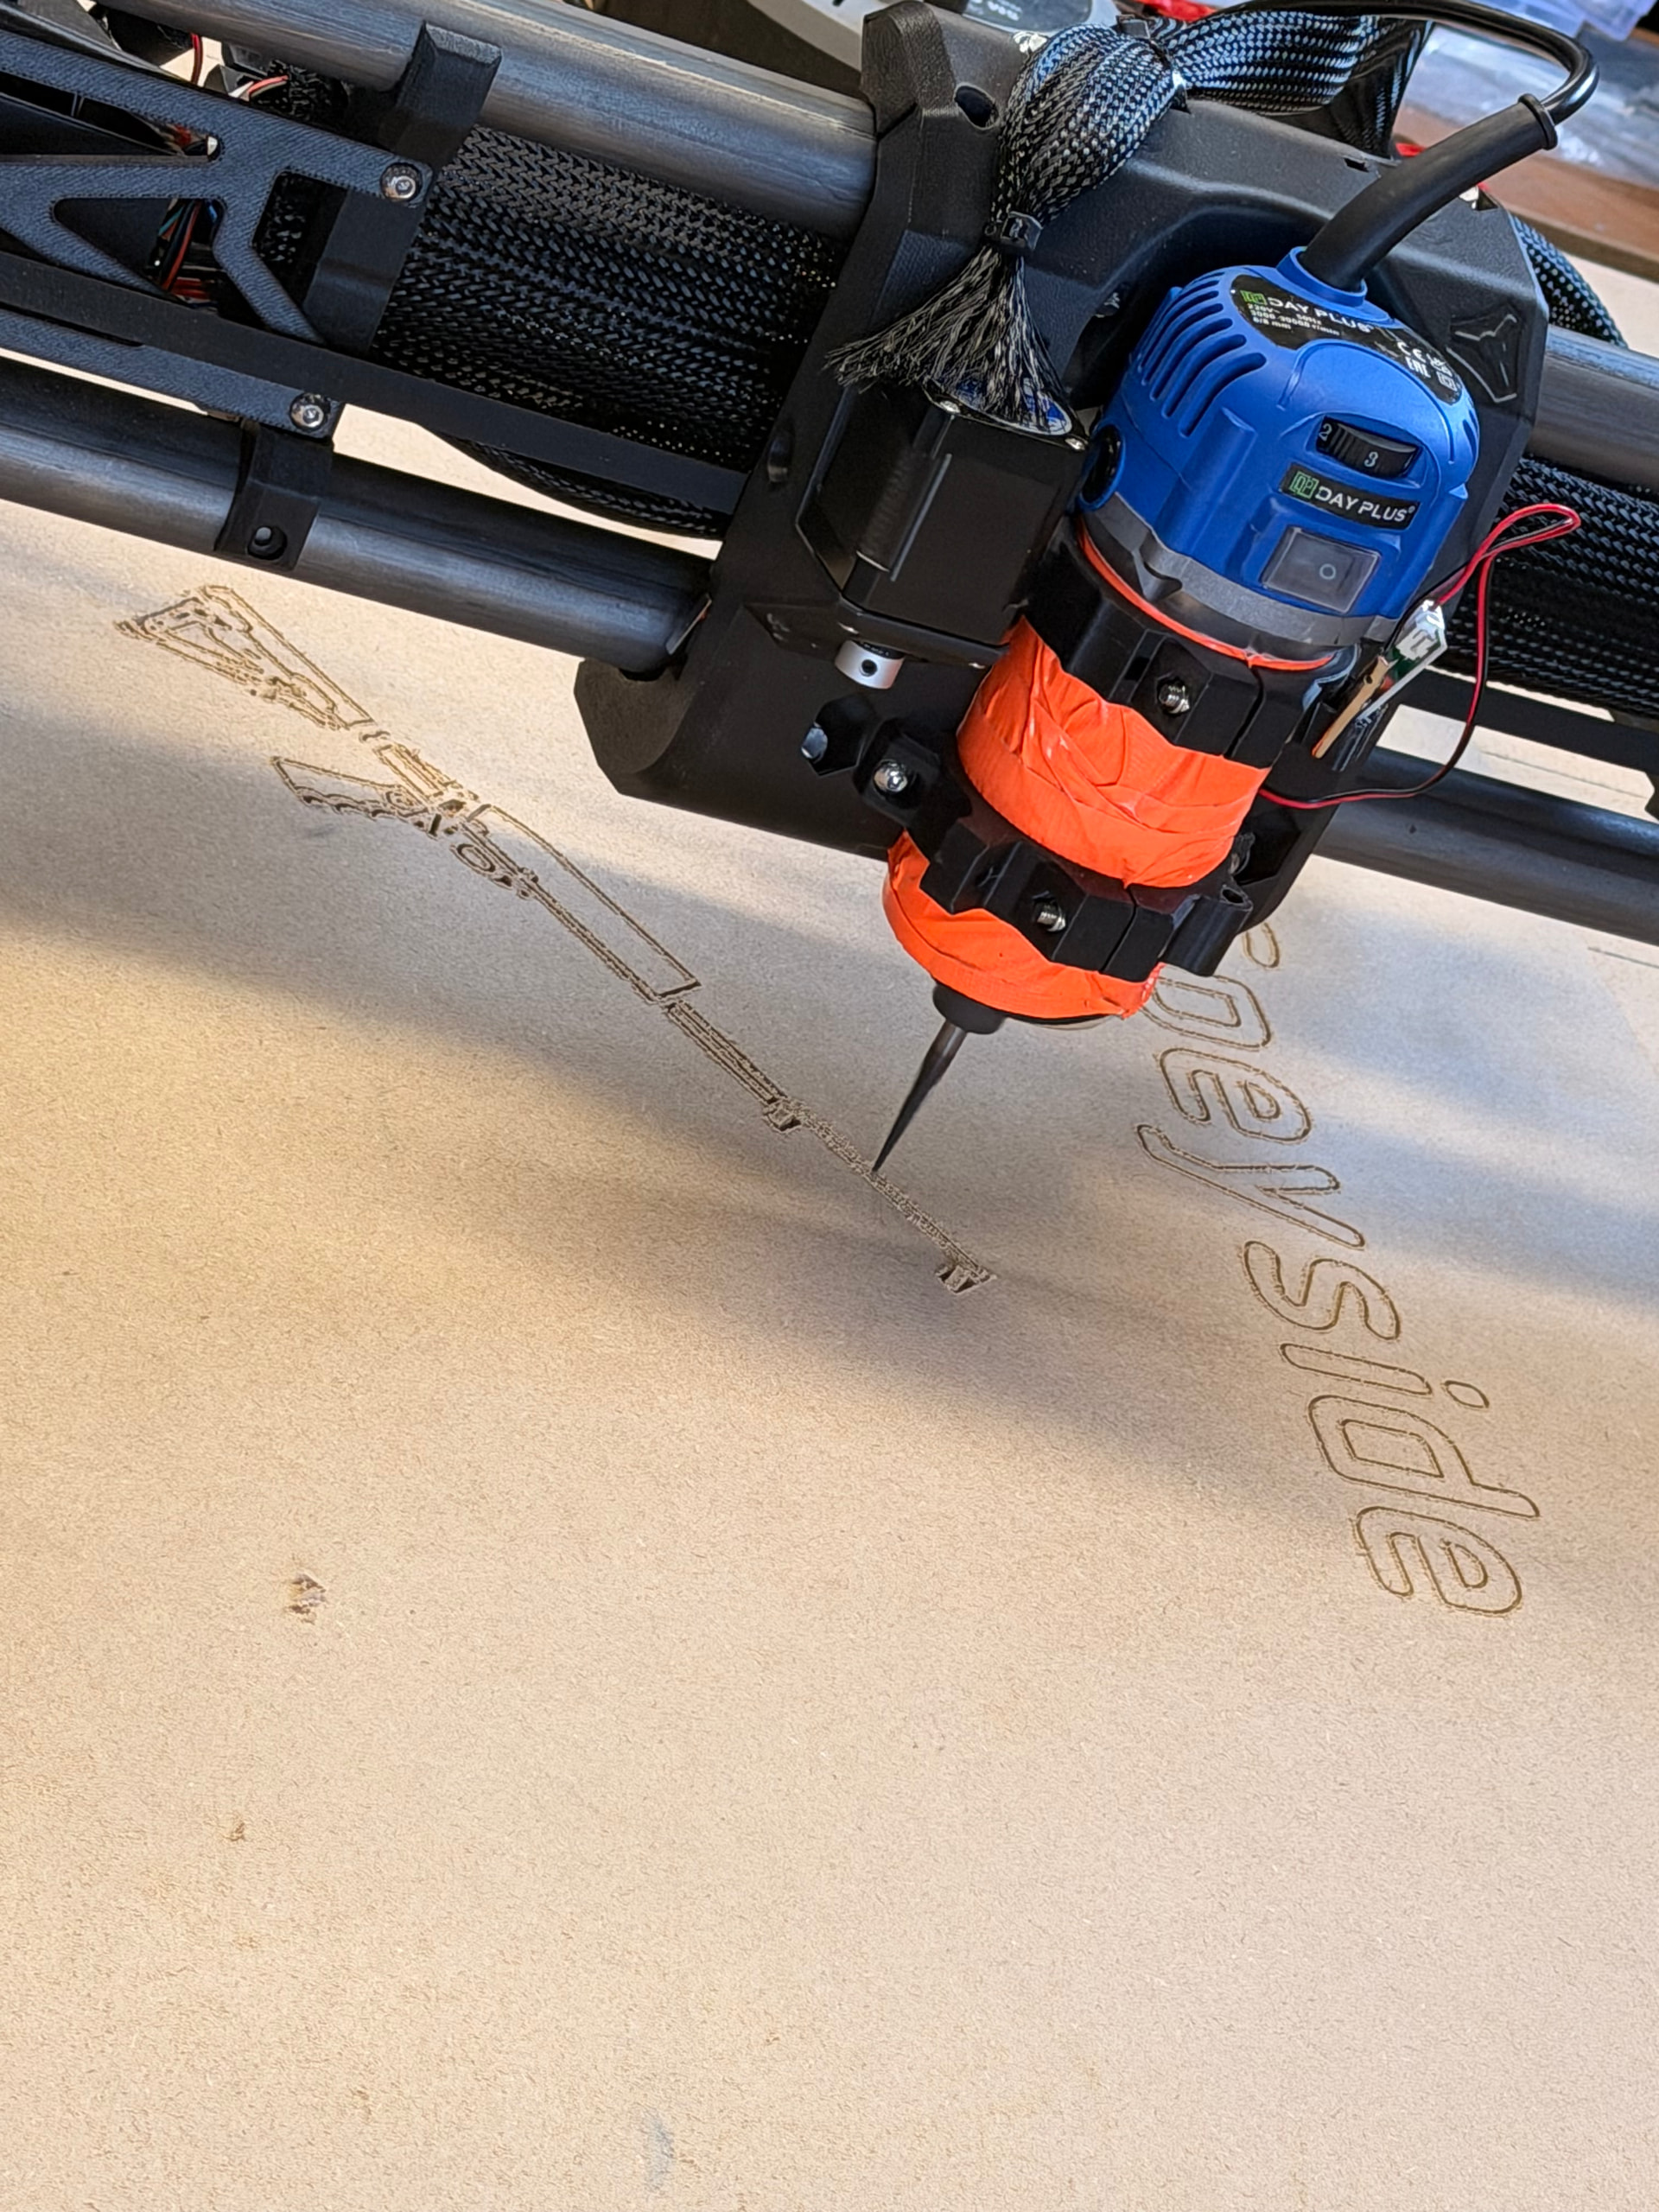
A new issue :sob: seems that one of the y motors isn’t working. I opened the box up to see one of my crimped wires had broken. I can barely handle the little connectors with my hands these days so I’ve ordered a female to female and I’ll just solder that in. Meh. Other than that alls going well
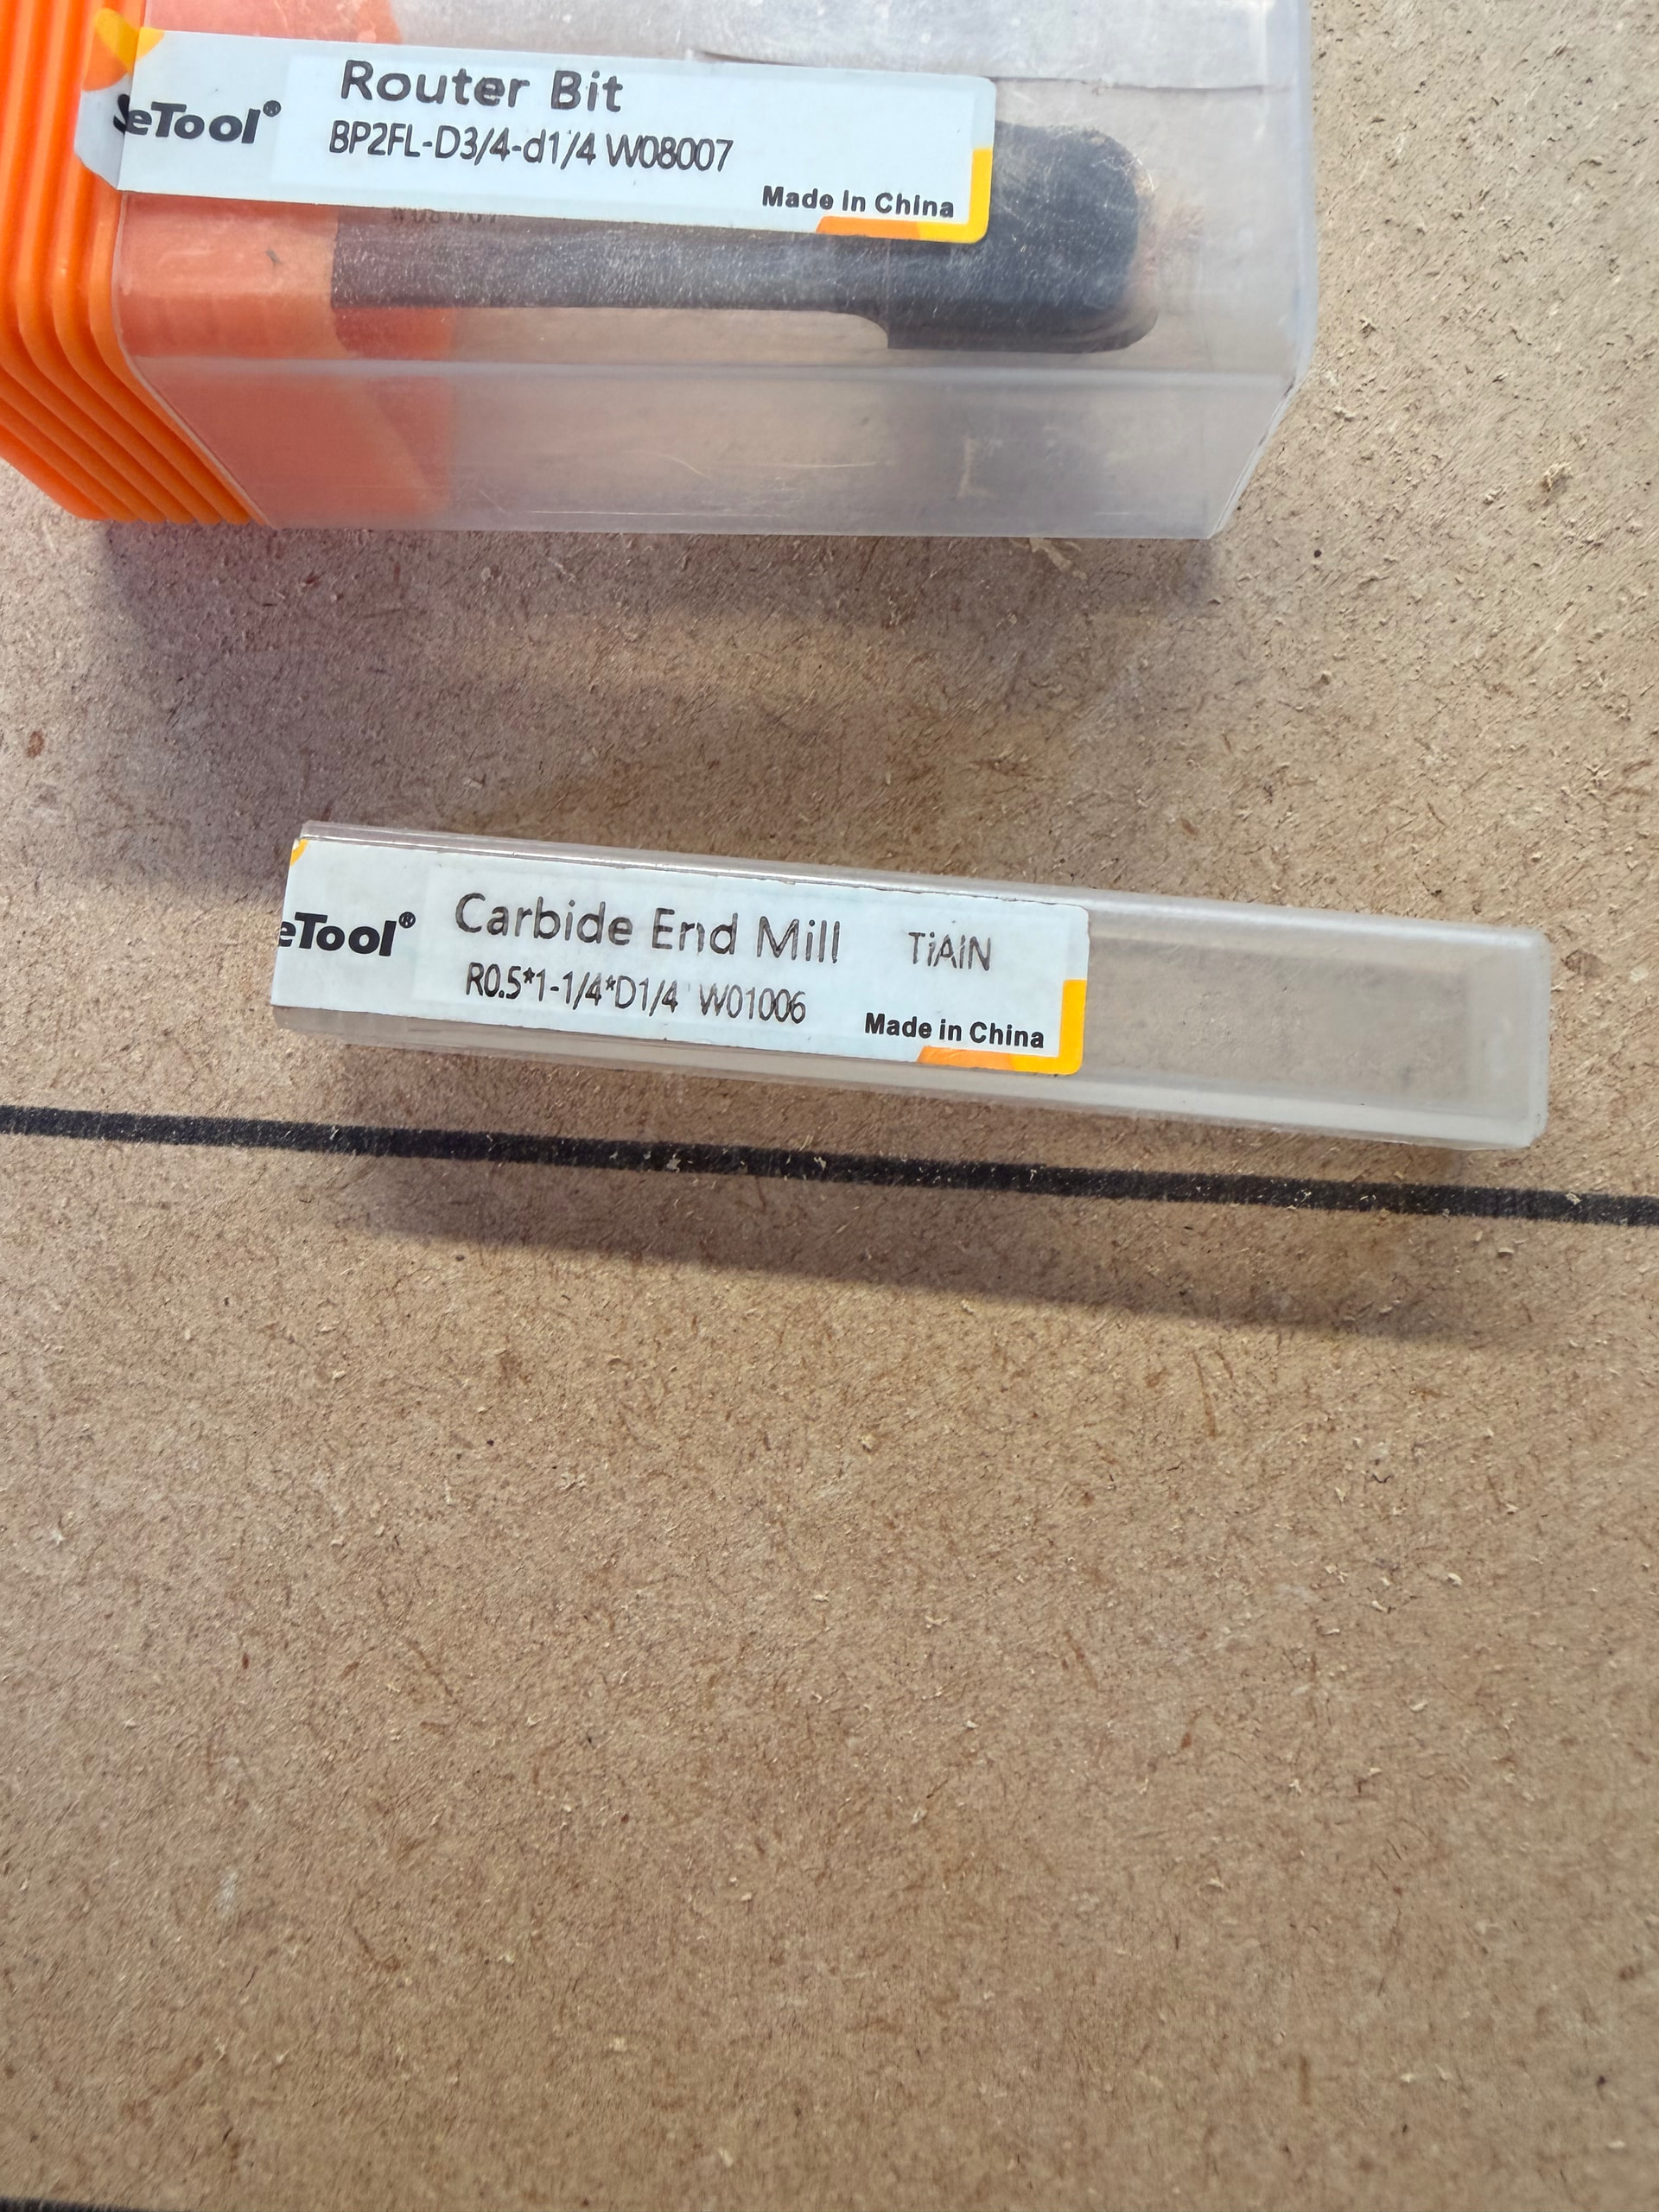
 :slight_smile:

3 Likes

Some fine tuning done hence the mistakes ( tie wrapped pens are not the most secure as you can tell )

Well impressed!

Edit - I rewired the y motor as I was impatient. Just soldered a new wire in.

7 Likes

First carving/engraving attempt :heart: this things fantastic!

7 Likes

Looks great! What kind of bit are you using?

1 Like

An spetool nicked from a mate :rofl: they allow downloading of their database. I went to see him today and he gave me loads of bits, a collet, sander, router on loan, loads of solid oak and such :slight_smile:

2 Likes

You haven’t cut your permanent strut plates yet?

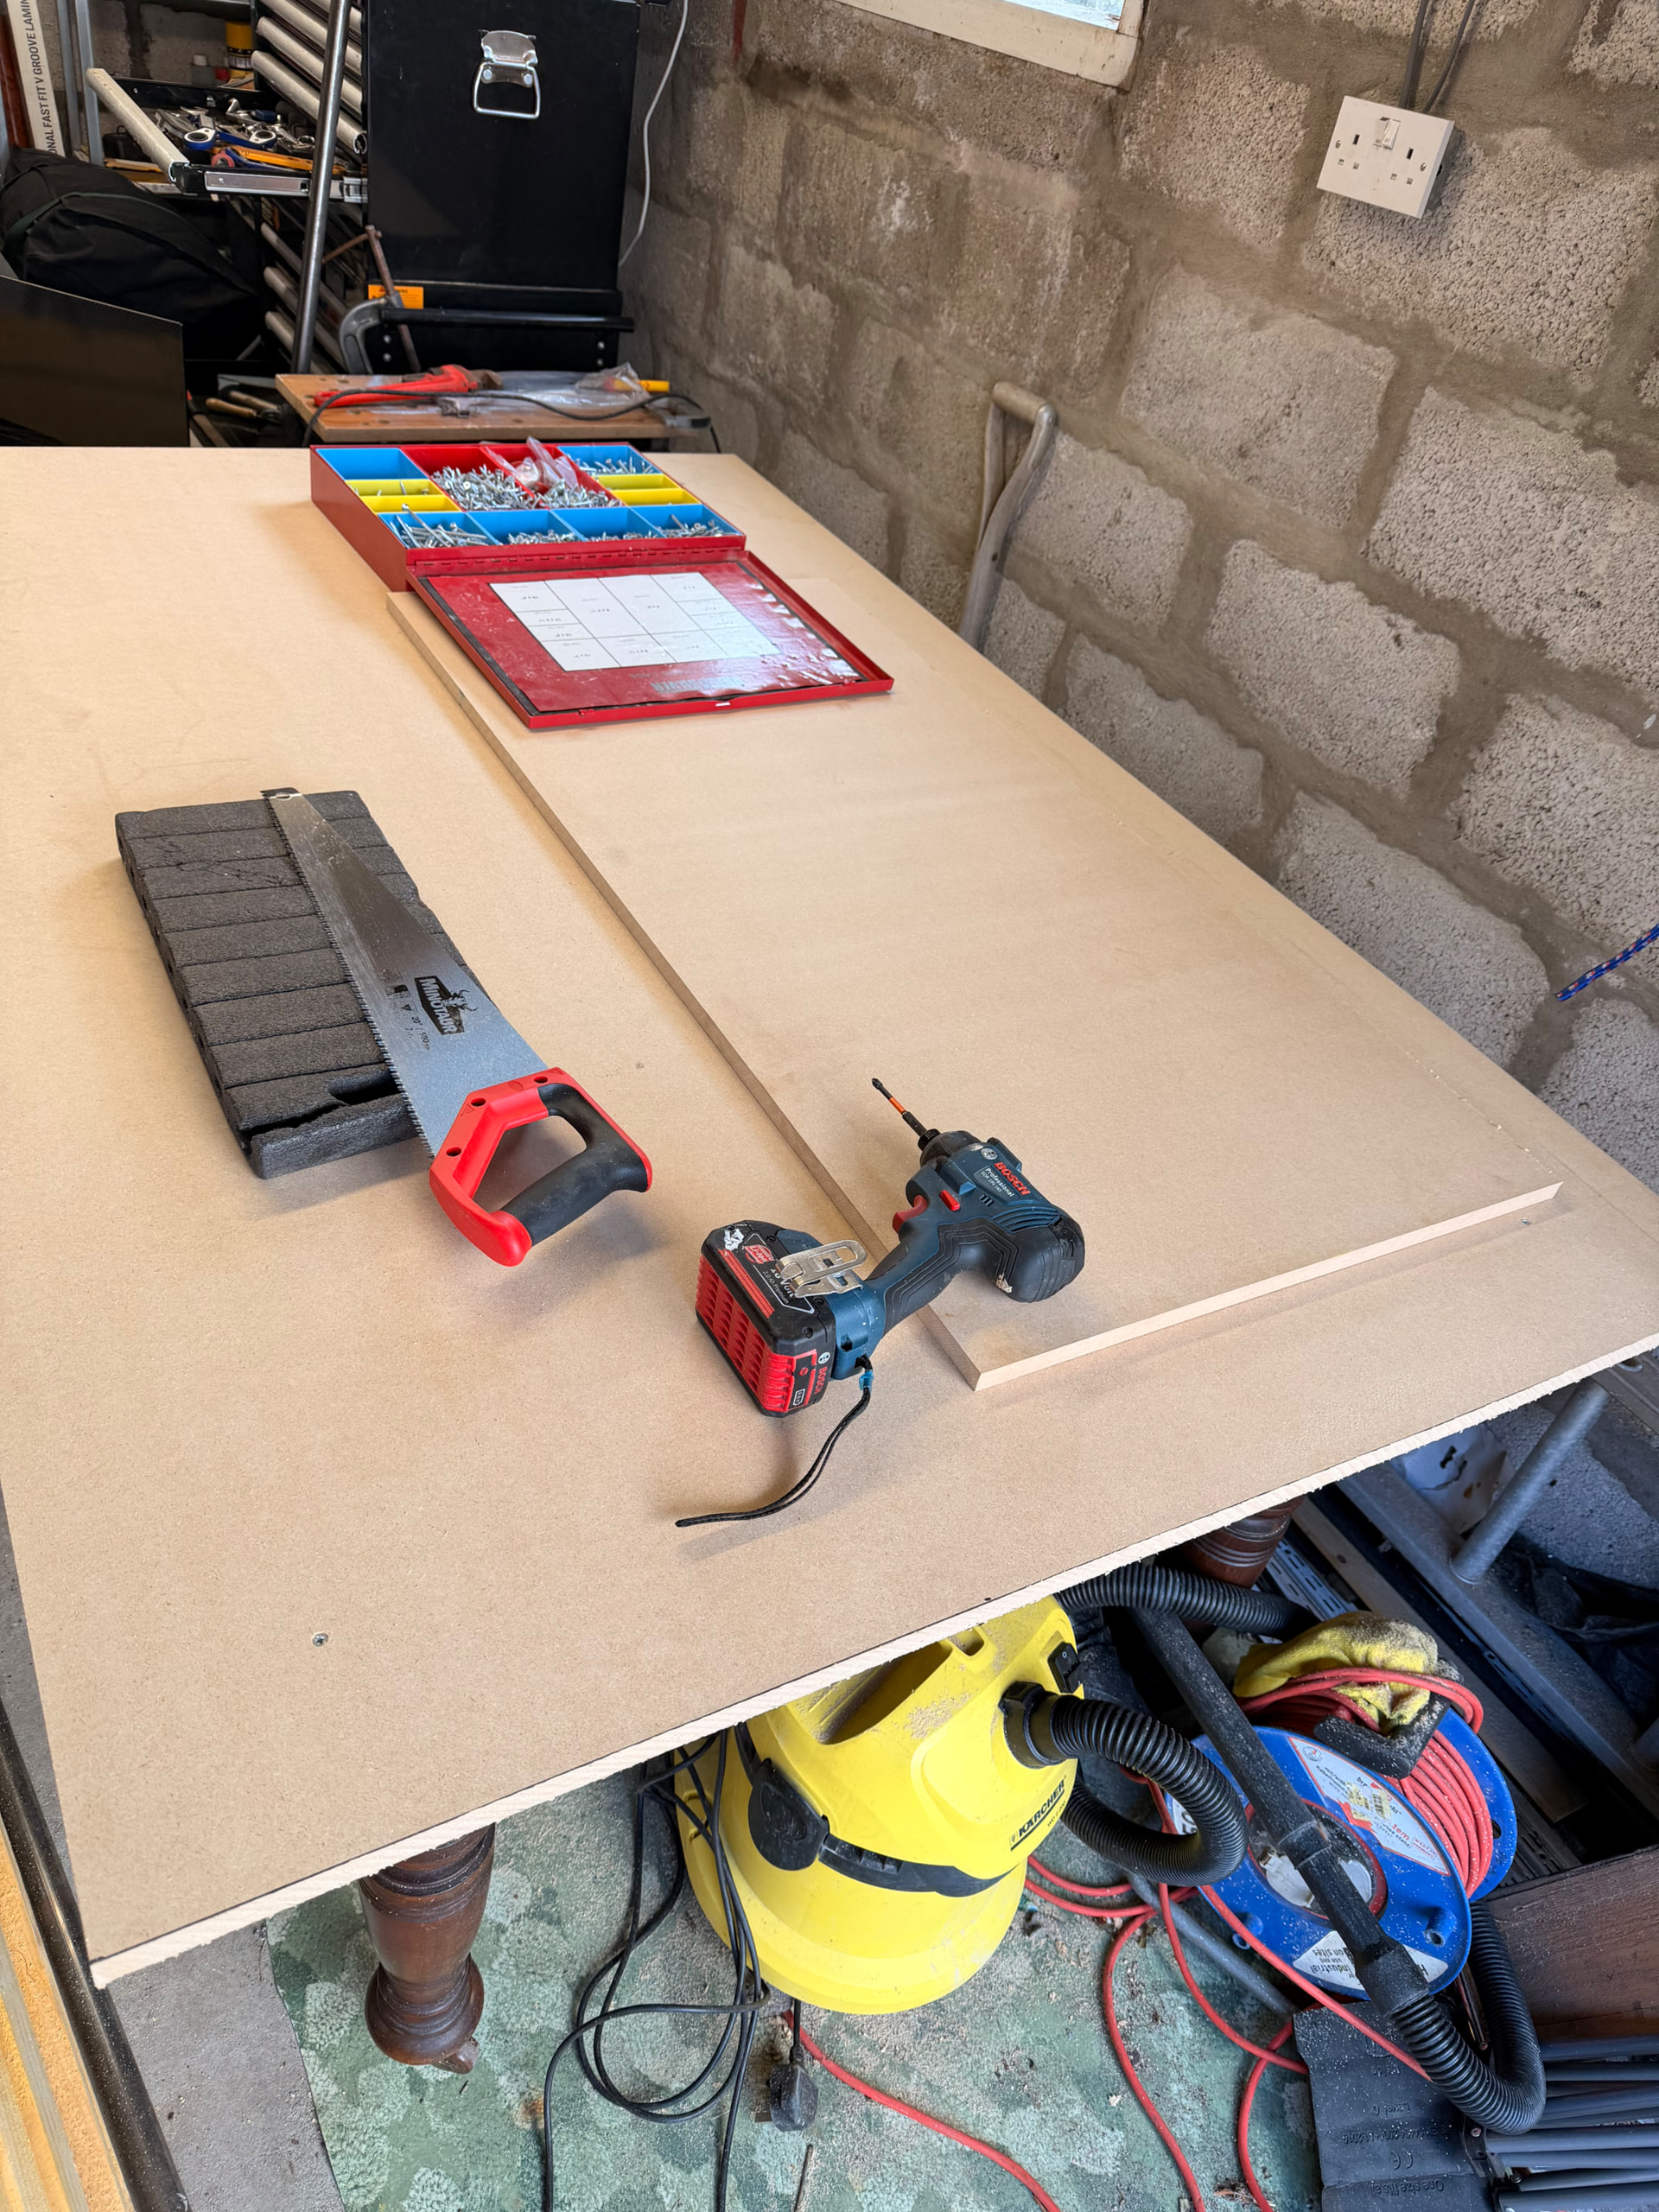
No. I don’t have the correct thickness wood yet. Only playing about. Seems my belt wasn’t tensioned enough and had a slight issue and I need to be 100% sure the table/spoils boards flat, noticing an issue but it’s all good :slight_smile:

If it was me, I would cut and install the permanent struts BEFORE surfacing the table/spoil boards.

Cutting the struts is a through cut, so adding a couple of mm to the depth of cut (DOC) will be fine, and will compensate for any difference in table height. The load will be mostly consistent throughout the cut, so flex in the gantry (due to temporary struts) will also be consistent.

Surfacing the spoil board will have varying loads at different locations, so the gantry will flex differently in different locations. Having the permanent struts installed will mitigate this a lot.

IMO

4 Likes

Good point :slight_smile: I’ll see if I can get some wood tomorrow :slight_smile:

I have some of those SpeTools as well, well worth the money.. To practise you can also buy 3,175mm engraving endmills for 7€ a pop instead of 22… :sweat_smile:

1 Like

I was going to buy some idc woodcraft ones after watching his videos tbh, but once more USA company and taxes…. Plus I saw the cost of them :open_mouth: spetools may also be USA but they are cheap as you say on Amazon :slight_smile: I’ll order a set of my own before I destroy my mates with mistakes :see_no_evil_monkey:

Vectric aspire is quite easy to use… vectors/3d ( or 2.5 ) until it comes to the actual toolpaths and learning about roughing and such… let alone all the different finishes available from the likes of vbits, endmills, ball nose etc etc. this is going to take a long time to get to a stage where I can be happy with the result. I did have a thought today tho - think I’ll buy some black spray paint and spray some wood pre cutting. Might look cool :slight_smile:

I also see a lot of people use estlcam ( which oddly autocorrects on iPhone to testical ) - are there advantages for this type of machine to any certain programs?

You cut your plates yourself to save money but can afford Vectric Aspire?? Phew. :slight_smile:

We use EstlCAM because it’s cheap and can basically do everything a starter needs. :smiley:

2 Likes