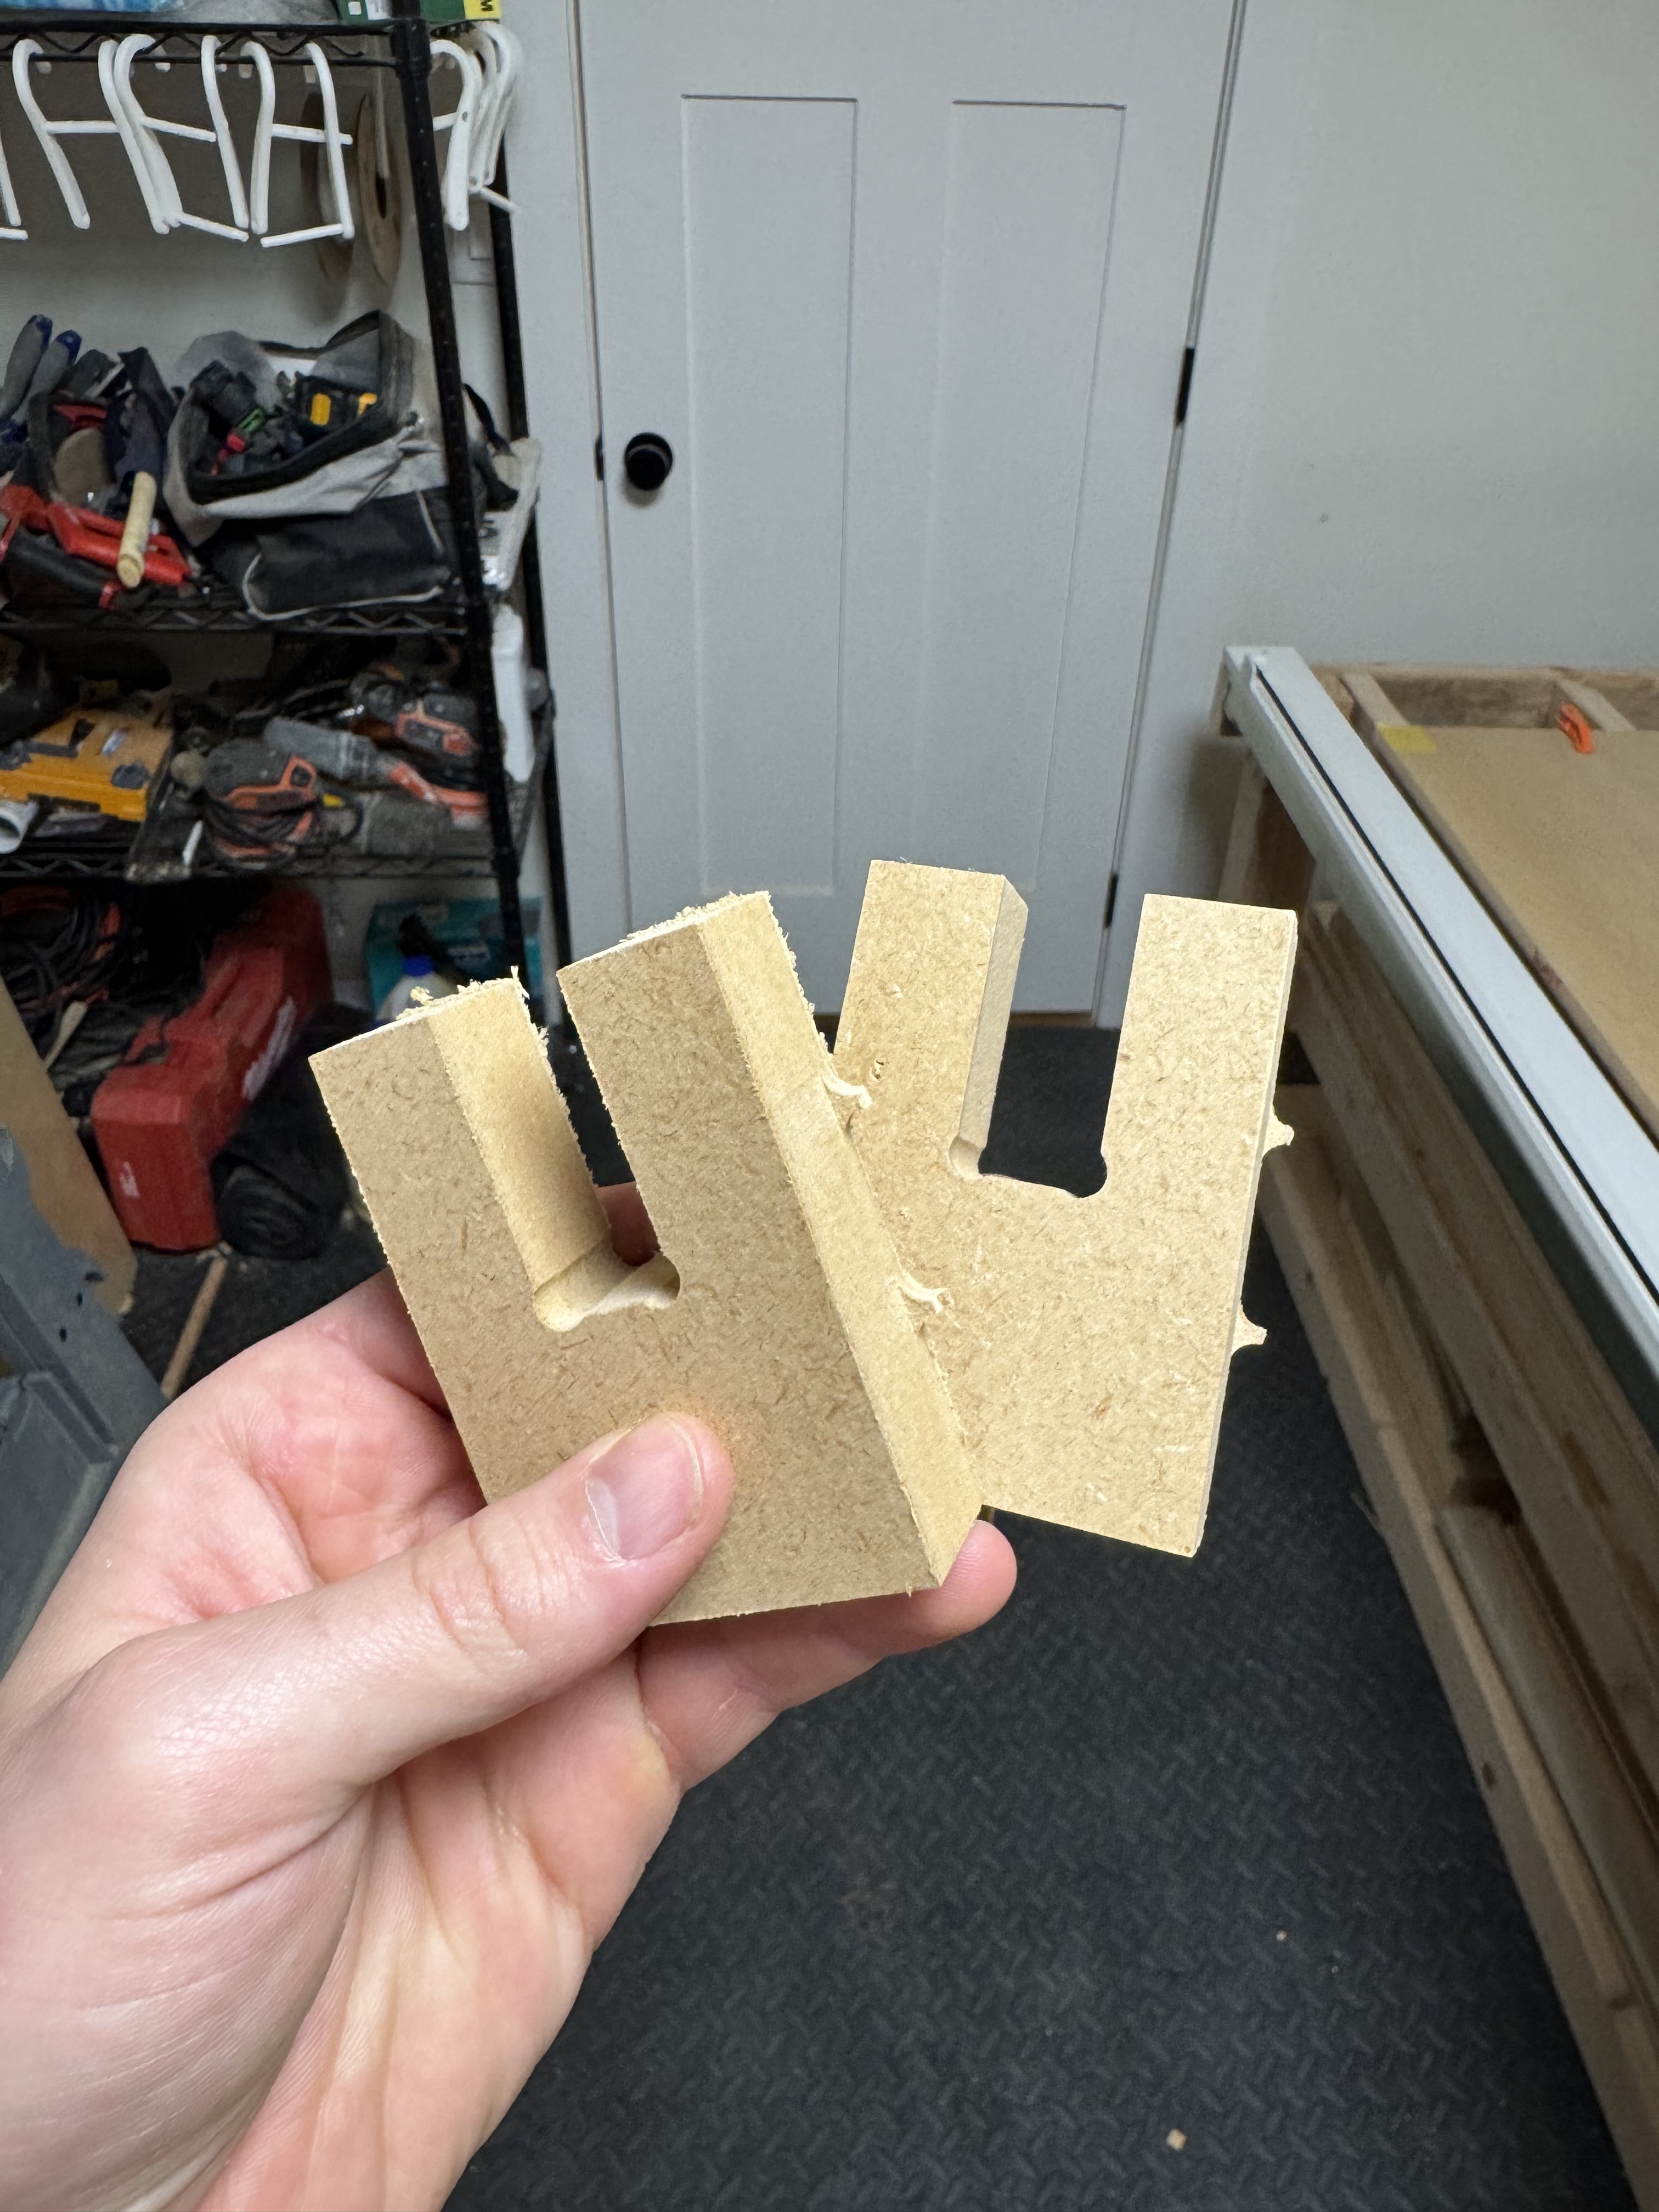
While cutting cabinets I’m having a few problems related to my hacky table. Holding tabs sometimes are cut into the spoil board, not parts, which can cause chatter and inaccurate dimensions as the parts move a bit during the finishing pass. I also made the thing a bit too small, and it can’t actually cut up a full sheet, so I’m doing lots of shifting around to make cuts. Annoying!
I was traveling again this week and used a flight delay to write up another cut generator, this time for a torsion box table. I know there are already a lot of these designs floating around, I mostly wanted one that laid everything out flat. And, I was bored and stuck in a metal tube.
I plan to use it to put together a table this week. And make metric work properly. Take a look and let me know if I’ve missed something you want:
It would be good to have a pair of side rails added to that cut list - they wouldn’t have to be lapped, just shorten them up so they can be butted between the two ends.
I’ve added side + top rails as long single pieces. This should at least tell you how long they need to be. Before I cut mine, I’ll try to add:
Splitting up the rails to fit on sheet goods. I think I might have to bite the bullet and add support for machine length to all the parts … so that will take a second.
Pilot holes on the rails for mounting to the table
Pilot holes for mounting track/belt stands to the rail.
I assume the resulting SVG is meant to be imported in inches since the page seems to specify inches?
I gave it a quick try but when I import the SVG into estlcam if I specify the units as mm it comes up tiny - and if I specify them as inch it seems to come up way too big.
With X dimension of 30.9" and Y of 24" - Table thickness of 3", minimum gaps of 8" and 0.75 material thickness I expect the longest piece to be 30.9" long
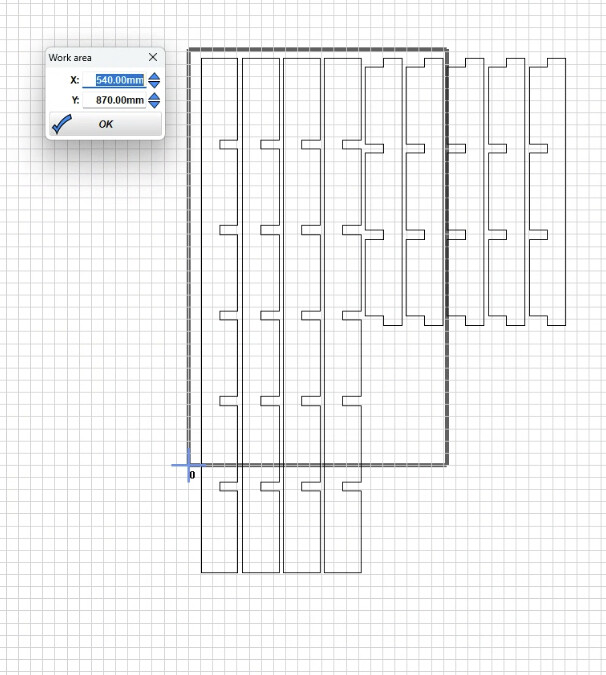
But when I bring it into estlcam specifying inches it looks like:
The long pieces are considerably longer than my 34.25" Y axis. (It’s been a few years since I worked with estlcam so I don’t remember if there’s a way to get actual measurements.)
When I try bringing the SVG into Fusion it doesn’t ask me about units but if I set a X/Y scale of 25.4 then the long edge of the shorter pieces is only 5.8" long. And the long edge of the longer pieces is only 11.218" long.
Just struggling to figure out if there’s a scaling issue…if the dimensions aren’t right…or if I’m misunderstanding what it’s generating.
Maybe my confusion is over “Cut Dimension” which I’m reading as the size of the generated part to cut…but is maybe meant to be the cutting area of a LR4 so it’s adding extra length to accomodate the full machine. (I was looking to generate a grid to fill the space in my existing bench for extra support so I’m starting to think I may have misunderstood the design of the tool here.)
Yes, this is exactly what it’s doing. I can update the post to be more descriptive.
The SVG units are the same as whichever you’re working in. Right now it only supports in (mm is in the code but disabled because there are a few small bugs with changing units.
It shouldn’t be too hard. I have a few hours of cutting planned this evening and I’ll try to get that worked up while I babysit the machine doing that.
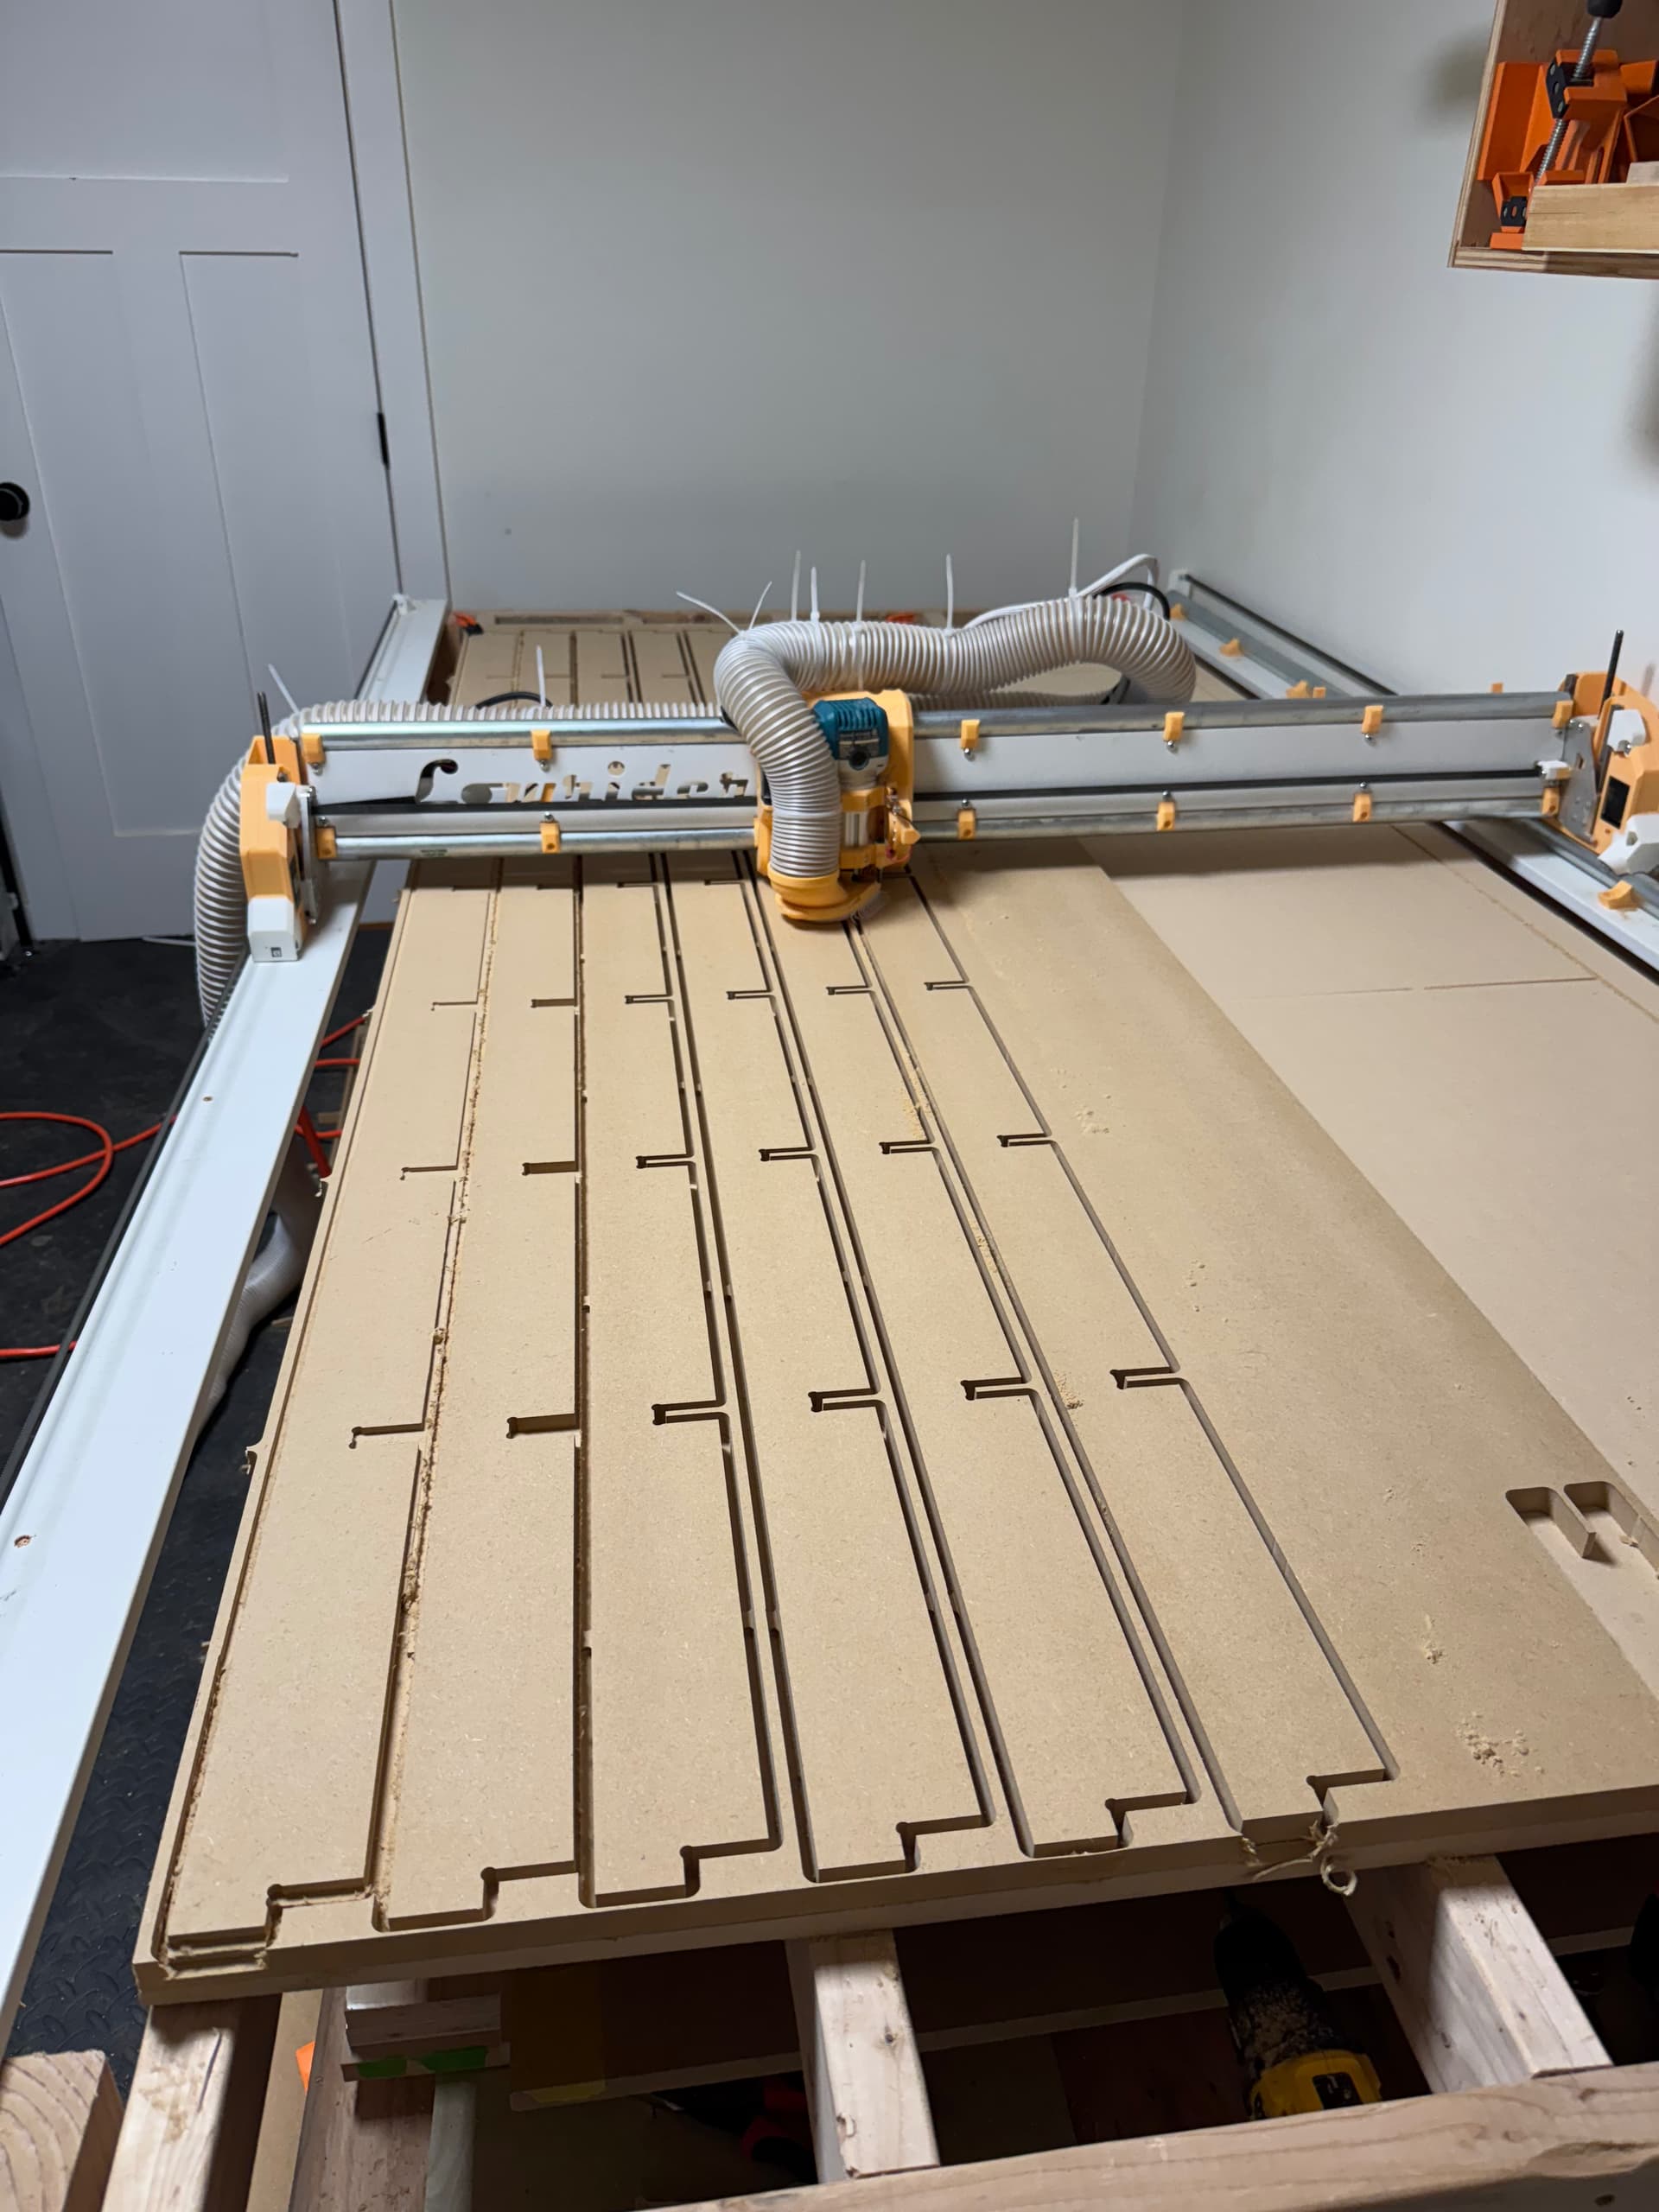
I’ve wasted about half a sheet of MDF because my machine is skipping steps. I’ve tried reducing the depth of the cut and the speed and still an issue. I need to not work on this for a while because I’m quite frustrated between this and squaring. I’ll try again this weekend or next week.
I went out to visit @azab2c and get some advice on the problems I’ve been having with squaring and skipping steps. The most useful things by far were (1) seeing how tight/not-tight his belts are, (2) seeing the drag tests he runs to check for skipping steps, and (3) the advice to turn up motor amperage to increase cutting force.
I turned my motor amperage from 0.8A to 0.9A and ran some more cuts. No more skipped steps!
We’re heading back to Salt Lake City to watch the UHC/Kraken game for my boyfriend’s birthday. So, I’ll be back at the CNC sometime midweek/late next week to cut the rest of the struts. Next weekend I plan to get the table together
I pushed some more updates. Now it generates side rails with holes pre-drilled for the end belt holders and rail clips.
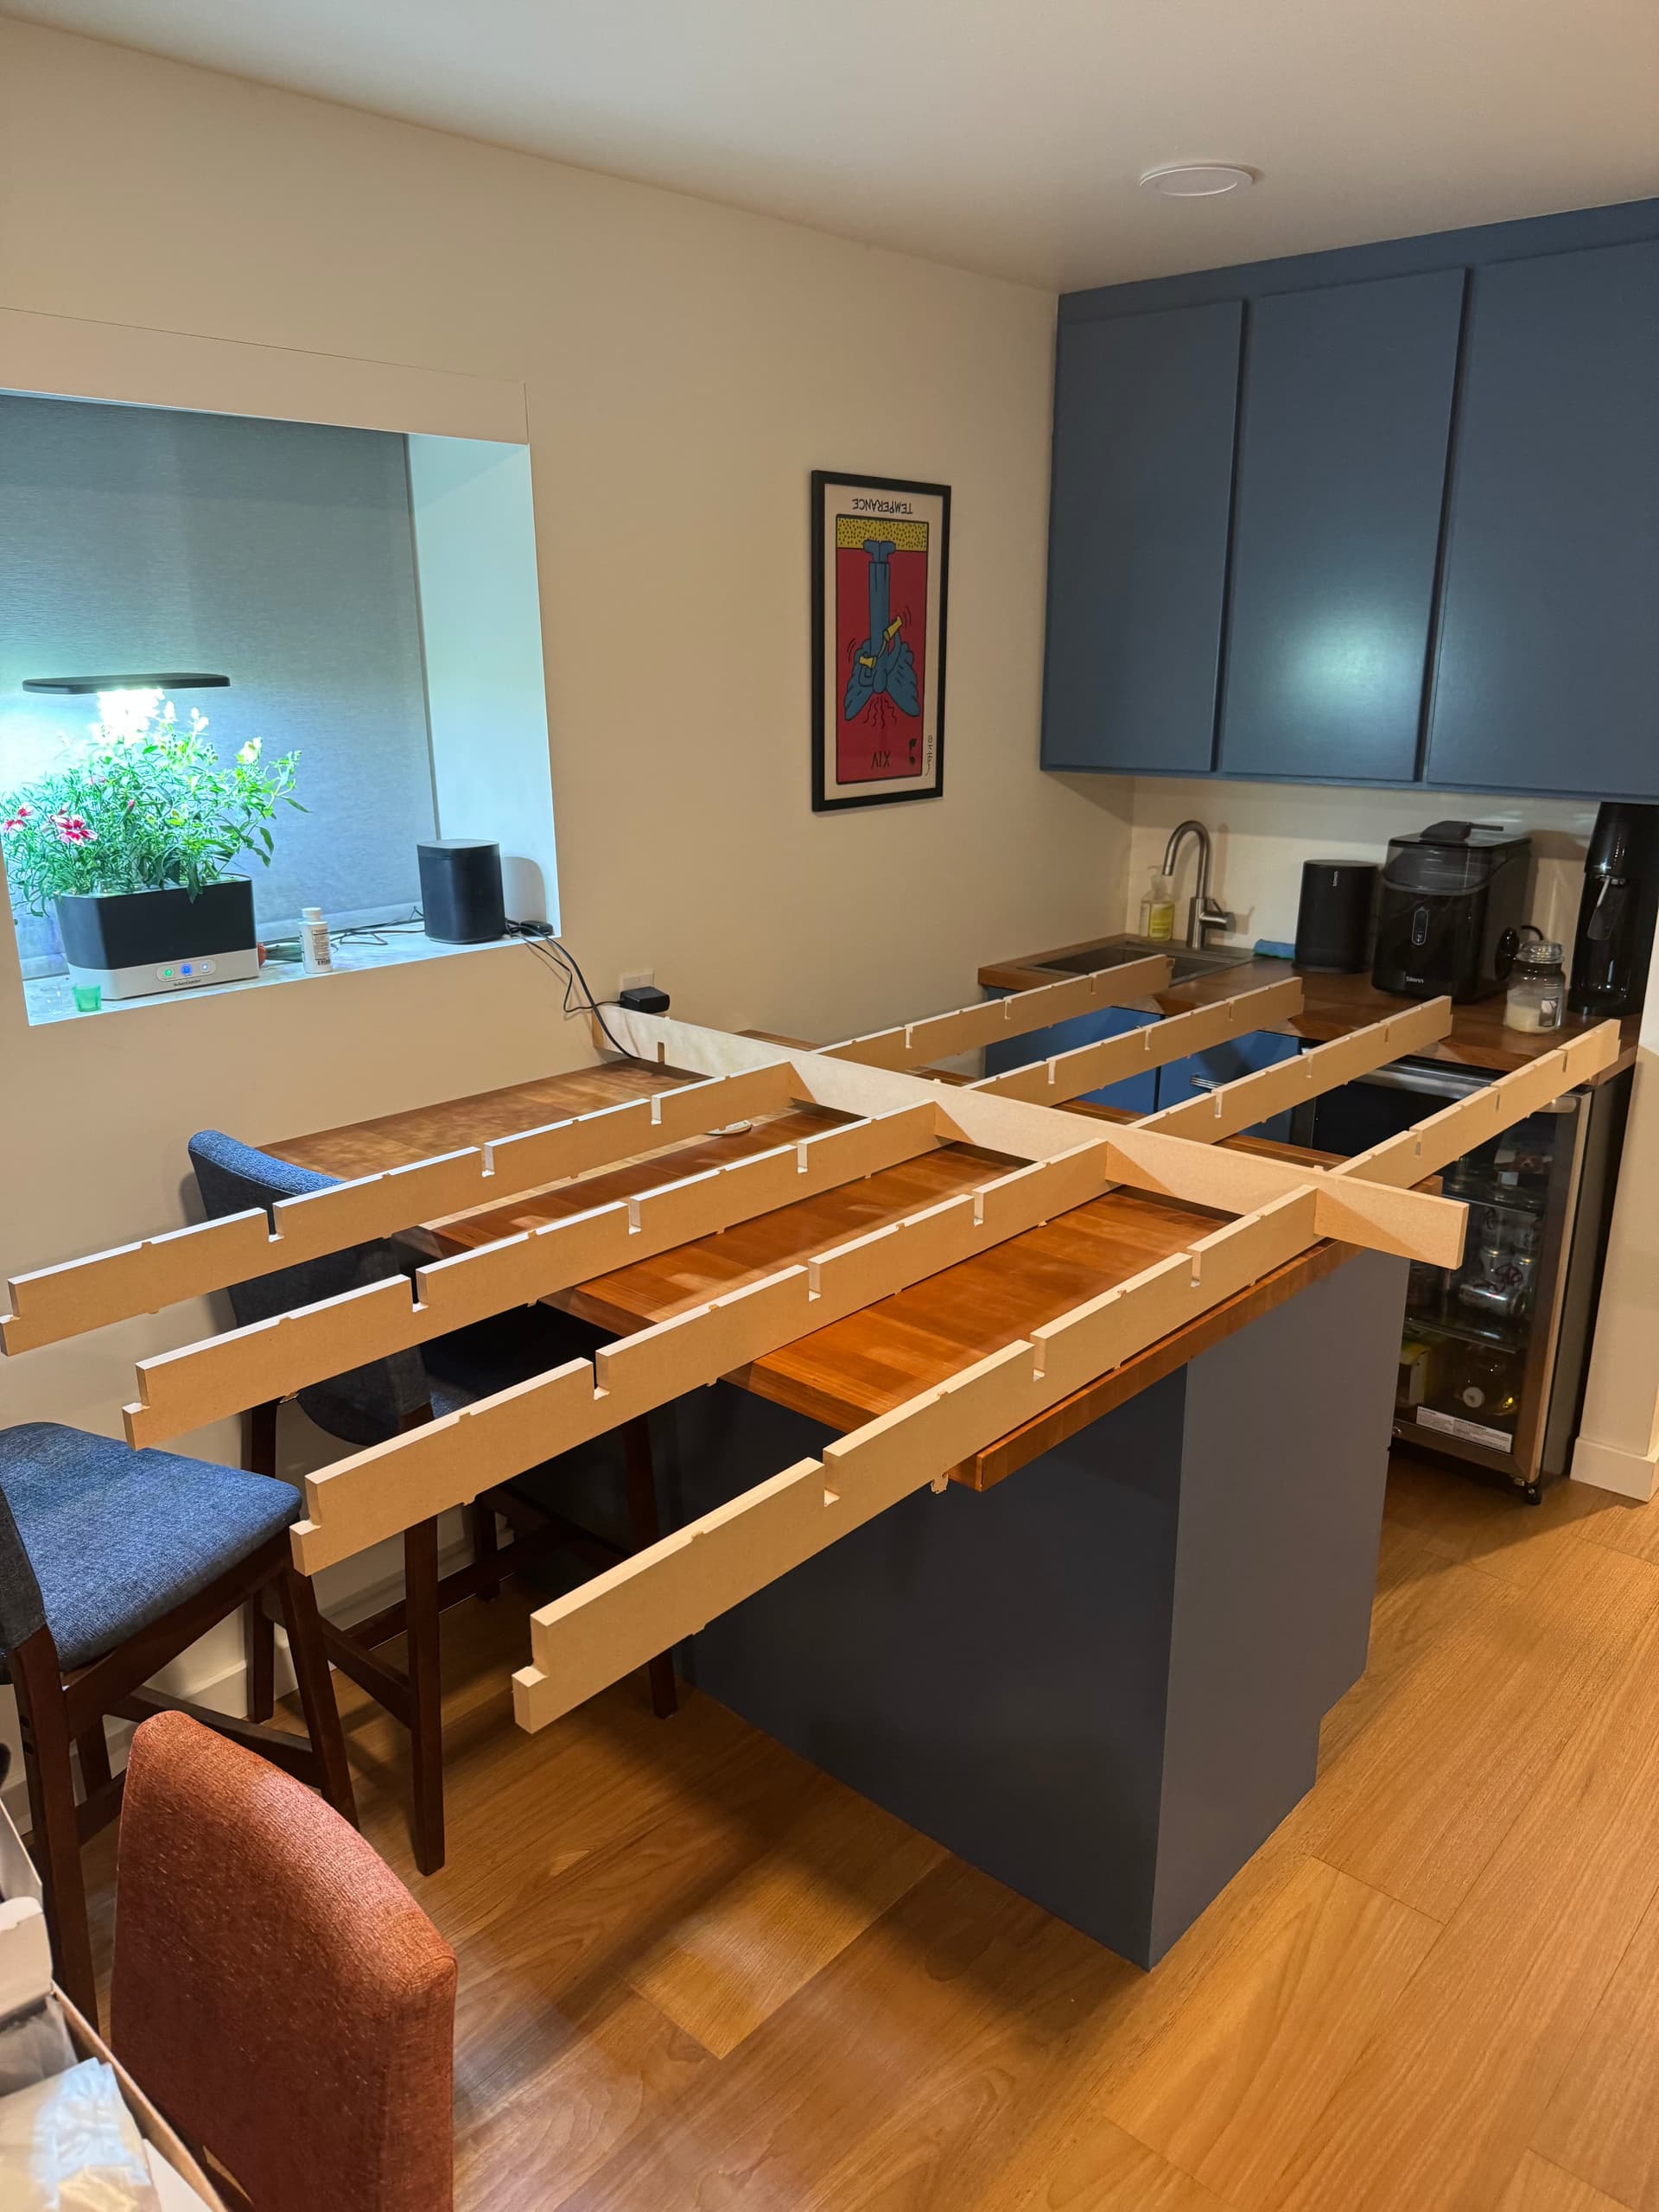
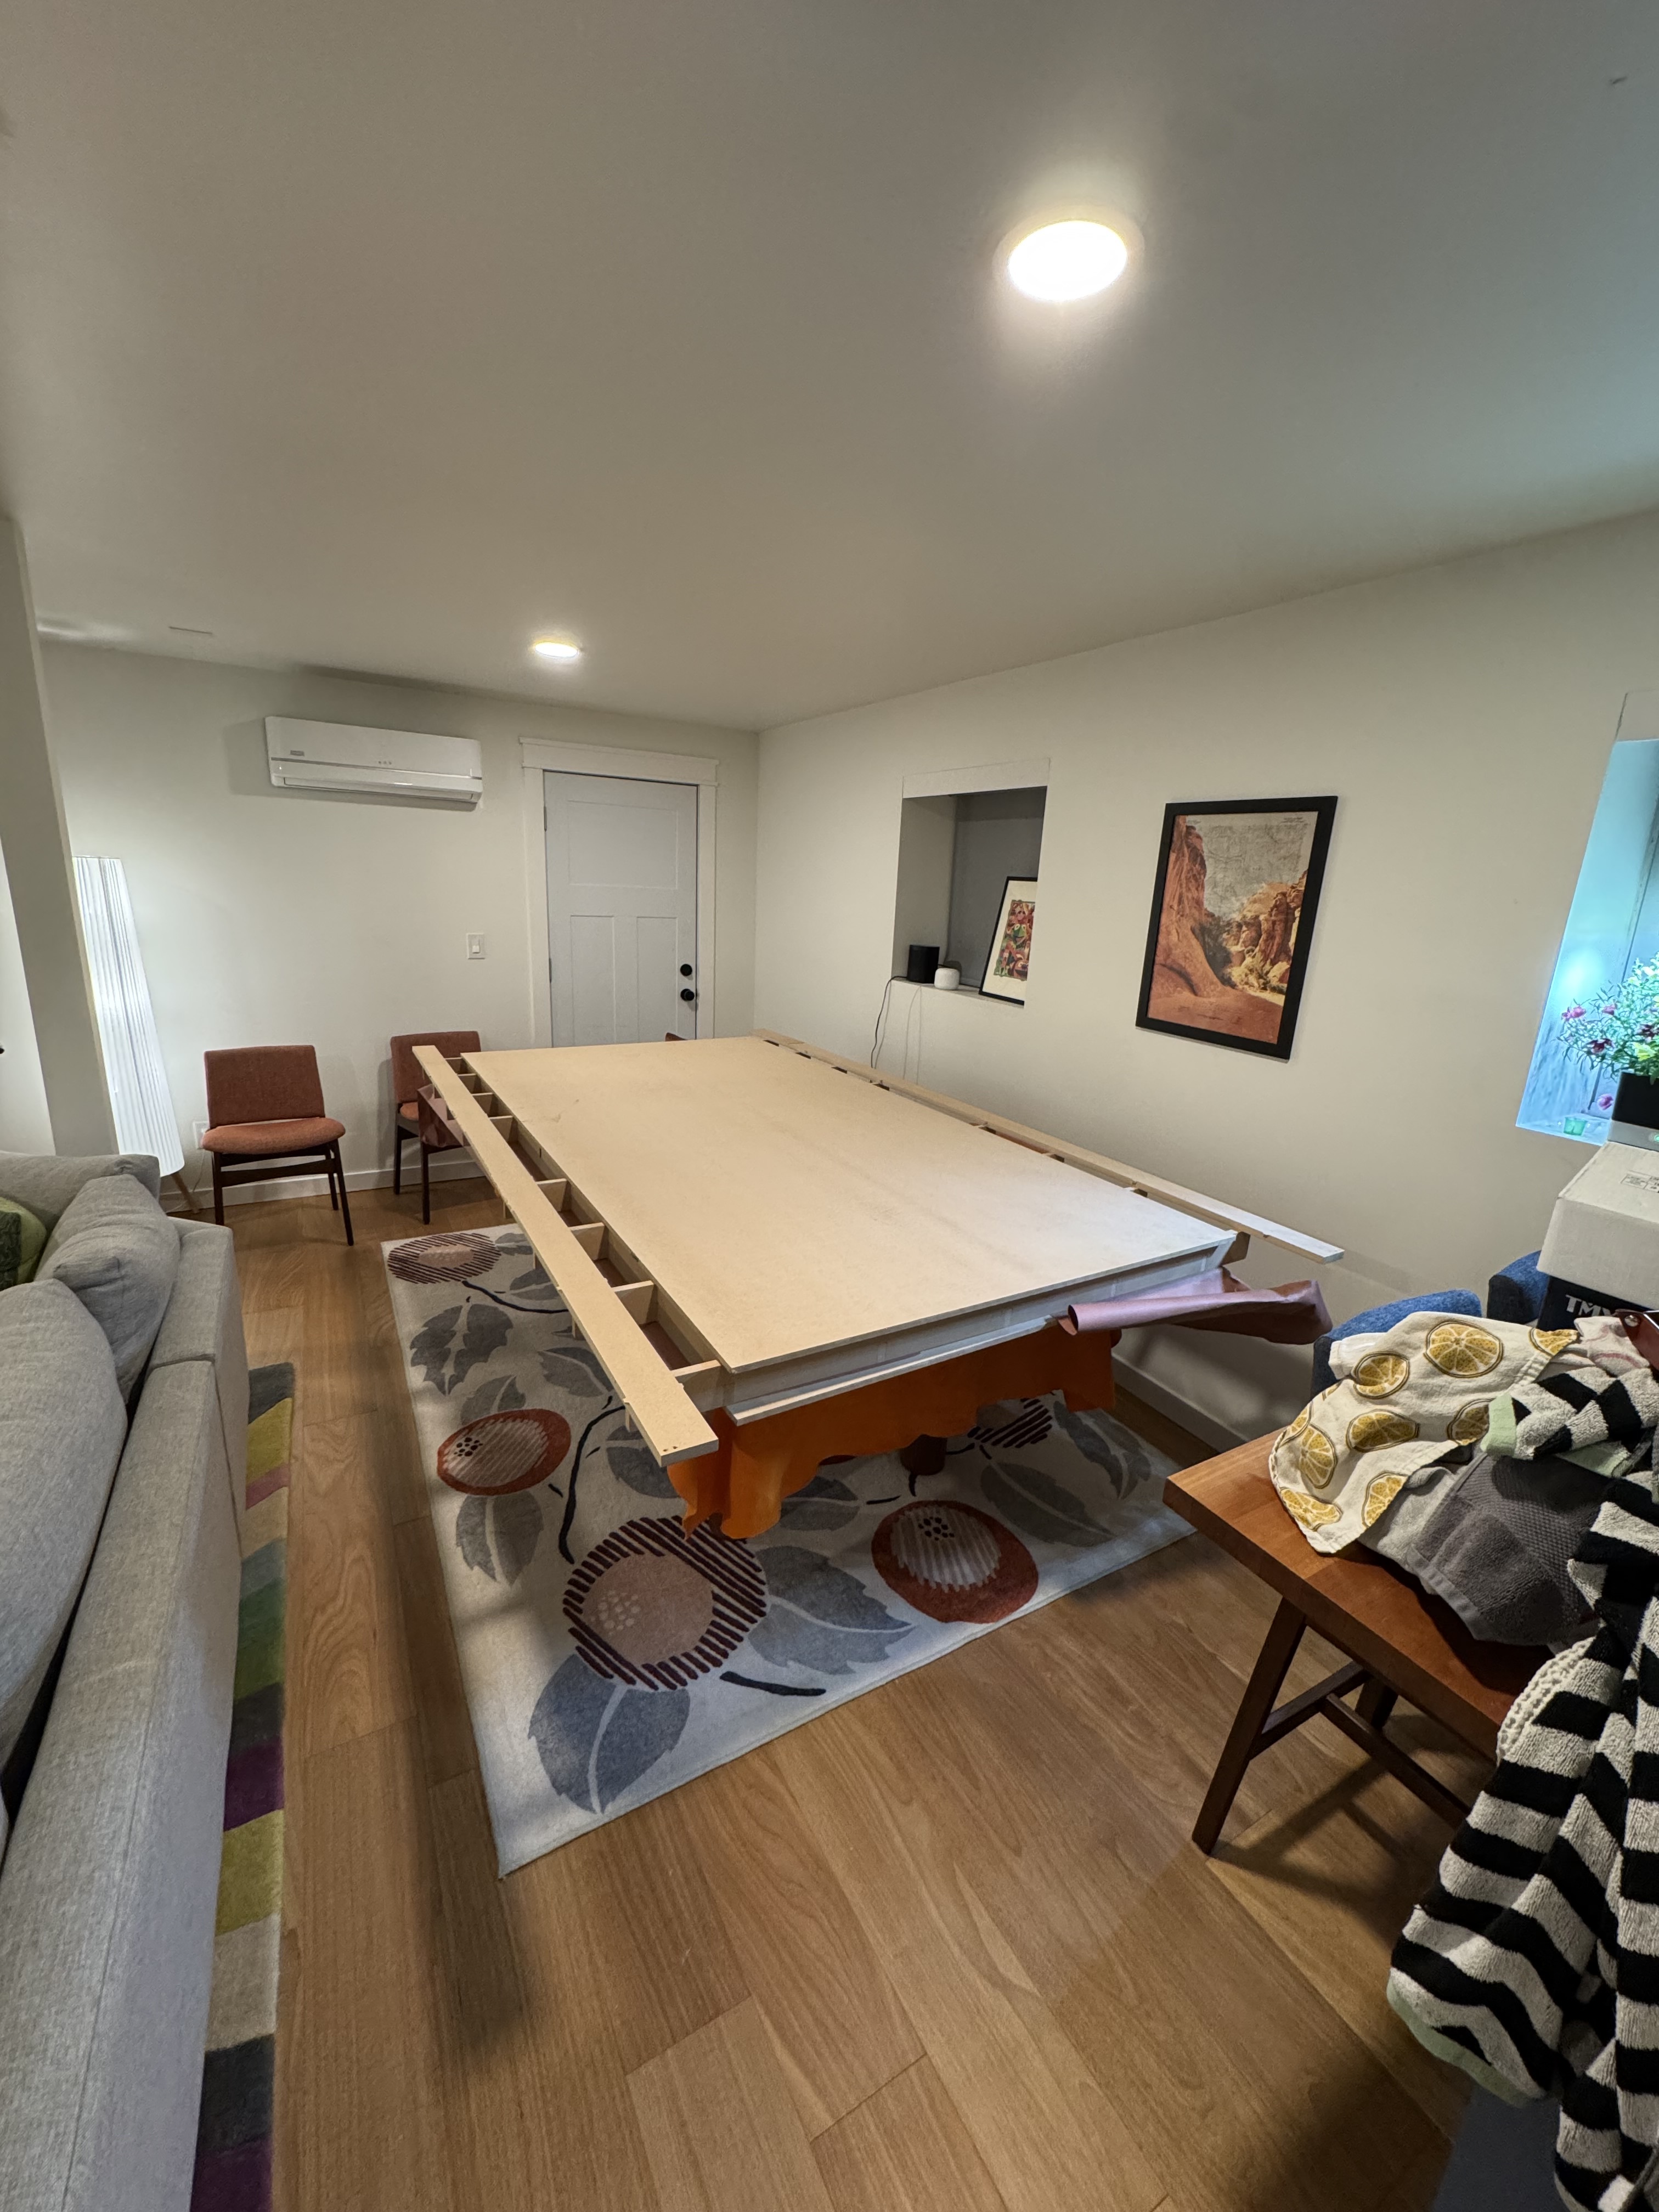
I’ve also finished cutting all the parts for my test table (just need some final cleanup on the last few.) It’s amazing what a difference 800mA to 900mA made for skipping steps on the motors.