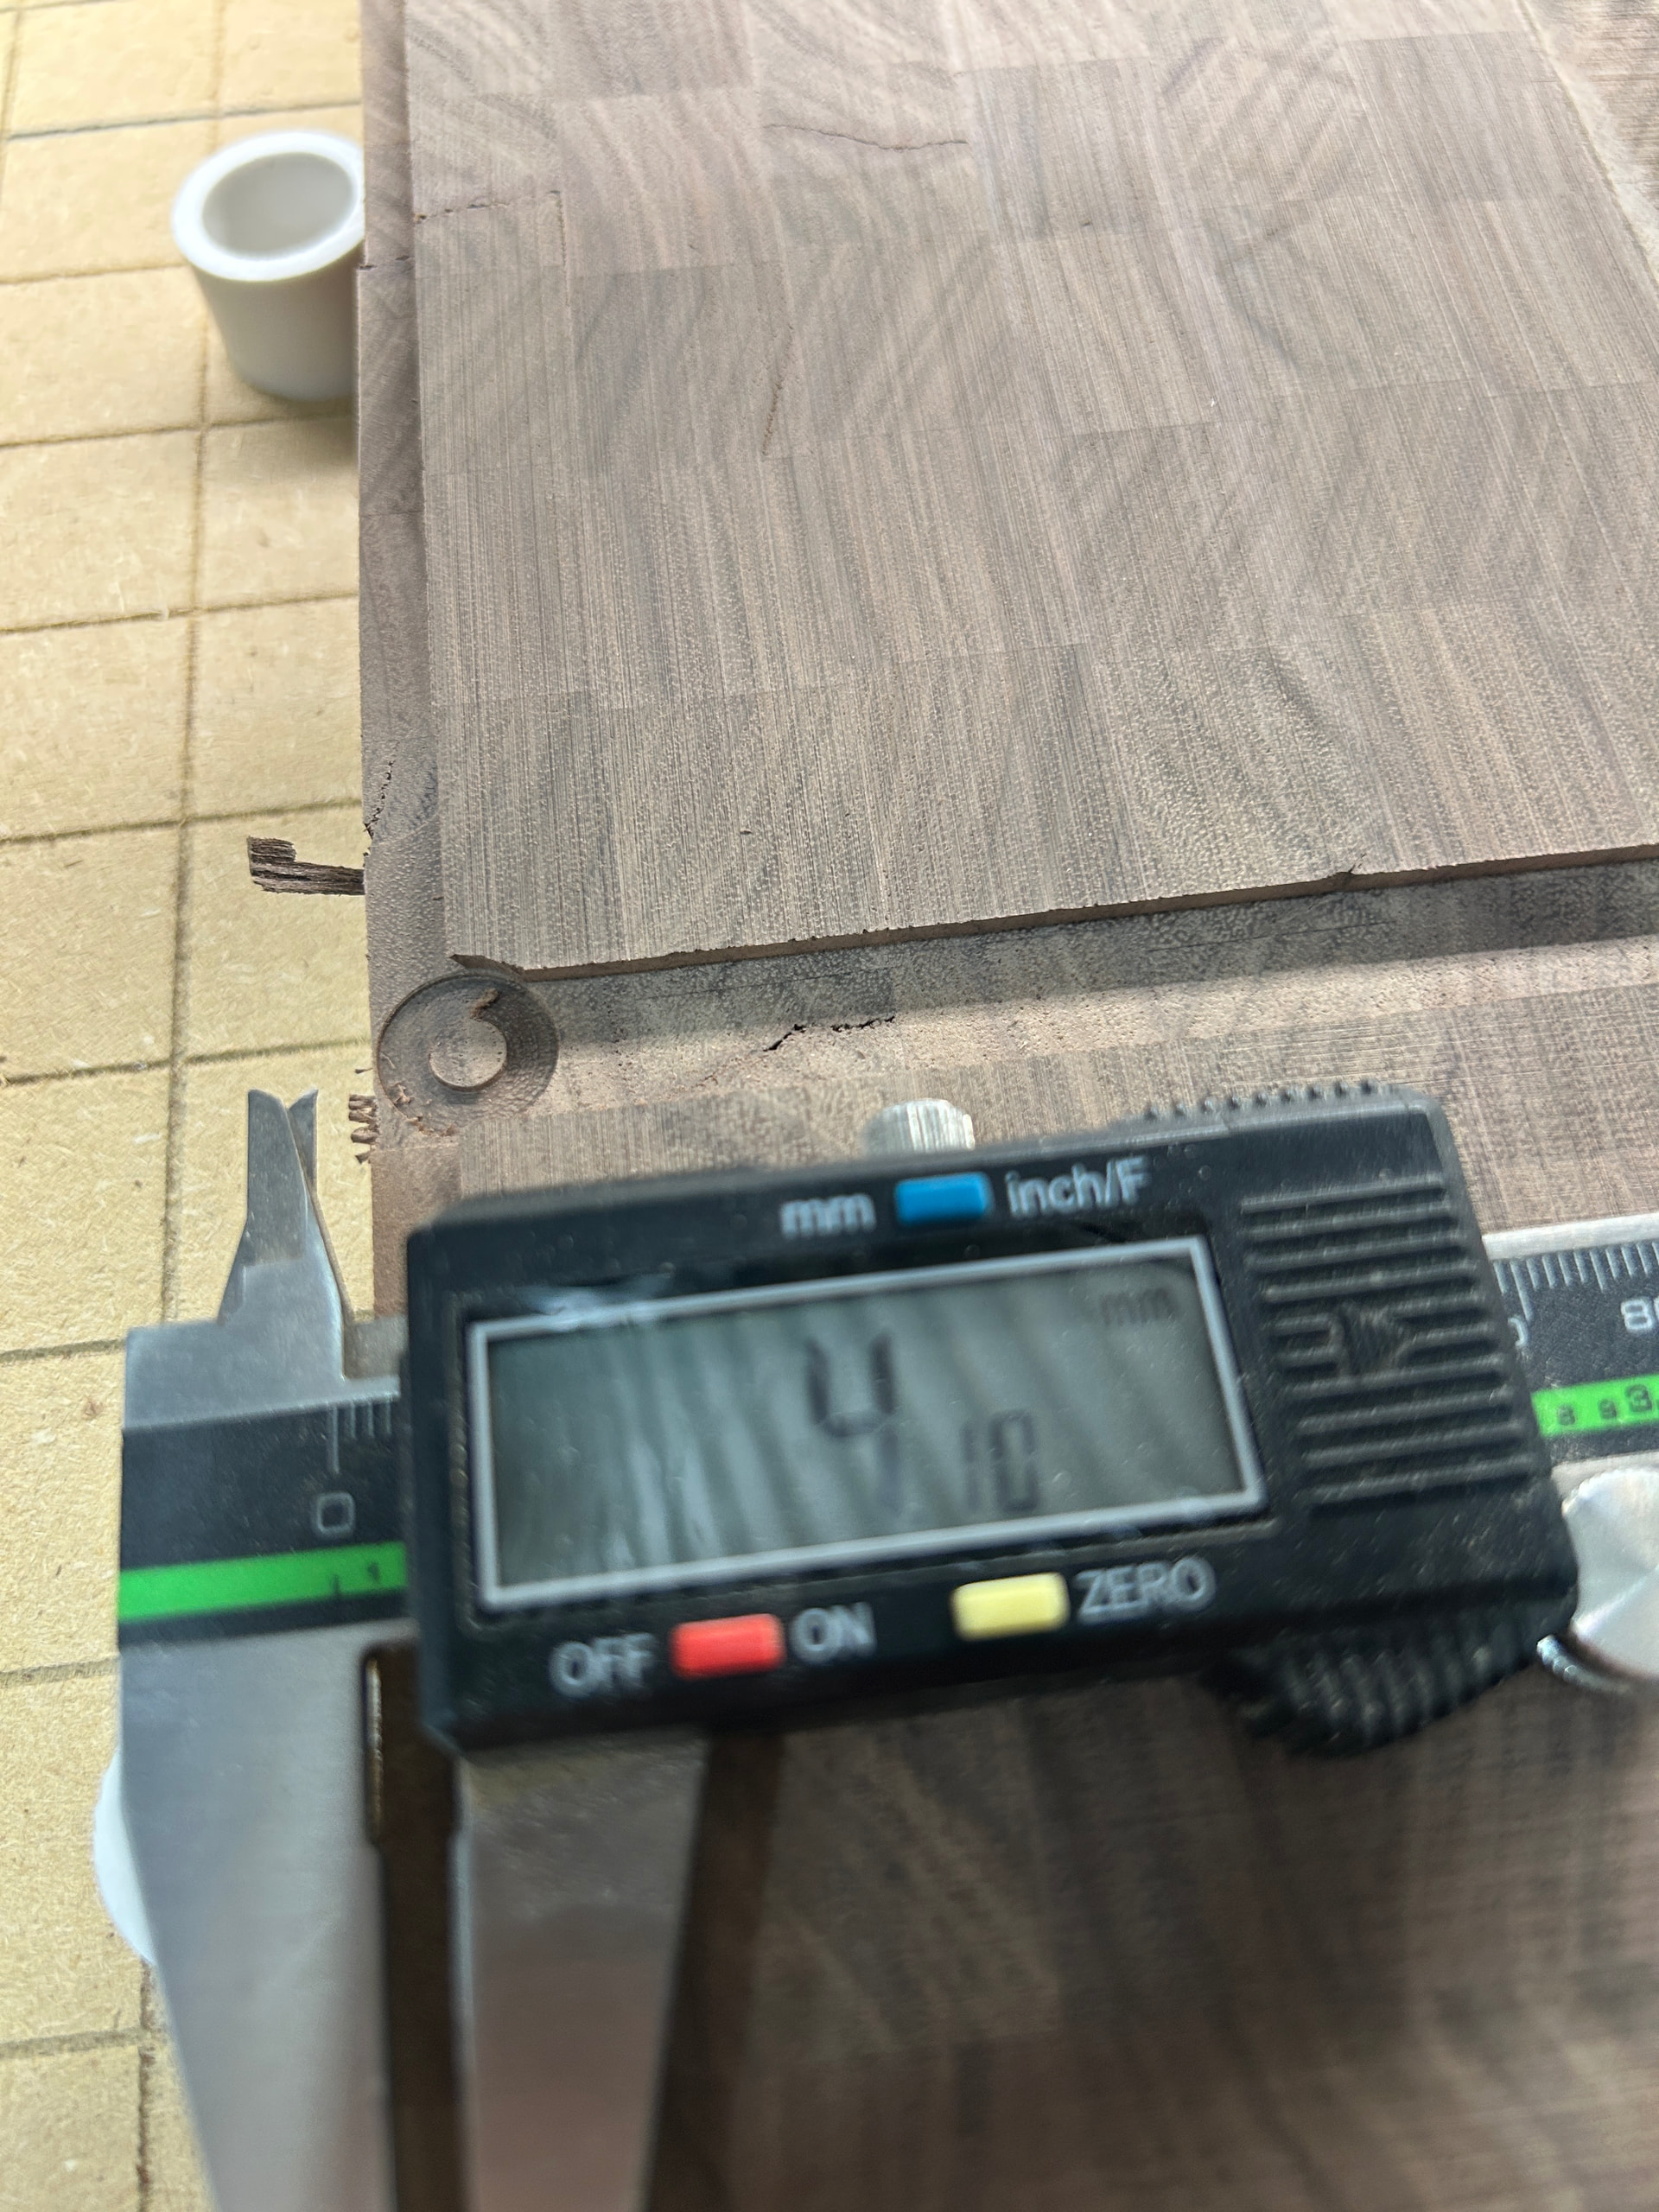
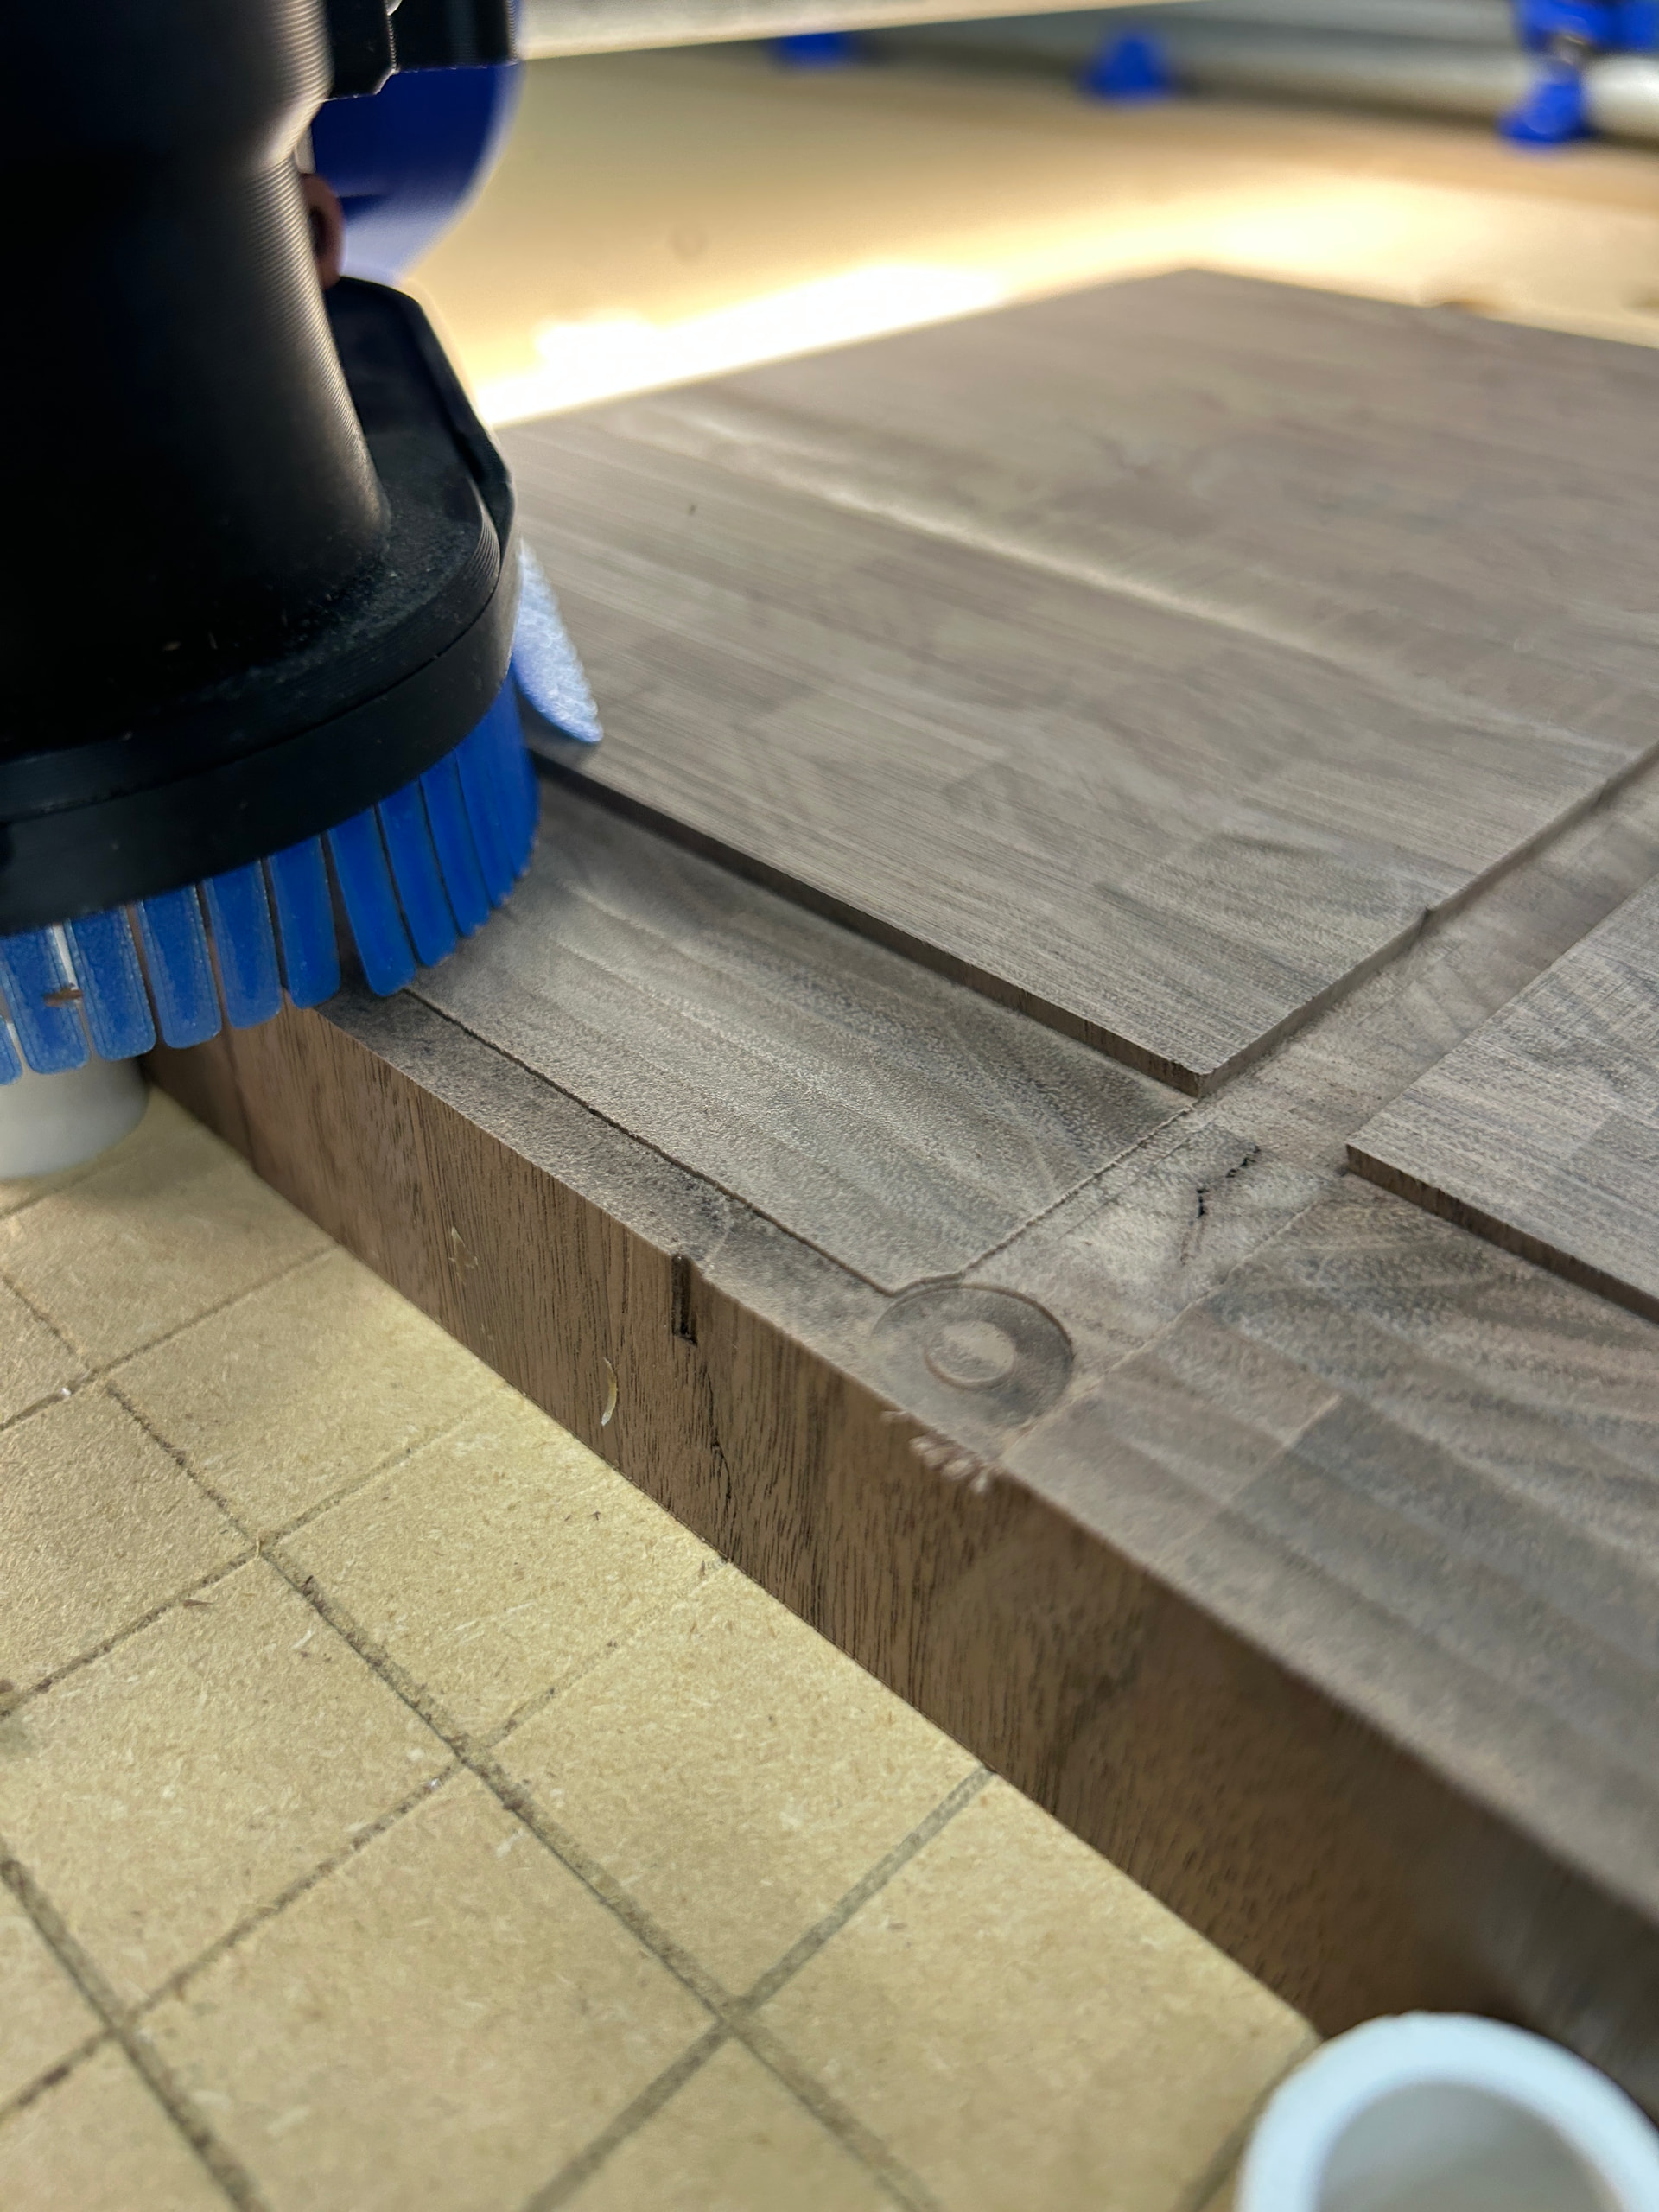
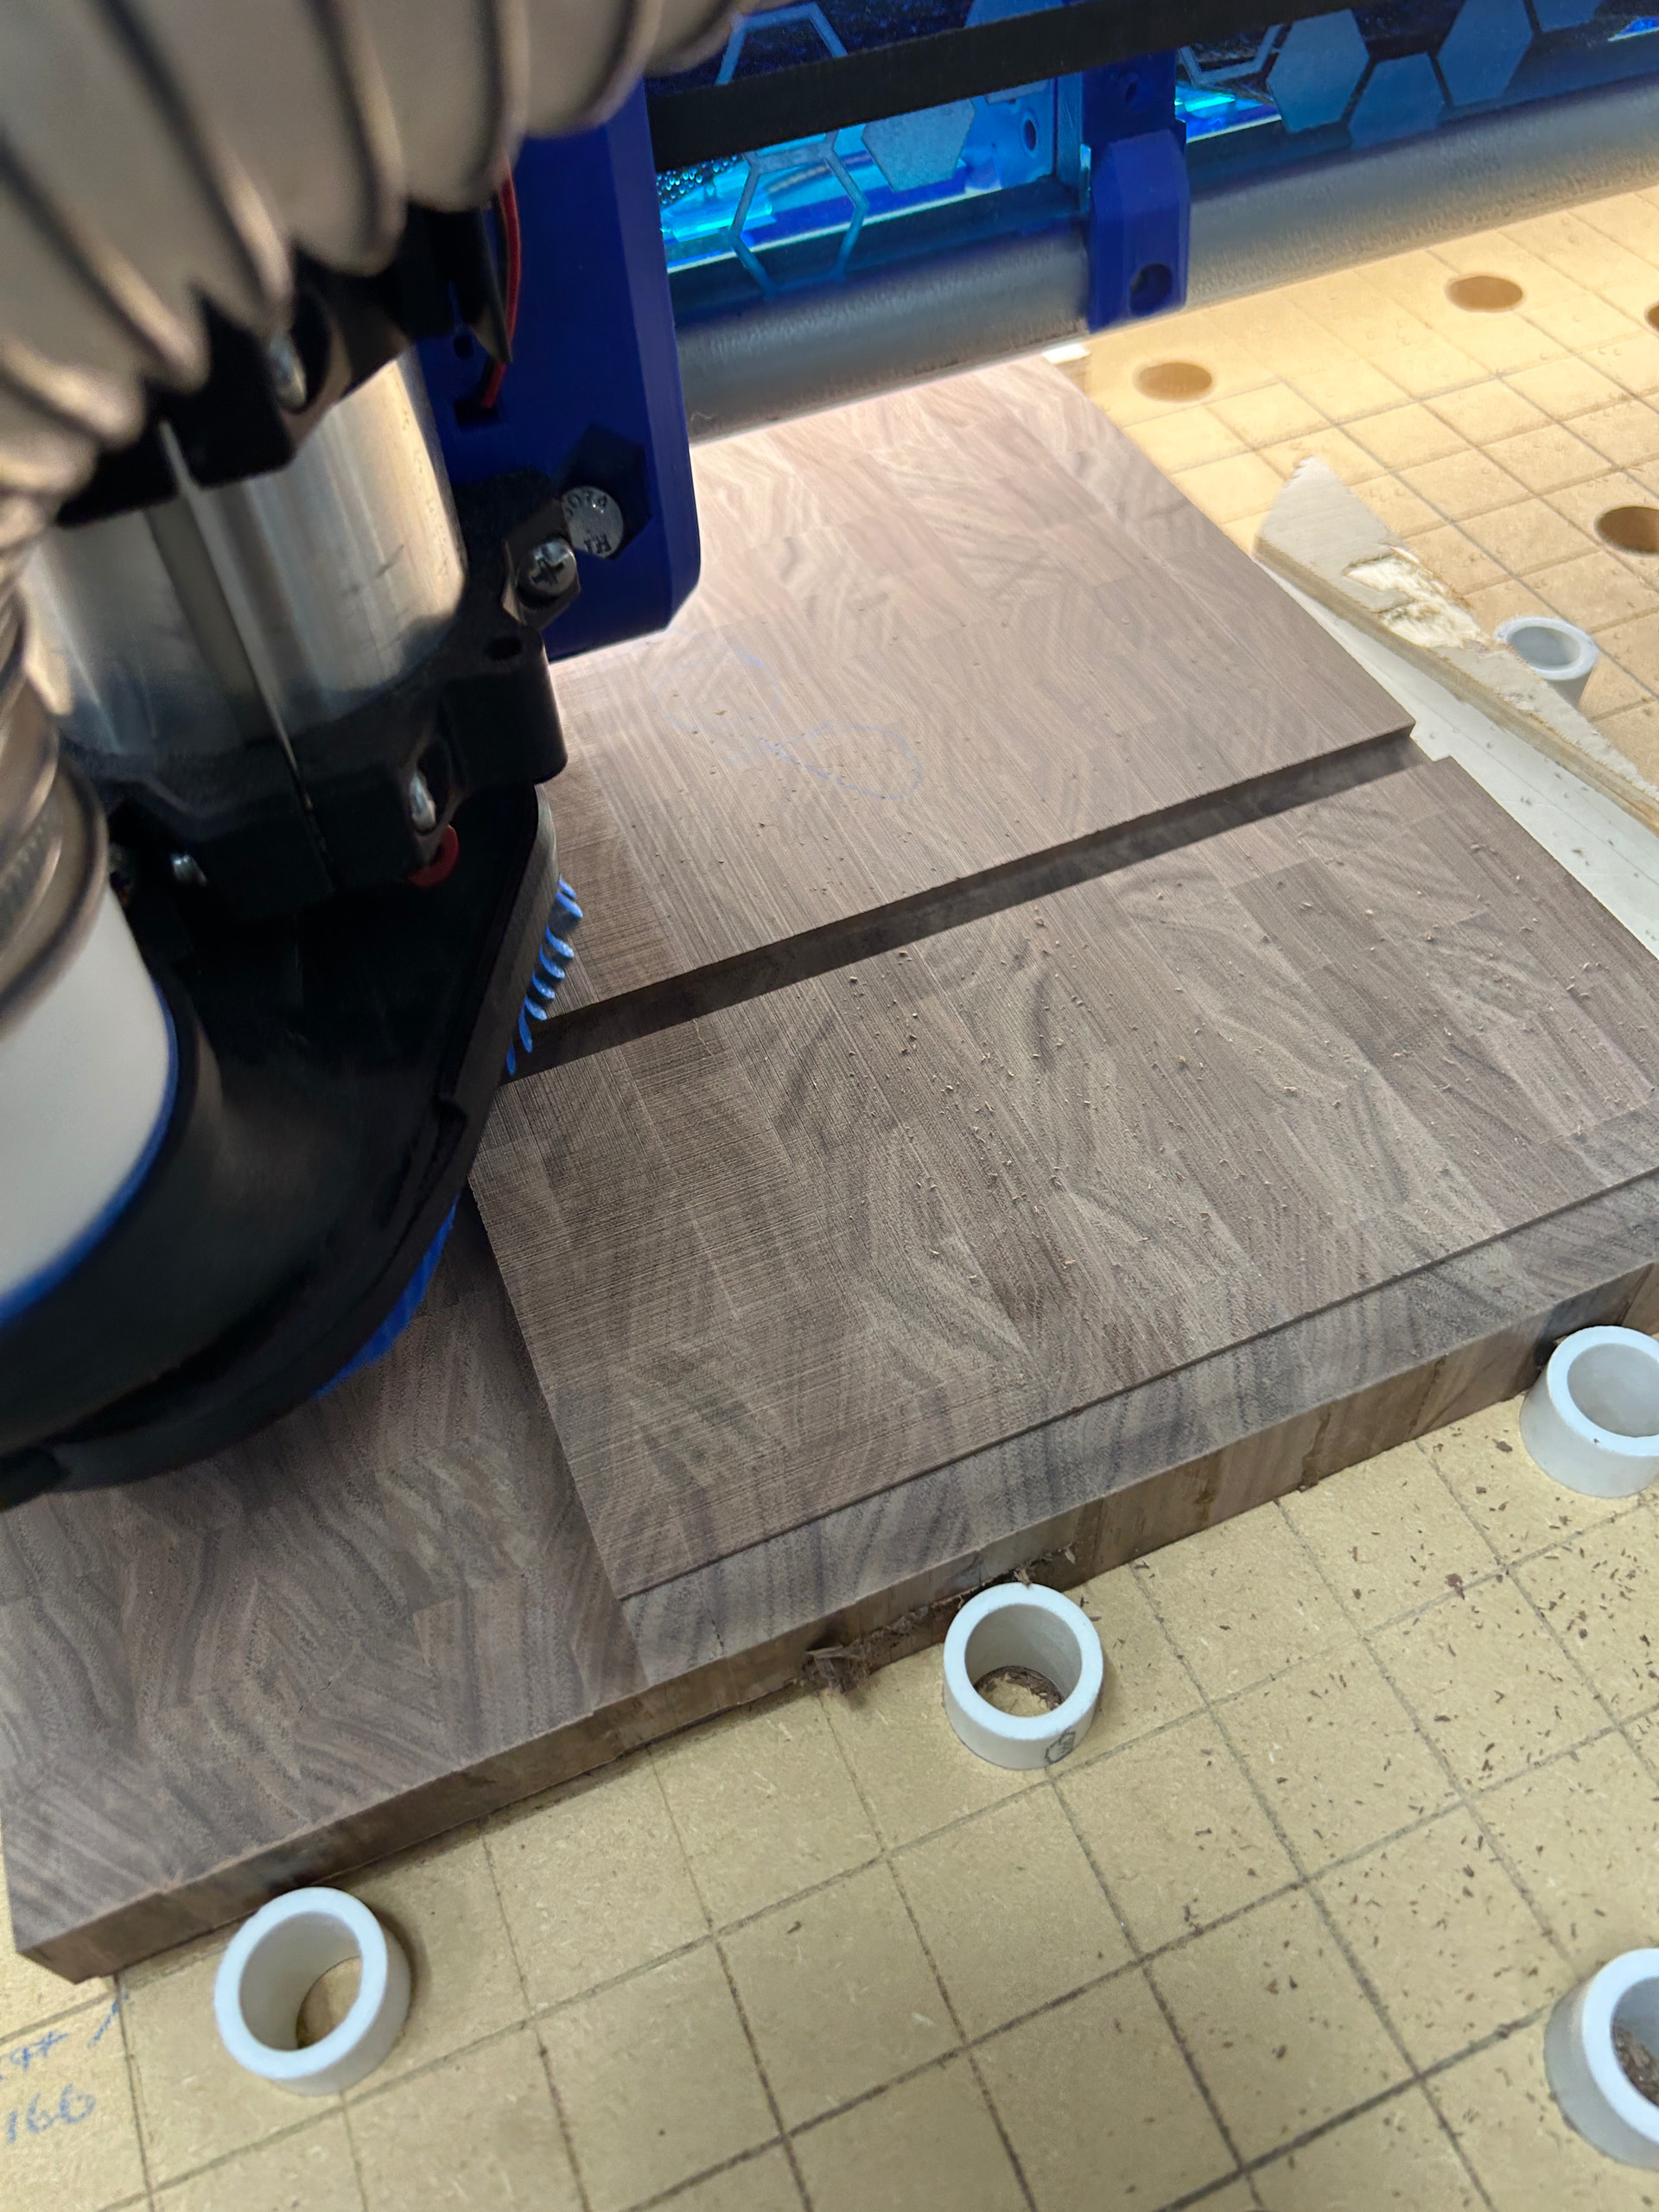
Set up to do the other side, and 5 seconds after I pushed go, the file seemed to reset itself, and glitched, leaving a 4.1mm deep dovetail groove right through the middle.
without bogging down.
so, in theory, I can do walnut endgrain grain at 4mm DOC, 1500mm/min feed with th 1/2” dovetail bit. Good to know.
Reset everything, plugged the tab into power, and reran- all good.
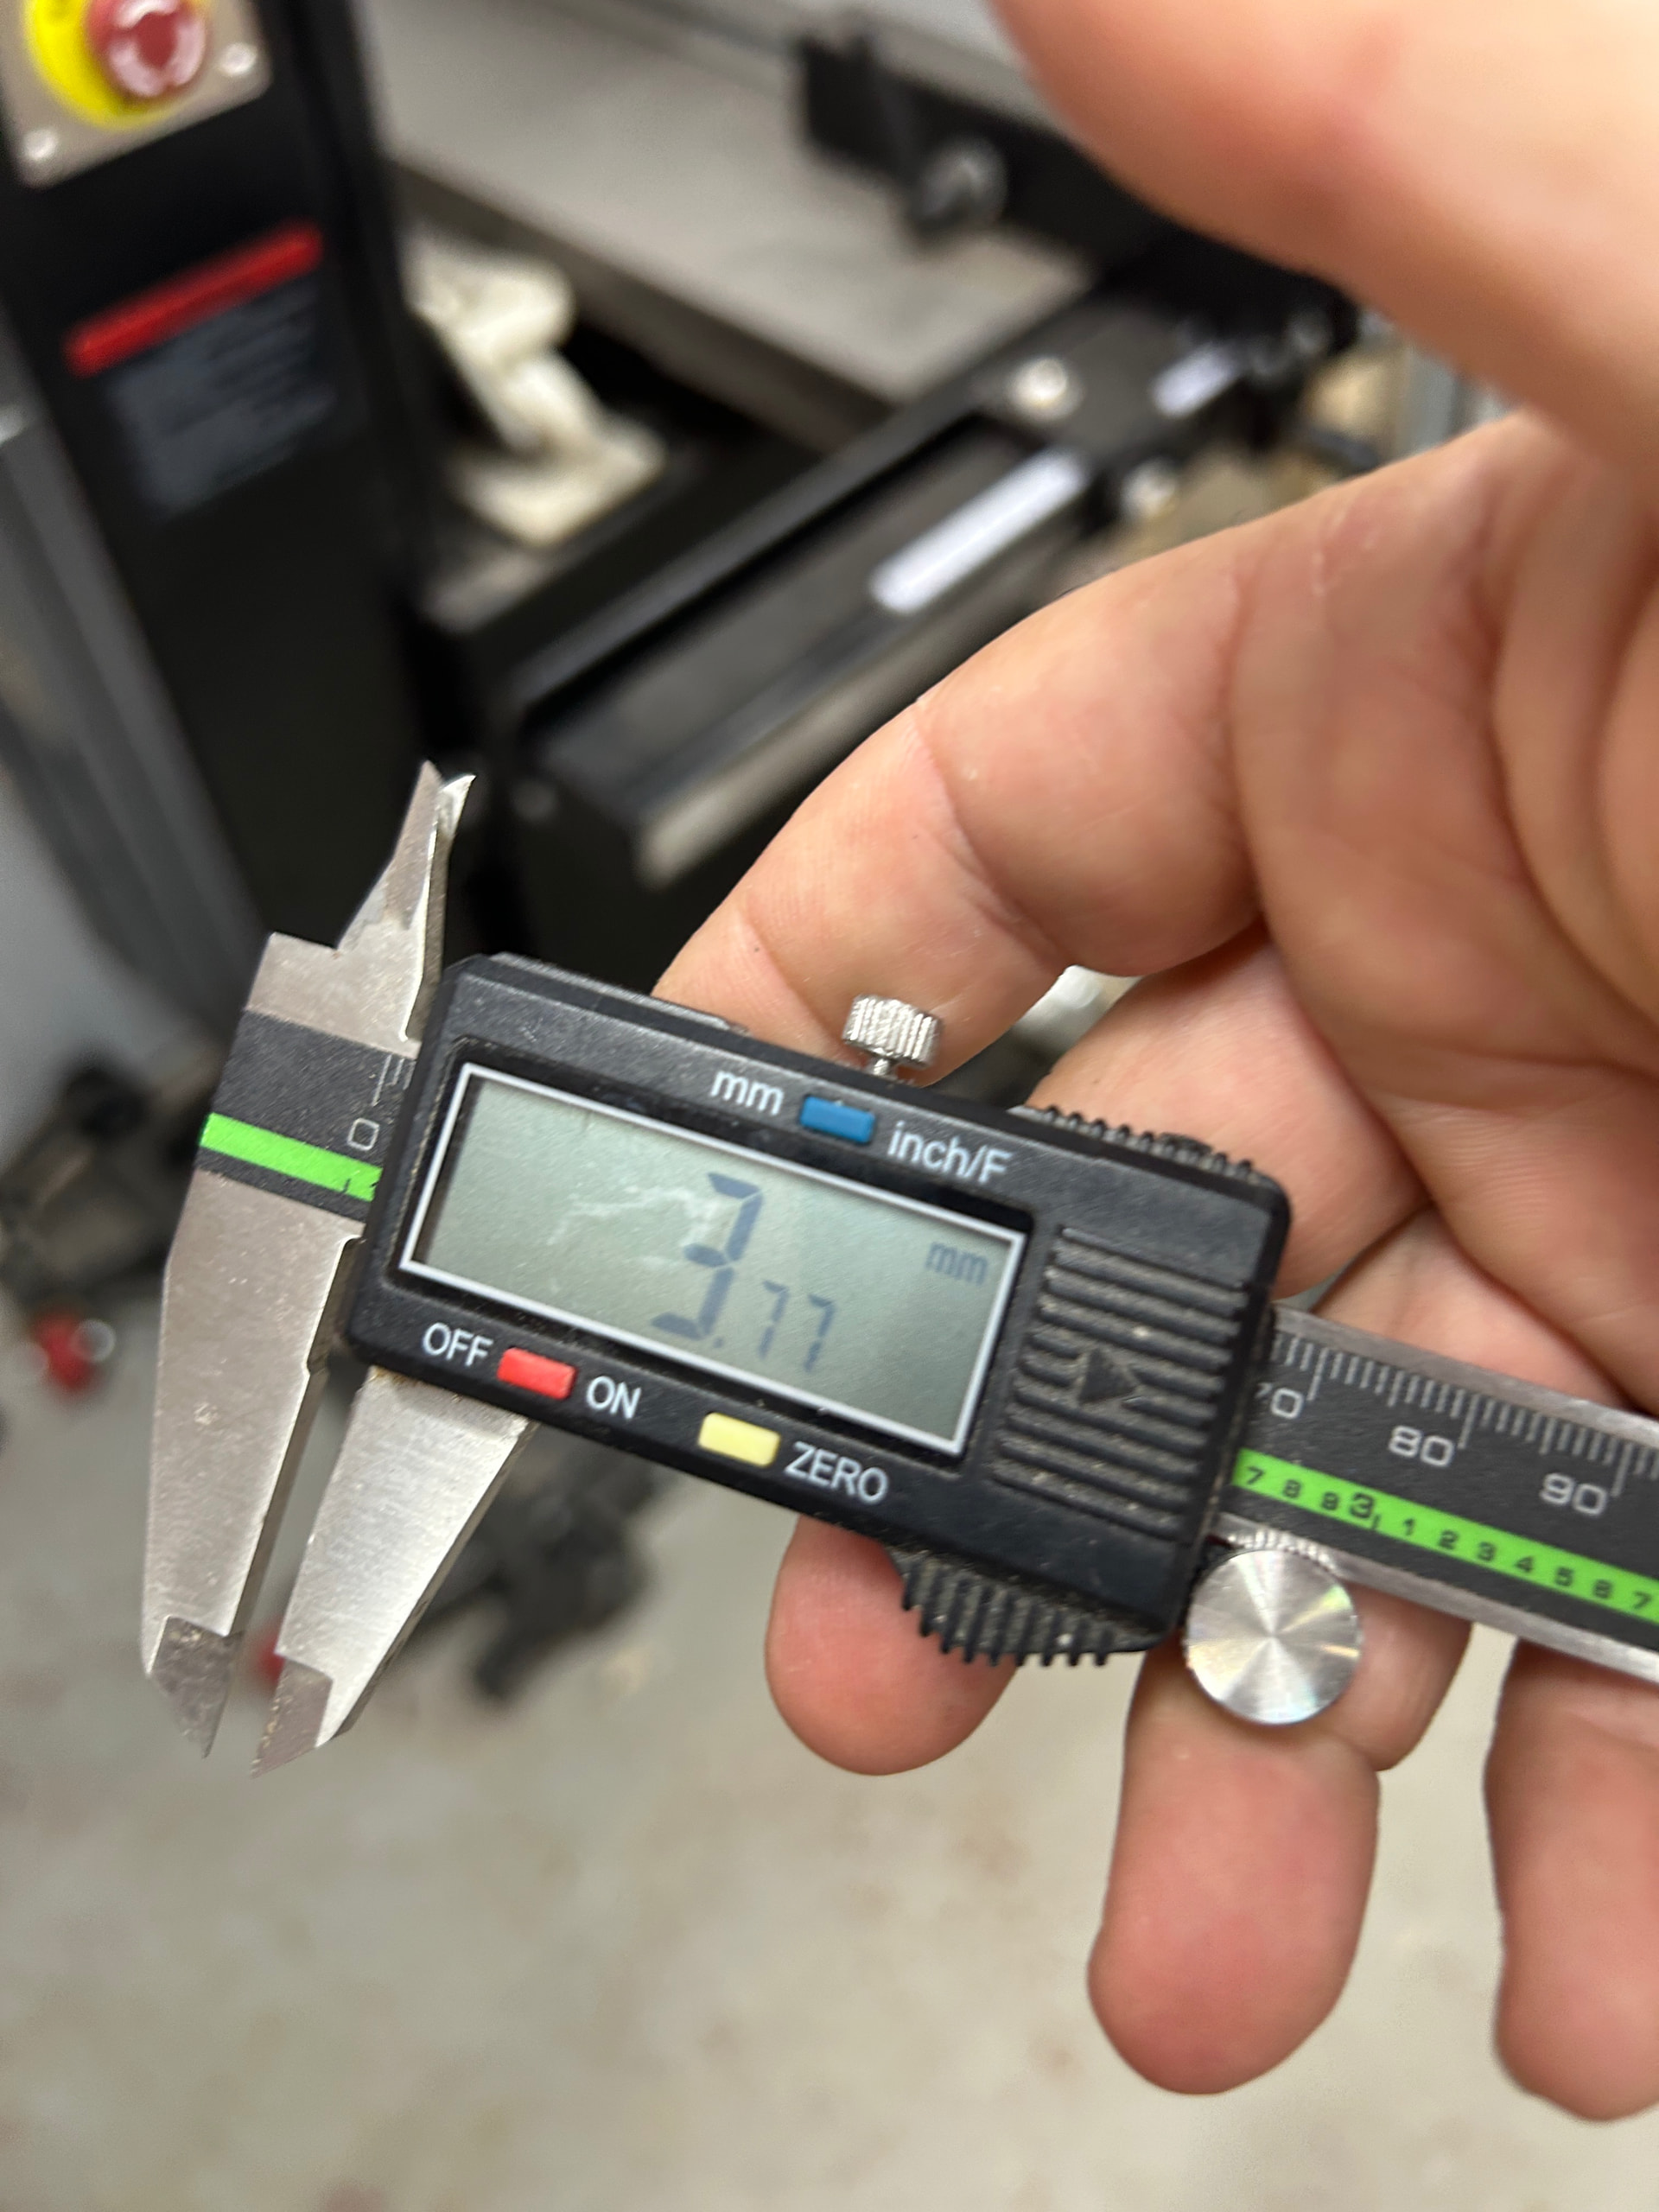
it’s currently cutting the surface away at 3.77 mm DOC because that’s how warped that side of the board was.
I have a slab that is live edge, and want to flatten some high spots. I dont have a router sled, or the desire to build one. I can put it on my lr4 bed, then flip it 180 to do the other end- its 64” long. Width varies from 14- 29”
doing something with the surfacing program ends up doing a bunch of air cuts due to the non-uniform shape.
Can I ‘freehand’ the LR4 gantry if i use M18/M84 commands to disable the X and Y steppers?
actually, what i really want, is the capability to add a camera, and just trace around the piece and have the software do the rest. z-probe like normal, tell it to drop -1mm, then flatten everything in the drawn bubble, lol
Don’t quote me, but I believe it can do the same camera stuff that lightburn can for lasers. Which would give you an overlay on the screen that you could trace out and then they have a surface function in MM. Haven’t tried it yet but should work good for what you are trying to do. Biggest PITA is setting up the camera lol
I did that too a while ago after seeing Broinwood use it. I have to do that again for my table, it’s really the best because you can’t ruin your endmills with it.
I have a camera that I once had on my laser. I have been thinking about throwing it on the LR4 to test this out. One day I’ll get around to it hopefully sooner than later lol.
I don’t see a camera in the MillMage settings menu like in Lightburn. Maybe you can use lightburn and the camera to get the design set and then switch to MillMage and setup the surfacing operation.
Very possible. Hopefully Oz will come along and tell us what’s up.
Using Lightburn would work though. I know Lightburn/Millmage can open each others project files. Would be nice If it could do it straight in MM though for the folks that don’t have a laser and don’t really need lightburn.
I have lightburn on the 80w CO2, but the bed is only 24x36. Actually, I could install a second camera on it with a usb splitter, and take a photo of the piece on the LR4 bed using LB, and then import the image into MM
To disengage, and go into ‘freehand’ mode on the X and Y axes. Kept z energized so I could microstep it between passes.
To rengage, M17 X Y energizes both Axes, then a rehome to reset the coordinates.
There is an appreciable amount of resistance to pushing the core, and gantry, expectedly so. More than a sliding sled style, but definitely useable for the odd shaped slab.
I think a better use case would be to keep the Z and Y energized, and write a macro that raises the z+2, jogs Y by 1/2 bit diameter (for 50% step over) , pauses until you set the X back to where you need, drops Z-2. This would let you do single direction passes, mimicking @jamiek surfacing programme.
Regular router sleds don’t take account of this though, they cut in both directions when flattening a slab, so this may be over complicated. I’m going to give this a try with the slab when I get back. At the very least, a decent way of clearing excess epoxy on smaller areas of the slab, instead of setting up gcode to cover the whole surface area.