The 'Black and Blue' LR3 build

agree to all these points, lol.

Ive spent a lot of time in my life being pissed, no room for it anymore. unless someone made me bleed, or upset my wife or kids, i dont get much more than miffed nowadays.

yeah, definitely a learning experience. definitely making some changes to the terms

I was since told that the difference in the bids was only a few dollars per piece, but the additional customization and being local pushed it my way.

cool thing is- they’ve agreed to social media posts and im going to add a discount coupon and ‘golden ticket’ to the packages, 10% off or 20% of for golden ticket holders. Free advertising going out to 60+ people and their friends and family. So im really hoping this ends up being a driver to a big jump in sales.

2 Likes

Hey that’s smart - thinking like that is what gets you a new sawstop saw and a shaper origin for the shop :grin:

Yeah that’s what I’d tell the guy I was getting a killer deal from too :stuck_out_tongue_winking_eye:

1 Like

lol, yeah thats a good point, hahahaha … (sobs softly at the thought of lost $$$)

have a bandsaw coming monday and im picking up a drum sander after vacation. next on the list is to spend a bunch of money on plywood and build myself A LOT of storage. tool-wise, I think thats all my big purchases. just all the little tools and add-ons left.

3 Likes

Cant ever have enough storage. I have more money in plywood that my full sheet LR3 table is built out of than the machine sitting on top lol. But I have 6 36" cabinets and a ~10’ x 12" opening down the middle between the rows of cabinets that I can store stuff in. I still have to build cabinet doors and still another row of drawers to build. But having all of that storage has been a huge blessing! My original LR2 table was just a “work bench” style with a single shelf on the bottom. The cabinets and drawers have been SO much nicer!

2 Likes

the never ending list of stuff i want to do keeps getting bigger.

this weeks obsession is carved bowls. my wife saw a bowl she liked, and asked if i could make similar in a different color and wood. So, obviously, i said yes. like a dumbass.

anyone got any tips for 3D 2 sided carves, using Carveco software?

thanks

3 Likes

And clamps, you can never have enough clamps :grin:

2 Likes

i originally had plans for an 18’ run of 18" deep cabinets and drawers along one wall, but thats slowly been eaten up with other storage and carts so now its 8’. I turned a weird nook that covers half the other wall (originally intended as a closet space , in what was supposed to be a finished basement bedroom [weird]) into a set of vertical drawers slide suspended panels that have a bunch of small parts storage, paints, clamps etc, so at least I can still store that stuff.

Looking to do the 8’ run as set of lower cabinets and drawers, with a 34" high laminated top (matches my outfeed table and a couple of the rolling carts i made), 18" deep because i have a big tool wall above that section. thin drawers for top 2 layer, with laser cut foam tool holders so everything has a place.

2 Likes

Indeed, lol

This is about half what I own

Clamps and vertical drawers

4 Likes

:open_mouth:

That slide out storage is amazing!

2 Likes

turned a 6 foot wide, 4 foot deep, 7 foot high space from being a tool wall and some cabinets, to 7 x 4’x2’ slideouts, around 56 sqft of storage not including the backs. i have 3’ below where i keep my router table, and a bunch of slabs.

The hanging tool wall slides out of the way for access to half of the vertical shelves at once, using heavy duty pocket door hardware, same stuff i used for the Big Ass Door i made for the shop (7 'w, 8’h)

I put up an instagram with them about a year ago, then low and behold, 2 months later, 3 youtube dudes had videos with their ‘game changing’ storage. All three had commented on my Insta. I dont post progress pics any more

2 Likes

Hey @Neilp - I like the look of your table - also those “Honoree” awards are the bees knees!

Regarding the table - how is it functioning 2 years in? I’m looking for something I can move around as well as pull the LowRiderv4 off occasionally to store. Any suggestions/guidance based on experience appreciated.

Hey frank!

Thanks for the nice comments!

As for the table- it was totally functional, but I never had reason to ever fold it up, other than to recently move it into the opposite corner to make way for the laser next to the window.

That was an easy few minutes, popped the belt holders off, removed the lr3, folded it up, unlocked the casters and moved. For a table that big, it was very easy to move with the 3” casters.

I’ve since decided that my use case doesn’t require that size table. Other than the gantry supports, I’ve never crossed over half the length for any jobs. So I’m going to cut the table down and make it a non-movable base, and incorporate storage drawers in the bottom. My shop needs a lot more storage.

I can see the design neigh great for someone who really does need to love it around, in a shared garage, say, but it was overkill for my needs.

4 Likes

Great - I’m looking for the larger surface to cut Layens Bee hives (more bees!!) where I could do multiple hives in a couple of 1/2" 8’x4’ ply sheets. Good to know the teardown is quick and easy. I’ve a MPCNC that is too small but also look to see how the LowRider compares to the Maslow4 for the larger surface area.

Appreciate the guidance!

My impression is that the LowRider is quite capable for a full sheet cut size, and the LR4 is even quicker and more impressive than the LR3 was. I watched some video of the Maslow4 and it seemed slow compared to my LR3, and my LR4 is even faster still.

2 Likes

So, sadly, it happened.

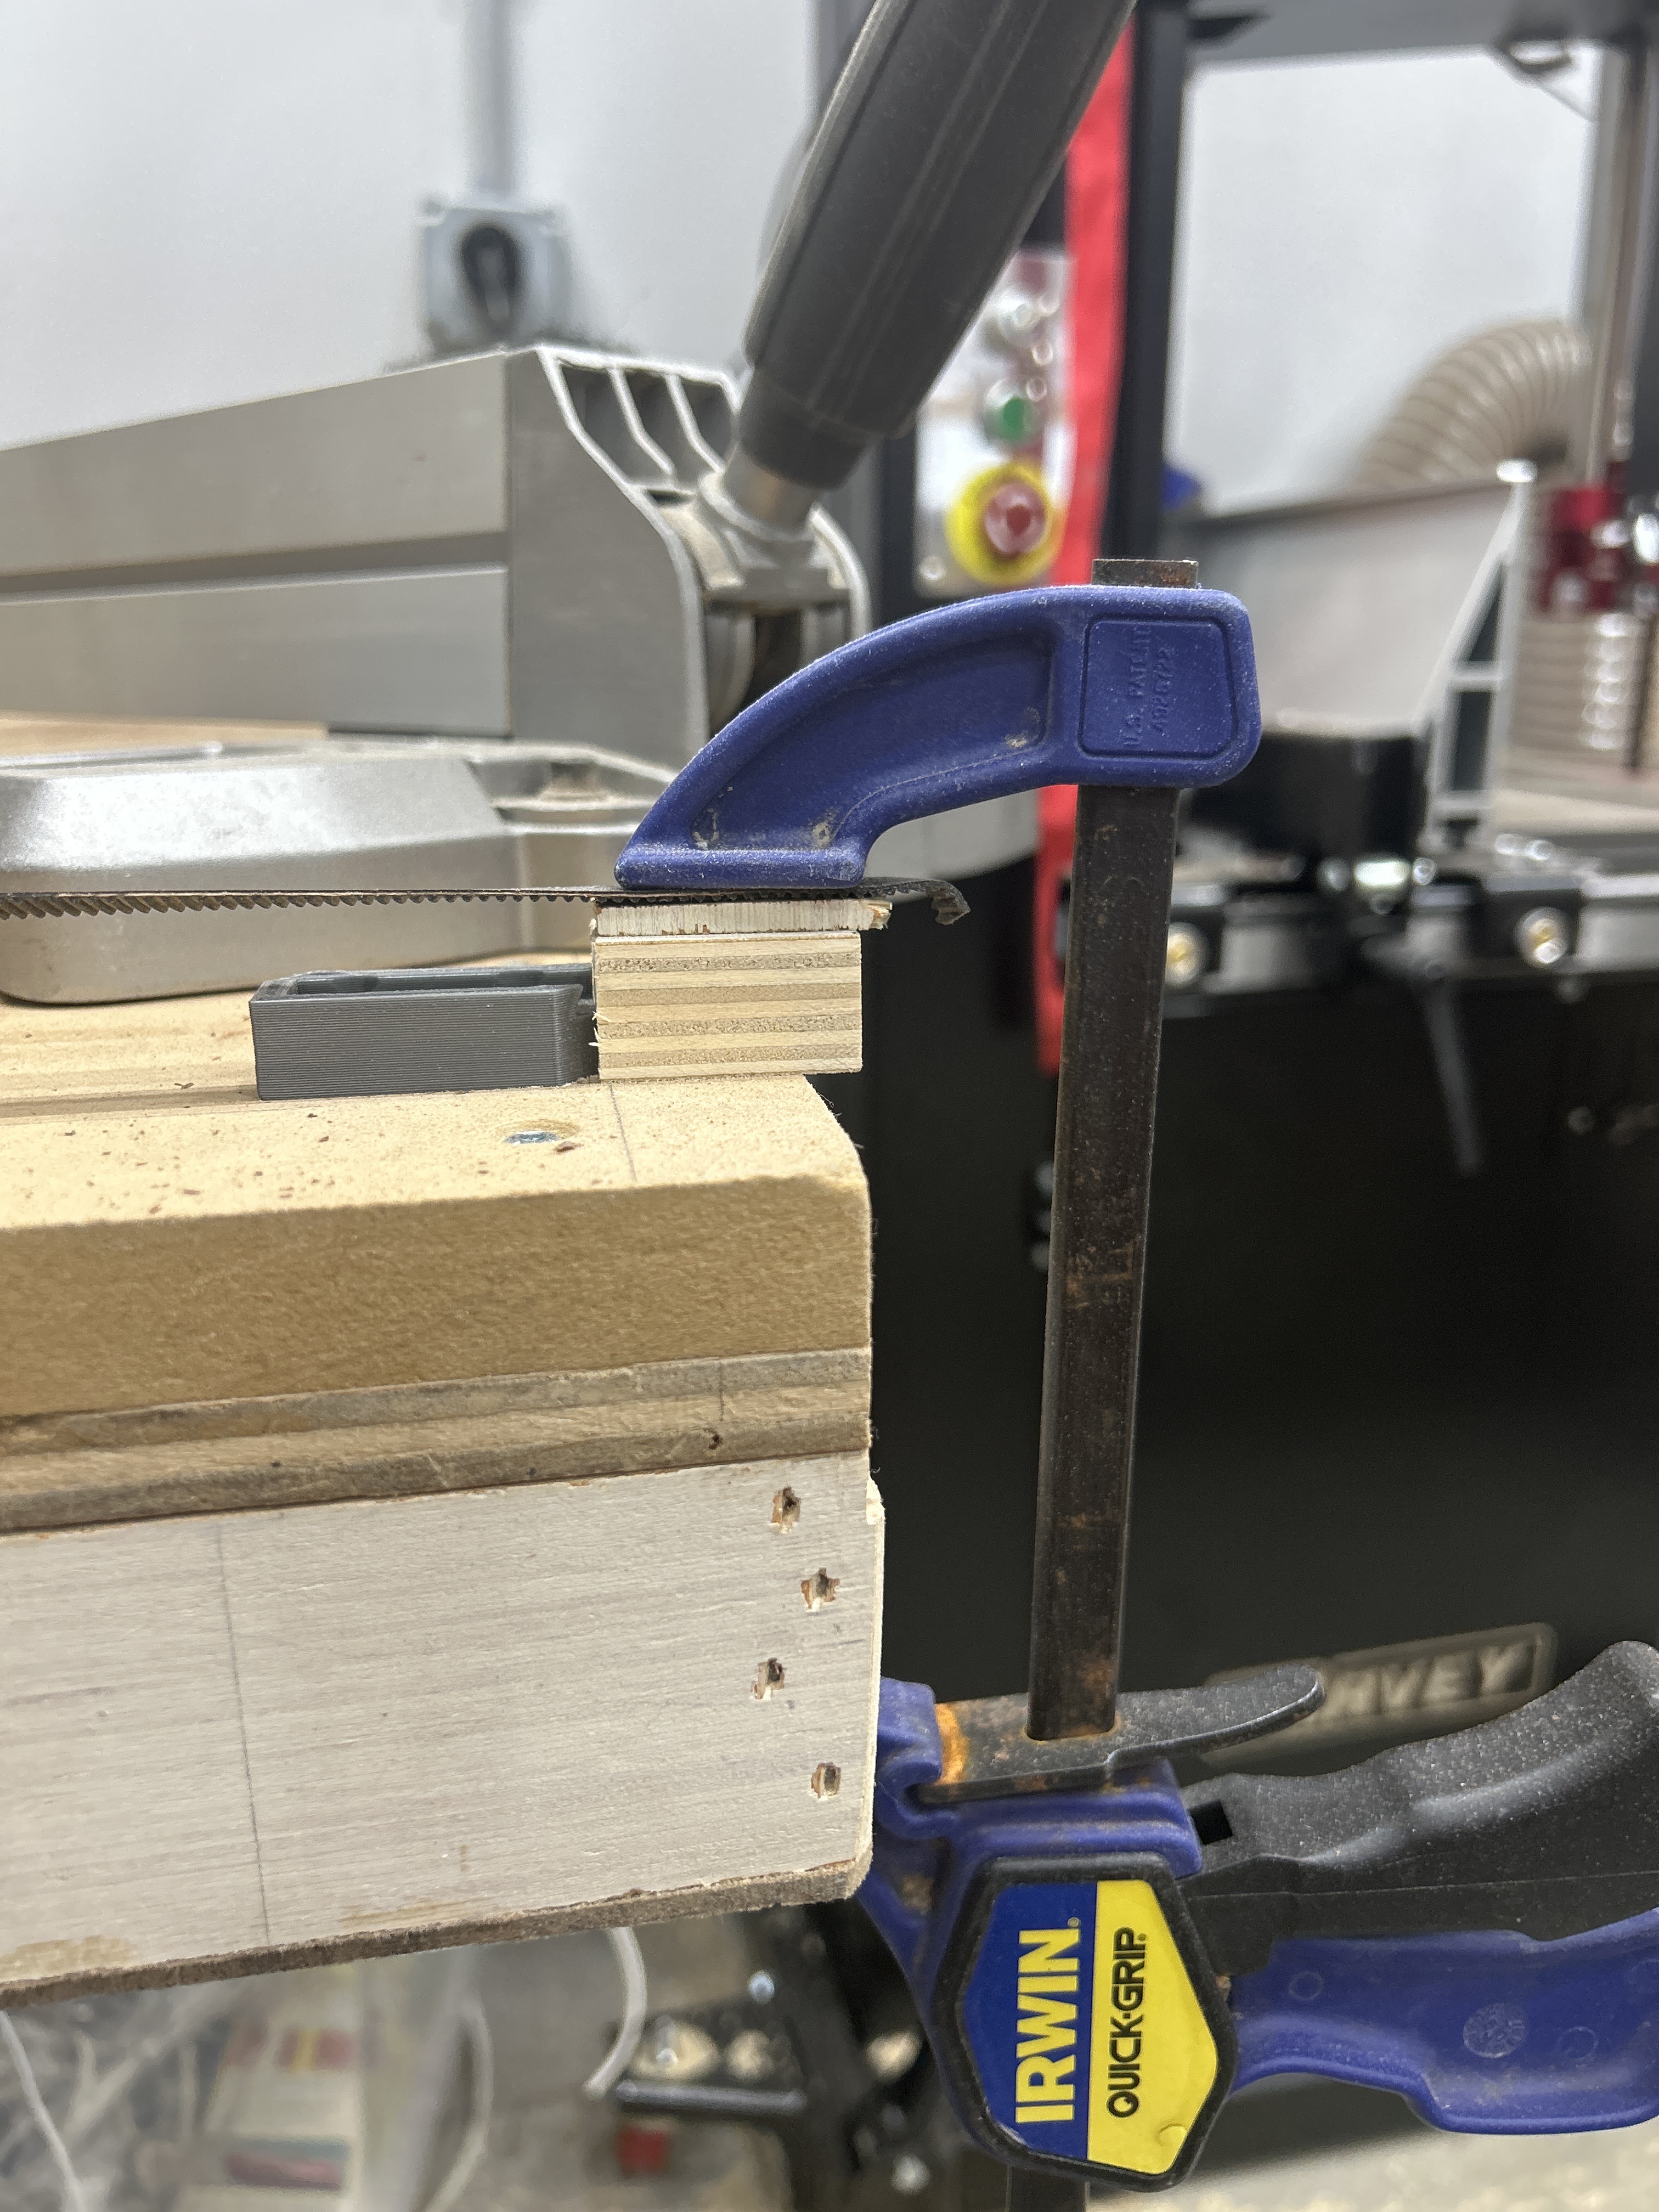
Picked up a quick 90 minute job on the 22nd machining a bunch of recesses in 6 pine boards supplied by a customer. Rough pocket with a 1/4” bit, clean up with a 1/8th. Easy right? Quoted 125 for the job, guy paid 150 with a tip.

I’m 4 minutes in, and the grain splits, and wedges a 5” long, 1/4” wide splinter wedged itself between the edge of the piece and the dust shroud. Torquing the core and cracking the lower portion near one of the lower bearings.

So, i put the LR3 aside, and laser cut a router template using the 80w, in order to get the job done. what was quoted out as an hour total, now took 4 hours, and included additional material costs and machine time. Anyway, Parts delivered two days later, happy client, sad small business owner.

Now, onto the LR3. I’m still 40 units short of completing my Hospital Awards plaque order. Heres the kicker- they like them so much, they started giving out 2 a month… without telling me. So, they are running out, didn’t update me with the timeline, and now I had a week to get them 5 units to get them through January 25.

So- I filled as much of the core crack as I could with medium set superglue, but i couldnt torque down the bearing bolt to keep the core snug to the rails, so whenever i had a plunge, the core would visibly lift and go off target. sacrificial test pieces for the win. So, as an interim solution, I used layers of blue tape to increase the apparent diameter of the bottom conduit tube until the effect stopped, dropped down my feeds and changed my machining toolpaths (lead-ins and offset pockets) and was able to bang out 7 plaques in 2 “SAHD-with-kids-on-vacation” workdays. Frankly, some of the cleanest pocket carves I’ve done. Laser engraving and finishing, then delivered to a happy client, who apologized profusely for the lack of comms regarding stocks and replenishment.

While i was lasering those, i pulled my 6 year old adimlab gantry 3d printer out of the backroom, since i need a new core. set it up in the wood storage area, flipped the switch- nada. zilch. nothing. Thing doesnt switch on. I throw a quick email to the facebook support group- which bounces, because the group no longer exists. Uh oh. Im SOL. Old printer, no support…

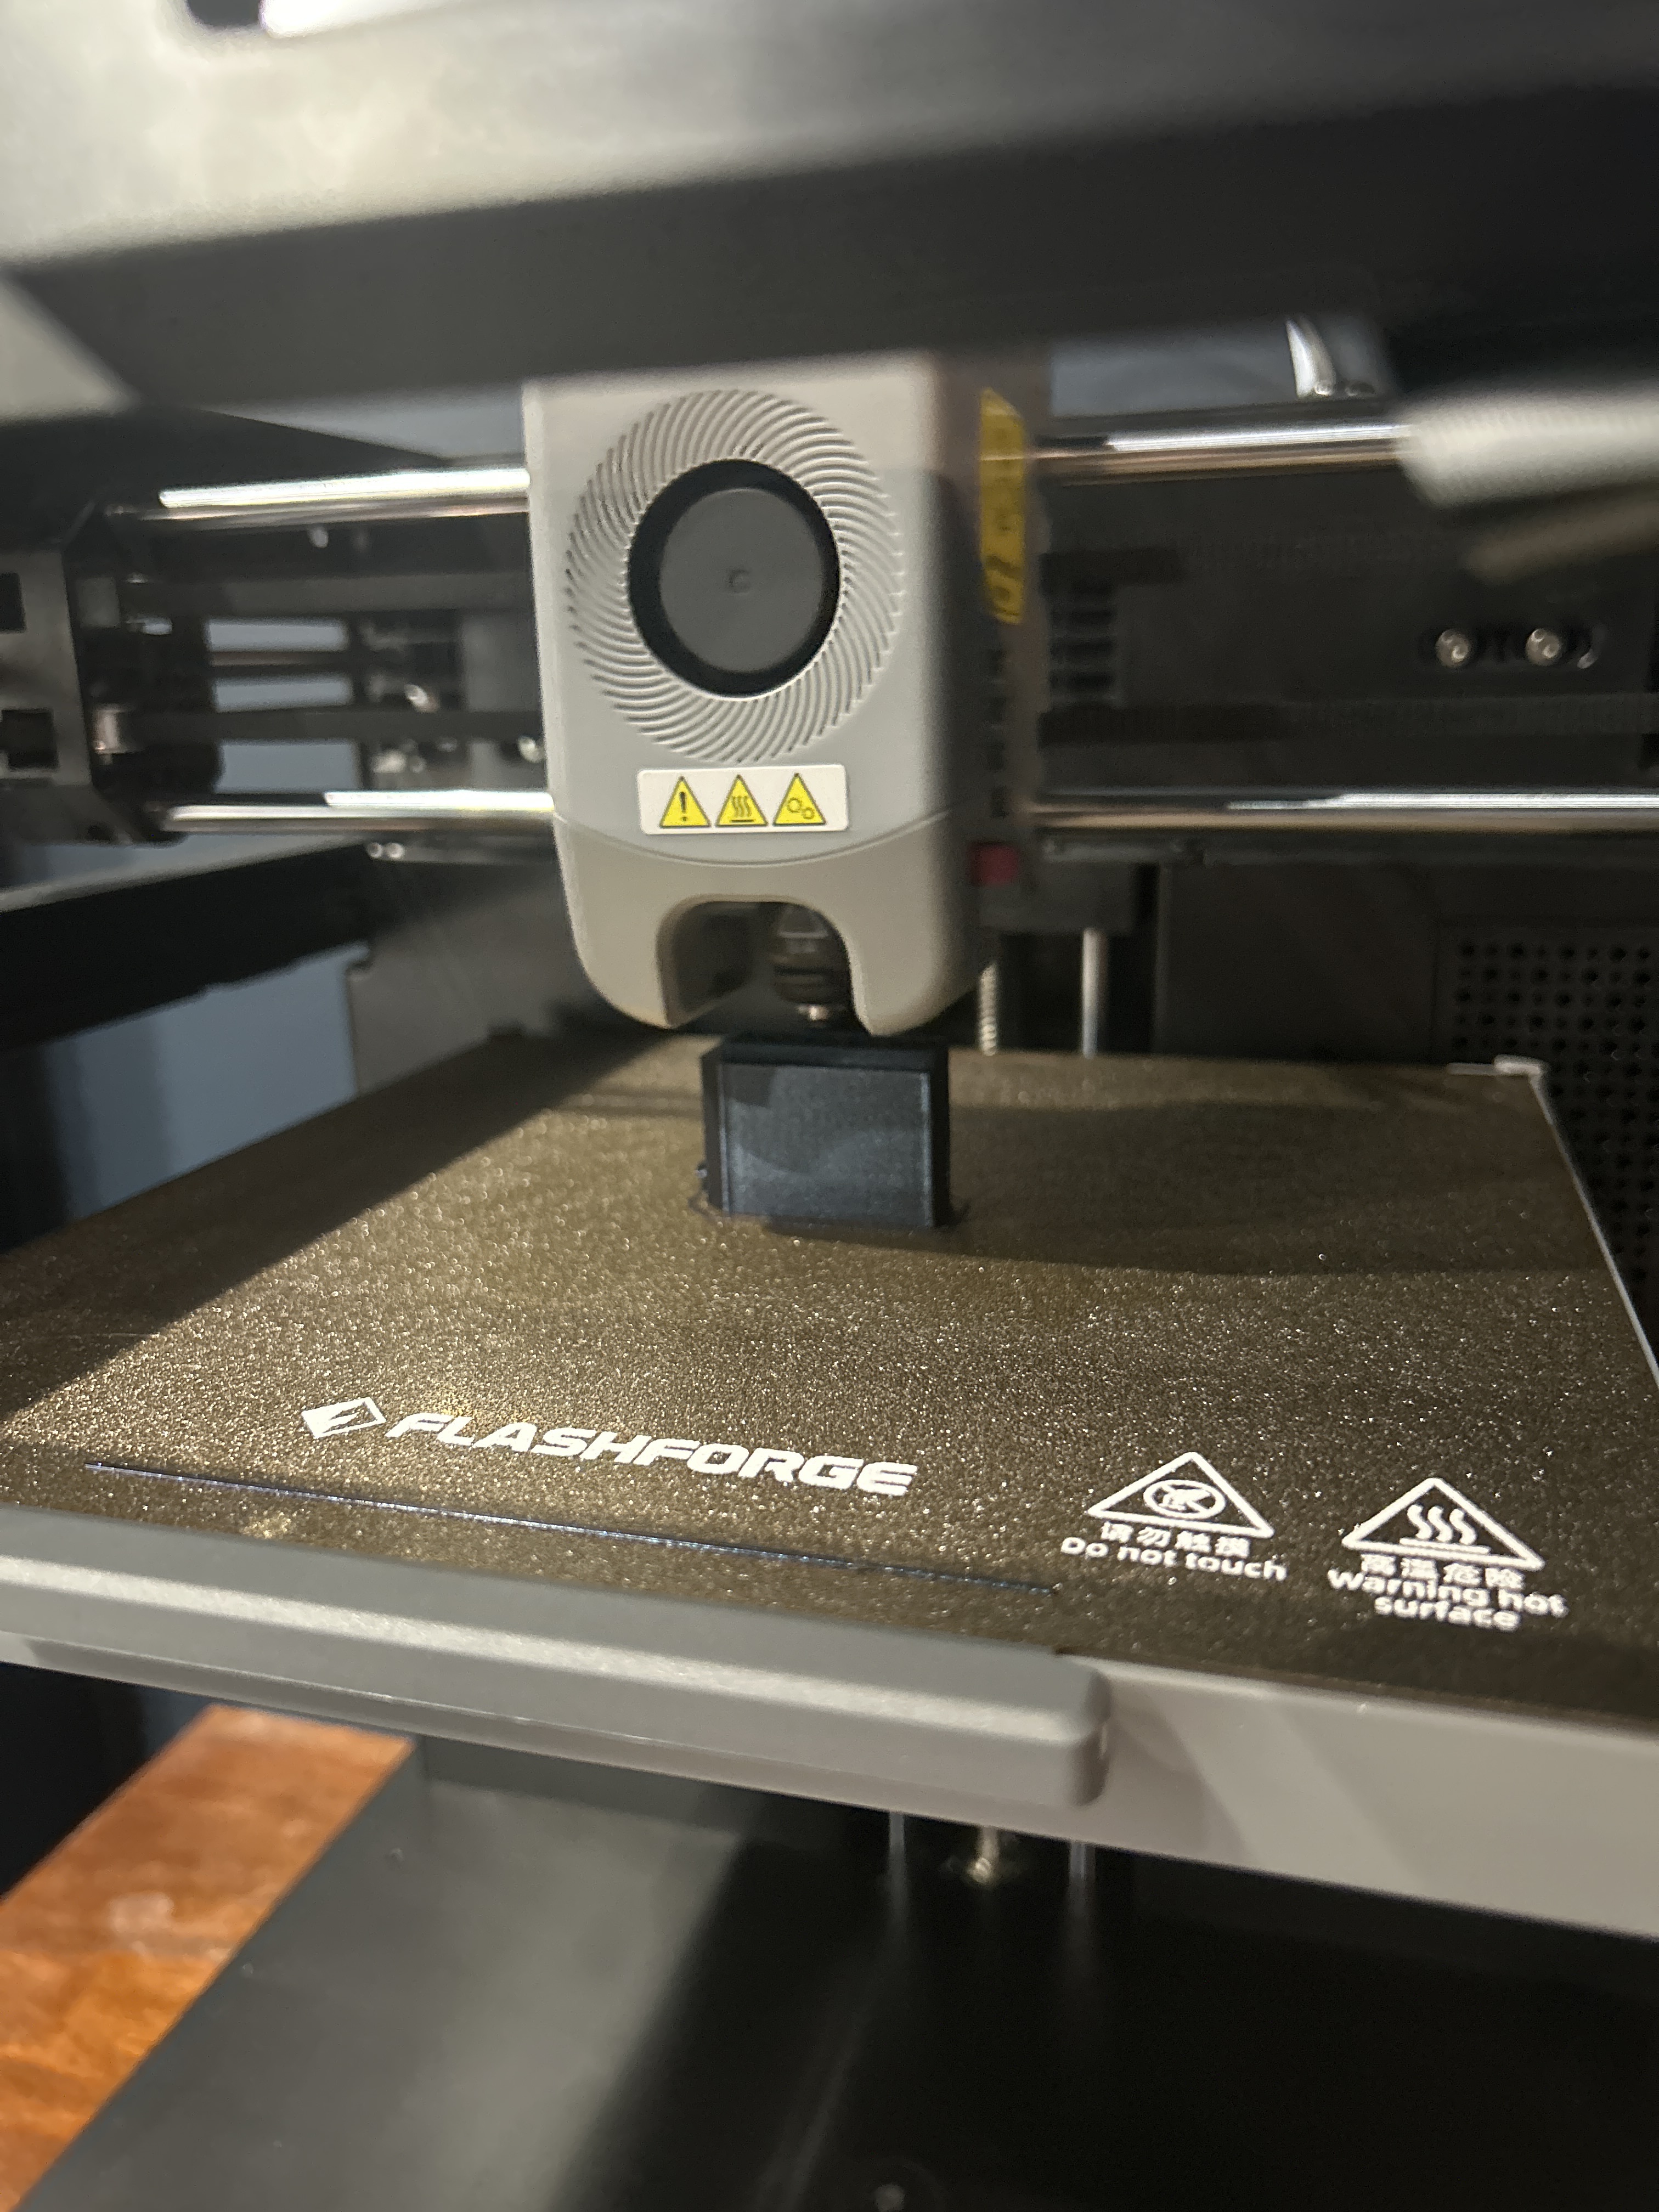
I go to my Amazon and pull the trigger on the Flashforge Adventure 5 thats been in my cart for 3 months. I put it in there after seeing @DougJoseph posting about this printer and its suitability for making th LR4 parts, after seeing that my slicer of choice (Cura) was maybe going to give me issues. I went down his rabbit hole and put it in the cart for when the time came to make my LR4 parts.

Ordered on the 26th, delivered on the 28th, unboxed on the 29th, and doing my first test prints this morning.

I will say, if the claims of hgh speed hold up, im going from 30mm/s on my old printer to around 250mm/s on this one, so my prints should be appreciably faster. I put the LR3 core into the Orcaslicer, and it spat out 5h 22 minutes, compared to the core in the Cura, at 29hours, 48 minutes. Thing is- thats at a 0.32 layer height, which the Orca cant do. It was run at 0.2mm. So i get almost twice the quality, with a 1/6th build time.

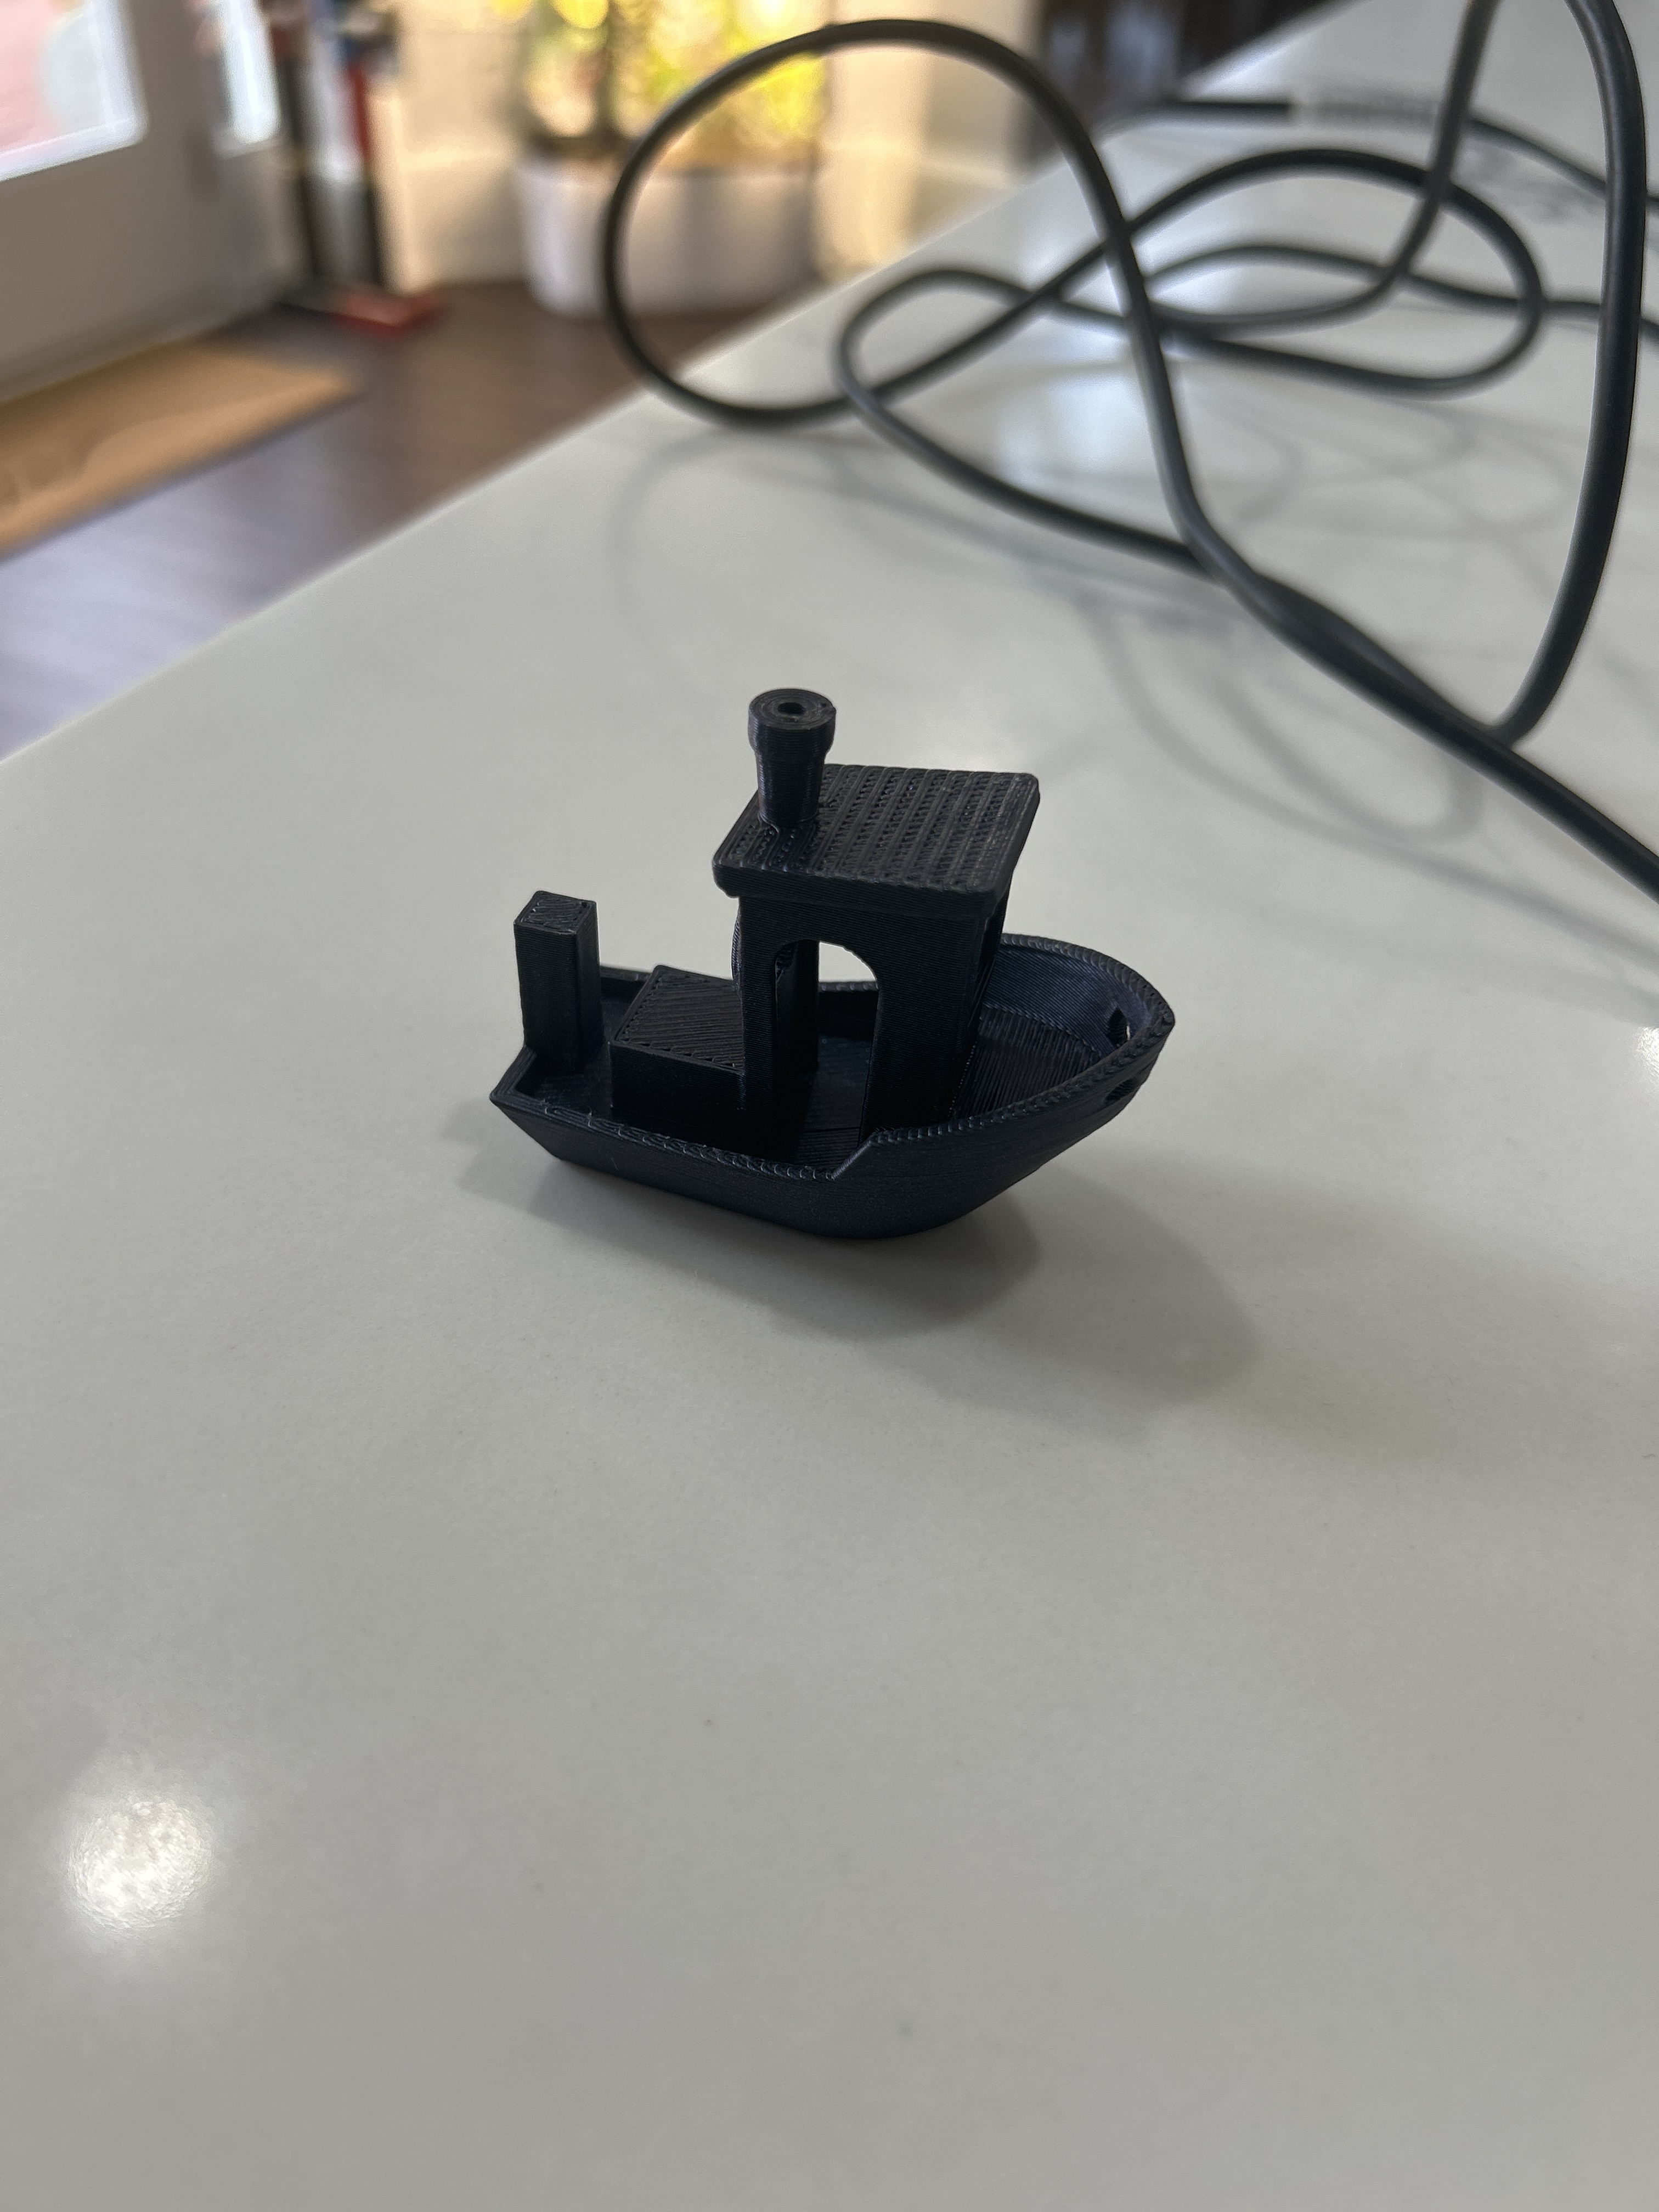
In the time it took me to write this post, the FlashForge built this cute little burnt titanium Benchy, in 13 minutes and 9 seconds. My old printer took 1 hour 40 minutes to make the same benchy, 6 years ago, on christmas day, on the dining table, annoying the wife.

4 Likes

2 Likes

@Neilp
@DougJoseph
Out of curiosity, I just looked on Amazon for the Flashforge Adventure 5M. Three different listings and prices showed up. All were for the 5M, not the 5M Pro. The prices were $298, $299 and $379. They all appear to be the same model. Very strange to see 3 different prices for the same item on Amazon. I wonder if there are any differences among them?

the $379 has an $80 coupon you can clip to save, at least it did with my prime account. I got mine for 299

1 Like

Just get the printer from flashforge website and fet the bundles (enclosure hardware/filament or more magnetic plates ) for the same price.

1 Like

Oh, yeah, just remembered it also bust the y belt holder at the same time.

This is my fix-

But the little Adventurer just cranked a new one out on 9 minutes…