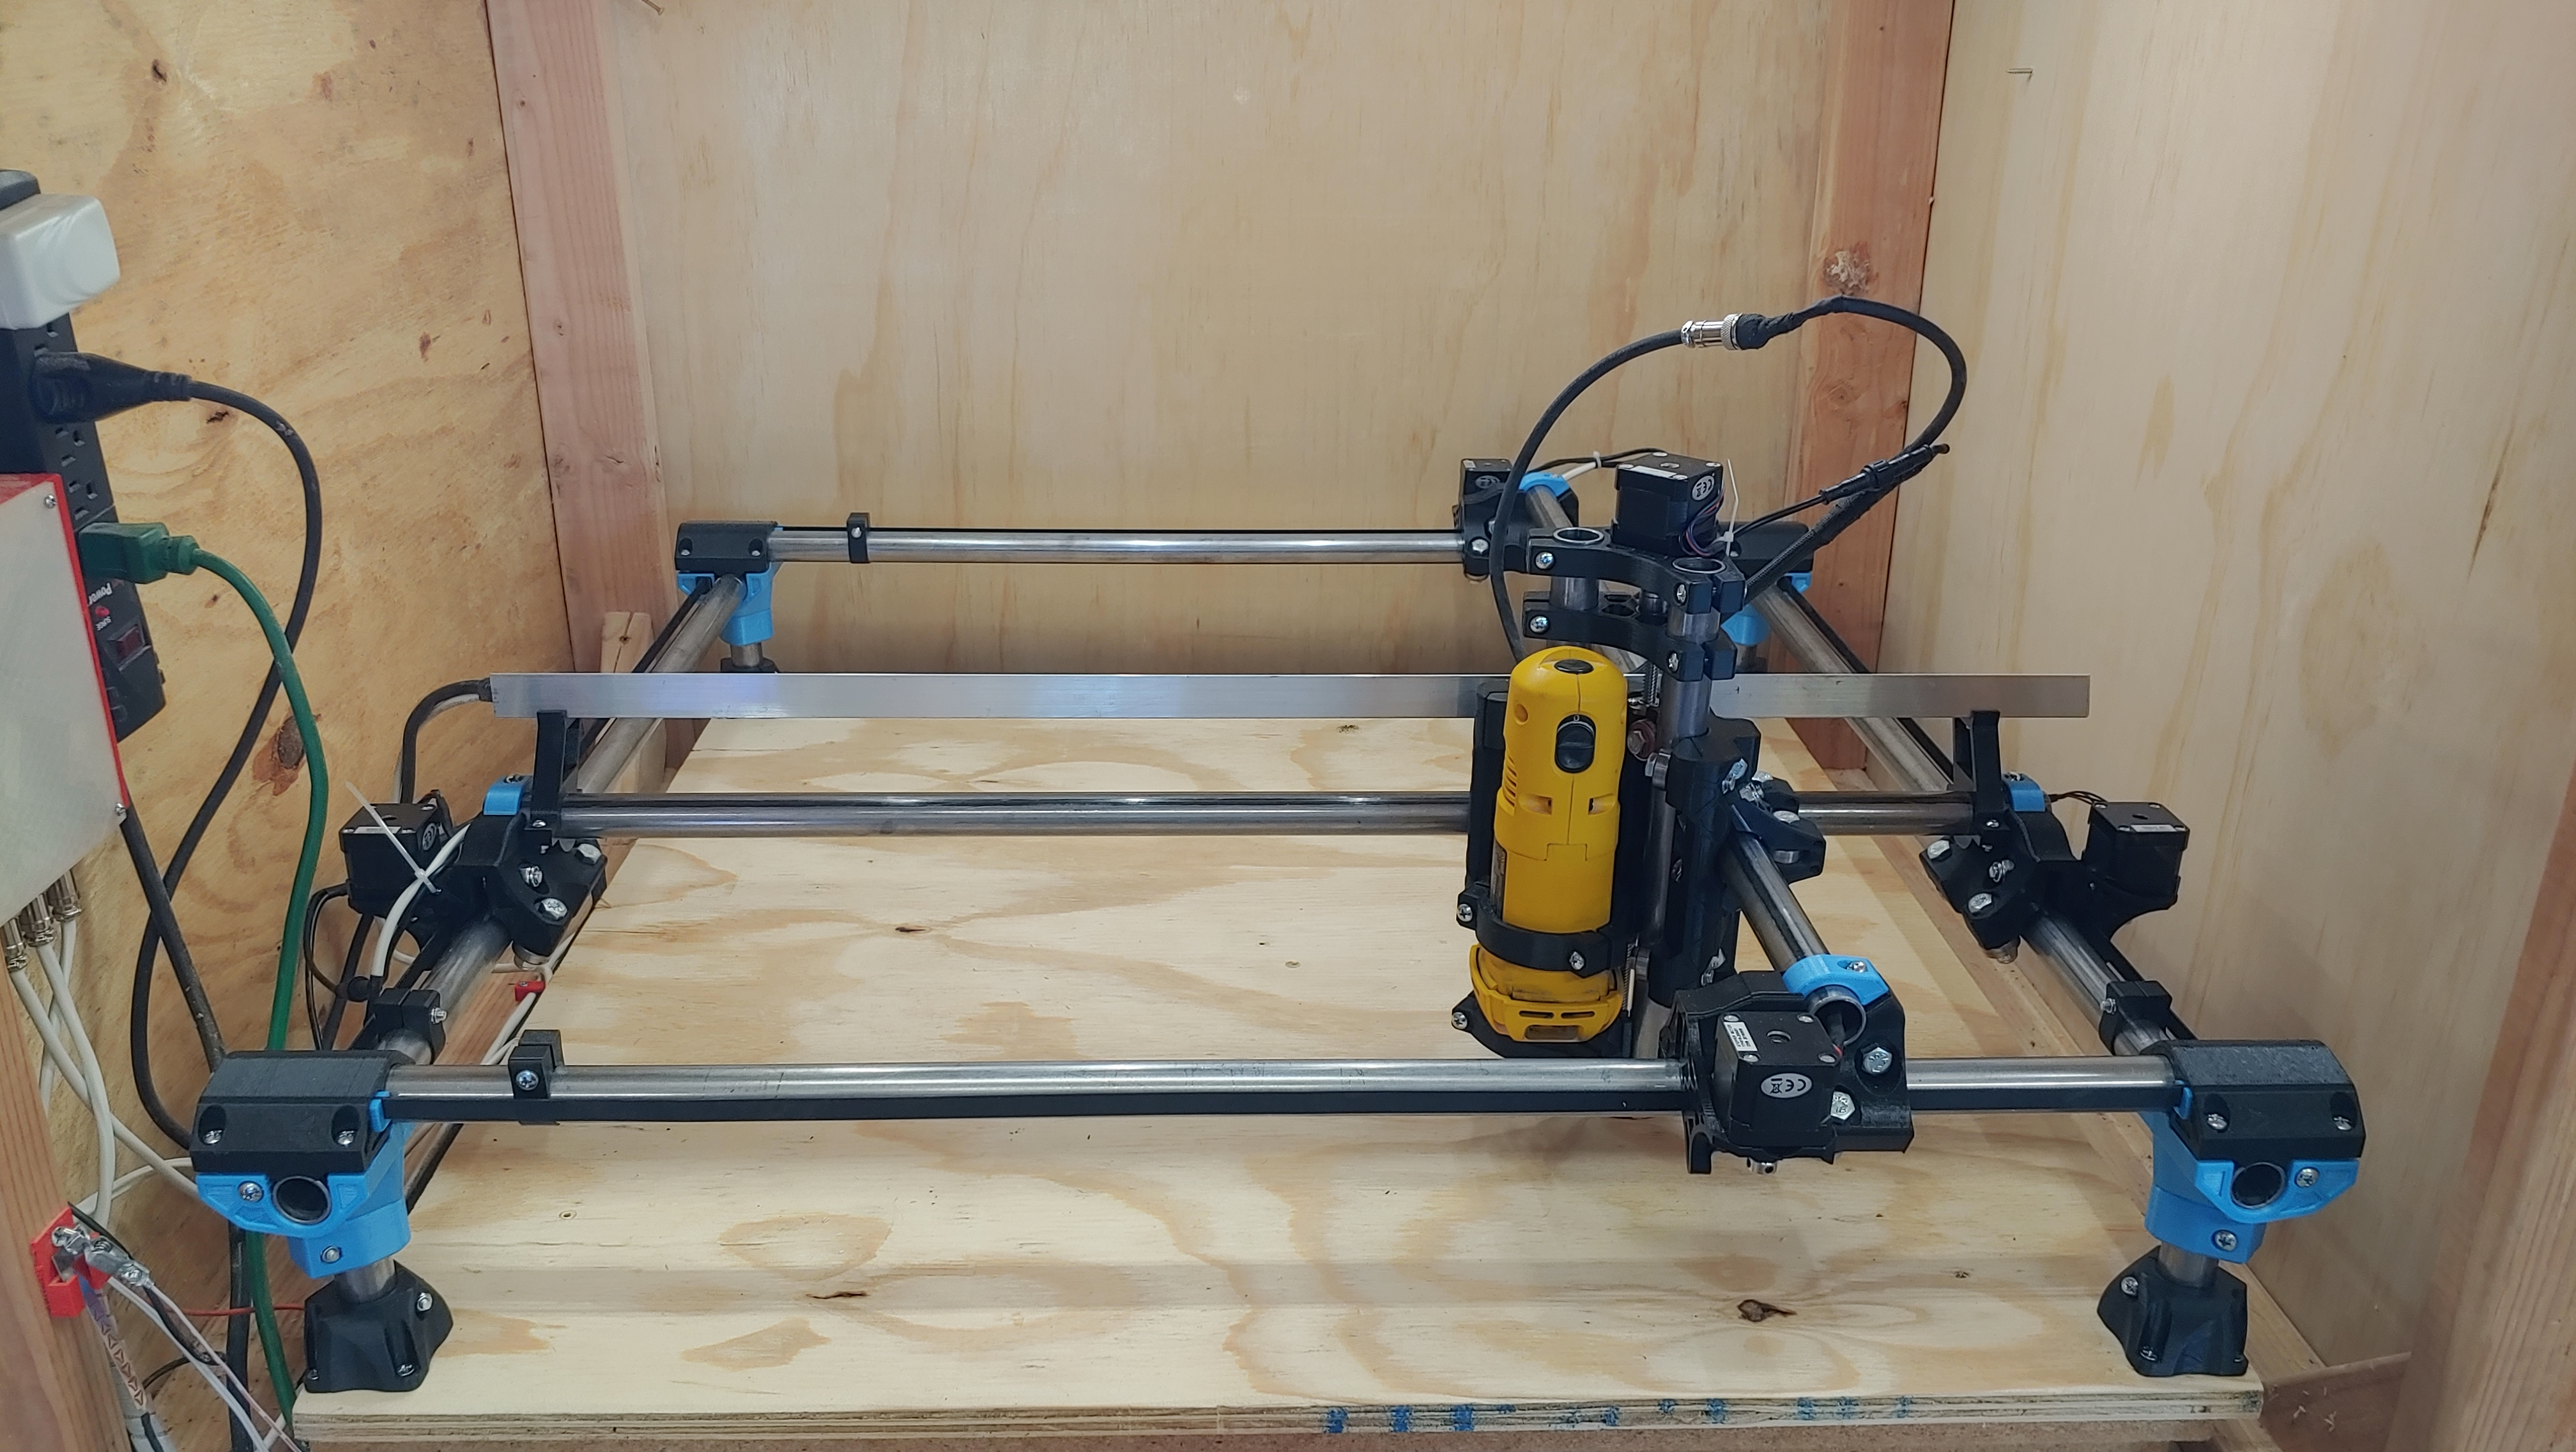
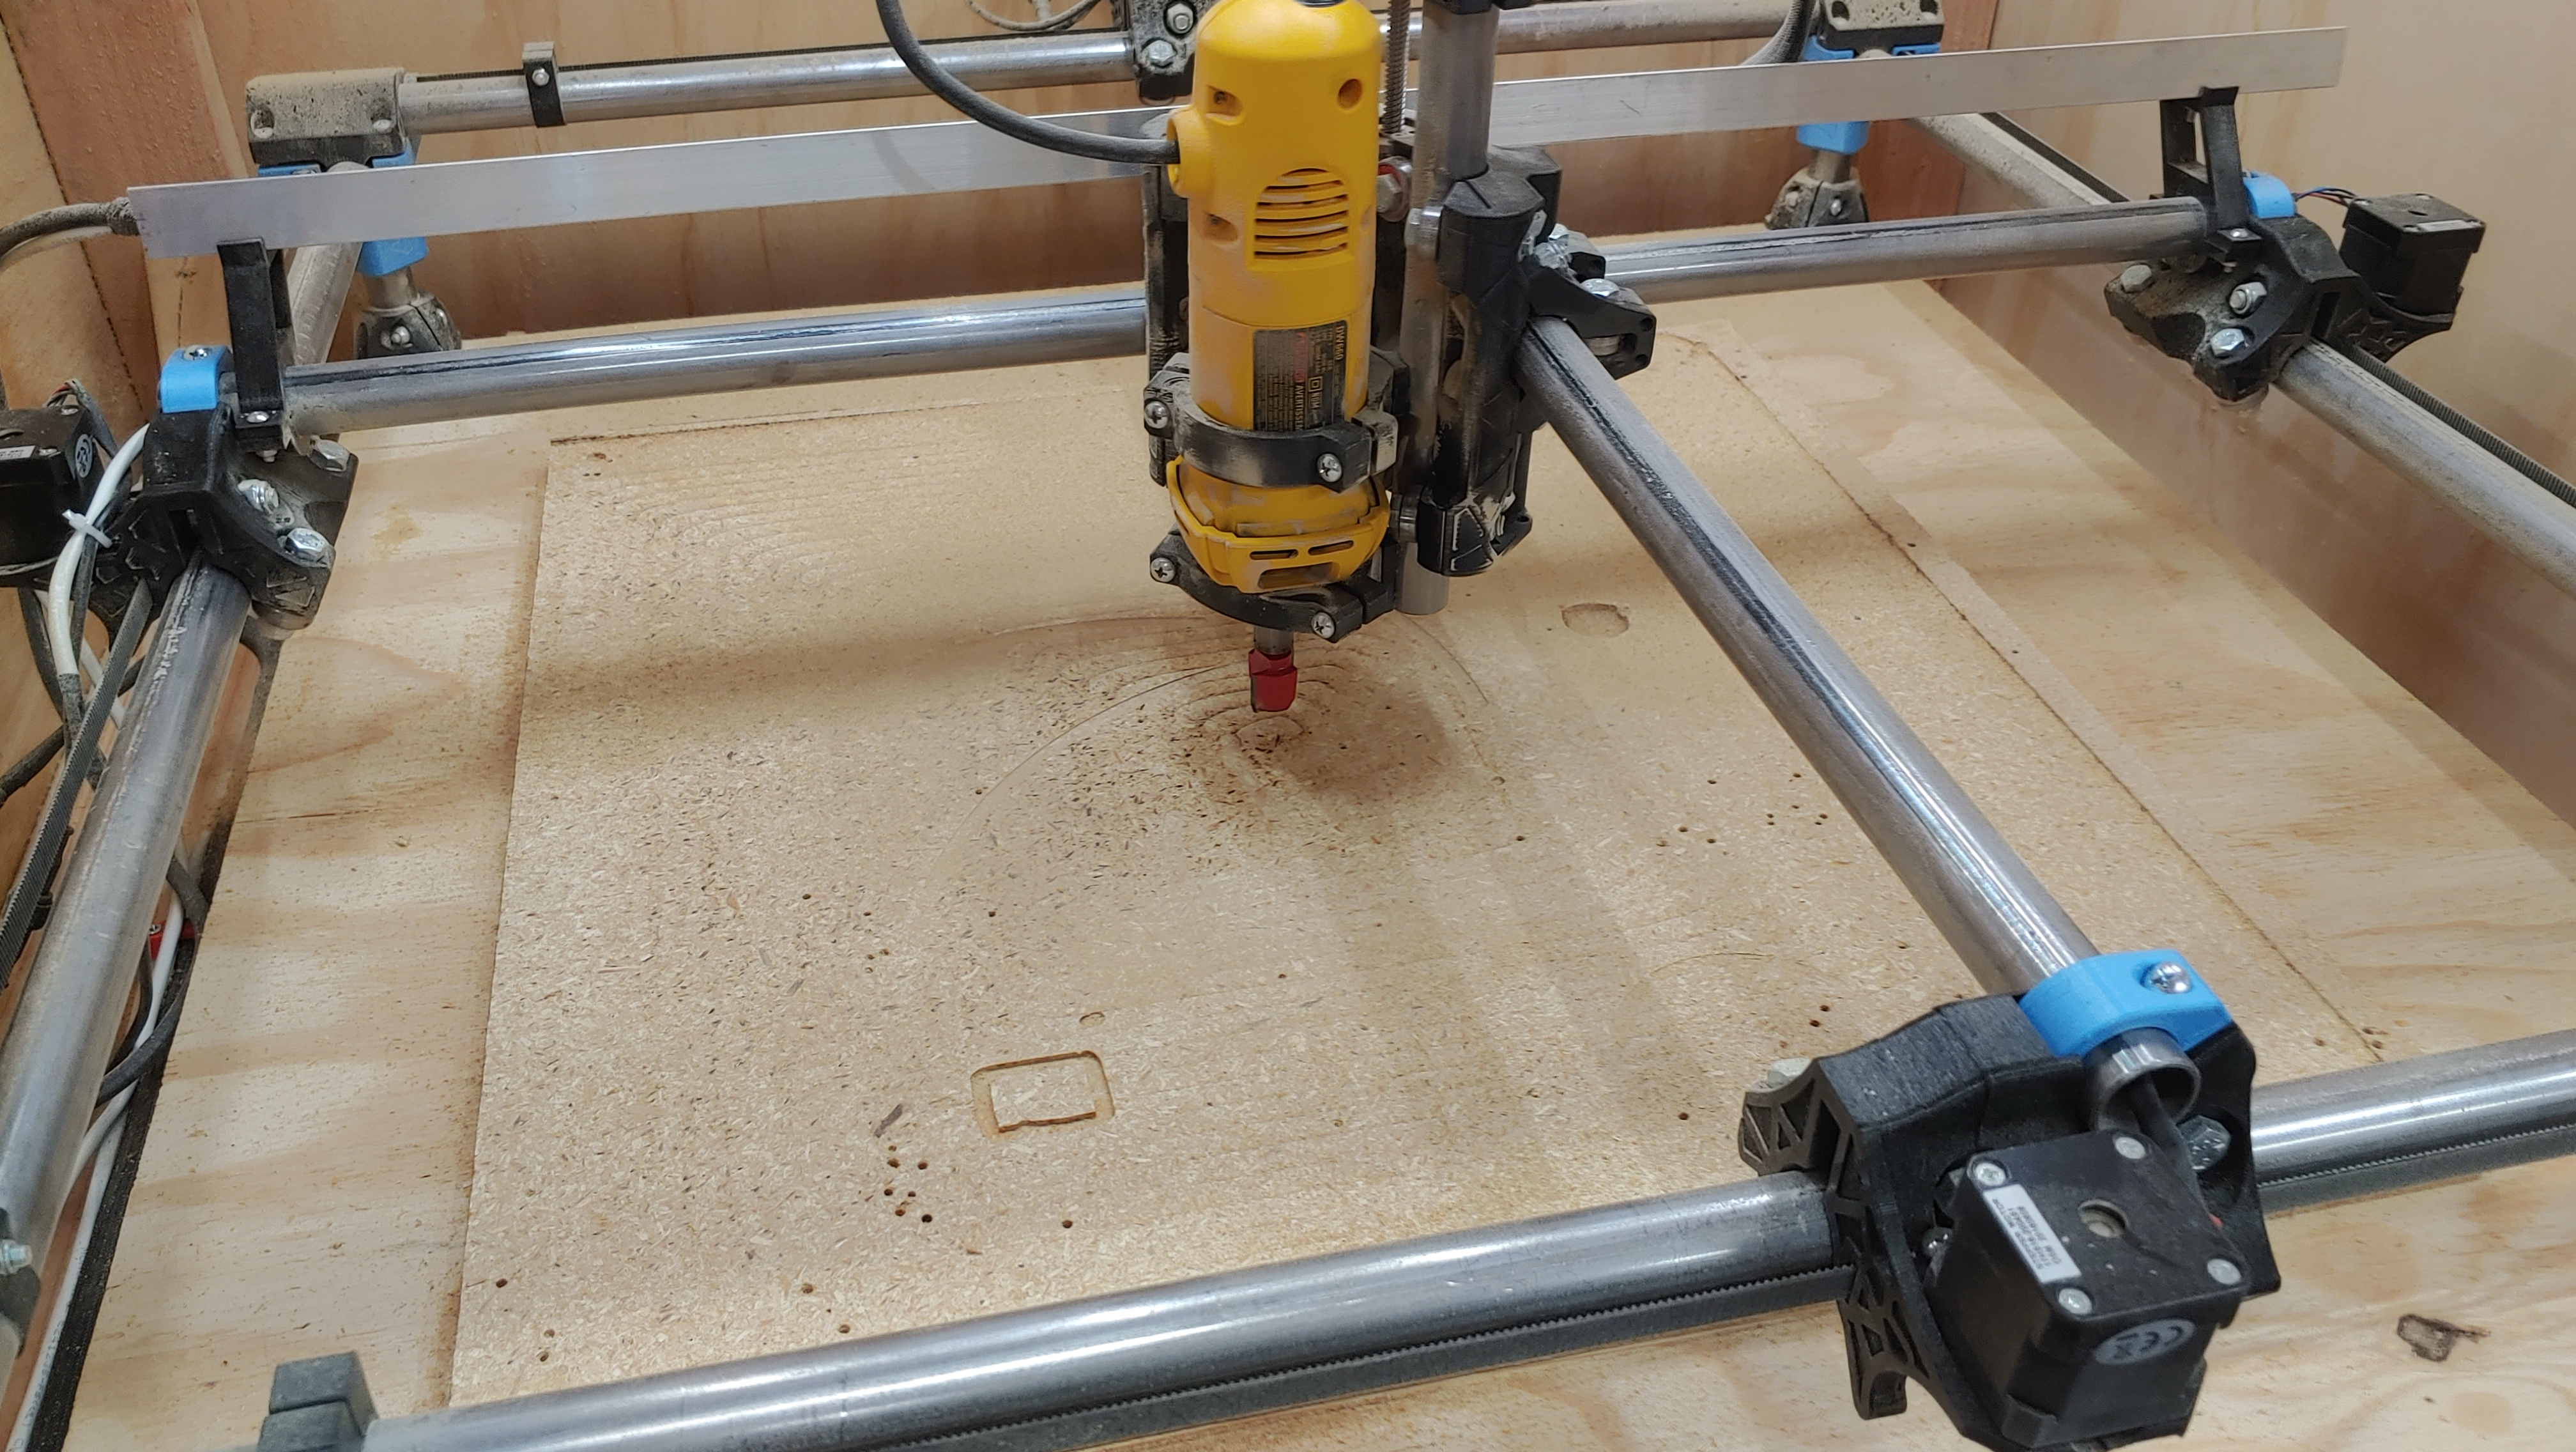
There she sits. All put back together. Just need to drop a spoil board on it and make some dust.
Cable management took a couple of tries. I had things too tight and the Y axis was sticking.
There she sits. All put back together. Just need to drop a spoil board on it and make some dust.
Cable management took a couple of tries. I had things too tight and the Y axis was sticking.
Get. It. Dirty. 
Looks great.
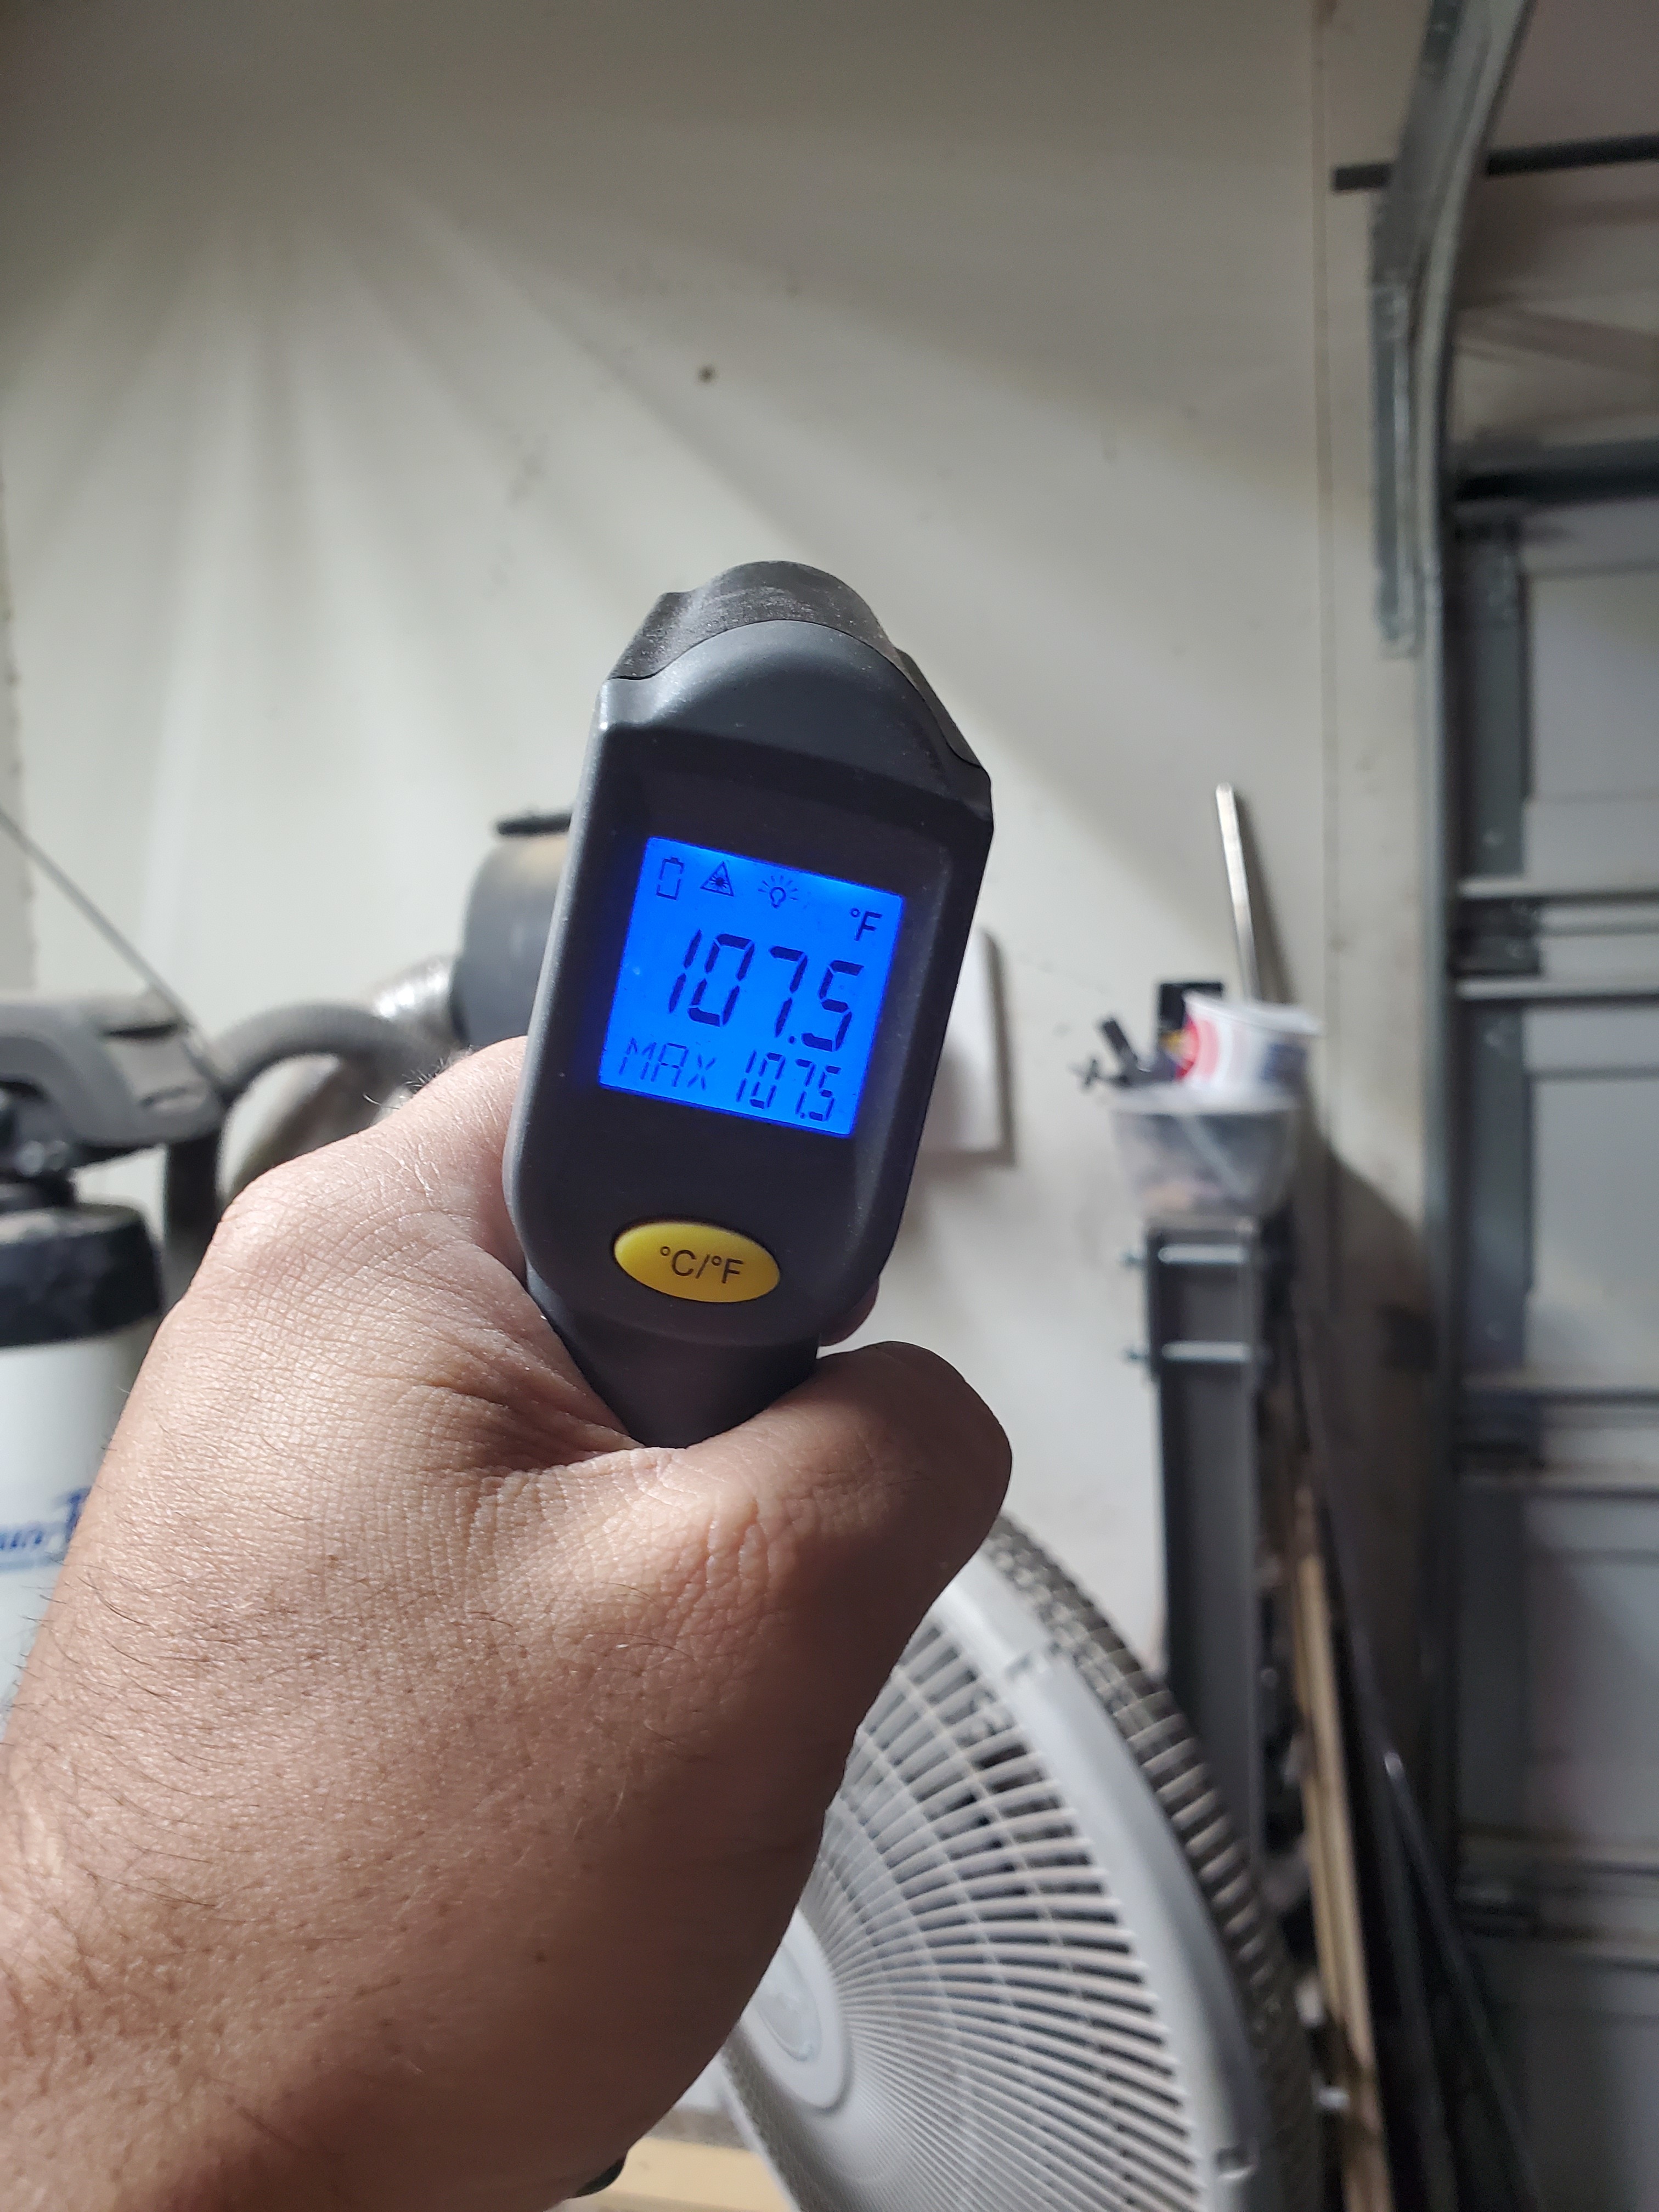
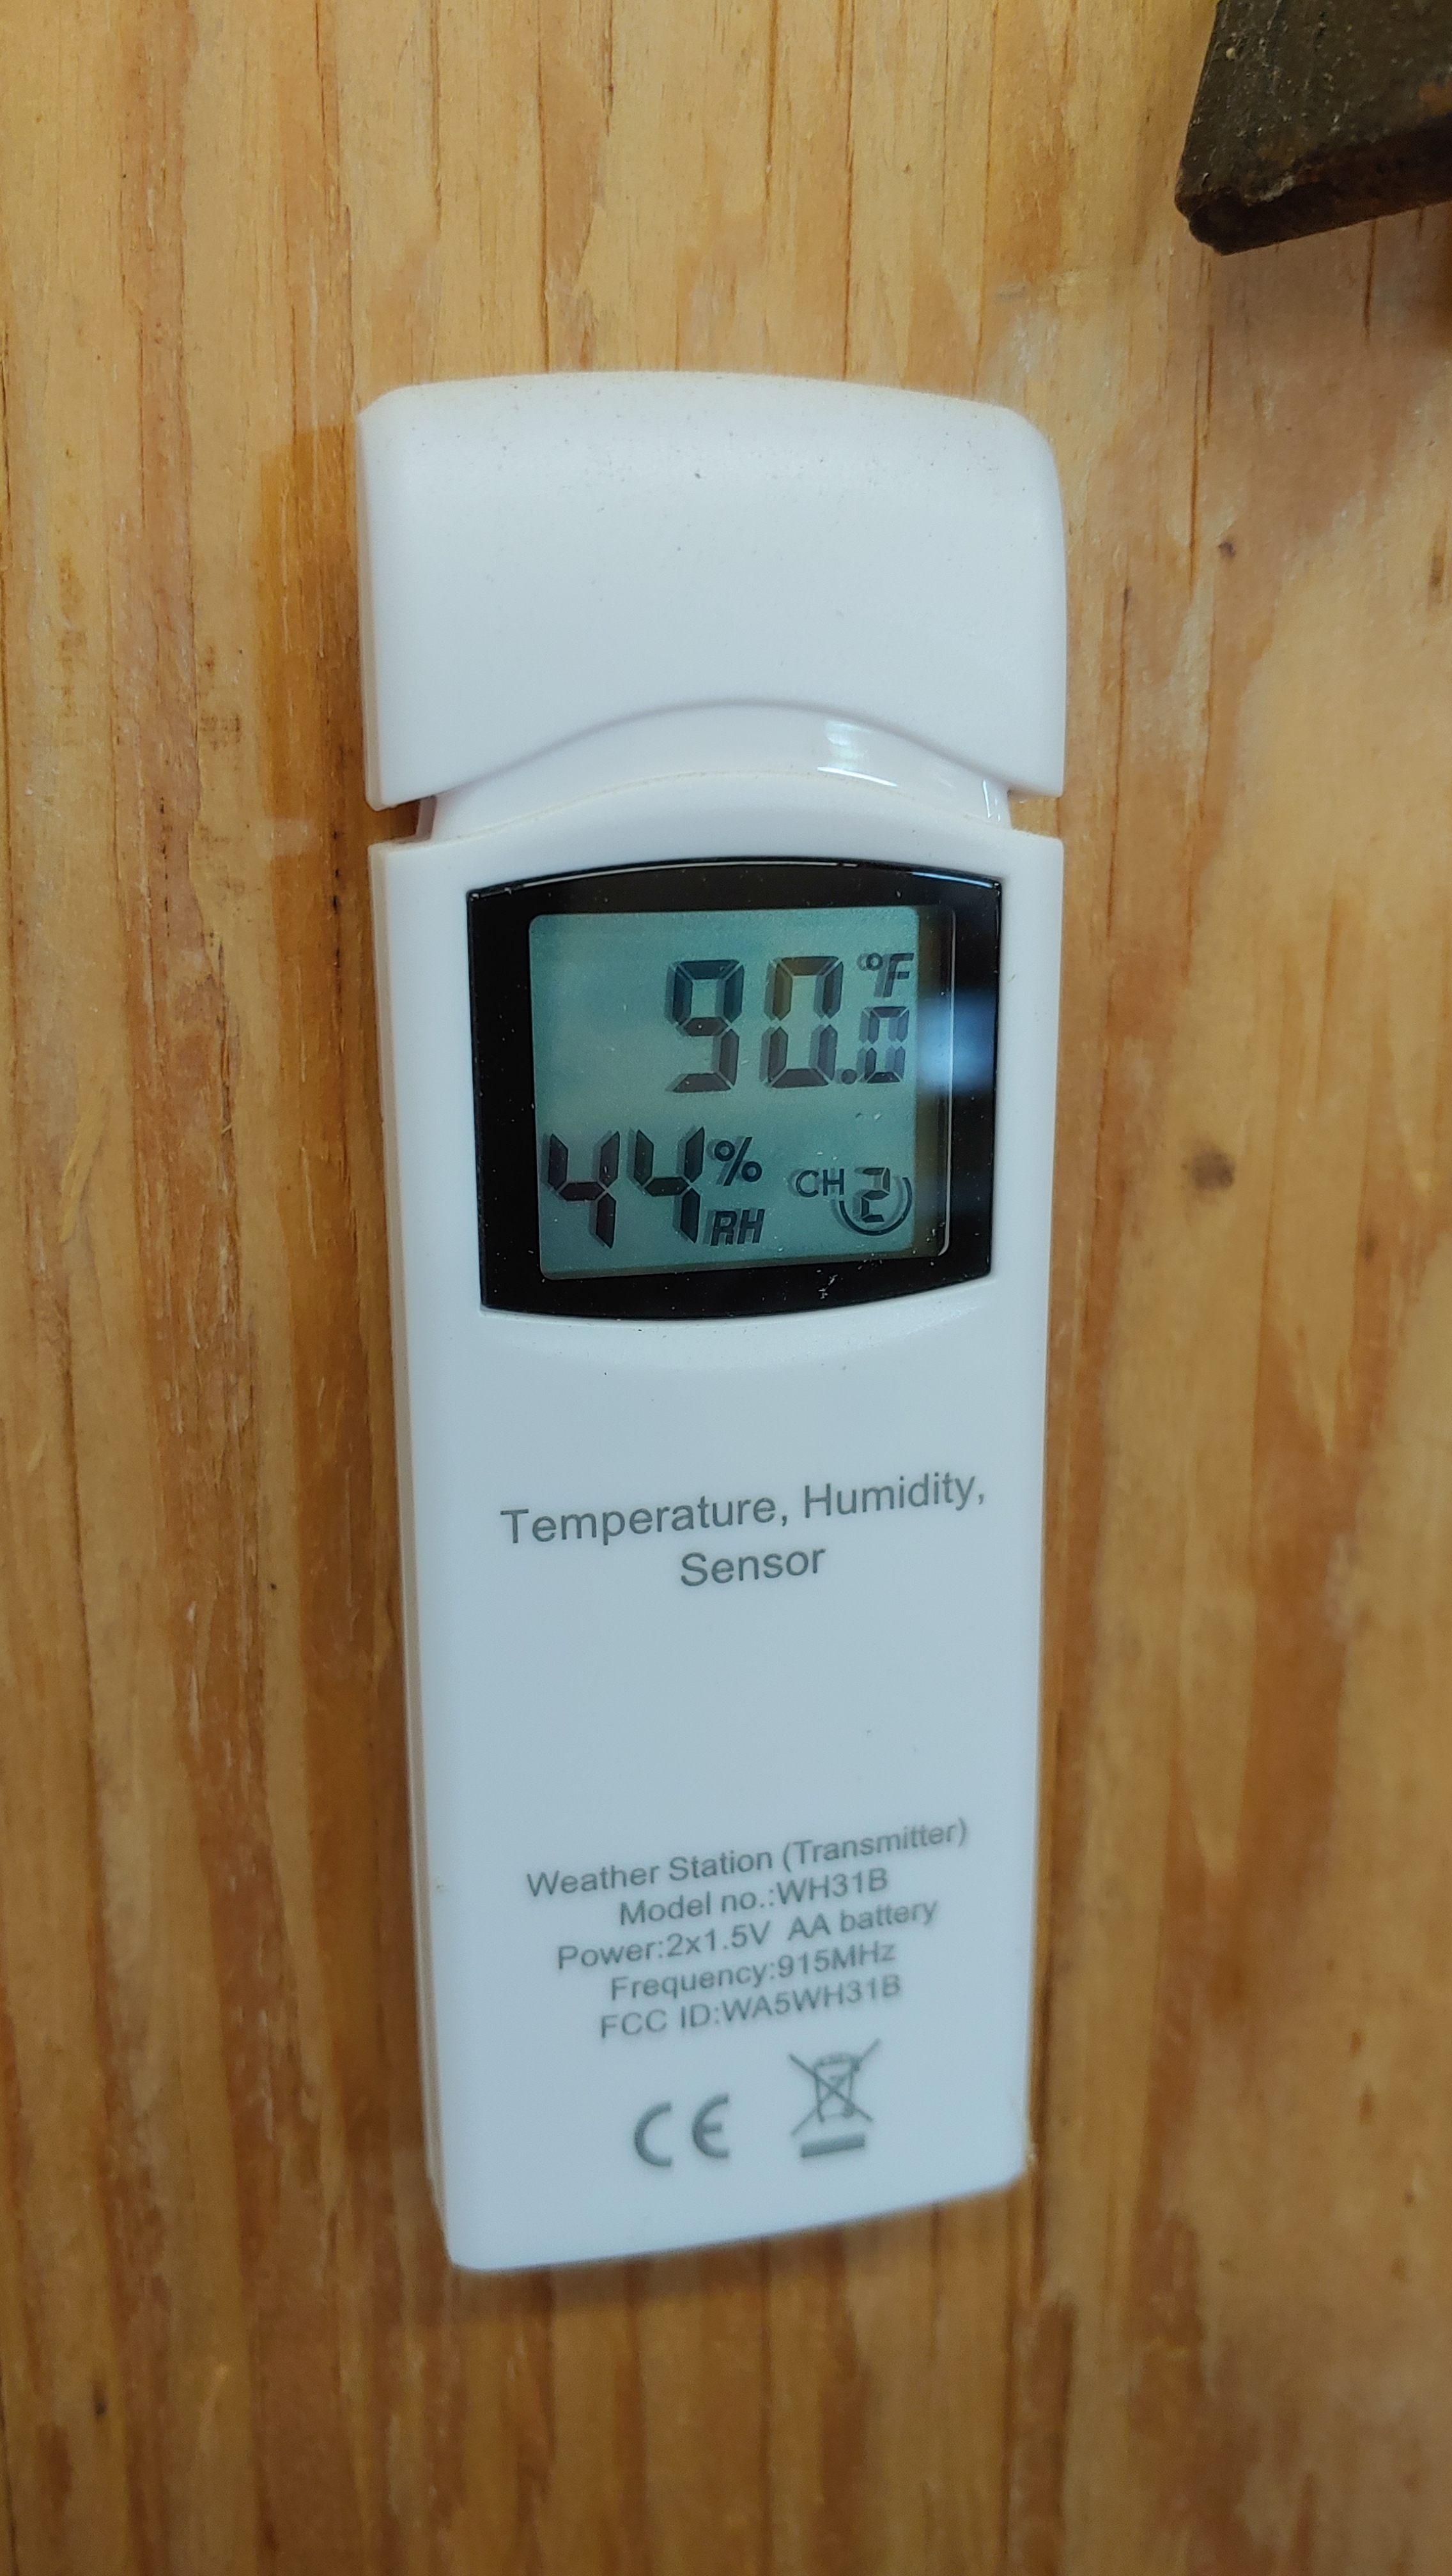
It aint hot till 110 or 100 and 70% humiditythen you in trouble
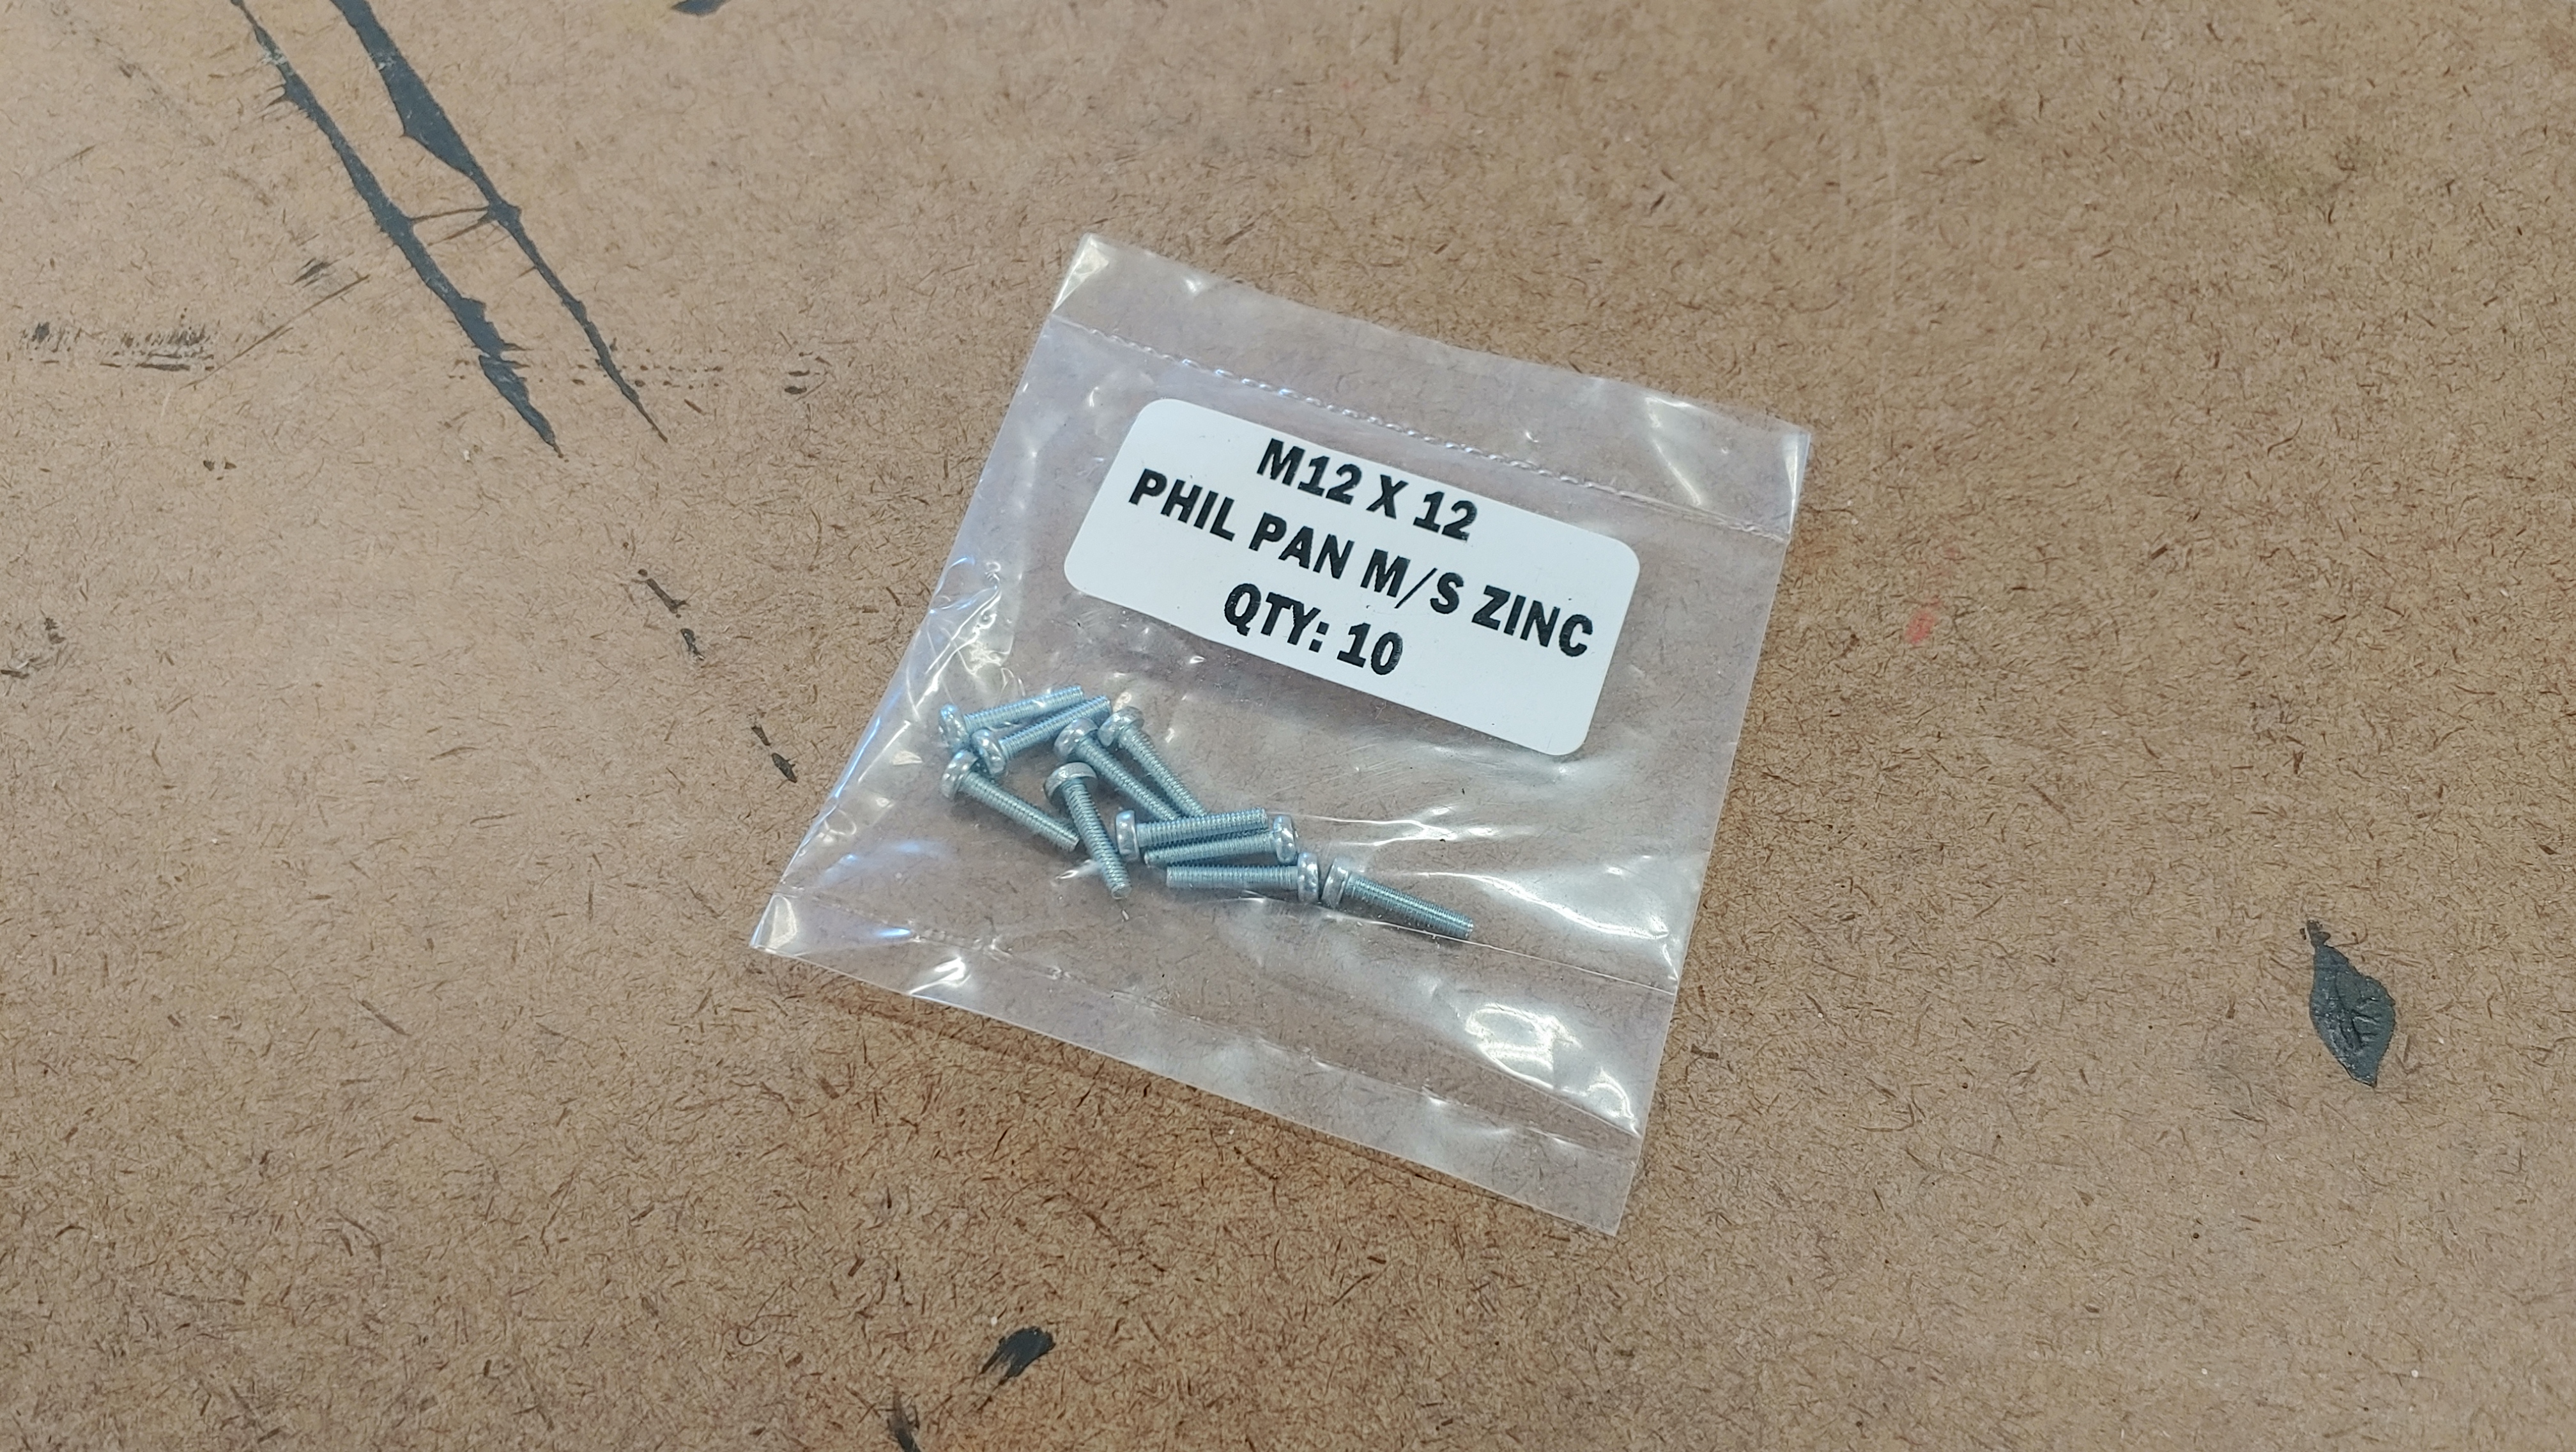
IIRC, those are M2.5 and they are for the endstops.
I don’t mind cold. I don’t mind precipitation. I don’t mind heat. I can’t stand wind and I can’t stand humidity. I’ve been acclimated by Colorado, I guess.
End stop screws.
Thanks for the links!
Ah. I’m not using endstop switches. I did use the end stops to keep the rails consistent, but I mounted them upside down so they hit the face of the trucks.
Couple of things I’ve learned…
The screws mounting the steppers to the trucks are a pain to get to while mounted to the rail.
If you plan on removing the steppers in the future, make sure you can get a screwdriver to them between your table top and then screw heads.
Tightening the belts require a short screwdriver if you have your machine mounted in an enclosure. I have a right angle screwdriver I used.
I like the colour scheme.
And I see you also have no space to make it a walk-around machine.
Probably Ryan’s safety margin.
Don’t let the photo fool you. I have a 1300 Sq ft shop and the machine is on wheels. 9 screws will remove the 3 sides for full access. 
She’s getting dirty.
Facing with 1" end mill. 1mm DOC (even deeper on high spots). 200mm/min. Max steppover, 10.16mm. 2d adaptive in f360
My final cut size with 1/8" end mill is 23.25"x23". Not sure where I lost my inch, but think it’s in me trying to get it to fit in existing enclosure. I’m ok with that.
Gratuitous video. (turn your volume down, it’s raw)
")
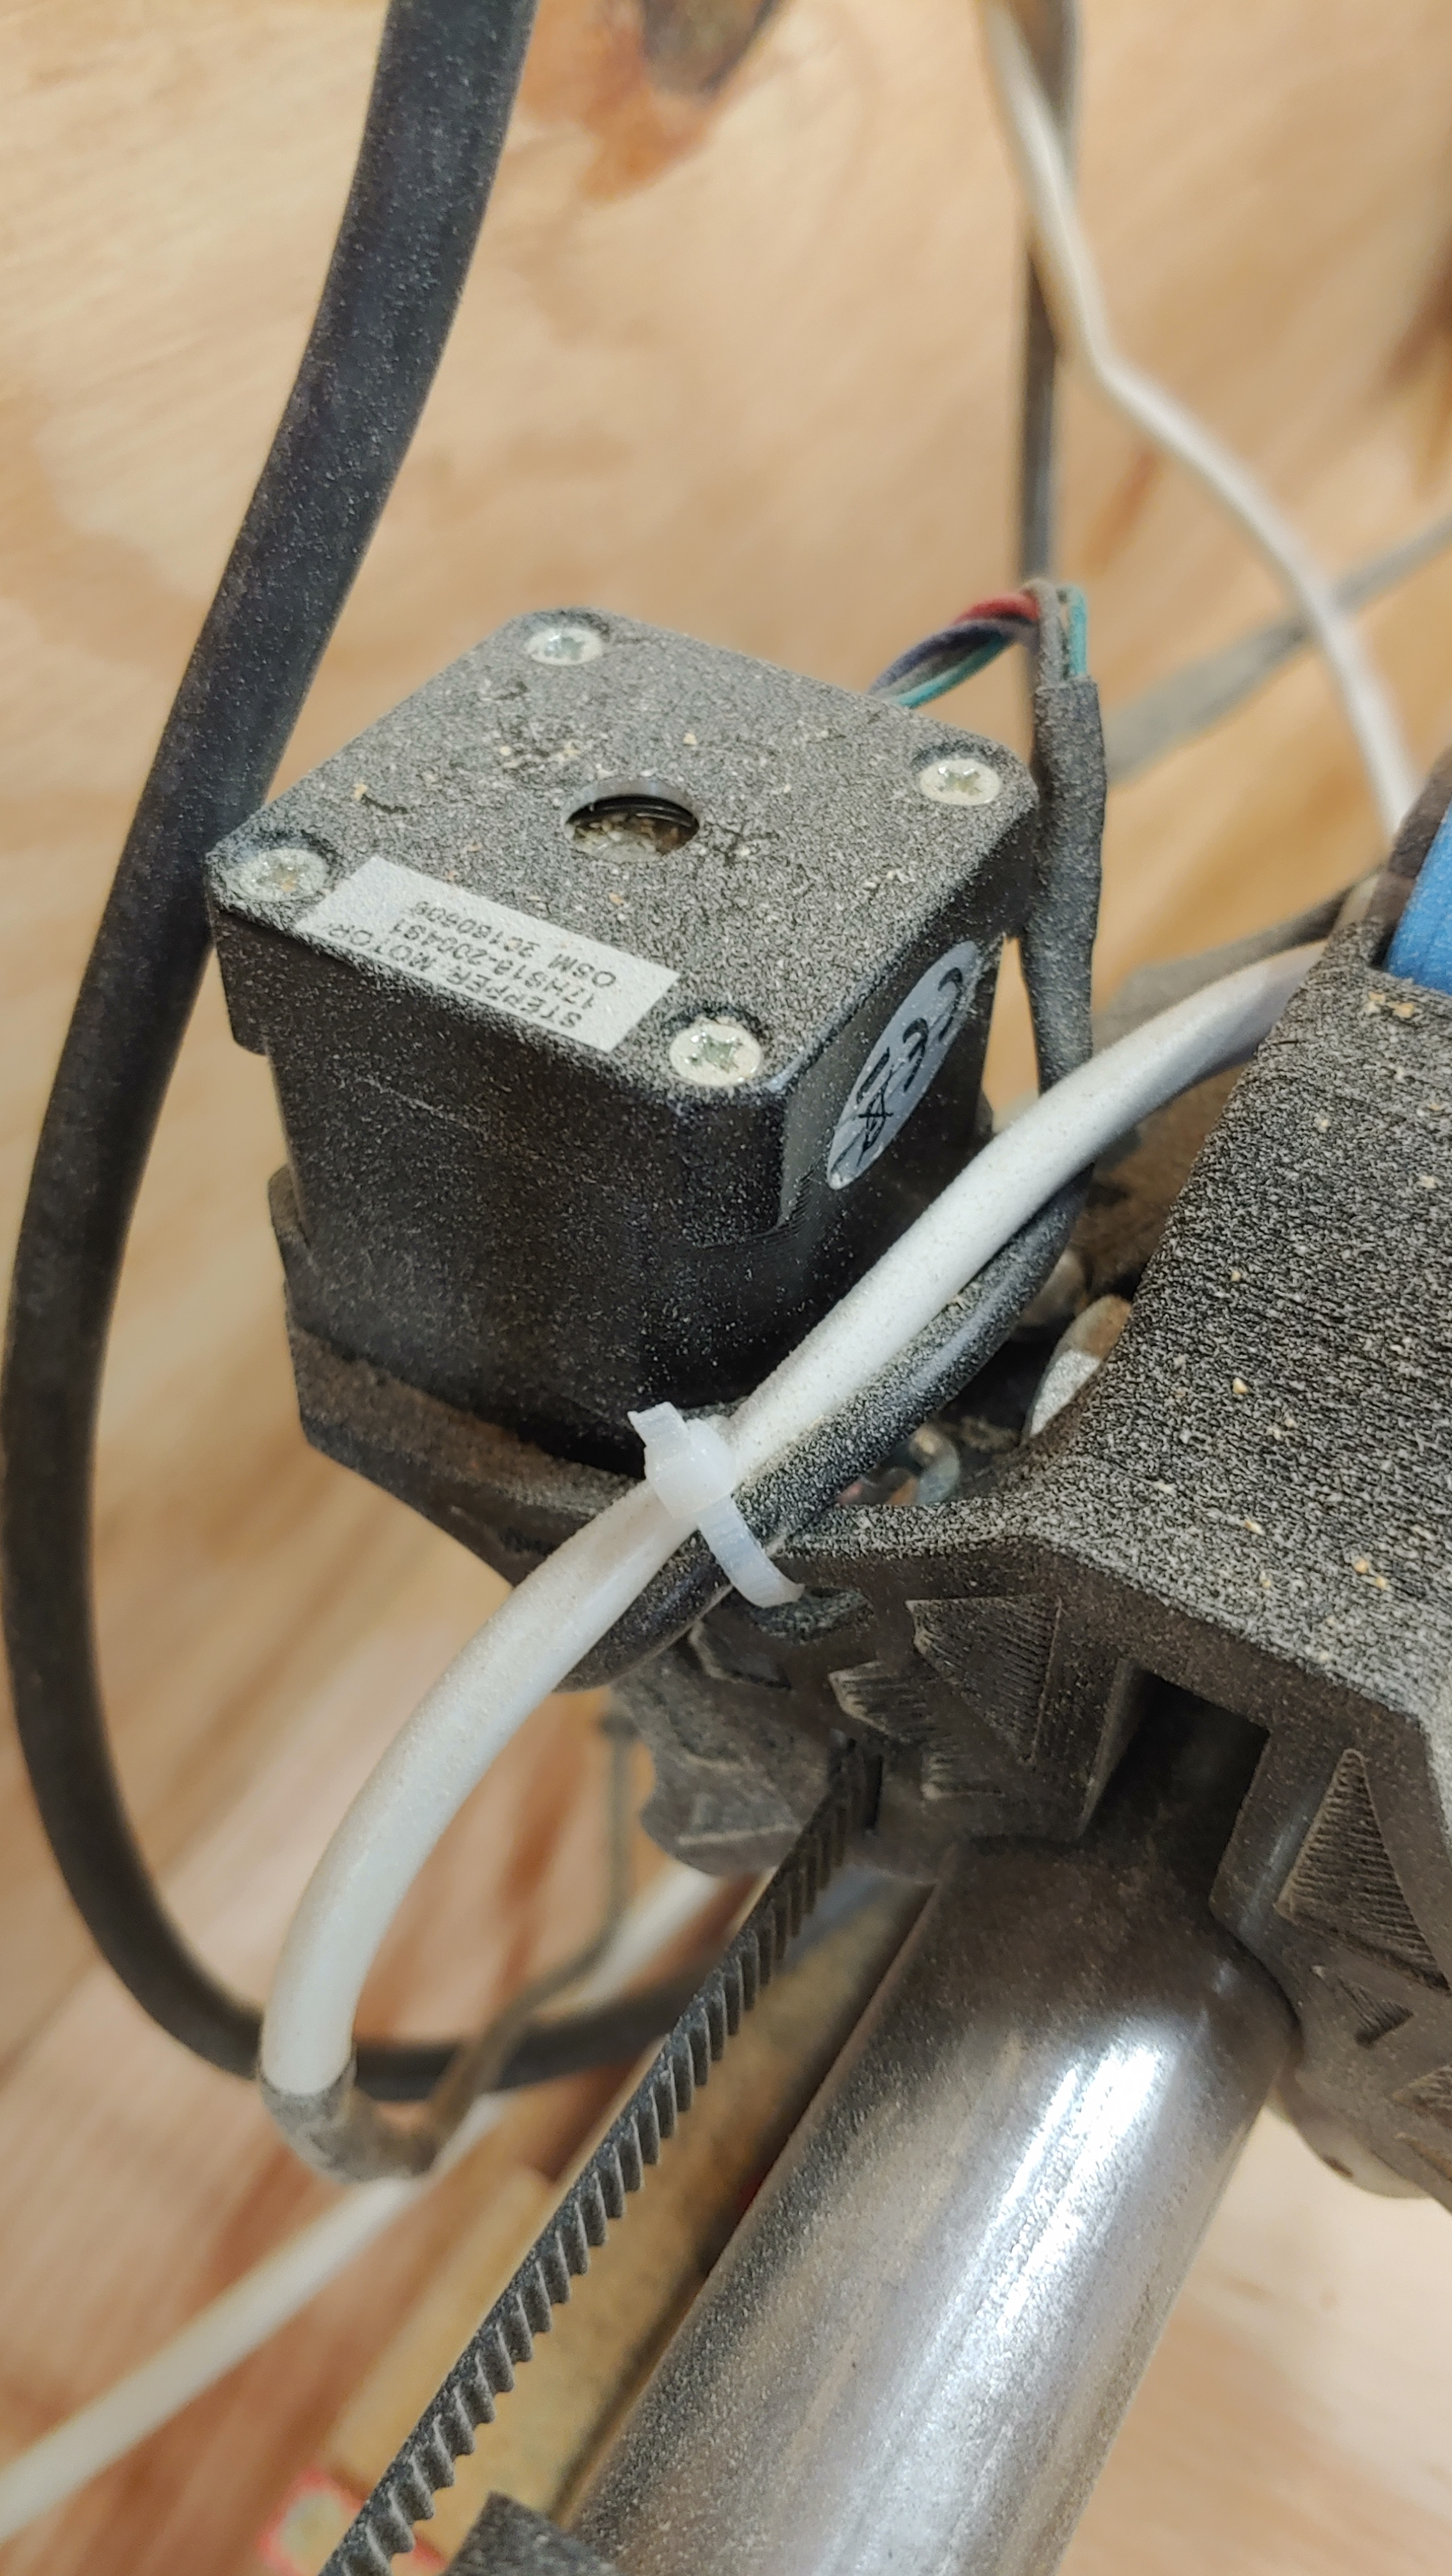
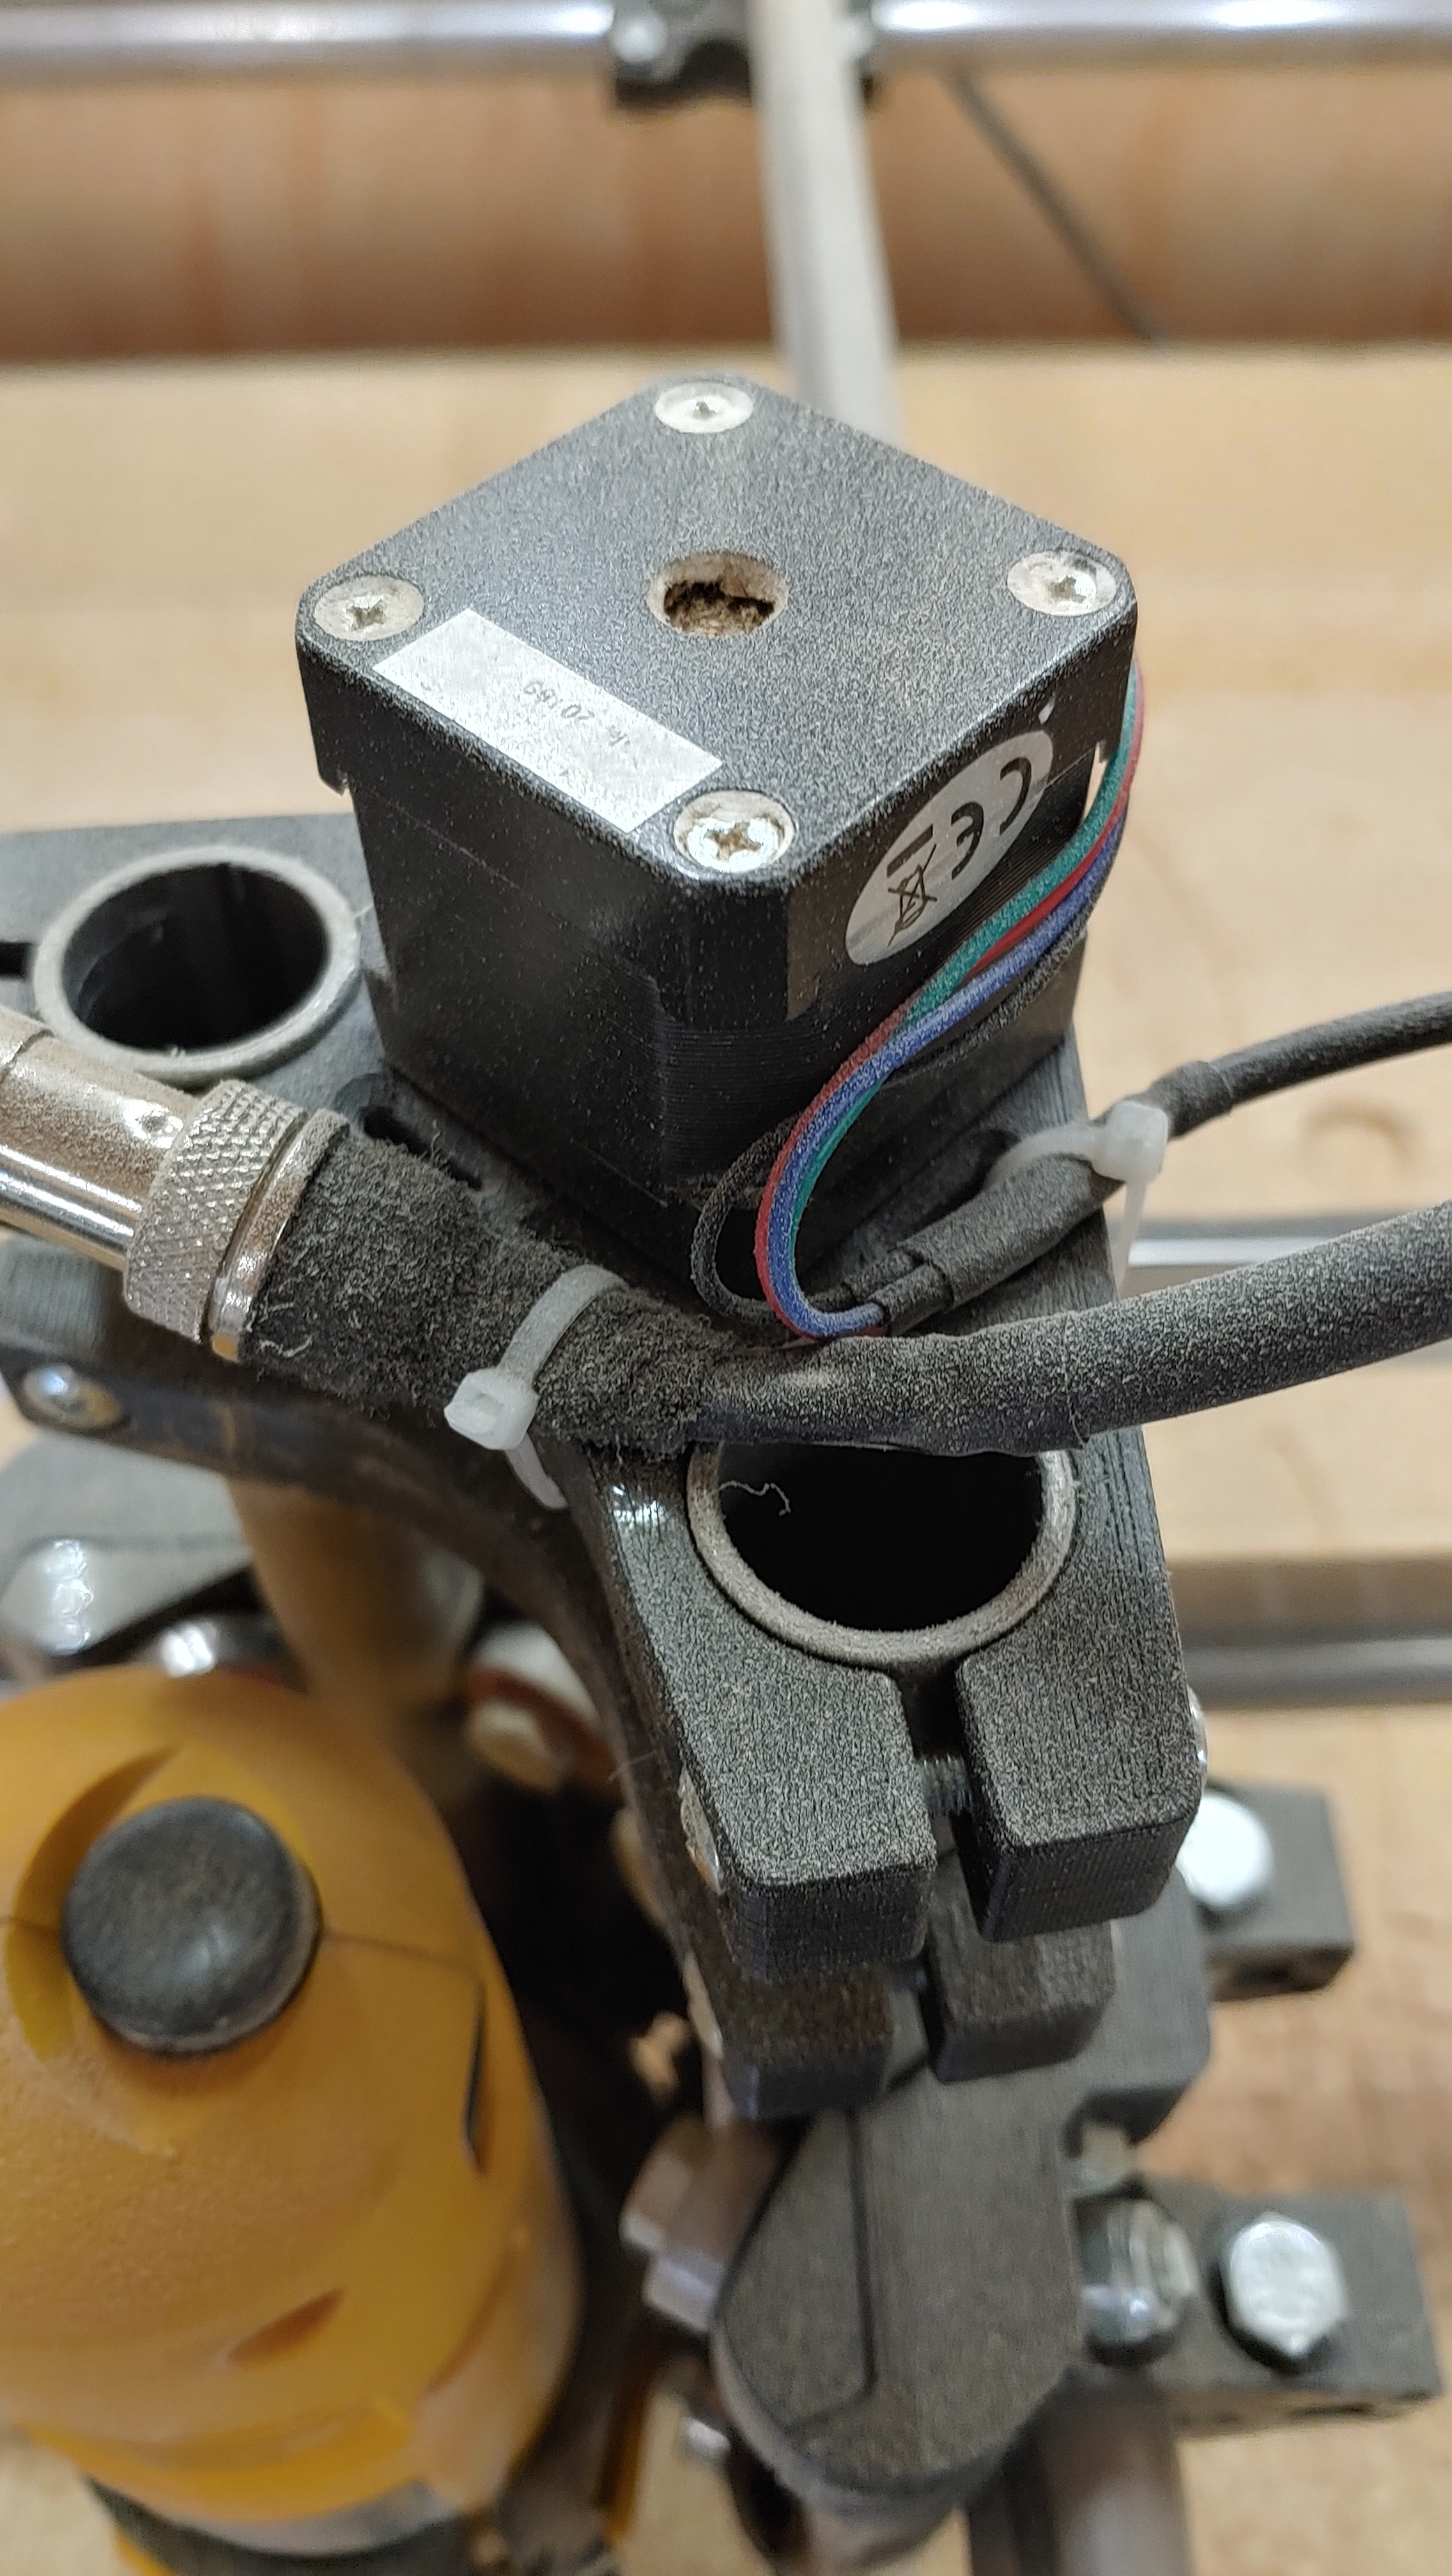
Not sure if this was designed this way, but these little holes on the trucks are great for wire management.
Blow out your stepper bearings and cover them with tape. The bearings will stay cleaner.
Nice job.
My build begins when I get moved to my new house.
Packing sucks!
I’m in the process of designing little 3d printed caps to put over the stepper motors.
Now that the machine has made a few passes around the spoilboard, I can ‘just’ catch a small lip with my finger nail in the X direction. Nothing in the Y direction. This is with a 1" end mill, so I’m guessing a 1/8" end mill should be just about perfect.
Are you using the 6mm belts or did you change to the 10mm?