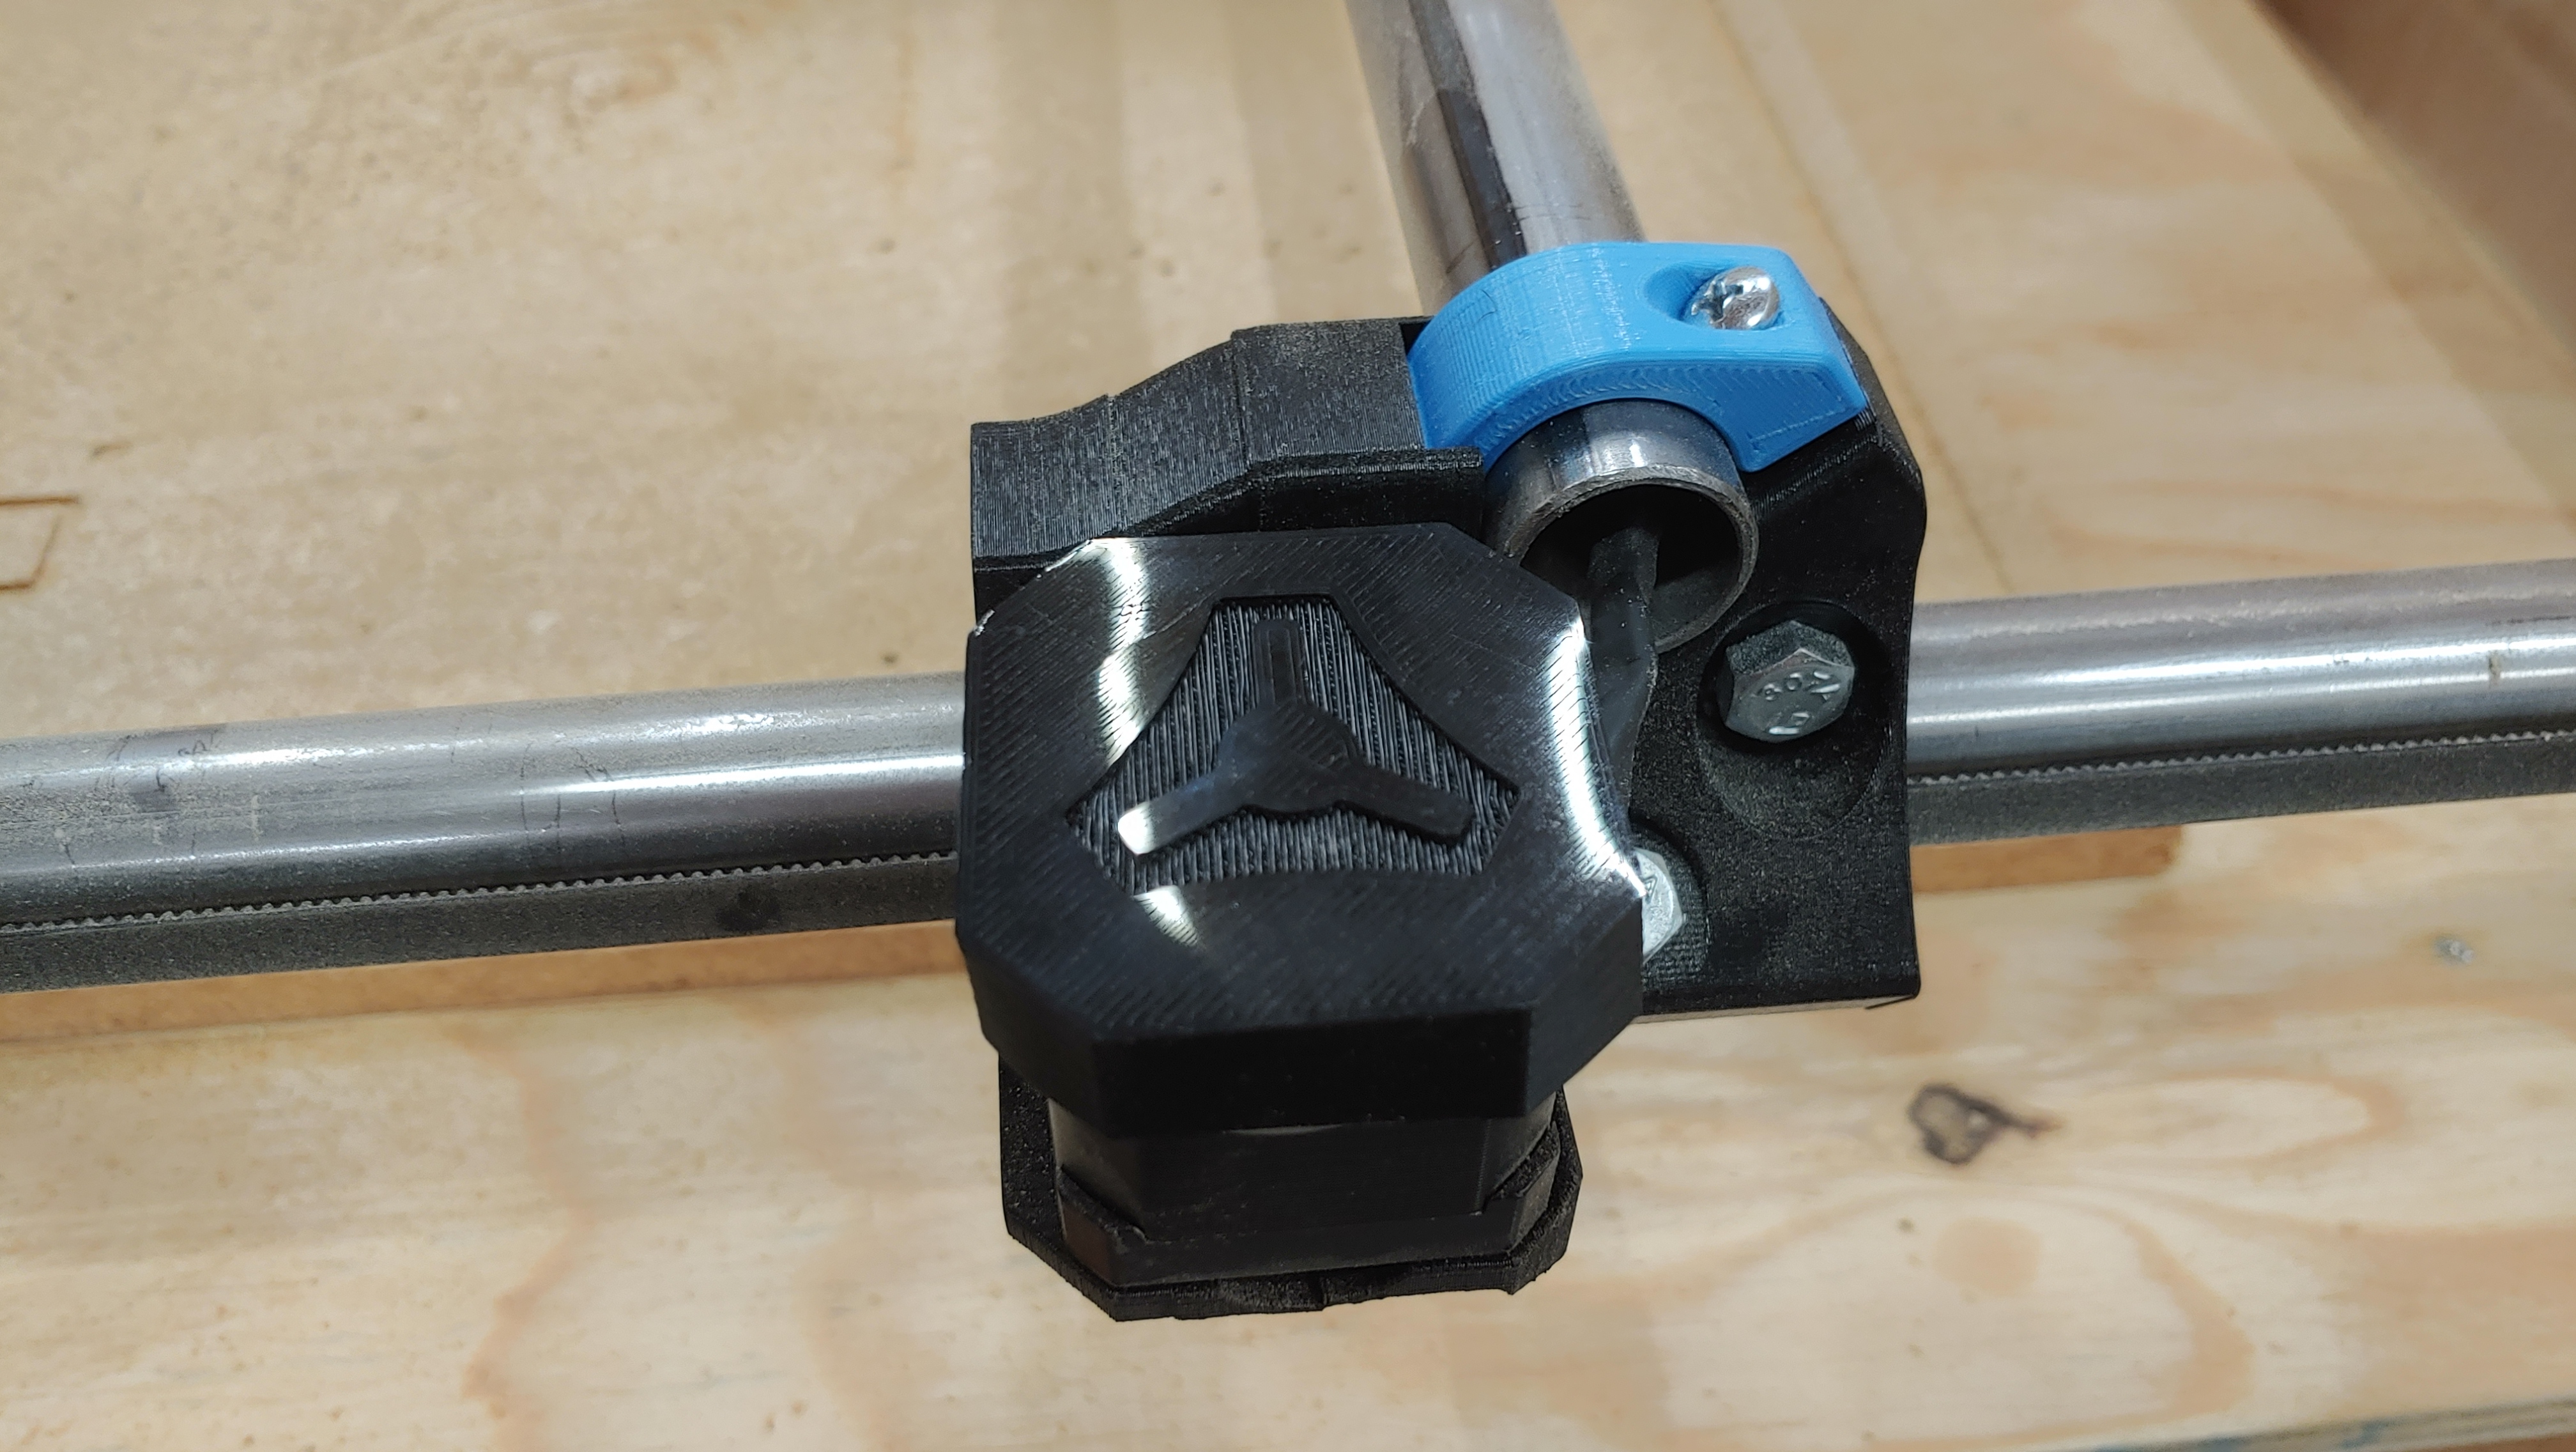
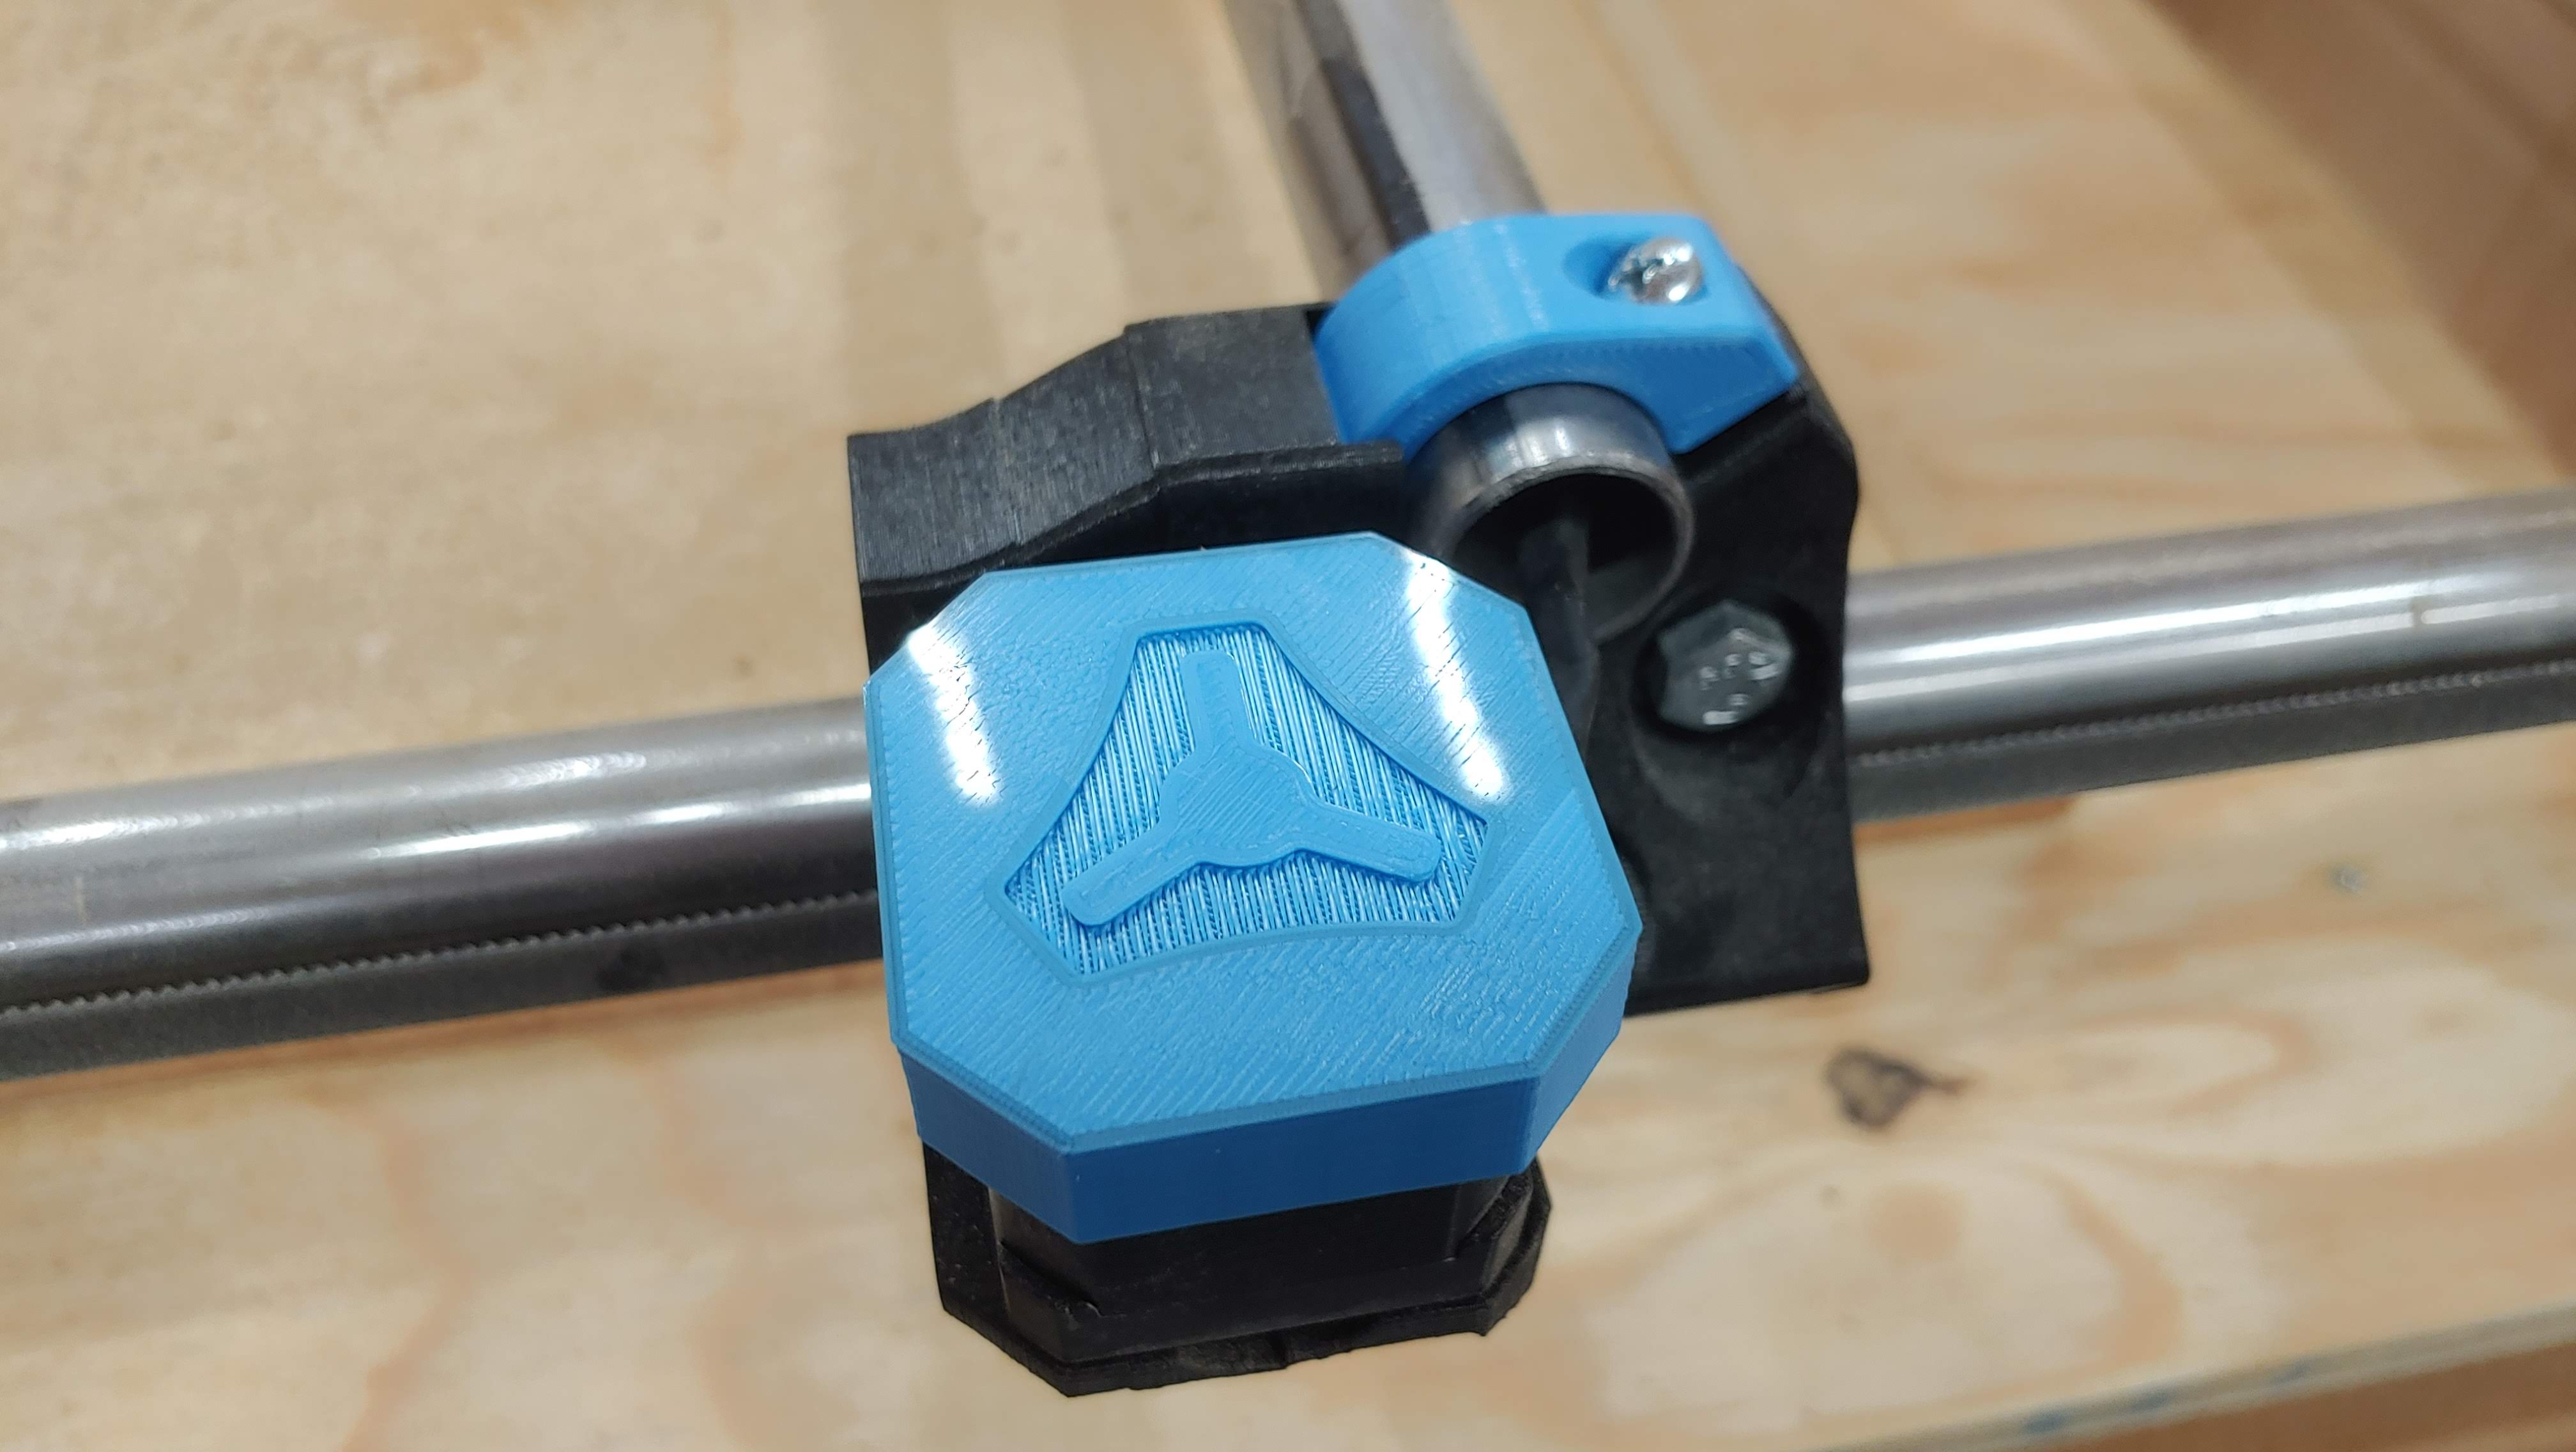
Made a little cover for the stepper motors. Hope @vicious1 doesn’t mind his logo on it.
8 Likes
I’m planning on putting a heat sink in mine. Might be something you wanna consider.
Mine don’t get hot enough to need them. Even the burly ran nice and cool. The only time I had hot steppers was when my ramps was miss configured. No issues with the mini rambo.
I love that we are now at a point that the 660 notices we are using it. I freaking love hearing the RPM take a little hit.
LOVE IT!
Glad to see it is doing very well now.
2 Likes
Stepper motor covers are done.
I have just enough blue to print a few of them, but at least 1 will be black.
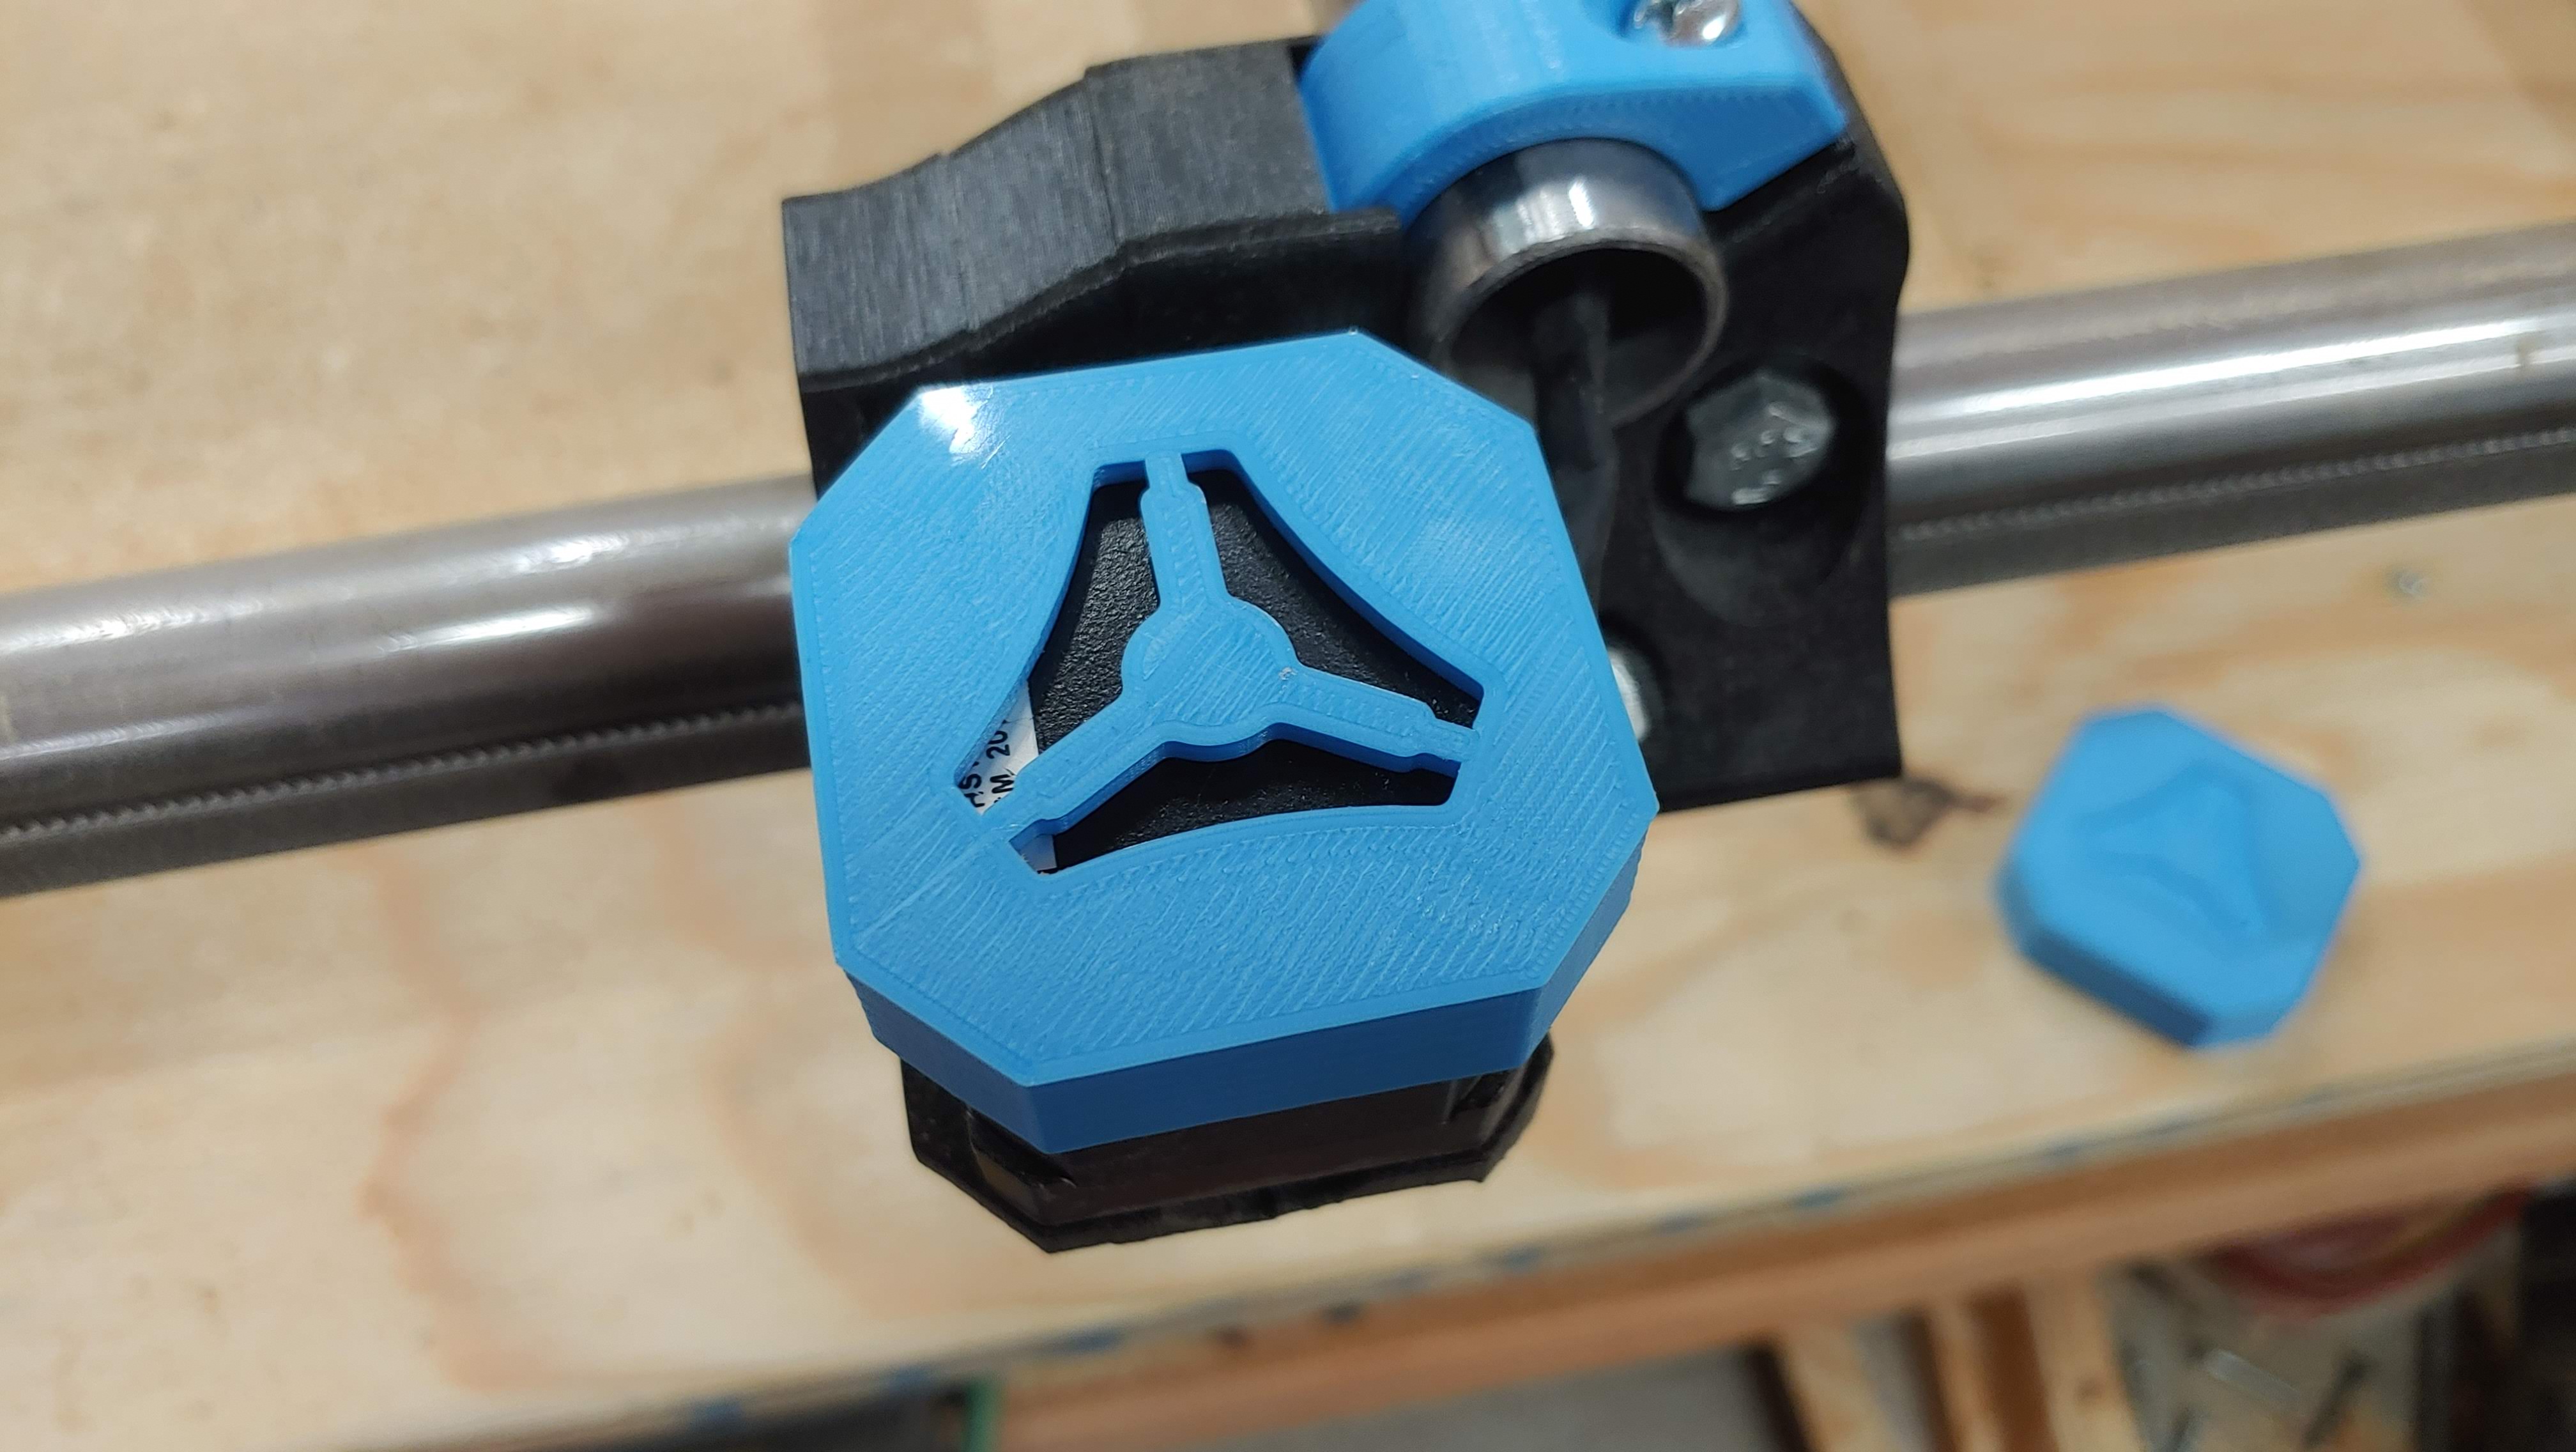
I created a second design that has the logo open so that heat can escape if need be.
7 Likes
Looks like you uploaded the GCODE file for the vented version instead of the STL.
Gah
Thanks
I blame that on Chrome. The file is clearly the STL file in that directory, but I had just uploaded the gcode file to the printer. I think Chrome is having a bad time with uploads caching or buffering.
They look great. Have the 3D printer kicking out 5 of them now in a two tone color scheme to match the rest of the printer.
2 Likes
Let me know if they don’t fit your steppers for some reason. They took a few tries to get them to friction fit onto mine.
I need to figure out what I want to hit the Primo with… I just finished re-tightening the spindle to the Z axis during lunch and putting the 1/8" bit back on it. I think I might just try to route the V1 Logo into something.
I’ve been watching the AQUACERAS computer build on youtube and that has me itching to try and do some aluminum.
I also bought a 30A 1-channel relay I want to wire to the spindle on/off at some point.
1 Like
Just finished and they are all loose. Seems have a mm or so of slop in both directions. I’m going to have to think about how I can account for that. Blue tape on the inside maybe?
Electrical tape on the stepper motor. I’ve noticed that even though NEMA17 is a standard, that sometimes the stepper cases/connectors are slightly different.
You could also try printing one at 99% and see if that fits more snuggly.
Not even finished building/testing the thing and already looking to upgrades…
Just ordered some 1/4-20 threaded inserts. I’m going to drill holes in the spoilboard for them and then cut out some cam locks. I have quite a bit of 3/4" plywood laying around after a recent project. I think I’ll cut the cam locks out of that.
The mounting holes are a standard, after that it’s the wild west.
1 Like
Curious about the cam locks you’re planning. Are you talking about the hornberger style clamps.
I am interested in those as well but he uses just round holes with pegs. IMHO Perfect use for leftover tubing or old conduit from a previous build. Why the threaded inserts?
I have also bought threaded inserts for a spoil board. But now I’m rethinking that since I discovered the cam lock mechanism
Yes. I am using the hornberger style, but I threw them into f360 and filled in the holes for 1/4" hardware. My reason for using the threaded inserts is because sometimes I want to just bolt the stock direct to the spoil board. Like when I cut 1/4" plywood cutouts for my wife.
I cut the parts out tonight. Took 1 hour. Listening to the machine, I could have easily gone faster or deeper. I kept this cut with the same settings as burly. Cutting plywood, I would have had some chatter at these speeds with burly. Primo didn’t have any.
Played around with some test cuts…
7.62mm DOC at 1000 mm/min adaptive cut in pine went pretty good.
12.7mm DOC at 400 mm/min contour cut in pine went horrible. (I didn’t think this would succeed) This DOC was actually by accident. I meant to only do 7.62mm like the adaptive cut.
2 Likes
Finished cutting out the camlock clamps. They look pretty good.

5 Likes
Is that particle board your using for your spoil board? I’m not this close to finishing but was thinking of using MDF but particle board is cheaper and I will go that route if it works just as well
Use MDF…
This particle board spoilboard is the original one that I used 2 years ago when building the first MPCNC. I’ve usually needed more height and typically have another piece of MDF on top of it. I just keep shaving it down every 6 months or so 1mm at a time. It started off 3/4" and is probably around 1/2" now 
The particle board chips easy and I’ve had screws pull out. MDF also cuts cleaner.
I have two pieces of MDF that I could have used instead of this, but they were further across the shop and I was lazy.