Thanks for the insight.
So it’s better to bring the piece you will be cutting closer to the endmill rather then have the endmill drop to the piece?
Thanks for the insight.
So it’s better to bring the piece you will be cutting closer to the endmill rather then have the endmill drop to the piece?
Yes, that is correct.
My inserts came in. I cut a few test holes in some MDF to verify what size I need in order to screw them in. I ended up finding a 9mm hole for the insert and a 12mm reveal for the head to work the best. That gives a nice tight fit. I bought 15mm inserts, so I’ll be cutting all the way through the spoilboard in order to seat them all the way and give a 4mm deep opening above for overcuts on whatever I’m cutting.
The program is estimated to be about 1 hour to cut 49 holes. I hope to cut them in the morning.
Can you recover the inserts when it comes time to replace the spoilboard? If so I might go for the same.
They’re screwed in with a 6mm hex key. I tested one in the MDF and was able to easily remove it.
I figure for $10 it was worth a shot:
https://www.amazon.com/gp/product/B07SSCF8Y4/ref=ppx_yo_dt_b_asin_title_o07_s00?ie=UTF8&psc=1
@niget2002 any specific reason you went with those instead of something like this?
I see one advantage being that they can be installed from the top of the spoil board. The T-Nuts have to be drilled and pounded in from the bottom, which can make it more difficult to manage.
Mostly because I hate T-nuts.
But that’s the real reason. Once I have my spoilboard faced, I really don’t want to remove it until I’m replacing it. By using the threaded inserts, I can drill all the holes after I have the spoil board flat. Then just use a T-handle hex driver to install them from the top.
My 1/4-20 hardware came in and I tested the clamps on some scrap boards. These are going to work quite well. I’ll get a picture tomorrow.
Also, the tnuts have to dig in to something. I got a whole bag for my first spoil board, and after pounding 50 of them in, they acted like little wedges and bowed the spoilboard 
I tried to have my old Burly drill out all the holes and counterbores for the new spoil board, forgetting that it wasn’t level. Had to drill out like 50-60 of the counterbores by hand because they were too shallow.
Ha,ha. Yeah, I’ve had issues with them in the past. I was originally planning on using extruded aluminum t-tracks but then I realized that would run over $100 so I change direction to go the t-nut route. Was planning on using the finished machine to drill and c’bore all of the holes and then install the nuts and flip it over and screw the spoil board down. But I like your plan better.
Do you plan on having any located outside of your working area that you’d have to drill out manually?
No. My spoil board is above the base, so having any outside the cut plate wouldn’t work.
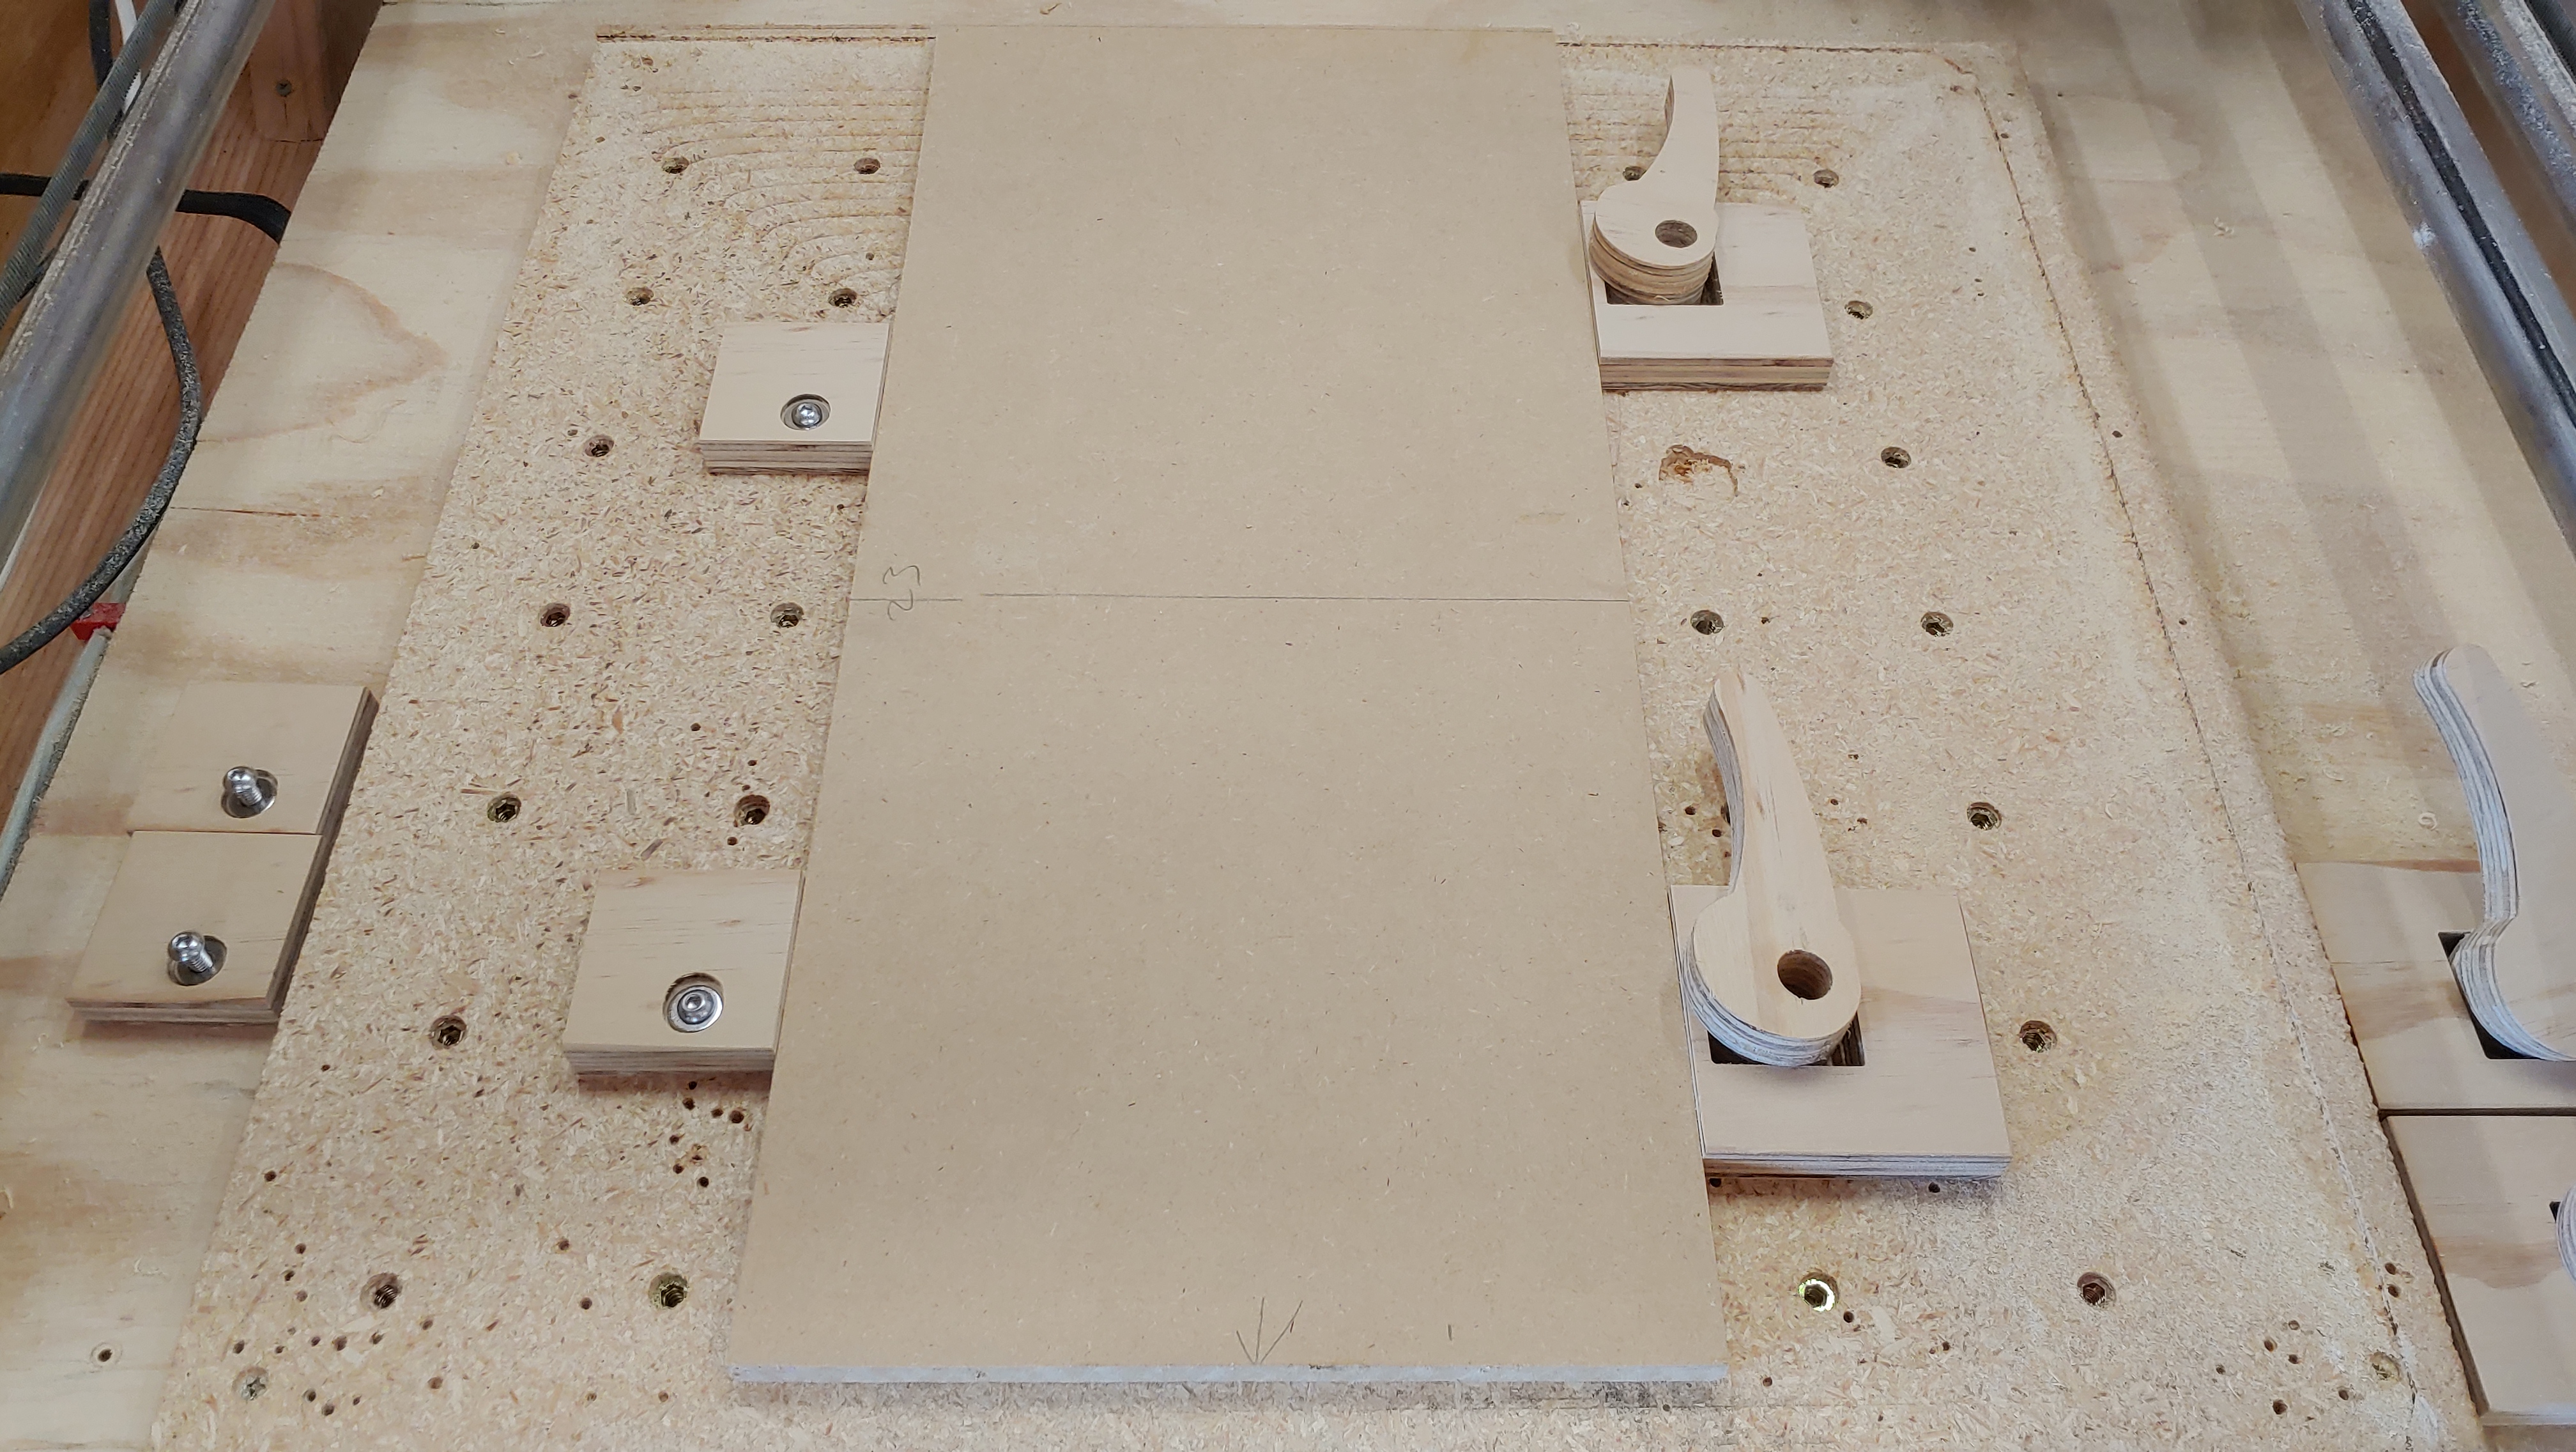
Got the rest of the inserts installed. This is going to be so much nicer than just screwing through the material.
Where did you find those clamps on the right? I’m looking for some cam clamps.
I downloaded this guy’s dxf file and modified his clamps to work with the 1/4" hardware:
I’ve never done this before. If you’re using f360, see if this link works

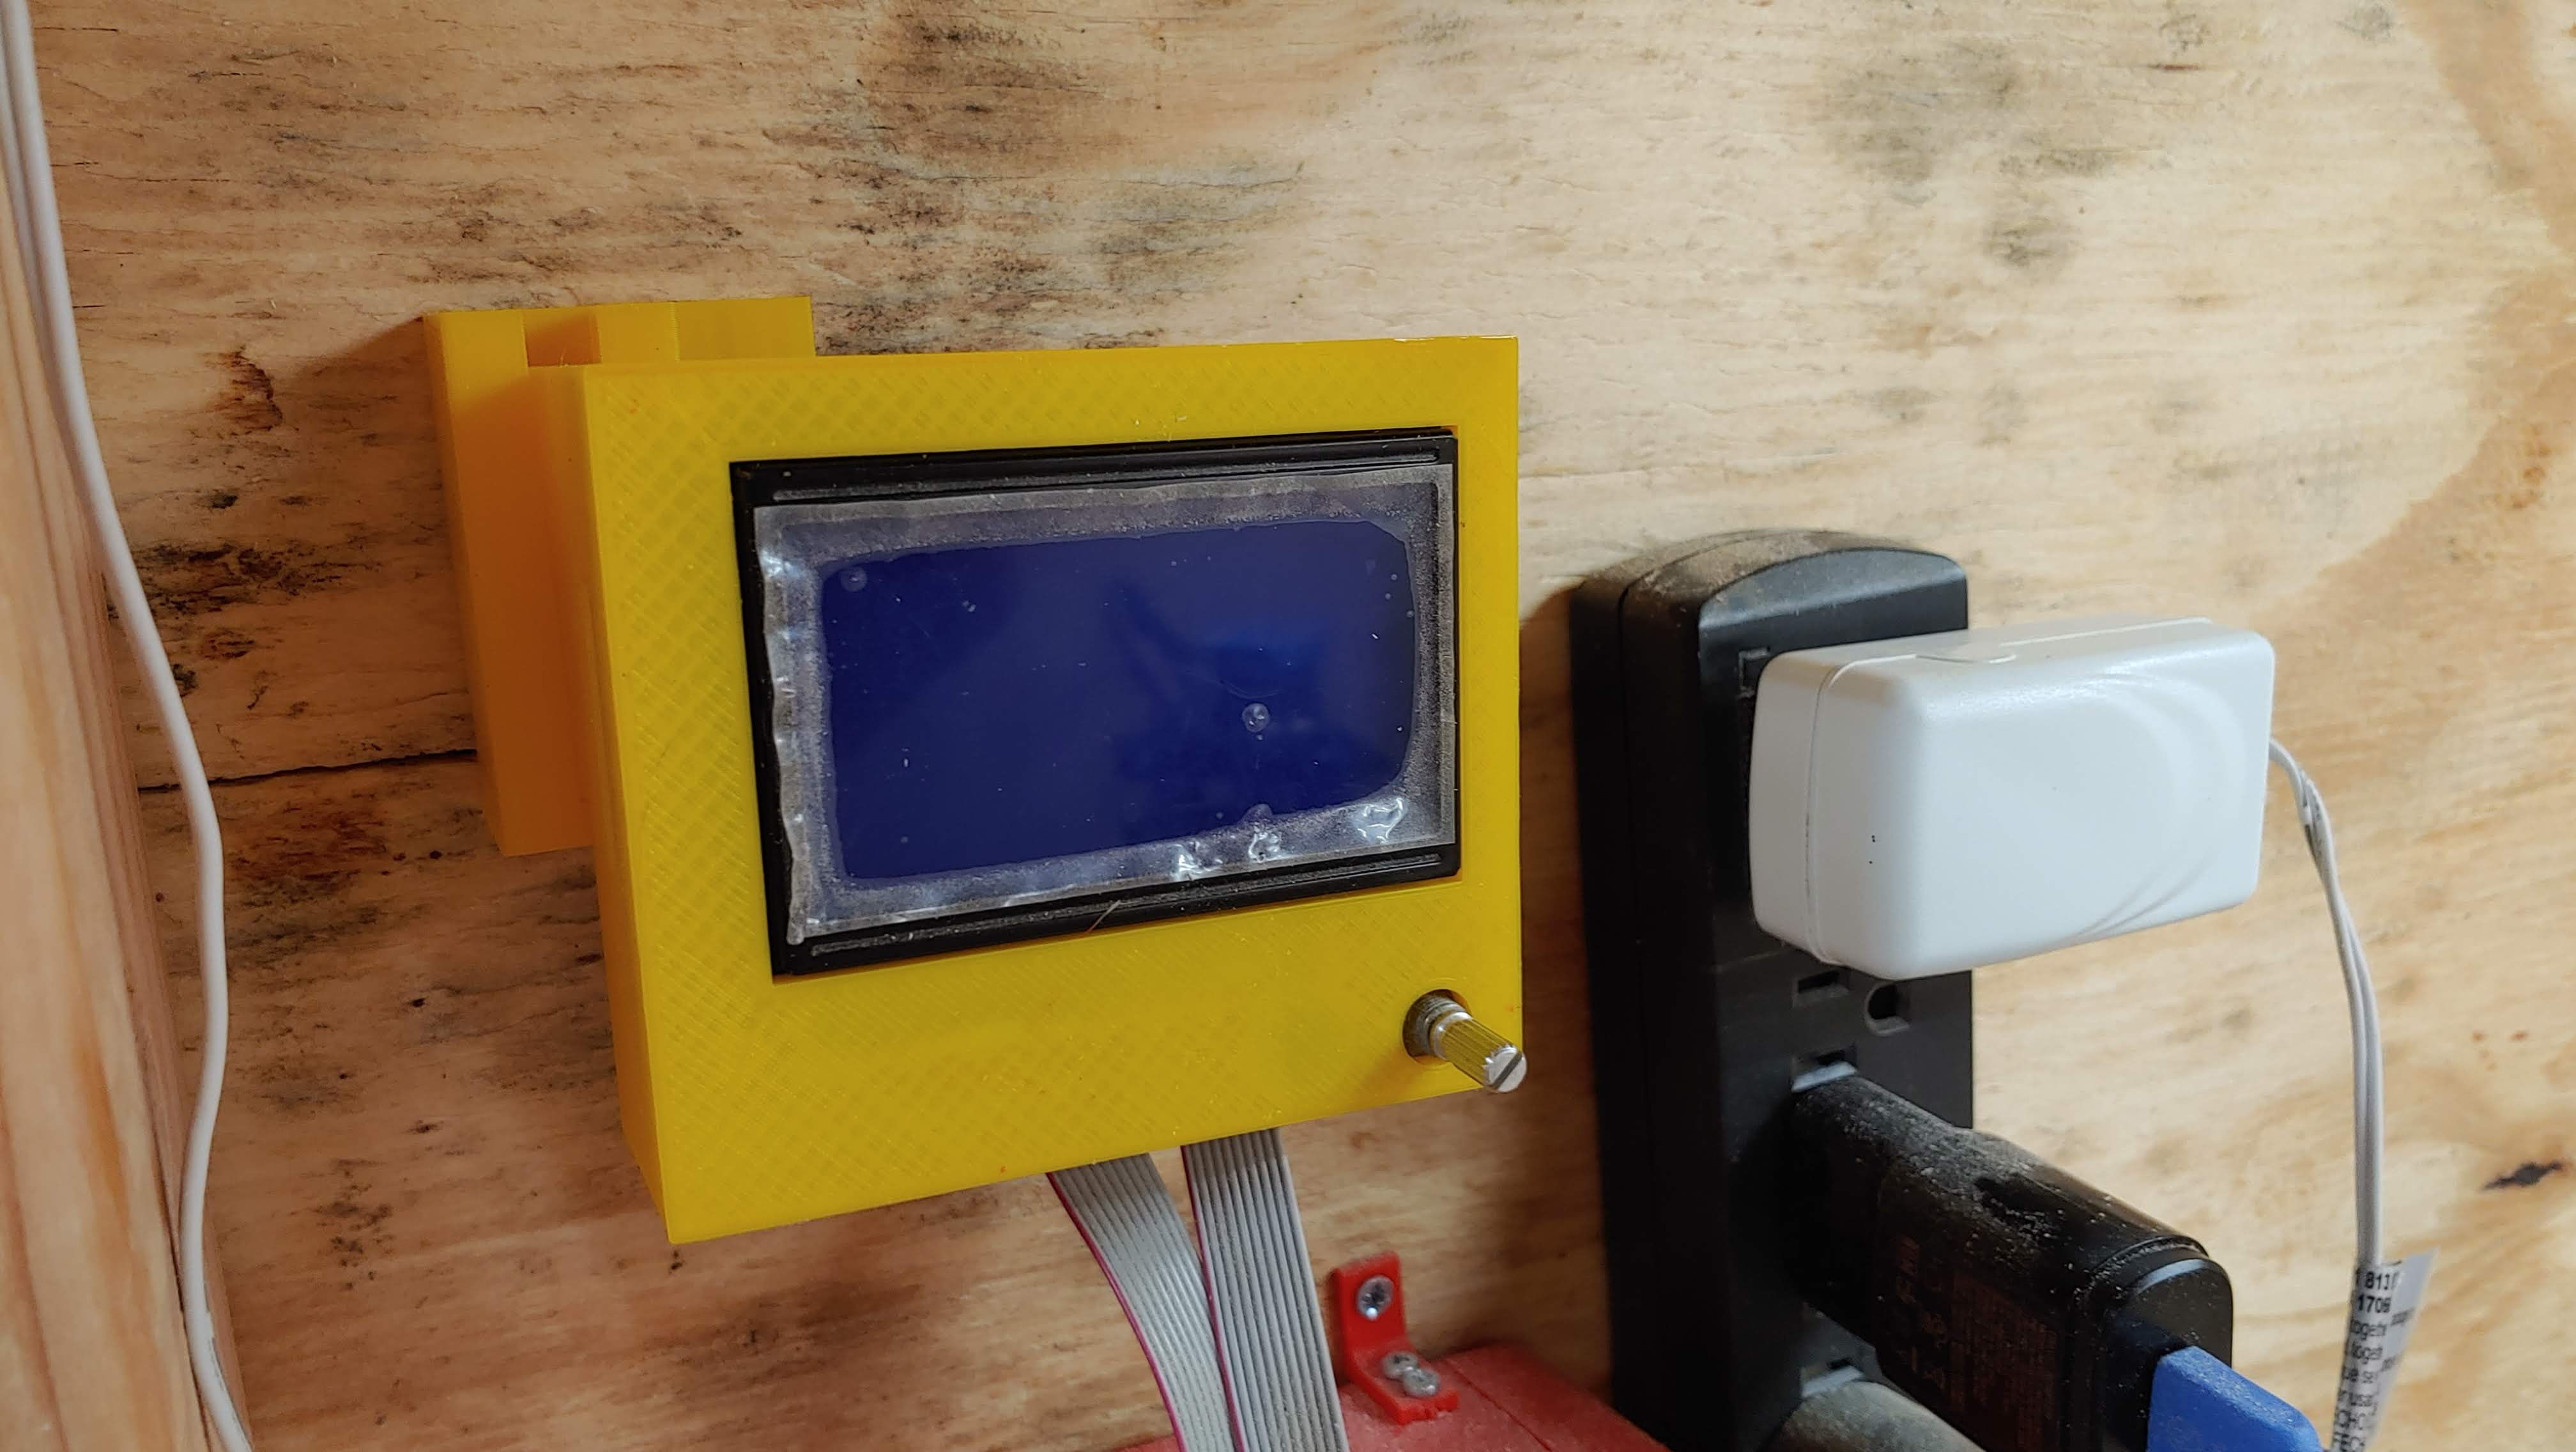
I finally got my LCD up off of the ground. I made a little mount that dovetails into a faceplate so I can slide the scree on/off the wall as needed.
If anyone else needs one:
I learned a lot from this video. https://youtu.be/upELI0HmzHc
There are many like it, but I use something simple like lines. hope this helps and bummer on the long print
I like your controller box… mind sharing the file?
I had someone else ask about it the other day. I’ll try to get it up on thingiverse later today.