Last plate cut. Started mocking up the frame. I sadly no longer own a straight drill press so I needed to wait until I was done with the milling so I can swap the drill chuck in and drill for the blind joints.
I am using a combination of blind joints and hidden 2020 brackets untill I get the LR3 up and running to cut the panels.
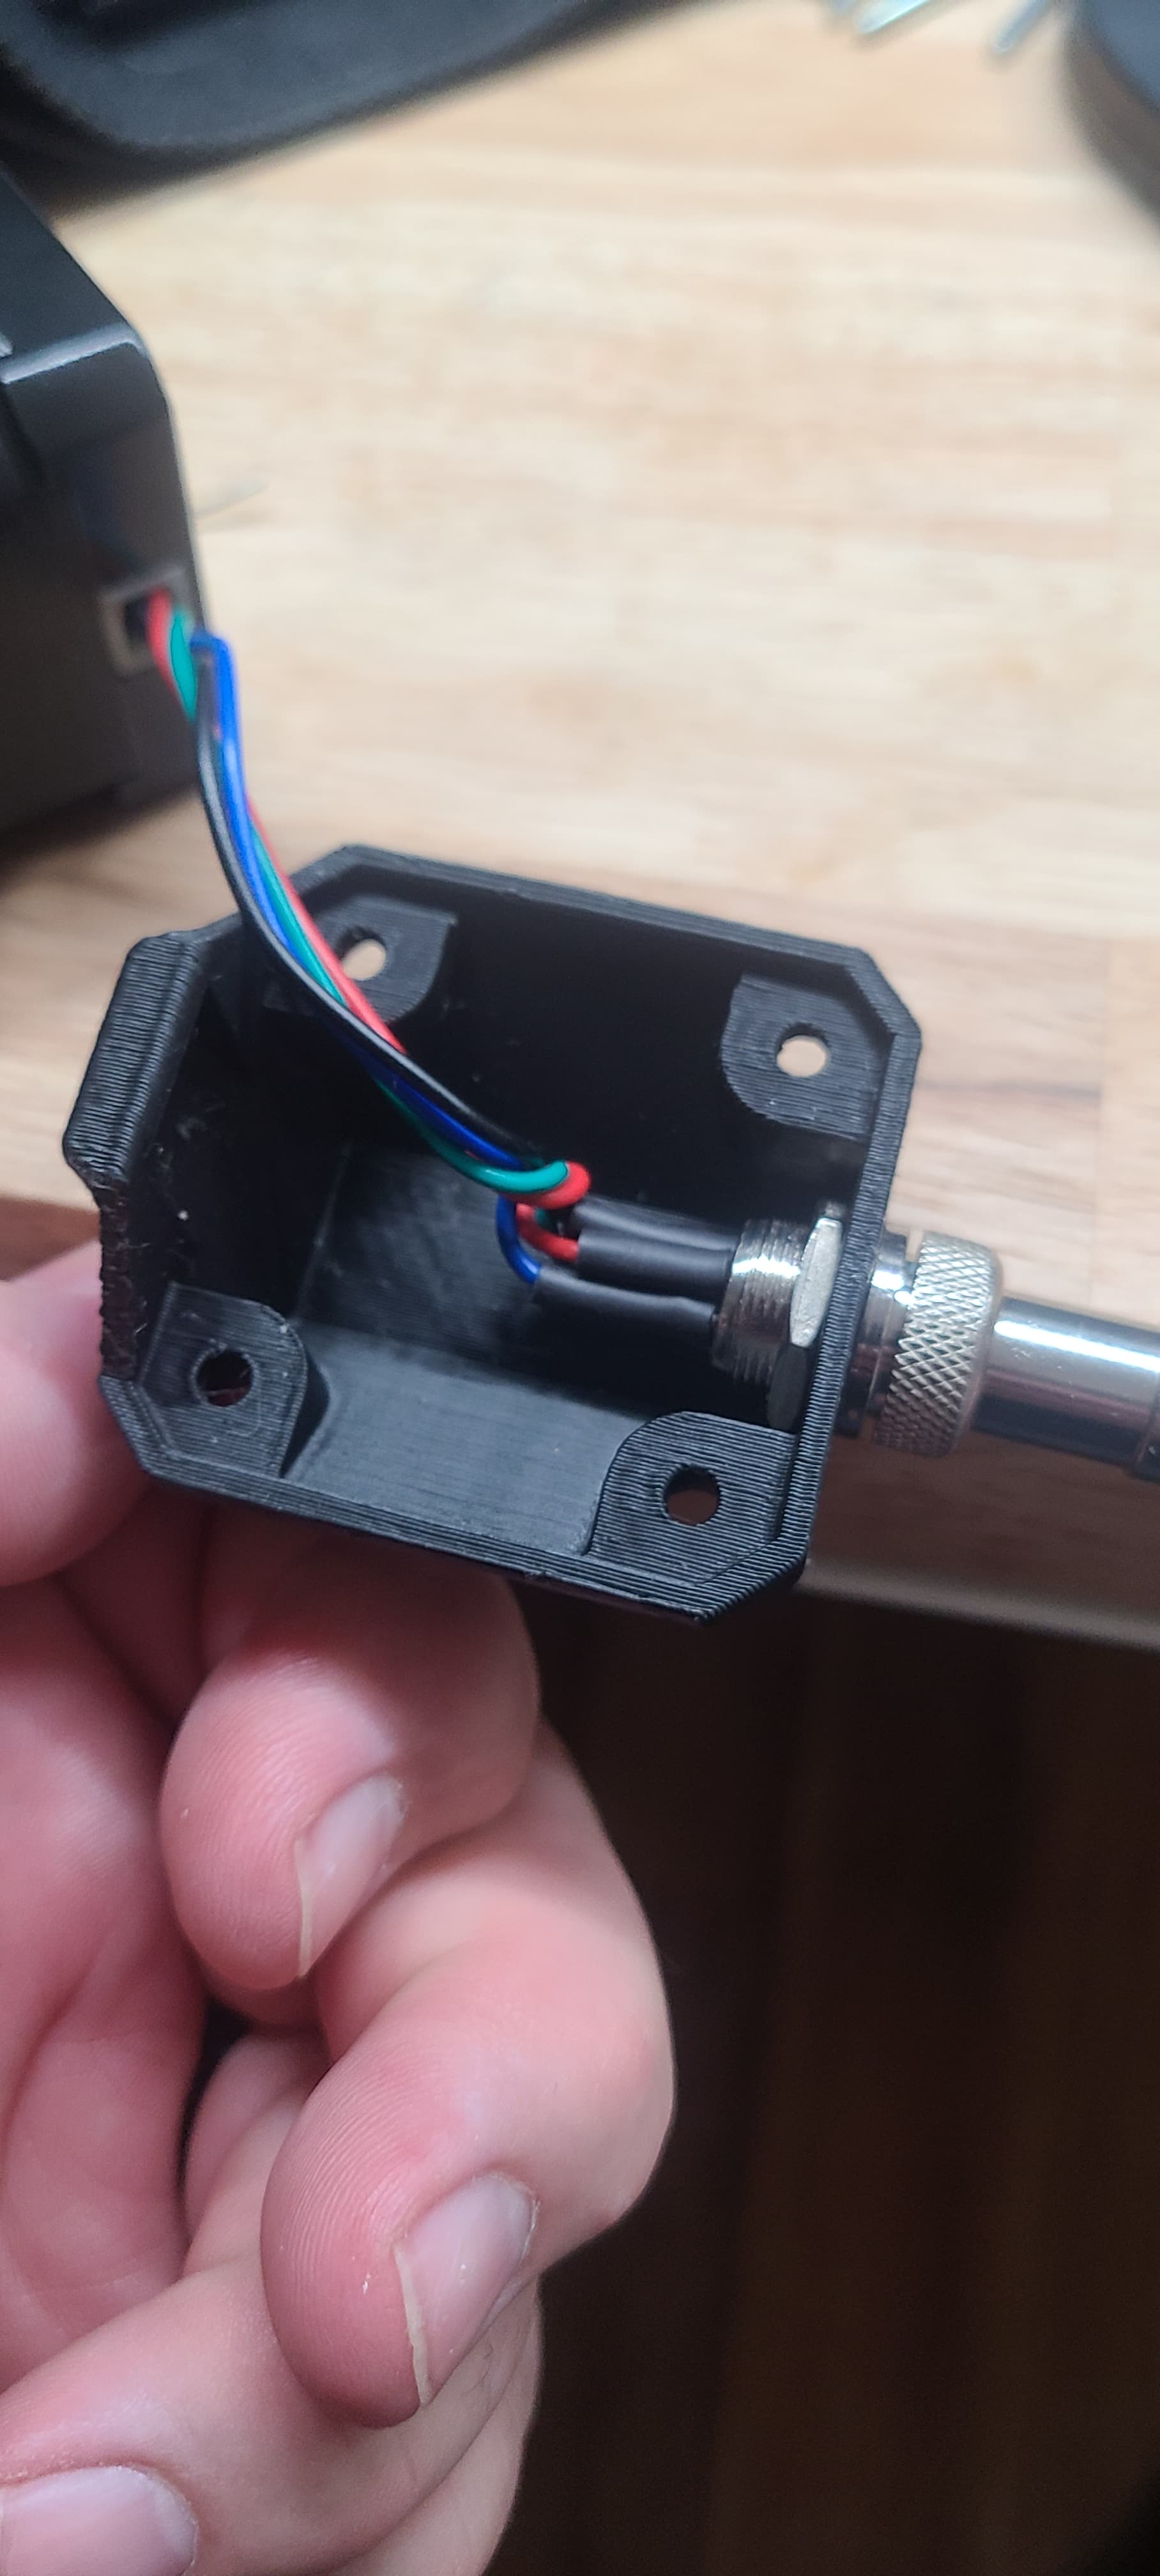
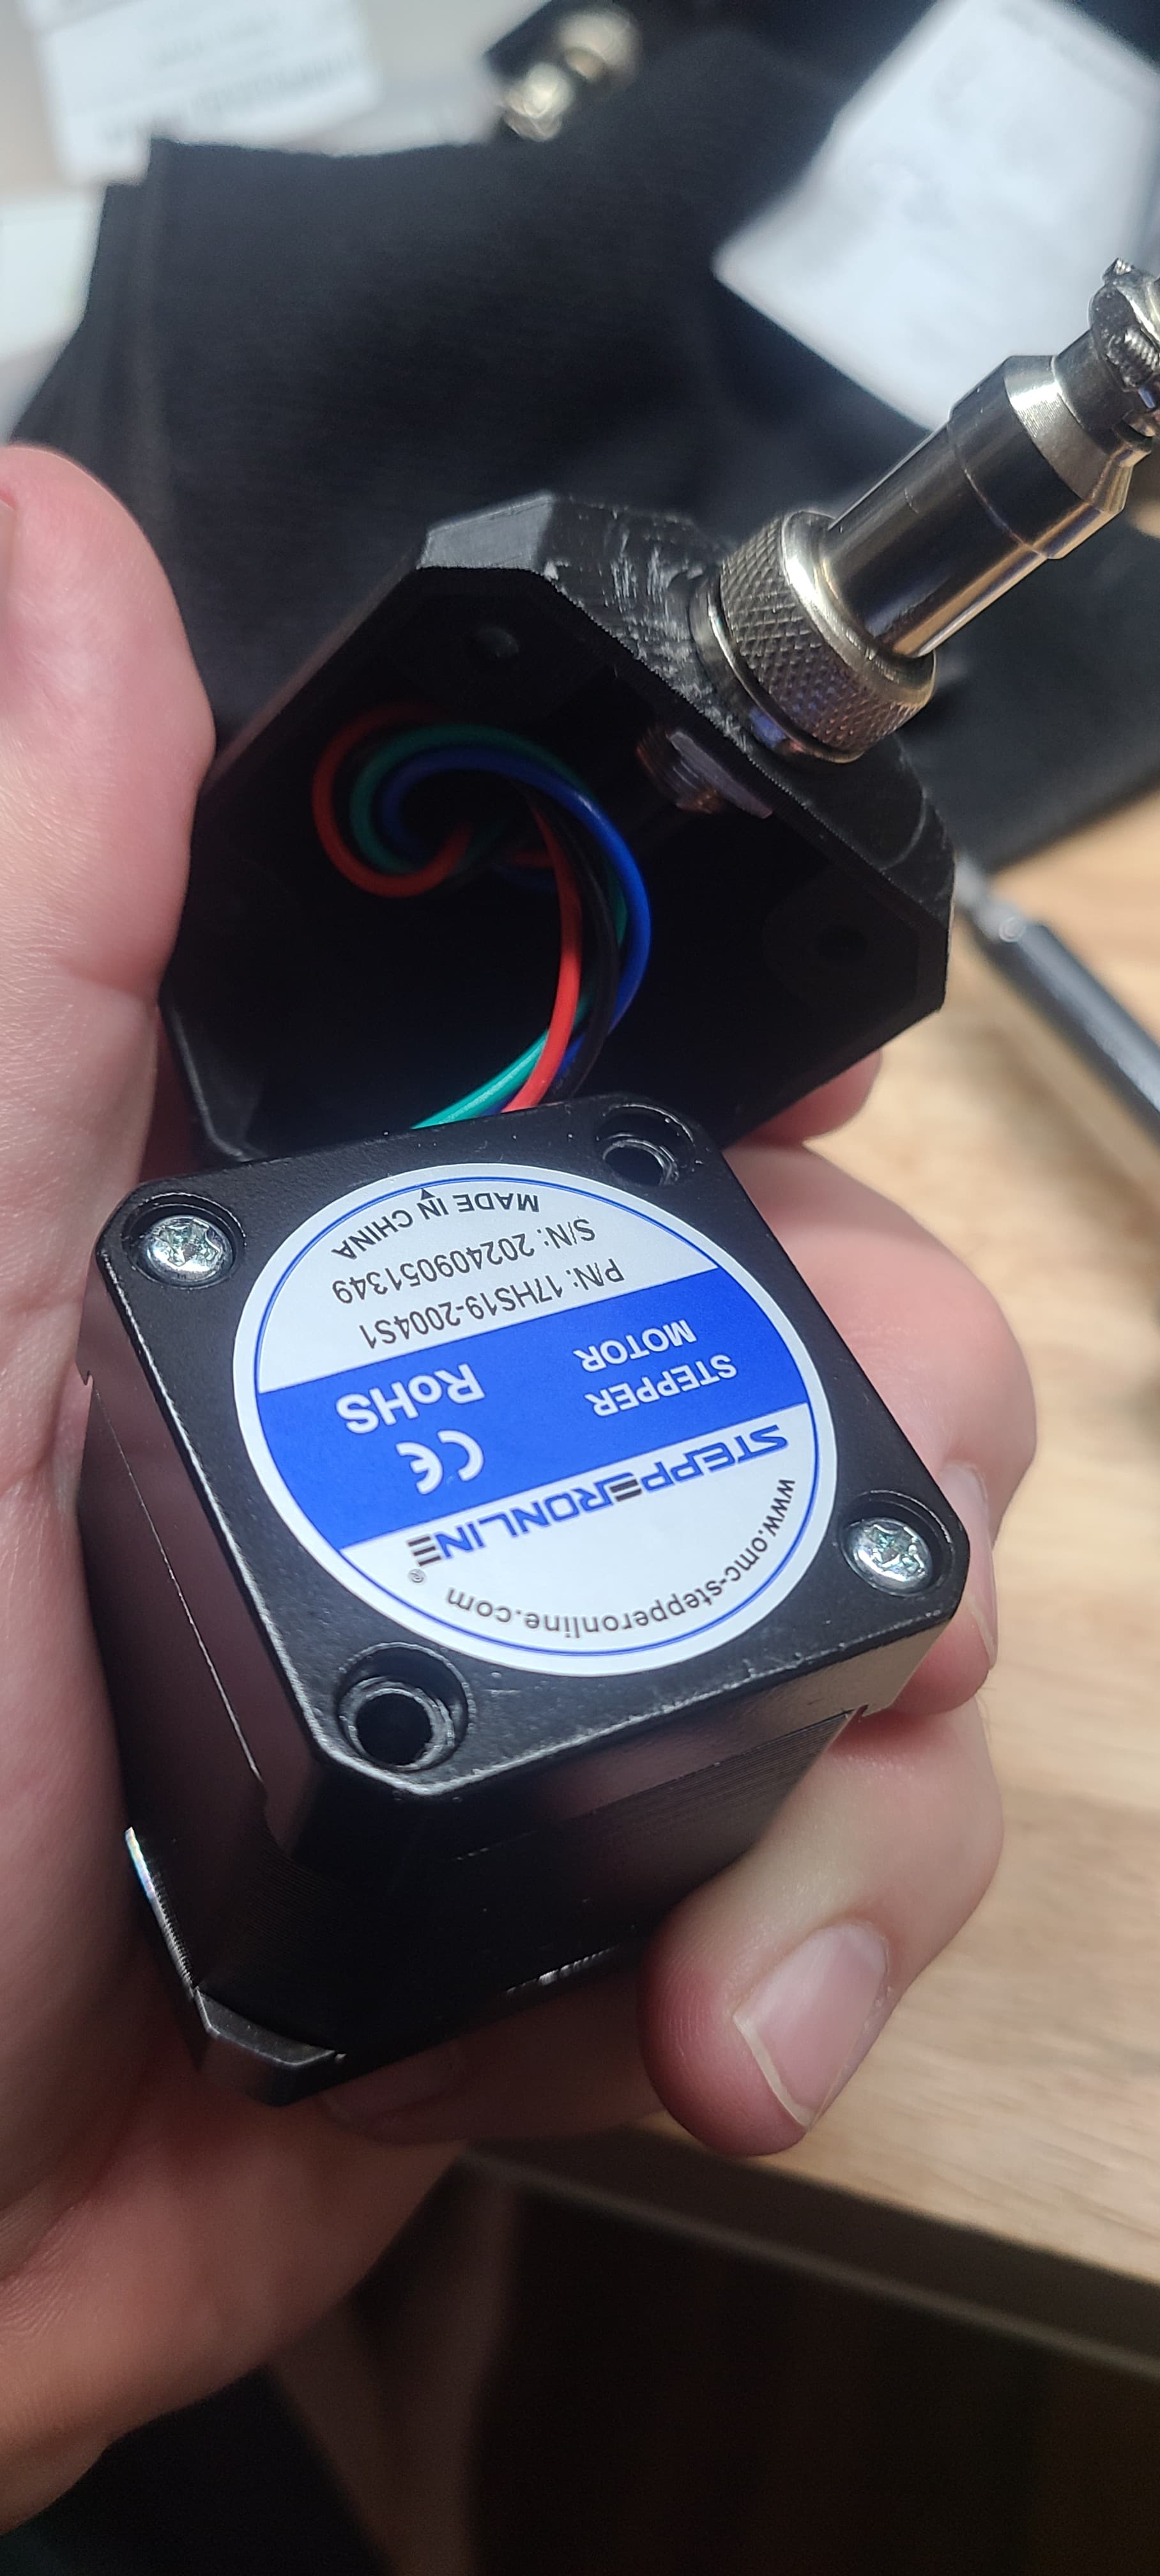
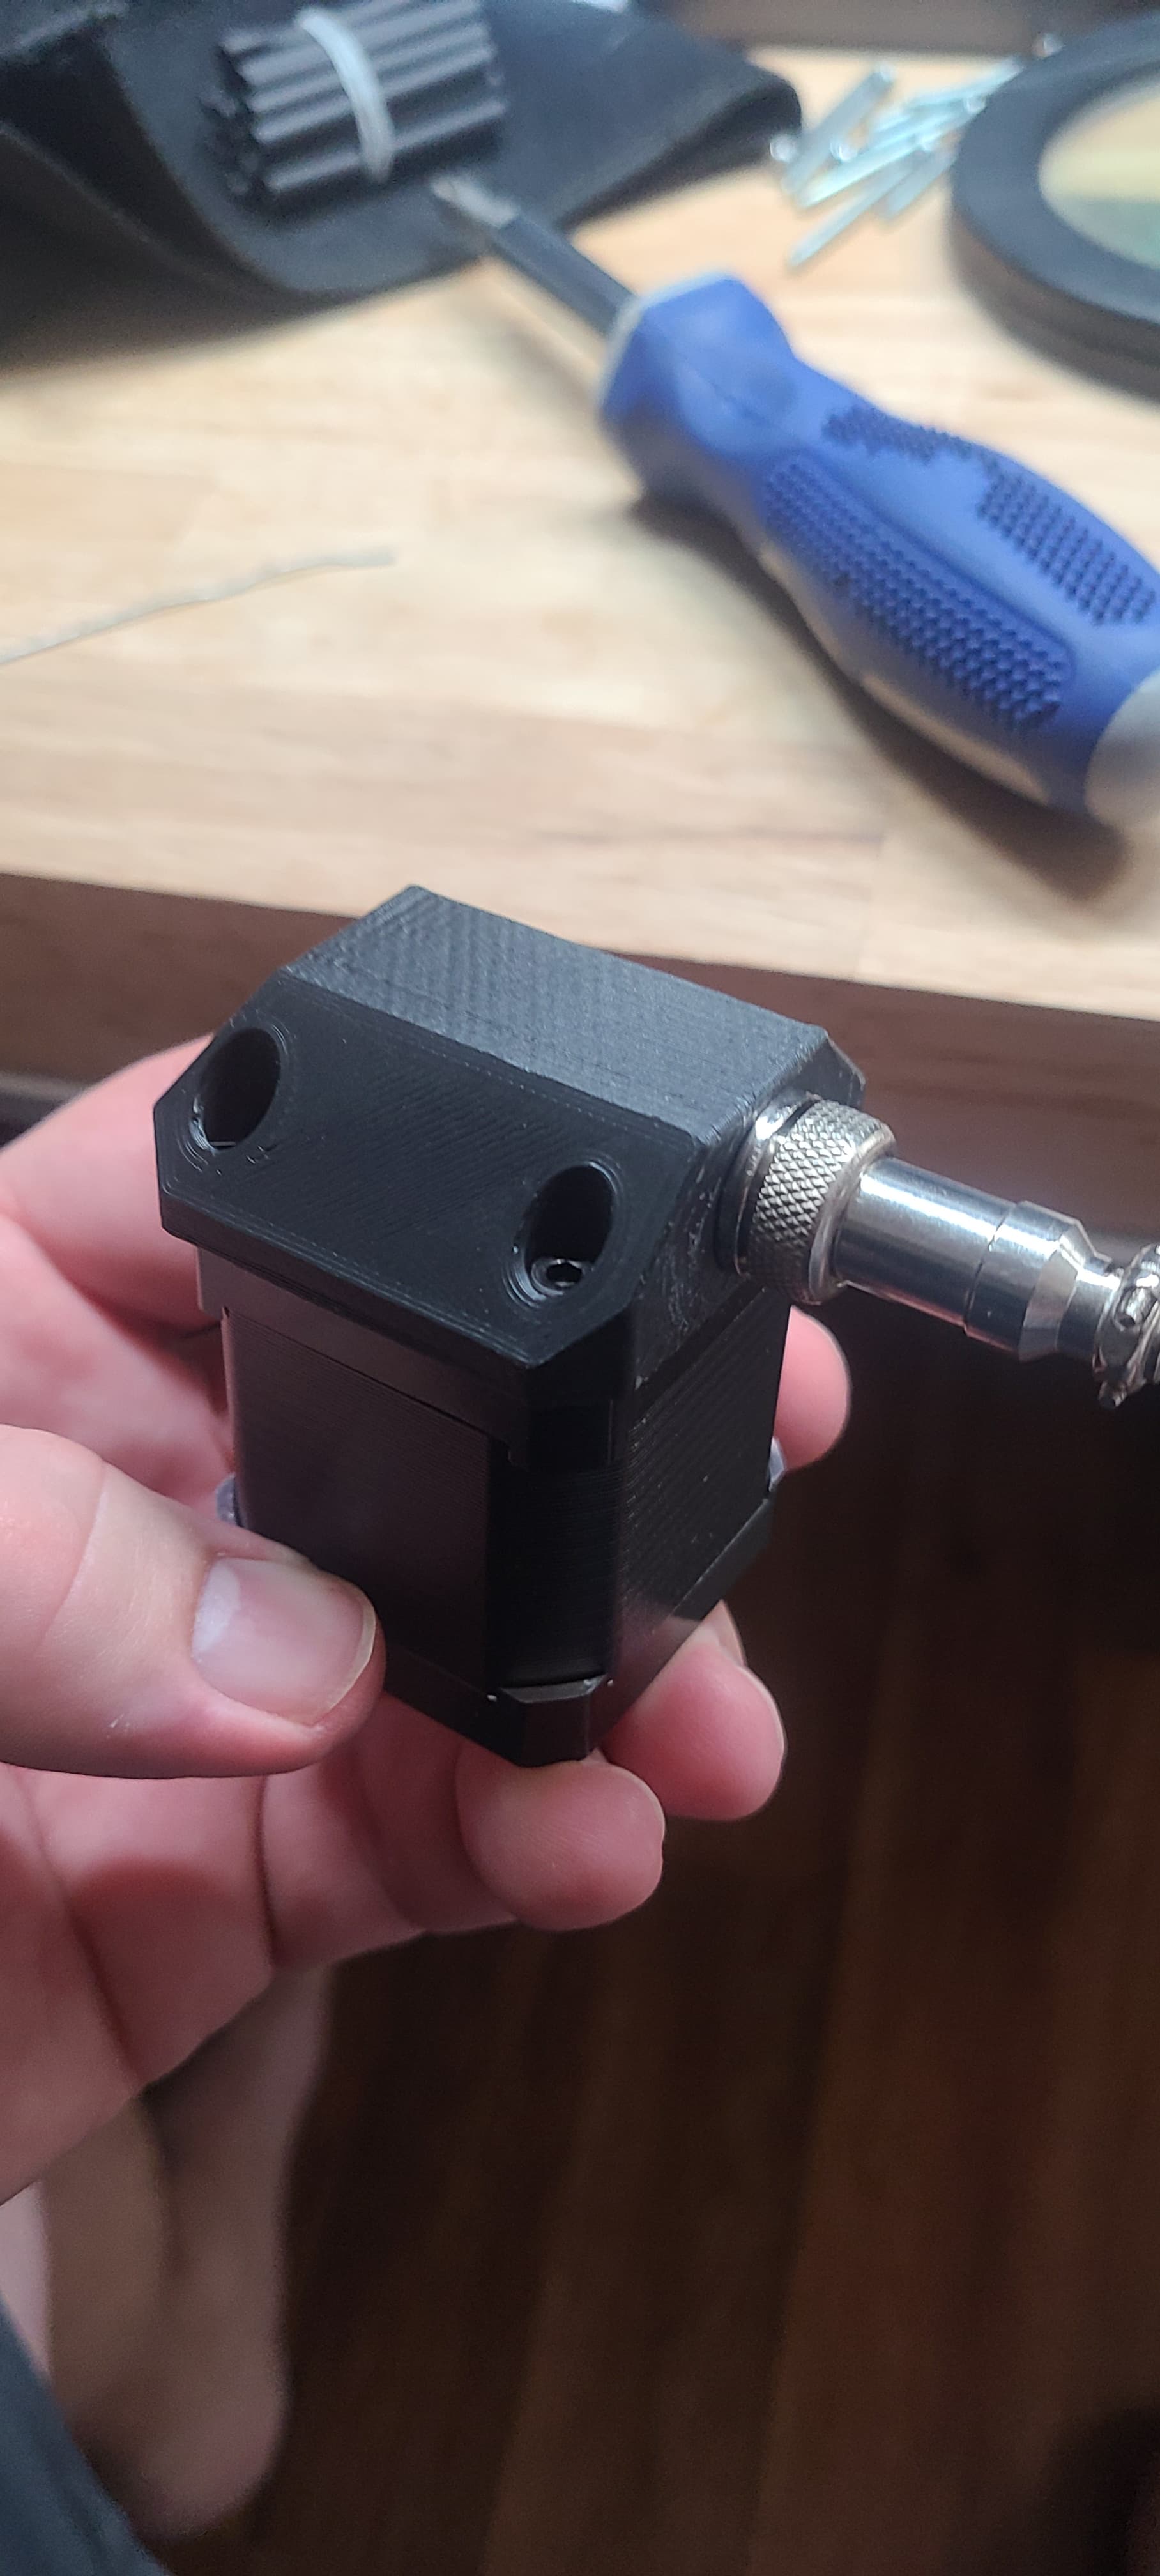
Yes that is the LR3 in the background. Worked on wire routing while waiting for the milling.
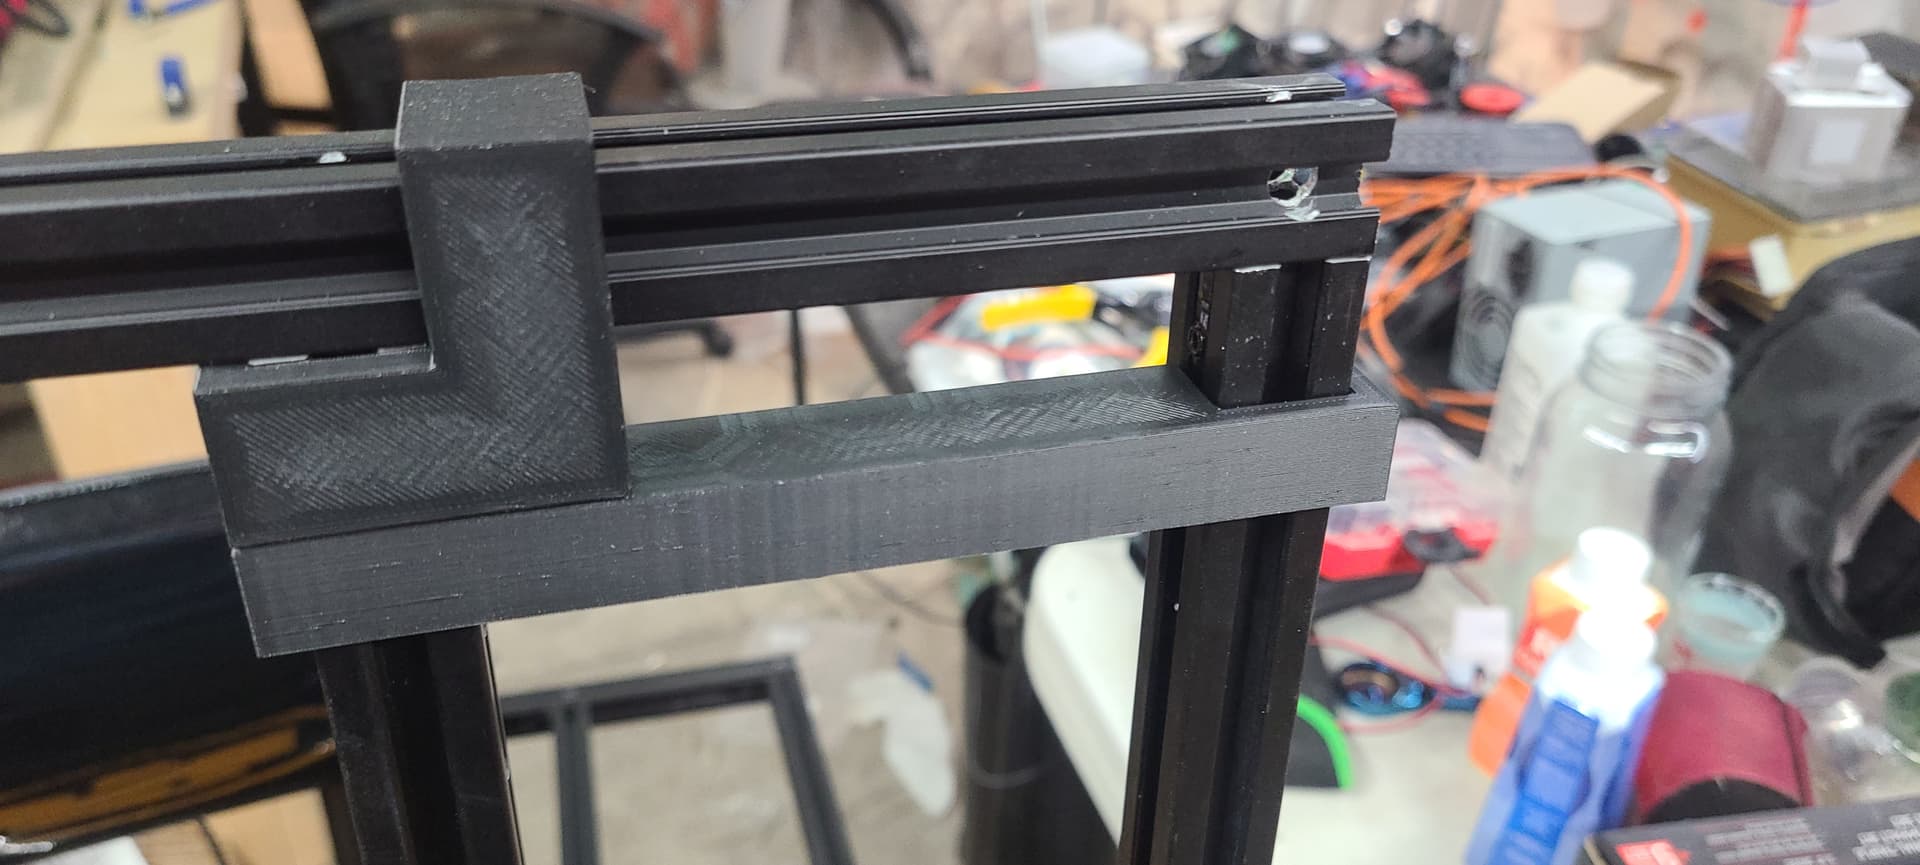
Started building the frame out. I printed some alignment jigs to get all my spacing set and the corners square. I also used the same sort of jig to do the hole drilling. I made a jig with holes at 10 mm, and 110mm for the top bar to the rail bars. Then I added holes on it to handle the two placements of the z bars on the sides. This made drilling for the blind joins super easy!
Was working on the frame last night and discovered two problems with my plan.
Apparently those hidden corner brackets llok cool but the also make it so you can actually bolt some of the corner parts in. Had to take a bunch of the frame apart to extract them. Dont do what I did!
My plan had been to move the full bed mounting points forward to accomodate the back belt configuration. This results in the tensioners not being able to be put up against the rails. The options are as follows:
a. Get 400mm rails and cut them down to 375mm
b. hand the bed out a little farther than the t cross piece. This means adding two extra mounting holes on the sides of the bed.
I will be doing option B on this machine. I am planning on using a 250x250 heater on the 300x300 bed so the edges are open to be used.
I tried doing this on a bedslinger a long time ago (Self-built psuedo Lulzbot TAZ). It faied miserably because you get a really bad temp gradient at the edges, even when you only have a build plate the same size as the heater.
Weirdly I have no problems on my V4 and it is running a 235x235 on the 300mm bed. I rarely use the far edges and this will fill more of the bed than the other one does. I also plan to actually USE the insulation I bought last time on this one…
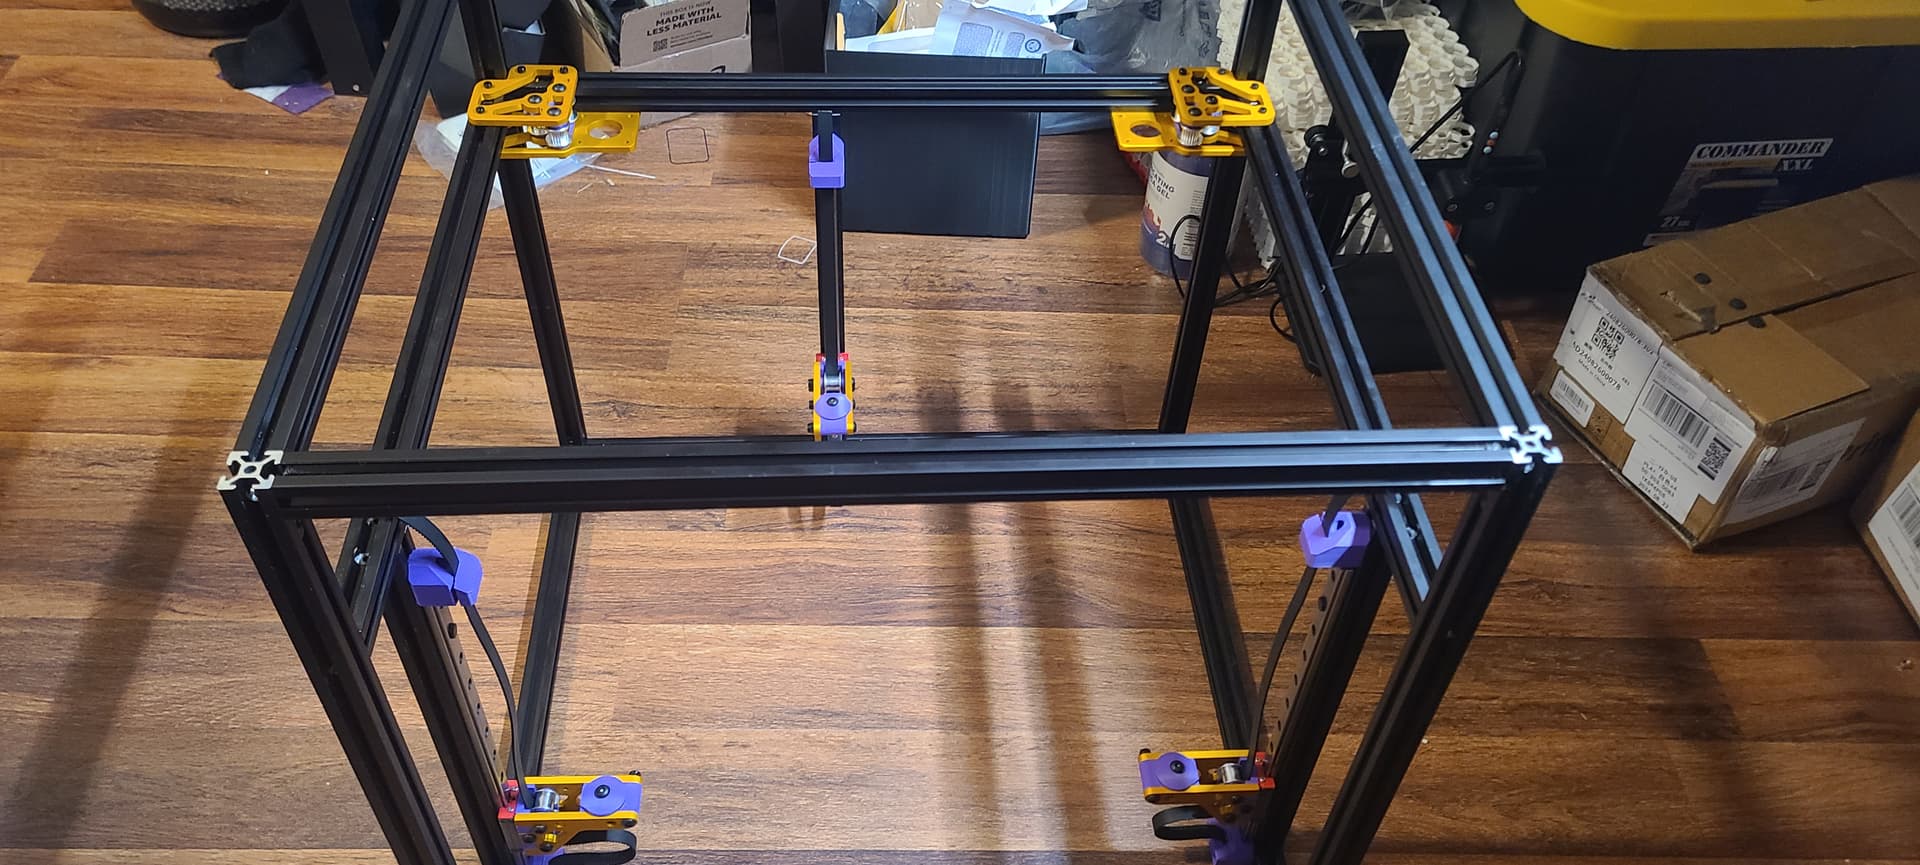
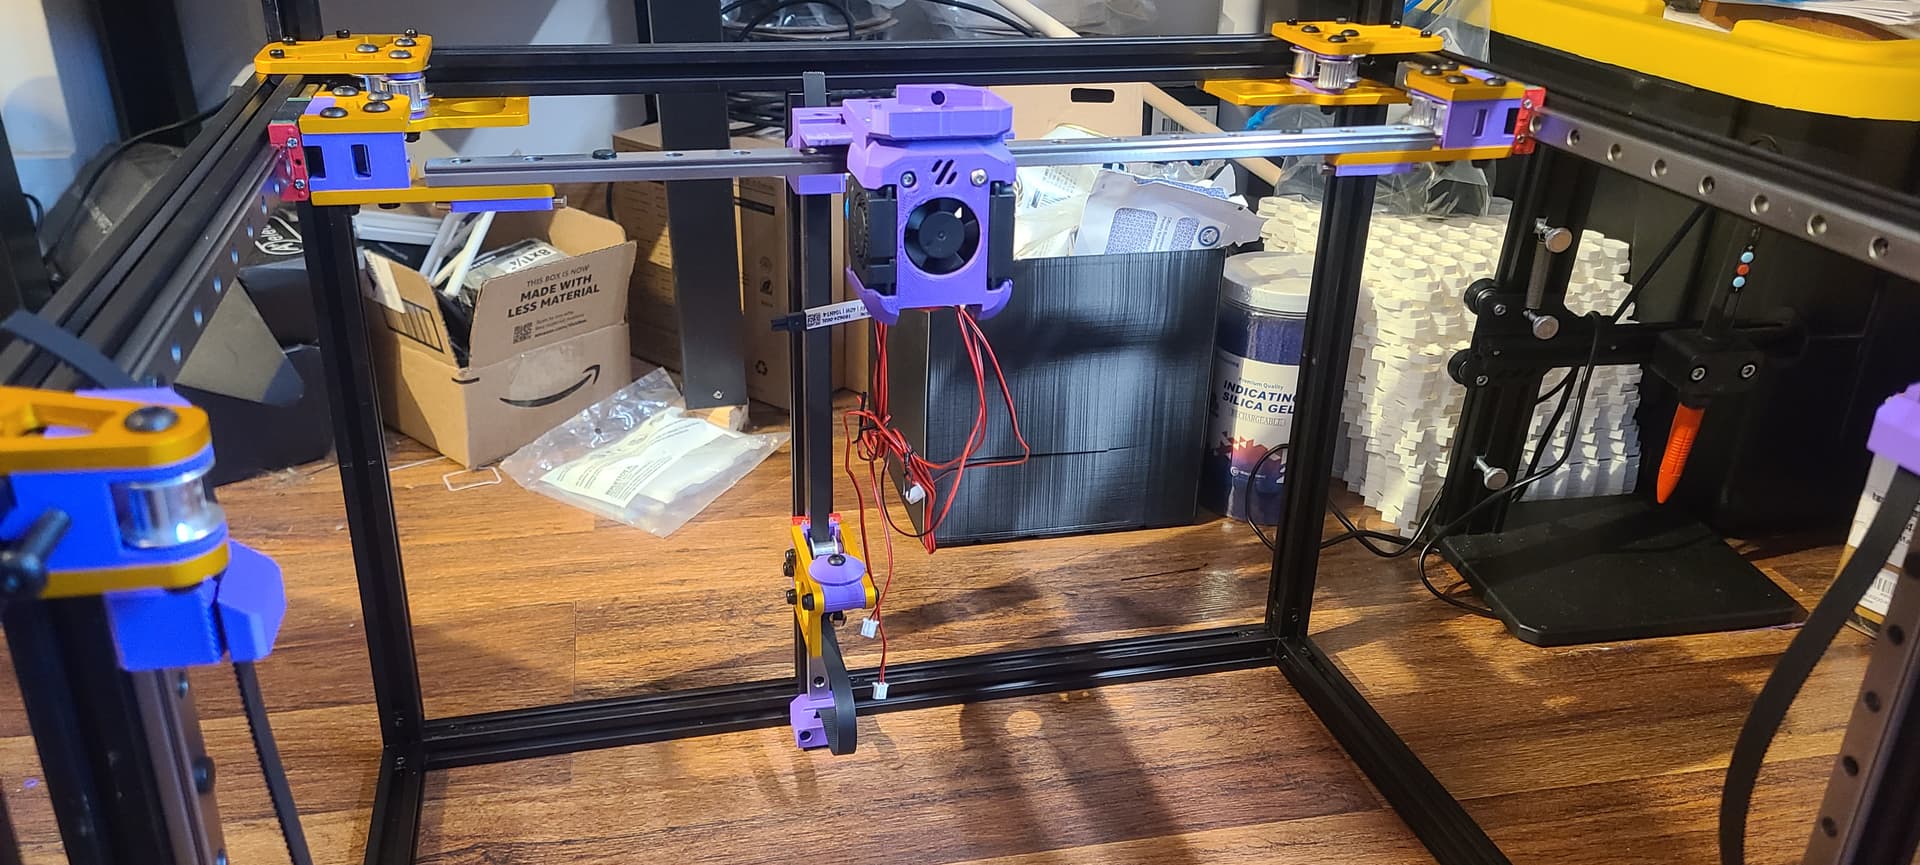
Okay… little more progress tonight. Got all the internal corner braces out where they needed to be removed. Moved the side Z posts to the back positions. And started installing sexy brackets!
That looks awesome! Cant wait to see it printing! I have been looking at the box turtle hard so once I see you have this working I just might pull the trigger lol
Something just dawned on me. Since you have modded the core to allow mounting of the stealthburner/dragonburner too heads, wouldn’t that mean that technically you could now have the option of doing the voron style tool changer??? So instead of running something like the ERCF/Tradrack/Box Turtle, you could have a few different tool heads similar to the XL? Or will this mod not allow for the mounting of the tool changer bracket? I have done zero research on this, it was just something that came to mind reading another thread where the Prusa XL was mentioned lol.
the core I sent you only works for the Dragonburner. I did make one for the Stealthburner also but they use very different mountings.
I went with the Dragon Burner because it was rated so highly by the online world. There is a toolhead swap for the Dragonburners but we suffer from the same issues that the Voron Trident people have. Our bed moves vs the toolhead gantry.
With that said there are some projects out there that aim to make the toolhead dock do the moving part.
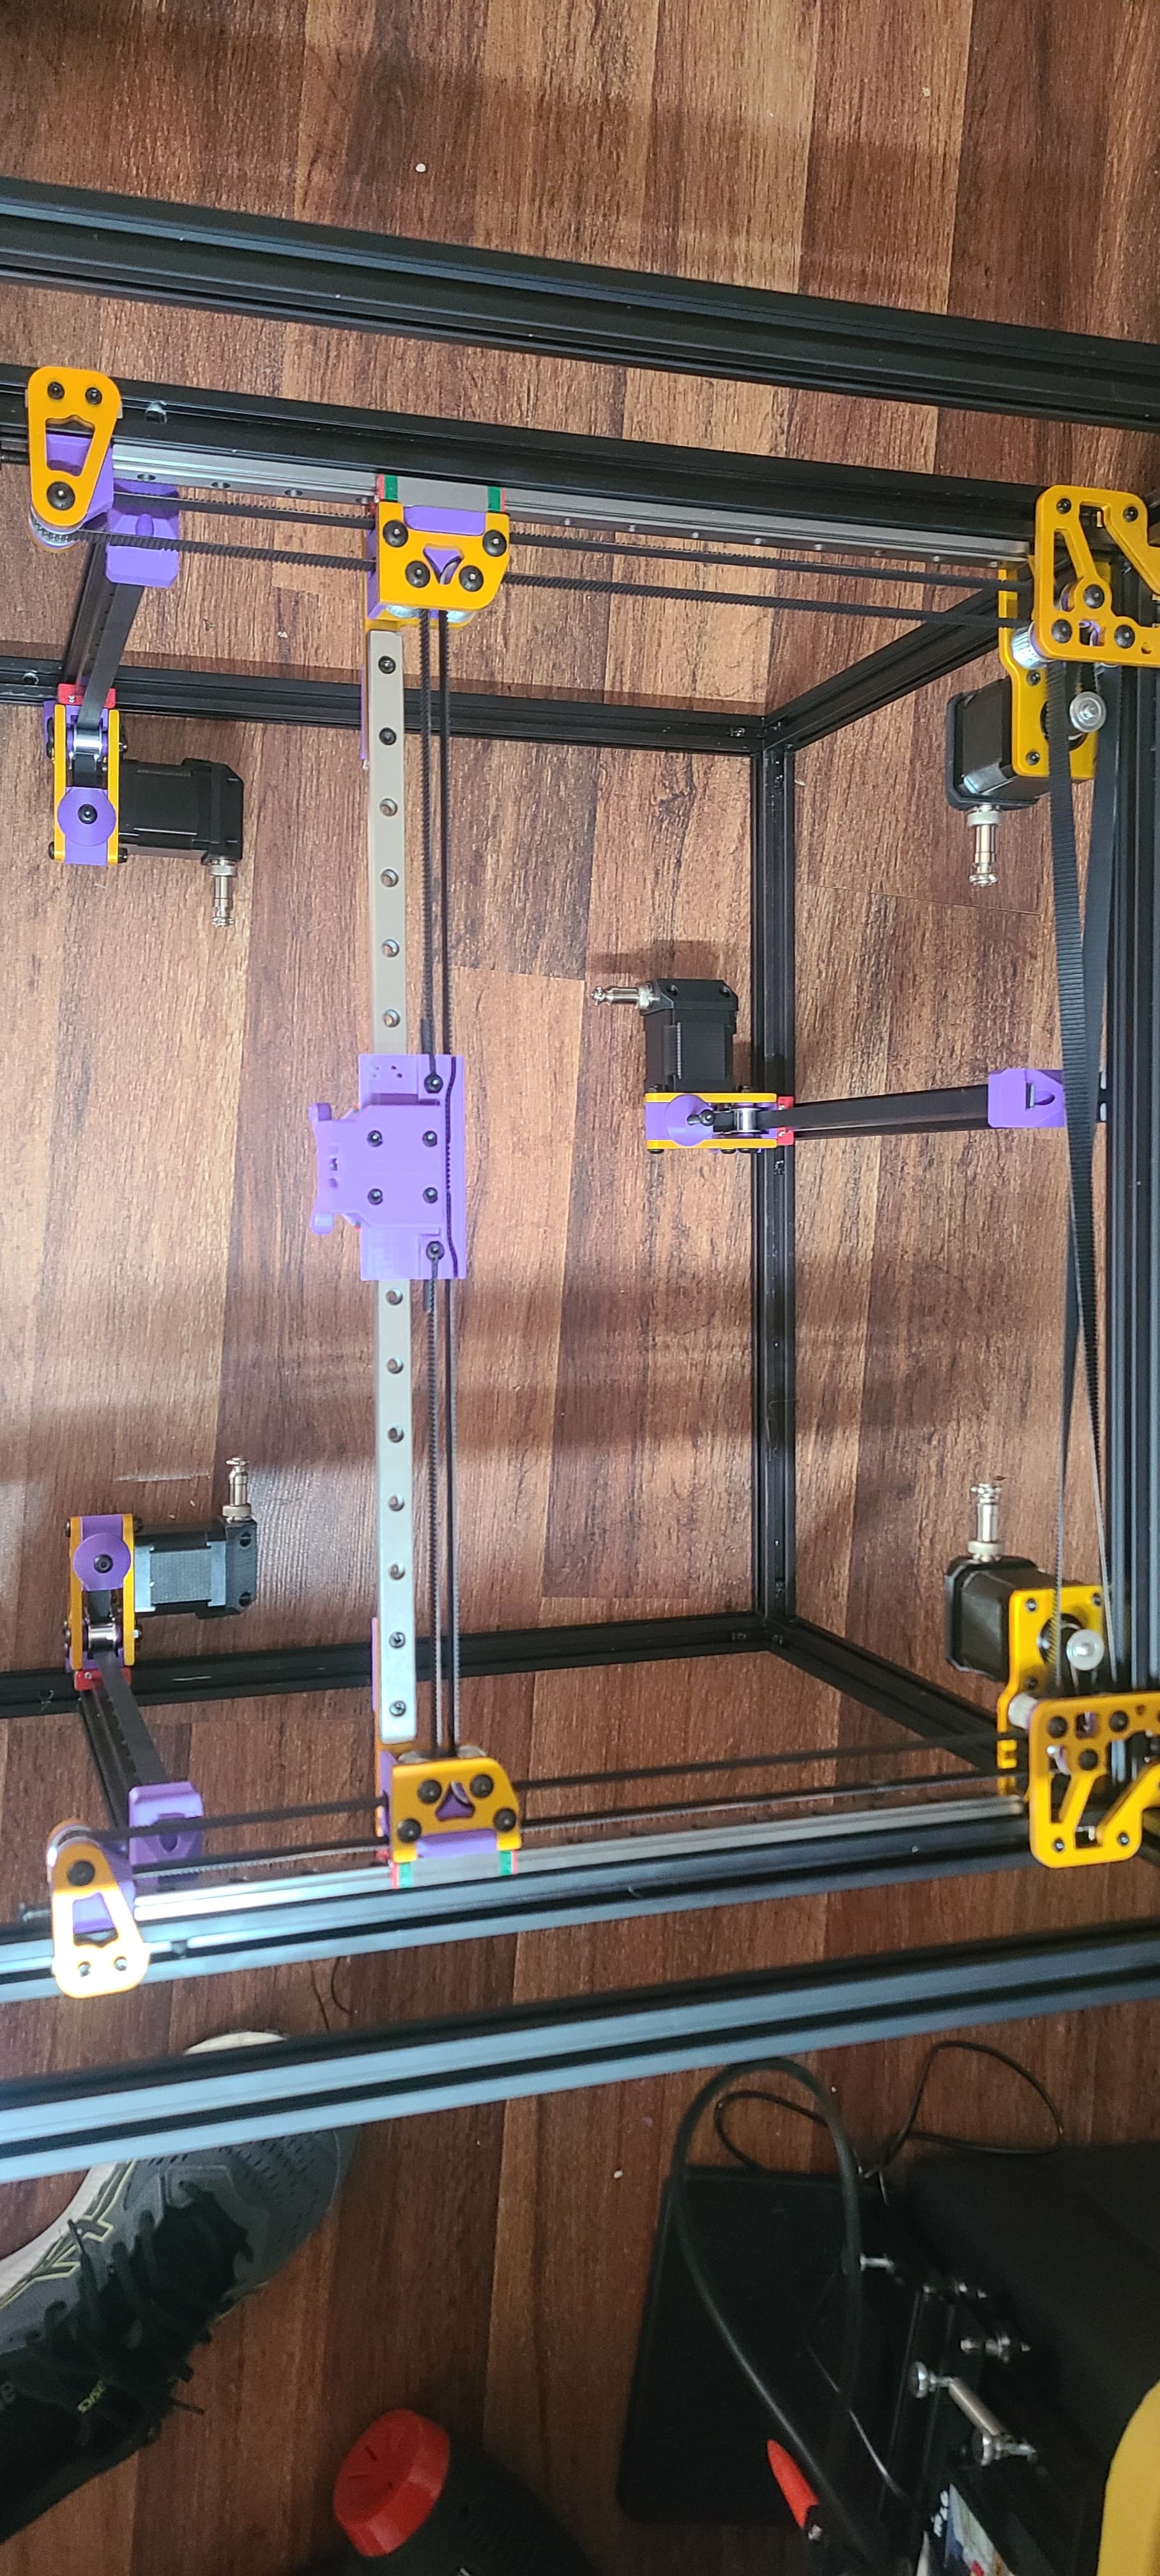
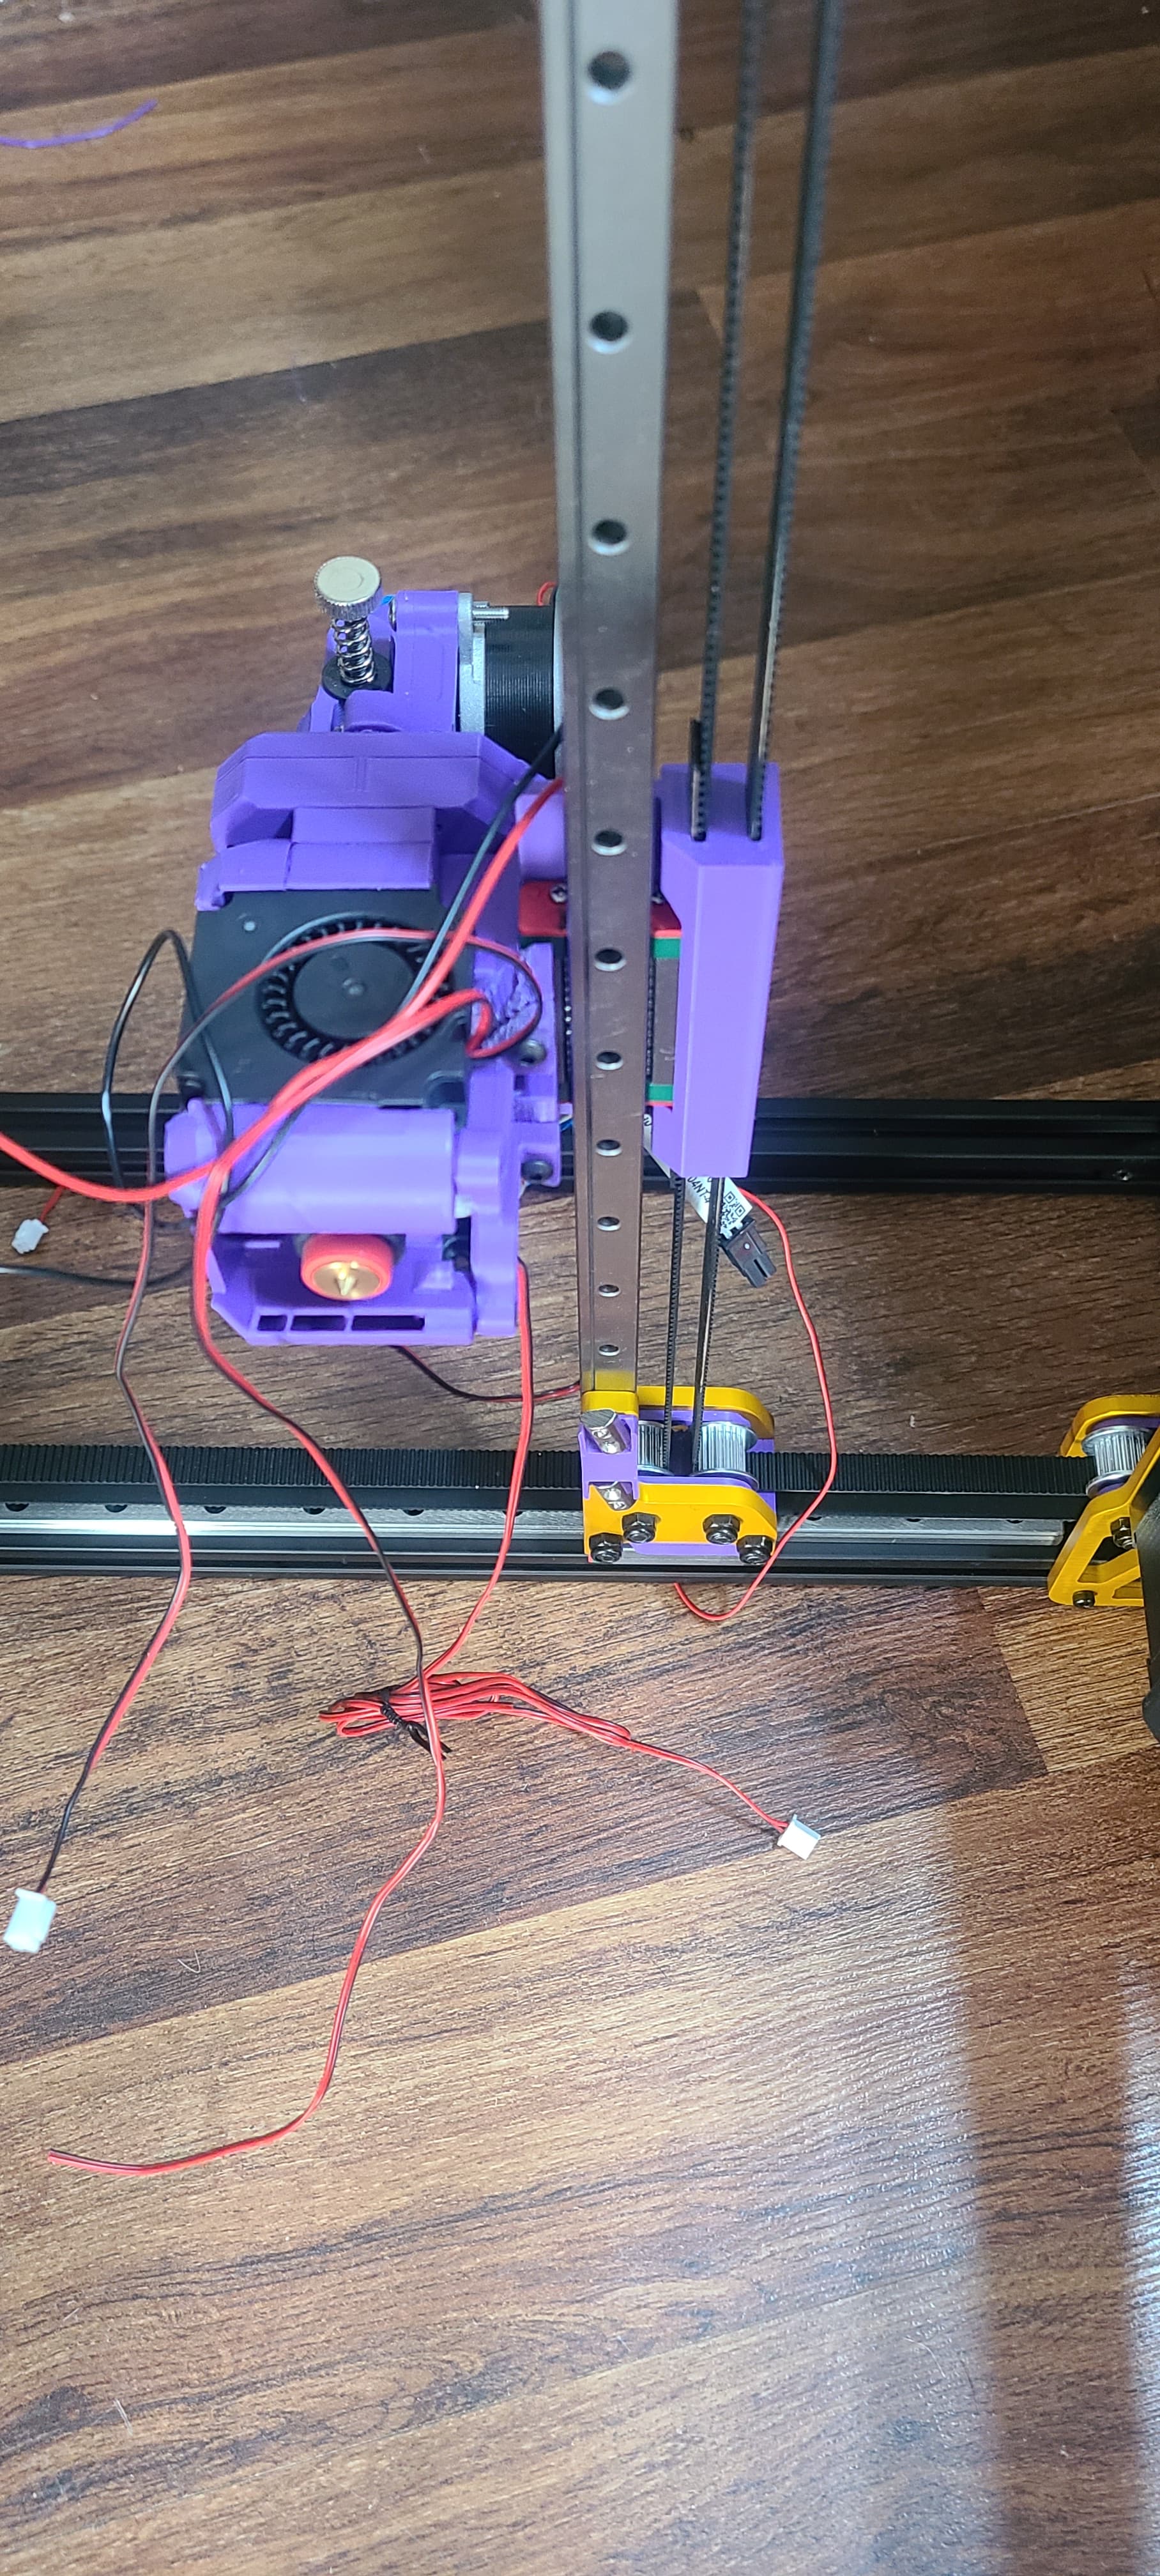
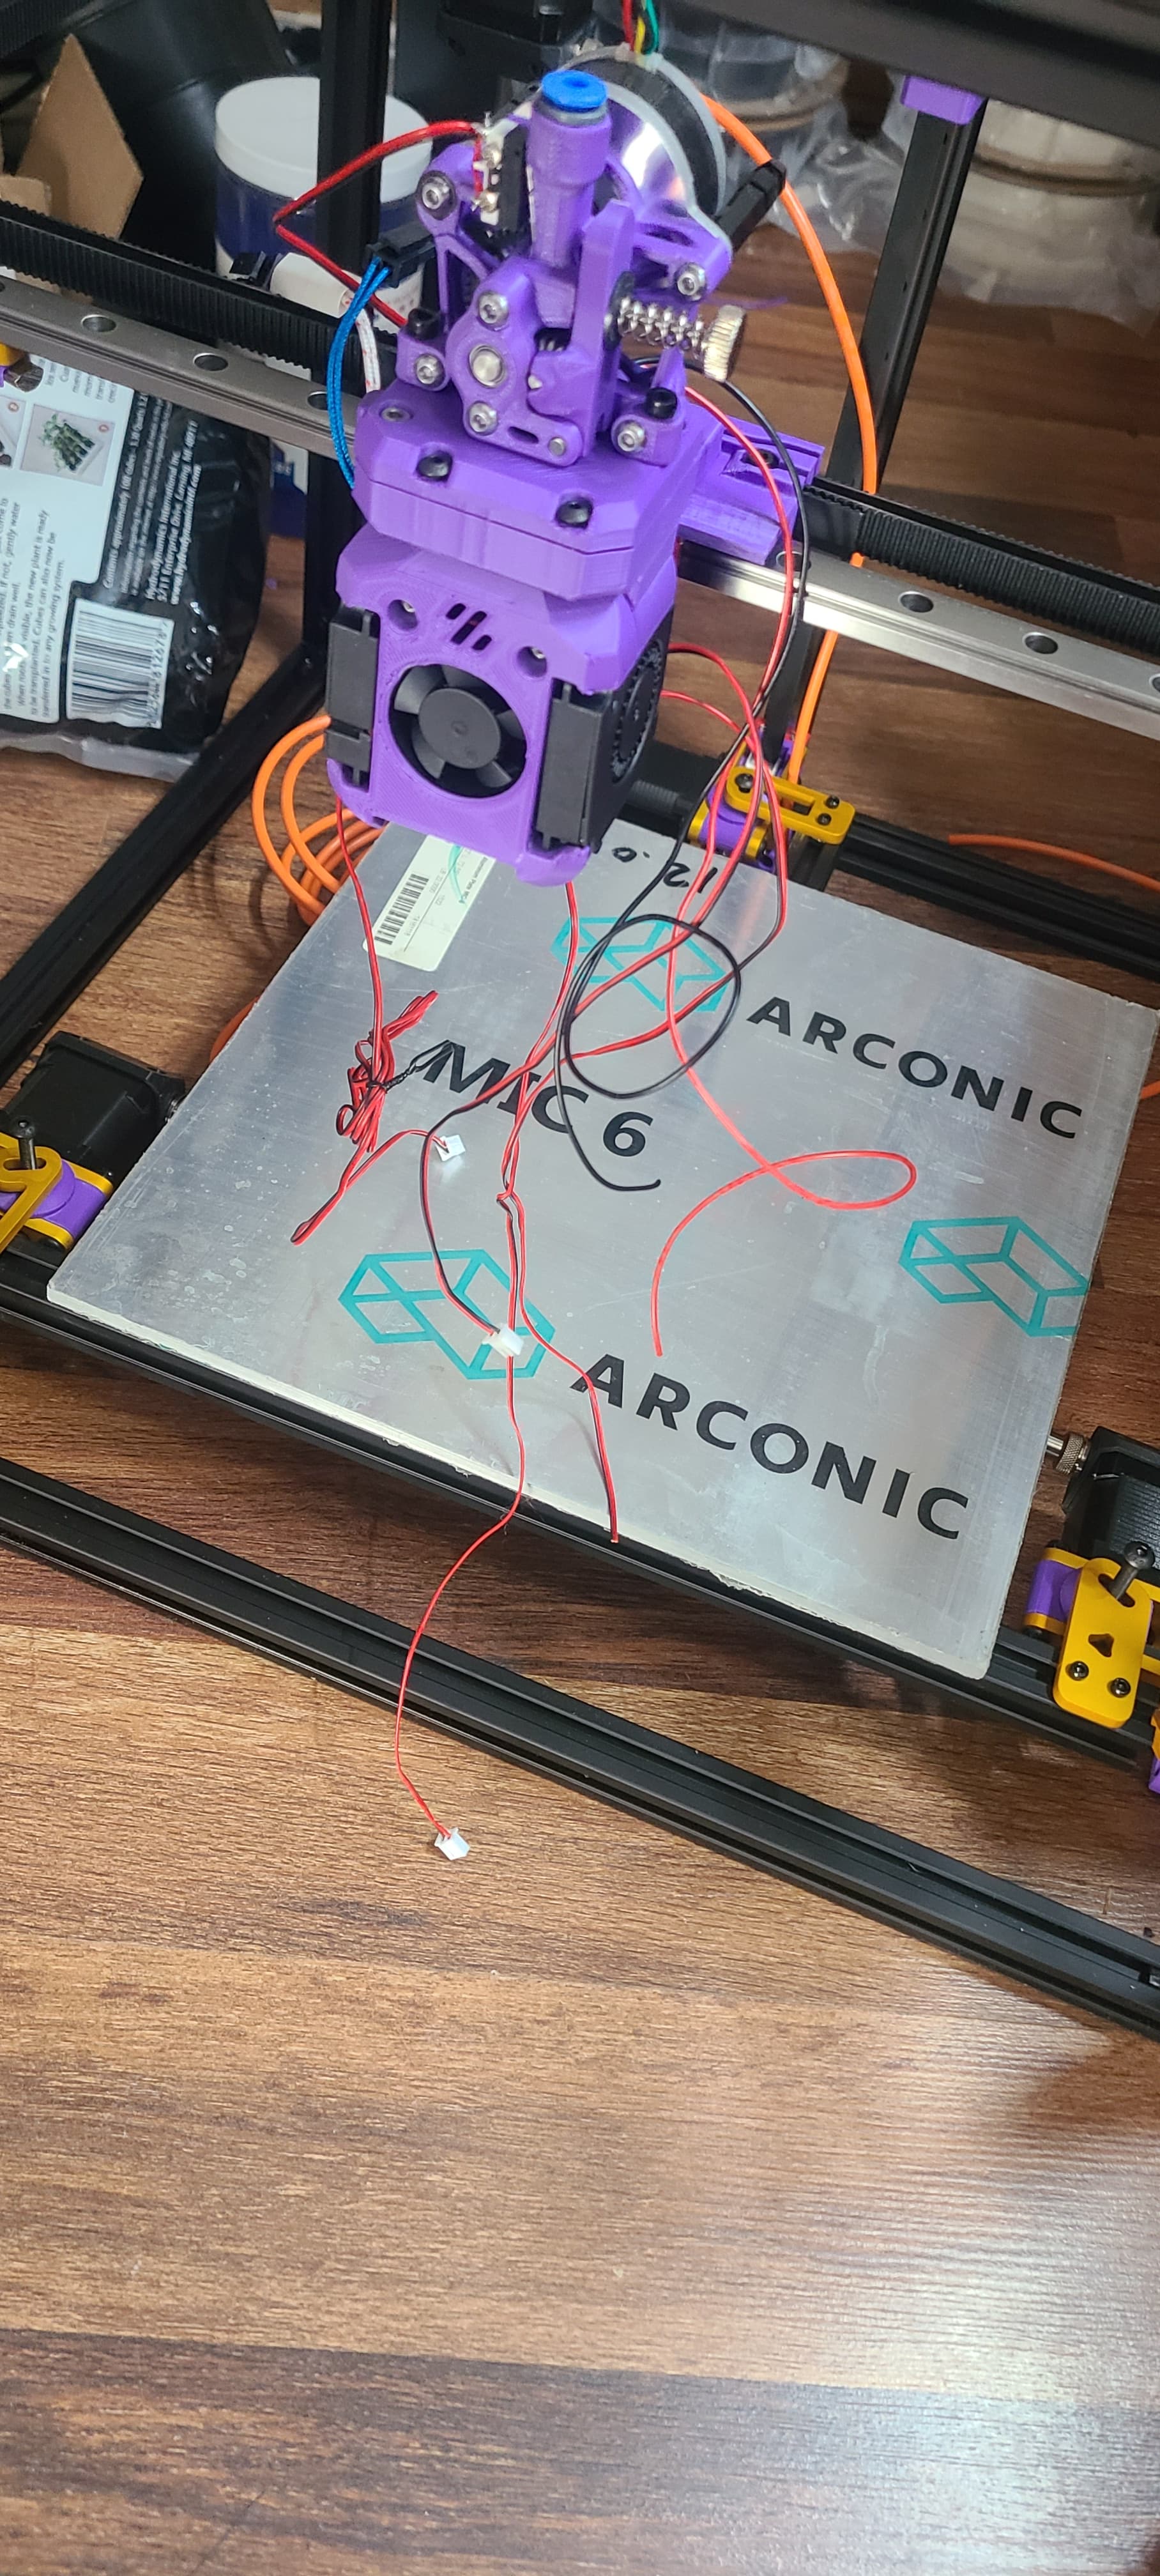
Motors installed and belted up. The order is a little different with the rear belt mod I and doing but if you start at the pass through and count that way it works just fine.
Apparently BIQU was holding my full order because they are OOS on the CB2 Heatsink. They shipped all but that the other day so that is where some of my hold up is.
Gotta love it. That’s why 99% of the time I buy anything BIQU/BTT I just get it from Amazon. That way its an easy return when something isn’t right which seems to happen quite often with them
The bed showed up yesterday. I ordered a 280X280 heat pad from Kenovo for it so waiting on it to get here. Pretty sure it is coming from China also. Little worried about my orders from there these days.
Put the bed support together. Discovered I don’t actually have the springs I need for the bed support mounts. Seems like every time I start working I find yet another thing to order from Amazon…