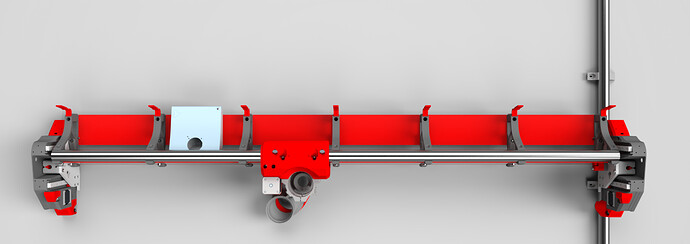
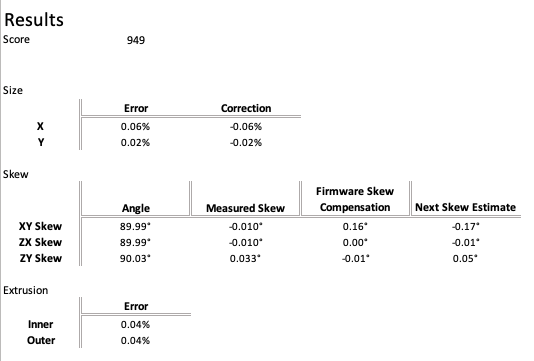
Pretty good. When bambu updates to allow for z skew edits that ZY can get tightened up a bit for sure.
Personally struggled during assembly when my printer was scoring 614 ![]() . Fit was much better after 3 CaliLantern prints 971
. Fit was much better after 3 CaliLantern prints 971 ![]() . Only saw small increments in subsequent test prints.
. Only saw small increments in subsequent test prints.
Sometimes worse score even as the algorithm hill climbs. Doing some maintenance and moving (despite being careful) my CoreXY 2020 extrusion frame printer threw off the precision to 950 even after doing some more test rounds ![]()
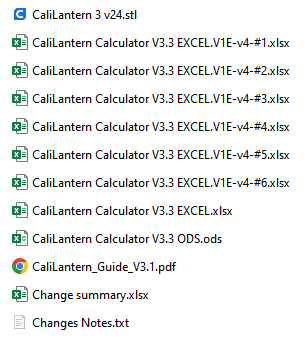
Would be nice if Vector3D had a discount code for V1E community…
I printed mine with about that good and it worked. I think the major issue I had was overextrusion.
Yes, you did.
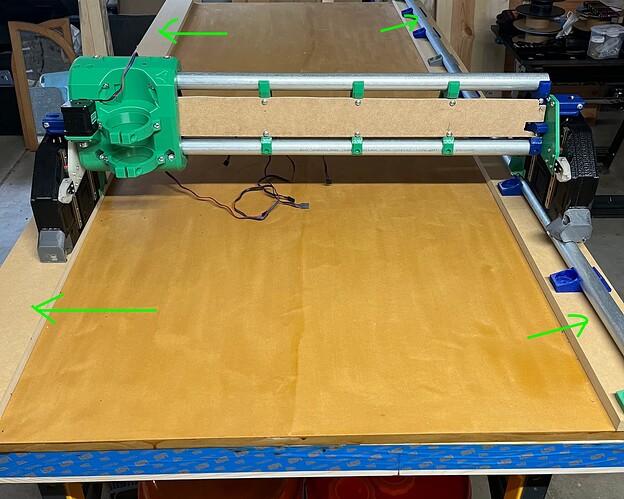
But, there are ways to get yourself some additional Z height for some jobs (like surfacing a slab).
Below is a picture of my really sketchy early beta version build, but note on my table that there are those stackable MDF strips on each side of the Y axis. I cut multiple sets of strips, and I can just stack them up to any (reasonable) height in 3/4" increments to add additional Z clearance.
You could also do similar with building a “U” shaped stack up going down into the table and remove spoil/base boards to gain height.
Also, just for fun and since it was in my raw build log picture sets, some things you can’t unsee and just have to have in your build brain… ![]()
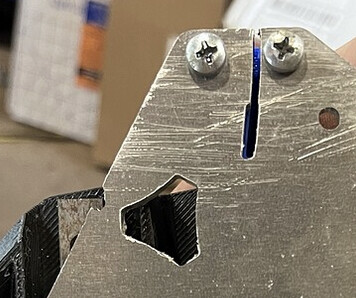

For people who are looking to dial in their printers in preparation for printing this whole thing, the ellis guide is hands down the best resource, it’s all the calibrations, in correct order, with separate instructions for specific printers and firmwares.
If you wanted to make it easier for Ryan you can fork the repo and send him a pull request.
Also respect the fact if you don’t know what those words mean haha
stick a fork in it, it’s done? haha as a semi developer, I’ll never understand a pull request when it should be push request!
asking the repo owner to “pull in my changes”
Gitlab calls it a merge request. Now what? lol
There is a bit of weird rounding code in it.
It tries to clamp and align on 0.5 increments I think, or something like that.
I think when I was playing with it I tried to have the XZ plates default to 6.35mm or something like that and it would always end up a little off.
I didn’t ask you about it then because it was still a ways from release
Please don’t all send in a million requests. Maybe wait a week or two since the docs are in progress. But here are the instructions V1 Engineering Documentation
Done. Thanks! I keep forgetting that’s even an option.
Thanks for the consult last evening. I tried the skew compensation adjustment, then I discovered it was incompatible with the macros I use. So after a few hours of repairing the printer. I’m finally able to print again. (Turns out it was a dumb mistake.)
So - all that work and the skew doesn’t look any better at all. Bummer - but it’s still good. I guess I should roll it back, for the purposes of skew anyway.
One random thing I have noticed over the past several months constantly refreshing the forum posts regarding the LR4 has been a not very many teasers/pictures of the back of the machine. I was mainly interested in seeing the back side to see how electronics were mounted/cabling to the motherboard would be handled. Maybe because most of the beta testers that released pictures did not have very clean wiring? (which I completely understand ![]() ). Anyways, it looks like there is a bunch of room for cable management/electronics mounting from that one picture, which is exciting!
). Anyways, it looks like there is a bunch of room for cable management/electronics mounting from that one picture, which is exciting!
Yep, this. My observation is that enclosure design was designed, and refined, late in the cycle. Most of the time/energy went into maximizing rigidity, accuracy, build, operation and service experience. Personally ziptied wiring to outside of my Beam so it could be quickly modded/upgraded without having to continuously redo wiring. Some Beta testers came up with some really nice setups…
Several Beta participant’s used existing controllers they had already, but most used JackPot. Expecting a gallery of LR4 builds to turn up on the forum shortly, with examples of the LR4 Jackpot enclosure/wiring, and, additional ideas that’ll help people planning their builds.
@jamiek came up with, and shared a bright idea, @srcnet enlightened me too, that led me to try out something neat. Am itching to share pics/videos once I’m clear we’re cleared to do so.
At one point in the Beta process, there was a set of “covers” built by one or more of the testers to hide the wiring inside the gantry, This was only ever done as a mod, and was done long before Ryan started working on the controller case design. It won’t be part of the official release package, but I would hazard a guess that a post-release mod will be available from some creative person within a few days/weeks.
Nice, Thank so much for this lovely project.
I will have a go at the LR4.
For a EU build the XZ plates, should i use 6mm or 8mm aluminium ? Those are the most common thicknesses close to 6.35mm
Also, If i have not too much space in my workshop and have to put my LR4 the long side against a wall. Do i put the side with the rail to the wall or the side with the belt ? Any recommendations ? What works best ?
It doesn’t really matter but with 6mm you might need small washers so the screws get all the way into the blocks of the linear rails, if you use 8mm you either need to recess the holes or buy 16x 12mm M3 screws and 6 35mm M5. Also, the footprint differs by -0.7 or +3.3mm respectively.
To sum it up: for a beginner I’d recommend the washers and the 6mm plates. ![]()
Rail side to the wall.
I like that idea and probably going to steal it from you. Simple, easy and cheap.
