Star Wars Coasters

Best friend is turning 40 and is a big nerd, he definitely needs some Star Wars coasters.

Chestnut wood with red heart, purple heart and wenge inlays.


Can you guess which one was replacement I eyeballed? :joy:

He’s getting it nevertheless. For the unwanted guests… :yum:

Logos Coaster Starwars.dxf (302.0 KB)

25 Likes

Looks top notch!

Anyone remember the game ā€œTie fighterā€ where you got a mark on your arm? (upon completing some mission)

2 Likes

Hey, I am a big nerd, and next month is my bday, can I send you my address, bahahahaha

I always, since I made my mpcnc, wanted to do infills, (epoxy, etc) still have not done it.

2 Likes

Amazing! Super nice!

1 Like

Comparing this to your lego piece? Is inlays or epoxi fastest?

Epoxy is way easier than wood! I have done a few epoxy ones, but have yet to try a wood one. One day…

@Tokoloshe it looks amazing as always! Keep it up!

3 Likes

Epoxy is easier and quicker I guess.

1 Like

Yeah, but it’s easy, right? And anyone can do it.

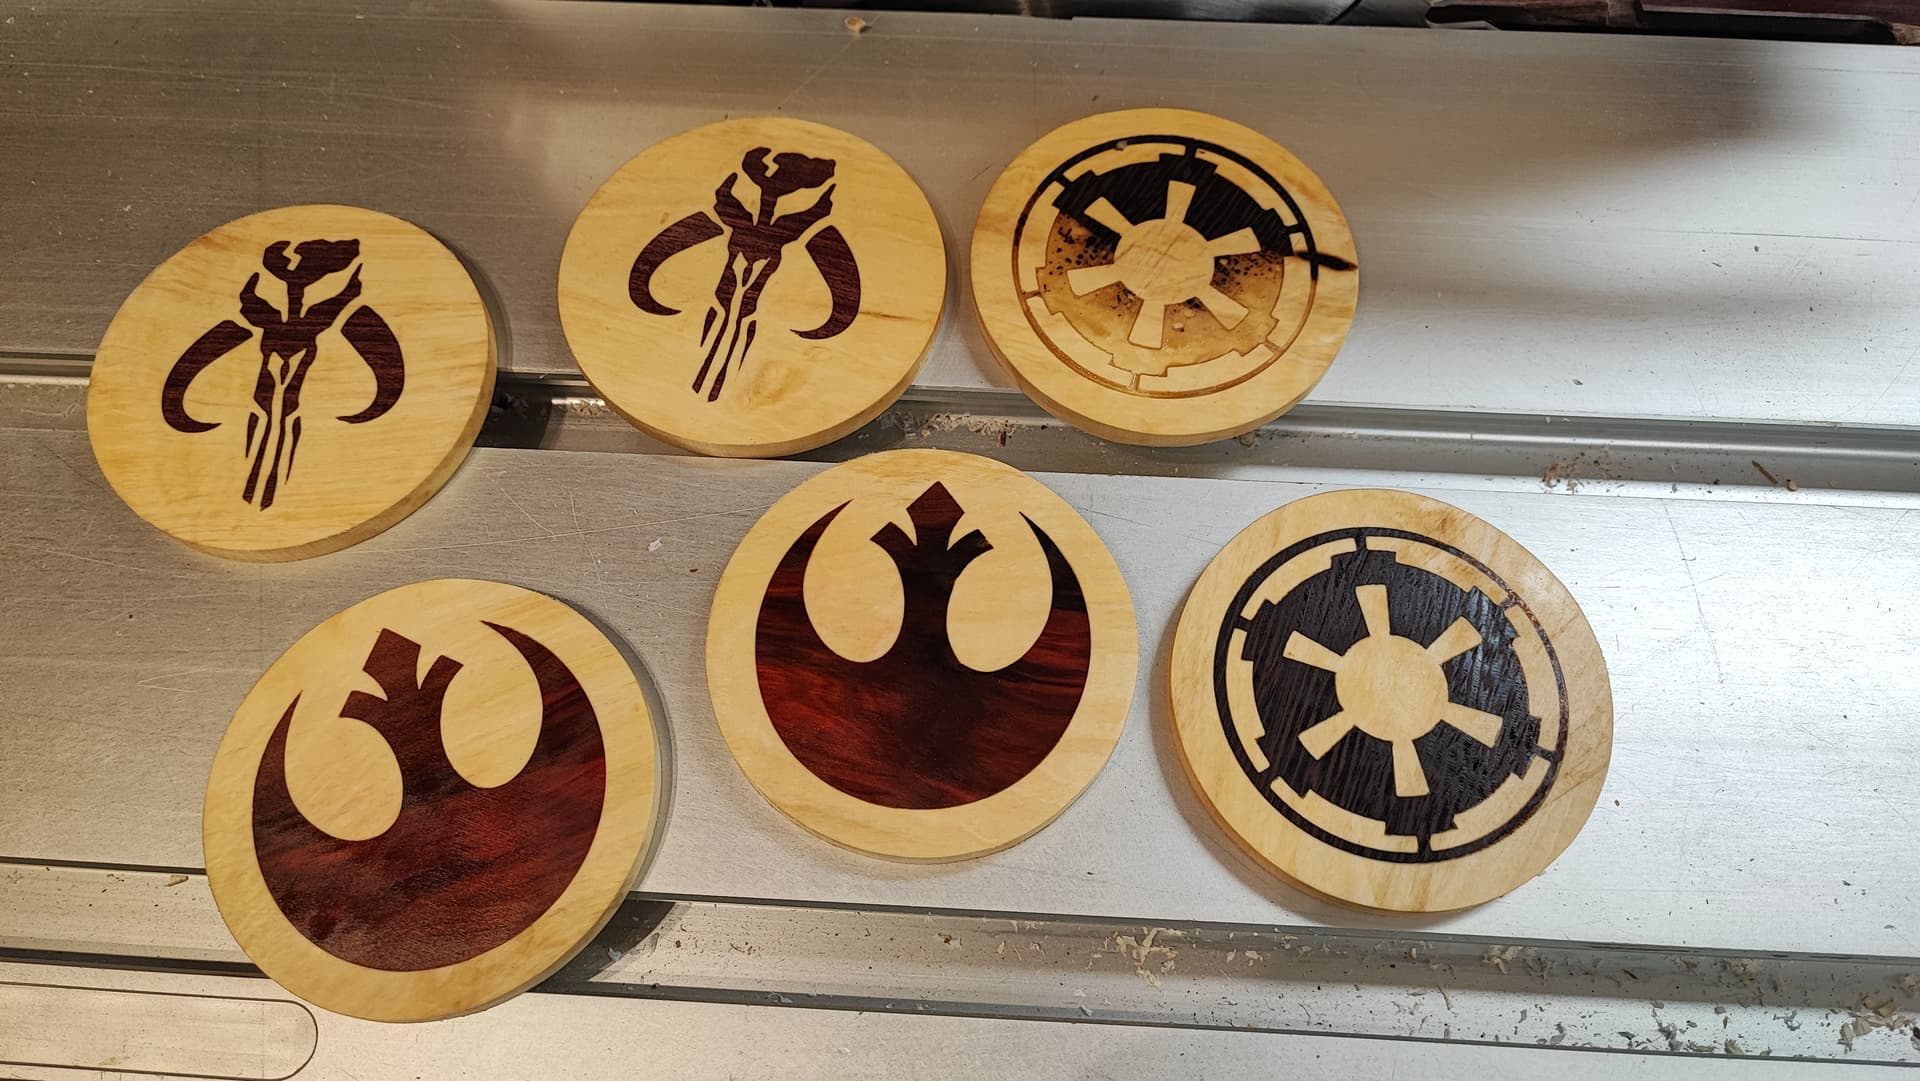
I’ve done probably 300 carves and epoxy fills since I set up the LR3. It’s fun, looks good, relatively easy.

But I find it lacks the ā€œoooooohā€ factor that a well done wood inlay gives. When you tell someoneā€ it’s wood in wood, you can see them be impressed, and wonder how it’s done. At least, that’s how I viewed it when I first saw them.

Epoxy is just hard paint, at the end of the day.

3 Likes

These looks flawless, by the way. I think you have it dialed in

2 Likes

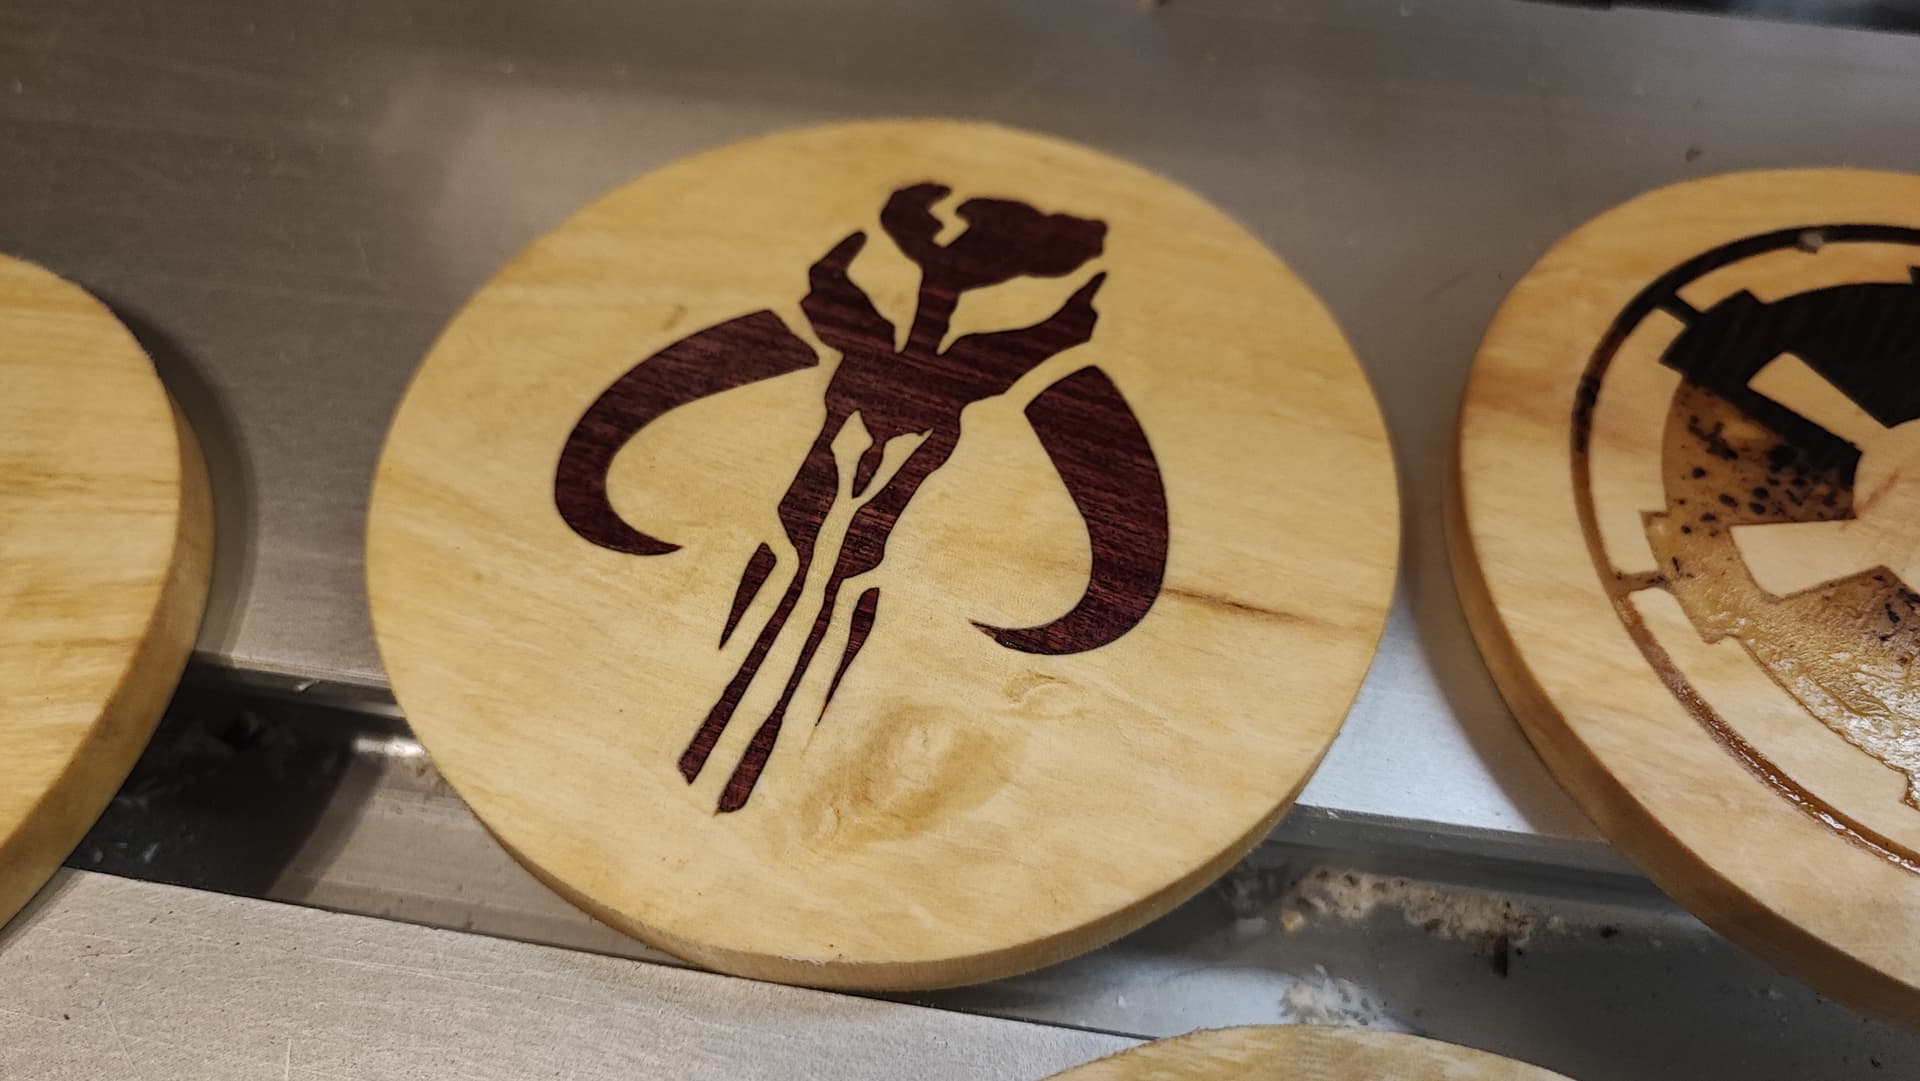
These are awesome and inspire me to ask a clarifying question. Did you use a V-bit to create the mating design? Some of the corners are so sharp I’m trying to understand the technique.

My bandsaw isn’t really up to resawing at the moment, so perhaps that a project for the weekend.

1 Like

Likewise. Love the product, would like to know how to make my own designs using this technique.

Generally it works like this:

Just don’t do three toolpaths but one.

The most important parts (example):
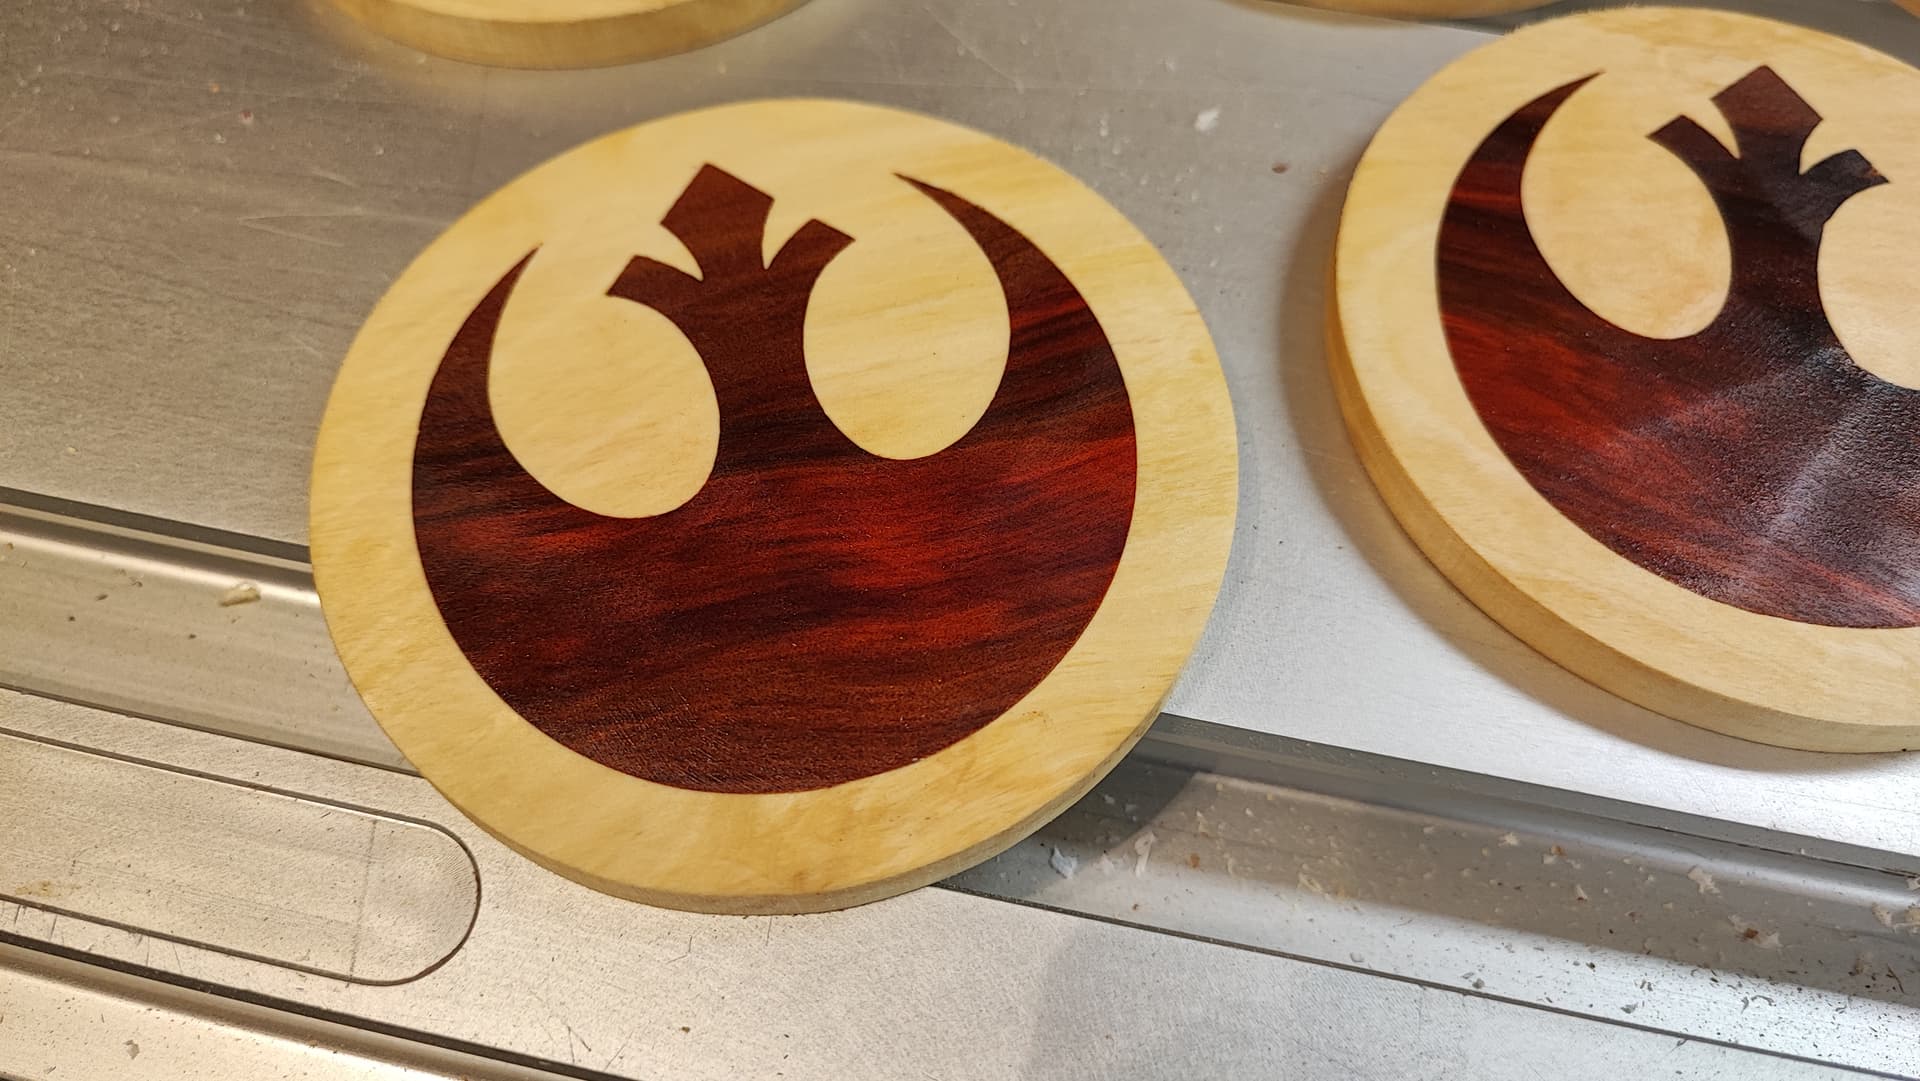
Mirror the motive to create the plug, give it a border.
Depth of the cut of the ā€œholeā€: 2mm
Depth of the cut of the inlay: 1.5mm (that’s what is not going to be in the wood) and starting depth 1.8mm (that’s what’s going to be in the wood, 0.2mm for glue).
Clear with a 3 or 6mm endmill depending on size (3mm is often faster because it can reach more corners), then swap to a 30, 60 or 10.4° v-bit.
Use completely even wood or it will look like the one imperial coaster, use a touchplate.

5 Likes

Added the DXF for anyone that wants to cut some him/herself to the first post.

7 Likes

When I get back in a few weeks, I want to give it a try. I have some upcoming projects that could use some inlays…

this part

is confusing me just reading it… I guess I need to go back and rewatch all the videos I watched last year and never used…

1 Like

Or maybe this…

You know…if you’re bored… :grin:

1 Like

I’m so far behind I don’t have time to be bored :rofl:

1 Like

Not from you… from the guy who knows what he’s doing :slight_smile:

1 Like

What’s a good finish to use on coasters? I just don’t want a ring from condensation.

1 Like

Just rewatched this one and it helped refresh my memory a bit…

I guess I’ll just have to actually do it for it to stick in my head lol

2 Likes

Ahh I follow you now. My bad :man_facepalming:

1 Like