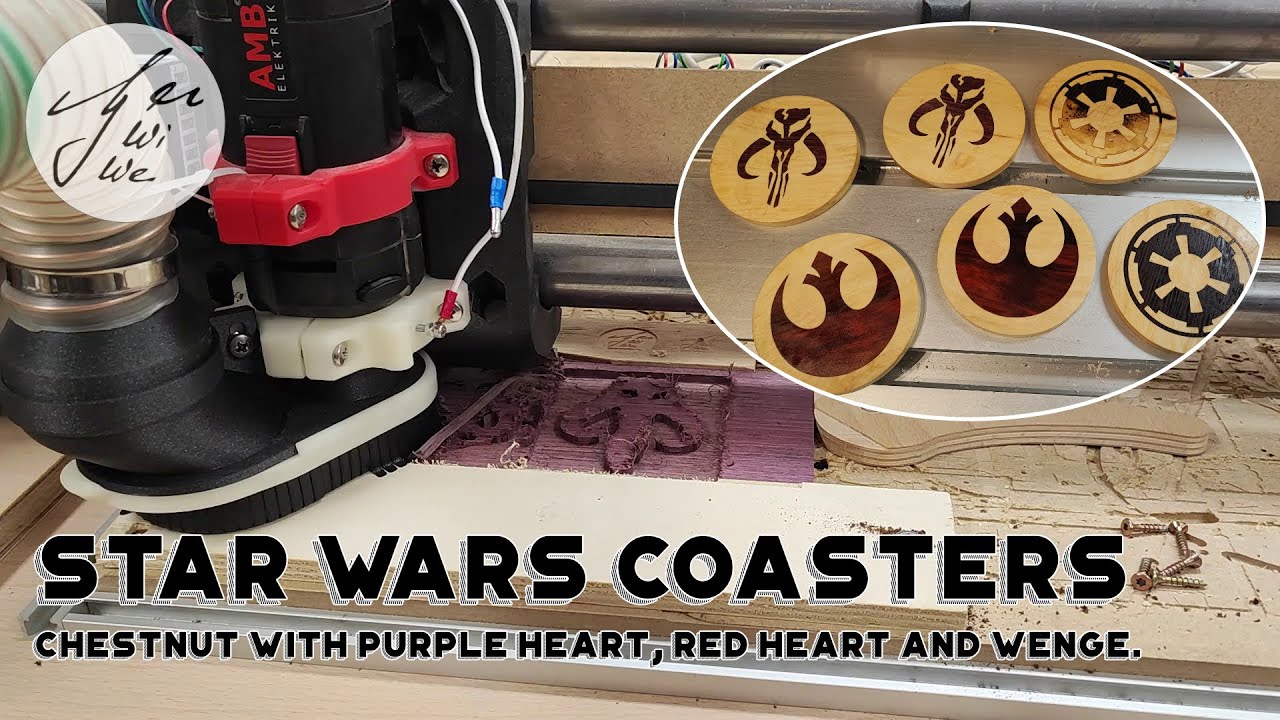
I’ve seen that one too. The coupled with the way @Tokoloshe does the settings in Estlcam it should work out well!
It would be nice to see how you set it up in EstlCAM 12 for this though.
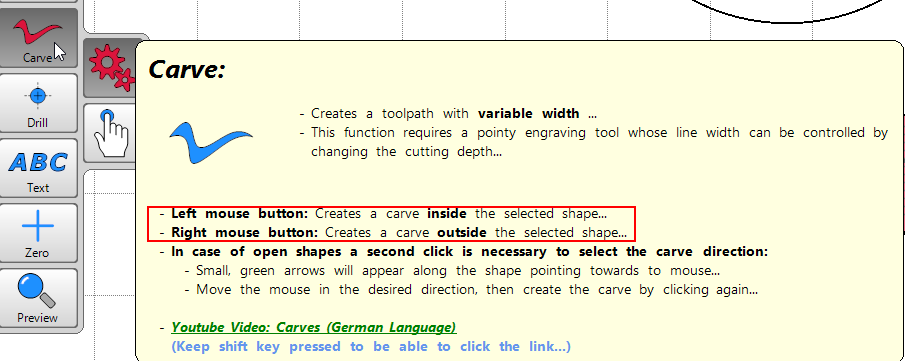
The Carve interface is a bit different, I can’t seem to get it to do what I want when trying to emulate that video with your coaster file.
Edit:
Ahh… figured it out…
If you made a hole and a plug both with 2mm depth, inside the hole and outside the plug, it just would not fit, because they’d be the same size where they meet. If you are setting the starting depth to 1.8mm below zero, you are basically taking away more material (because the cut starts 1.8mm deeper), making the plug undersized, and therefore fit.
The only difference for the deep inlays is that you do several programs because 5.5mm starting depth is too much for a 3mm endmill.
yeah, I understand the premise of getting the inlay to fit right, it’s making sure I have EstlCAM set up correctly that I’m just not sure of the exact steps.
In my mind, I want the plug to be slightly shallower than the hole, so it doesn’t bottom out too soon, but also longer so it’s easy to separate…
So I really want the part of the plug that matches the size of the outer part of the hole to be at a shallower depth than the hole itself, to make sure it can push in and get a tight fit…
So I just need to get it to where I know how to do it in the software easily without messing it up I guess…
I’ll probably just need to do a few cheap pine on pine inlays first and make sure I know what I’m doing lol
I’ll order some bits over the next day or two so they are here when I get back
Yeah, do a few tests first.
The starting depth is the depth of the part that is set in the wood later, the cut depth is what is going to be above the wood to separate it. It’s pretty non-self-explanatory and really confusing. ![]()
ahh… yeah… now that you say it like that, it actually makes more sense lol…
Just have to think about it in reverse ![]()
Laquer is toxic, but it is used in most commercial furniture because it is very effective and long lasting. A rattle can used outdoors with a face mask is probably the best/effort finish on coasters.
Oil based poly needs mineral spirits to clean up and has a yellow tint, but is also very durable. Wipe on poly is a diluted version that needs more coats, but is easier to apply.
Water based pily doesn’t go yellow, and dries waterproof. You need to take care (at least with the final coat) to keep it smooth and sand between coats with high grit sandpaper.
Epoxy is a whole other ballgame. Super waterproof (you could take them swimming). It will yellow over time and isn’t UV protected.
IMHO, any weaker finish like shellac, linseed oil or wax will not be strong enough or require more maintenance. At that point, I might consider a coaster for your coasters.
I just soaked them in white mineral oil. Time will tell whether that works out.
It is, however also sensitive to heat. Putting a hot cup of coffee or tea on a laquered coaster may result in discolouration, hazing, or even bubbling which would be a shame.
I was thinking of soaking in cutting board oil!!
Yeah, that’s also white mineral oil most of the time. ![]()
I was thinking a 2-part automotive clear would work well. You’d want to spray it outdoors and wear a mask. You can get it in satin or matte if you don’t want the high gloss.
Cost might be a factor.
Thanks for posting the make, as well as the tutorial.
I think I understand the geometry now, but wow, I don’t know that I would have ever worked it out without guidance.
So - I’m trying to make these coasters. I started with the rebel one. I’ve been cutting MDF to eliminate grain, bit deflection, and other things that will come up when I start using hardwood.
However, while the inlay is close I’ve seen two problems. The first is that it doesn’t sit far enough into the piece. For this I adjusted the starting depth to 2.0 mm and 2.2 mm, but I have a second issue.
In the “neck” portion, I can’t seem to get a clean fit. (It teeters a bit over this section when I’m trying to fit them together.) I can clamp it together enough to get the “head and wingtips” in, and the body in, but the neck is binding. This has generally left me with a little gap around the “body”.
I bought some 30 deg bits, since I was using Ryan’s V-bit from the shop. Hoping that the steeper walls will fit a little easier.
Do you have any standard things you try when smaller detail areas of the inlay aren’t fitting quite right? Increase starting depth? Different type of bit? Anything specific on the machine you check?
Thanks for any troubleshooting ideas.
Increasing the starting depth does the opposite of what you want to achieve. Let’s say your hole is 2mm deep, then the starting depth (=depth of the inlay) can be a maximum of 2mm! I’d recommend 1.8mm so you have a little room for glue. If you set it to 2.2mm it physically can’t fit any more. If you want to be sure it fits, decrease the starting depth to 1.6mm for the trial runs.
To sum it up: Starting depth = depth of the hole - 0.2 for glue (for deeper, 6mm inlays I leave more room for glue). The cutting depth only determines the height of the portion that does not go into the hole and is there to help you cut it with a bandsaw later or plane it down etc.
Also, sometimes the endmills do not have the degree that they say they have. If it still does not work, try setting your endmill to 29°. Then the whole and the inlay are a little smaller and the gaps might vanish that you have after gluing. Try that only after having made the adjustments above, please. ![]()
Thanks. It’s not bottoming-out. The mating surface of the inlay won’t fit the hole in that one region. I did indeed wonder if the endmill angle might be slightly different, so I’ll check that! I also did create a deeper hole as well. I didn’t think that really affected fit at the top surface, but indeed I didn’t want to end up without room for glue.
As I understand the geometry, I need to bottom/glue/hidden surface of the inlay to be slightly smaller, so I increase the starting depth right? (And account for the depth on the hole in the coaster?
Also - for the record - I haven’t planed my last attempt, which does feel a little better. And, I’ve added a finishing pass (which I would use for hardwood anyway) to ensure my bit isn’t just deflecting in certain areas.
(I’ve got other plans, like ensuring my Z is re-leveled, and potentially planing the coaster and inlay before starting the carve to try and take small Z-variations out of the equations.)
That sounds wrong. Can you give numbers what you want to do? Like, what are the values for hole, inlay starting depth, inlay cut depth?
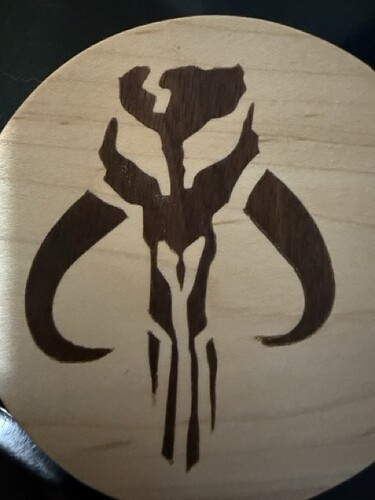
Well - I got my first inlay to look good! So that’s a win. Then I promptly executed an off-center parting cut and ended up with scrap. ![]()
But the inlay worked and it looks great. Thanks so much for the tutorial!
Show us! ![]()
I think it looks far better than I expected. I was worried about those really small areas, but they ended up fitting just fine. I do think I need to slow the cutter down a bit to improve the cut.
Out of curiosity, how do folks handle the parting cuts after an item is glued and processed. In this case, I think the zero I set in Estlcam was correct, but I think my tool change code put the tool at Y +10. Then when I started (I didn’t catch it) the parting cut was off by that 10 mm.
So - I could mark the center of the circle and have a parting cut that I could target with a v-bit on the center of the item, then switch.
Or - I could do it based on the zero in Estlcam, and just trust I can realign everything pretty closely.


