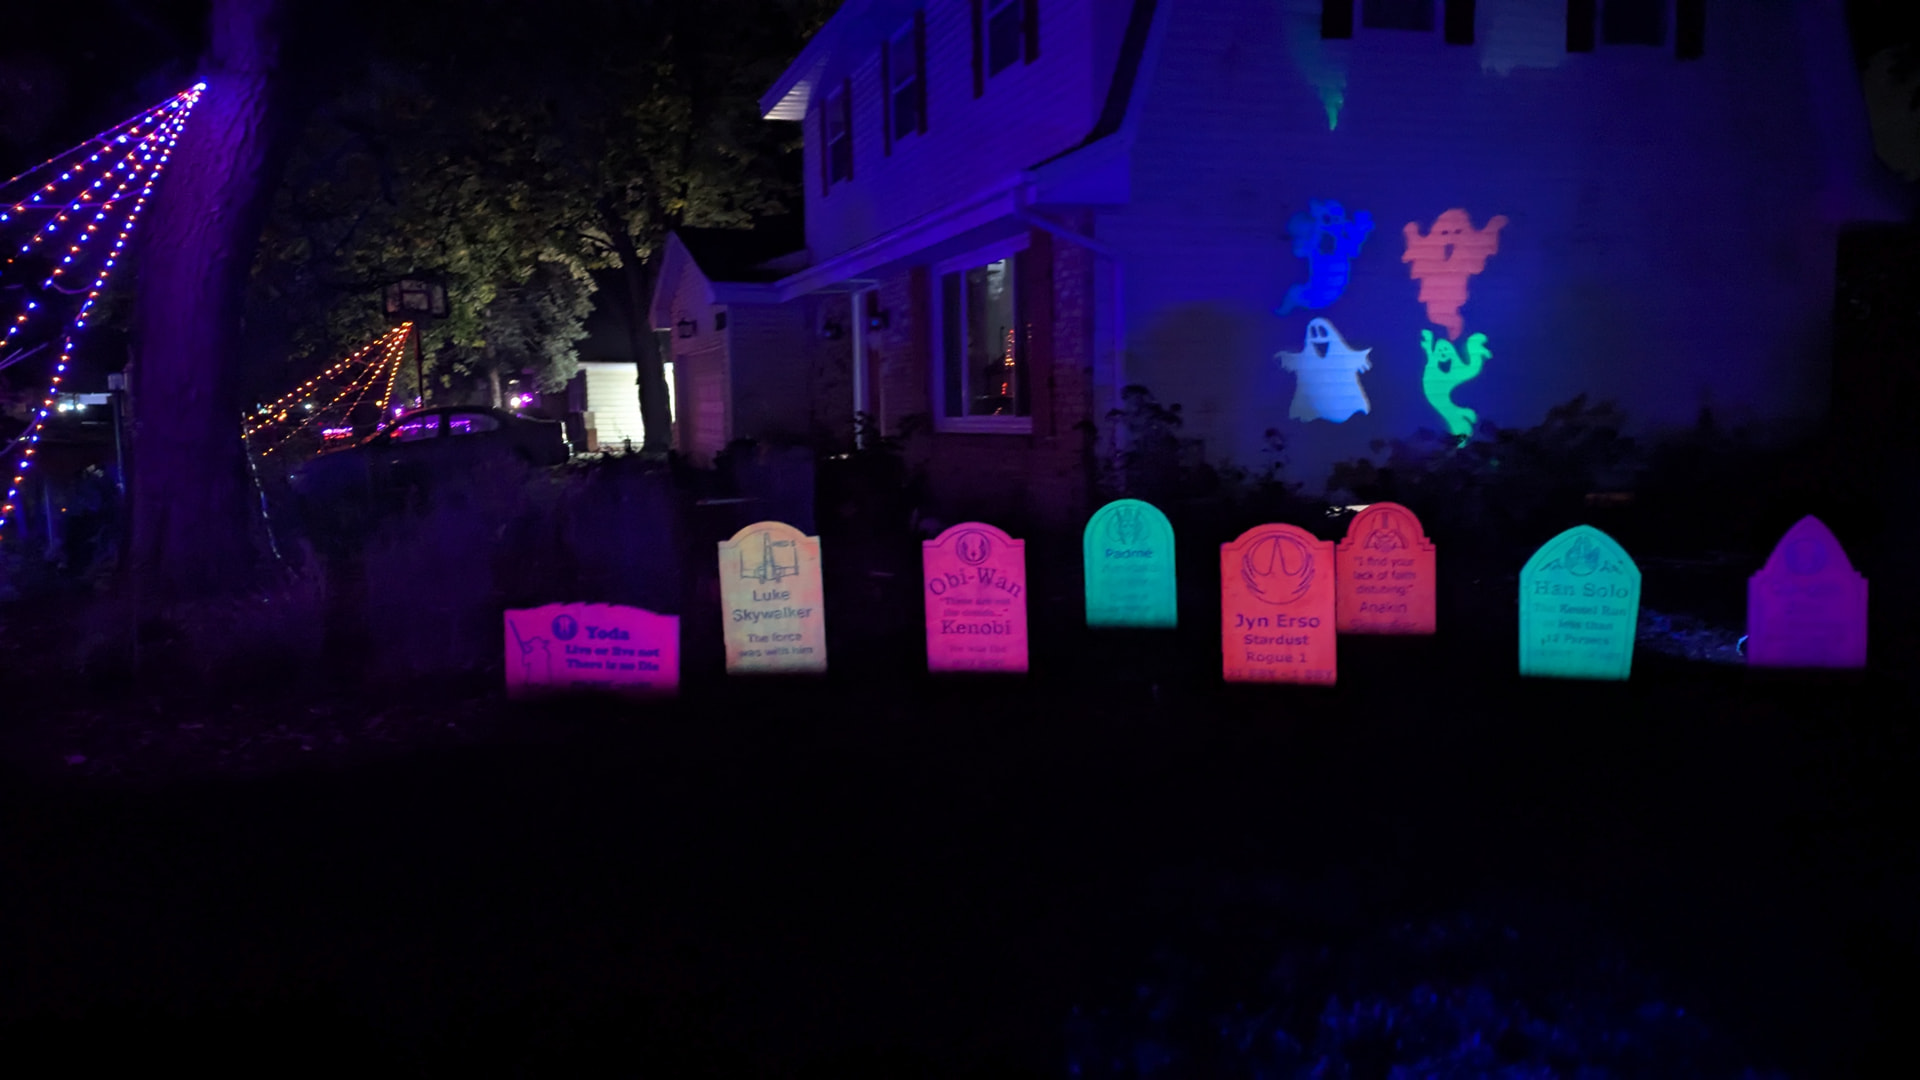
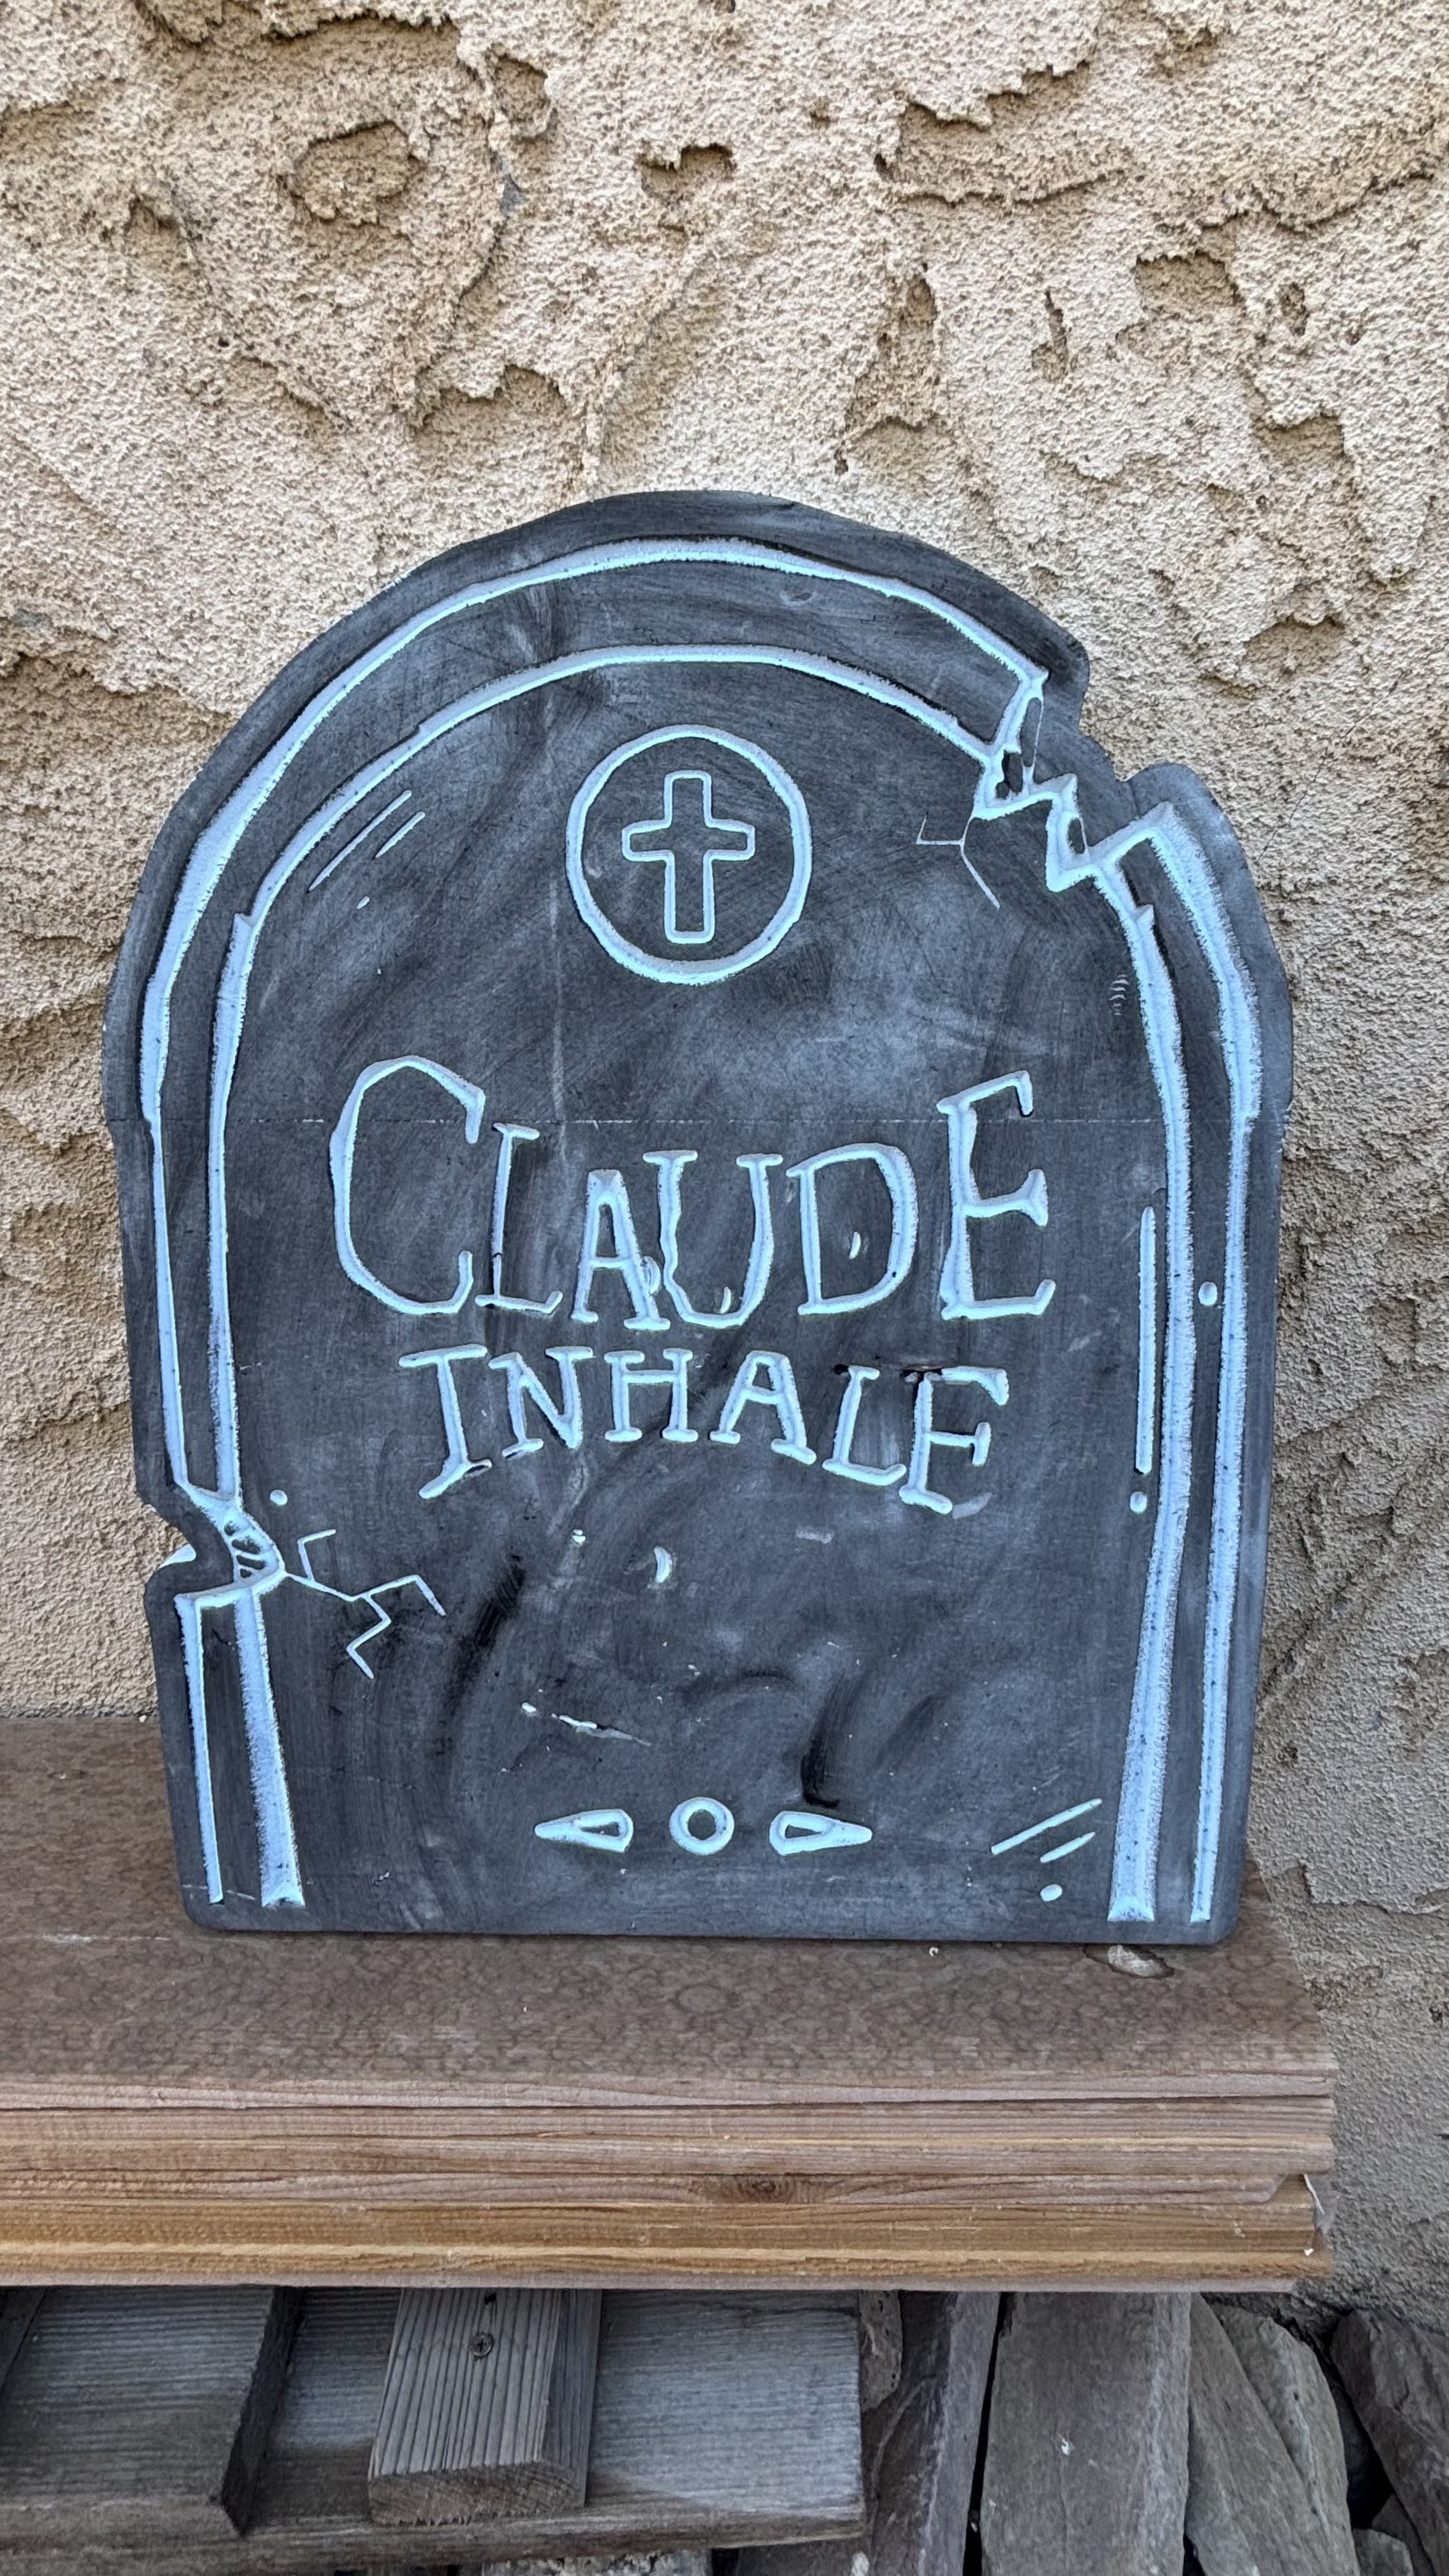
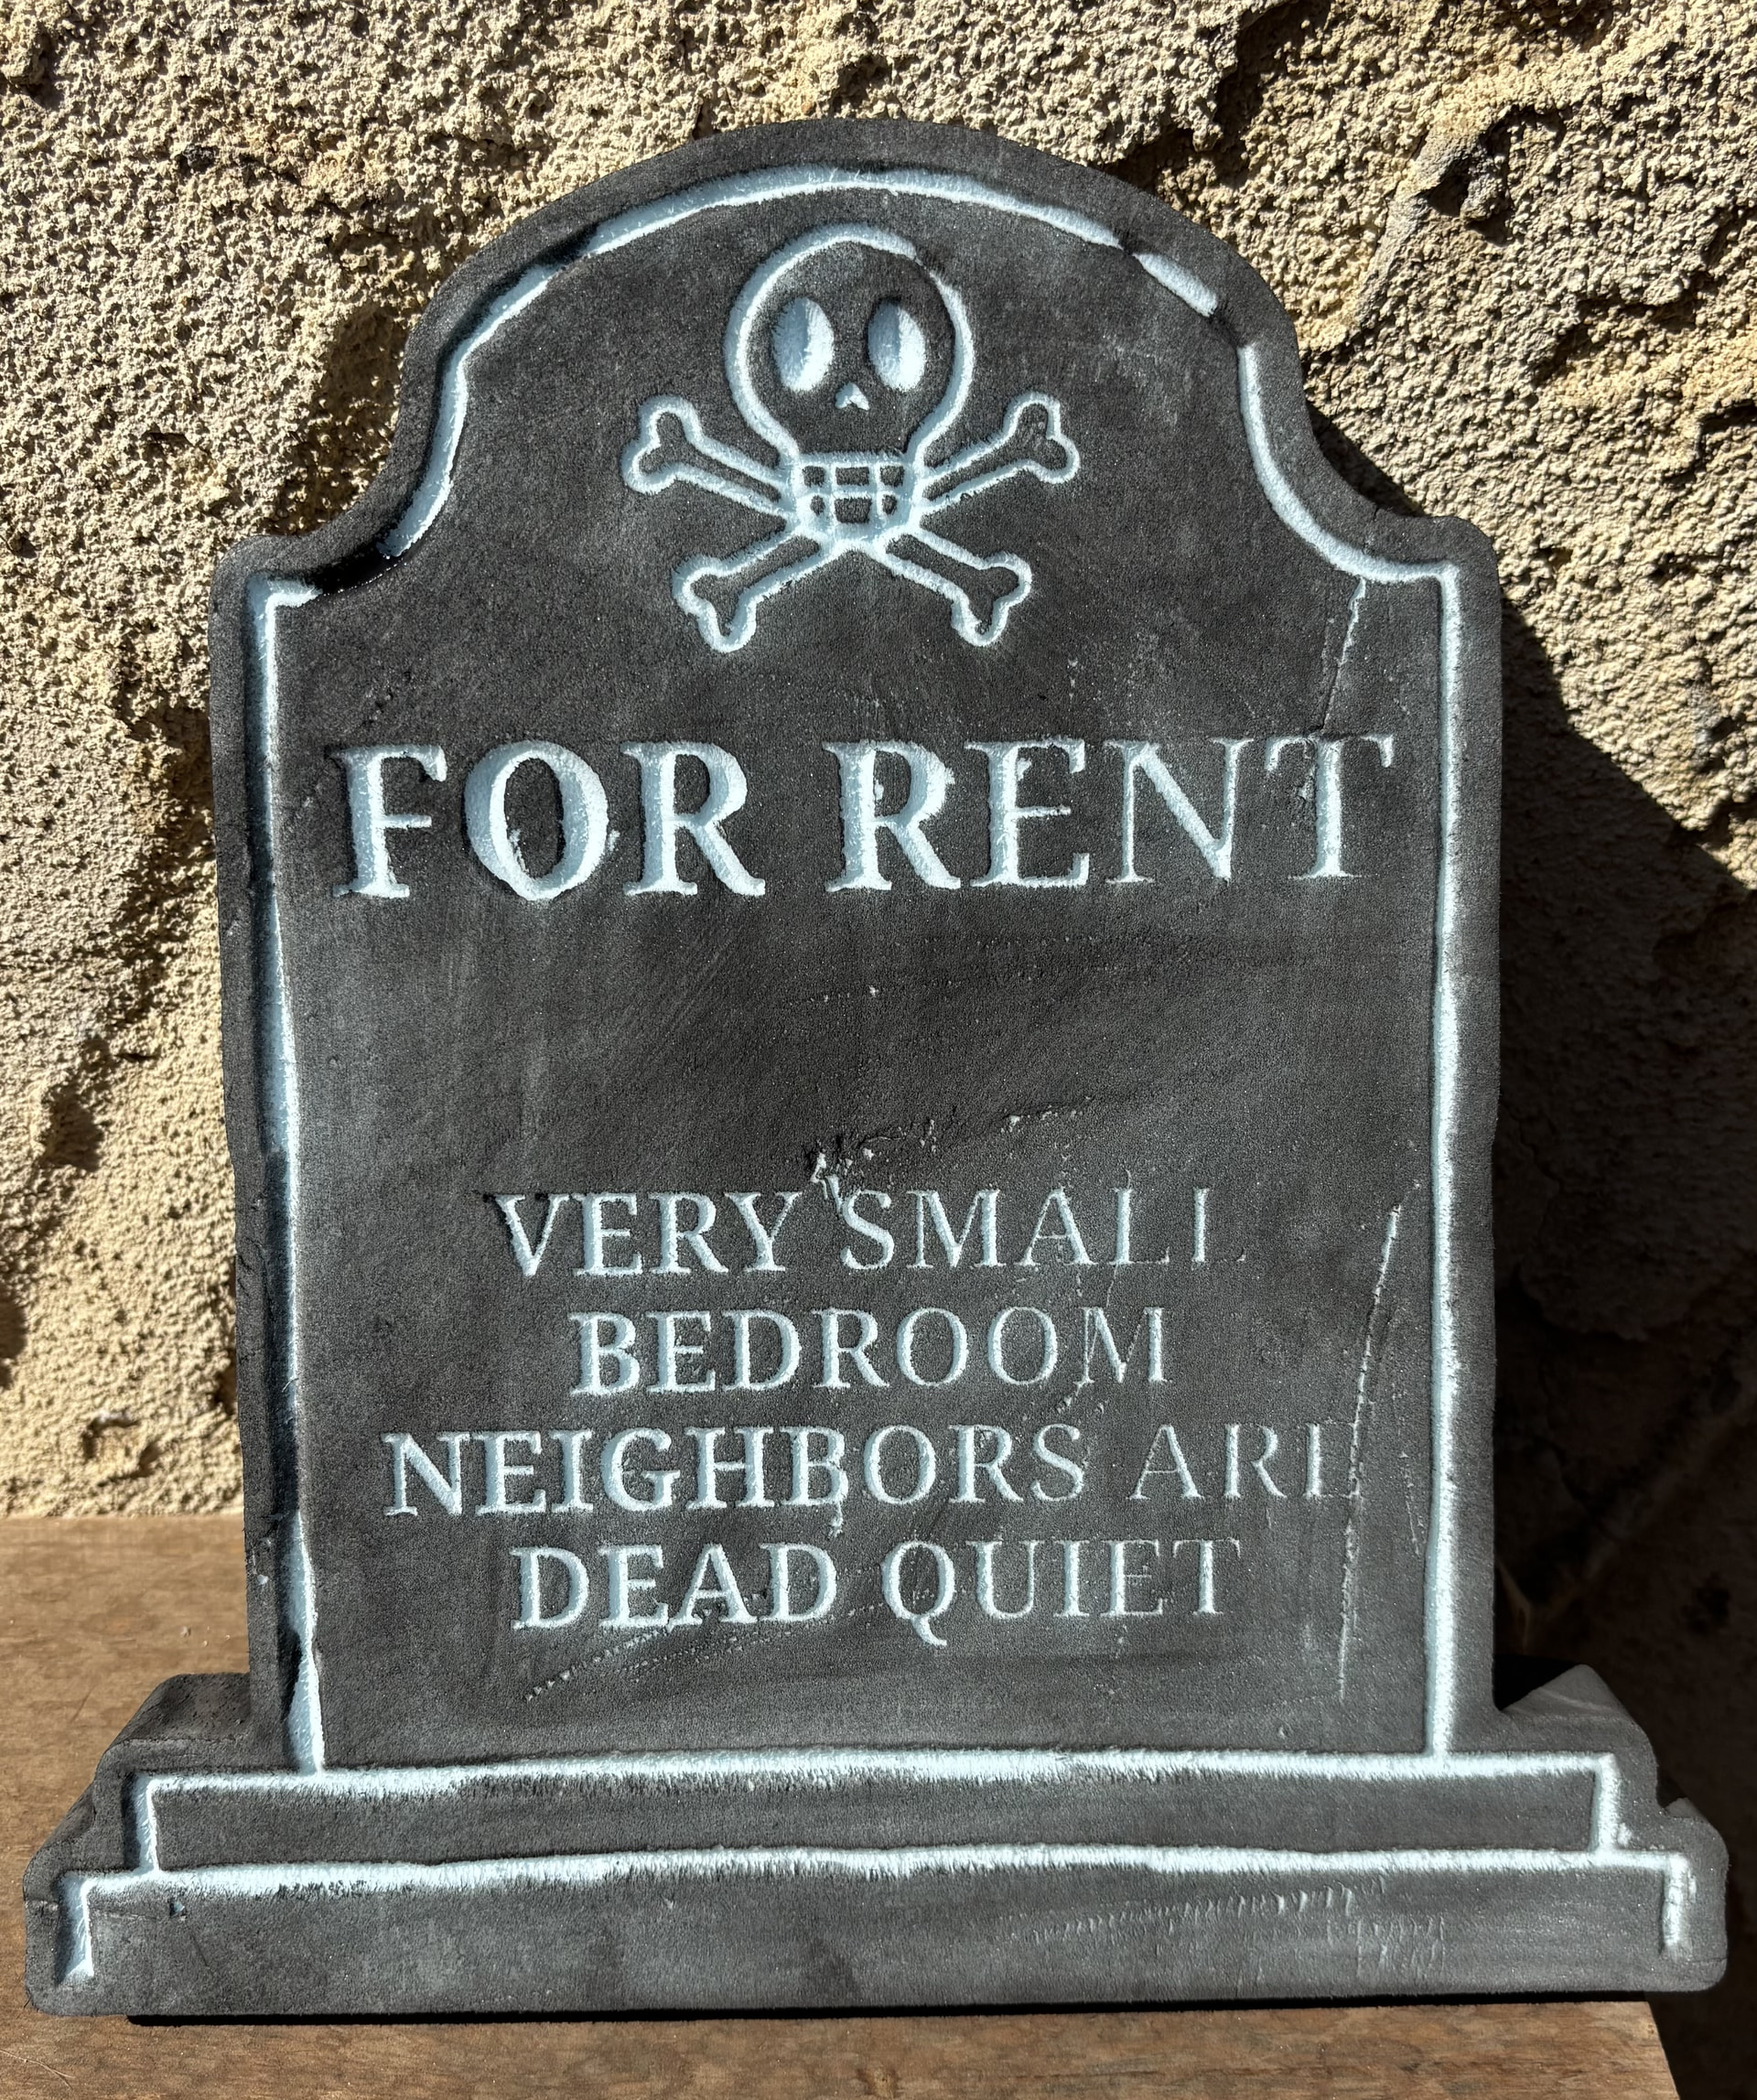
Well, September is here and my wife has declared it’s officially spooky season and time to start decorating for Halloween. Last year I had offered to cut some tombstones for her on my LR4 but we never had time to actually do it. This year she looked at the offerings at various stores and decided she wanted me to move forward with doing some for her.
We started by tapping my daughter to design them. She’s really artistic and we wanted to get her involved. She came up with some nice designs…but they were bitmap - she’s not very experienced with vector art yet:
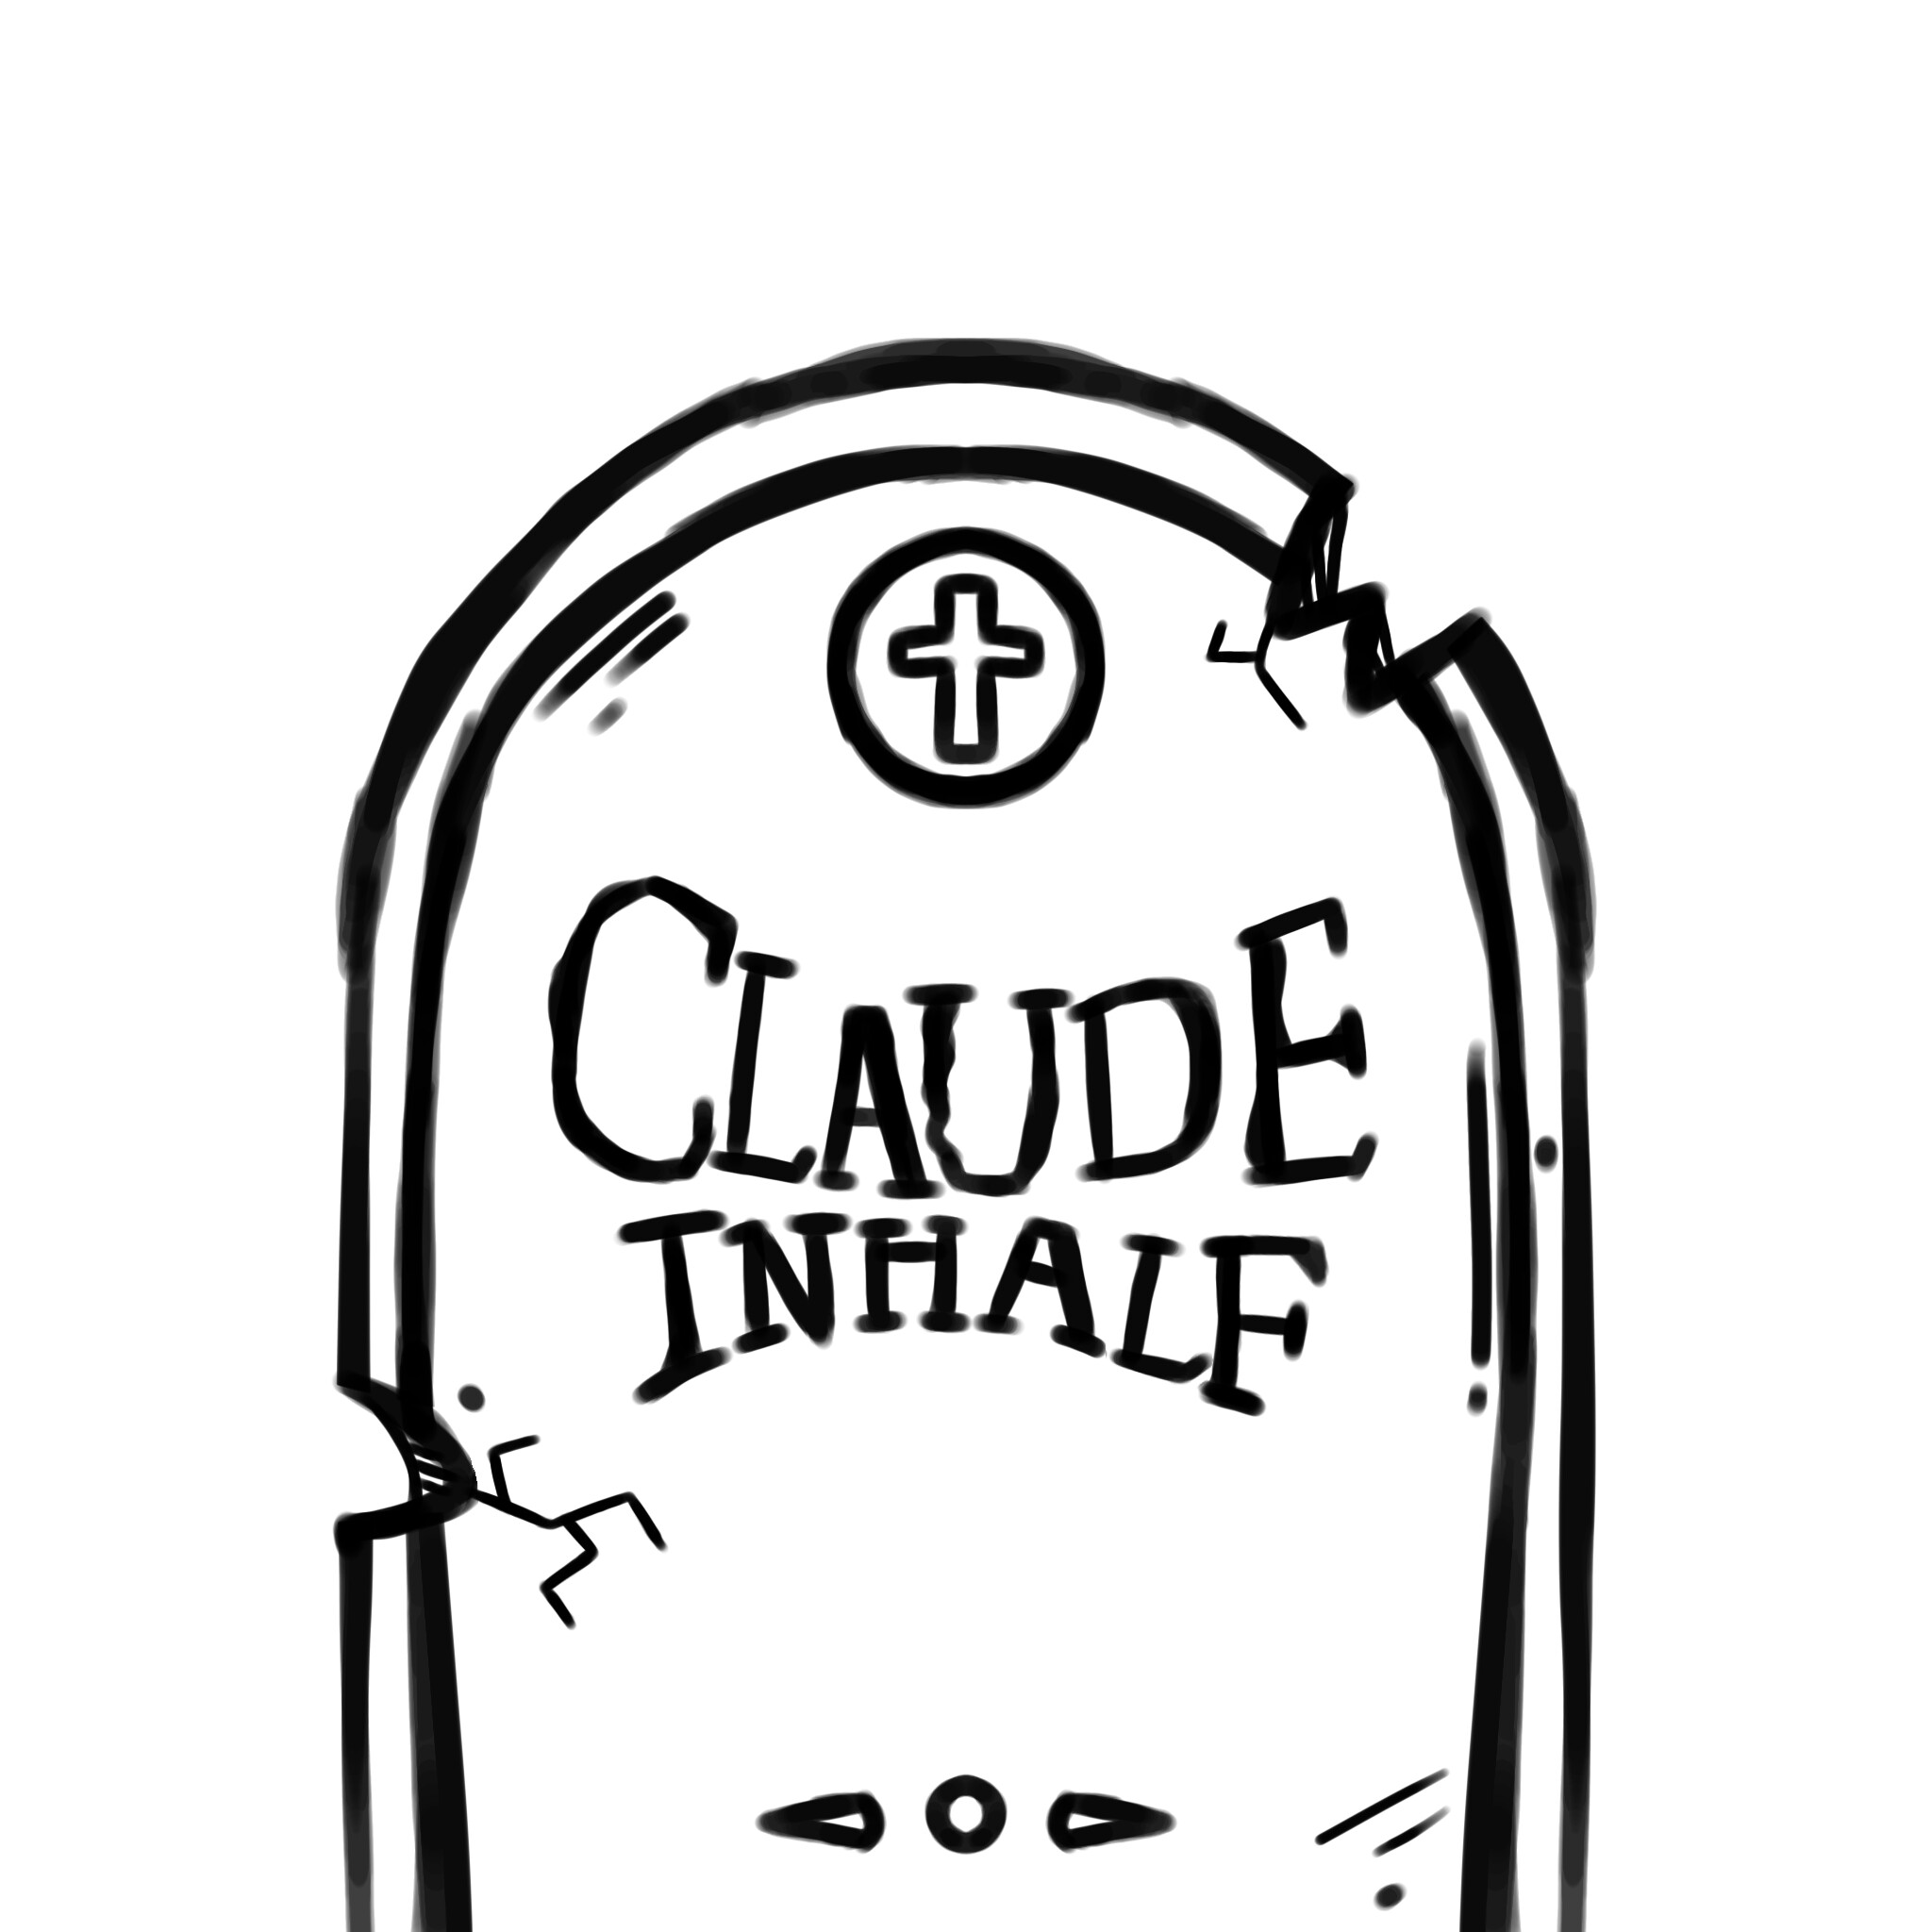
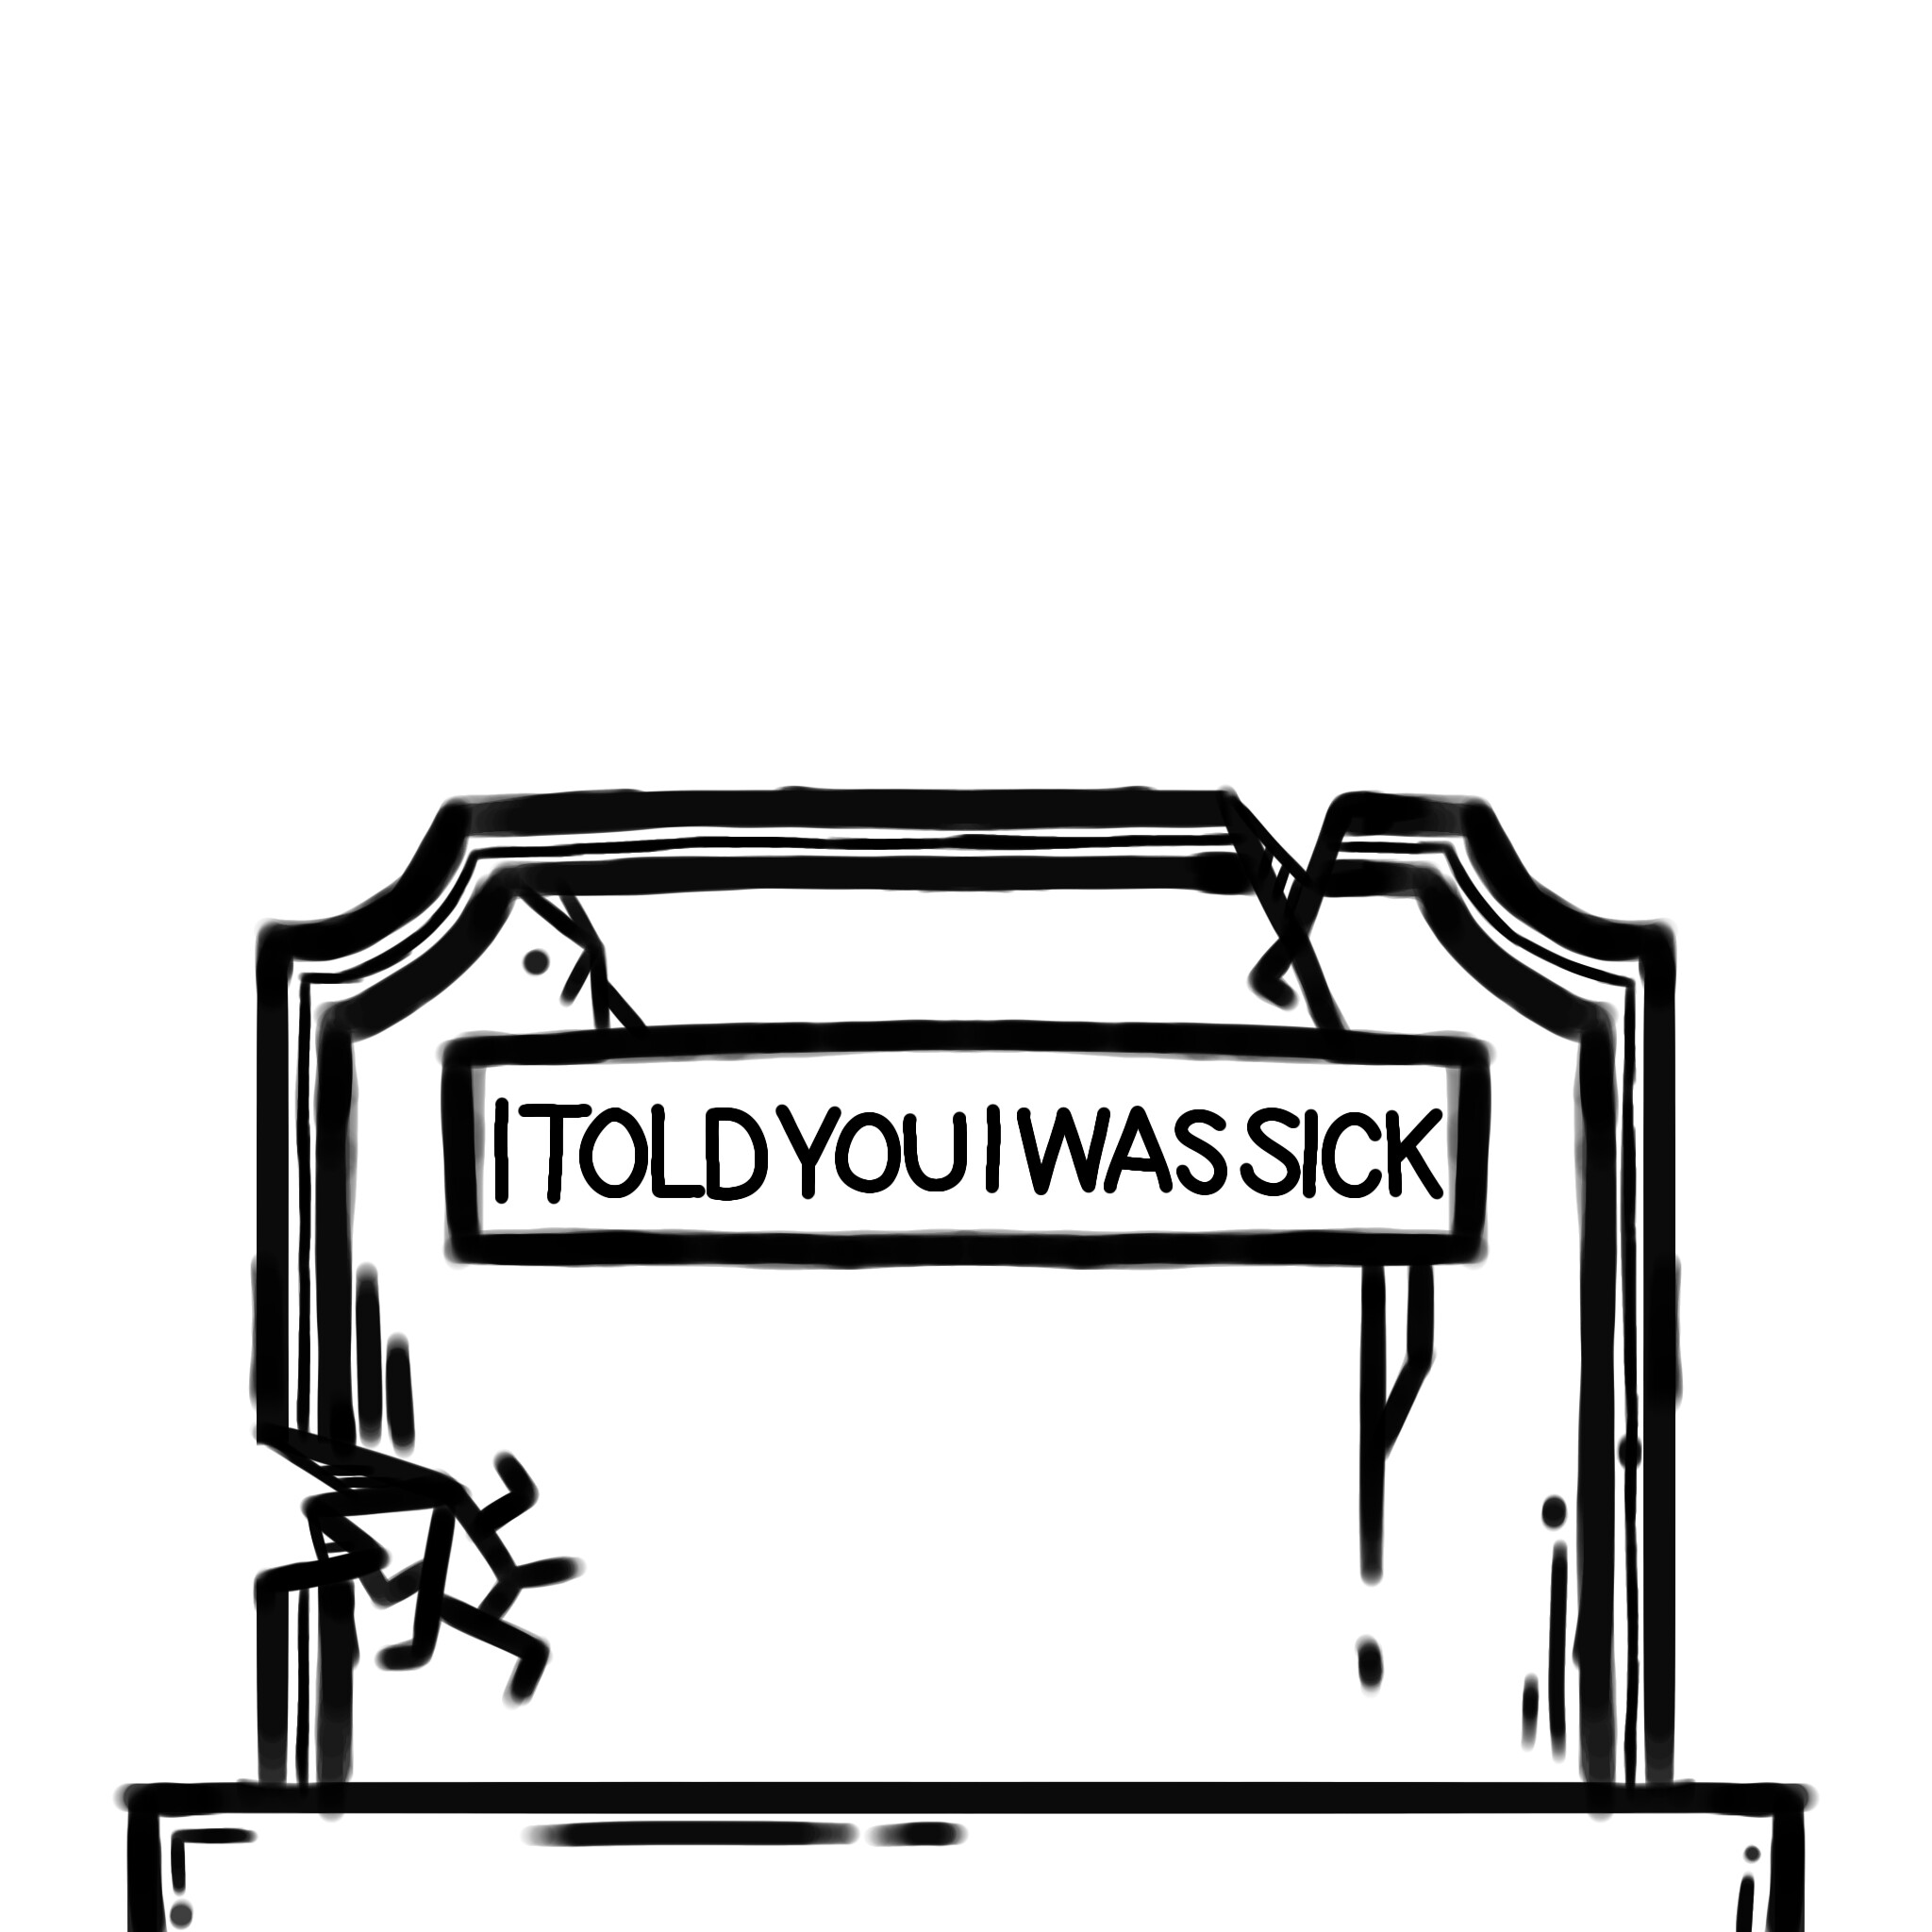

I used a free bitmap to vector tool (don’t remember exactly which one - most didn’t work or gave terrible results or weren’t actually free) and fired up Estlcam.
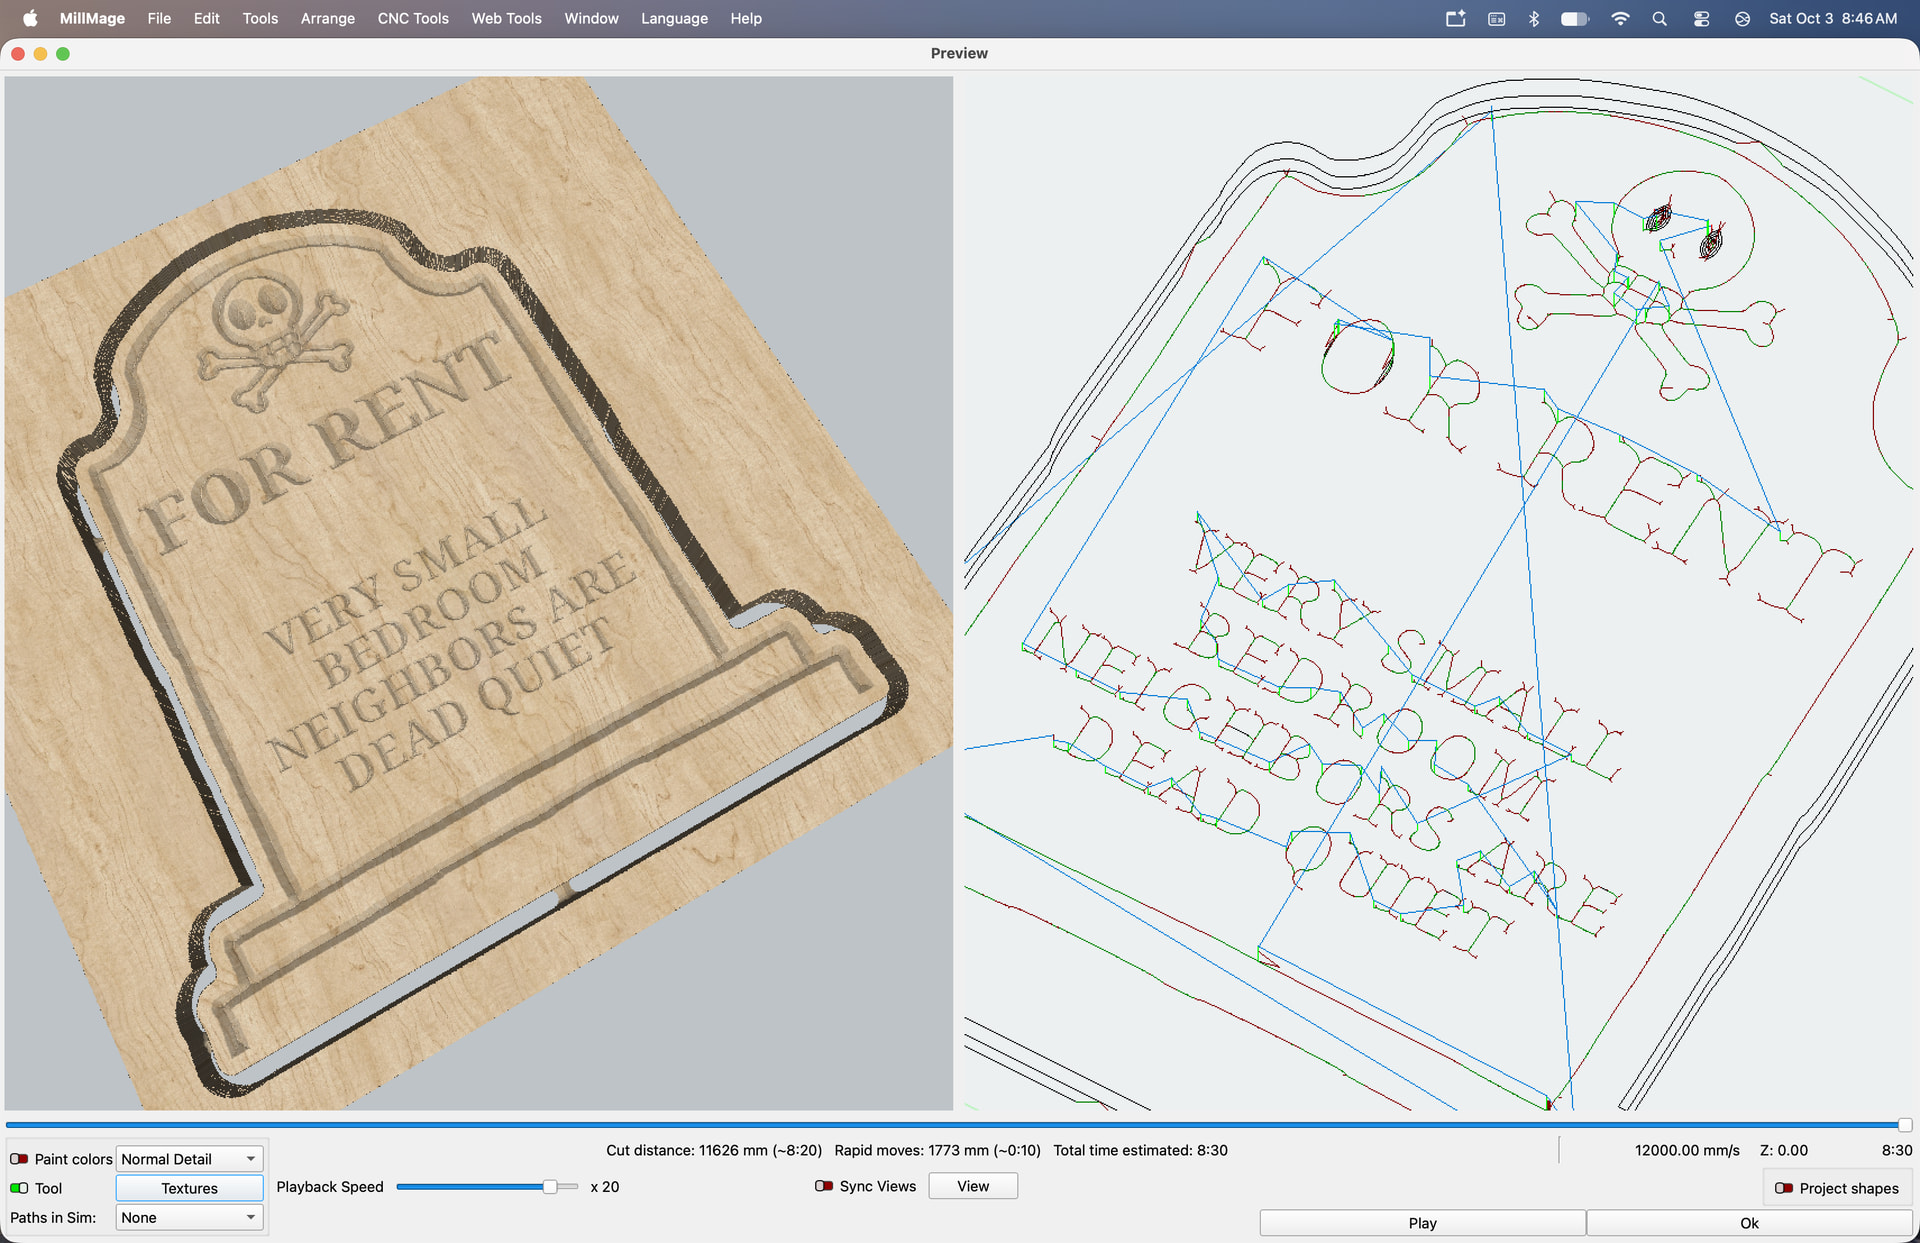
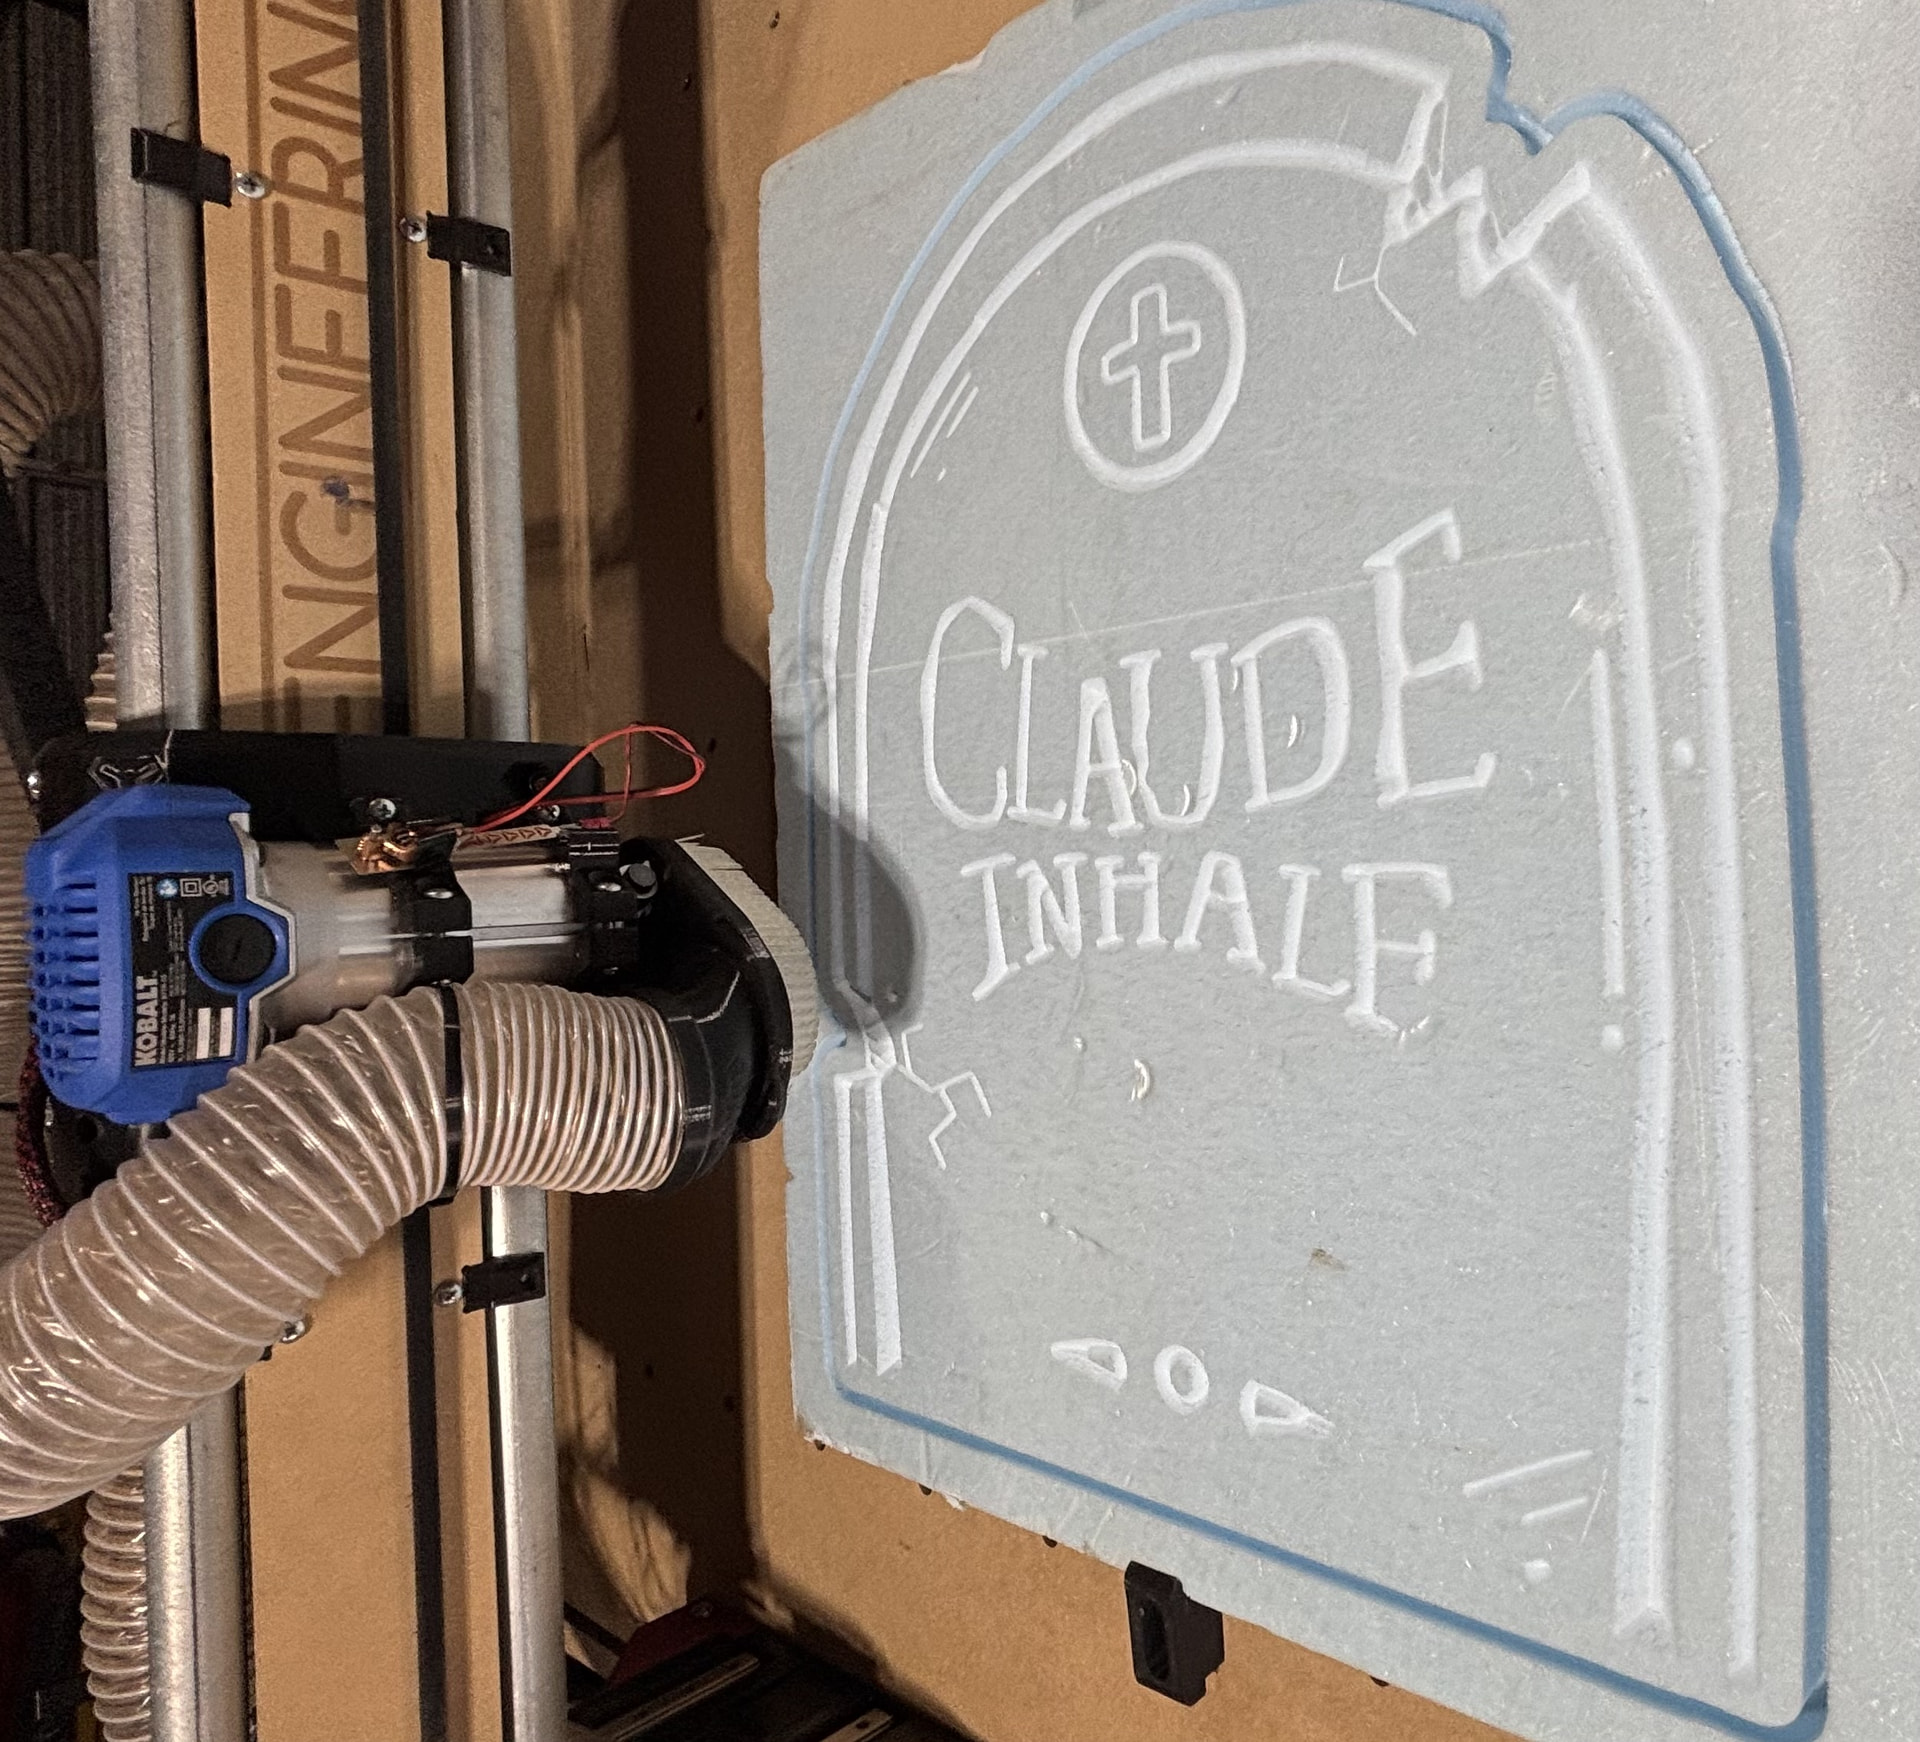
Got to try a few new things. I had never done pocketing with islands before, and I’ve never done toolchanges - took me a bit to figure out the process for islands but eventually I had previews that looked accurate. So time to dust off the machine and get it going again.
I had planned ahead by turning on the AC in the office the night before - it’s still in the low 100f range here and humid now as well so the garage isn’t a lot of fun. But thankfully letting the AC run over night it was actually cold in there by morning. By 11AM it was uncomfortable again and we decided to be happy with the 3 we had finished instead of digging in on the next 3 which are considerably more complex (I’ll share them later if we finish them)
Some of you may remember me reporting some issues with my LR4 recently. So first thing I did was some snugging of screws. Which seemed to make a big difference. Except…once I got the wobble out of the beam I found that the core IS loose on the rails now 
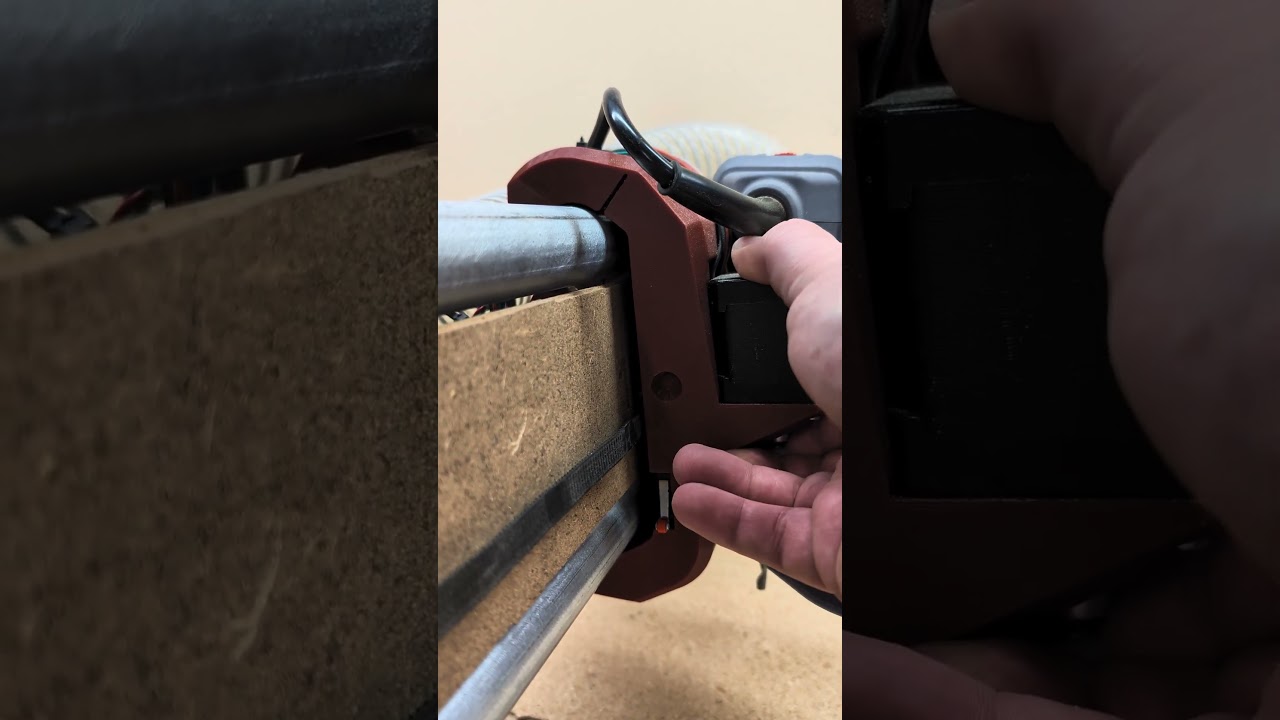
I tried snugging up the adjustment bolts but it wasn’t able to take all the slop out. Looks like I may need to print a new core. Probably in PET-CF this time due to the heat here in Southern AZ.
But for artistic foam - I figured it was good enough. These don’t have to be super accurate and foam is really soft and easy to cut.
So full send:
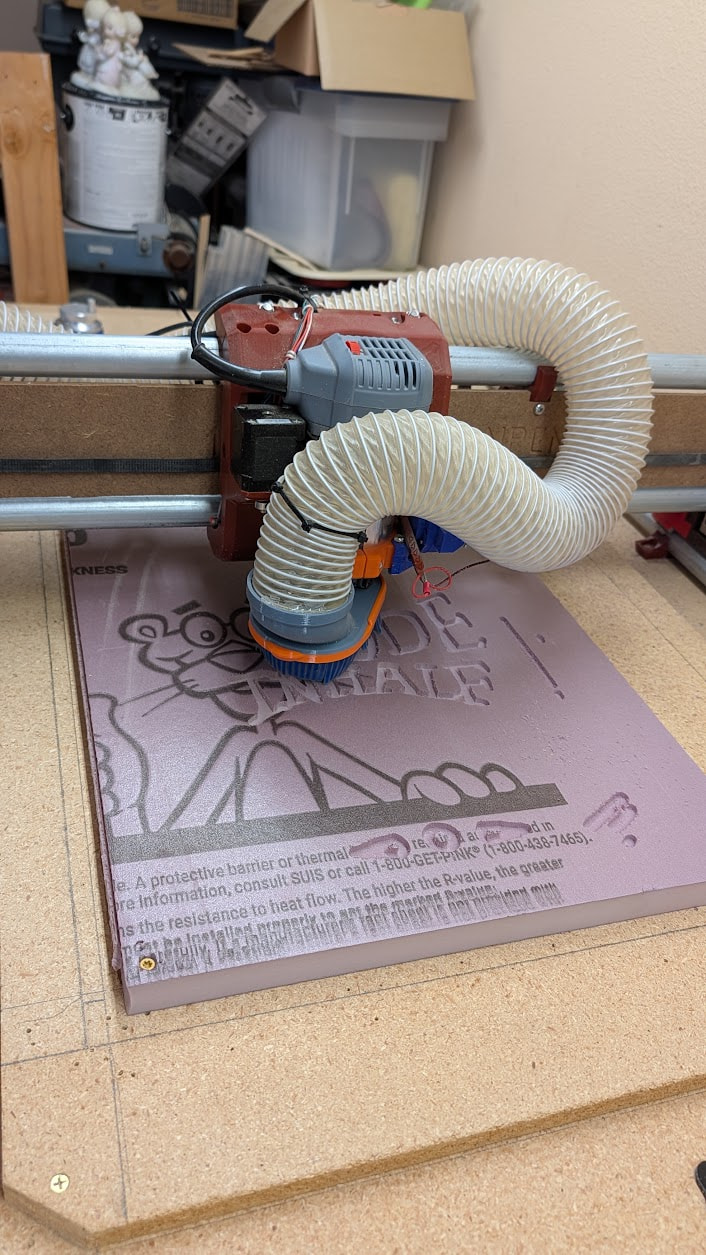
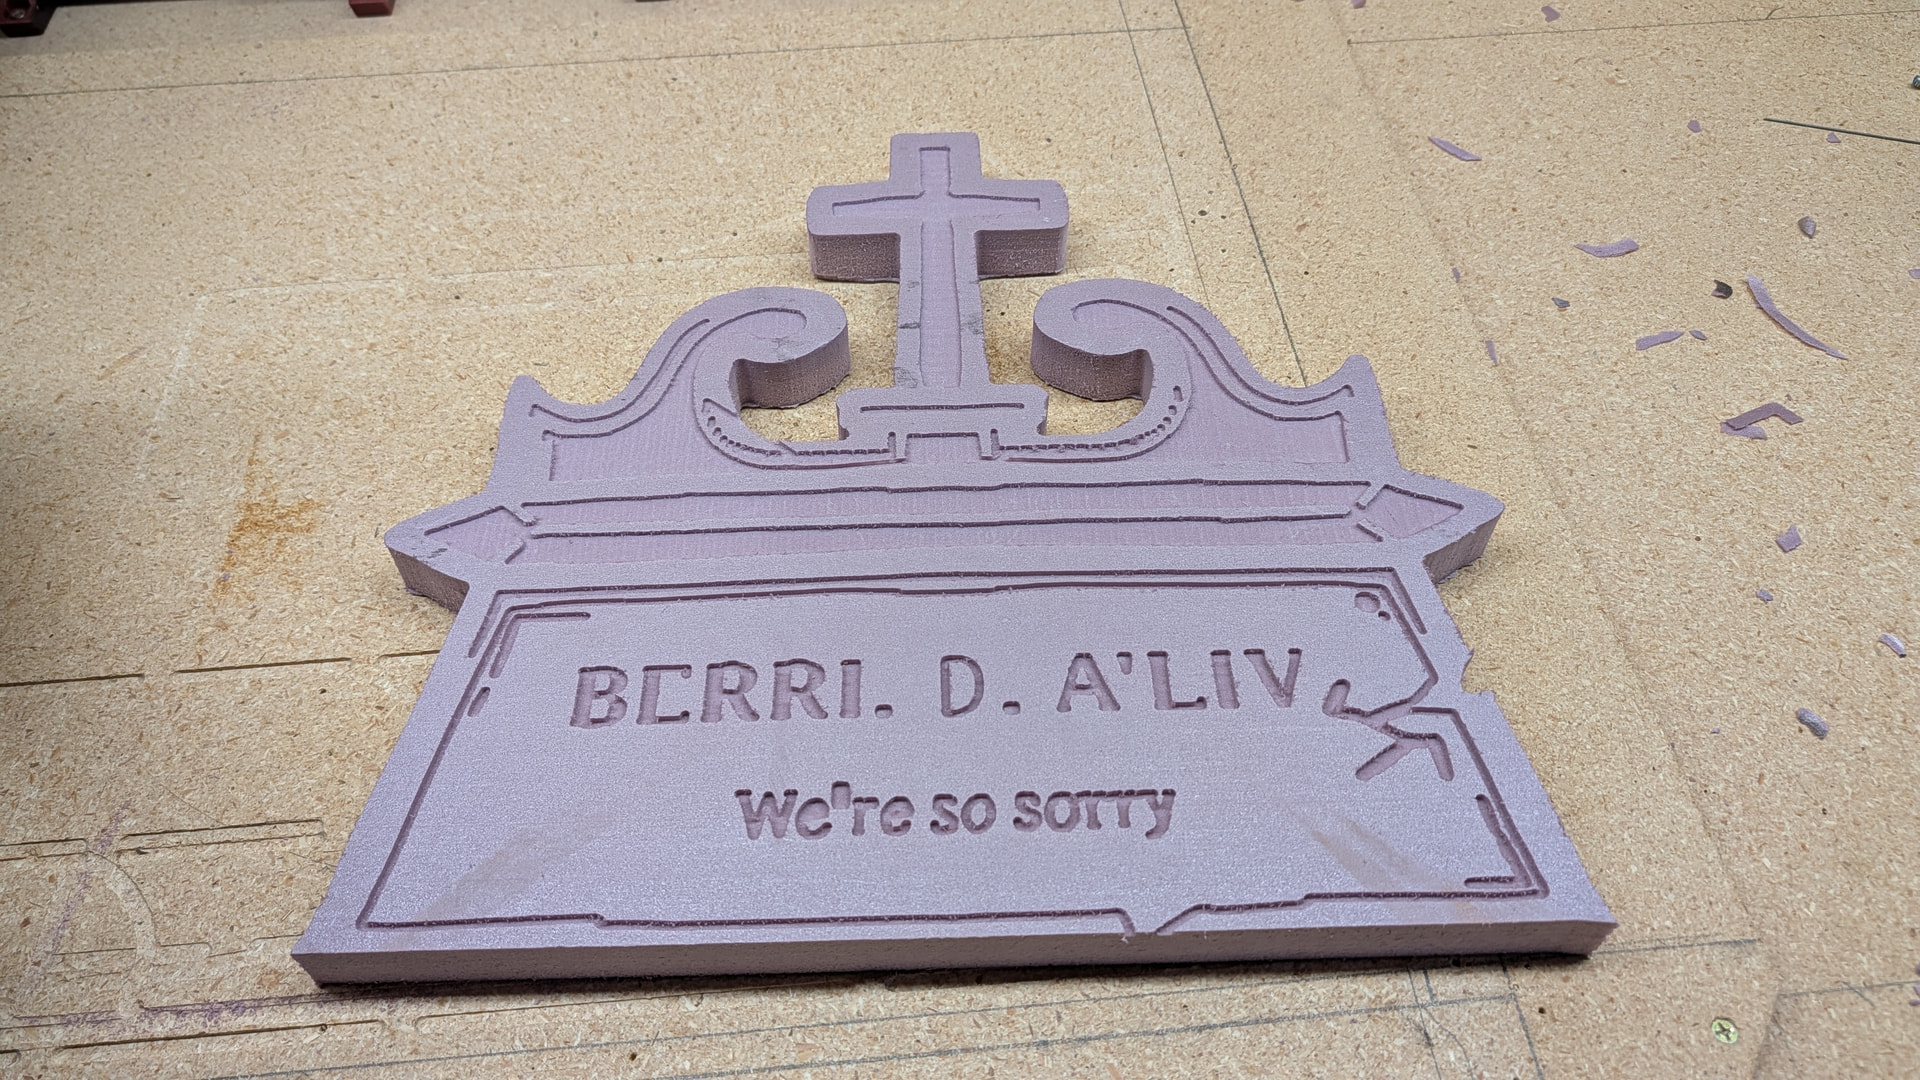
First one went well! No issues at all really! Well, ok one issue and it was my own fault I noticed that the vacuum wasn’t getting the “chips” up and my vortex was sitting crooked - and when I tried to make sure the lid on the bucket was tight sawdust went flying everywhere. It was then that I realized I had apparently hooked the hose to the exhaust on my shopvac instead of the inlet. Whoops…that’s a mess I could have lived without With the hose moved dust collection was working as expected again.
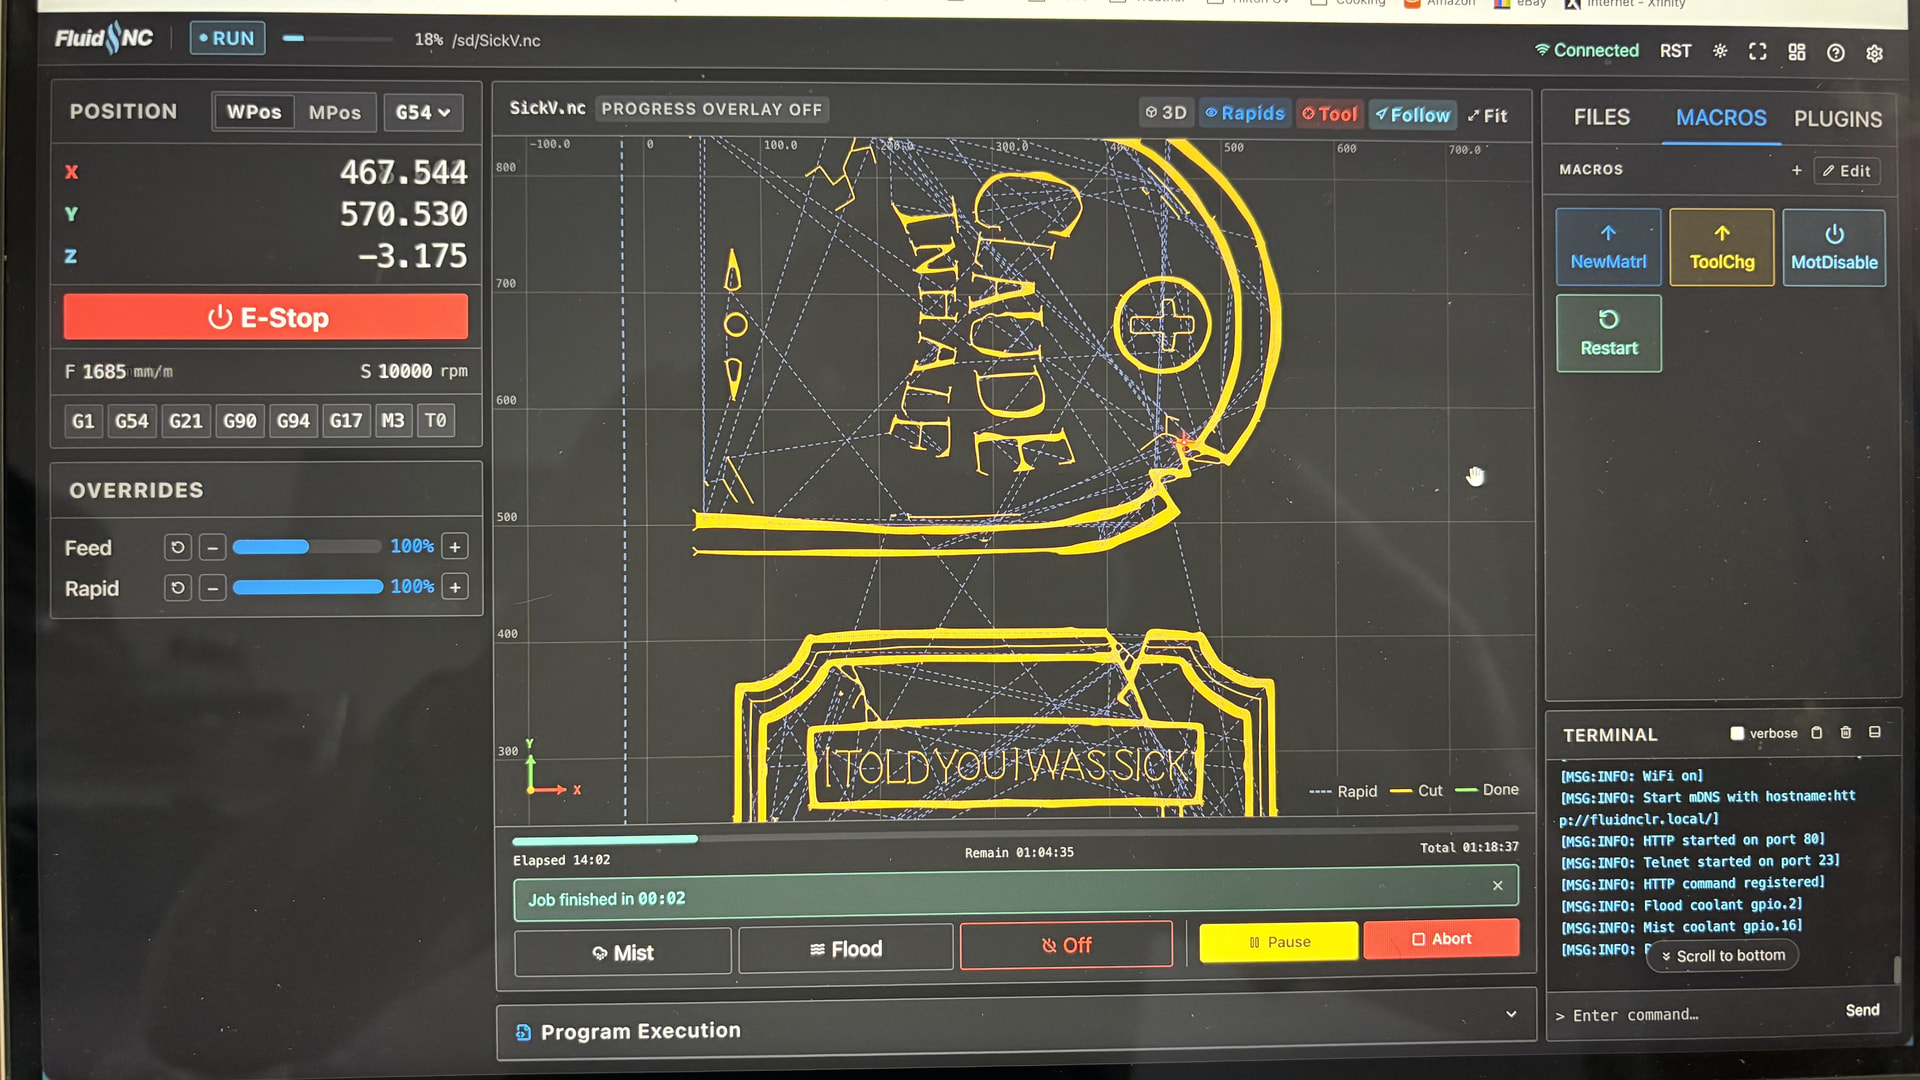
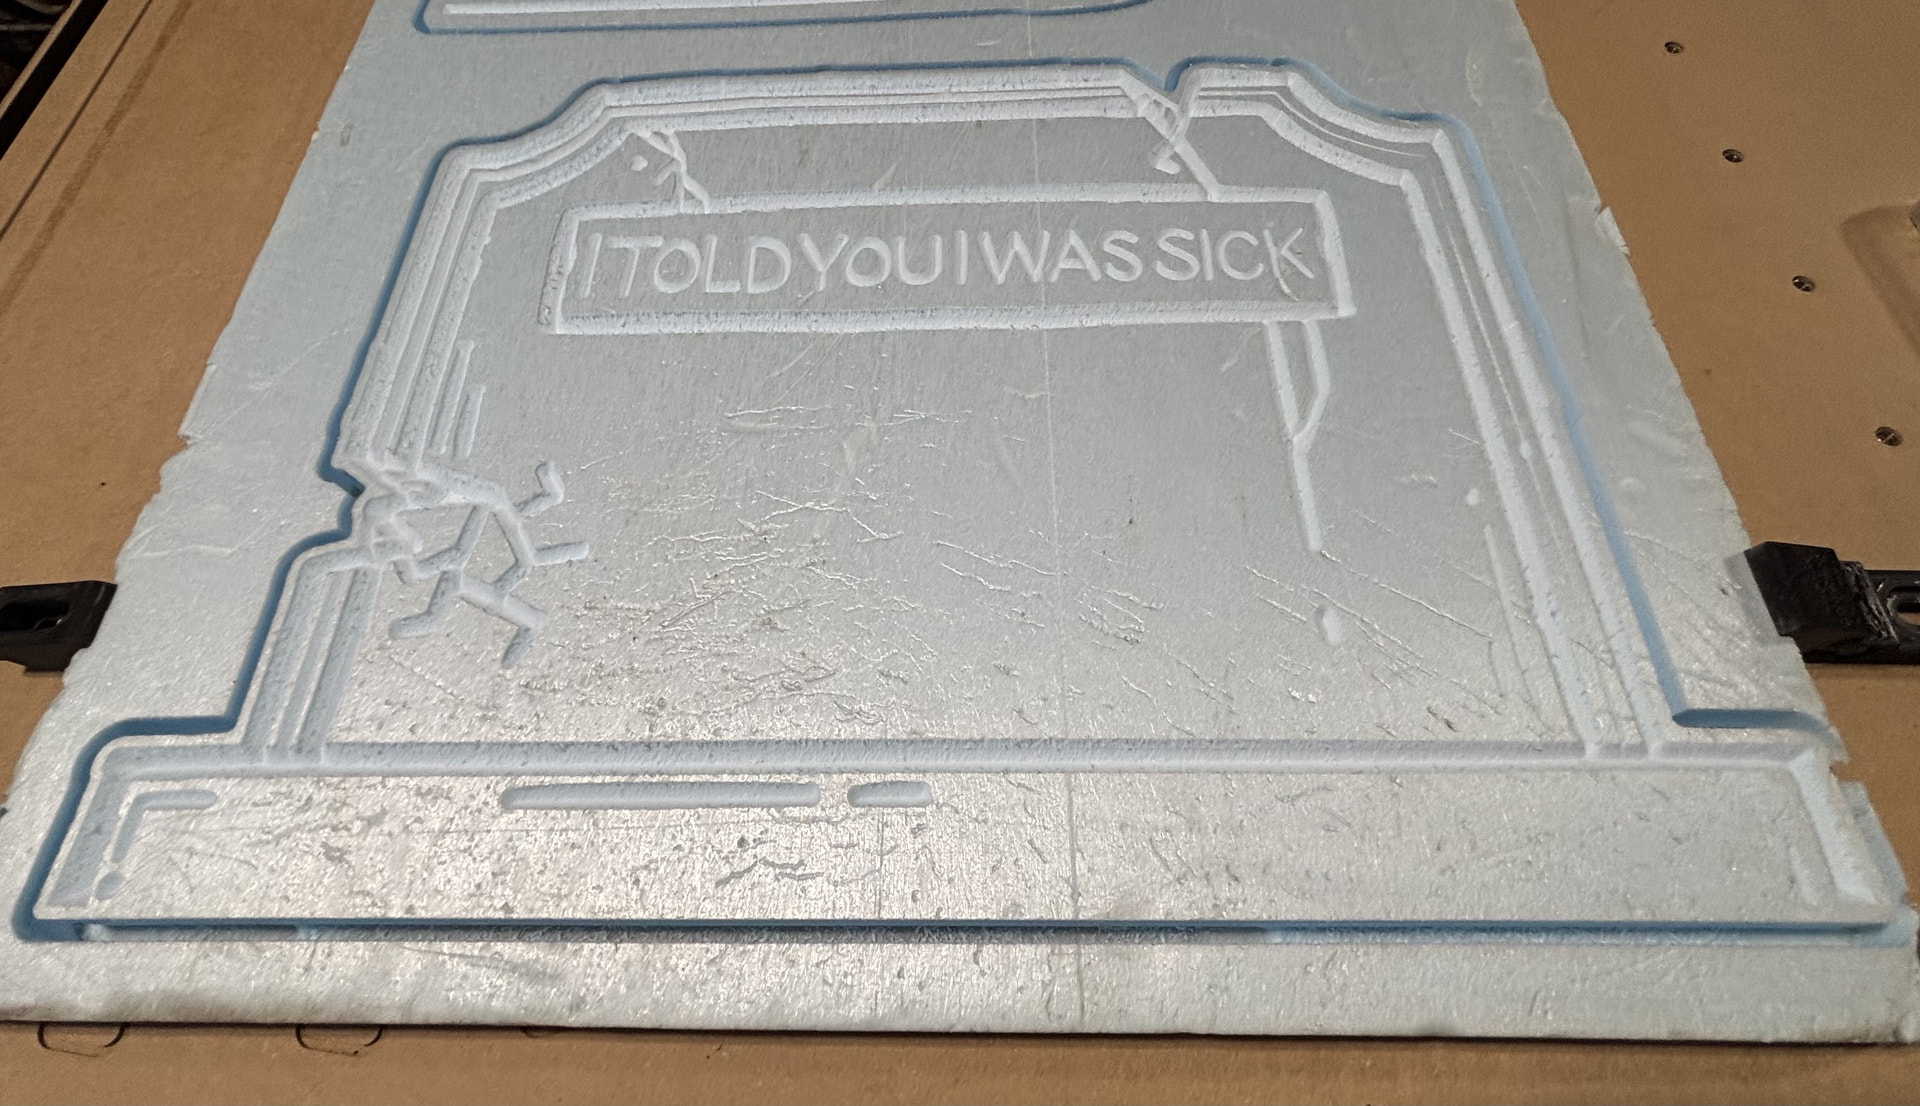
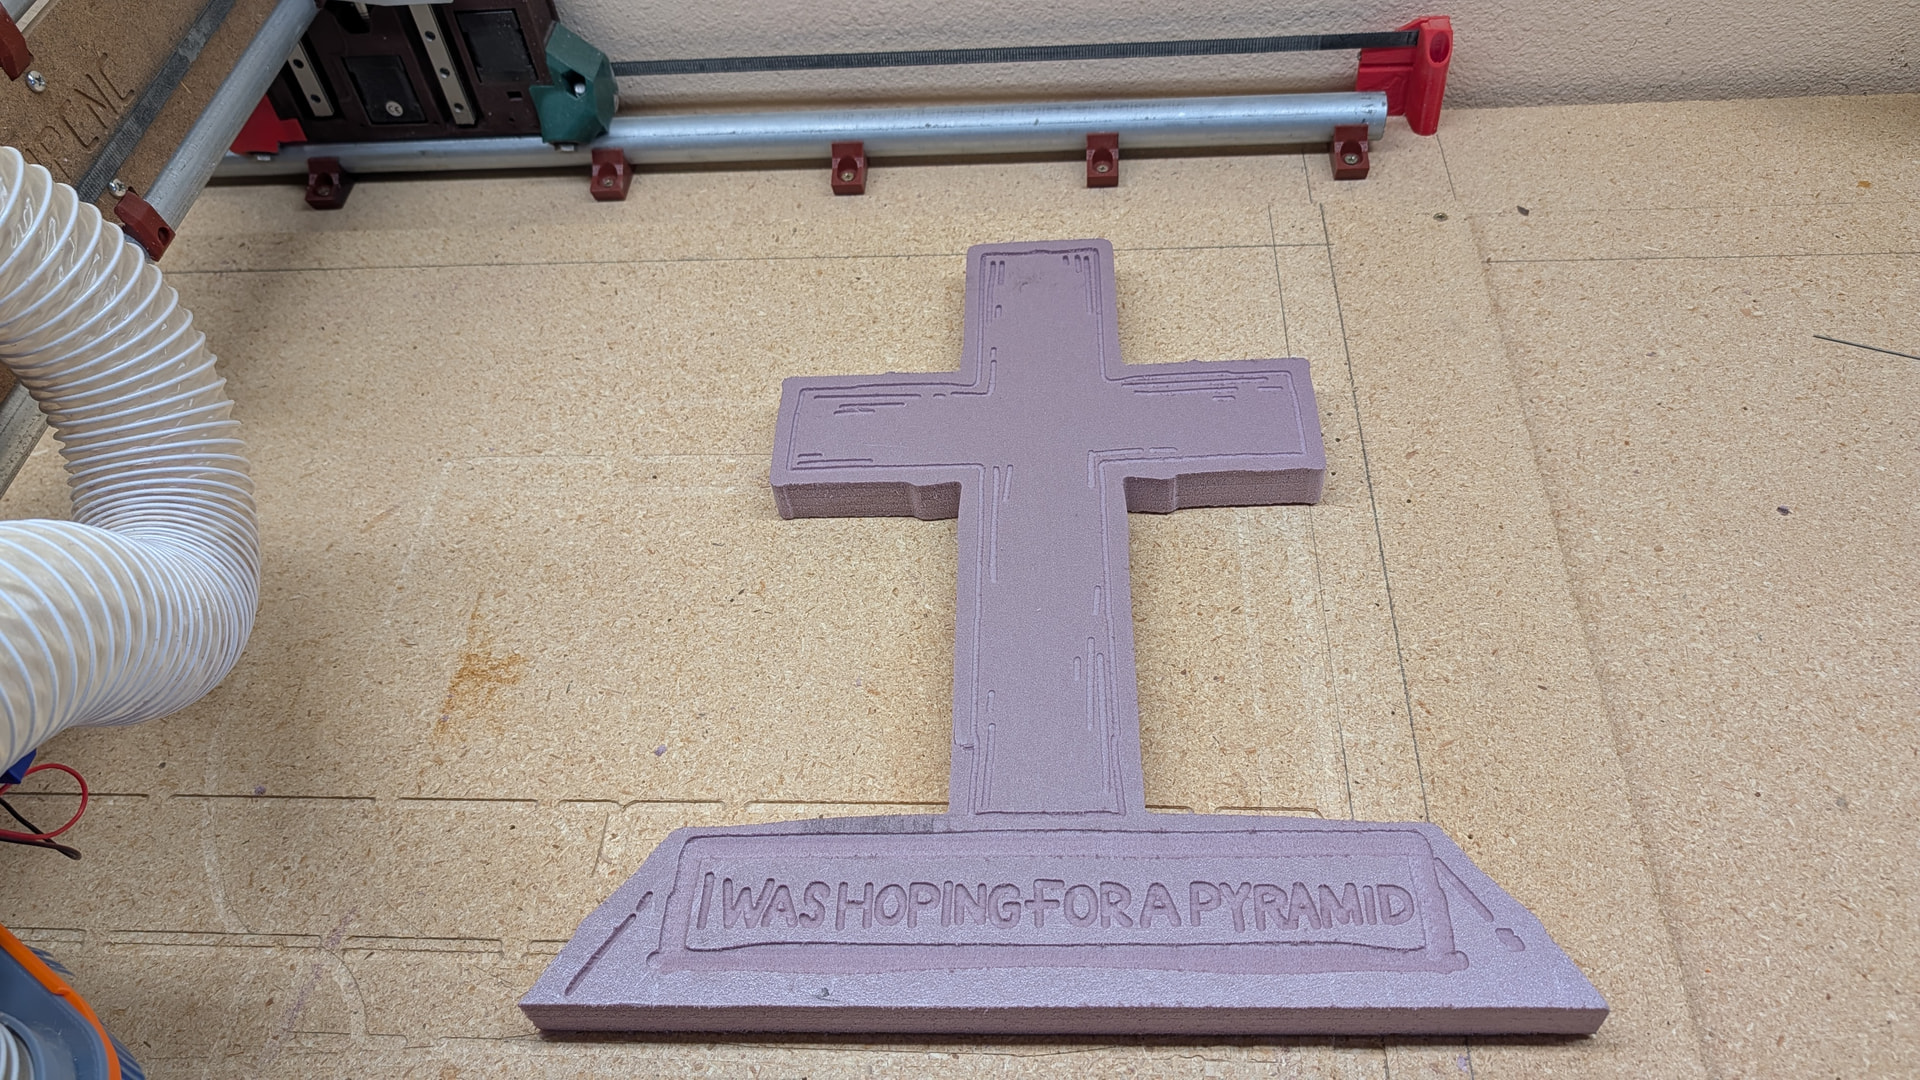
Second one got fancier - I needed to do a tool change between a 1/4" and 1/8" bit since I wanted the larger 1/4" for big areas and needed the 1/8" for the detailed text. I had never done a tool change before but finally felt up to it.
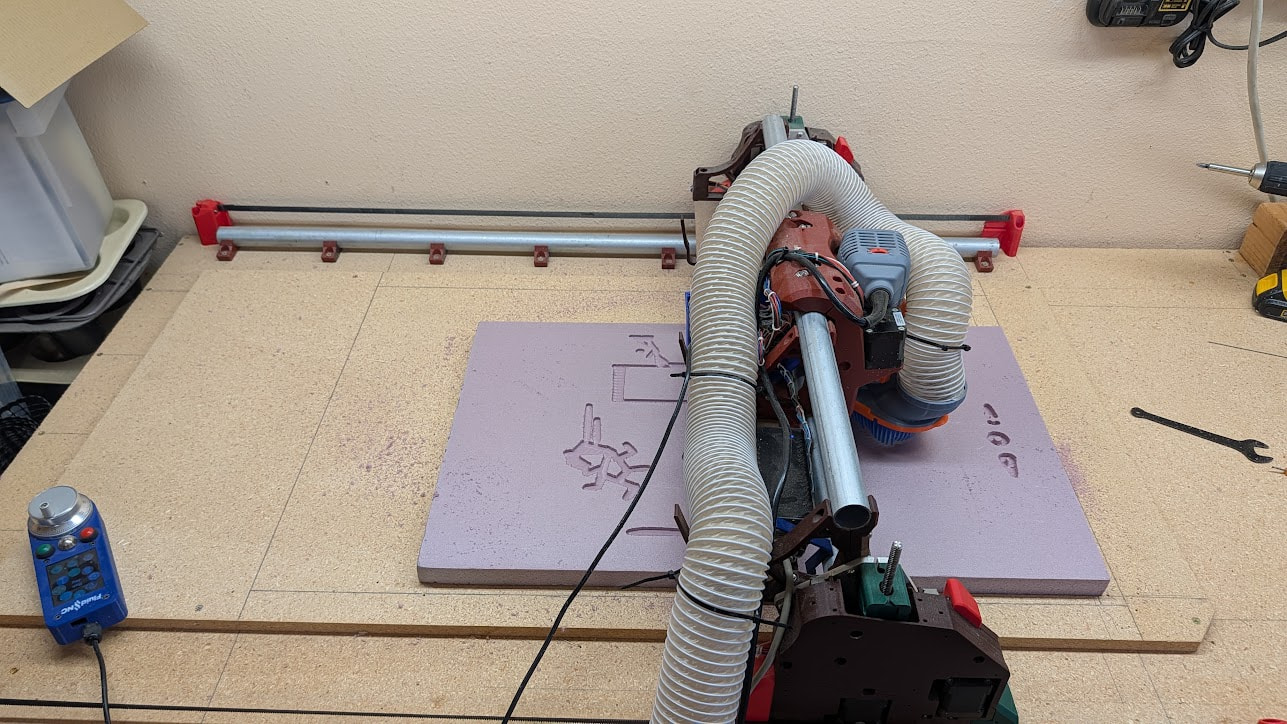
Tool change went smooth as could be! Nice! Not so scared of that now!
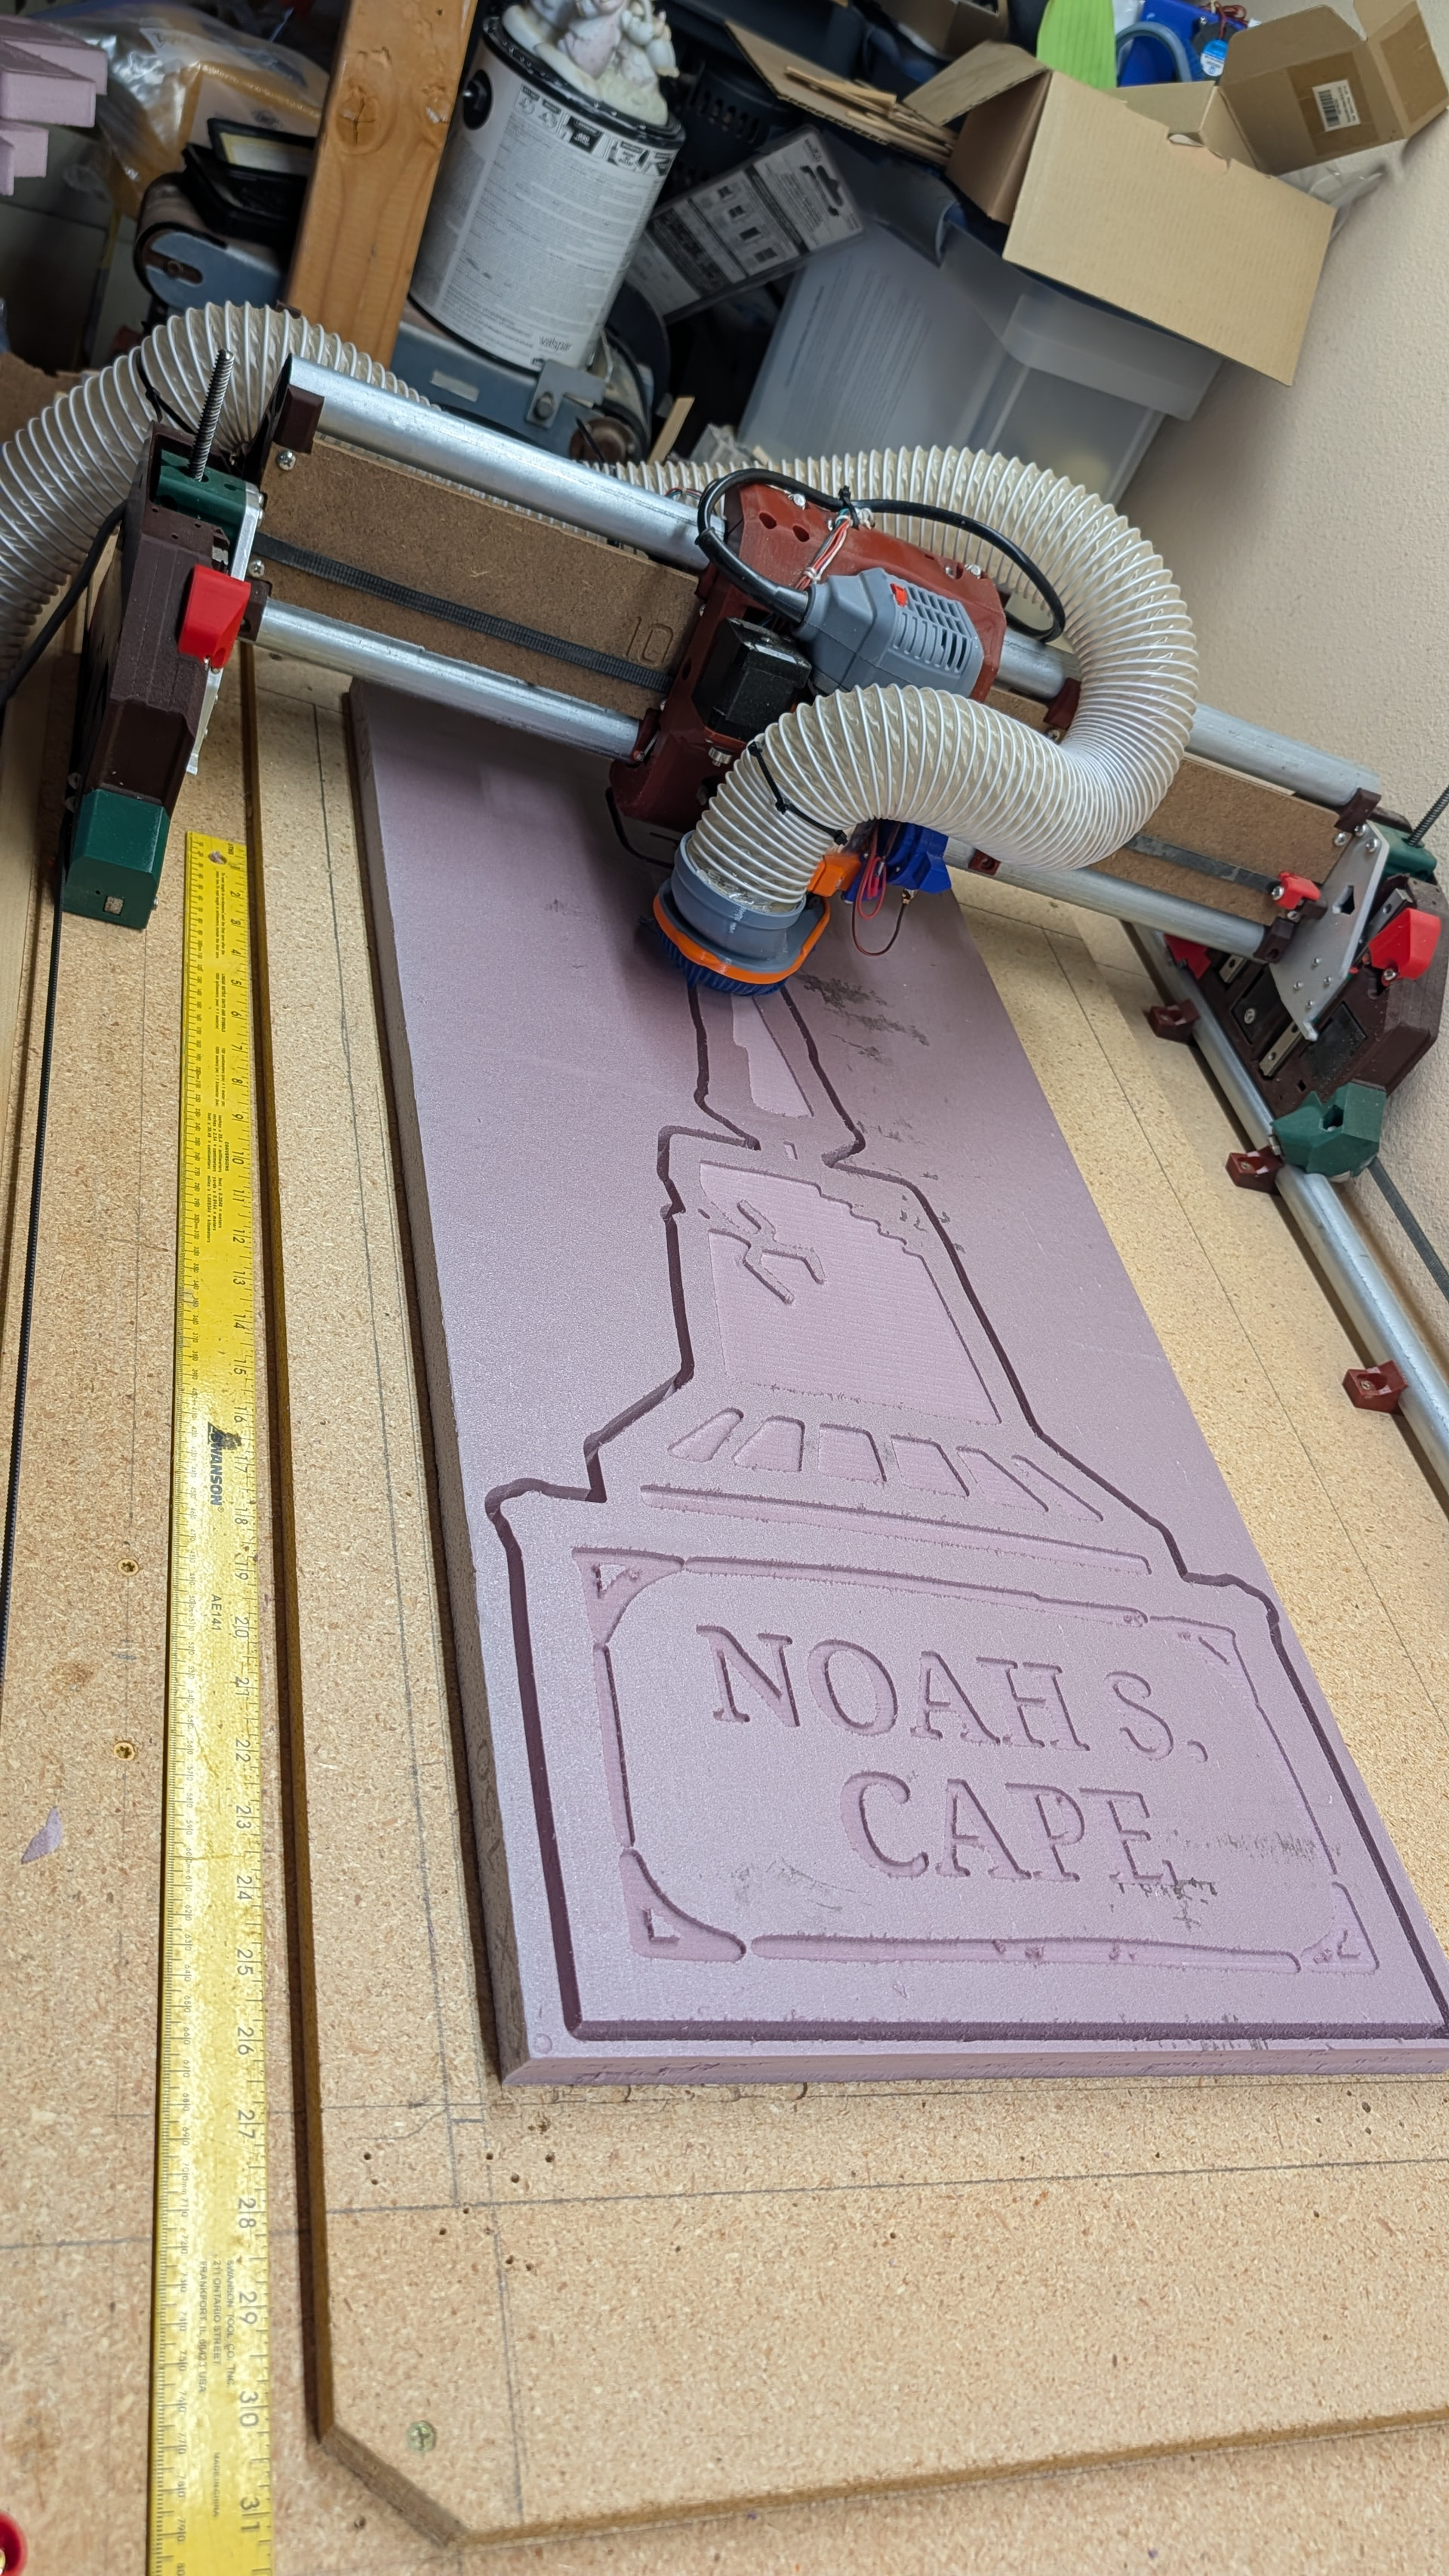
And third cut:
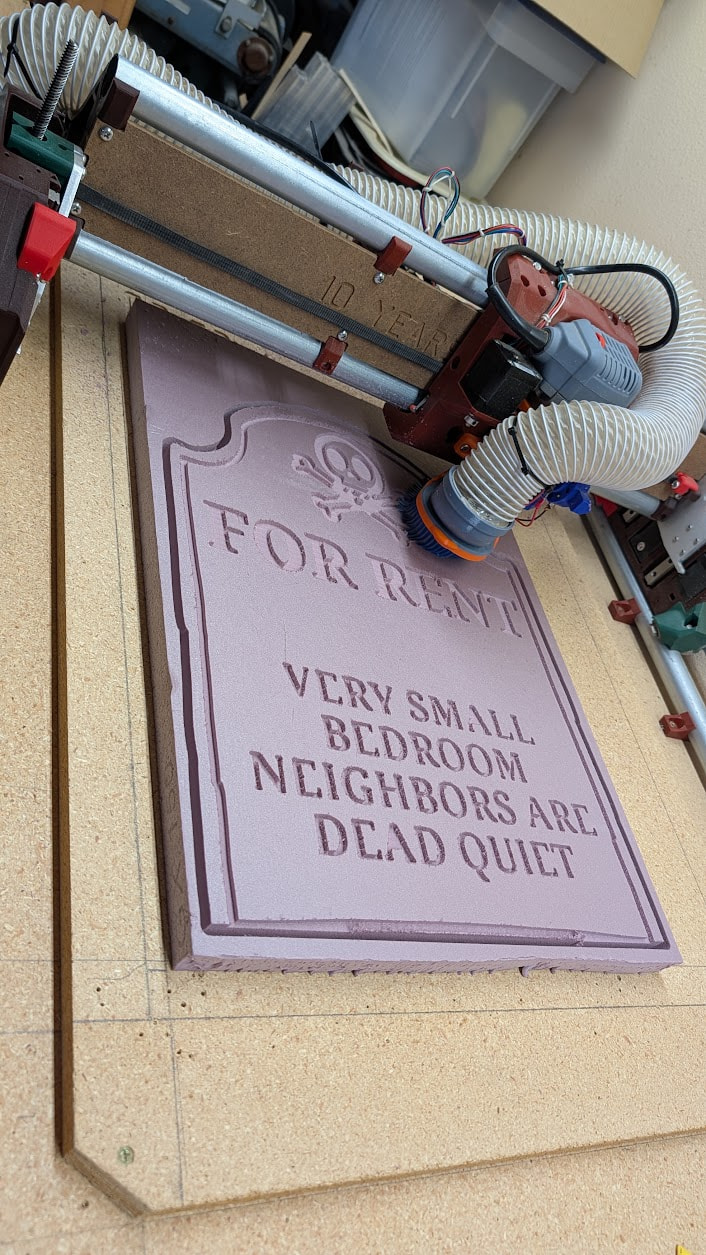
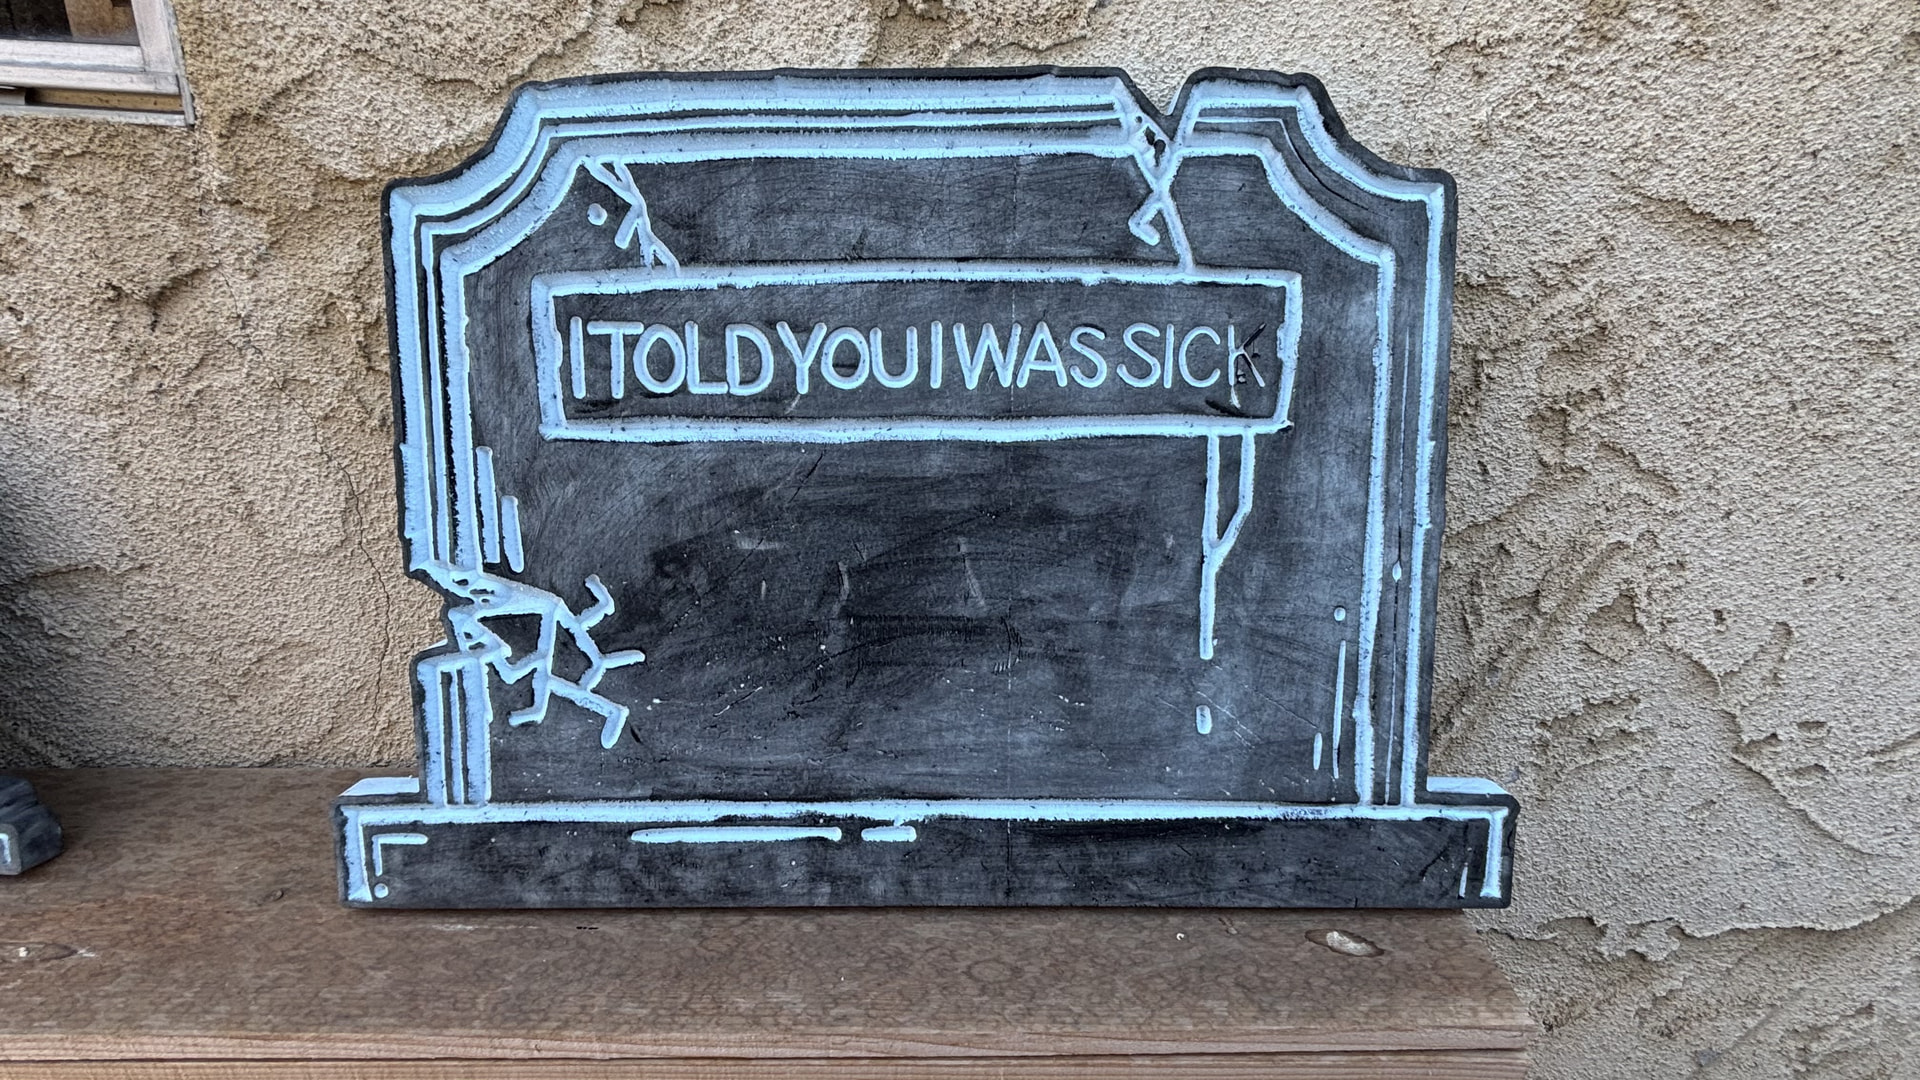
Even the 1/8" bit was too big to cut some of the detail on the text…but my daughter was having fun doing some additional carving with exact knives and working her magic with paint.
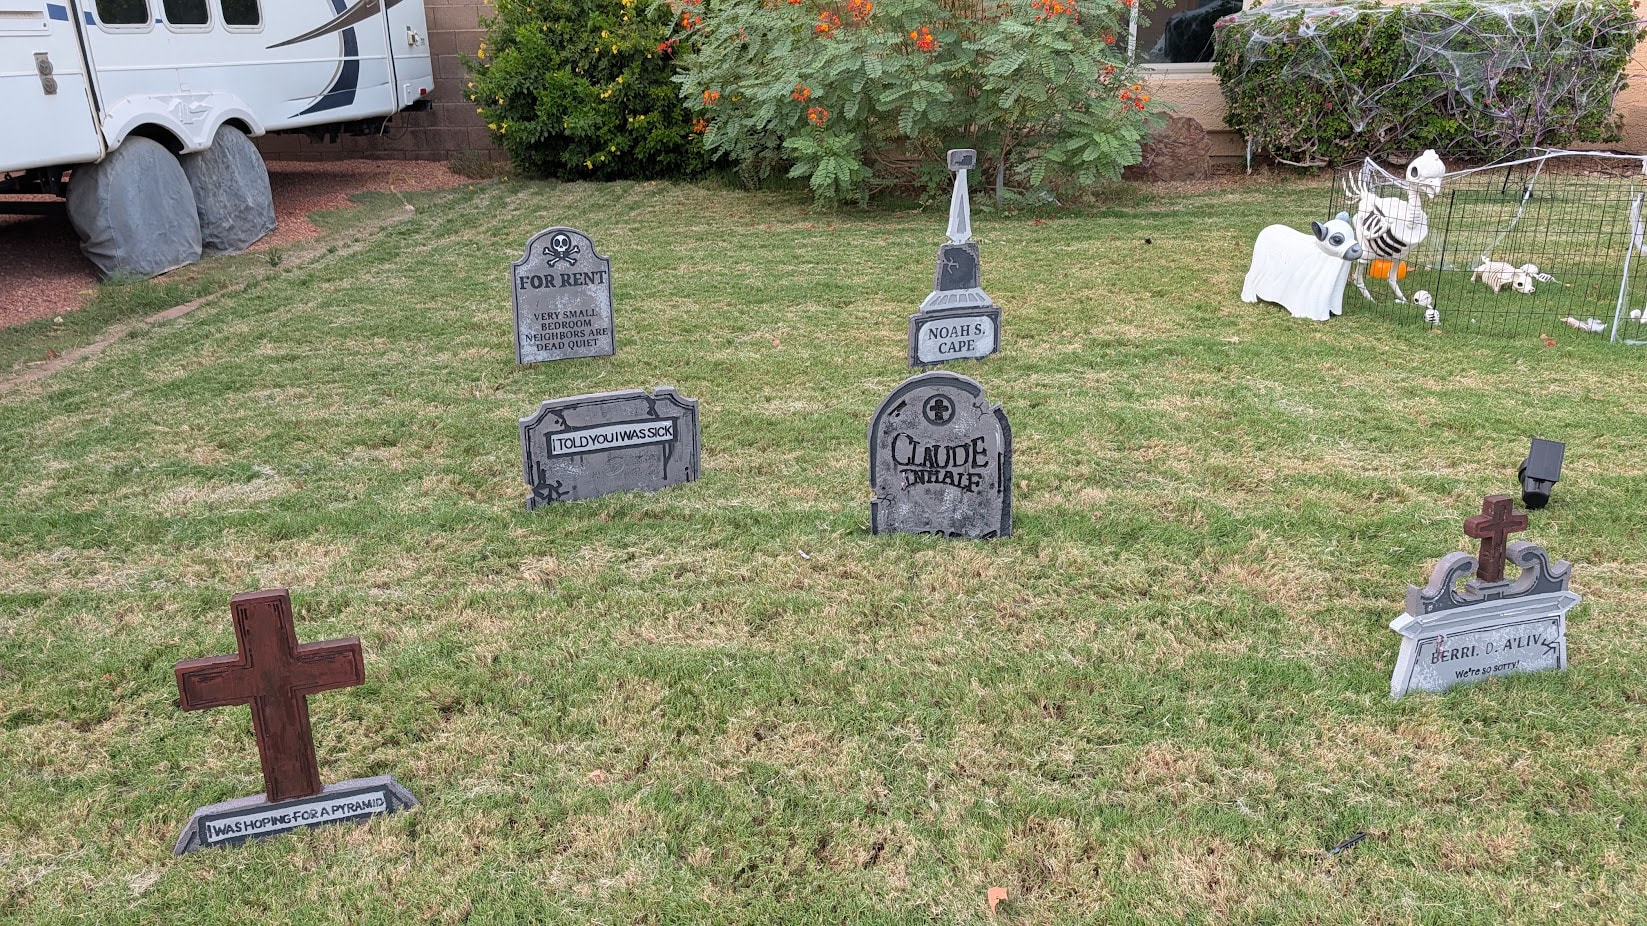
Before she started painting I warned her that spray paint would probably not play very nice with the foam…but she used that to her advantage to make them look even better.
End result once she was done painting them:
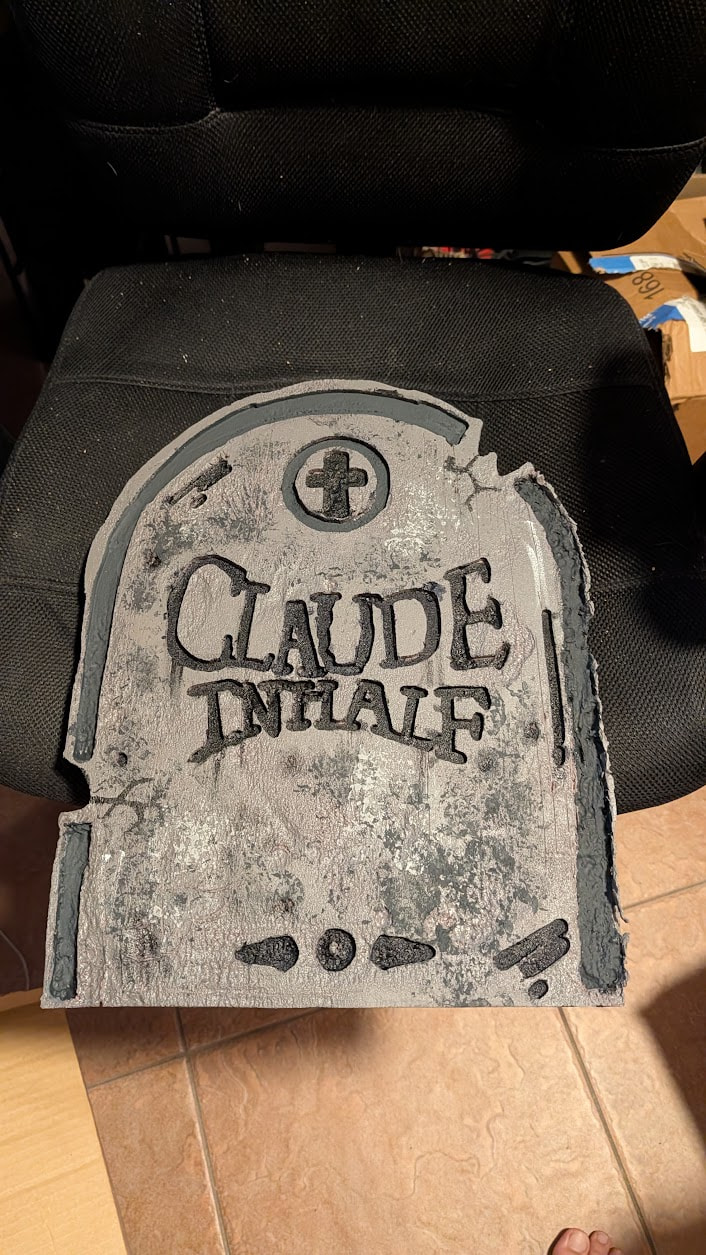
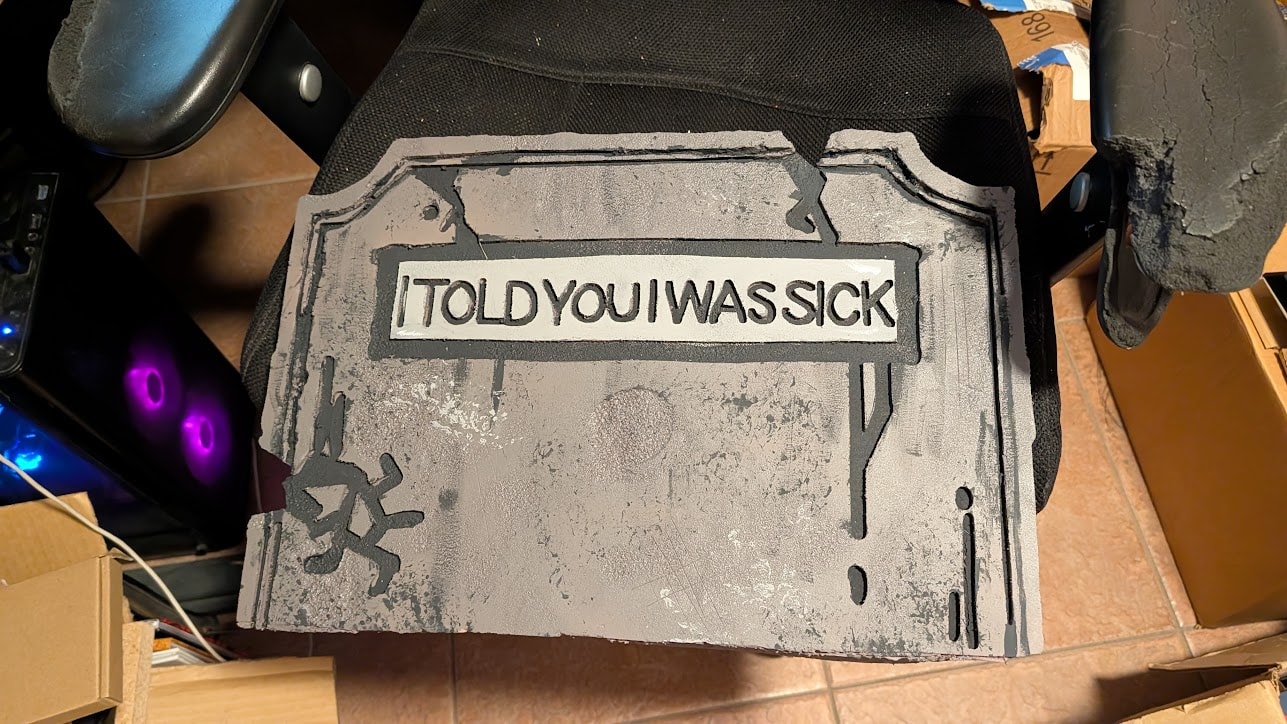
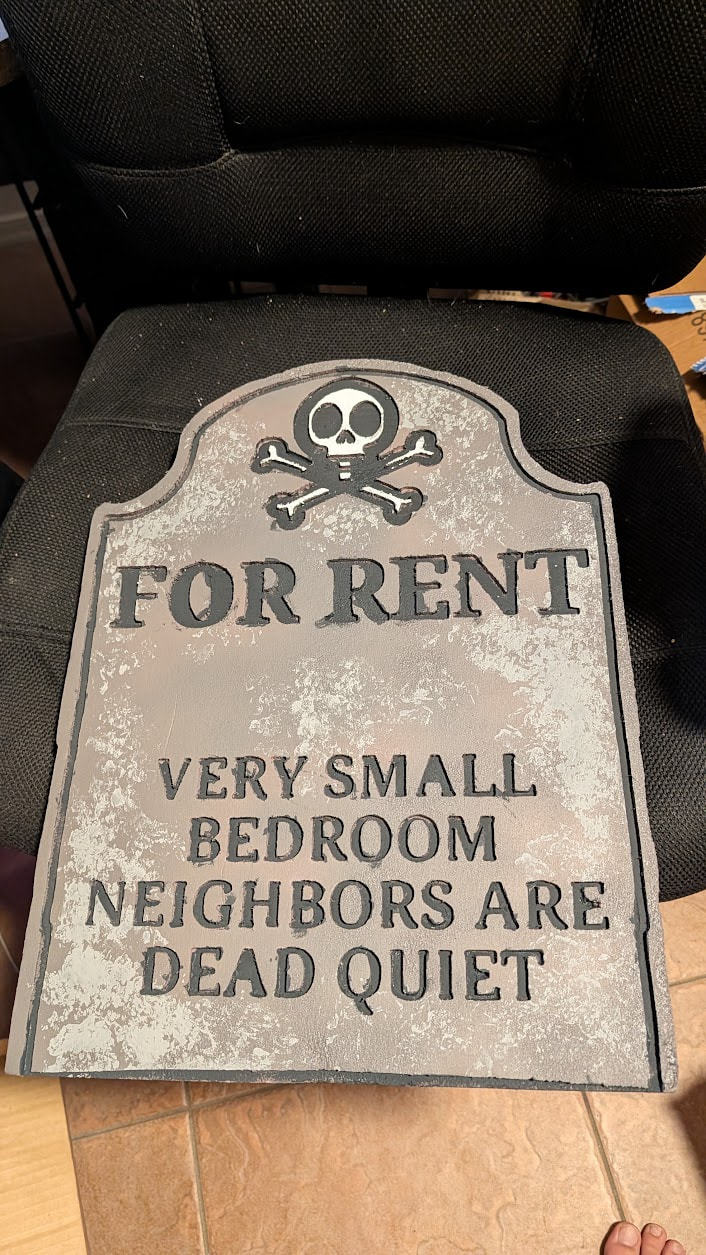
We’re still going to add some more foam on the bottom as bases and the next 3 she designed are far more complex and 3D so they’ll be a lot of fun if we find time to make them the next few weeks.
But just these 3 are so much better than the ones from the stores - they’re bigger I used less than 1/3rd of a 4x8 sheet of foam which cost less than buying 3 of these at a store would have cost.
Now to add some stakes and get them out in the yard!
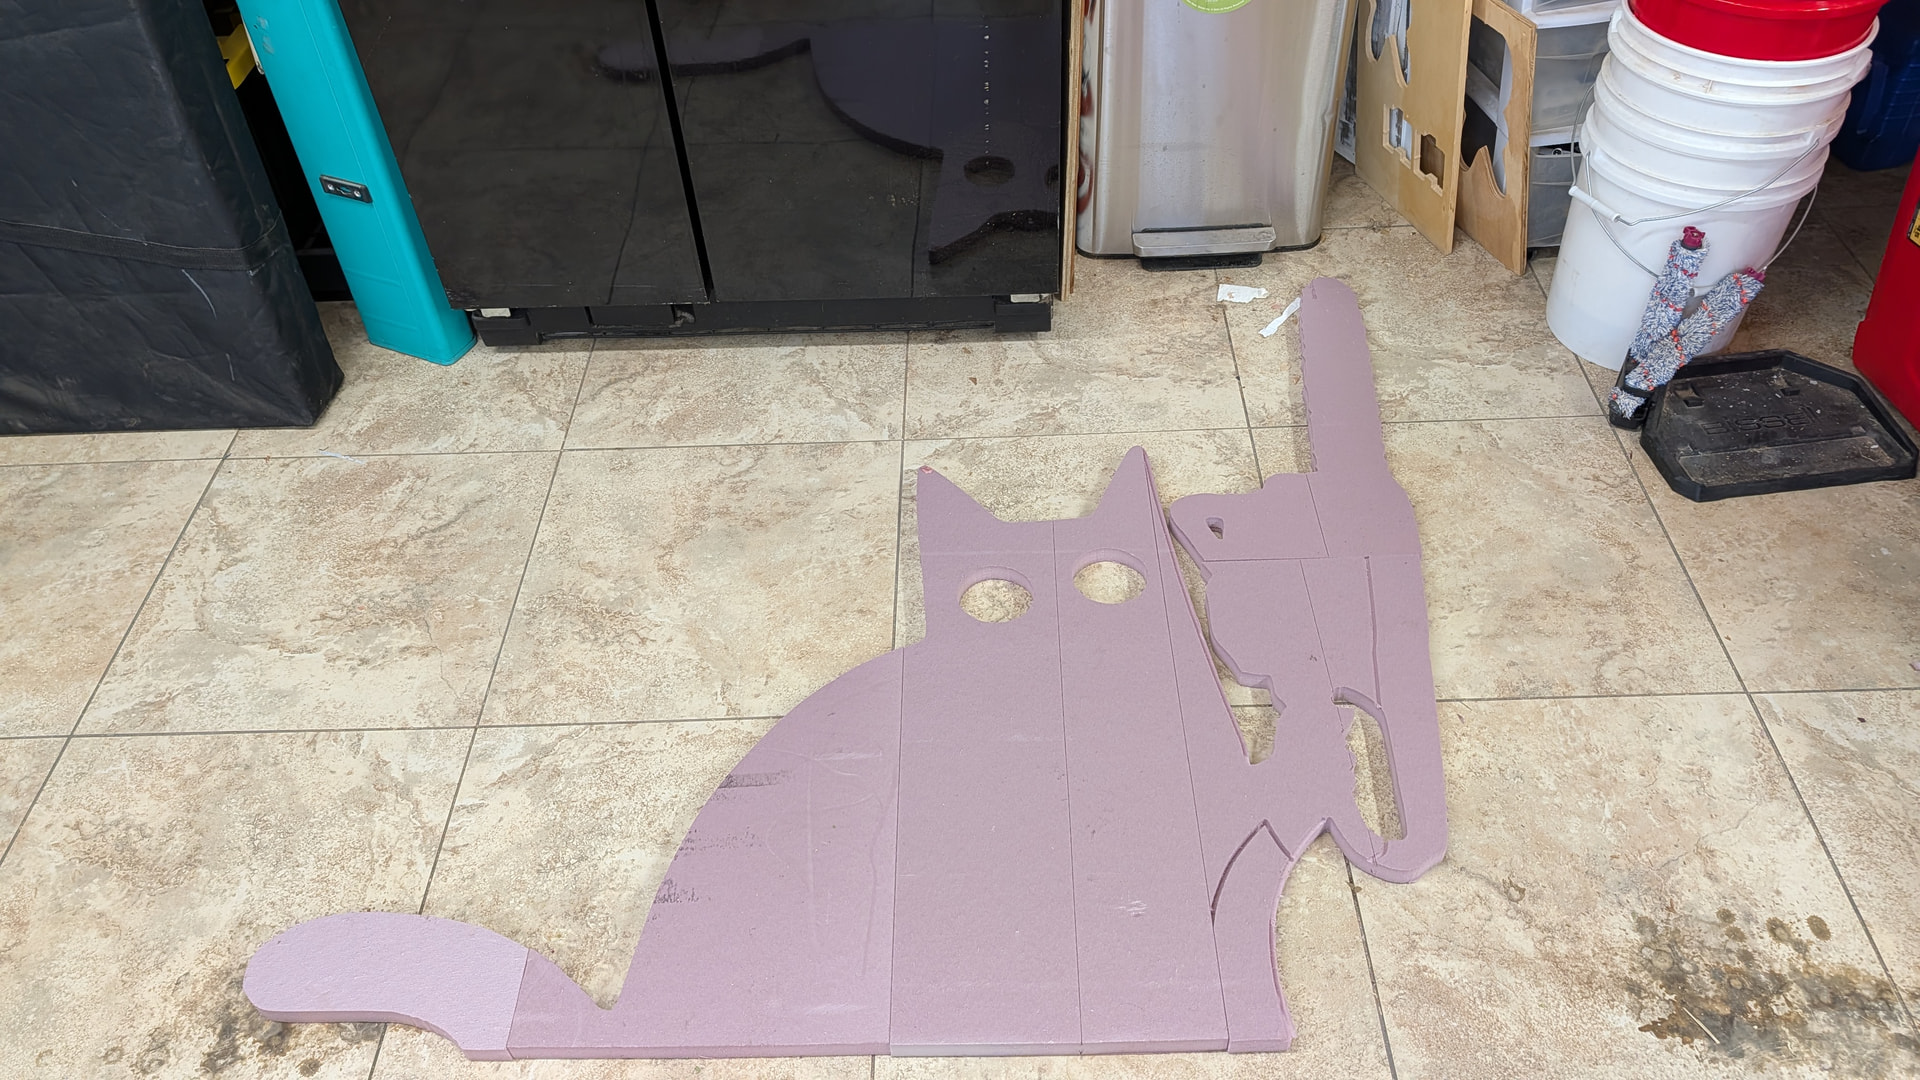

 (Though I’m not sure if Bondo would actually work on pink foam…or just eat it away like spray paint does.)