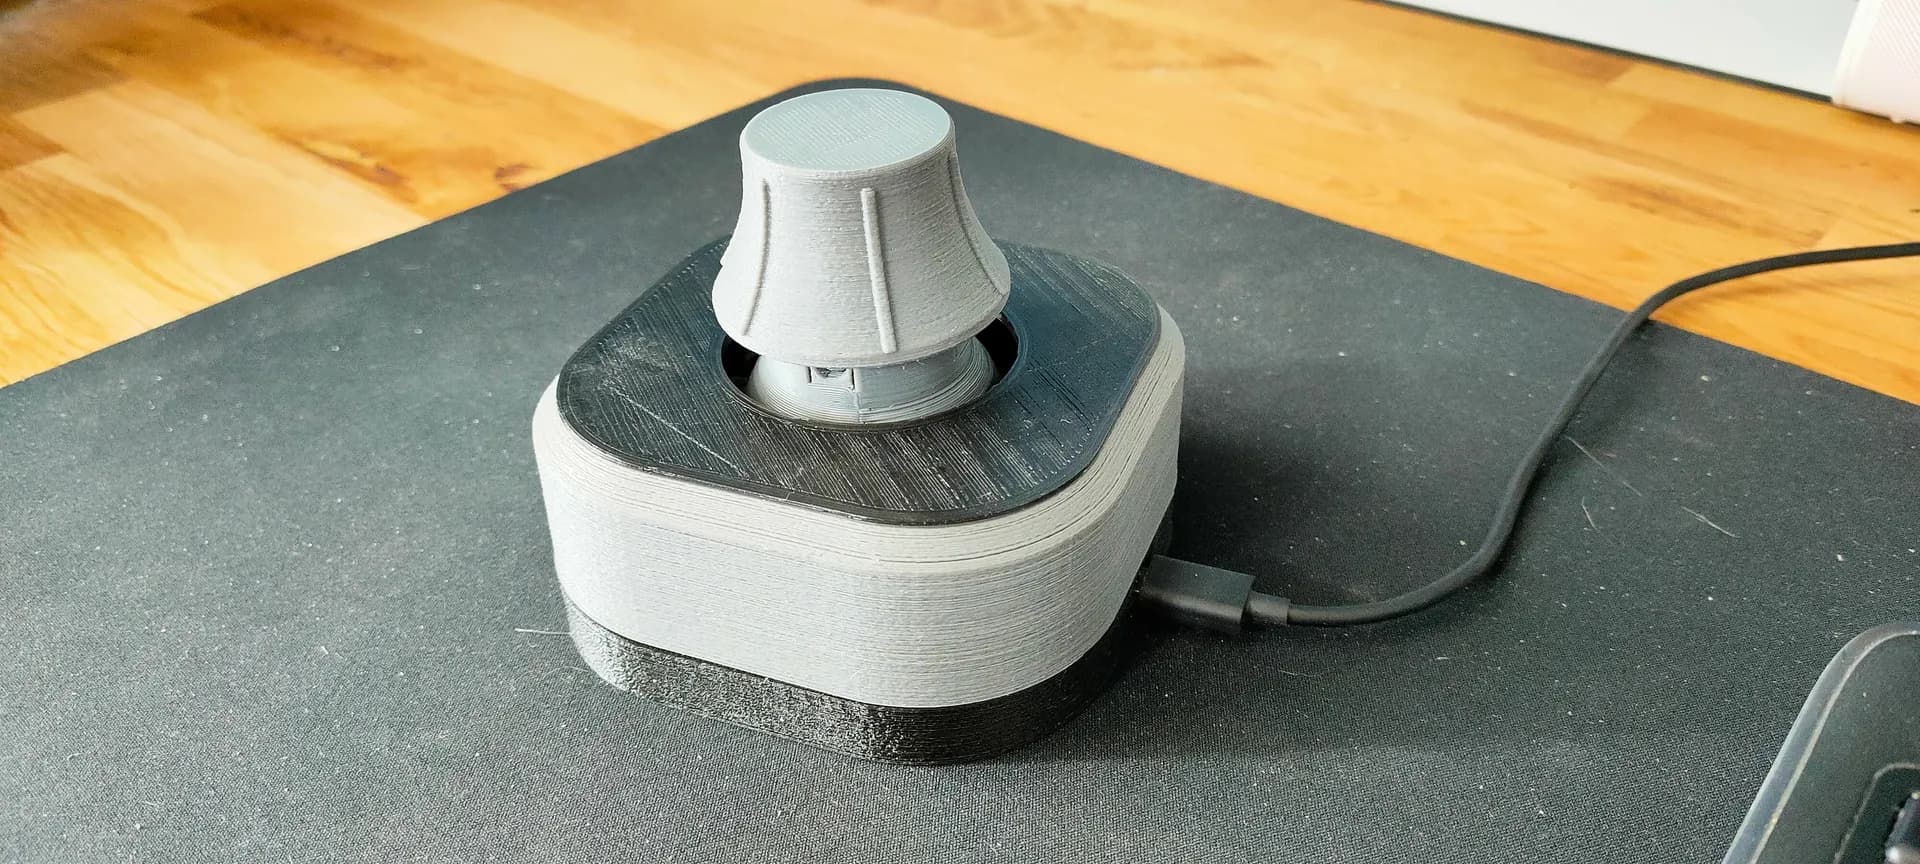
I “accidentally” bought a real used one on ebay. I was curious how it compares and was about half the cost of new.
4 Likes
Can you explain a little about what we’re looking at / talking about?
1 Like
Looking forward to your teardown video(s) ![]()
3 Likes
Ha, probably not.
But wow, this is an interesting design.

4 Likes
Yeah that was real neat seeing how it actually works. Thanks for sharing!
3 Likes
That is pretty interesting. I bet half the cost is in that base a 9/10 of the rest is in the knob. The rest doesn’t seem like it should be that expensive. Most of it feels way too pricey for what it costs to make. But they figured it out, so they can charge what they want. And professionals will pay for it.
2 Likes
Springs and a magnerometer for another version of the diy spacemouse
It uses the magnetometer and some magnets to detect movement
1 Like
Ah, got it. Tiny thing!
What do you think about the use of the springs?
That’s the part that got me concerned… I’m not sure if/how I will be able to adjust the tension and center point of the whole assembly
Trying to finish the few mods I have on the joystick one first, and then I’ll print the magnet version
I’ll need to make a few adjustments as the magnetometer he used is hard to find and I got another model
I will also need to adjust the code for spacemouse emulation rather than keyboard/mouse emulation…
Slim version published
@DougJoseph you can be my guinea pig ![]()
https://www.printables.com/fr/model/890178-spacemouse-mini-slim-profile
4 Likes
Cool. now if my joysticks and arduino would just get here.
1 Like
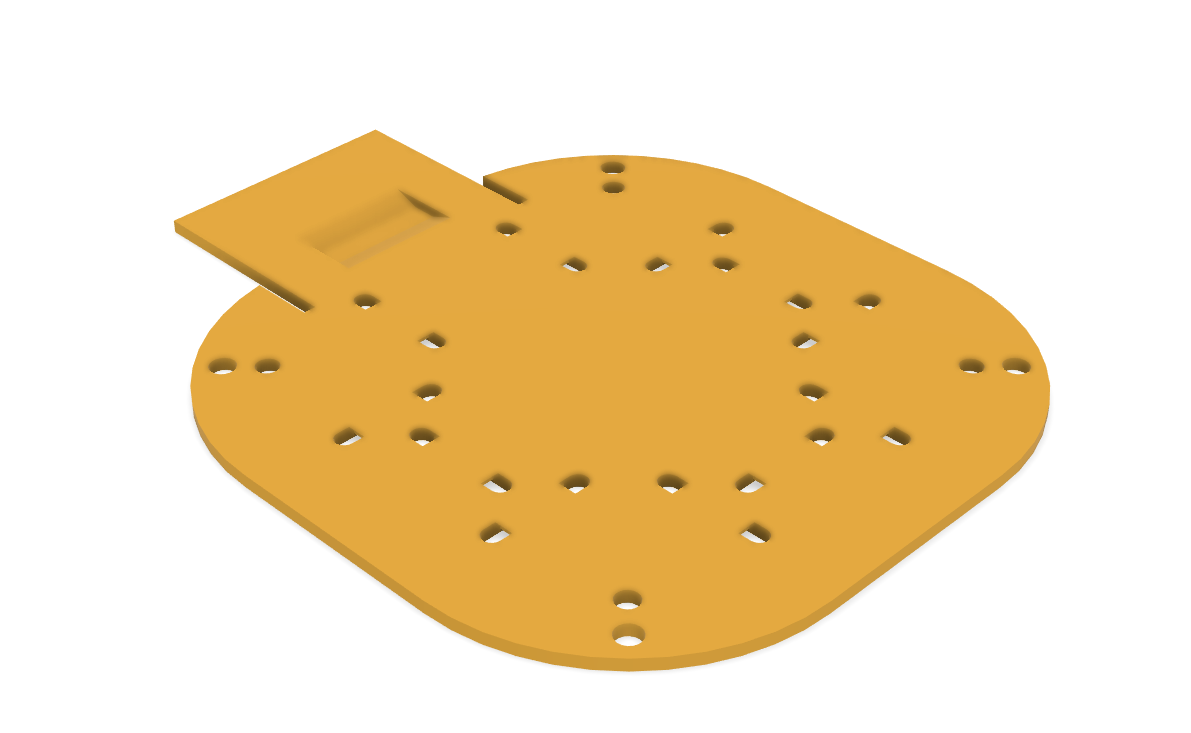
Moving forward on the second version with a “backpack”
I made the electronics box cover a separate part, but was stumped about how I could fix it to the base…
Adding screws would make it very wide and not really sexy… But I think I found a pretty clever solution…
Here’s the base (it has an appendice for the box and a small dimple for cable passthrough):
Then I add the box
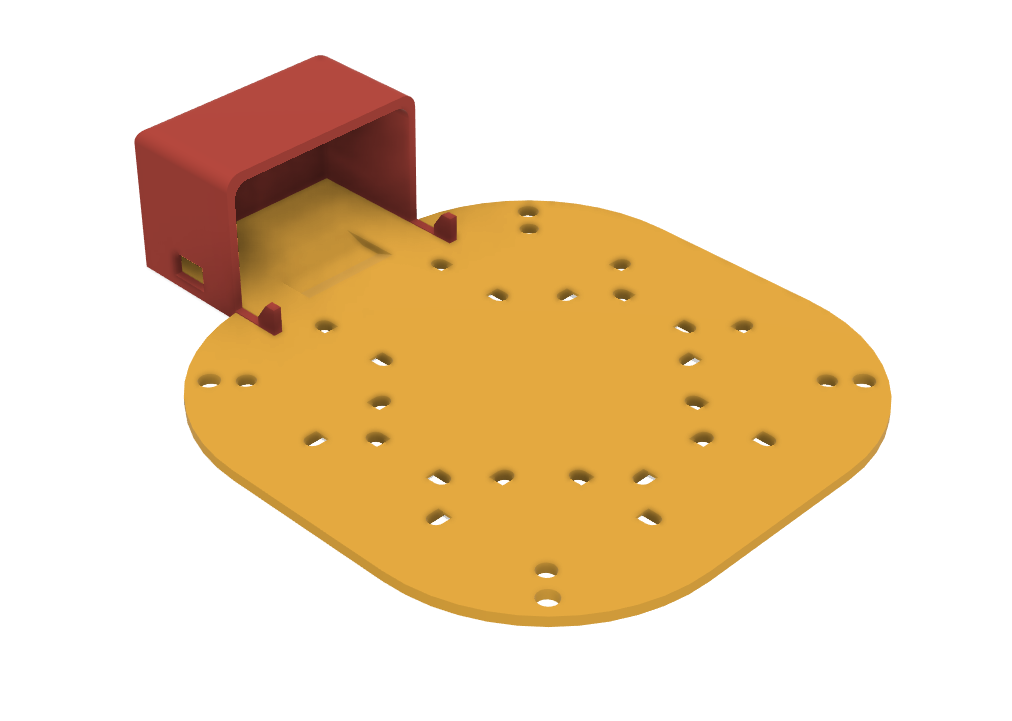
And when you slide in and secure the frame, it should all lock in place
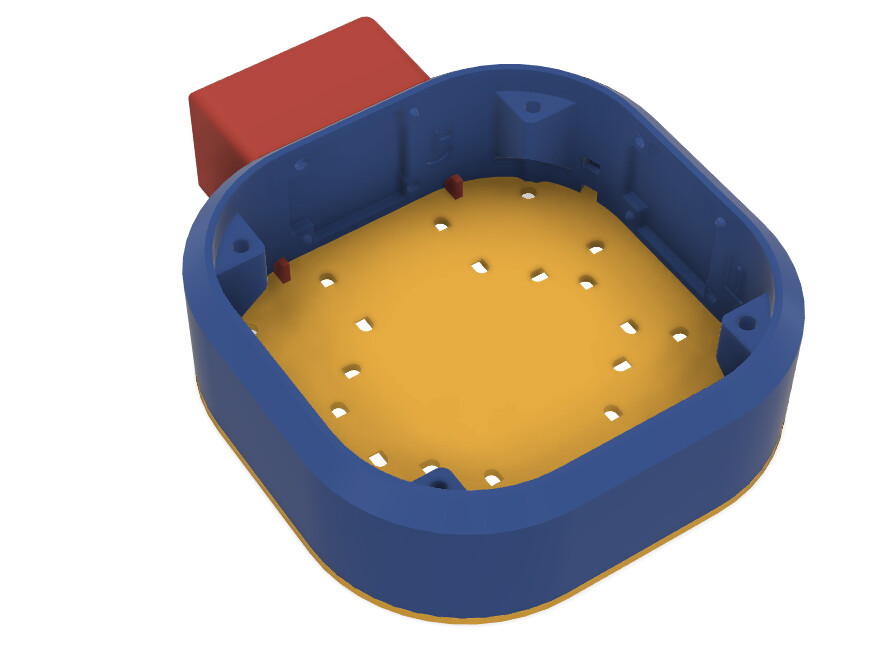
Printing the first prototype right now…
6 Likes
Wow! Cannot believe it comes apart so easily!!!\
1 Like
Looks nice! What printer are you using?
1 Like
Thanks for the excellent remix! It seems nearly flawless. I see only one tiny issue. The screw holes highlighted here, look awfully shallow, like maybe they did not get adjusted after having the 10 mm sliced off.
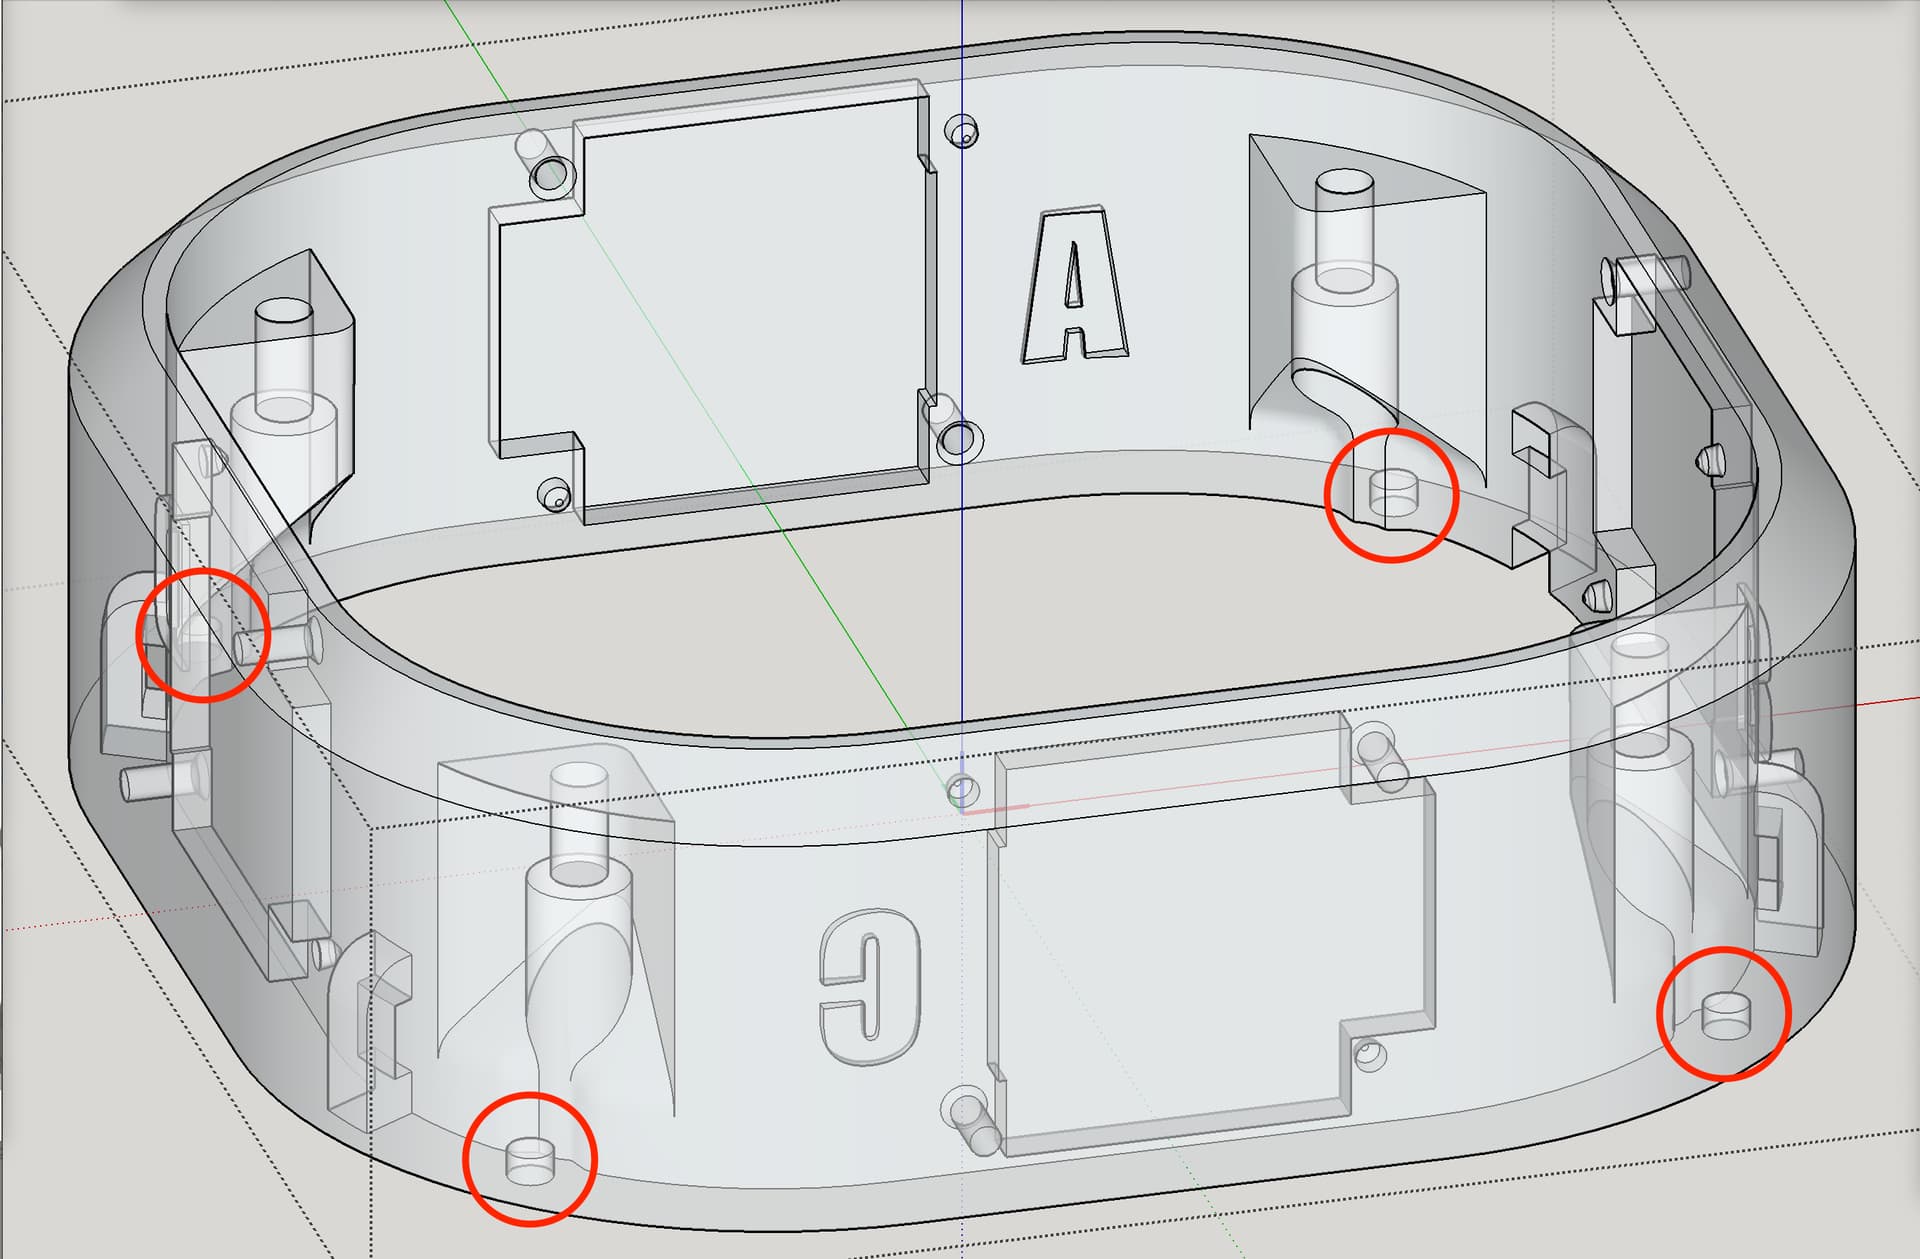
1 Like
Good catch!
I did see on mine that I had a layer separation when I tightened those
I’ll modify this thanks
EDIT: new version uploaded on printables
2 Likes
My joysticks and Arduino arrived today! I can’t get right into it because we have various and sundry family day activities and birthday party, etc. However, hopefully I will be able to get a working model sometime soon.
1 Like
I notice that the knobs on the joysticks are simply a press fit. They also seem to be a semi-flexible material, like a somewhat firm TPU type material. I wonder, would a press fit approach work on the the globes that get attached for this project? Must there be this drill and screw approach?
I’m not particularly a fan of the drill and screw approach either but given the directions of the forces, I think it’s probably necessary.