Can you post a pic with your hand on it using it for a good size reference?
Re:
I made a remix. Surprise surprise. LOL. But it was only a 2 minute job.
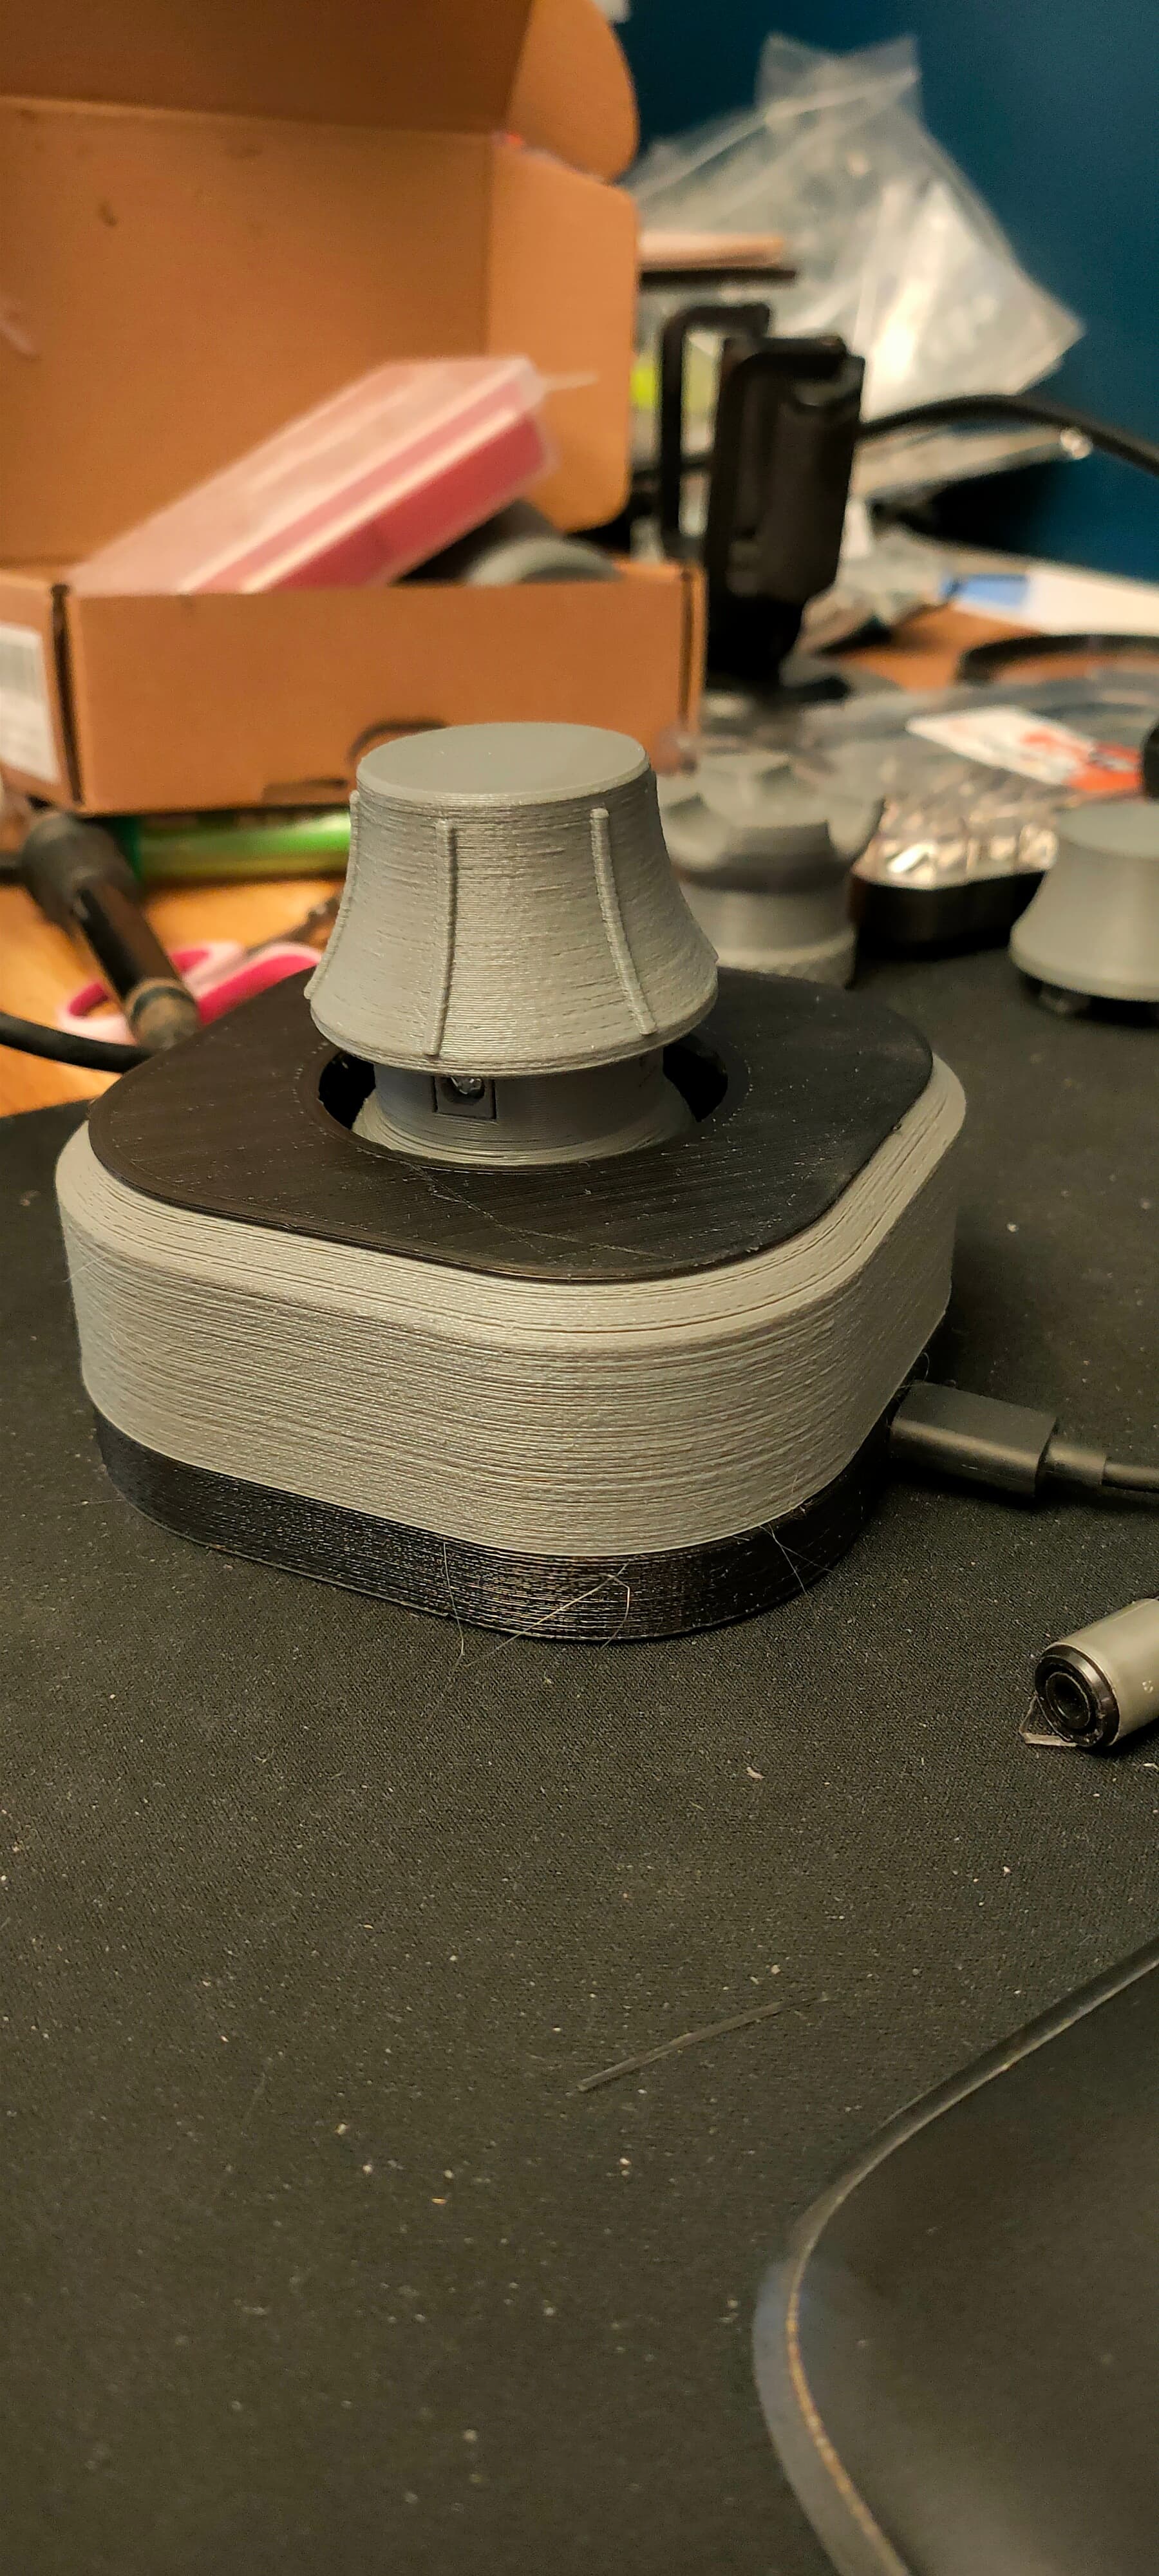
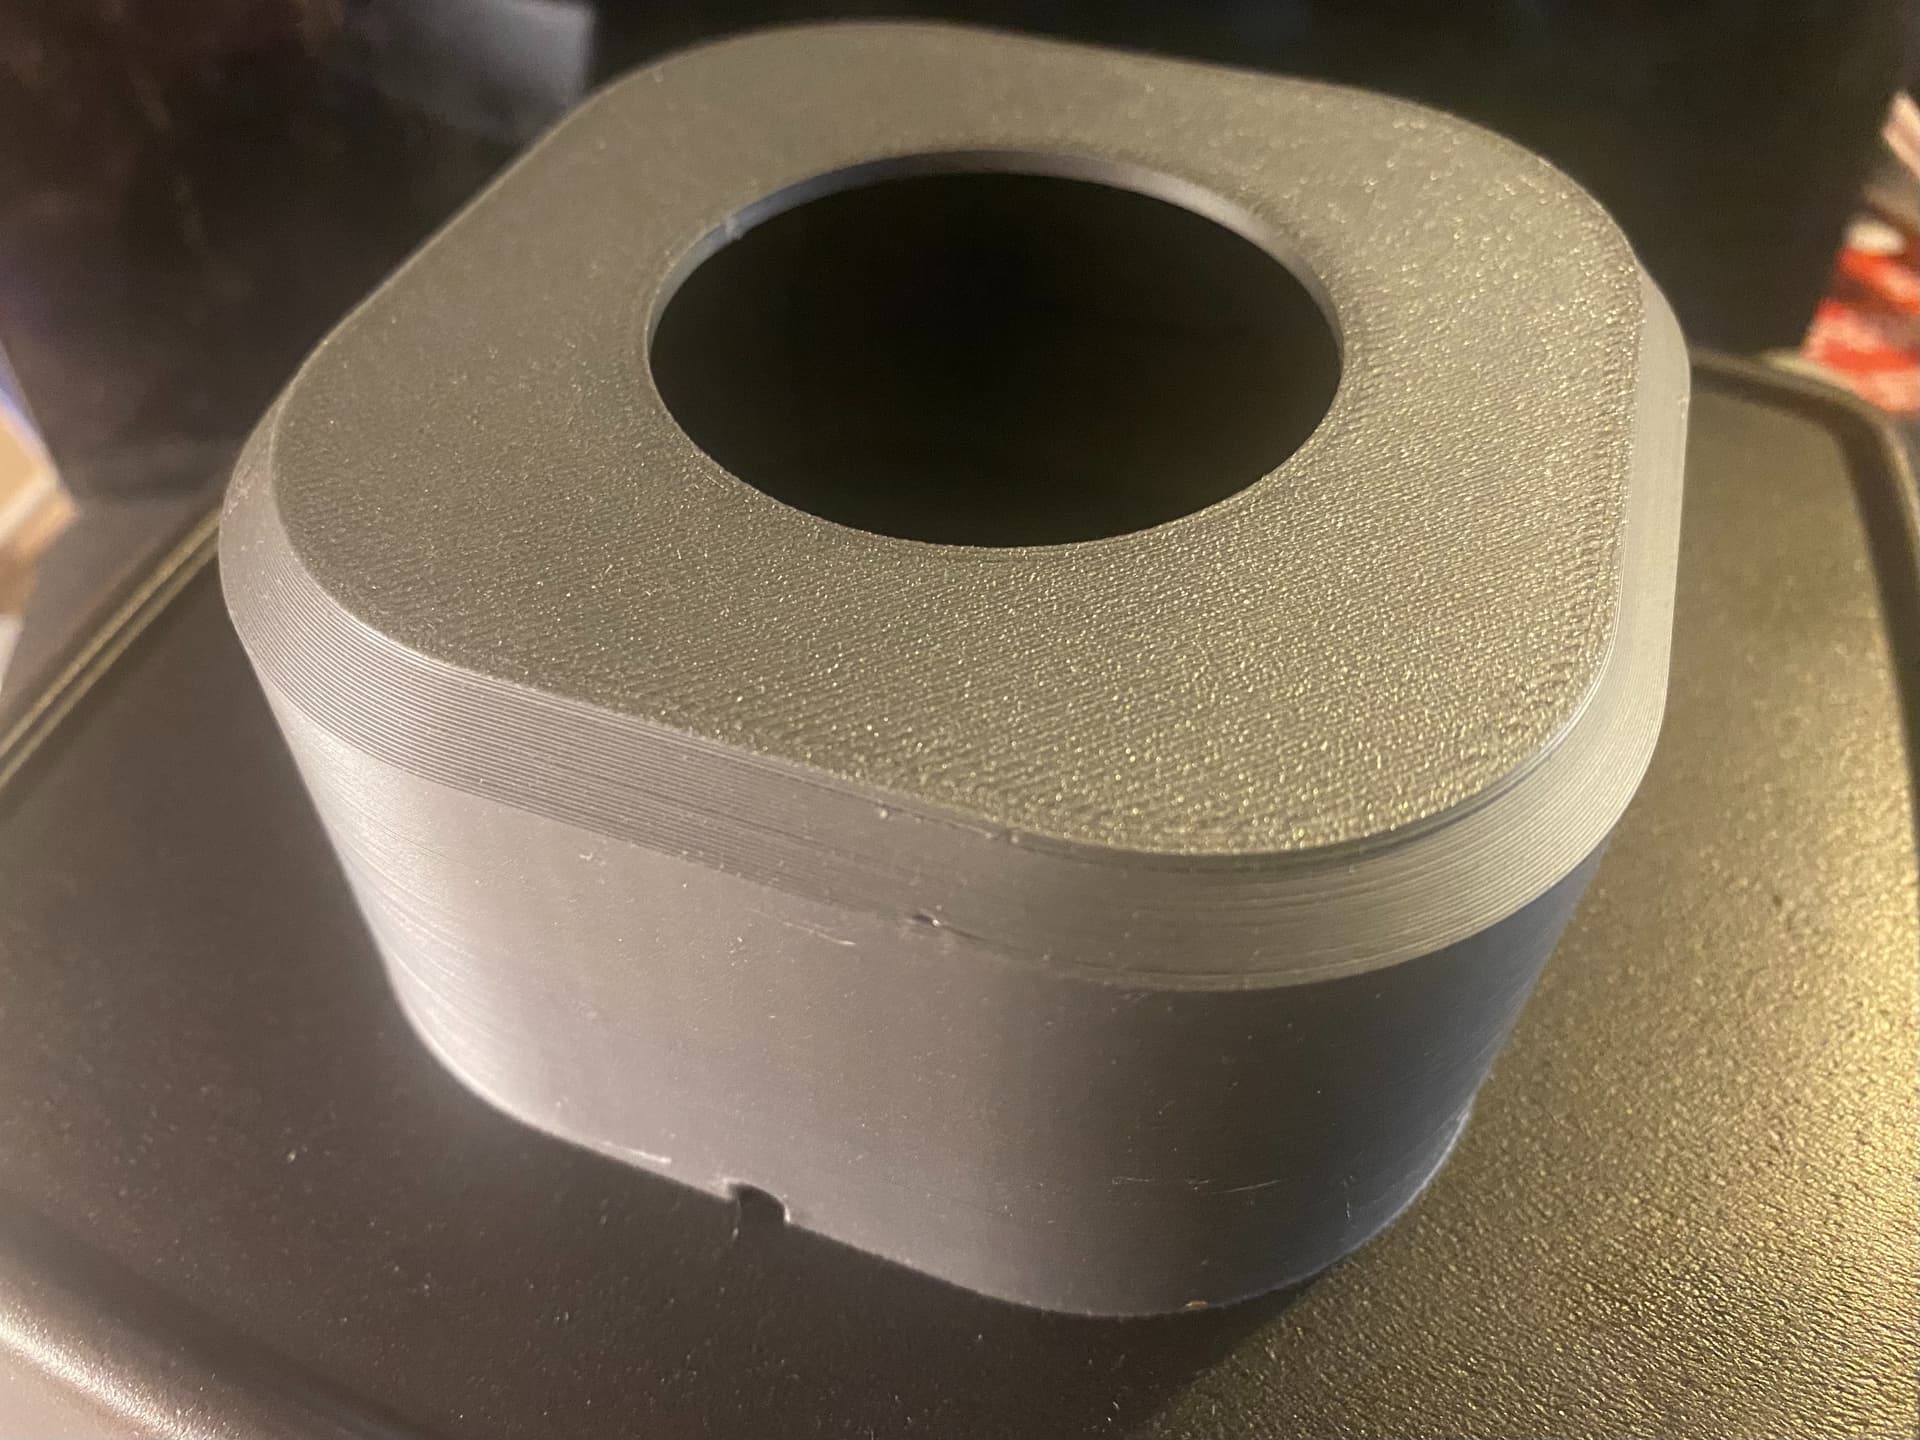
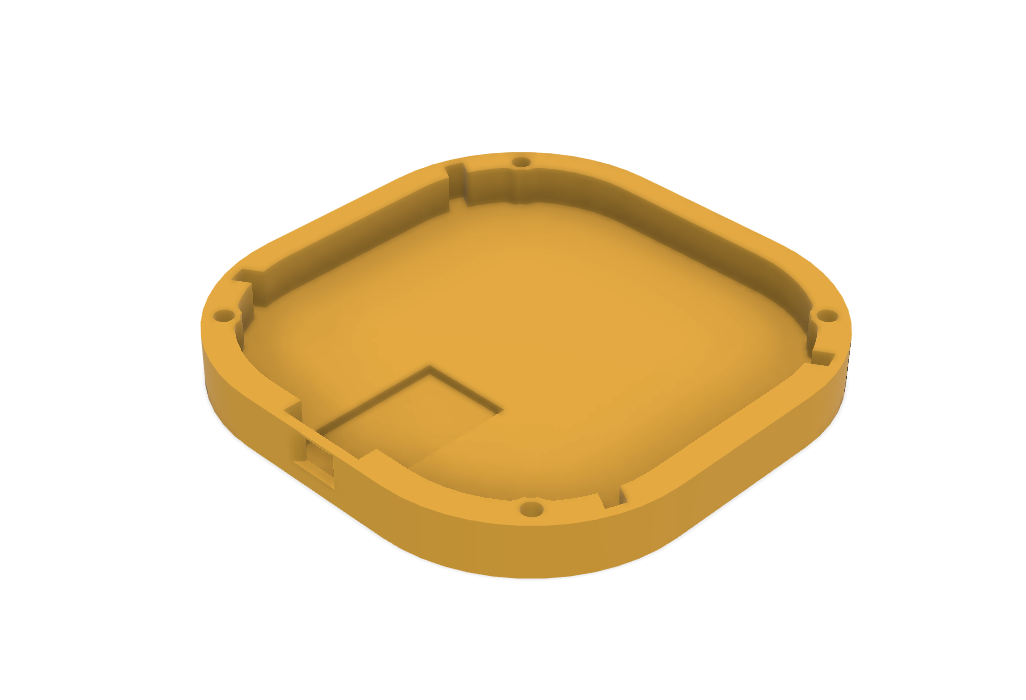
Mini-ish lid v2 - nestles flush instead of standing proud
https://www.printables.com/model/888693-mini-ish-lid-v2-nestles-flush-instead-of-standing
I thought the very same thing. Especially the second part about moving it to the back.
Looks awesome. Now just to pair that with my new flush mounting lid. See above.
Kudos here. Nice. Looking forward to it.
I was leaning toward just soldering to the leads.
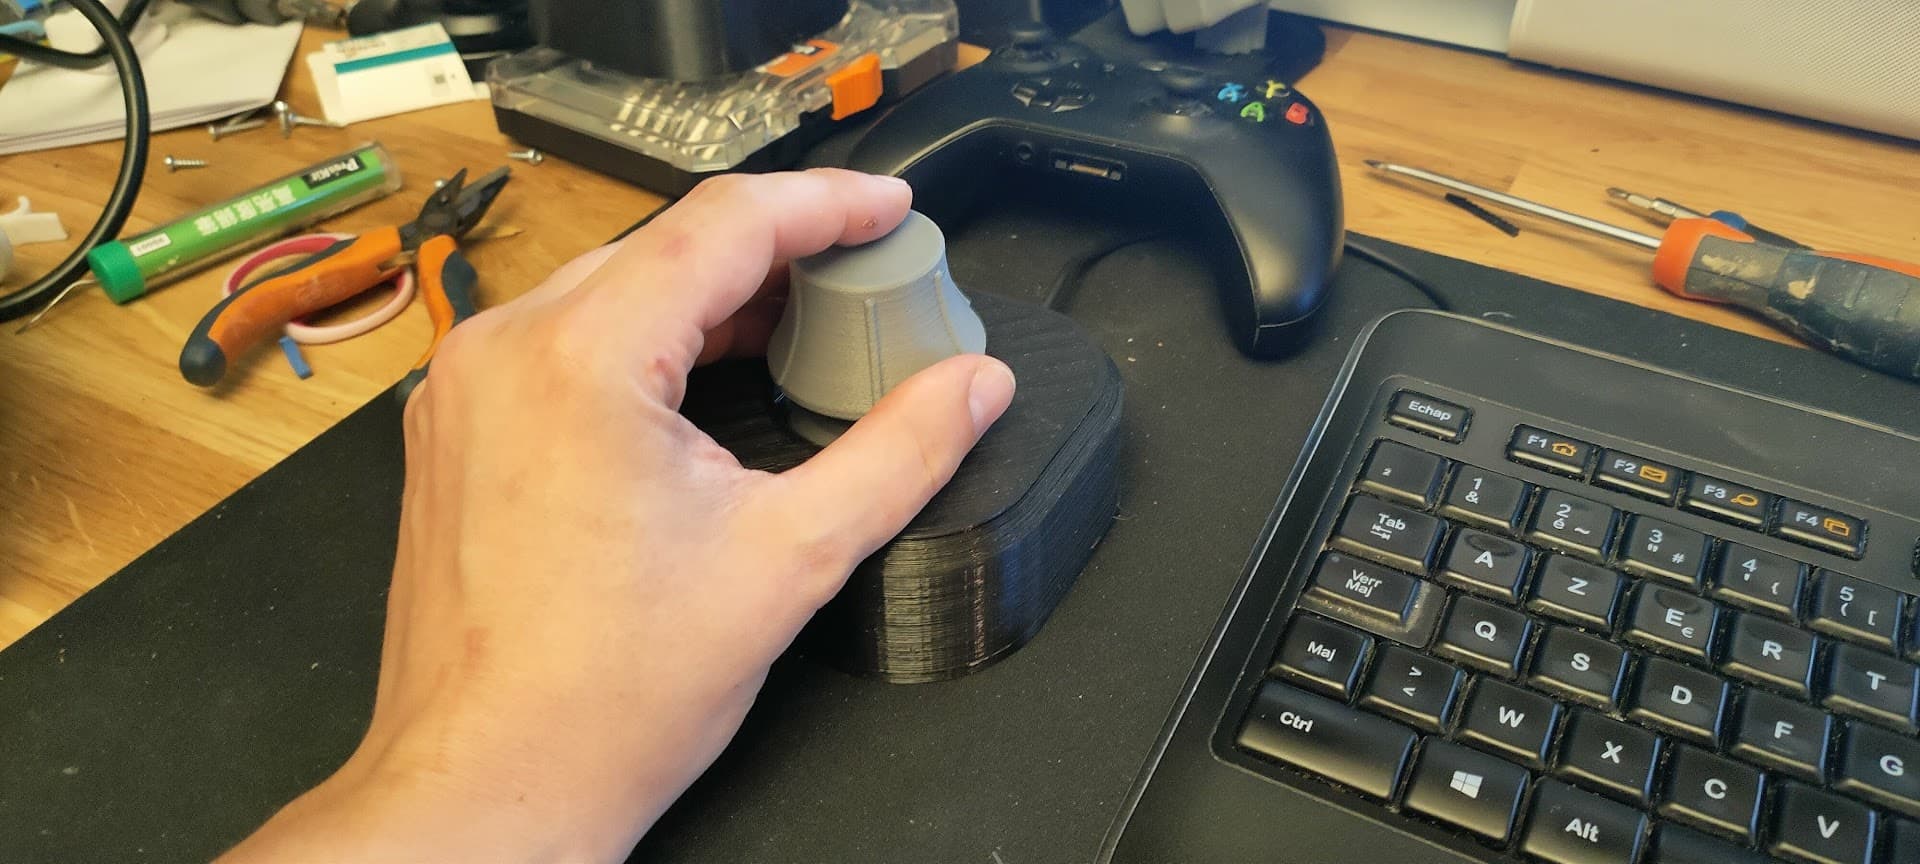
For reference, I have “medium” size hands, not too tiny but I’m not a carpenter by trade either ![]()
First one done, need to print and test it (re-re-re-printing the shorter base now)
Now I need to make the two other ones
I love the idea of having those different independent modules, this adds a lot of flexibility…
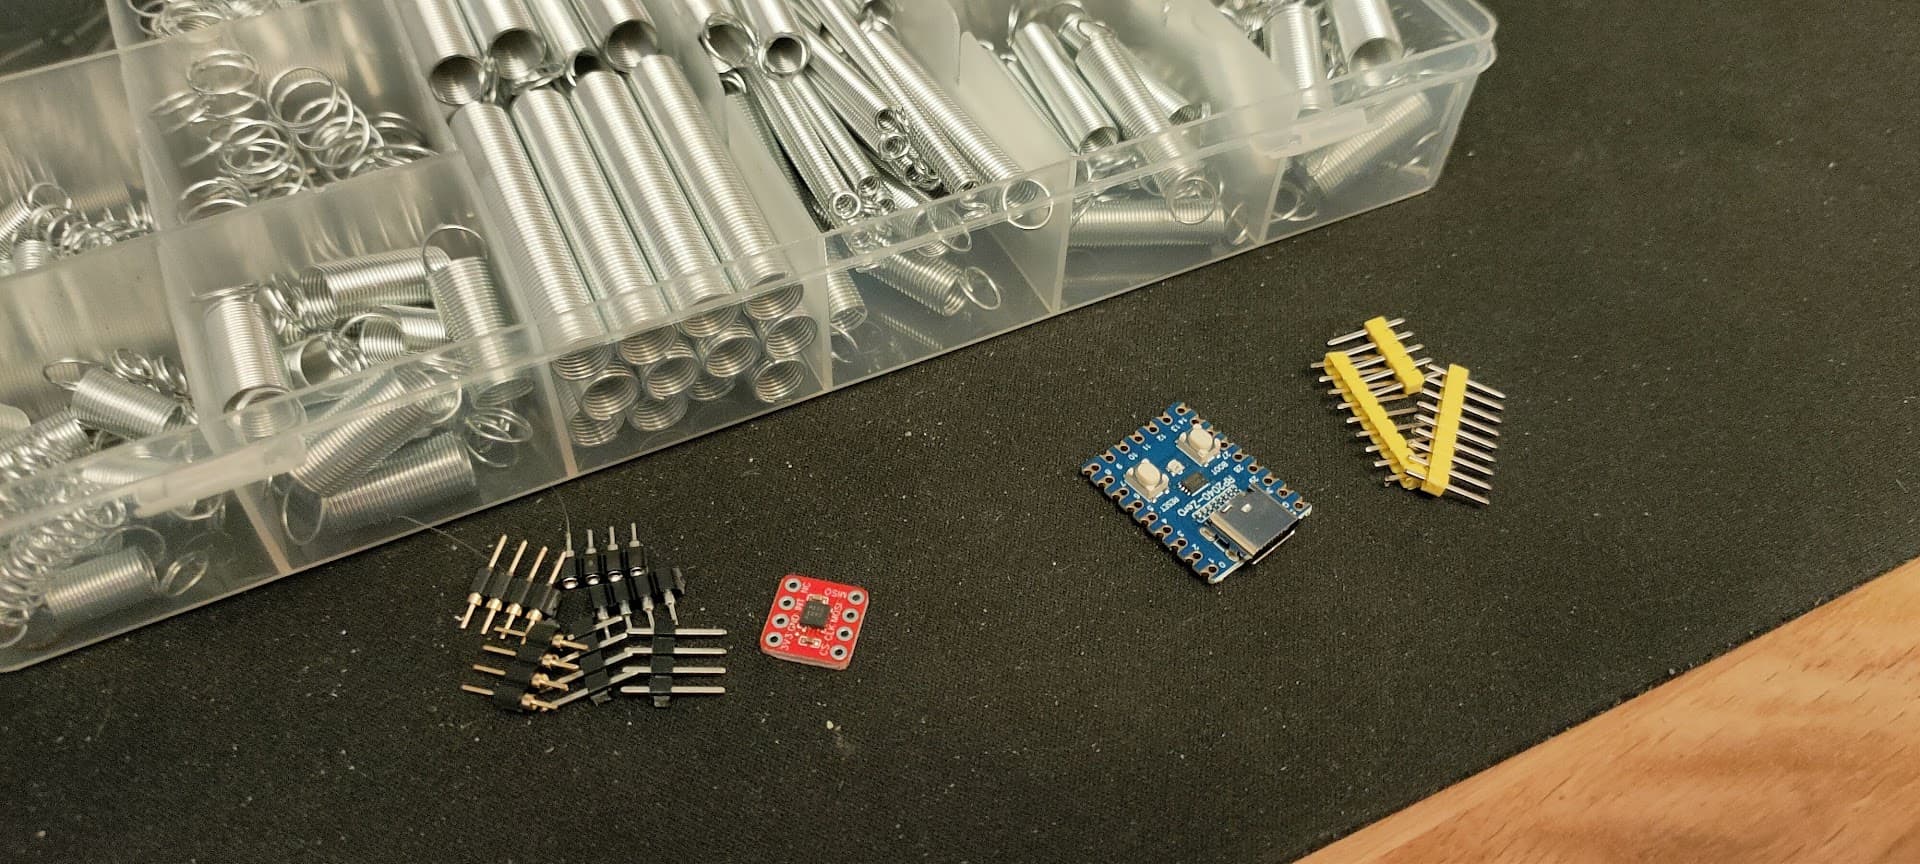
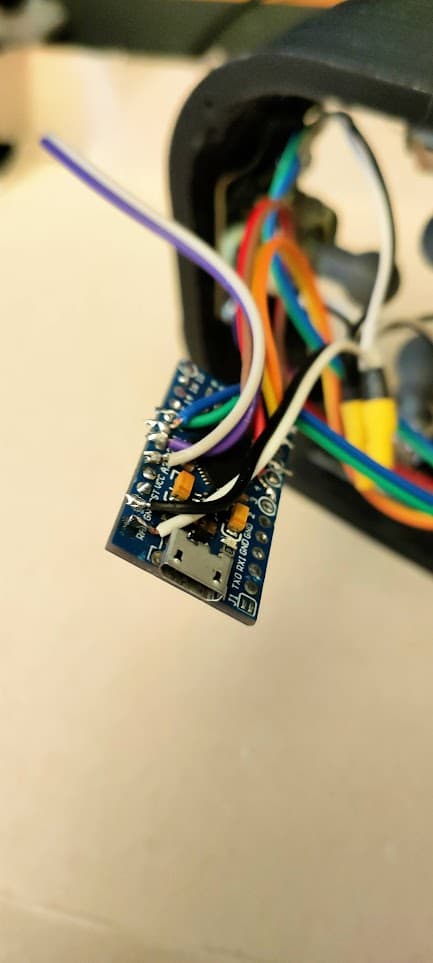
As a side note, this slimmer version requires soldering the wires directly yo the Arduino
Nothing too complex, but you have to be mindful of how you sort out those wires
3 Likes
If the ROG Ally sticks work out, that’d be pretty sweet. It could easily turn into a custom board that’s effectively the base plate for the design and has the flex PCB connectors on it ready to go. That’d be a remarkably simple design, actually…
Edit: Could also add some tact switches around the base pretty easily, similar to the existing space mouse. The housing could either have holes and separate printed buttons or use a flexure type thing, perhaps.
3 Likes
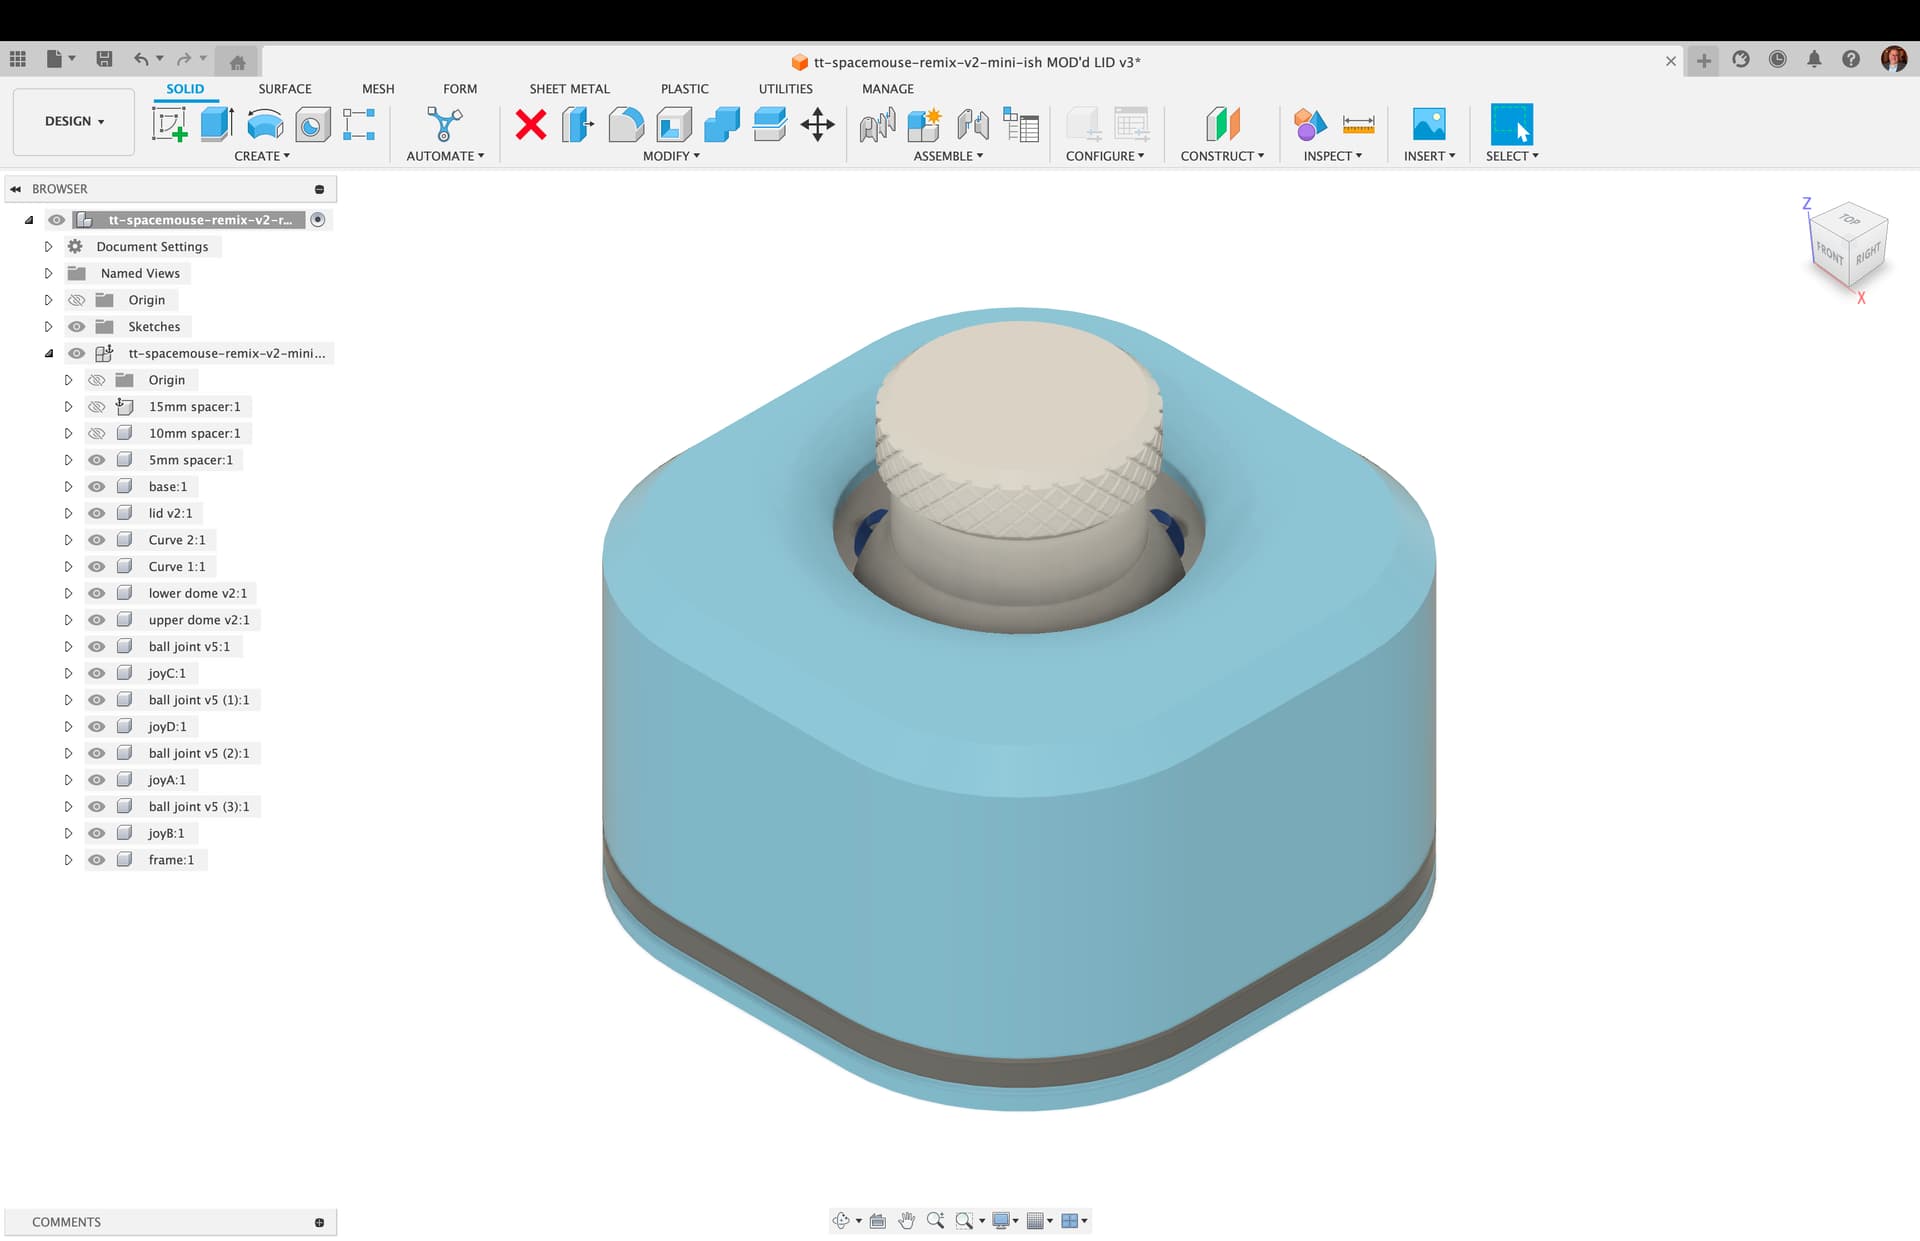
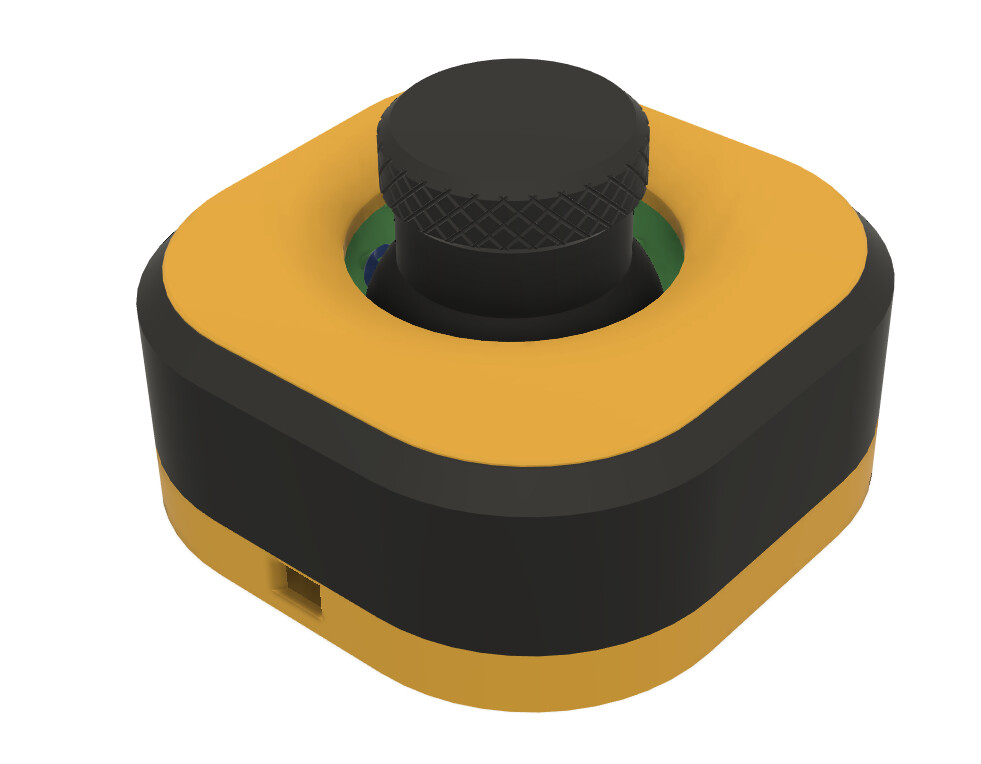
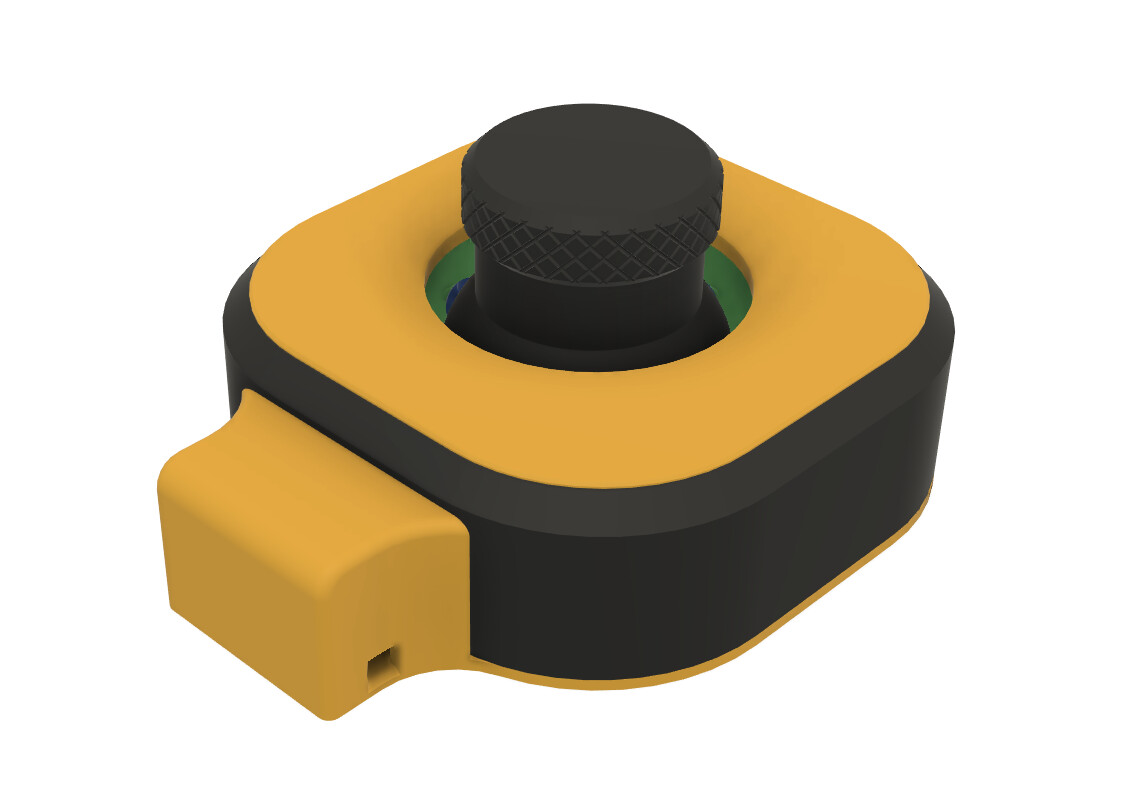
Wow, thank you! Looks great. Those renderings from Fusion 360 look like photos!
If I had your knowledge and skill, I’d embark on that asap. I may eventually give it a try, but I’d need help, a lot of help.
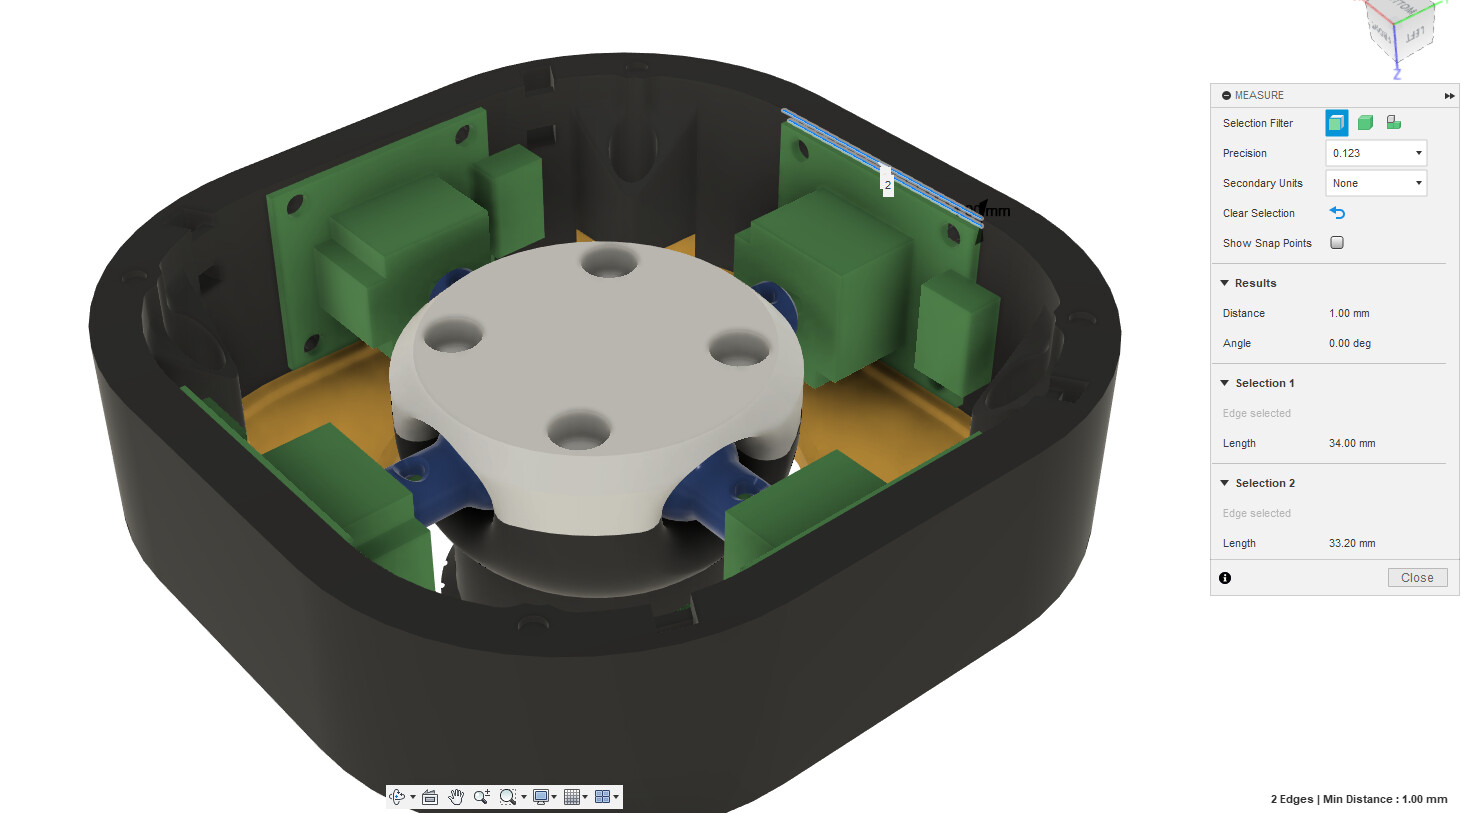
For mounting the joysticks I imagine an approach that captures one side in a slot, and then once the other side is swiveled into position, a small retaining clip slides into place. No screws. Easy access.
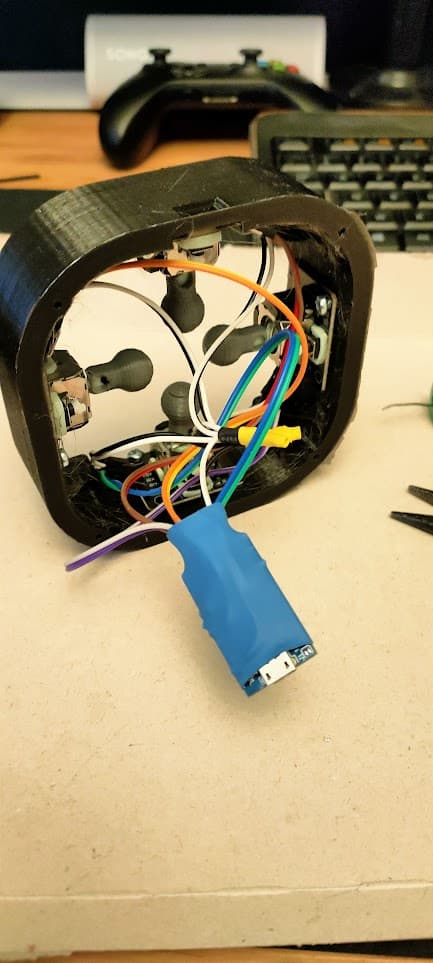
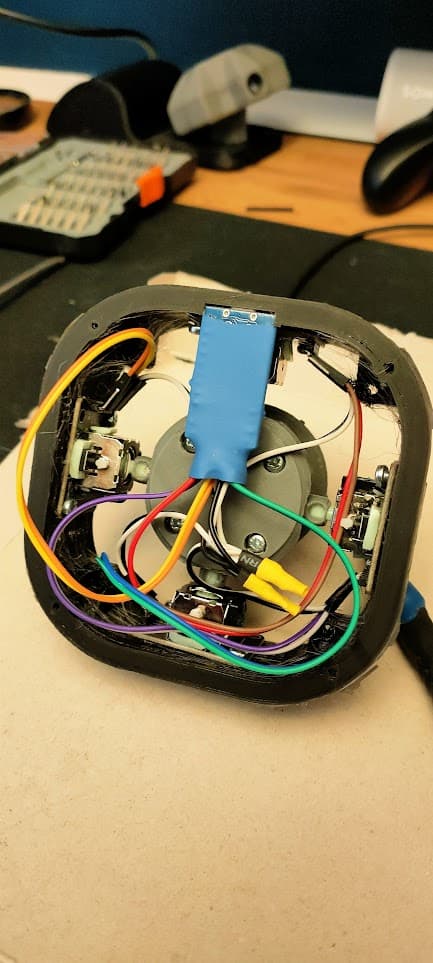
Backpack style - first prototype
Still unsure about how the usb plug will be sorted out…
This one can have a few switches added on top of the “backpack”
4 Likes
You’re on fire!
While you are at it, one idea I had, was to have the bottom part serve as a tray that can hold something for ballast / weight, such as pouring sand in, and then perhaps either covering the sand with an inner lid, or some other way of keeping it in.
On mine I just hot-glued a few fishing lead weights on the bottom ![]()
I’ve also seen people pausing the print and pouring lead balls or sand into the infill before resuming
1 Like
This would be a pretty good first-start kind of project. It’s really just taking an existing design and changing some connectors, maybe adding a few passives, that kinda thing.
Could also go with suction cups or something.
2 Likes
You don’t need a crazy amount of weight really
I added 120g and it was already plenty
Rubber feet will help a lot though
Btw, having the knob really light also feels smoother and easier to handle
I definitely recommand the switchable 2-parts knob mod in this regard
2 Likes
There’s a new version out today. I had to calibrate and tweak a couple things but this is significantly better. With the Teaching Tech version, I couldn’t twist the knob for a barrel roll without sending my model in all kinds of other undesired directions. It also normalizes the values and is not overly sensitive. I’m no longer “losing” the model in Fusion and needing to reset the view.
This basically took it from “this is cool but I’m not sure I’ll actually use it” to feeling far more useful and viable.
4 Likes
Cool!
Could the base and the lid be printed as one piece?
Yes, but… there is some ease of assembly when you can reach in from both the top and bottom. I have not yet gotten all my parts, so I’m not yet speaking from direct experience, just general past experience and looking at it.
1 Like
Having them in separate parts adds a lot of flexibility, ease of assembly, and is far easier for prototypingAlosi, I think it looks better with a two-tone scheme ![]()
2 Likes