This is the project that brought me to this site in the first place. The Primo was awesome and combined my 2 favorite things, 3D printing and making things that make things. ![]() Allas, once I got here I was immediately smitten with the Lowrider3 and its promise of full sheet cuts. Shortsidedly, I jumped in with both feet and built the LR3, but didn’t have enough room in the garage for a full sheet table. Sadly, the LR3 has been collecting dust, but I still want to make things that make things… so here I am. Wish me luck, again.
Allas, once I got here I was immediately smitten with the Lowrider3 and its promise of full sheet cuts. Shortsidedly, I jumped in with both feet and built the LR3, but didn’t have enough room in the garage for a full sheet table. Sadly, the LR3 has been collecting dust, but I still want to make things that make things… so here I am. Wish me luck, again.
3 Likes
I started digging back into this project after my “need” for a single rail vertical motion system. There are a few other designs out there, but @vicious1’s work is top notch so why learn something new? ![]()
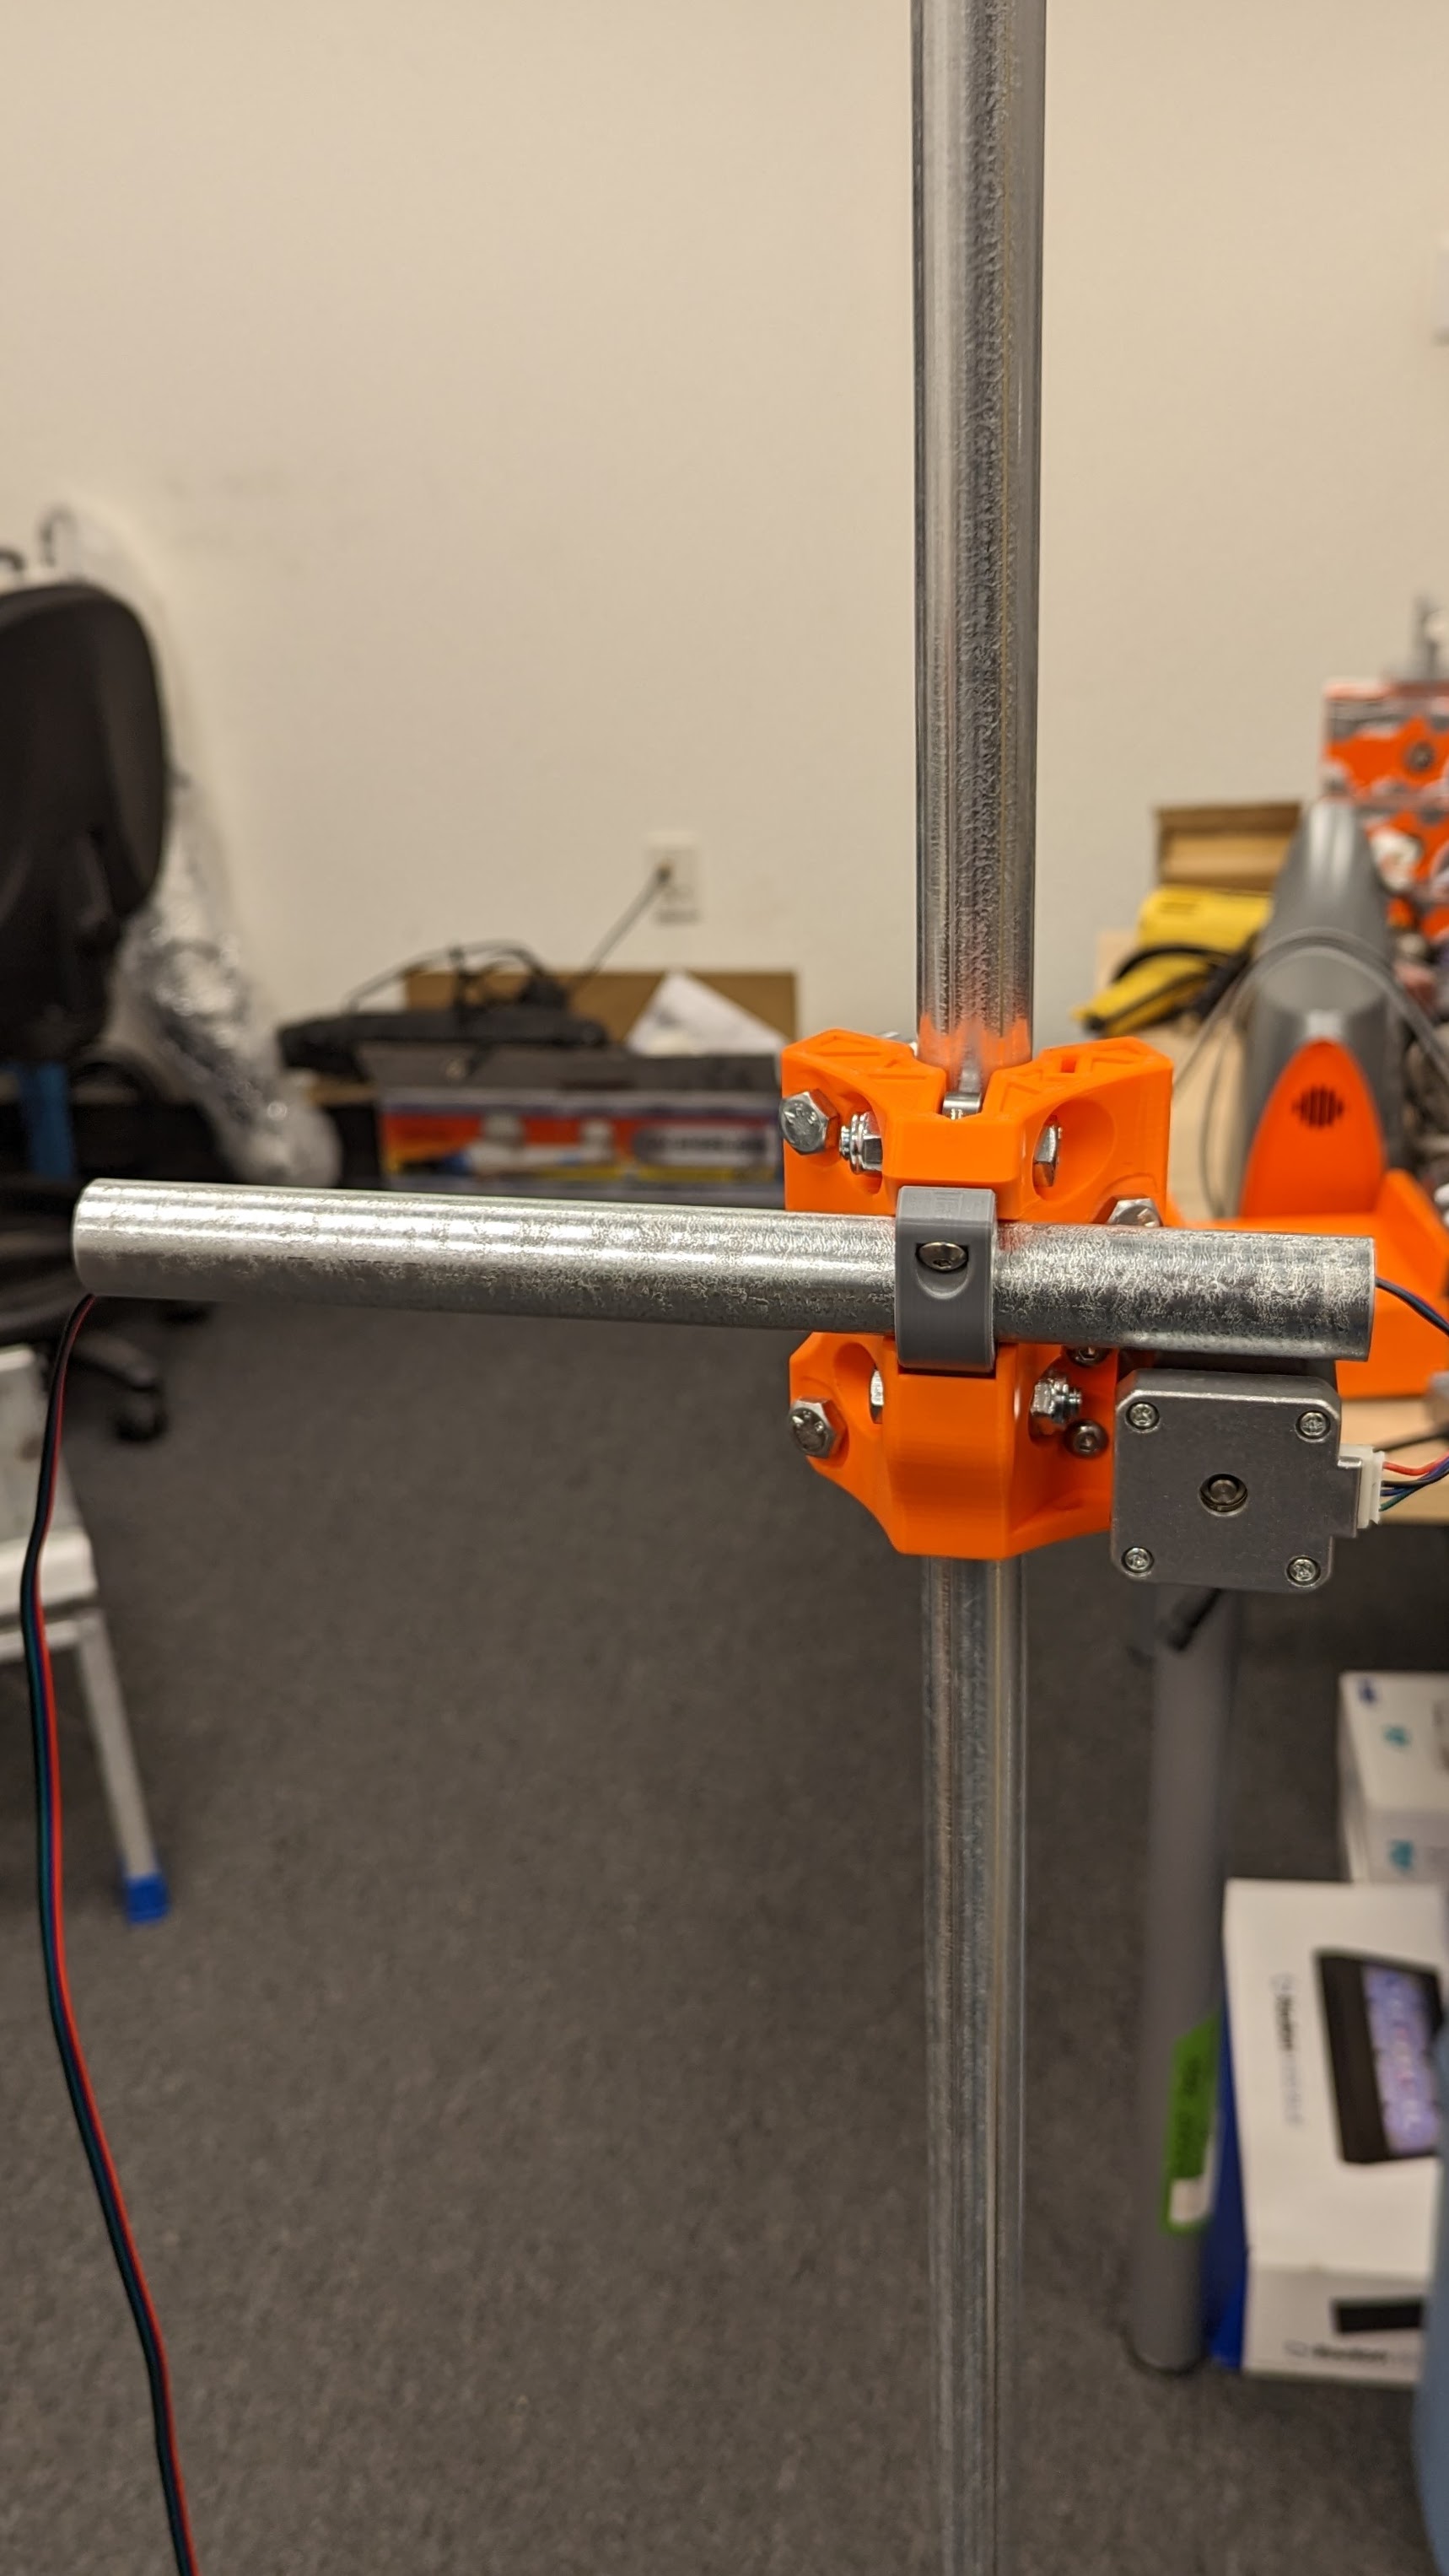
After a quick and dirty remix, I’m ready for mounting. Fingers crossed, the belt tension is enough to keep things straight.
4 Likes
Well, this is going to be interesting!
4 Likes
Maybe I’ll get Klipper working on this one. ![]()
1 Like
How quickly a single rail turned into a double. I’m still using a single-axis config with 2 rails/steppers to keep things parallel.
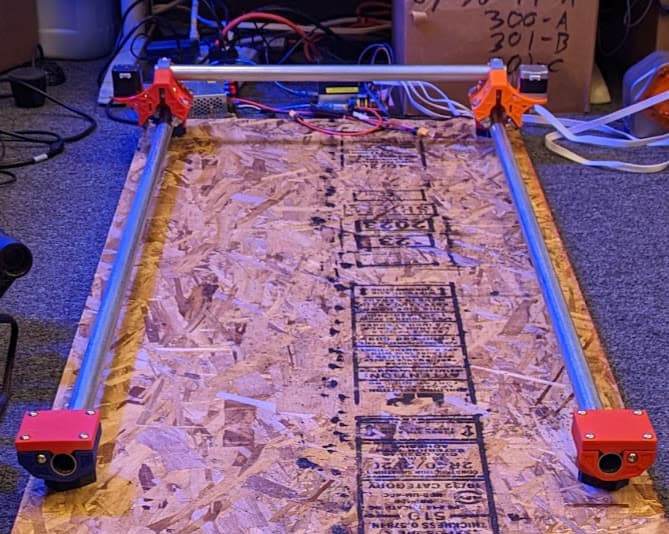
I’m using an old Arduino Uno with a CNC shield running klipper and TMC2209 drivers in UART mode to drive it. Klipper allows you to define cartesian kinematics with no extruder, but override all axises’ G28 (homing) gcode with a defined macro to only home “Y”. I’m also using a 3rd driver to define a “manual stepper” to drive a peristaltic pump.
This has been a fun little side project, but I think it’s time to build the real deal. Props to the MPCNC colourizer BTW!
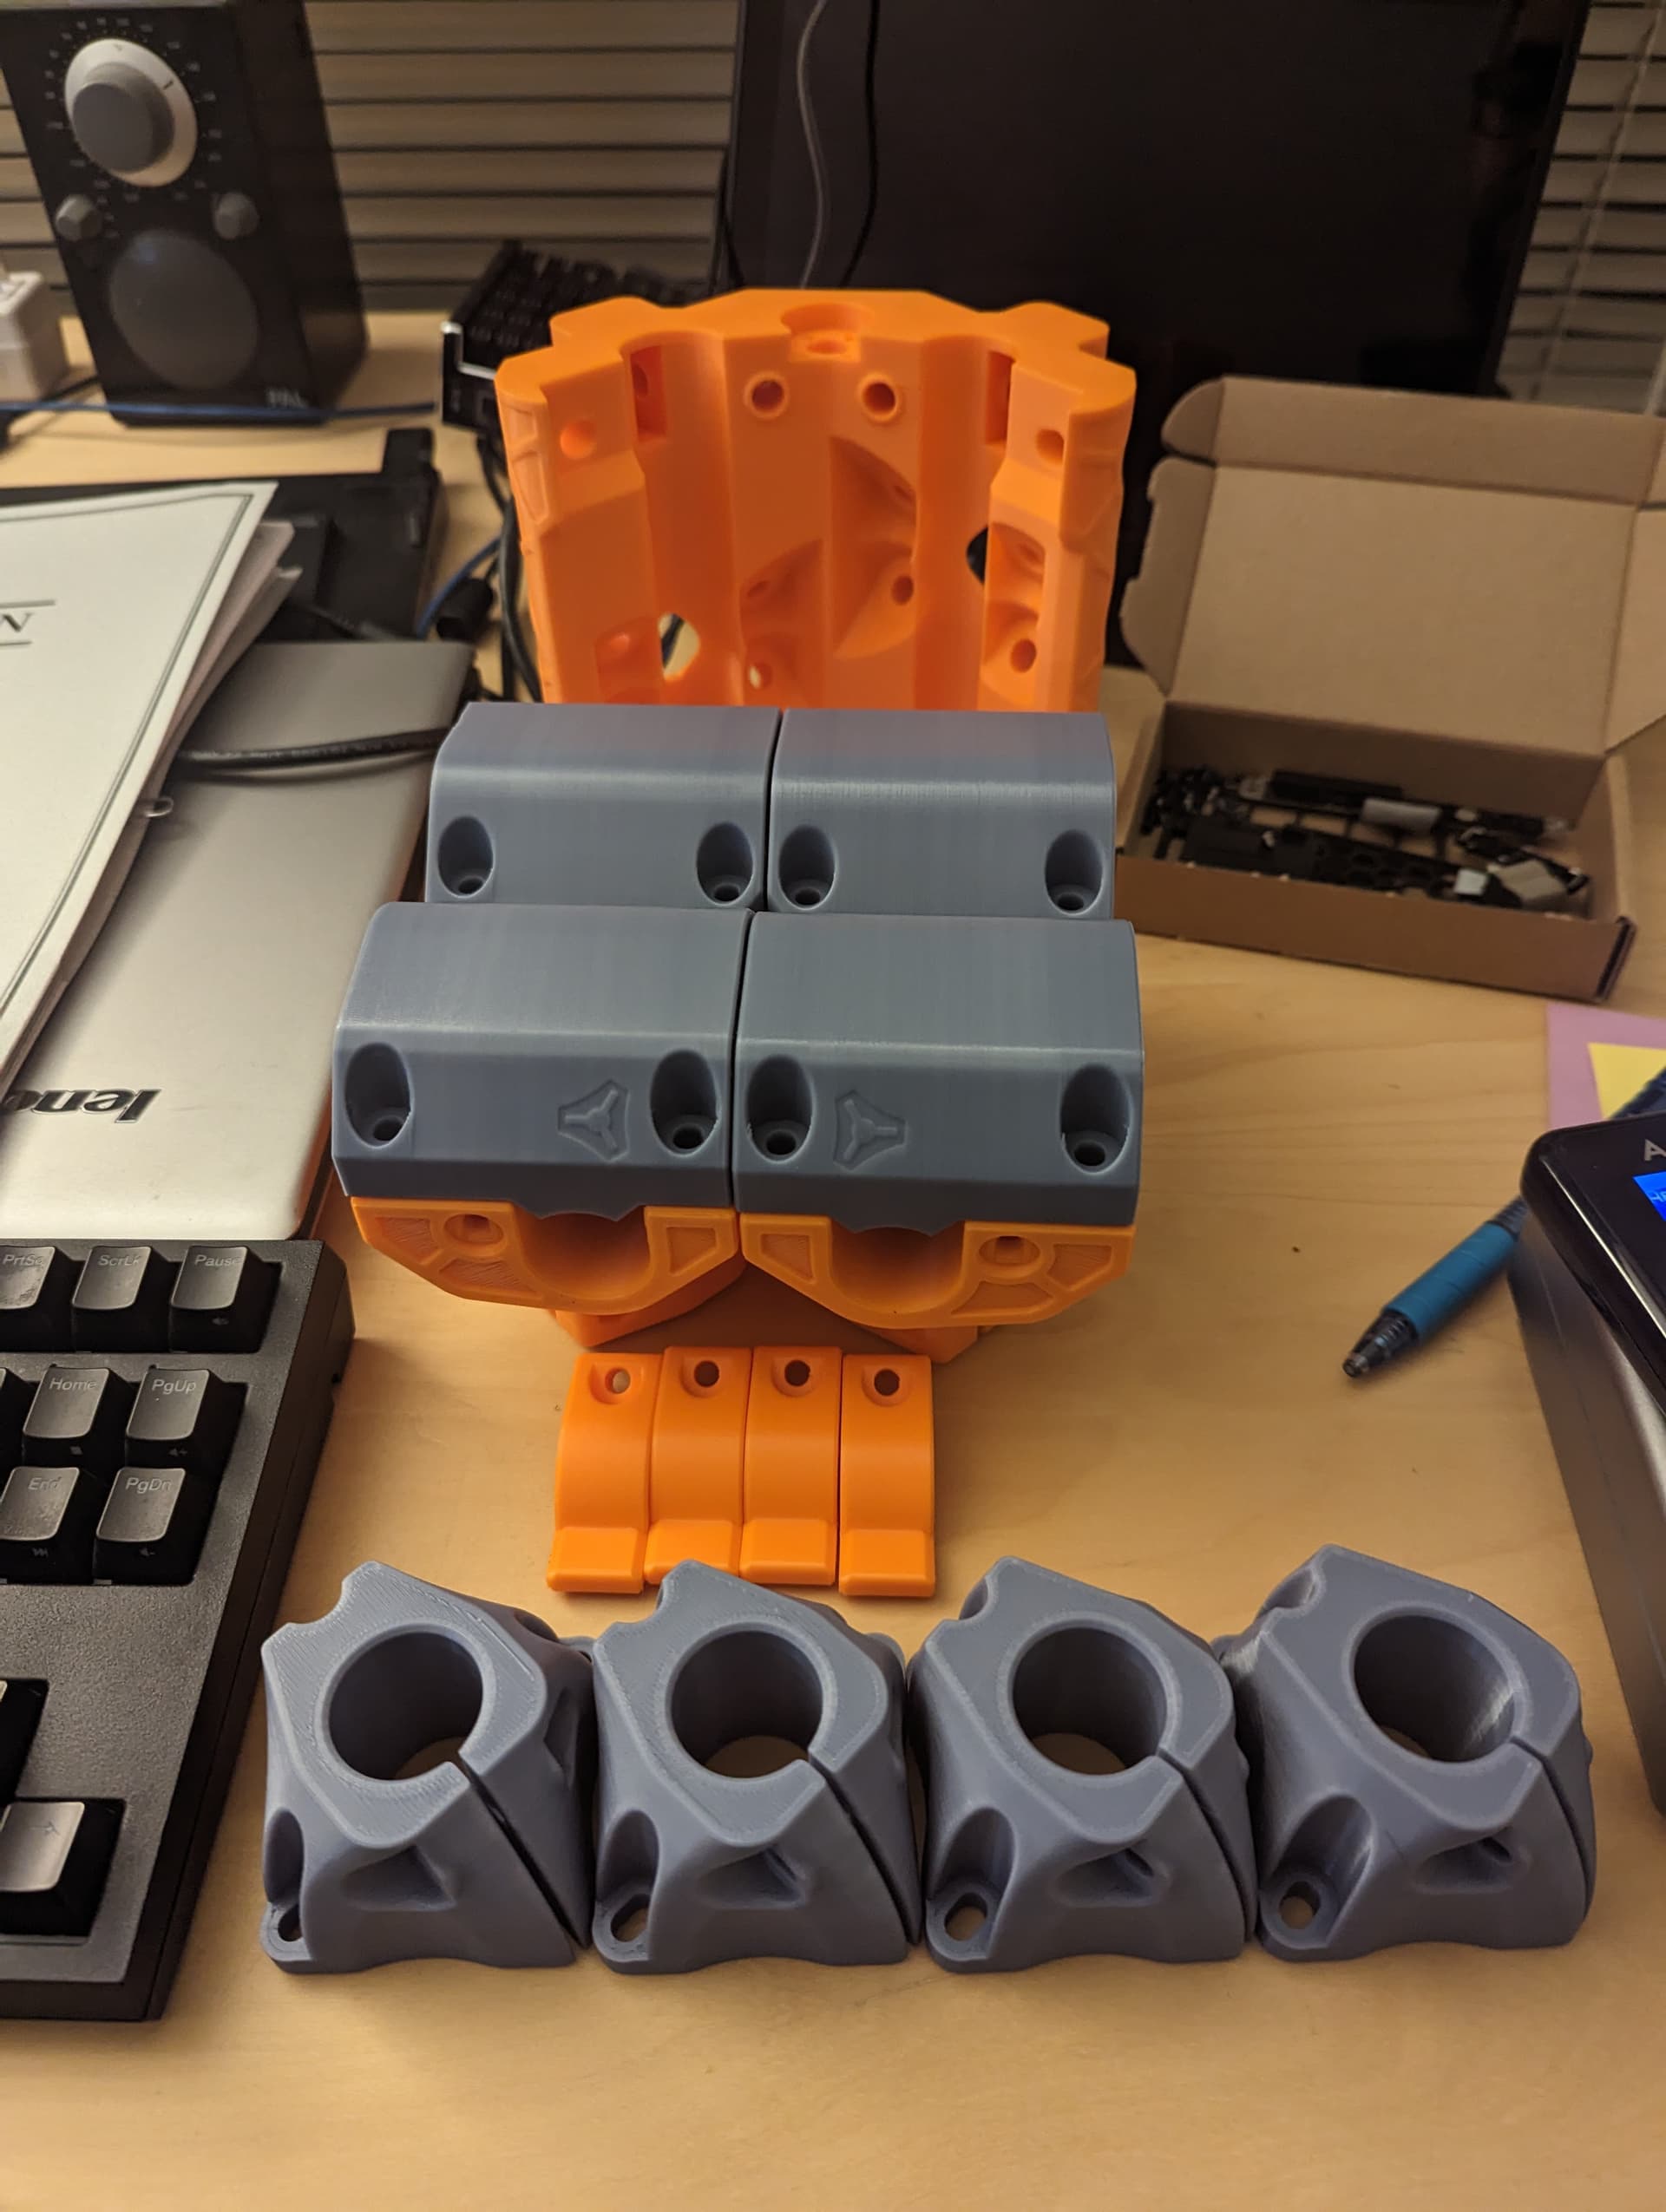
The “B” parts are on the Voron as I write this. Orange and gray Inland ABS. The EMT from Lowes is smoother that the stuff I got for my Lowrider3 at Home Depot. I’m going with another SKR 1.X board and Klipper on this one too. I guess it’s time to order some nuts, bolts, and bearings.
2 Likes
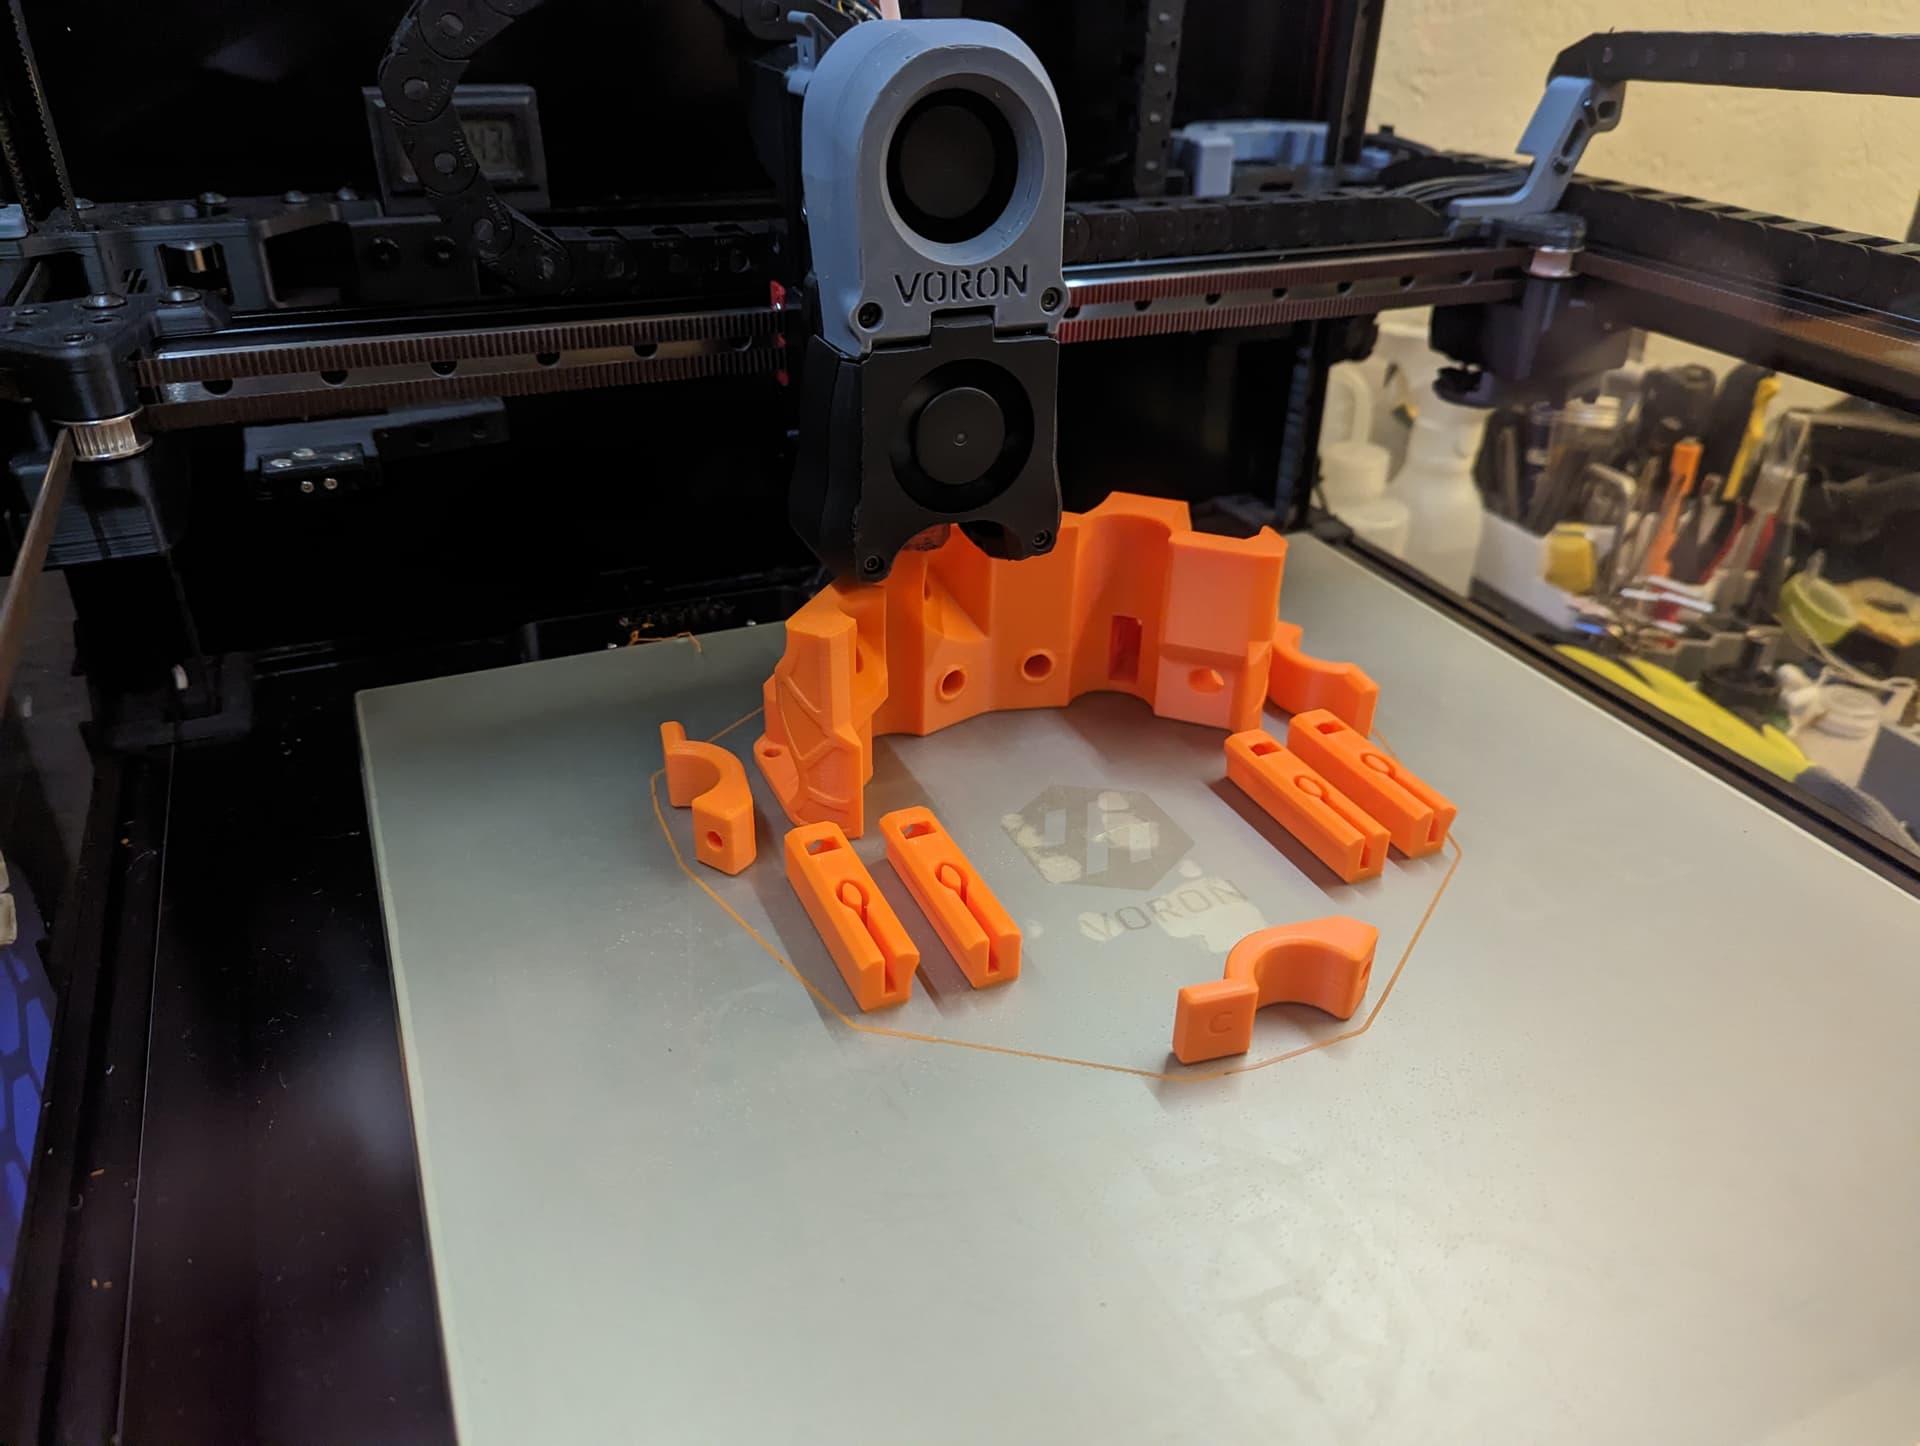
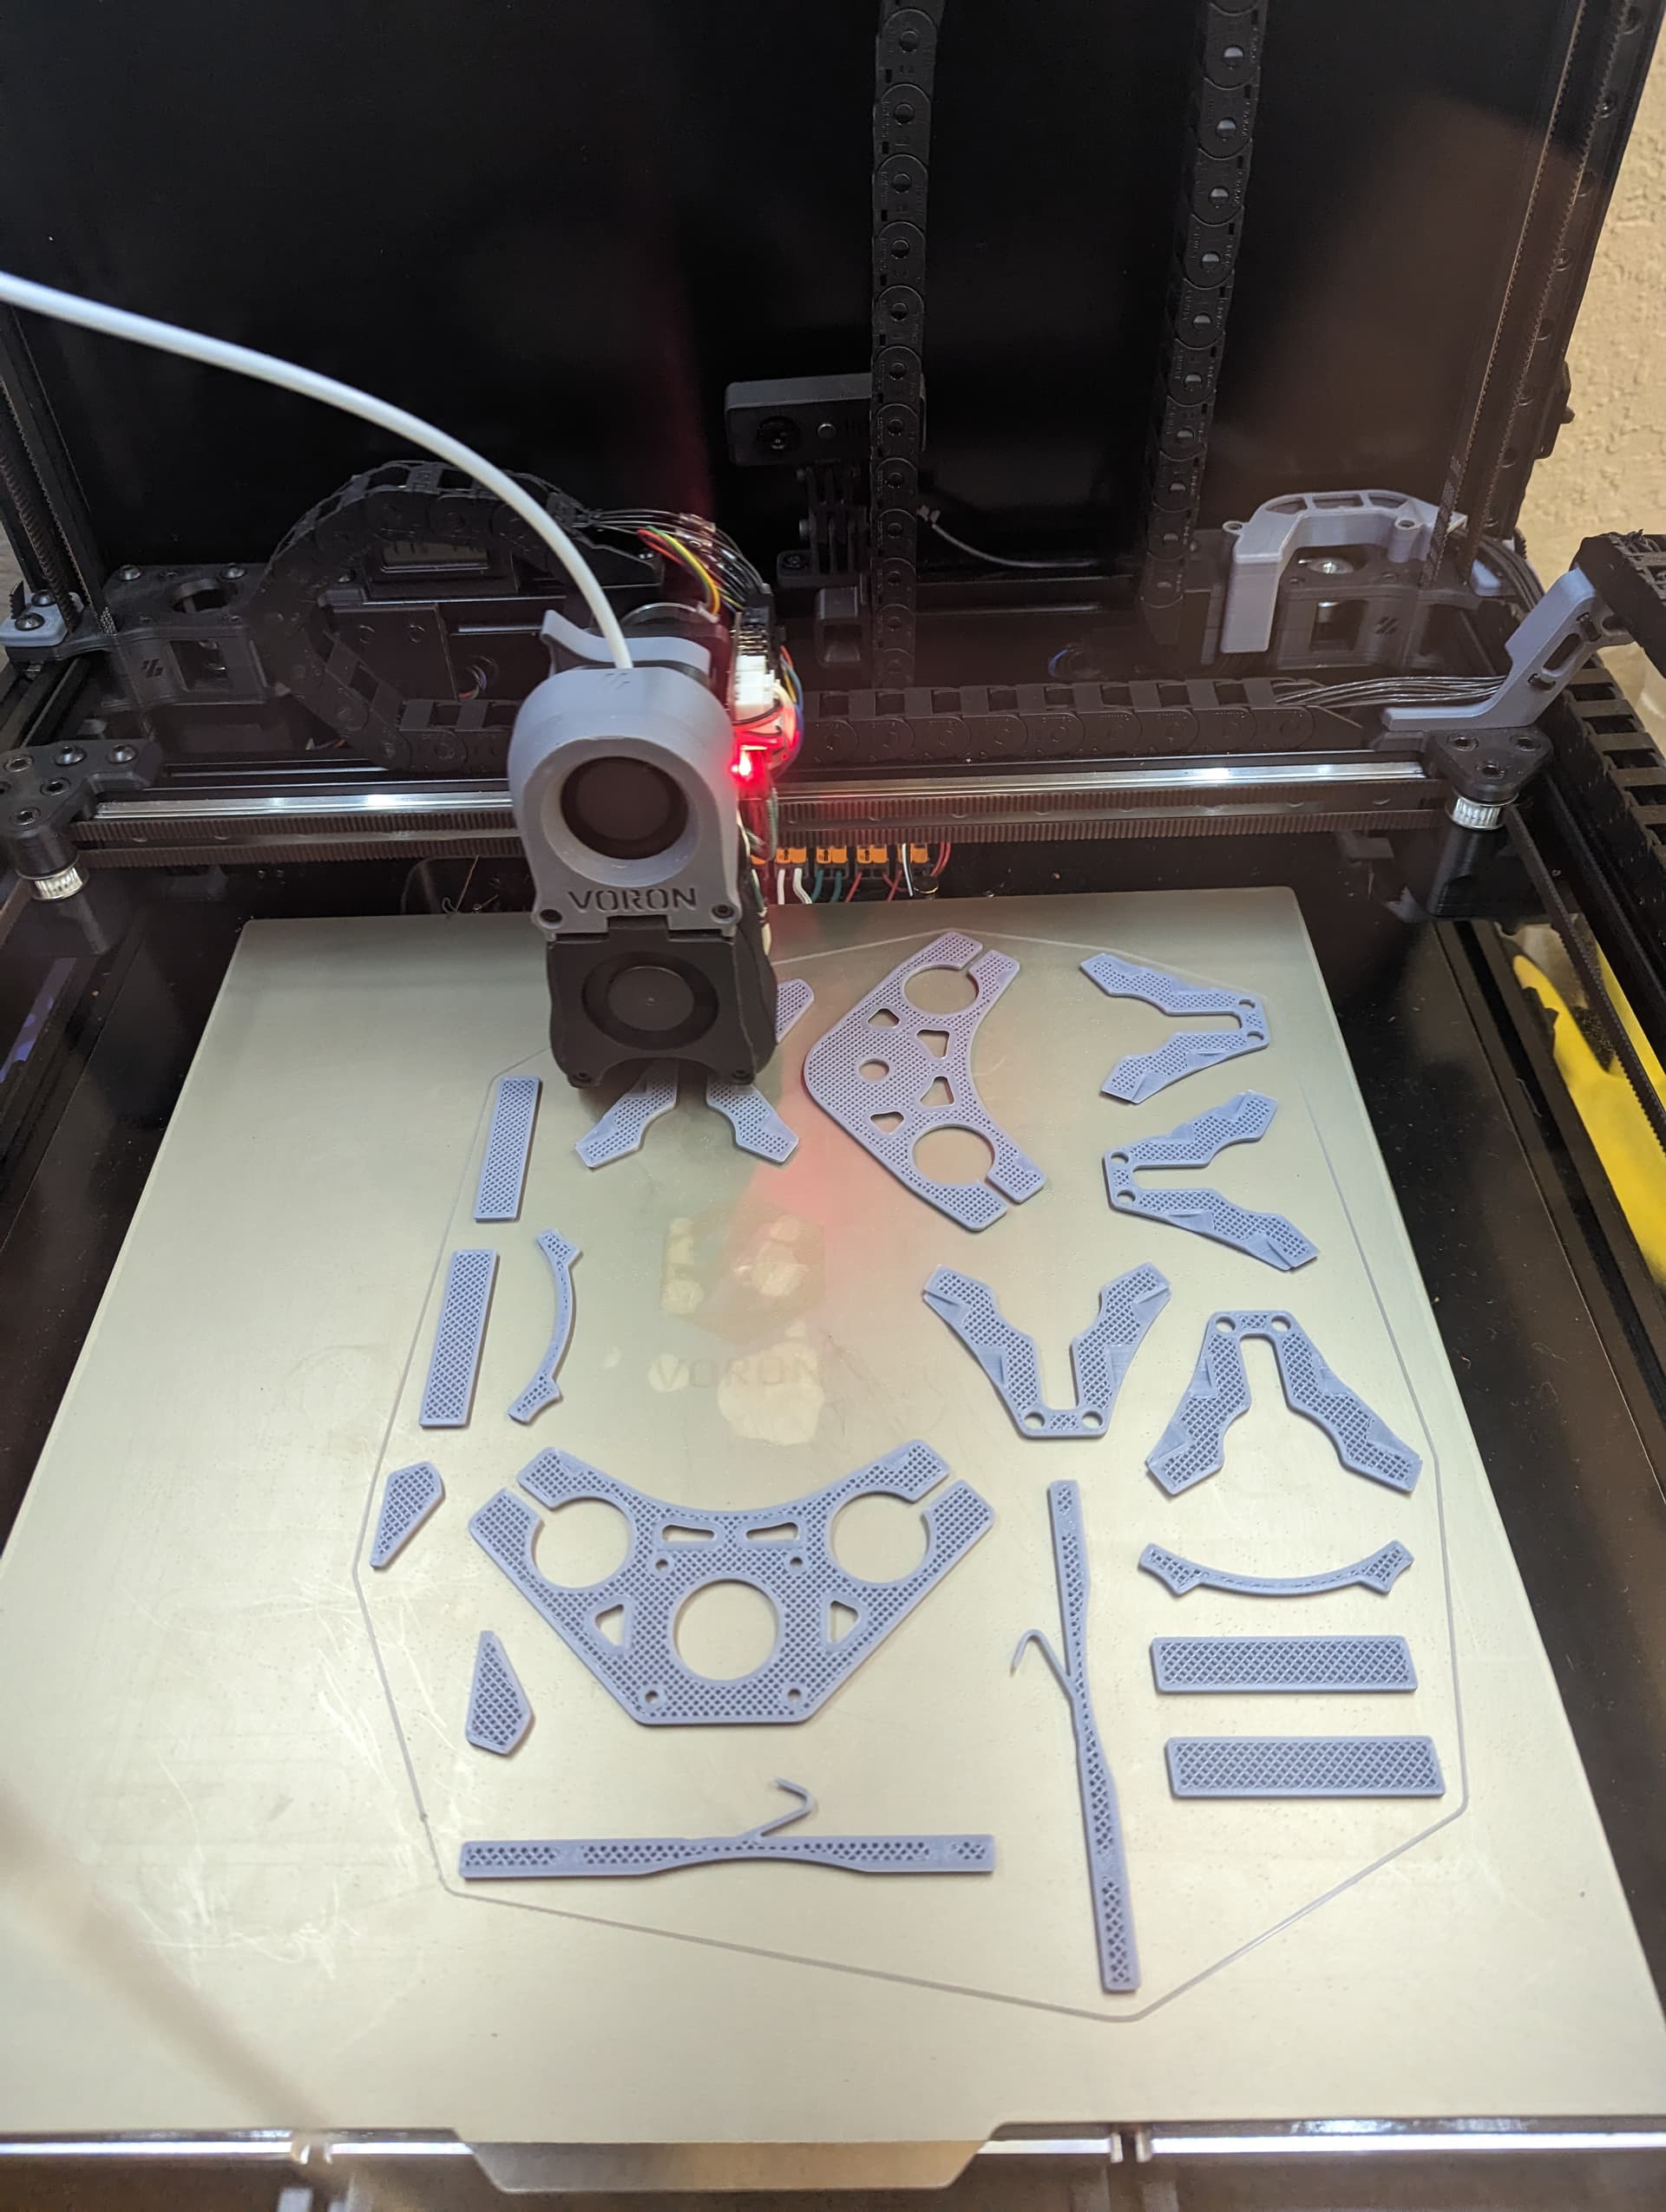
Non-stop printing continues. By the math, I should be done in another couple of days. In case you’re wondering, the center of my PEI sheet is bubbled and split so I’m placing around the parameter of the bed. ![]()

3 Likes
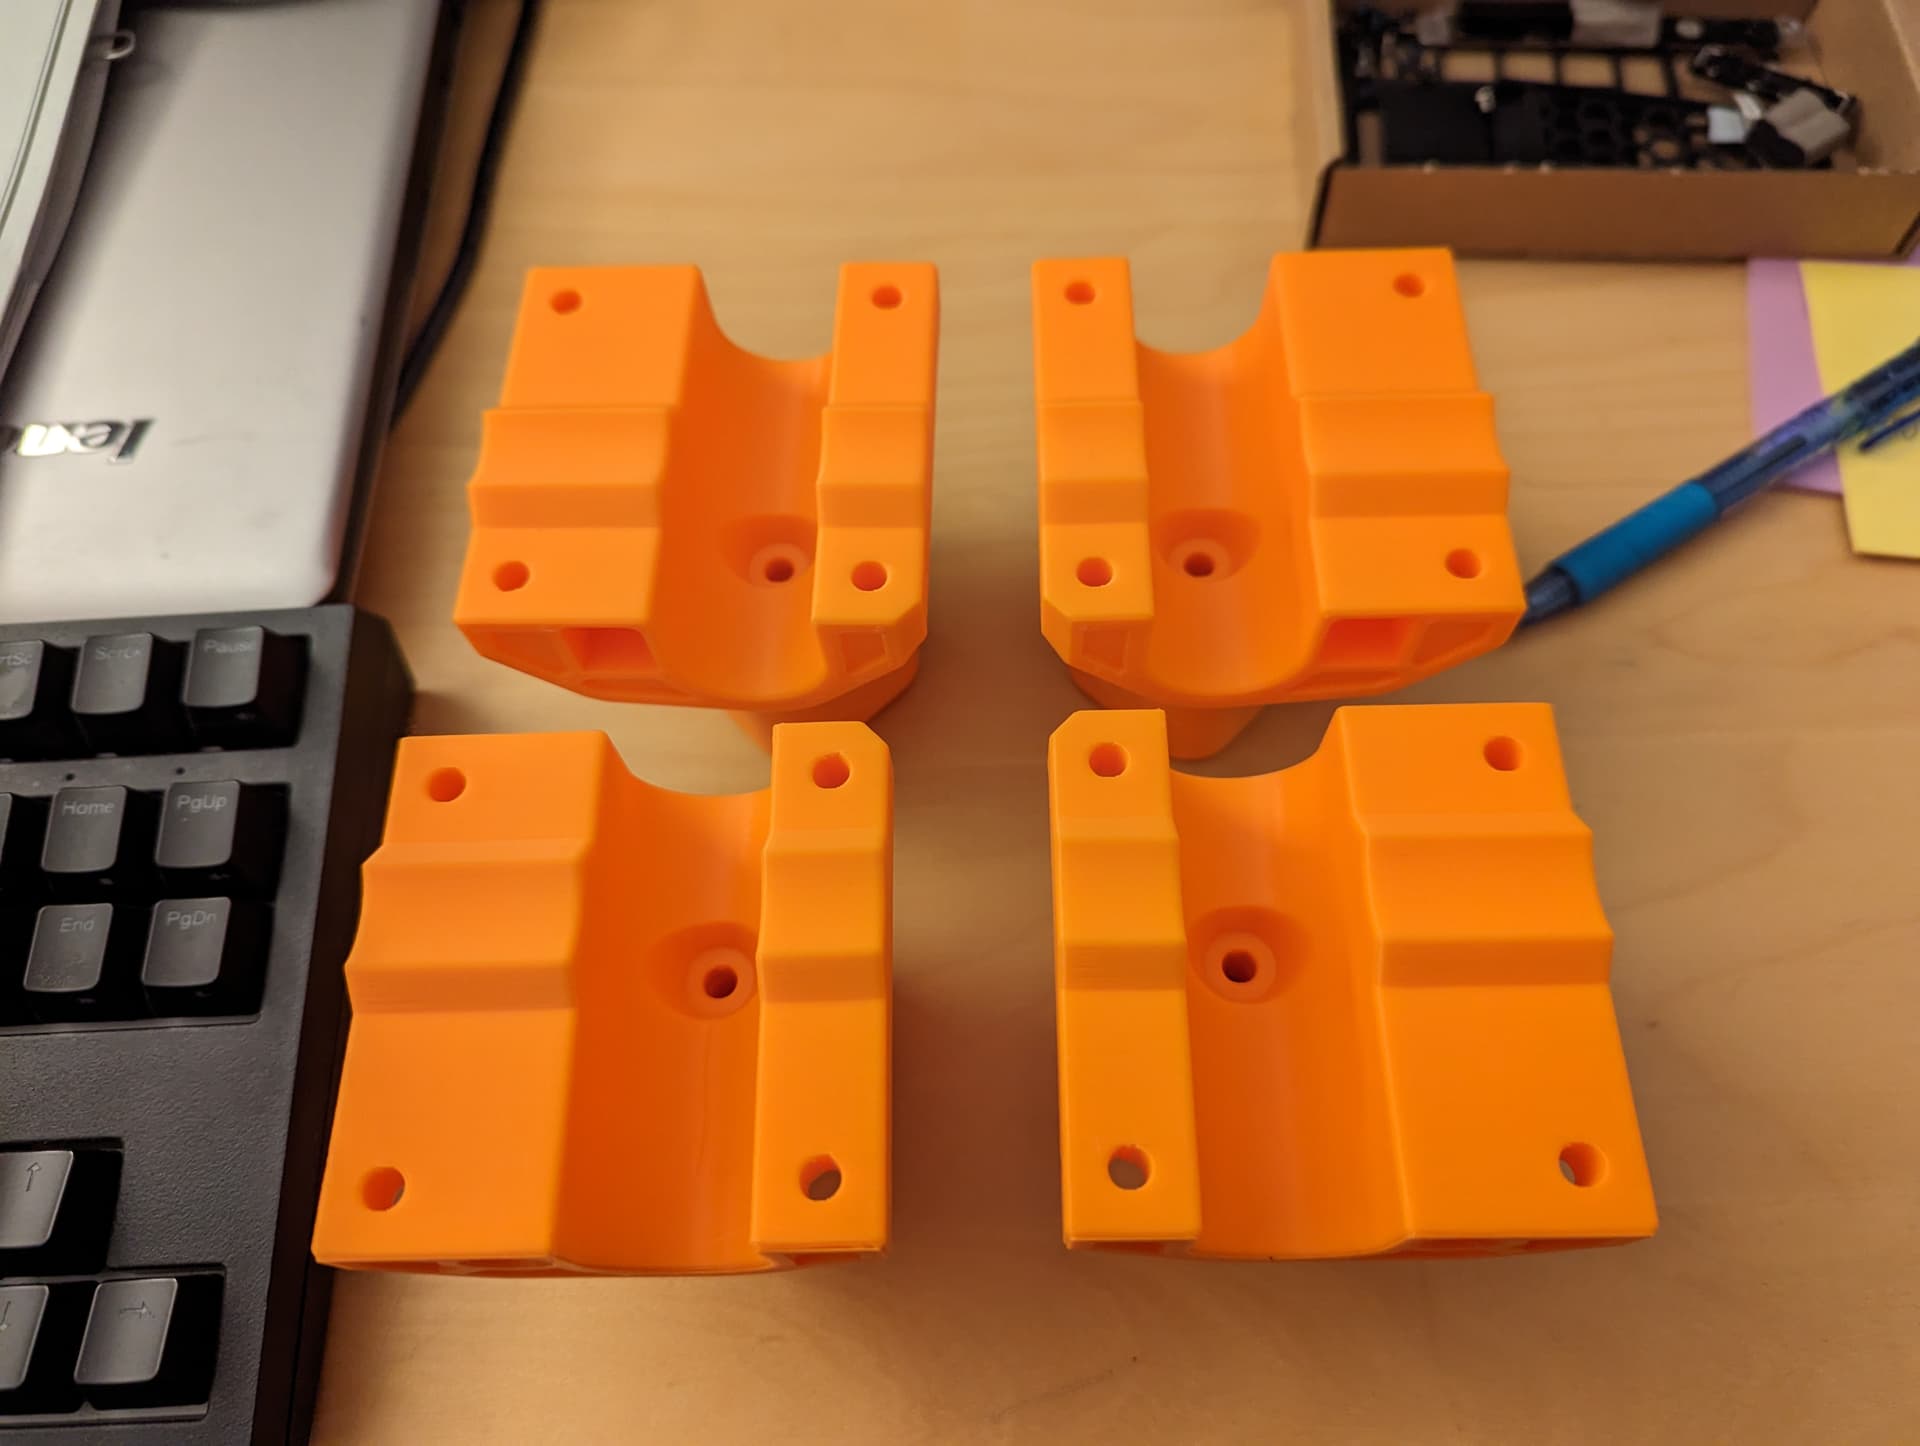
Corners done! I could totally start cutting EMT if I knew what size I’m going to make. I took an informal survey around work and 2x3-ft seems to be the consensus, but we’ll see.
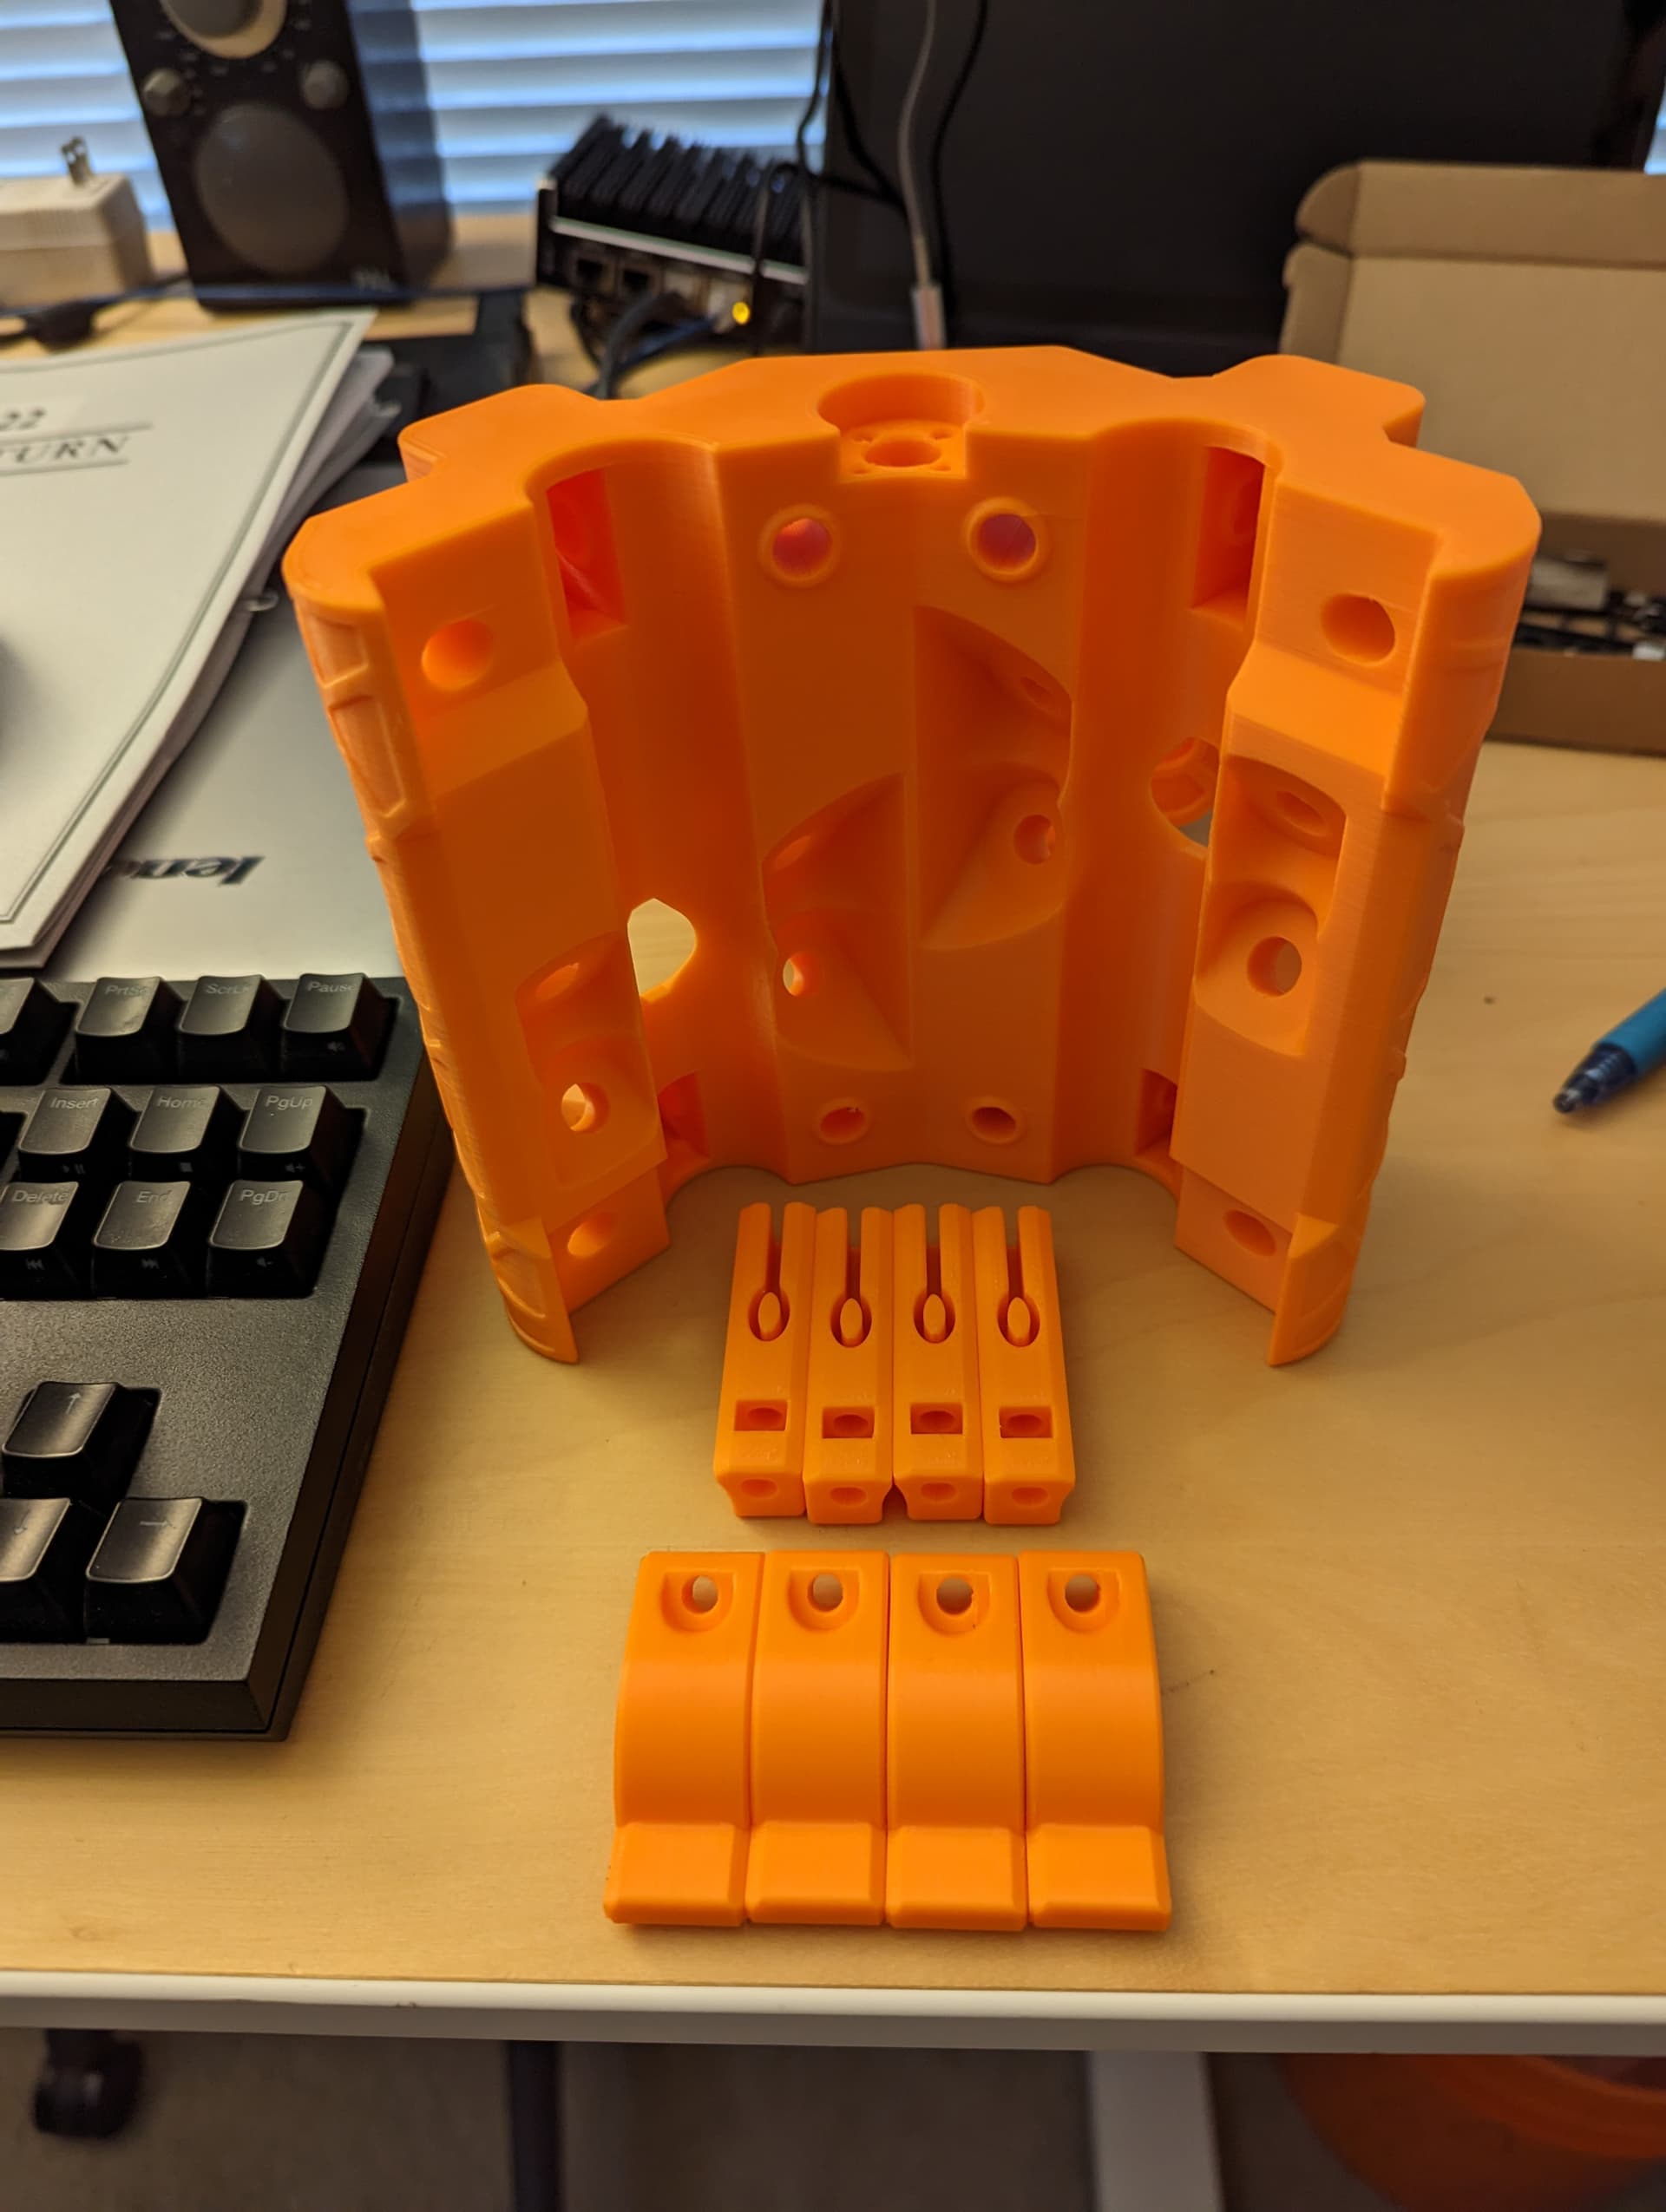
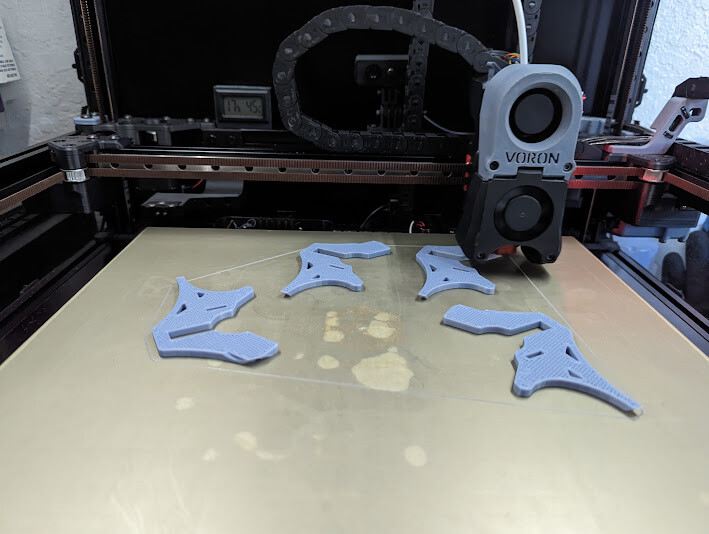
Next up, everything else but the trucks. The slicer is estimating a day and a half for those so I should have all the printed parts by Monday afternoon.
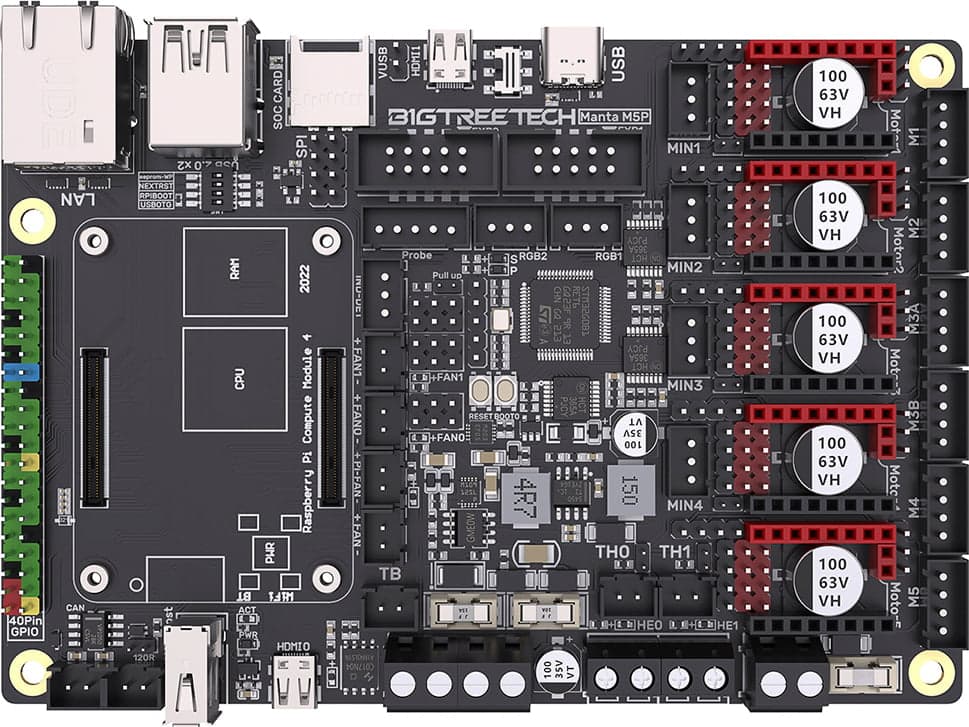
Since this will be a Klipper build, I’ve been looking at the Bigtreetech Manta M5P and CB1 module. It seems newish compared to the previous M4P and M8P models. If it pans out, I may swap out my other printer boards and harvest the legit Pis’ for something more useful. ![]()
1 Like
My Primo has a 2’ by 3’ area, and that’s too big for the machine. At that size, the steel isn’t rigid enough to keep it from issues if the CAM isn’t darn near perfect. I’ve ruined a lot of material getting that stuff dialled in, and my steel is 1" structural tube, not conduit.
I think you’d be OK with 2’ square as your build size, and 18" is rock solid. The amount that the steel can flex increases geometrically with size.
I would recommend 18" by 24" myself. The vast majority of my projects fit in that size area anyway, even though cabinet doors (Which was why I picked 25" by 37" in the first place) was my intended project, I ended up cutting those on a table saw, and only cut the holes for the hinges on the CNC, which didn’t need the whole area. I could have made my Primo 18" by 24" and cut everything that I’ve used it for on that.
I have cut larger projects, but those actually wouldn’t have fit on my Primo anyway. I used the LowRider for them. I have some drawings for things that won’t fit on the LowRider either (Mine isn’t full sheet) but I can tile the jobs and get it done anyway. Well, once I figure out a way to bring home full sheets of material with a Honda Civic…
2 Likes
My Primo was 55x75cm, so close to what Dan suggests I guess and it was, in my eyes, still too big for a Primo. There was always chatter when cutting in the middle of the cutting area because the tubes would start swinging a bit. Drove me mad. I have since built a LR3 because I wanted the possibility to cut 60x120cm, that‘s the size they sell a lot of sheets here.
For a Primo I’d go 40x40cm now I guess.
1 Like
40x40 cm workarea?
Yes. But that’s just my subjective opinion. ![]()
1 Like
Thanks for the insight on sizing folks! I think my first stab will be 24 x 24-in. I figure worst case I can always cut it shorter if it’s not ridged enough. One of the most significant aspects of Ryan’s design is the open ends that allow the polls to extend past the outer limits if needed.
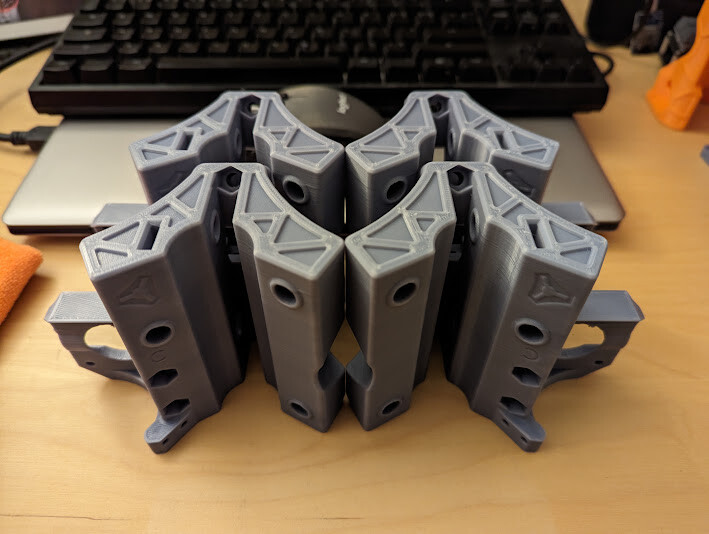
In the meantime, fresh off the plate.
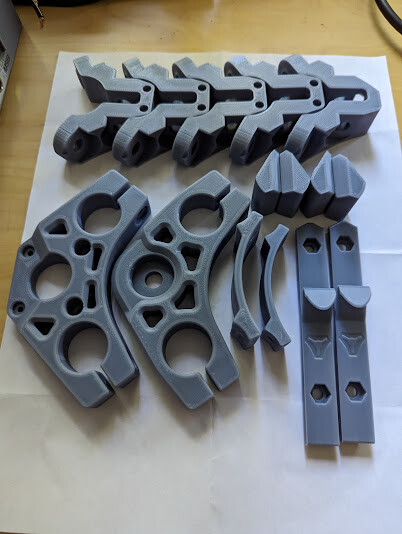
Up next, trucks.
2 Likes
1 Like
Steppers, pullies, nuts, and bolts have been ordered. Amazon promises most of it will arrive tomorrow. I did the math and it took just over 5 days of actual non-stop print time. 0.2mm layers, 4 shells. I’m just missing end-stops though I’ve had luck with TMC2209 sensorless homing with my other project. Maybe I’ll go that route instead.
1 Like
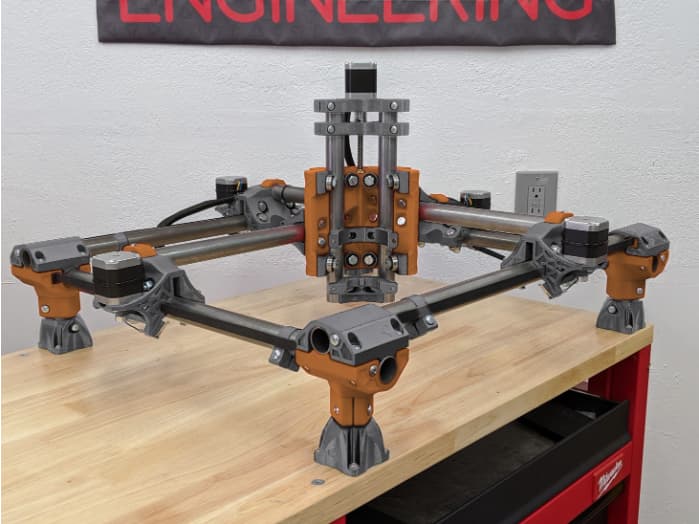
Gotta love next-day shipping! Man, the core, fully loaded is hefty! Still waiting on some M5 nuts and bolts to finish this bad boy off, mechanically that is.

4 Likes
I was searching through printables for cable management ideas when I came across this 4040 foot mount. This is not the dual rail per side stuff, it’s the beefy 8MM hardware version. ![]() I recalled having several 6-ft lengths of the stuff out in the garage collecting dust. This seems like the perfect use case for my Primo. Has anyone here used 4040 extrusions for the base? I’ve been following the sizing guide dimensions to the “T” so far, but I think I’ll need to shave ~5/8-in off in both directions to fit the new feet. Opinions are welcome. TIA!
I recalled having several 6-ft lengths of the stuff out in the garage collecting dust. This seems like the perfect use case for my Primo. Has anyone here used 4040 extrusions for the base? I’ve been following the sizing guide dimensions to the “T” so far, but I think I’ll need to shave ~5/8-in off in both directions to fit the new feet. Opinions are welcome. TIA!
1 Like
Measure 5 times, cut onc… wait, measure again… ok, ok now cut.
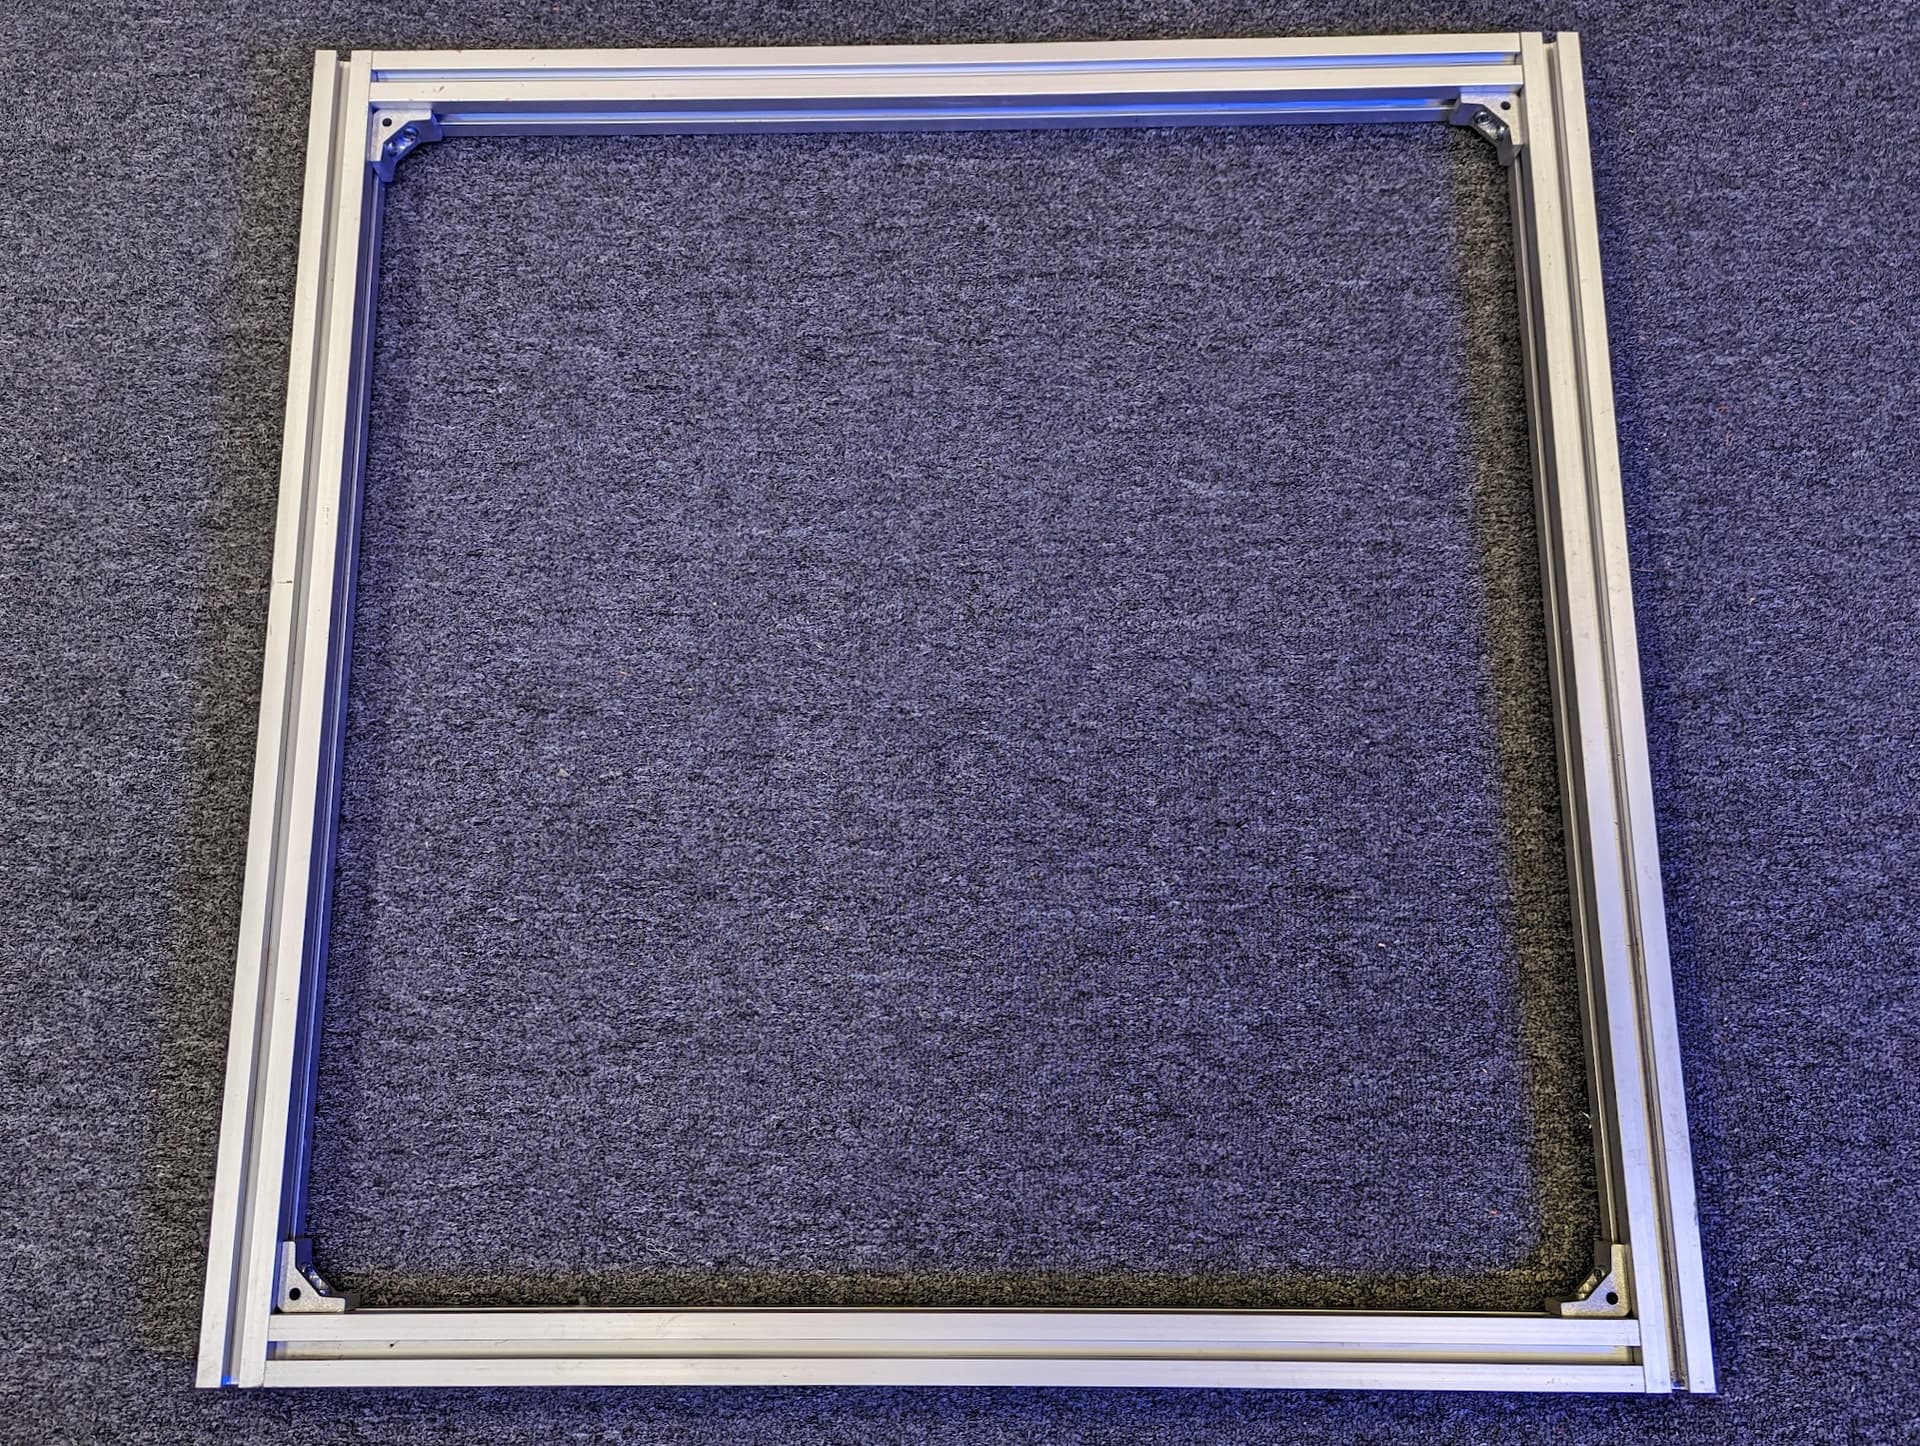
As if by magic, it’s square. Now to kick off the new feet print and to the hardware store once more for some longer M8s. Fingers crossed, I’ll have a gantry sometime tomorrow. This is getting exciting! ![]()
4 Likes