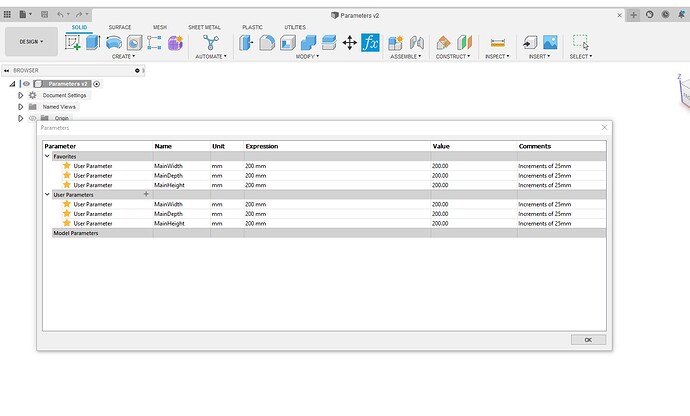
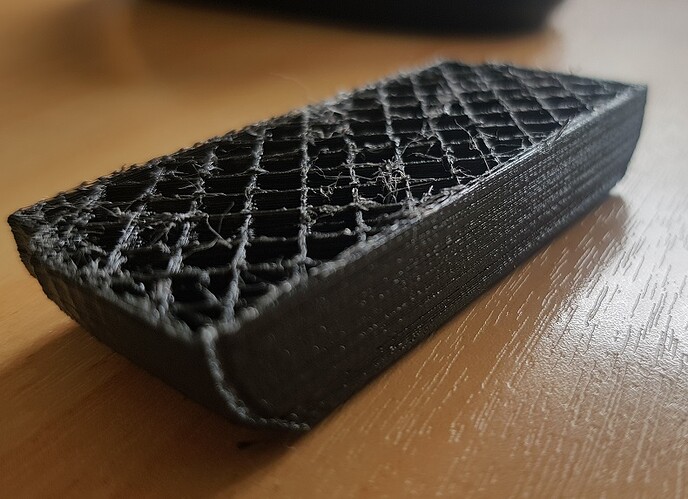
Those are not accurate.
*To change the size; you need to change the XYZ linear rail length. I tested it a few saves ago and it worked fine. Open and save the “parameters” file, then the rail/s you changed. Then open, update, and save the “coreXY V2” file, and then you can open and update the “MP3DP v4” file.
You just change the dimensions in the parameters file (with everything else closed), then open all the other files in order to update everything.
What is going wrong for you at what step?
Yeah. I did all of that. And I could see that the thing looks bigger. Or rather I see that the rails in particular seem to be different. (missing mount holes on one end, presumable because they get longer)
I think I’m going to just have to keep watching you tube videos until I figure out how to measure something in Fusion
If the assembly got bigger were there any other issues beside the rail holes? Those don’t have any effect on the model at all, just looks.
I got it. I’m pretty sure now. Looking through the properties of the model of the entire thing, I was able to find lengths of some of the extrusions. And the Z posts are going to be 40mm smaller than the corner posts, so I think I can at least cut a couple of these now, and confirm I am on the right track.
Not that I could see,. Everything still seems to be lined up correctly.
That sounds right.
I can walk you through the holes if you want them but they are not needed.
Sorry it is so difficult, If Solidworks was less expensive we could have super easy models!
I’m only using Fusion to build my BOM. What the parts look like in Fusion doesn’t matter to me at all.
No need to apologize at all. Some friends of mine who also like to make things have been telling me for years that I need to learn Fusion. I’d just rather make stuff than learn new software.
I think you might have solved it already but what I did to get my extrusion length (once I had lengthened the parameters appropriated and updated the files) was just select an edge on the different parts needed and make sure it was an edge that went the full length of the extrusion. Fusion shows a length down on the bottom right (I think) side when you select something like an edge.
Hopefully I am not missing this information somewhere, but is there updated firmware for this posted anywhere yet?
V13RP_V4 only for the SKR pro at this time.
Thanks so much! I don’t know how I missed that. It’s a lot easier than what I ended up doing.
This is a cool upgrade that I’ve been watching but costs have restricted building it so far (although have started printing parts!). SKR board that can take 6 drivers was a good chunk of the price and hard to find.
I’ve been running the MP3DP -V2 for a couple of years with hit and miss results (found out recently one of the smooth rods on y axis seems to be a is fraction of mm wide which causes bearings to bind occasionally).
I have 2 ramps boards, one was DOA which wouldn’t heat extruder on either port, so it was replaced and been working up until last week when some of the motors stopped working (drivers themselves are fine), long story short I came across Klipper that was setup with multiple boards, I’ve now got 2 ramps boards splitting functions depending what ports work, still calibrating but all hardware is working. This got me thinking that I could have them running enough motors in theory for the repeat version?
Obviously not as simple as downloading the precompiled firmware but so far, I’m loving the system and doing it via web interface instead of how marlin works (BTW I’m running MainsailOS).
Thought I’d mention it in case anyone else has hardware they thought couldn’t use or want to reduce the price a bit etc. Unless there is something I’ve missed and it won’t work.
That sounds awesome! I have no experience with it but that does make sense. You just use the boards as driver carriers at that point. I would love to hear how it works out. One of these days I will have a bit of time to play with klipper.
I was just talking to a friend about the printers. They are not the least expensive for sure, but I am confident this is a workhorse at least.
That sounds awesome. I’d never even have thought about doing something like that. Klipper is on my list, and I’m thinking that when I get this printer built and running, I may convert my Ender 5 to MP3DP v4, and with something like this I might be able to use an SKR 1.4 I have laying about in conjunction with the Creality board I have. One board runs the Z & E, and the other to handle X & Y.
Not saying it’s expensive for a printer considering quality, just hard to justify spending more when already have one sitting on desk. If I can reuse most of what I have to build the new one then would be great upgrade and then down the track update hardware as needed. For me half the fun (and frustration) is in building it, much rather that then buying one off the shelf.
Install was pretty quick, couple of errors that took while to fix. Documentation is great but looks like I’ve barely touched the surface of what it can do. So far, I’ve just done minimal default config to see if it would work.
Just done first print, unfortunately the filament got stuck on spool so failed but printer itself was amazing compared to what has been like. Cannot believe how much smoother less jerky it is considering using exactly same hardware except a RPi has been added doing calculations for printer movements instead of the arduino (I think thats what happening with Klipper  ).
).
I’ve always had to slow the printer to try and get better prints, this now feels like it could go much faster. I’m definitely hooked on this thing again after so much frustration.
I see more repeat parts being printed in the very near future… probably tonight lol 
Sorry I definitely didn’t mean that. I am just bummed I really could not bring the price down anymore. It is expensive for me as well.
Exactly!
Interesting, I really need to try it!
I think I’m on track to be putting belts on this weekend, and wiring everything up. I doubt I’ll be printing just yet, but to see it move will be exciting for me. And who knows … maybe I’ll manage to print a calibration cube.
I just spent an embarrassing amount of time searching for a spot to mount a Z endstop, only to finally remember that I was going to be using a BL Touch.
Sorry so late to the party. Are there assembly instructions or is it something to just figure out as you go?

