Purple-black-rainbow LR3 🤷‍♂️ , build video @ https://youtu.be/FJ7nYio8oOE

I used to use white out for that. I didn’t use binary as much as just roman numerals. I would mark both ends so I could tell is a specific SATA was connected to a specific drive.

3 Likes

One trick for writing tiny labels on wires is to write them on light-colored heat shrink BEFORE shrinking, then slip it on near the connectors, then shrink so it won’t slide around. You could put your name on a rice grain easily this way!

7 Likes

Cool

Still futzing with Fusion 360 to create flat packable stackable mountable (or stand-alone) modular MPMC Case (Minimally Printed, Mostly CNC’d).

PCB mounts slide into the corners pieces that also grip the CNC’d panels.

Almost done… Still not clear if this is a good idea or not, will try it and see…

4 Likes

Ok that’s cool looking. I very much dislike my wiring for my primo and really need to take the time to model up something better for the board. I like how you put In acrylic to be able to see it. Might have to do something like that. Sometimes it is nice to look down and see the light for the endstops and know everything is working as it should

2 Likes

OMG I love it!!!

2 Likes

This looks awesome!

1 Like

I like it and I like the colors.

1 Like

Posted short #drag-race clip of V1E LowRider3 CNC, 24V xy = 21k mm/min, z = 2.6k mm/min, x=48", y=24"
BTT Octopus v1.1 running Marlin, BTT ESP32U Wifi Module running ESP3D.

Was testing rebuild with upgraded 24V power adapter, was 12V last time. Machine isn’t maxed out, but I can’t test more until later today, it’s almost 4am right now…

Also, since the last run, accidentally killed my SKR Pro 1.2 board and ended up rebuilding using an BigTreeTech Octopus v1.1, with ESP32U Wifi Module running ESP3D. Designed and printed a new modular extensible case to house everything, including a Raspberry Pi with it’s own touch screen.

Exploring the limits and pushing machines/software to non destructive failure is a great way to help identify which weaknesses/bottlenecks to improve.

8 Likes

I like it! Seems to move fast on the Z axis?

That’s really great. A lot of clever stuff there. I really like the table design. I hope it works well.

1 Like

What software are you using on the two different screens?

1 Like

What’s that guard in front of Y1? Seems good. :slight_smile:

2 Likes

Cool! That’s impressive!

The first Acrylic cut and Cutting Polycarbonate topics have been very helpful in figuring out trochoidal settings.

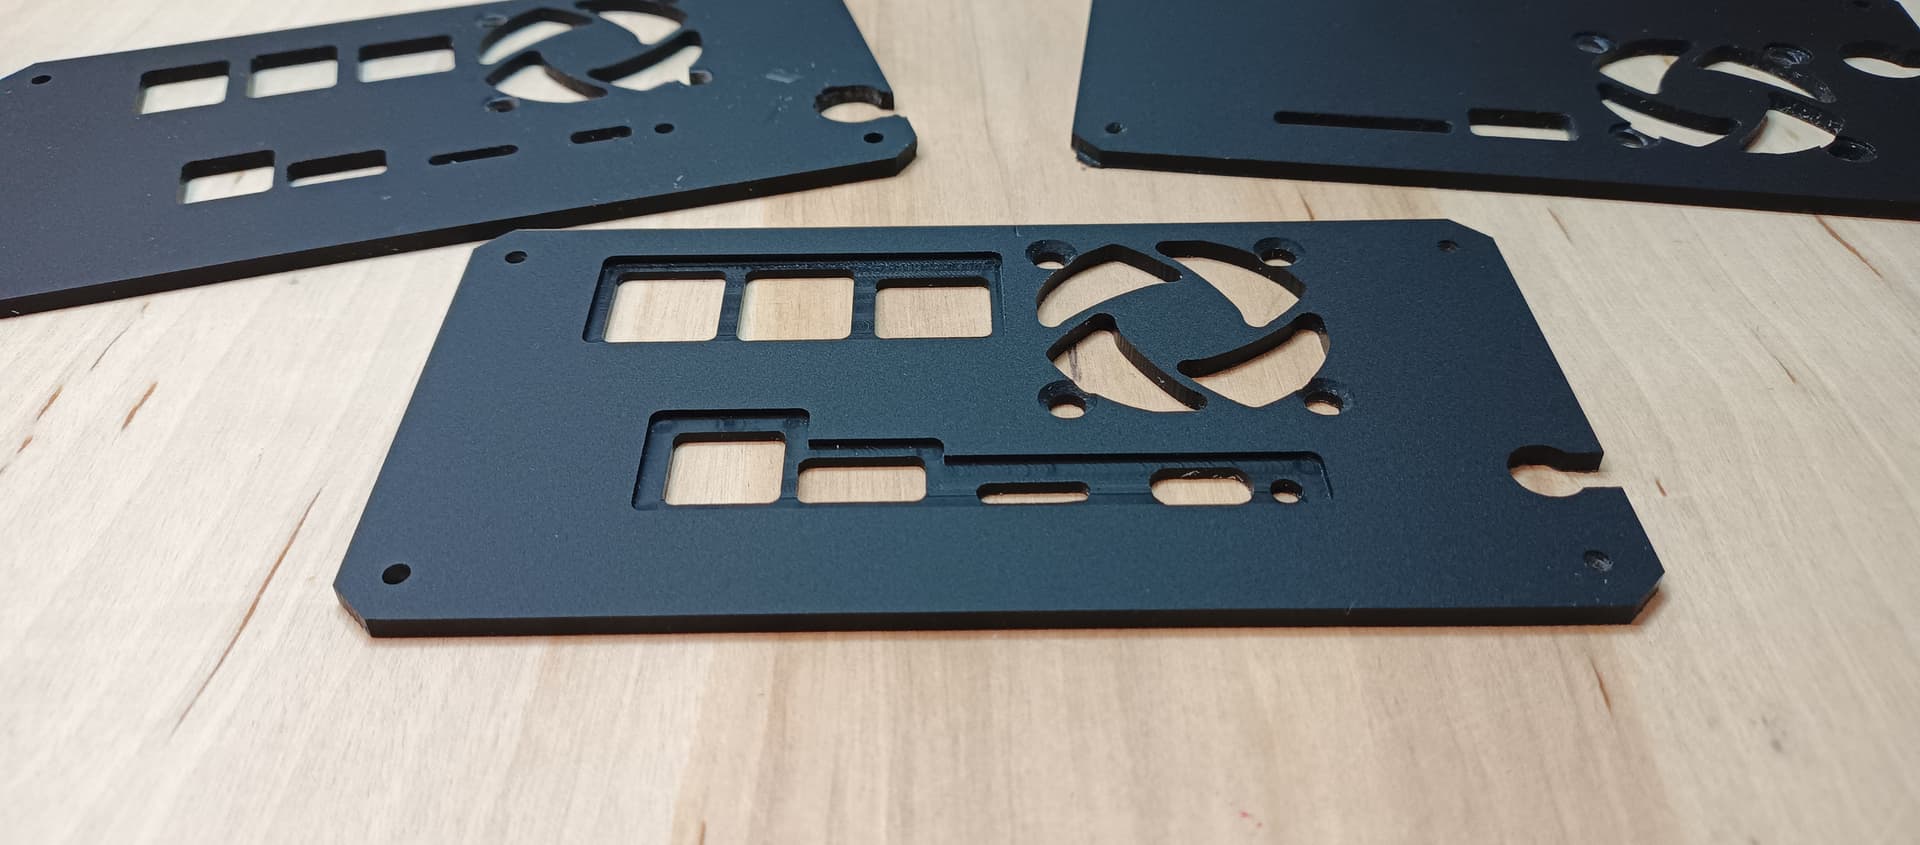
Only used 1/8" single flute upcut carbide bit from V1E to drill, taper/chamfer drill holes, pocket, hole and contour cut part from 3mm Matte acrylic panel. Fusion 360 → DXF → EstlCam.

Cheers!

10 Likes

Are the chips as nasty as the acrylic ones?

Nice!

1 Like

Those look fantastic!

Did you have any air assist or other cooling?

1 Like

Winterizing the LR3… Moving from unconditioned garage to less unconditioned basement. Half torsion box is making a pitstop in the living area for upgrades, loosely disguised as a coffee table, at least until the separation threats are convincing.


Half torsion box rests on the 2x4 upside down rolling table.

Upside down table is intentionally janky, just enough scraps to help keep upright/stiff until LR3 is used to cut some custom utility panels…

6 Likes

:rofl: :rofl: :rofl:

1 Like