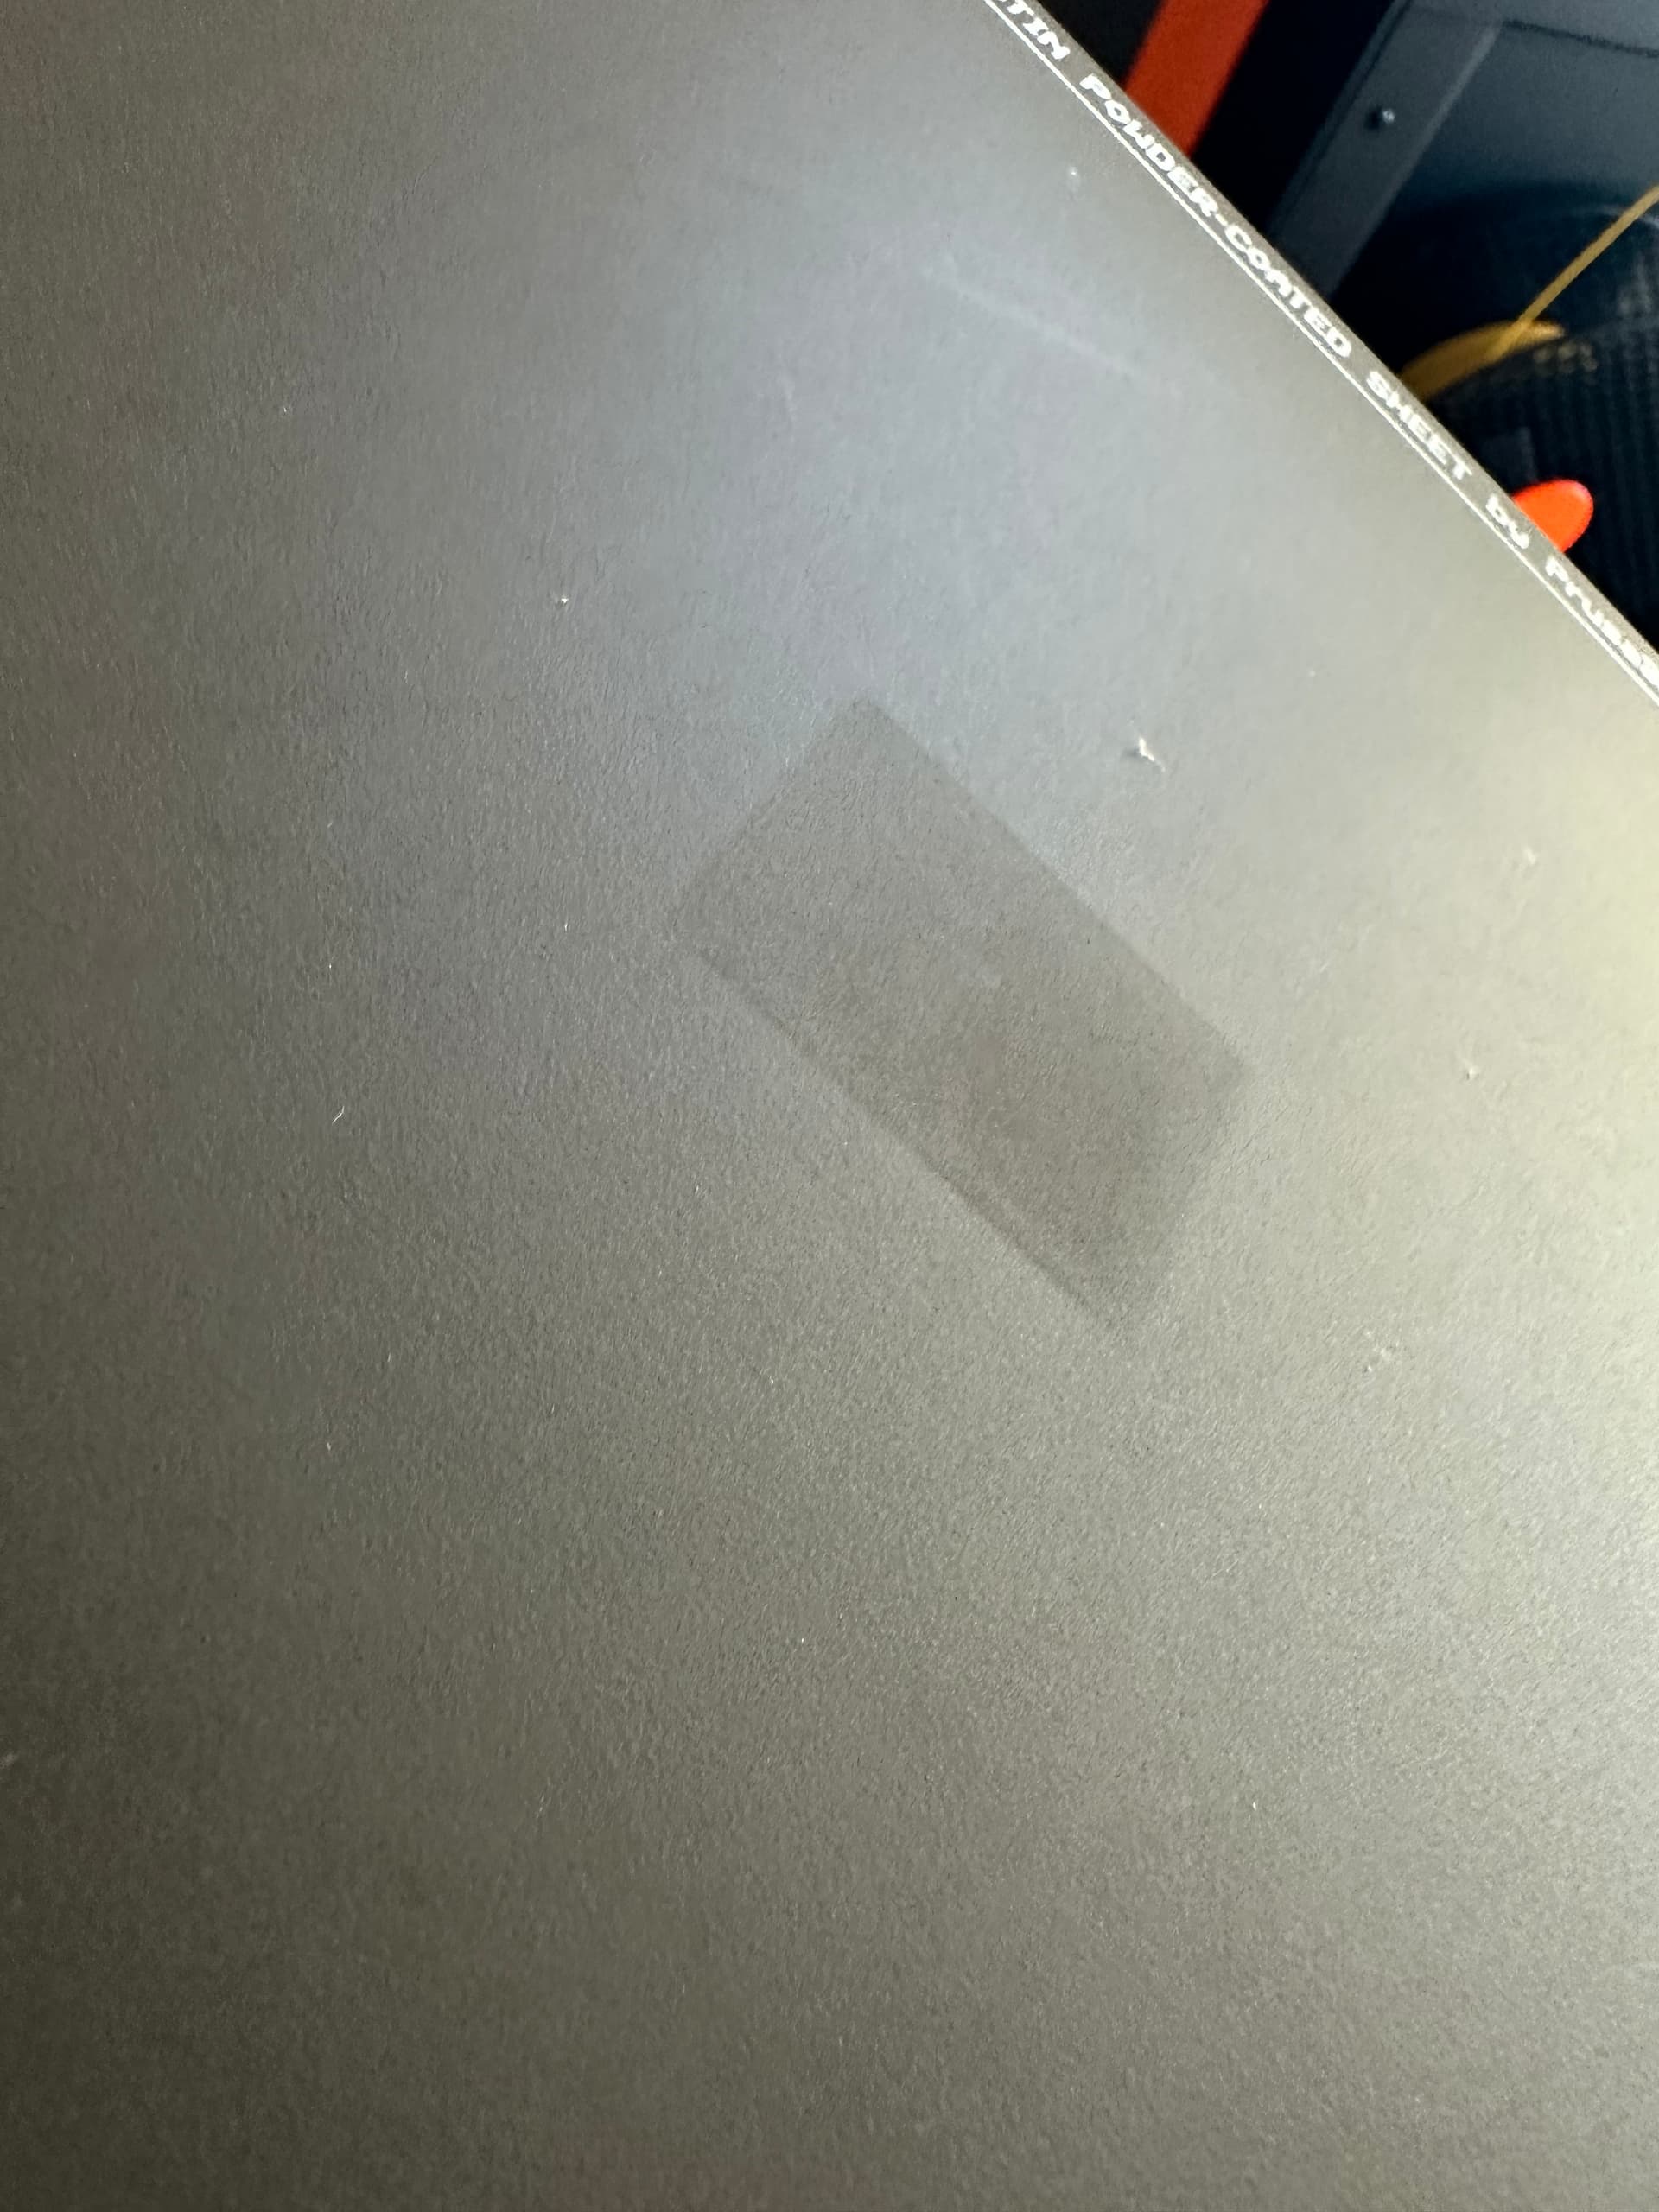
After a quick clean with IPA, you can still see the slightest shadow - I don’t think it’s enough to affect any print, but I’ll give it a proper scrub with detergent later and I am pretty confident that it’s not actually a mark in the finish of the sheet.
I don’t know yet! I am waiting for some replacement balls for the linear bearing - then I’ll rebuild that (.40c AUD plus $12.00 postage) beats $120 plus postage for a new one!
There’s nothing wrong with the performance of the machine - it just fails the hotend temperature test - probably because it’s not within the set time parameters, but it must be close!
I will report back on Thursday after I’ve pulled it all apart!
I don’t think I like the sound of that… but I guess it was via the MMU?
New balls arrived and I found just not quite enough time to pull everything apart and put it back together again.
I did manage to make an infinitely tiny adjustment to one of the z motor screws so I don’t get any vibration on the bottom of the z movement now, so there’s my first assembly glitch sorted.
The bearings though. I measured them with good dial calipers at 2.48mm so figured given my propensity for measurement error they were 2.5. I also didn’t know how many I’d lost, but after counting what I had left there were 57 which means at least one, and the odds of not finding all the floor bearings were pretty high, so I figured 30 per side seemd like a good number.
After a lot of fiddling I got them assembled and all did not go well - the carriage was binding in a few places in both directions. After pulling them out I discovered that my three new bearings were indeed 0.02mm too big! On a whim, I measured all fifteen in the packet and found four which were 2.48 So much for quality control at the bearing shop!
Anyway, rail is now reassembled with maybe one bearing too many on each side, but it works as new, and tomorrow we’ll see if the new hotend did the trick!
Yep. All tests now work, and if I may have a small grumble about posts on social media for a second… despite what the FB and Reddit mob would have you believe, a lot of those nasty vibration sounds are NOT actually failed bearings. Having just checked and retightened everything, and added a small cable tie to some of the hotend wiring to relieve pressure on one of the covers, it’s now working and sounding just like a new machine should.
The sheet now only leaves very slight shadows that you can remove by cleaning after basically having printed all over it several times.
I love the matte surface finish and it’s amazing how well PLA sticks to it (and comes loose when it’s cold).
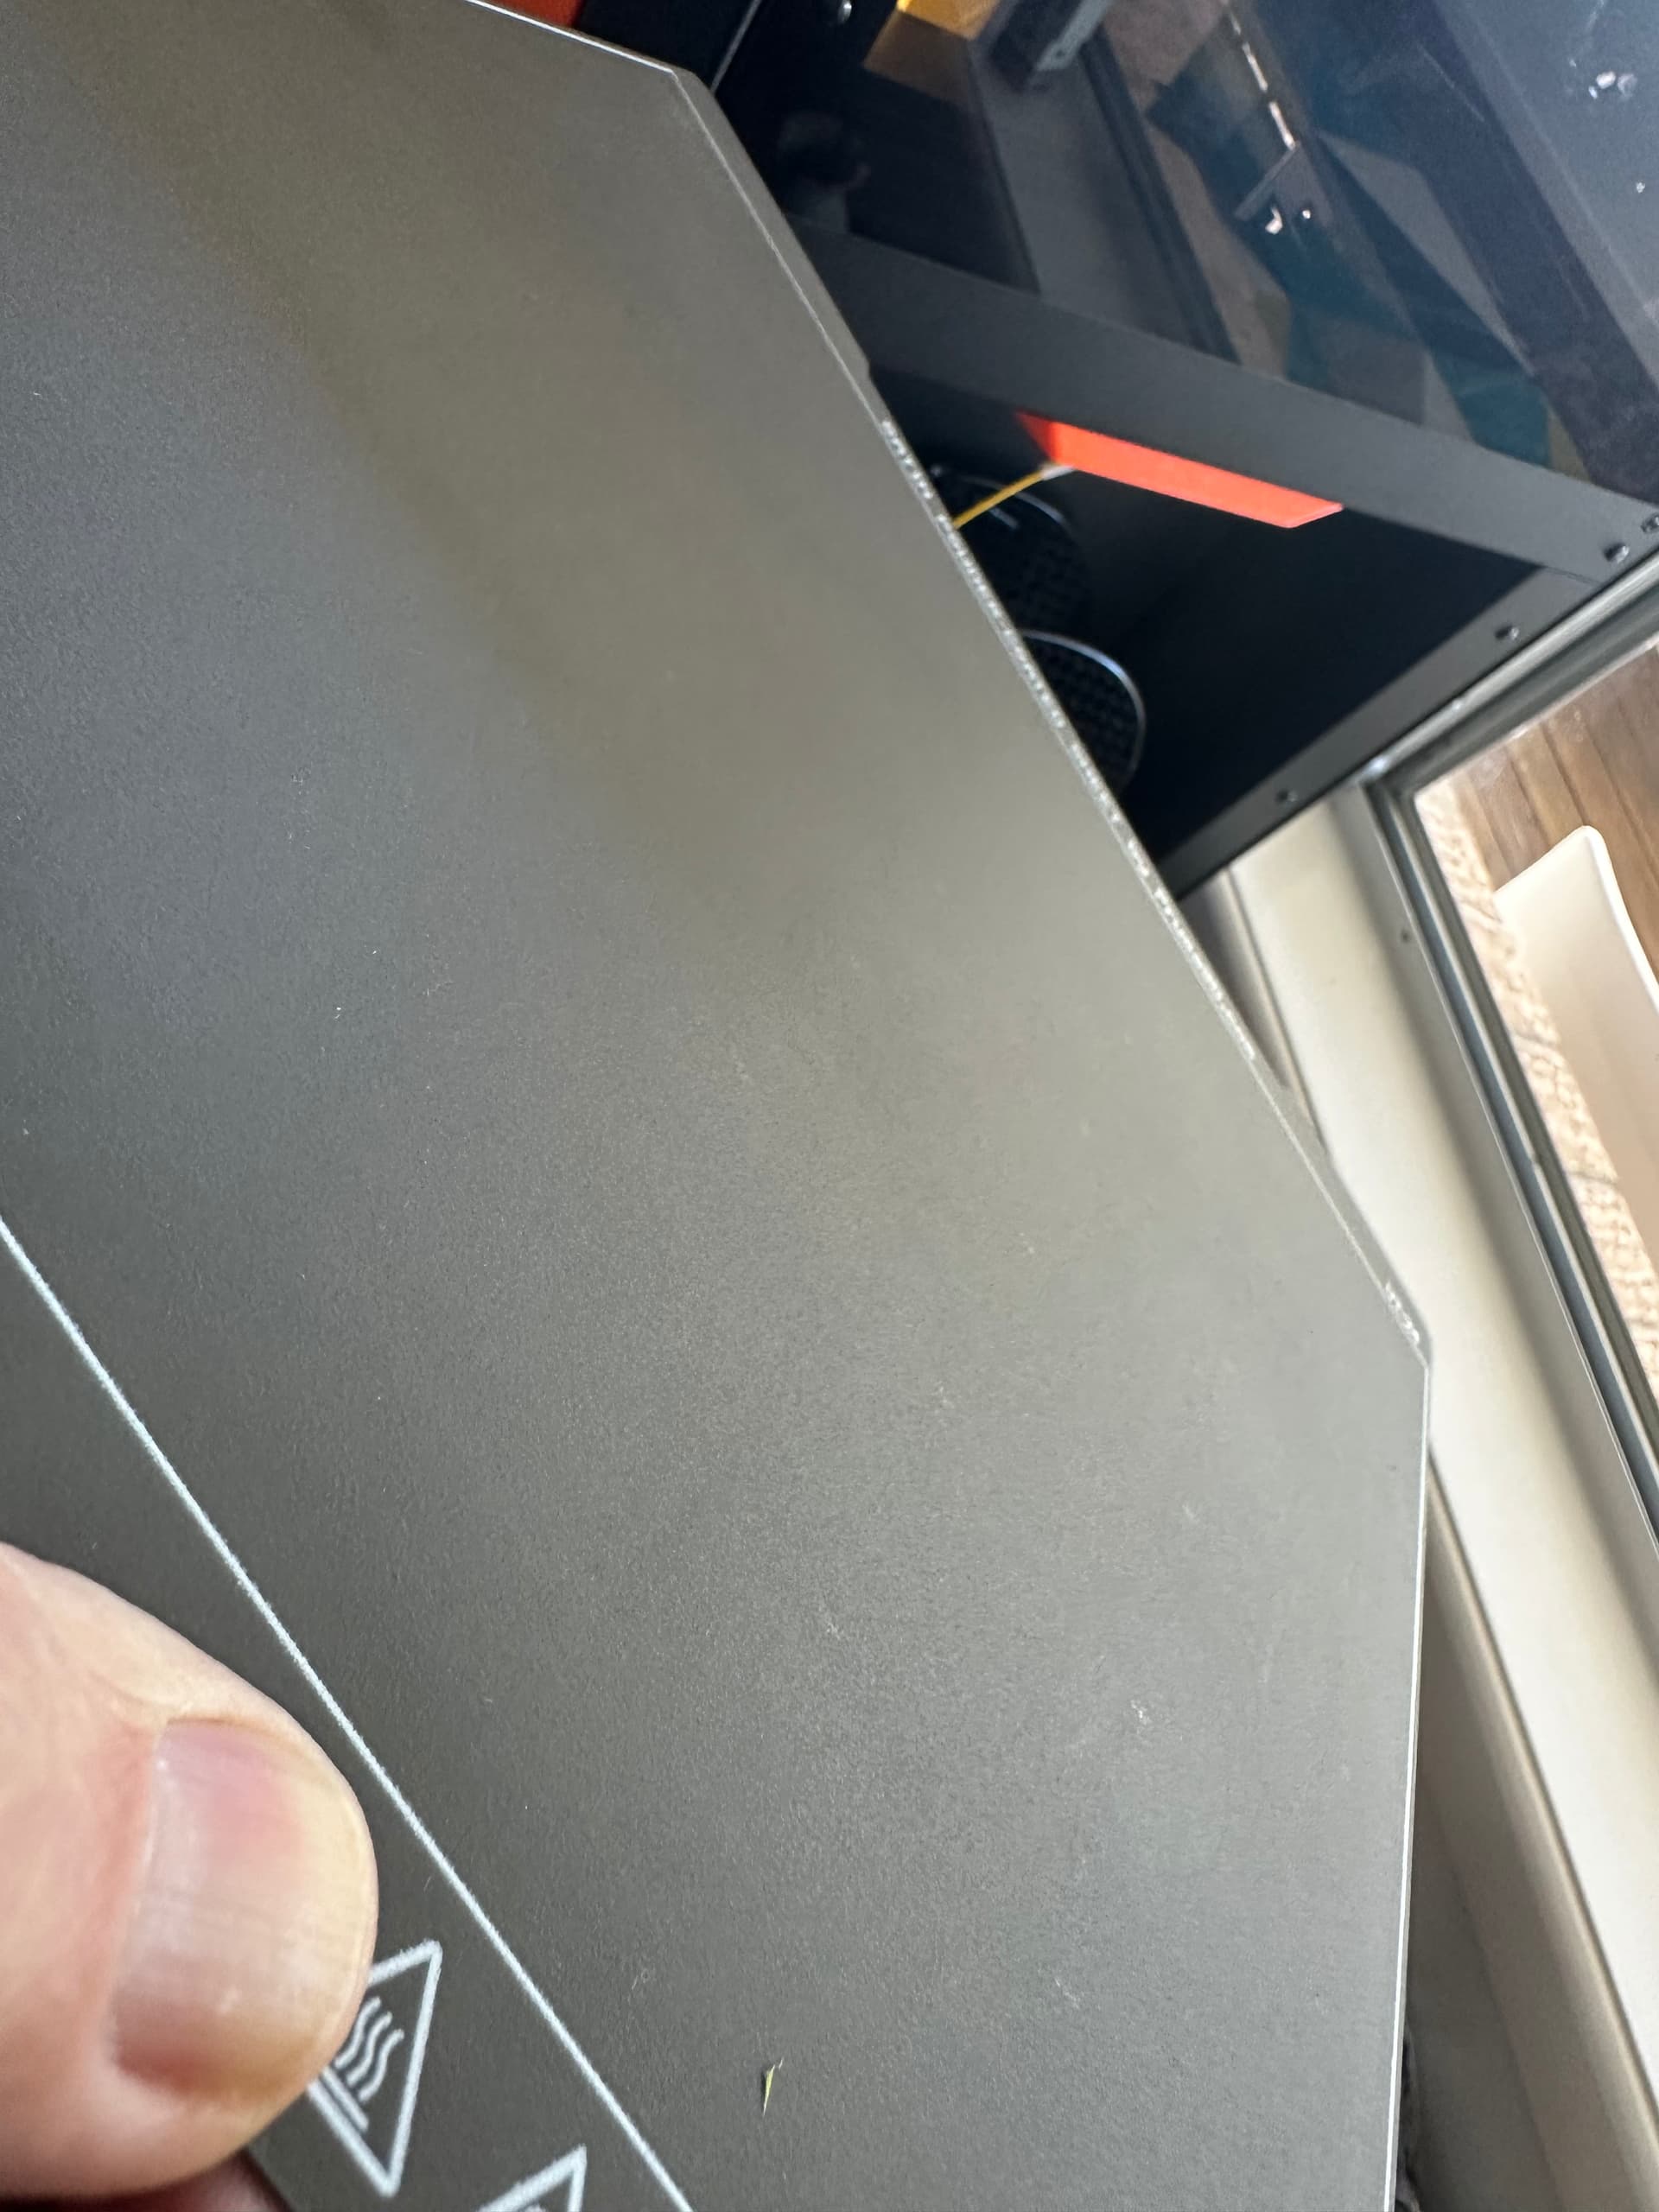
I’ve been quietly working on the base for the CoreOne. Today I discovered that Biqu are now making a thing called a PandaHub, which is almost exactly what I am doing here, maybe they are trawling my Onshape account, or more likely it’s not a very original thought!
I’ll have a little fold-up shelf on the right hand side, to hold the dryer and as a stopper to maintain space to change filament. At the back, eventually I think I’ll recirculate hot air with a duct from top to bottom and a heater element in it.
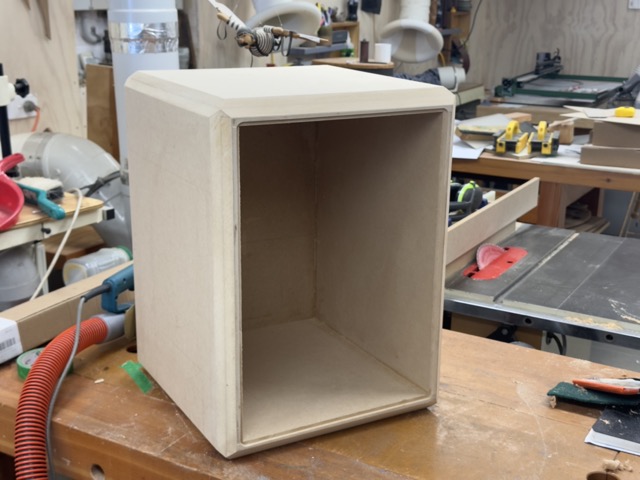
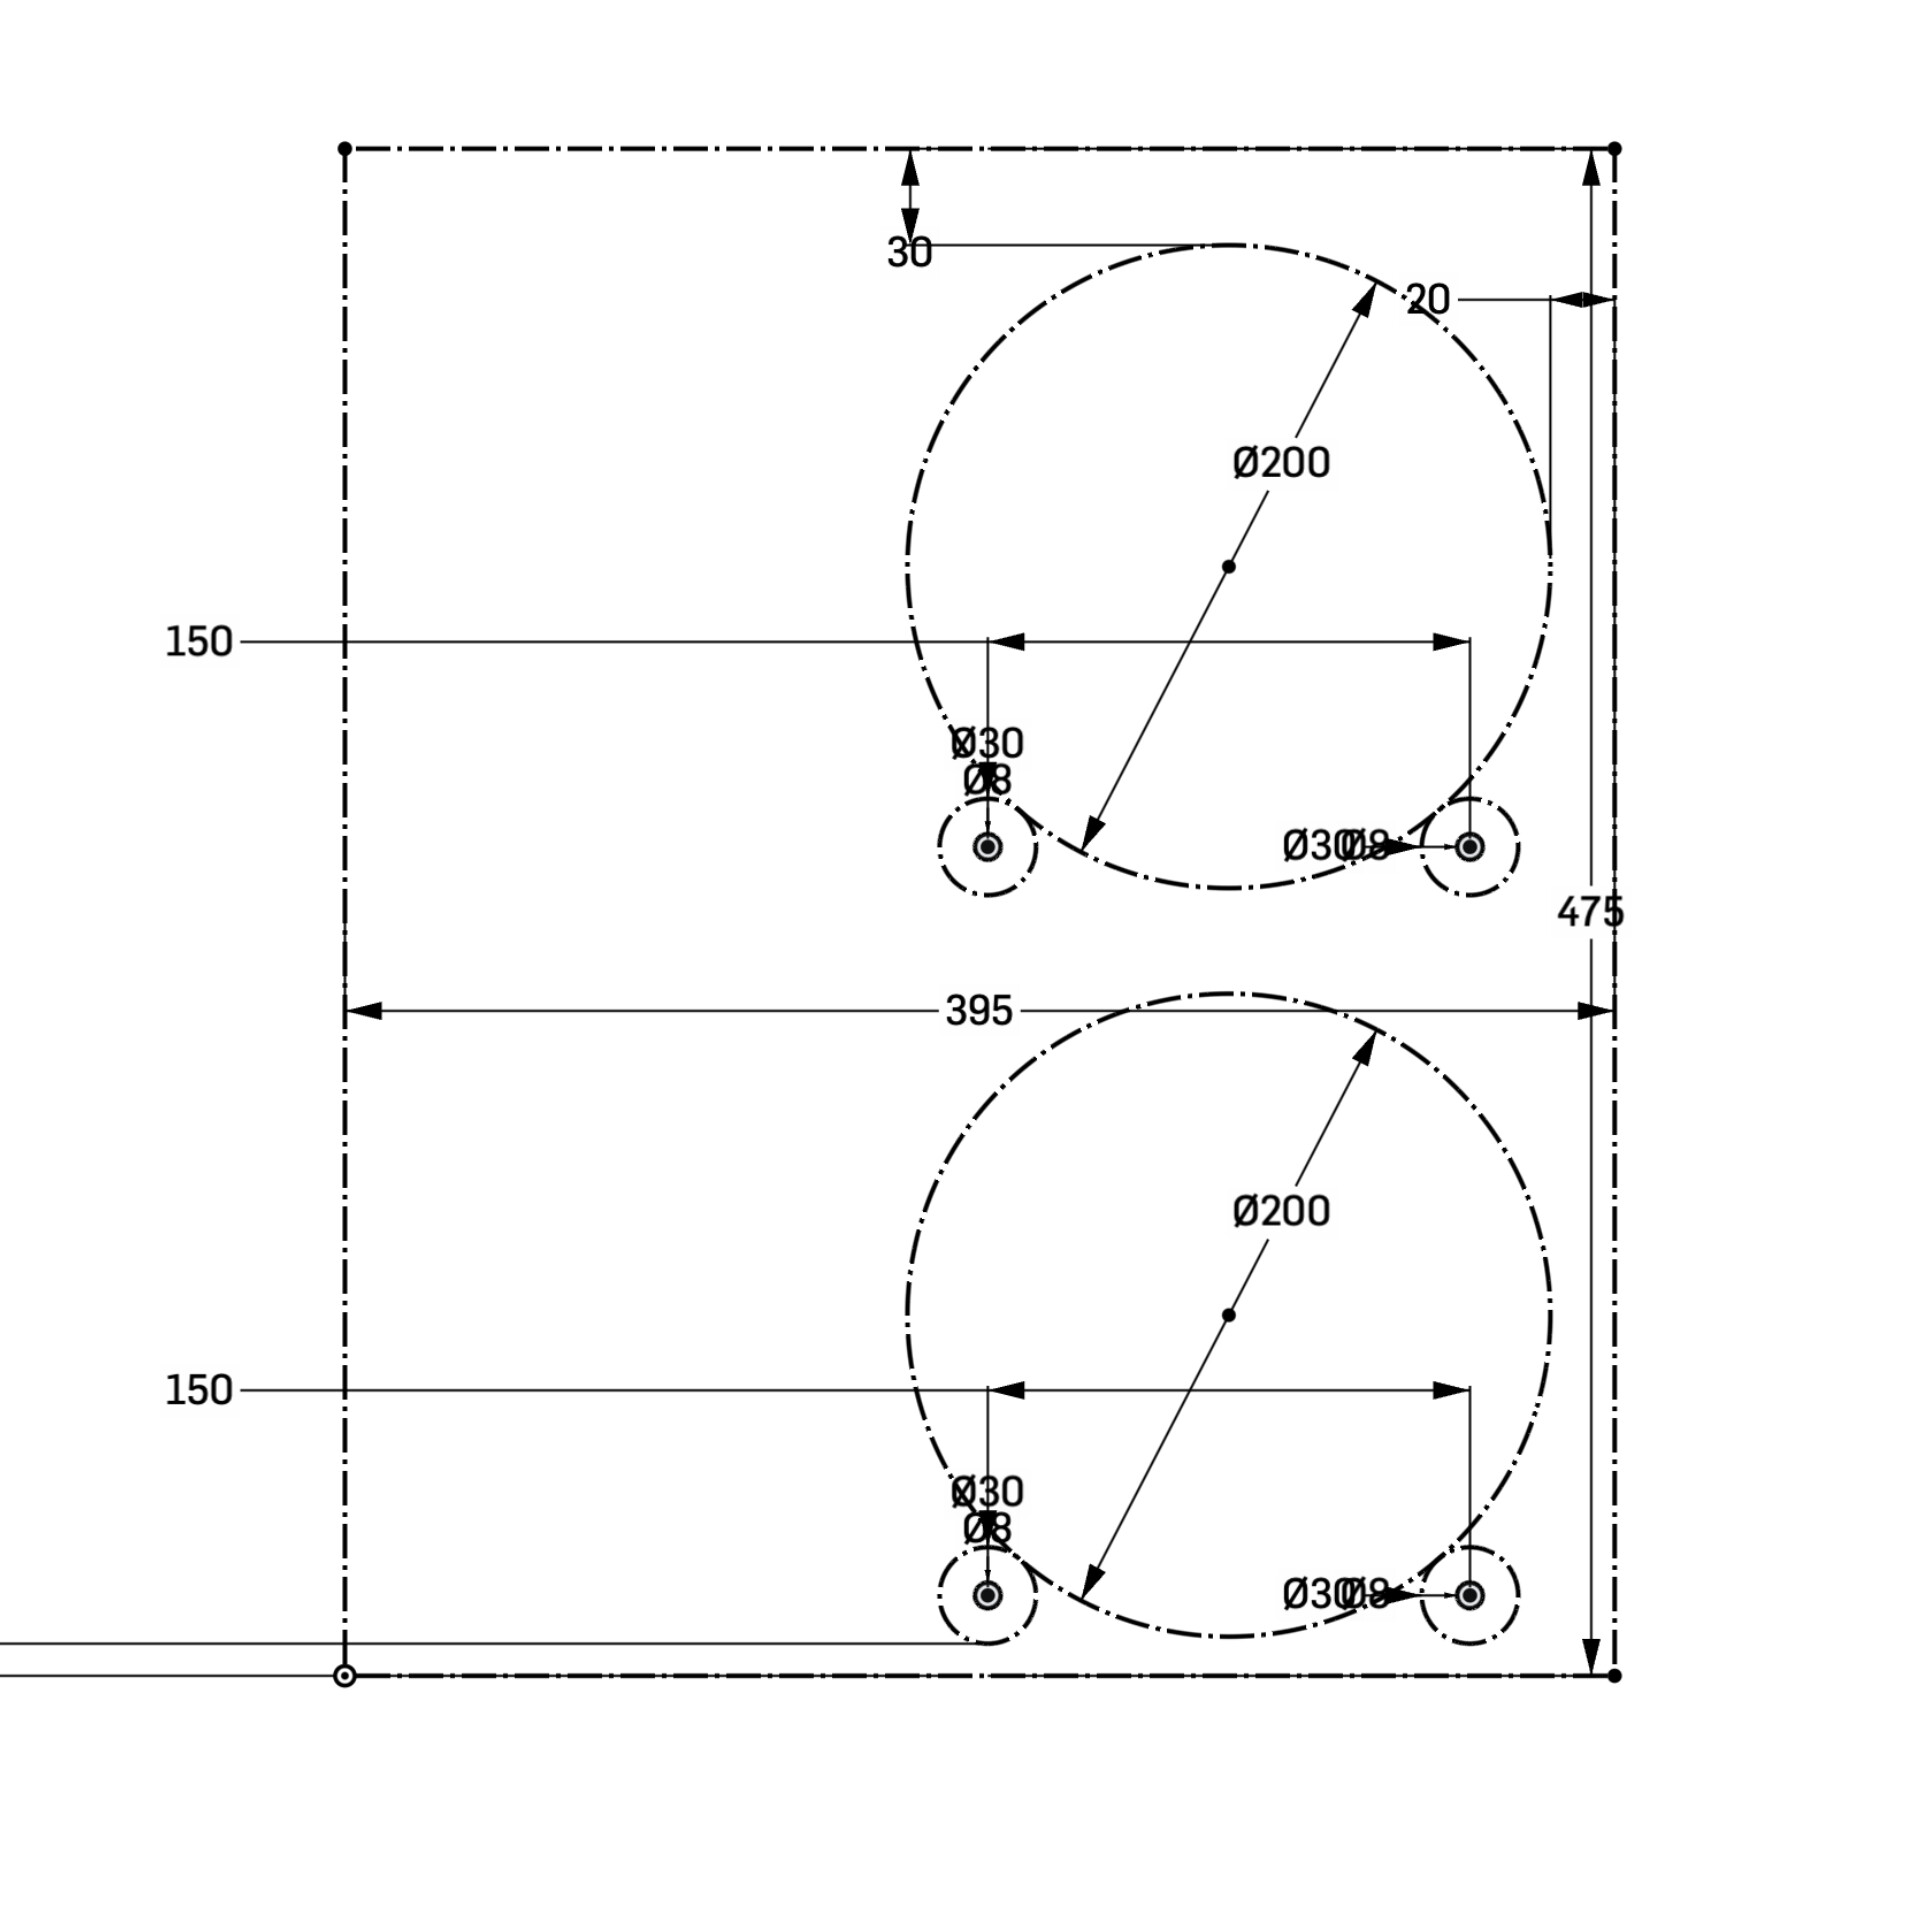
For now, it’s main purpose is to keep the CoreOne 600 mm above the floor! It’s designed to mimic the printer detail - I’ll spray it metallic black to match.
It needed to have some heft because it’s holding up 25kg of printer, so two layers of 12mm MDF with a spacer frame of 12mm do the trick. Ready to sand, fill and prime.
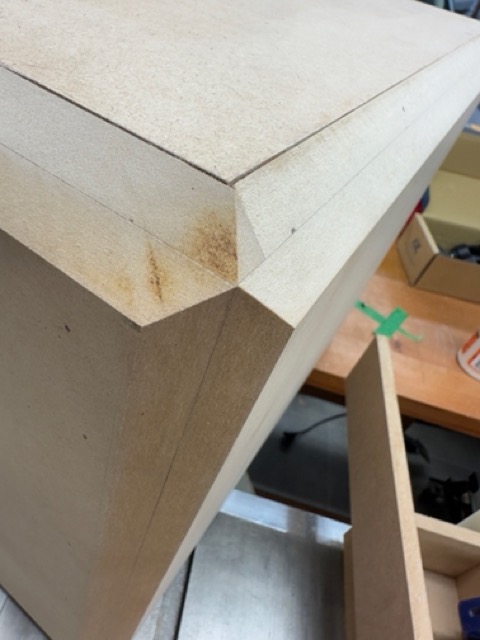
The mitre is “close” to the metal one, I’ll round off the corners to get a better match, but there’s a few mm difference I think because I wanted to land the cut on the inner skin joint line for tidiness. Sometimes, the old Jet contractor’s saw makes me very happy!
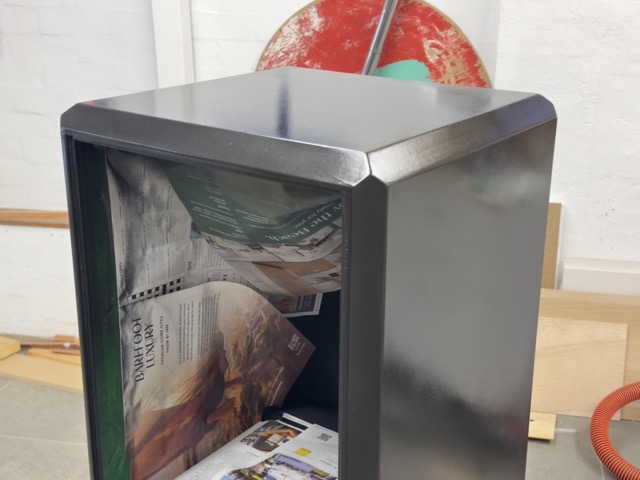
I’m pretty happy with the finish, it’s a close enough match to the CoreOne powder coating, or will be after it gets a coat of matte clear, but why oh why did I have to get one run, right at the top corner where it can be seen. I can’t live with it, so a bit of wet and dry will fix this afternoon.
Then of course there was the dash out to my local plastic supplier to buy the door. Arrived at quarter to three to discover they close at 2:30 on Fridays!
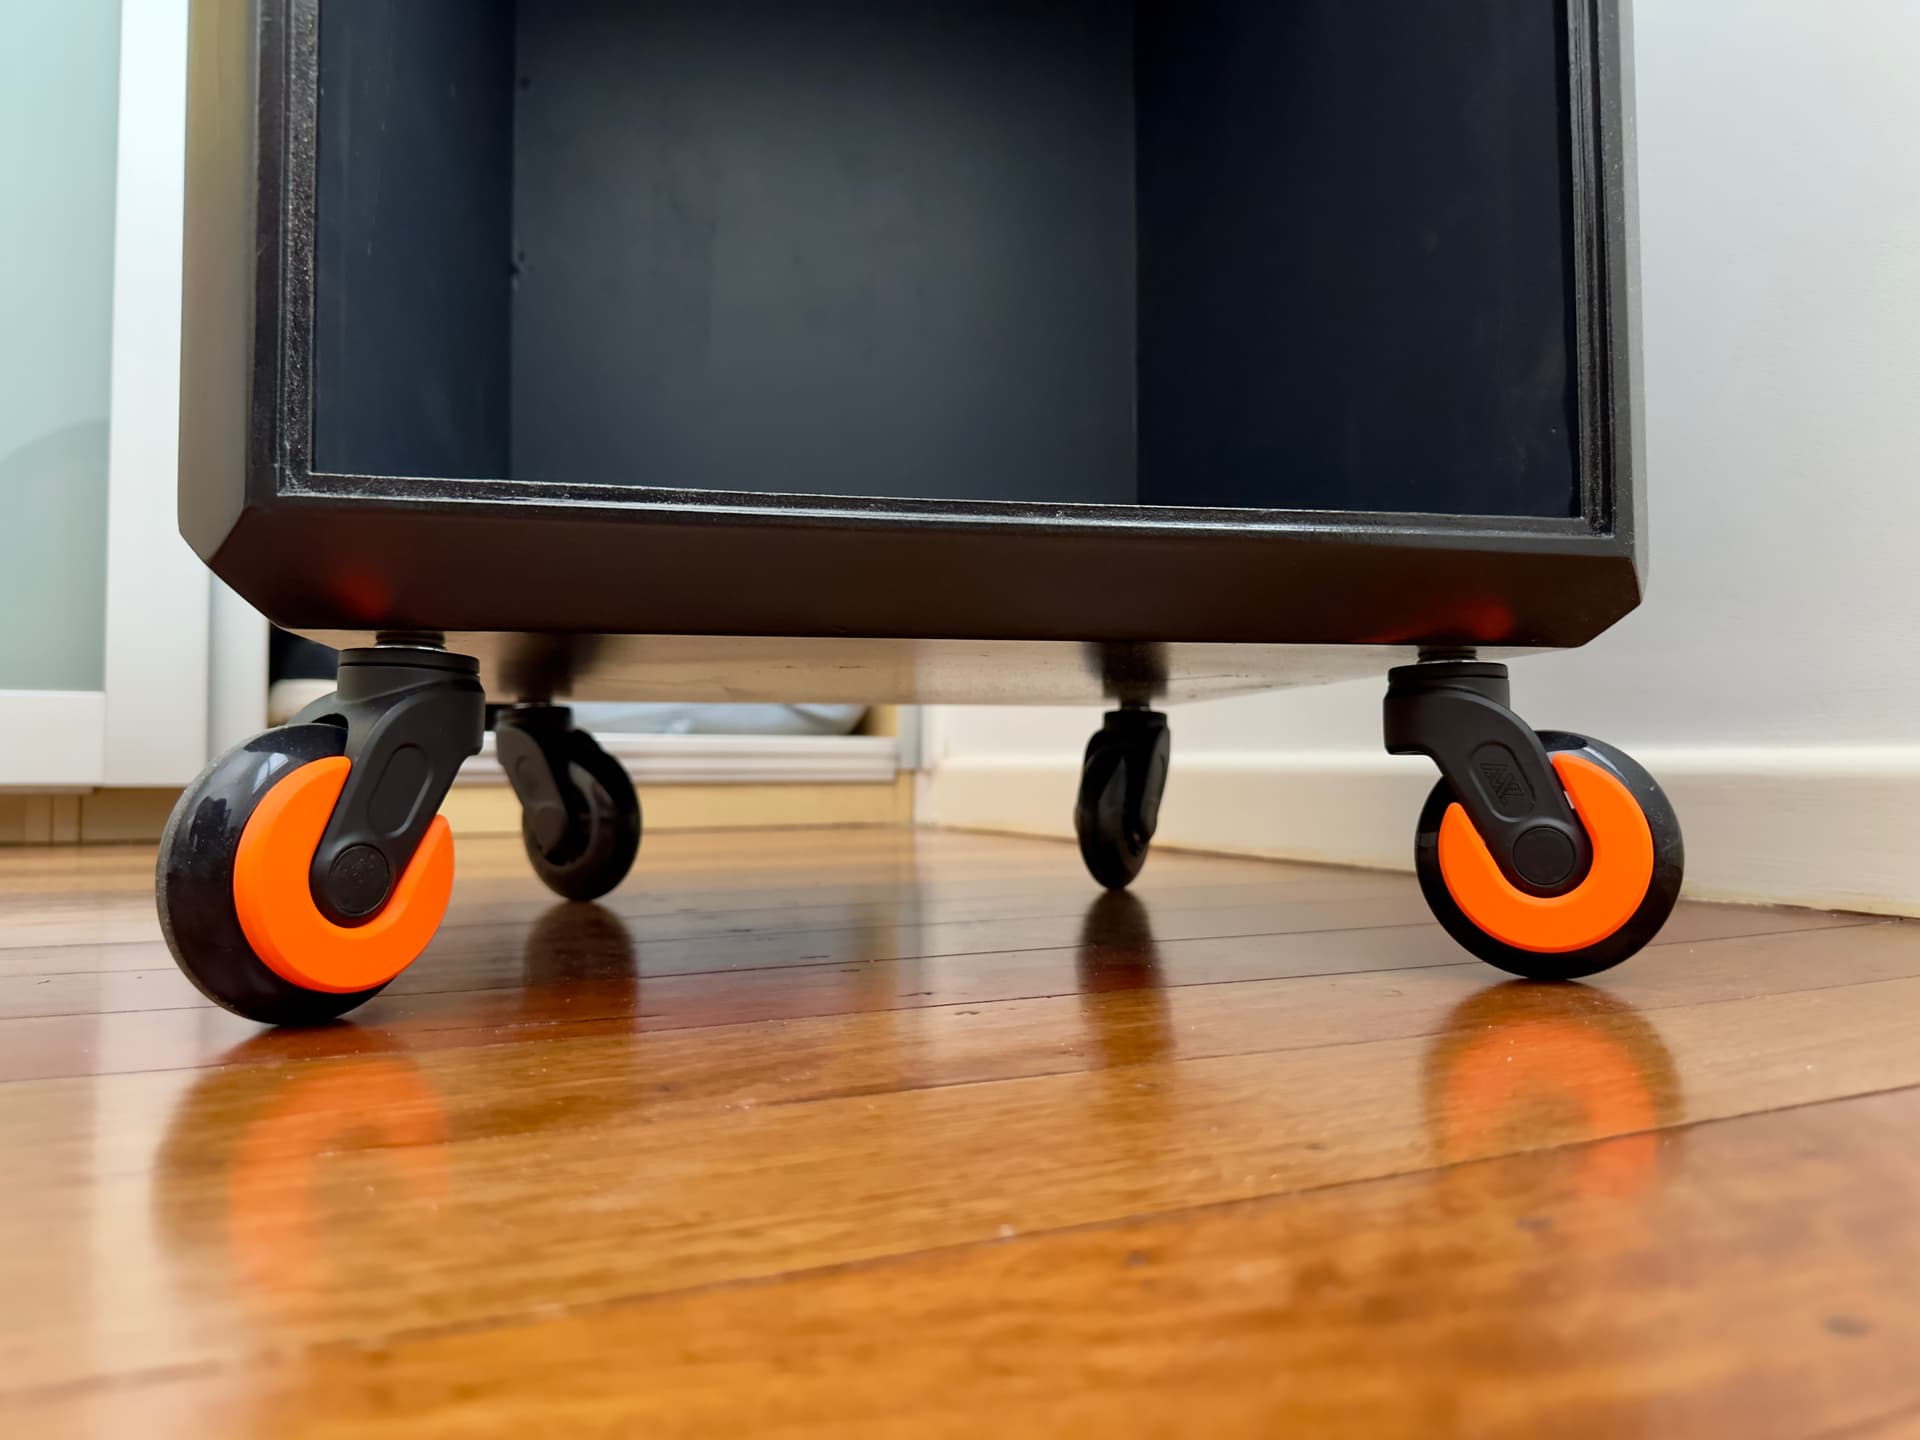
I decided I would run with the gloss, the paint will need a day or two to cure, but I thought I would fit the casters anyway. I am using scooter wheels and suddenly the cupboard took off down the hall of its own volition. More interruption while I made a couple of snap-in wheel stops!
No, but the orange locks are. (details here) They are standard scooter wheel casters for chairs - I’d recommend them for every office chair, but they are a bit speedy for vibrating bit of furniture, and on our not terribly level timber floor the cupboard will almost certainly go walkabout!
I like to use casters because (apart from the obvious moving thing) they are a great way of reducing noise transmission).
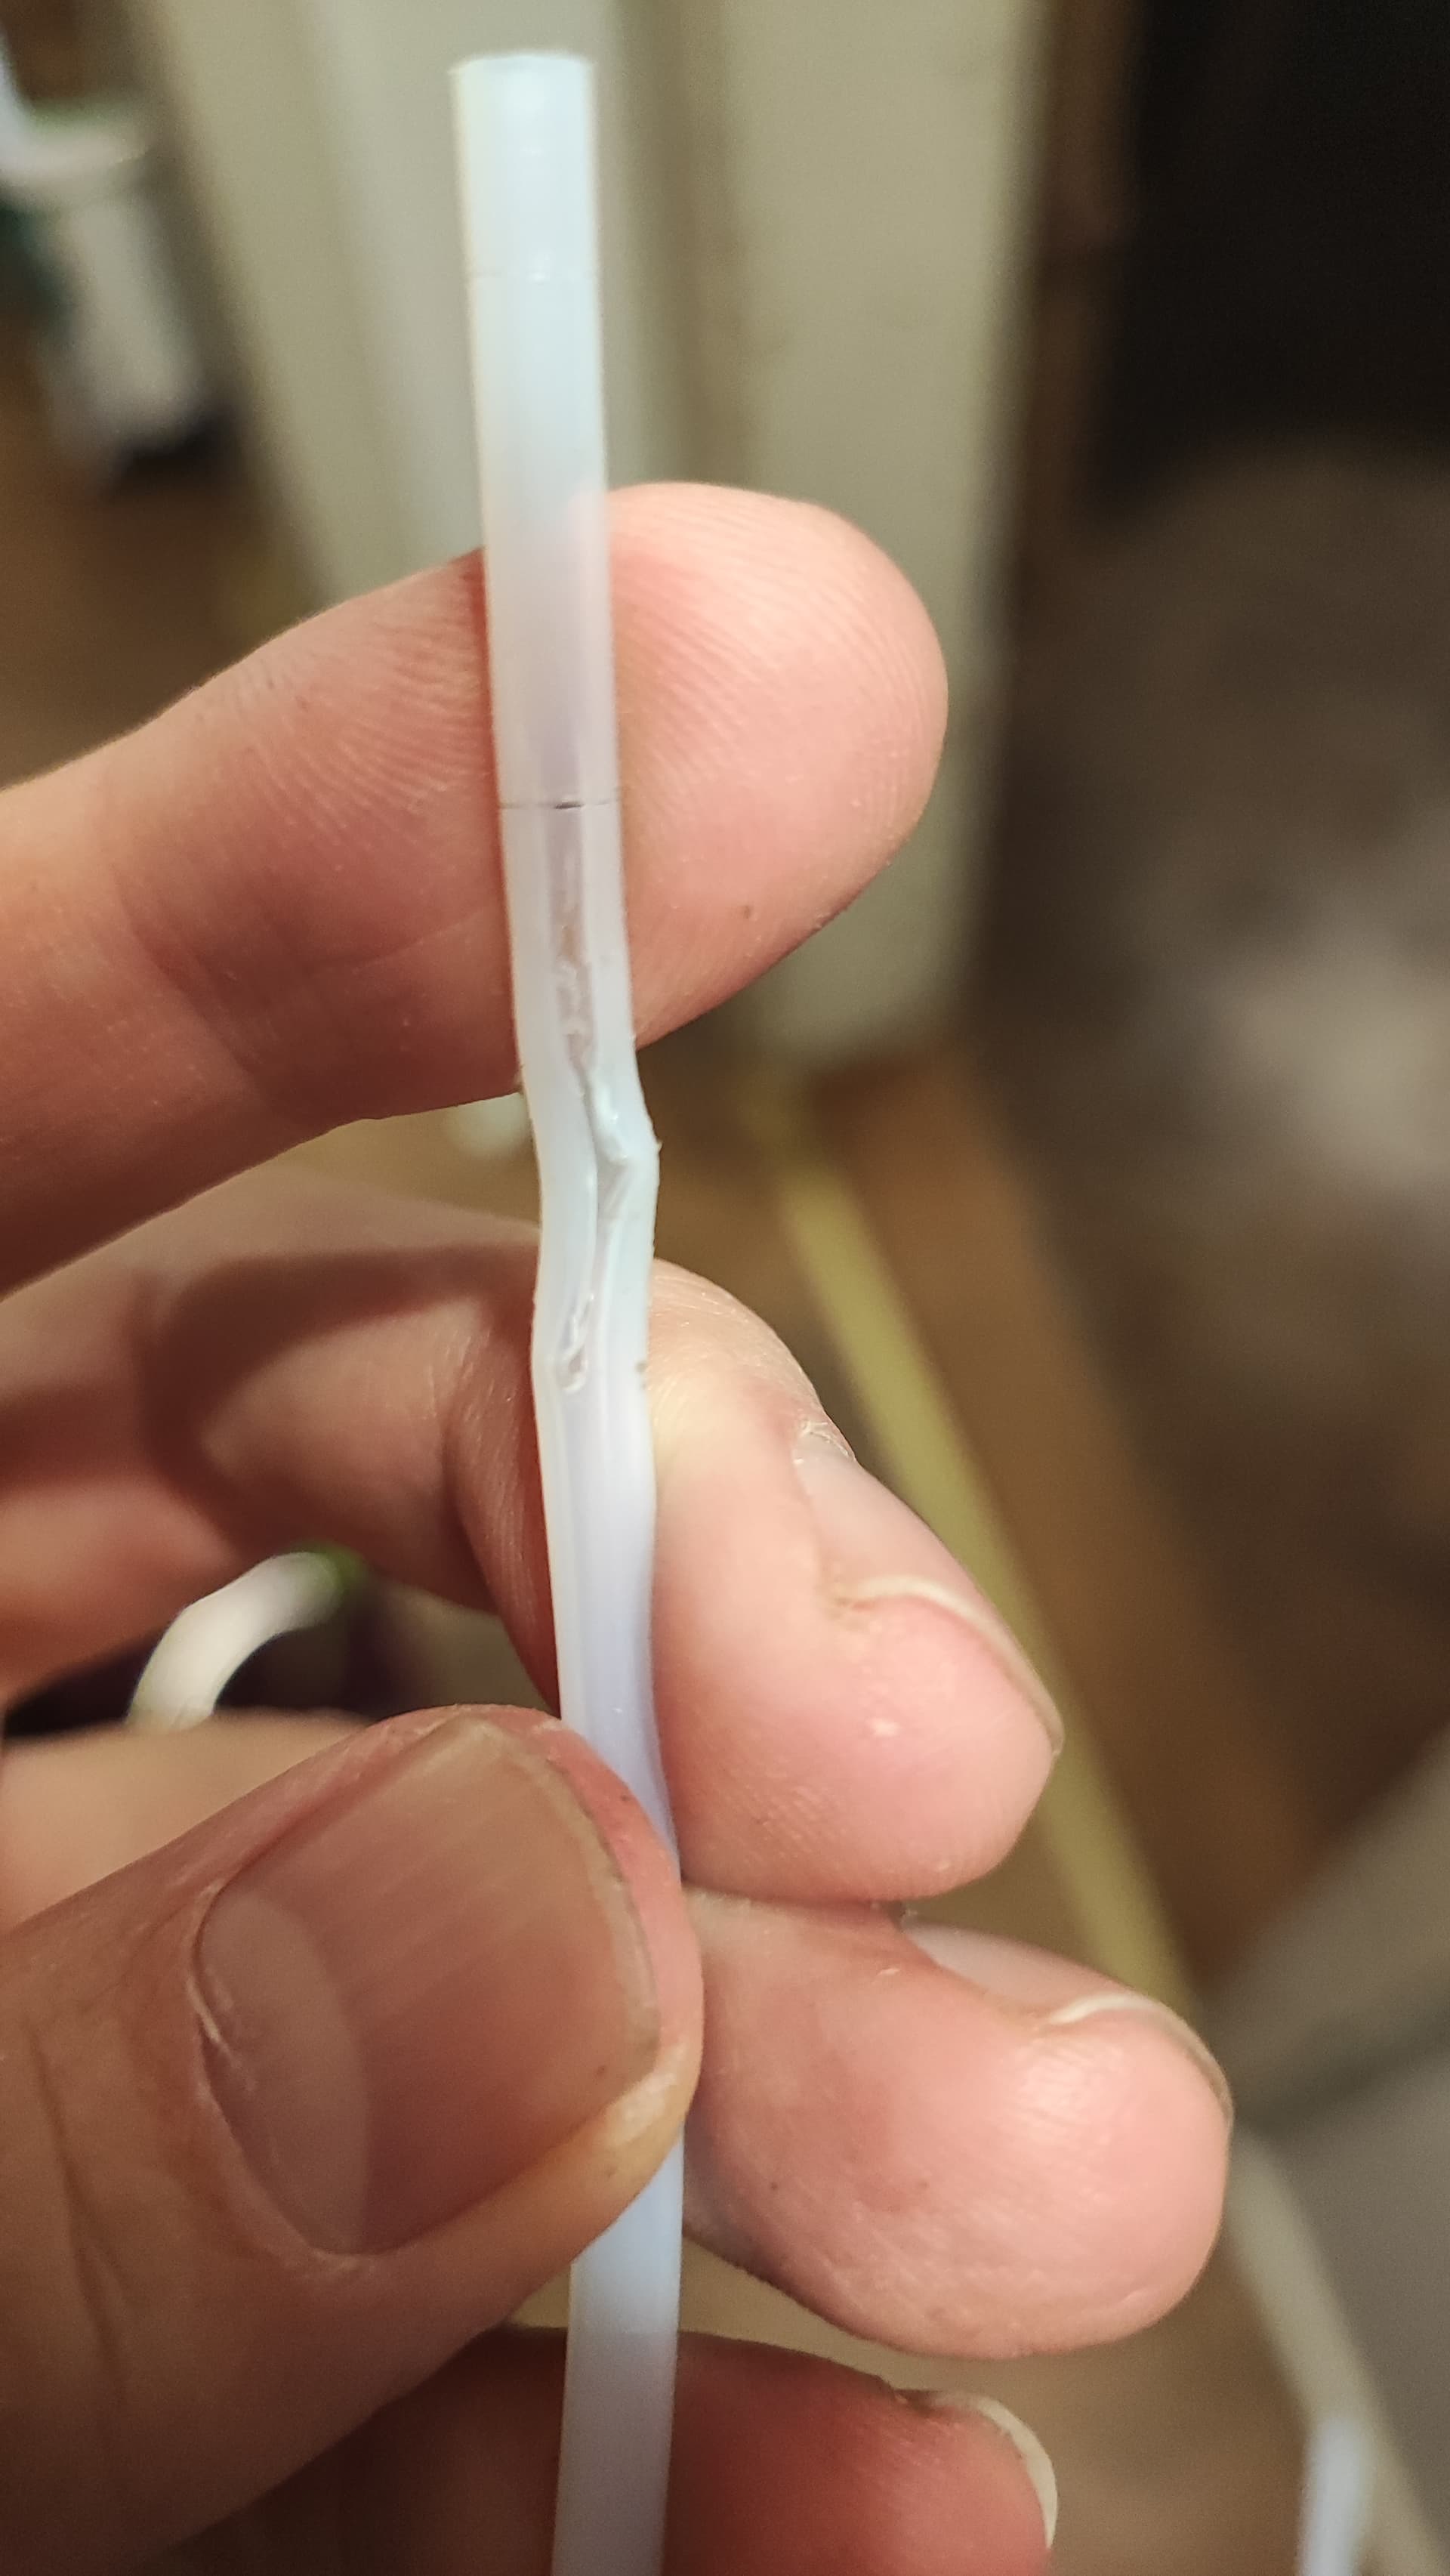
As an aside - some may find this useful - standard chair casters are 11mm diameter, and while it’s possible to just fit them straight into timber, because of the circlip spring they do end up getting a bit sloppy. Sleeves can be bought at some stupid money, so here’s one you can print for almost free. CASTER SLEEVE SOCKET ADAPTER by Peter H | Download free STL model | Printables.com
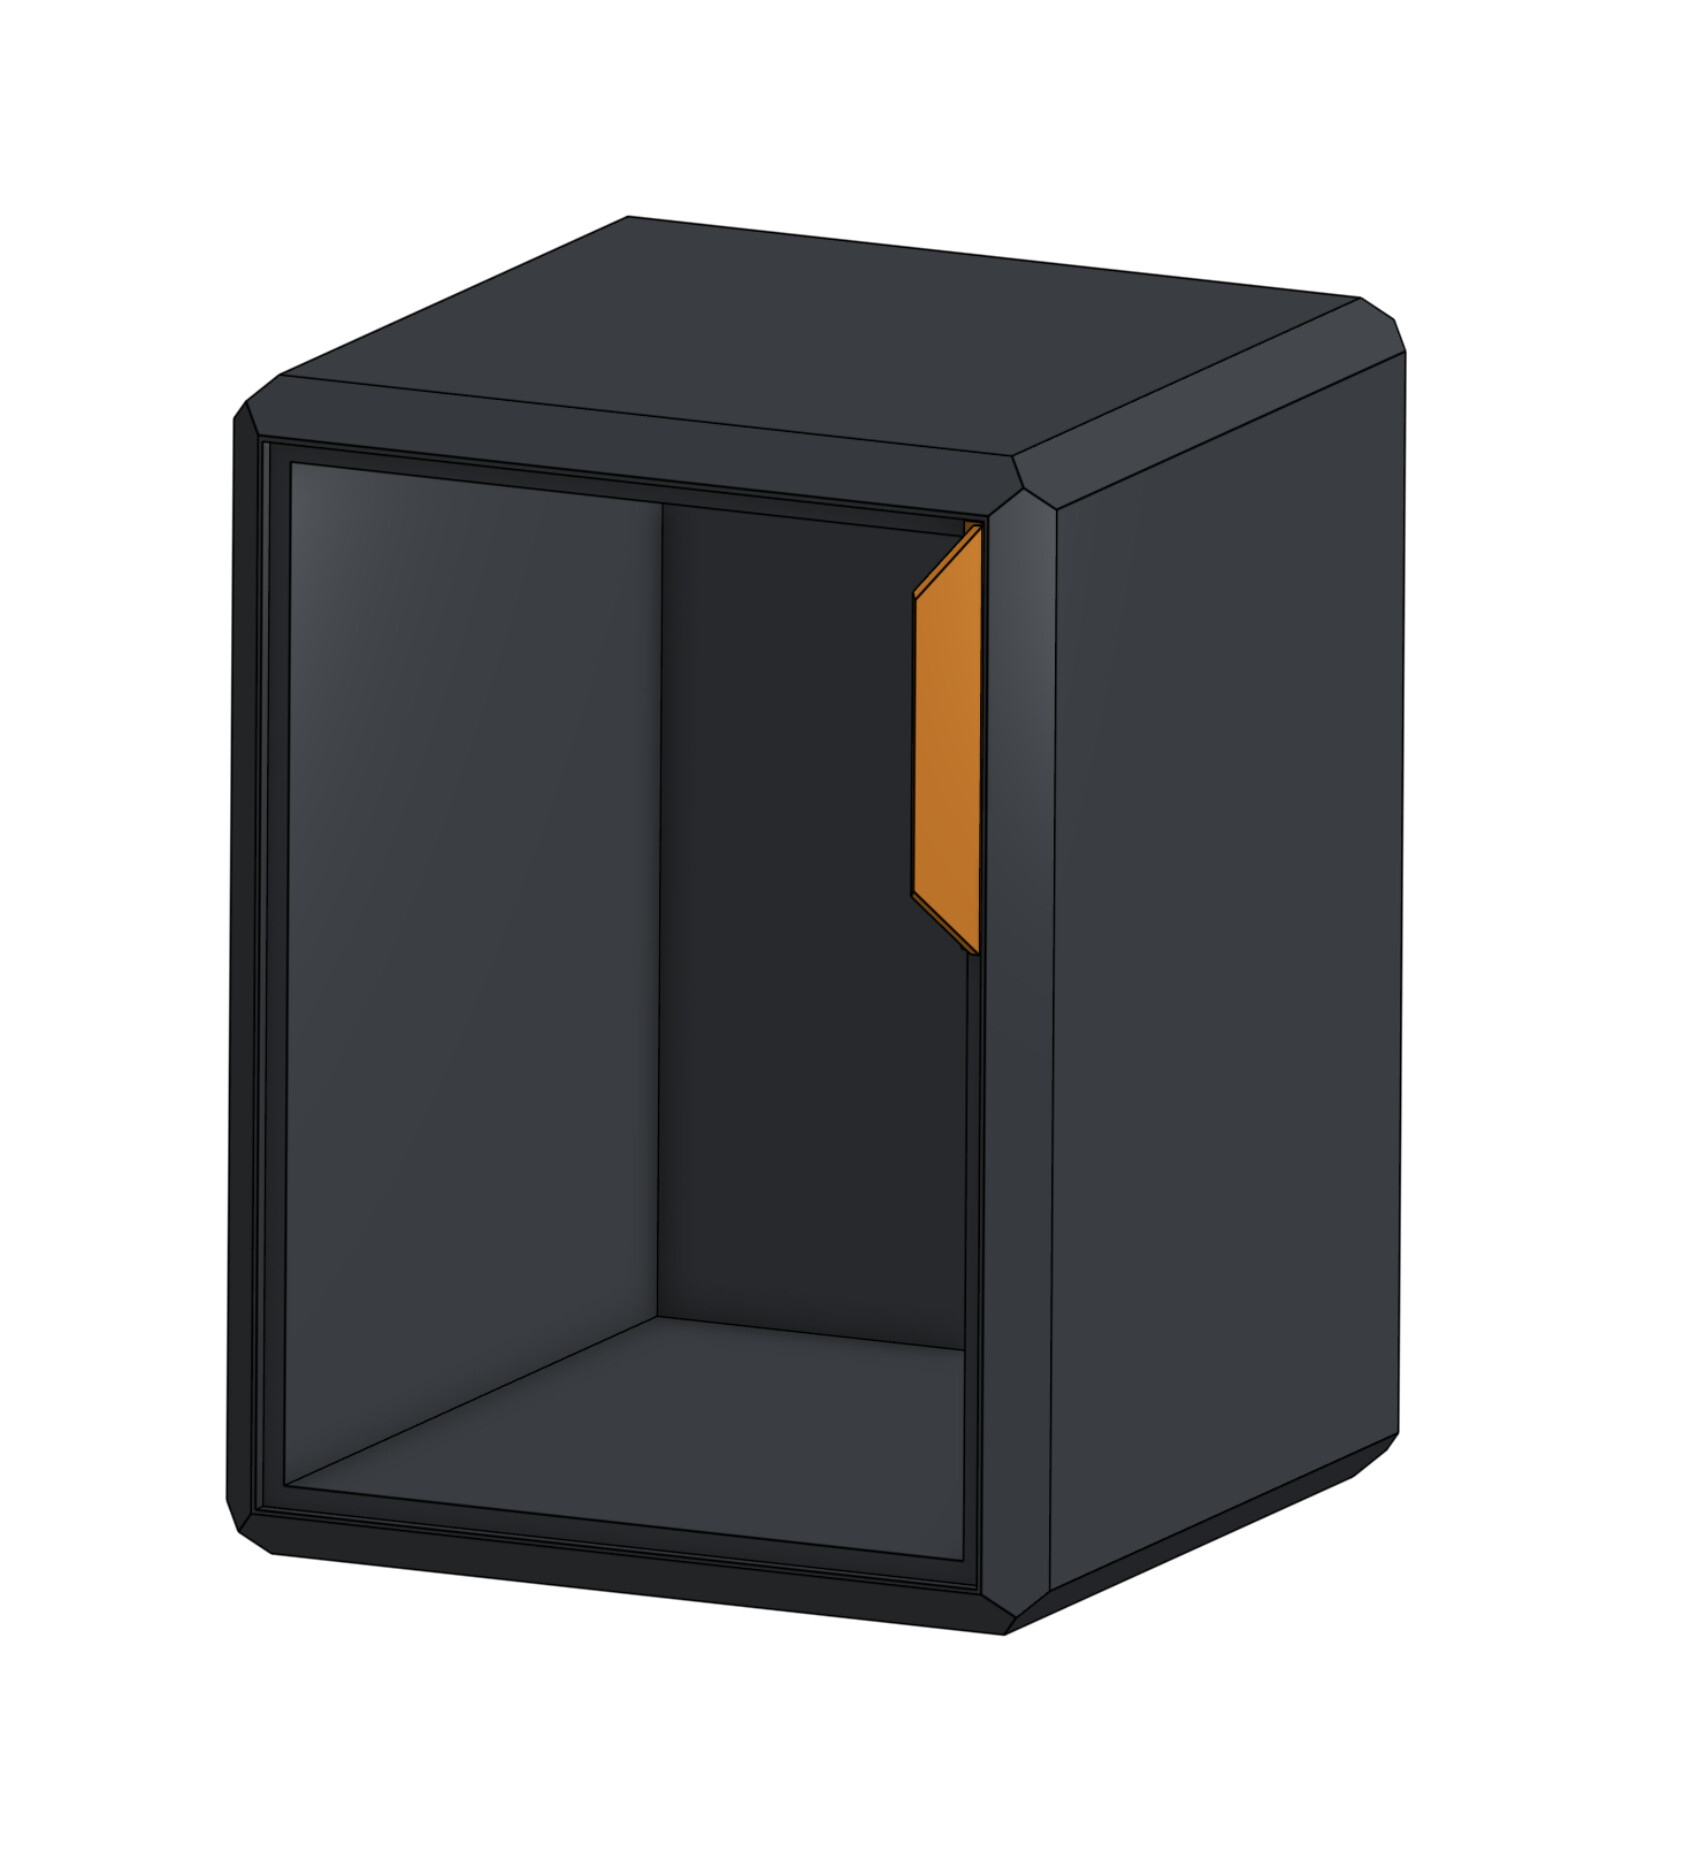
Now I have a few months of breath-holding to do. If the INDX kit holds seven heads as per the tease, I can heat the cabinet to make a dry box for eight spools and feed neatly out the back of the box, with enough space for fan, vent and lighting too.
I’m not sure what to do with the volume in front - my original thought was to double stack the spools but that makes monitoring filament use a bit of a challenge.
I could of course make a shelf or two in the interim, but maybe I’ll just sit tight and hope I’ve guessed correctly, and they don’t have a big ugly box sitting on the top!
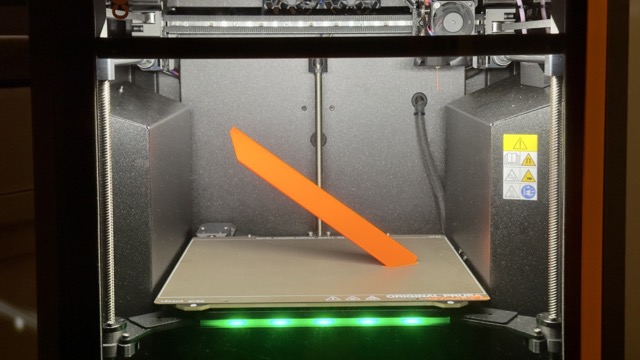
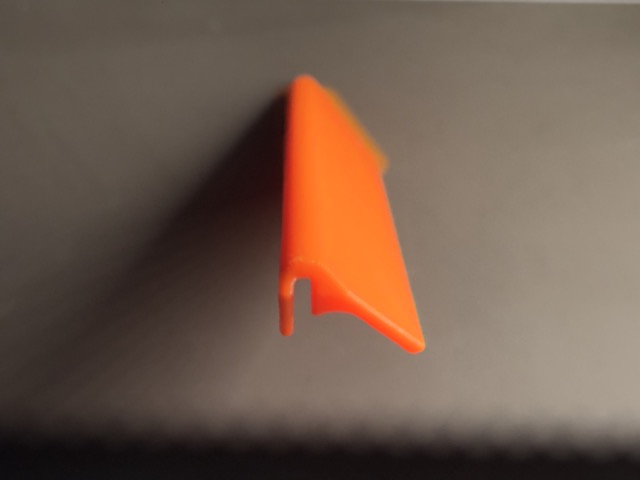
I was slicing the faux metal handle this evening, and not being silly I put a nice 4mm brim around the thing because it was just a 2mm and 3mm vee (before chamfer) so two thirds of a metric jigger all in contact with the bed. PrusaSlicer didn’t kick up any warnings about support being needed, so I thought “I’ll play your silly game”…
How is that even possible?
Printed in DRAFT mode, the top taper is quite shiny compared to the rest, but apart from that it’s a perfect print. This might be the point where I admit to a tiny bit of love forming for this machine.