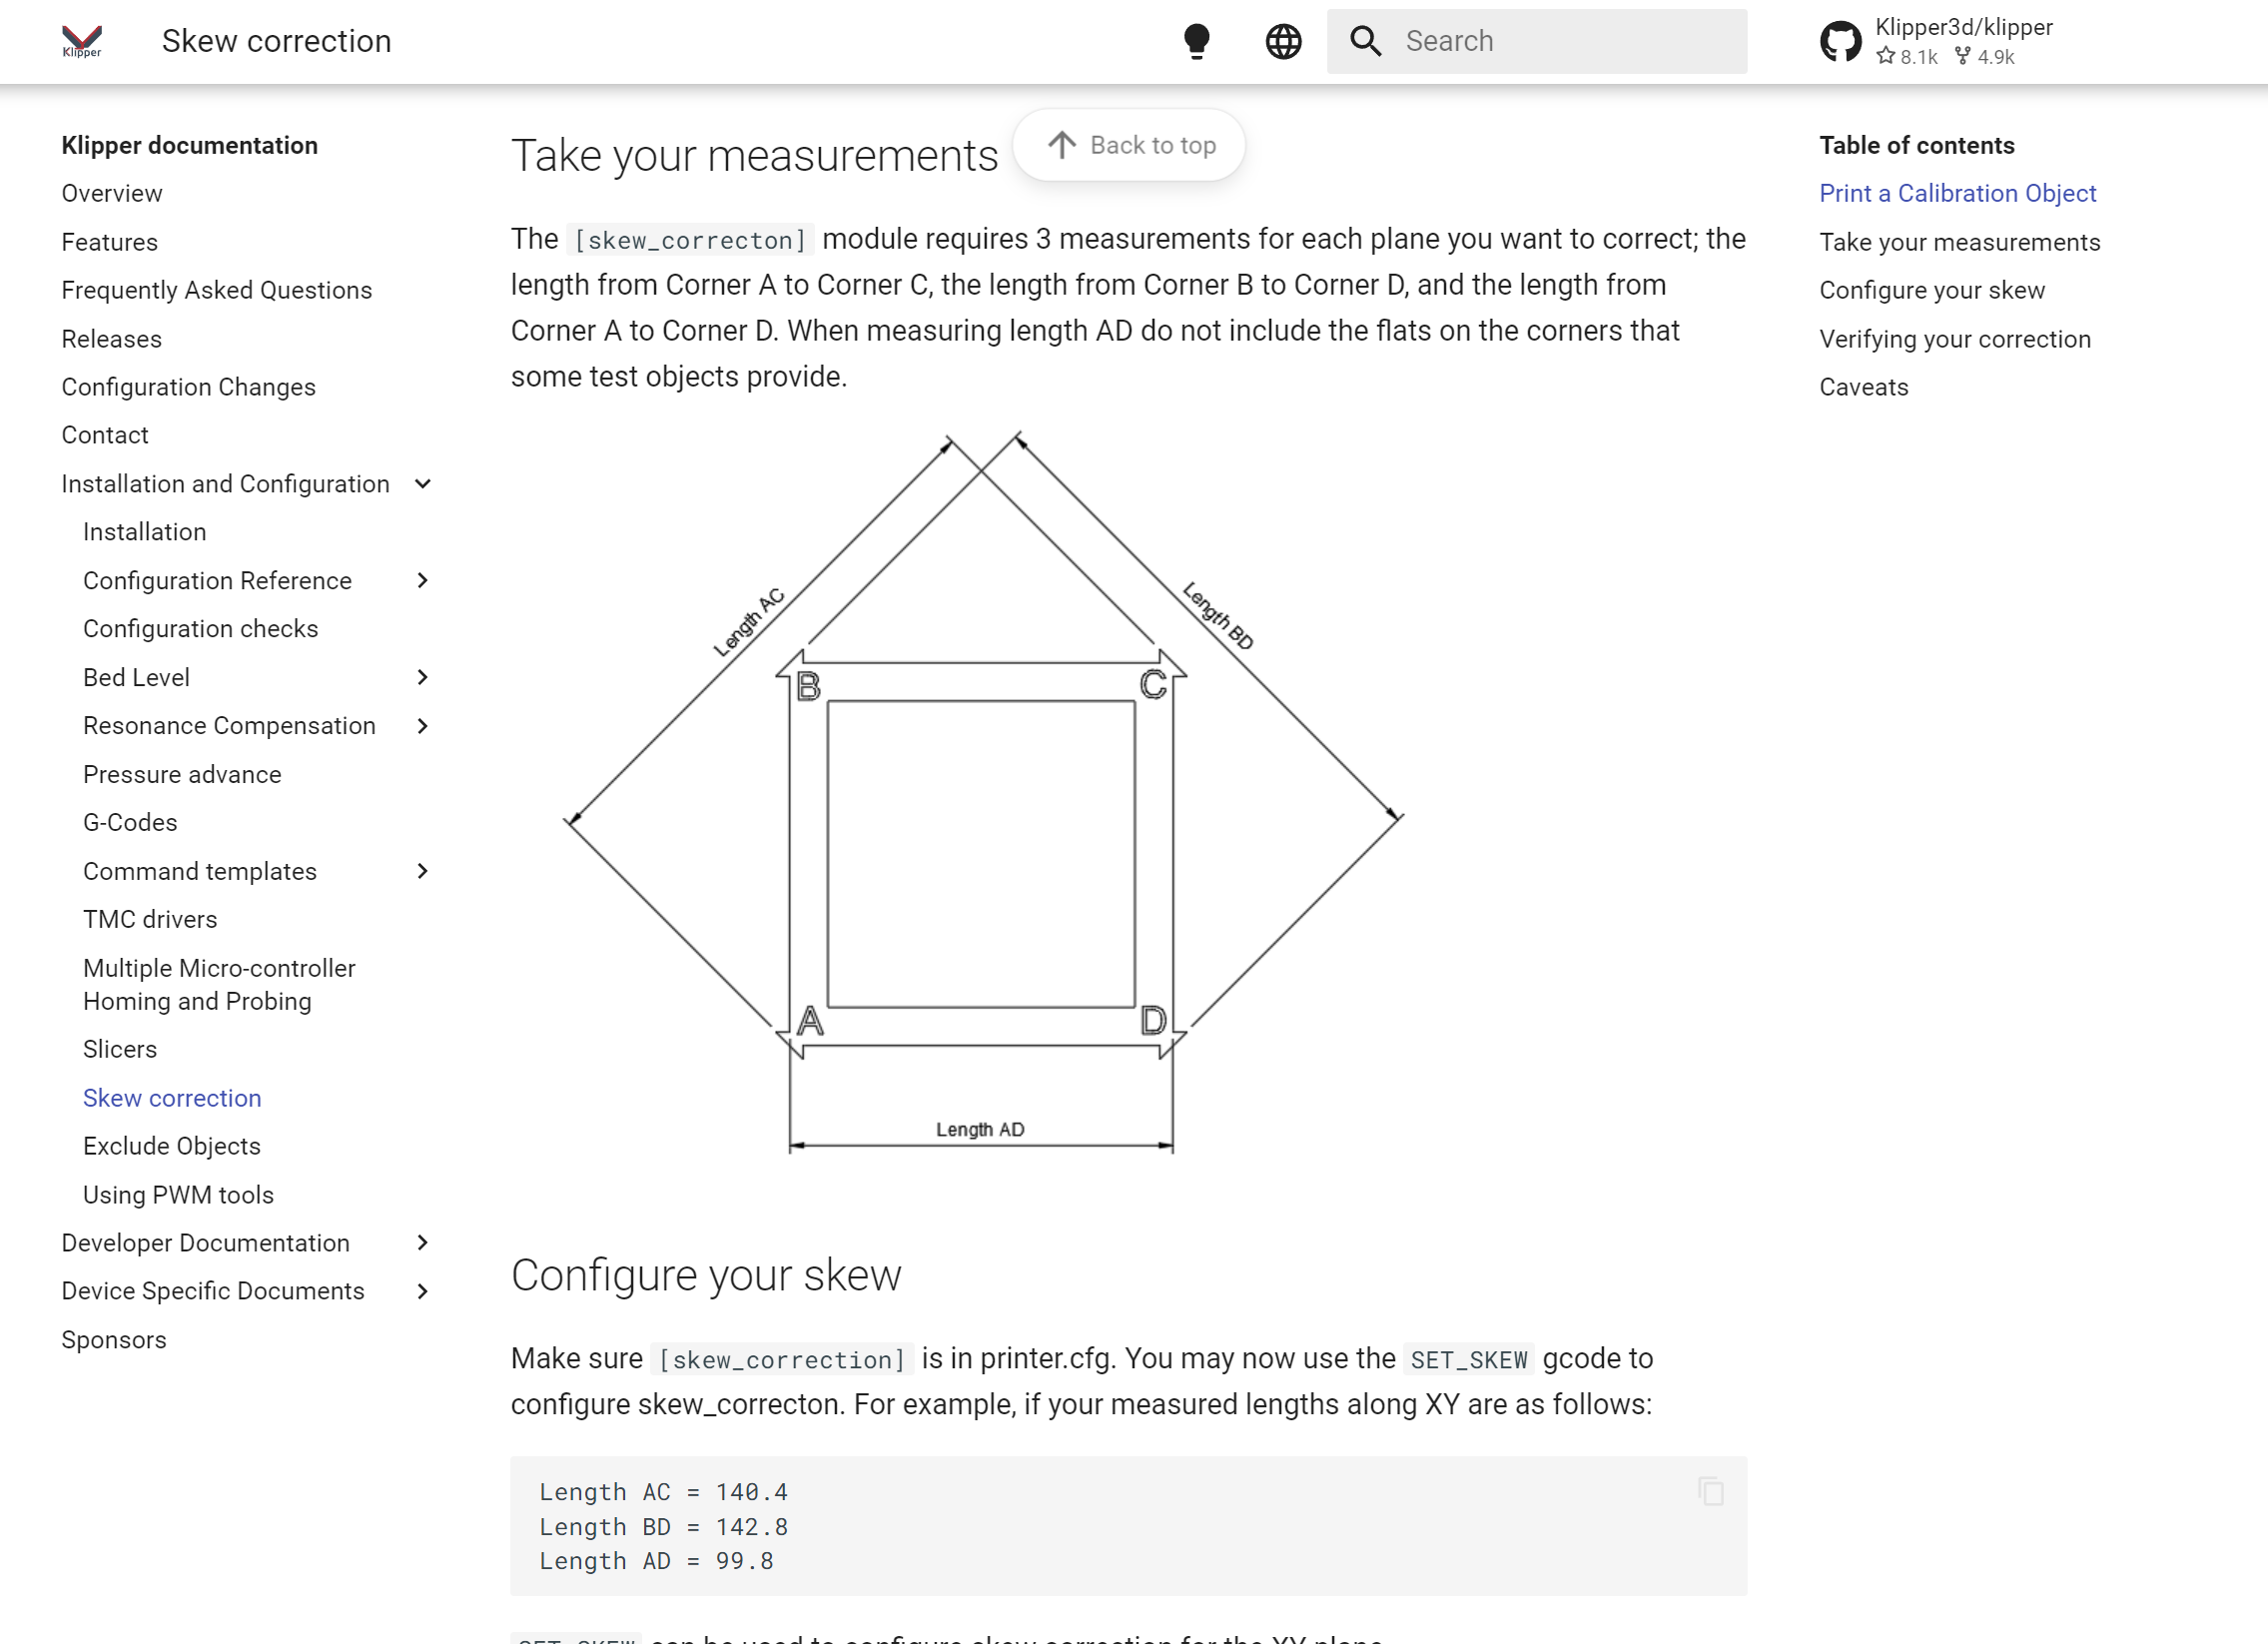
Question for the group. How much skew is worth messing with??
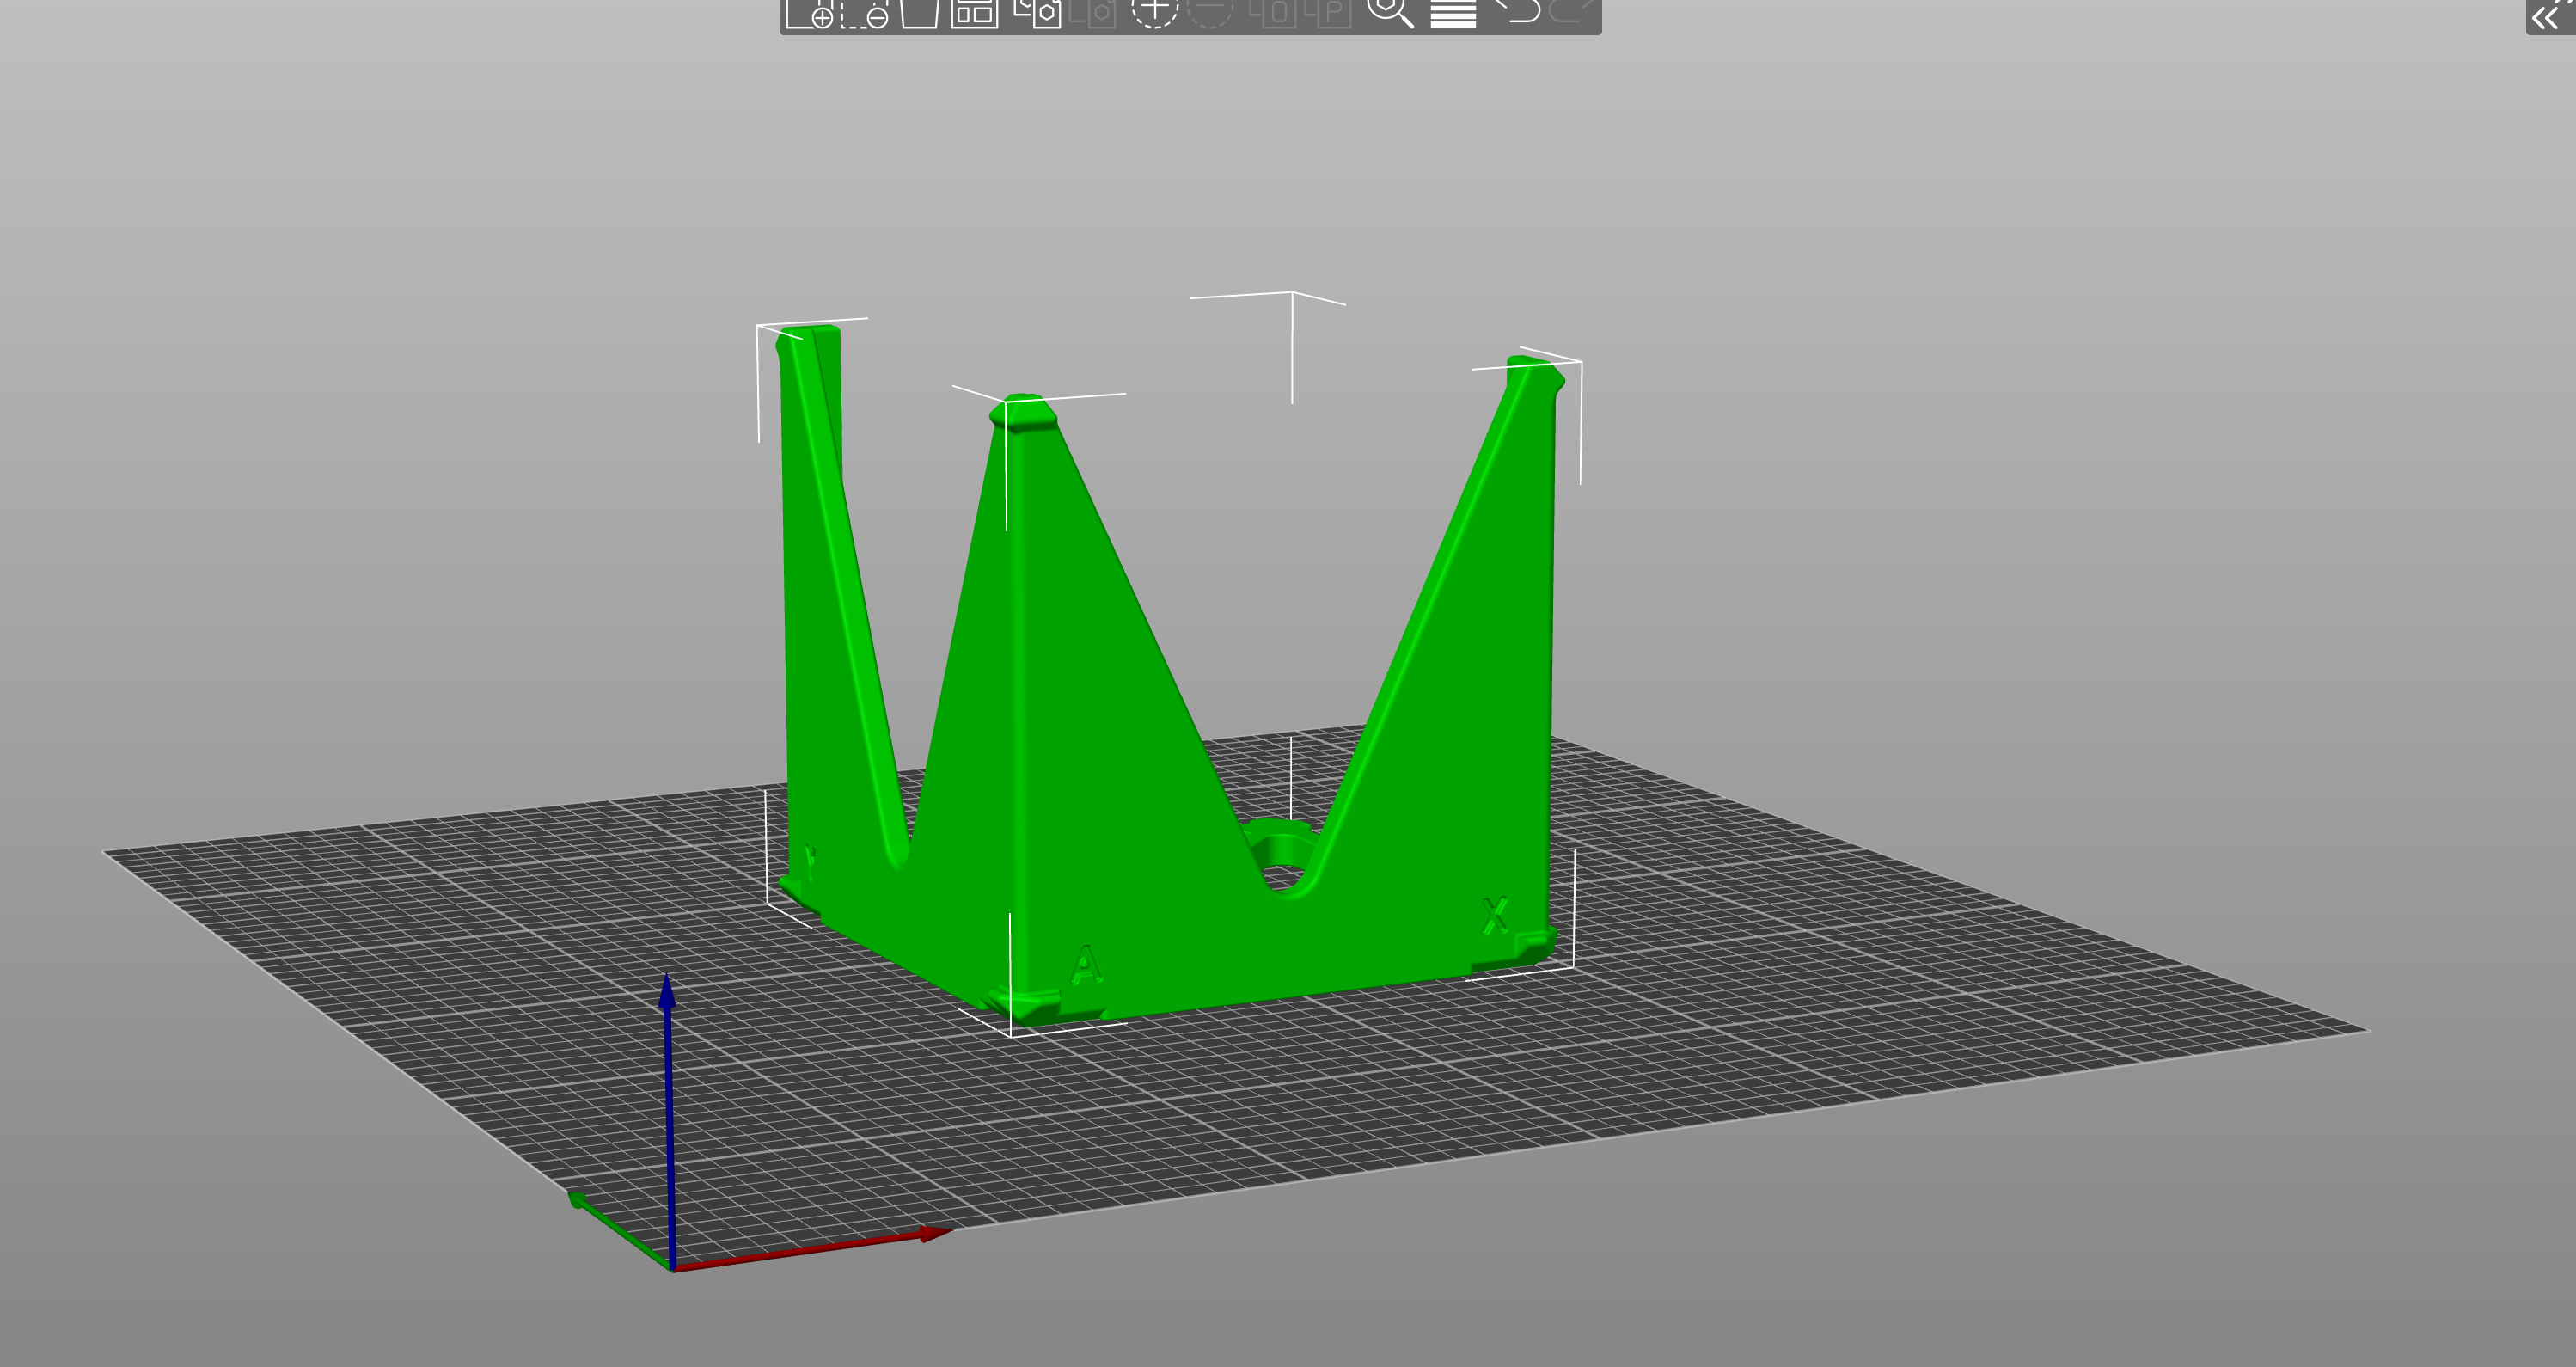
I just printed a the 100mm skew tower for Klipper, here are my measurements…
XY Axis…
AC = 139.85
BD = 140.03
AD = 99.41
XZ Axis…
AC = 140.88
BD = 140.43
AD = 99.38
YZ Axis…
AC = 140.32
BD = 140.81
AD = 99.26
Should I even mess with skew correction? If I am understanding it correctly I am right at or a touch less than .5mm out of square over 100mm. That seems pretty dang accurate to me. But I wanted to get the opinion of much more qualified folks.
@vicious1 this is your design. Would you say that’s good enough or would you mess with skew correction in firmware???
Edited to add the XY measurements. I had looked at everything wrong starting out. And it turns out I’m not too bad off.
XY .18mm off
XZ .45mm off
YZ .49mm off
Going to enter it all in and run the print again. Will report back where I’m at after the skew correction in a few hours.
Hopefully that explains it better than I can lol. Everything I plan to print first off that really matters will be 50mm or so high. But I still would like it good.
So if I’m understanding correctly I should mess with it and try to get it lower than .2mm
While I do have “plans” for LR3 #3 (plasma) unfortunately that’s a ways off still. No more space!!! I still want it tuned in the best I can get it. I just didn’t want to find my self in a “Chasing Zero’s” situation and wanted to see what everyone else thought about where I stood. So far this printer is WAY better than when I ran this test on my stock Ender 5 Plus lol. And for it being something that I built from the ground up that’s saying something LOL
Its a good test to run for sure. Marlin has the same basic test. There are smaller/faster prints you can do to get the measurements. I prefer to just run this one and get it all done in one shot. This print took just under 2 hrs with 2 walls and 10% infill and a .6 nozzle
So, I have a tendency to be a little on the OCD side about this kind of stuff, so I may not be the best person to listen to, but…
Before I printed my LR3 parts, I ran through like 3 cycles of it until I think I was less than 0.5mm out. This was with Marlin though, and it was a pain to have to re-compile and re-flash each time to mess with all this stuff.
With Klipper, since it’s just a file change, who knows when I would have stopped…I guess when I got tired of burning filament, or until an adjustment quit making it any better…
Well I’m glad y’all suggested I look at it more. Turns out I had measured wrong. Well not wrong but wasn’t measuring quite what I thought I was. Adjusting measurements on the first post…
I think those numbers are fantastic. I would be fine with that. Also that is a great test part. Scale ti down to get a rough quick test, scale it up to get super dialed in.
I’m printing these skew test with a base speed in Super Slicer of 125mm/s. But I haven’t tuned accelerations yet since I haven’t figured out how to use the ADXL that’s in the EBB. I will say, while it was a HUGE PITA!!!, I LOVE the can tool head board!. Just the wiring alone is beyond worth the headache of setup. And if I would have just stuck with the SKR pro from the get go and used the U2C I would have been up and running in less than an hour. That setup is simple and well documented. Now I just need you to mod your fan mount to have a spot to mount these LED chips I got LOL
Mine suffered over a hundred. I reduced to 80 but other things increased speed like accel and ah shoot the corner thing! Cant remember what it is called!!
Ok something’s fishy here. Time to check belts and make sure it got implemented correctly in the firmware. Good thing I marked all 4 belts on the edge of the core!