Hi Jeff
Can’t wait to see sandify with scara… Do you think it’s would be also possible to add an option for offset X and Y like I did in this file? mainWoffset.zip (807 Bytes) useful when table is smaller than the scara (square for example).
I have also an other question. I know you have a sisyphus table and have access to all pattern. Do you know if there is a possibility to get thr pattern made from the community?
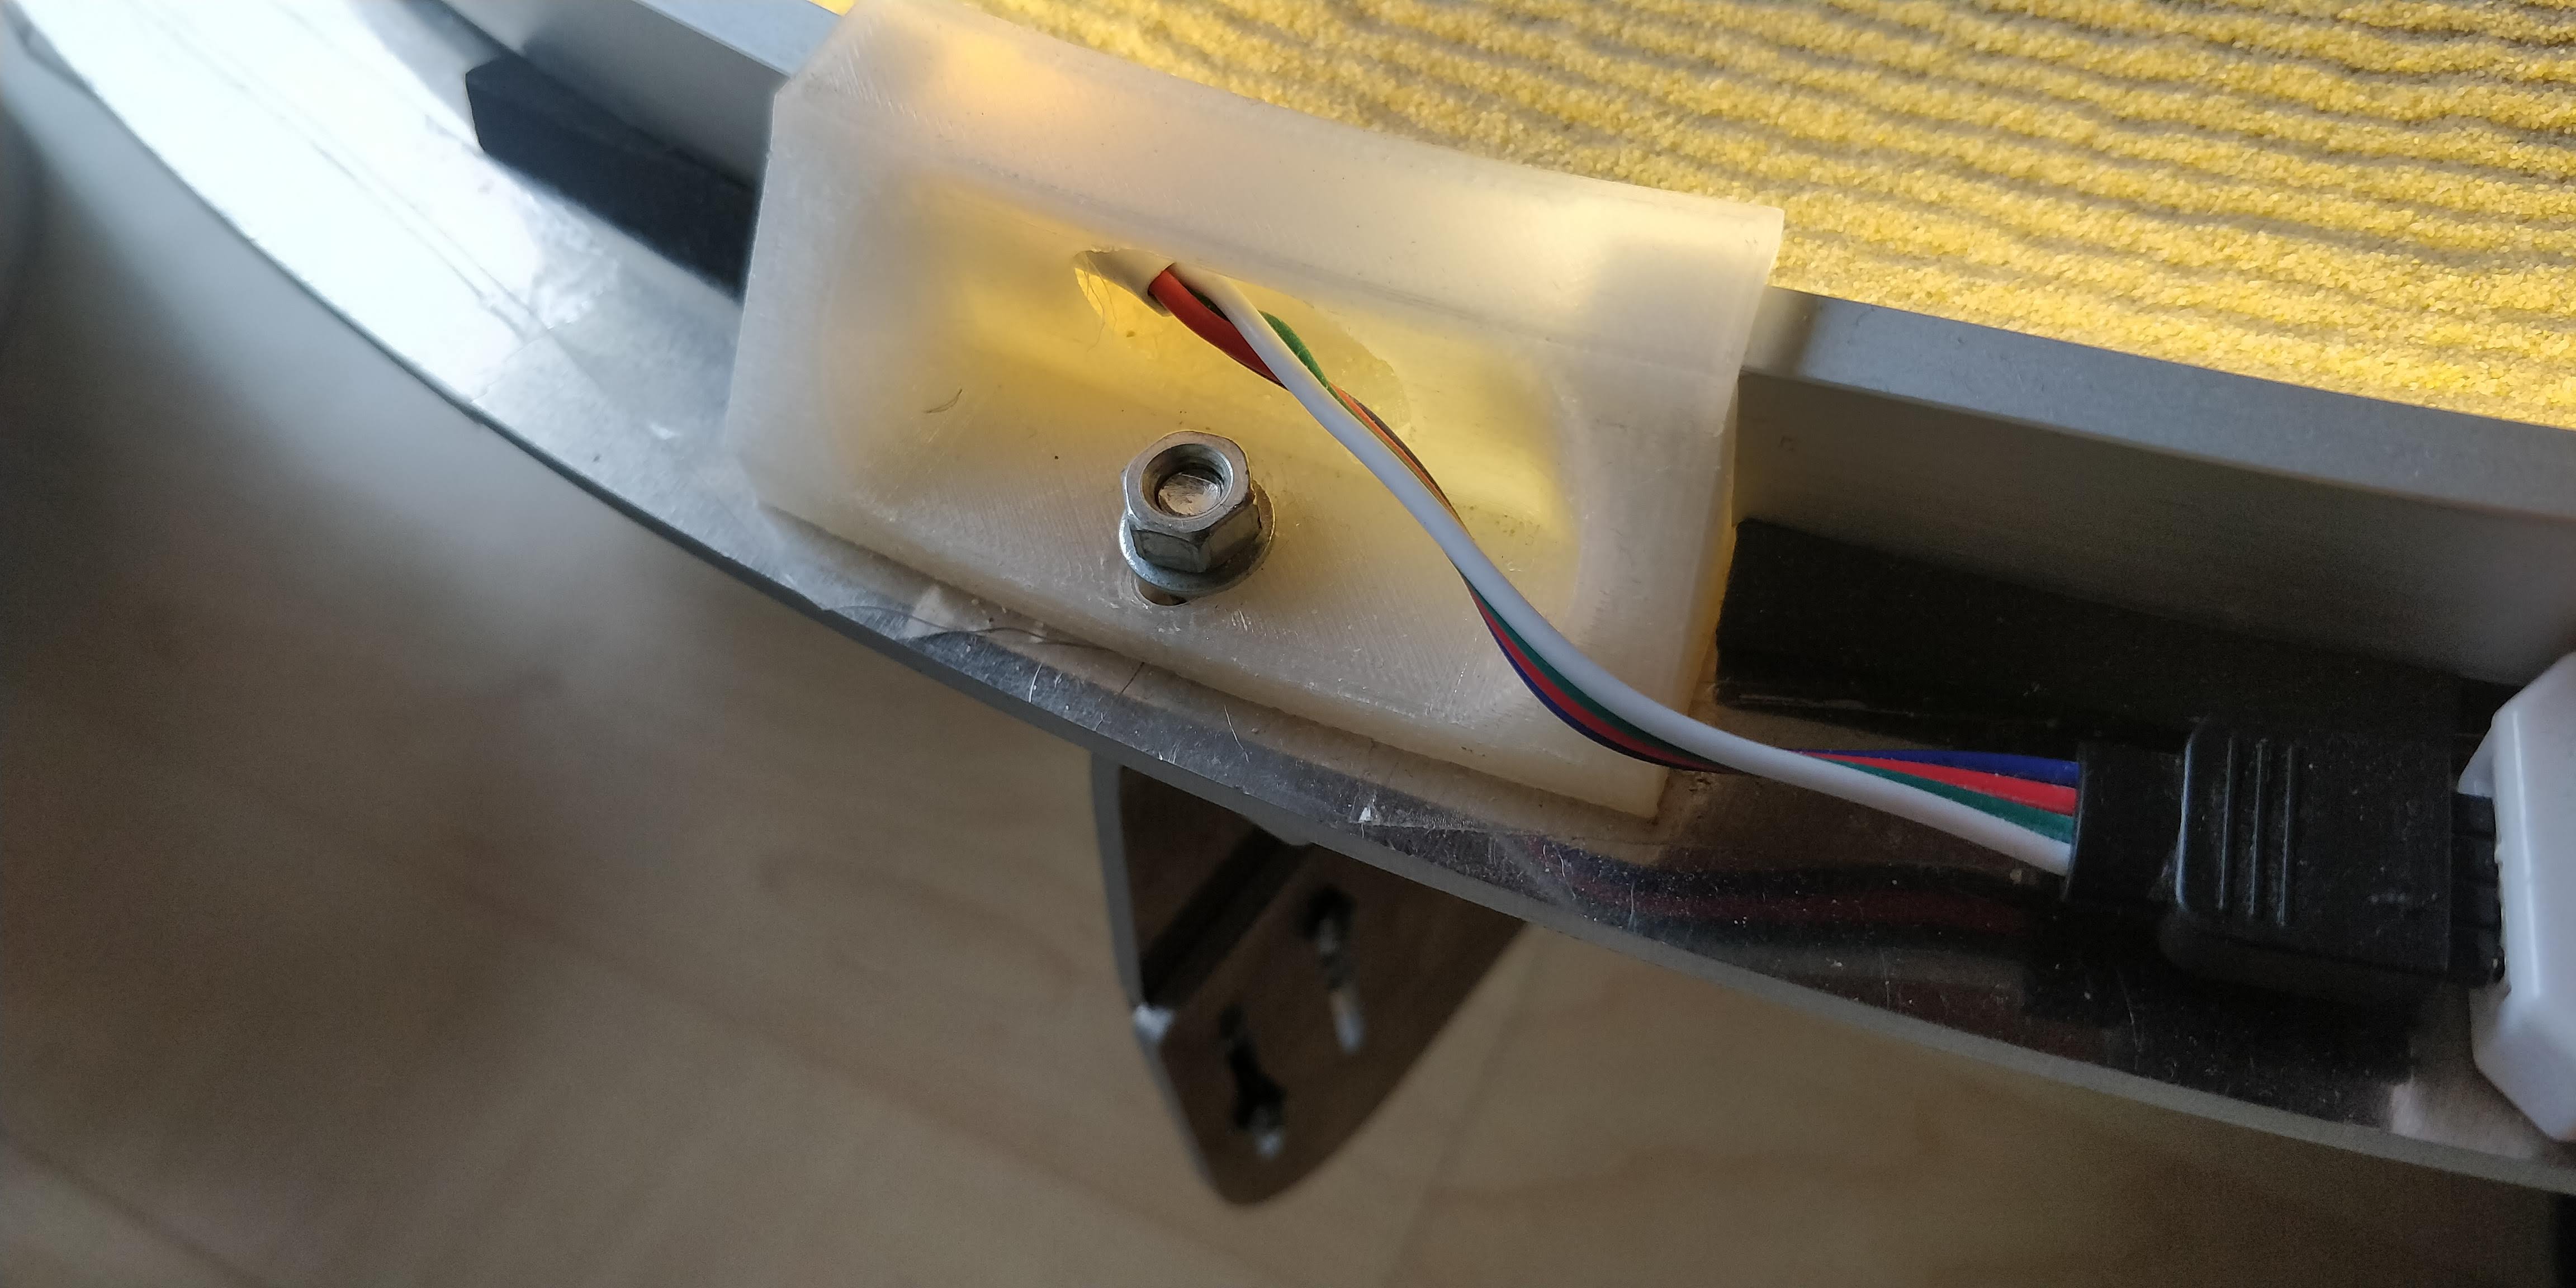
Das Problem mit dem Magneten wurde inzwischen auch behoben.
Das Magnet - Packet wurde mit einer normalen Eisenschraube auf den Arm befestigt.
Das hatte zur Folge das in der Mitte an der Schraube das Magnetfeld viel zu schwach war
und die Kugel beim zeichnen im Sand verloren ging.
Inzwischen wurde nur der tiefste Magnet am Arm verschraubt,
die anderen Magnete haften nur durch die Anzugskraft aneinander.
Was soll ich sagen, es funktioniert.
I don’t see a good reason for that. That just adjusts the location of home, which you can do with G92 after the home.
If you have a rectangular table, you can use the rectangular limits with the thr or scara output.
The ones I know about are linked in the about section of sandify. There is also a community sisyphus site, but most of the patterns that it comes with are from sisyphus, and I am not sure they are publicly available. If you can get thr files, then sandify should be able to import them. I haven’t seen any proprietary formats.
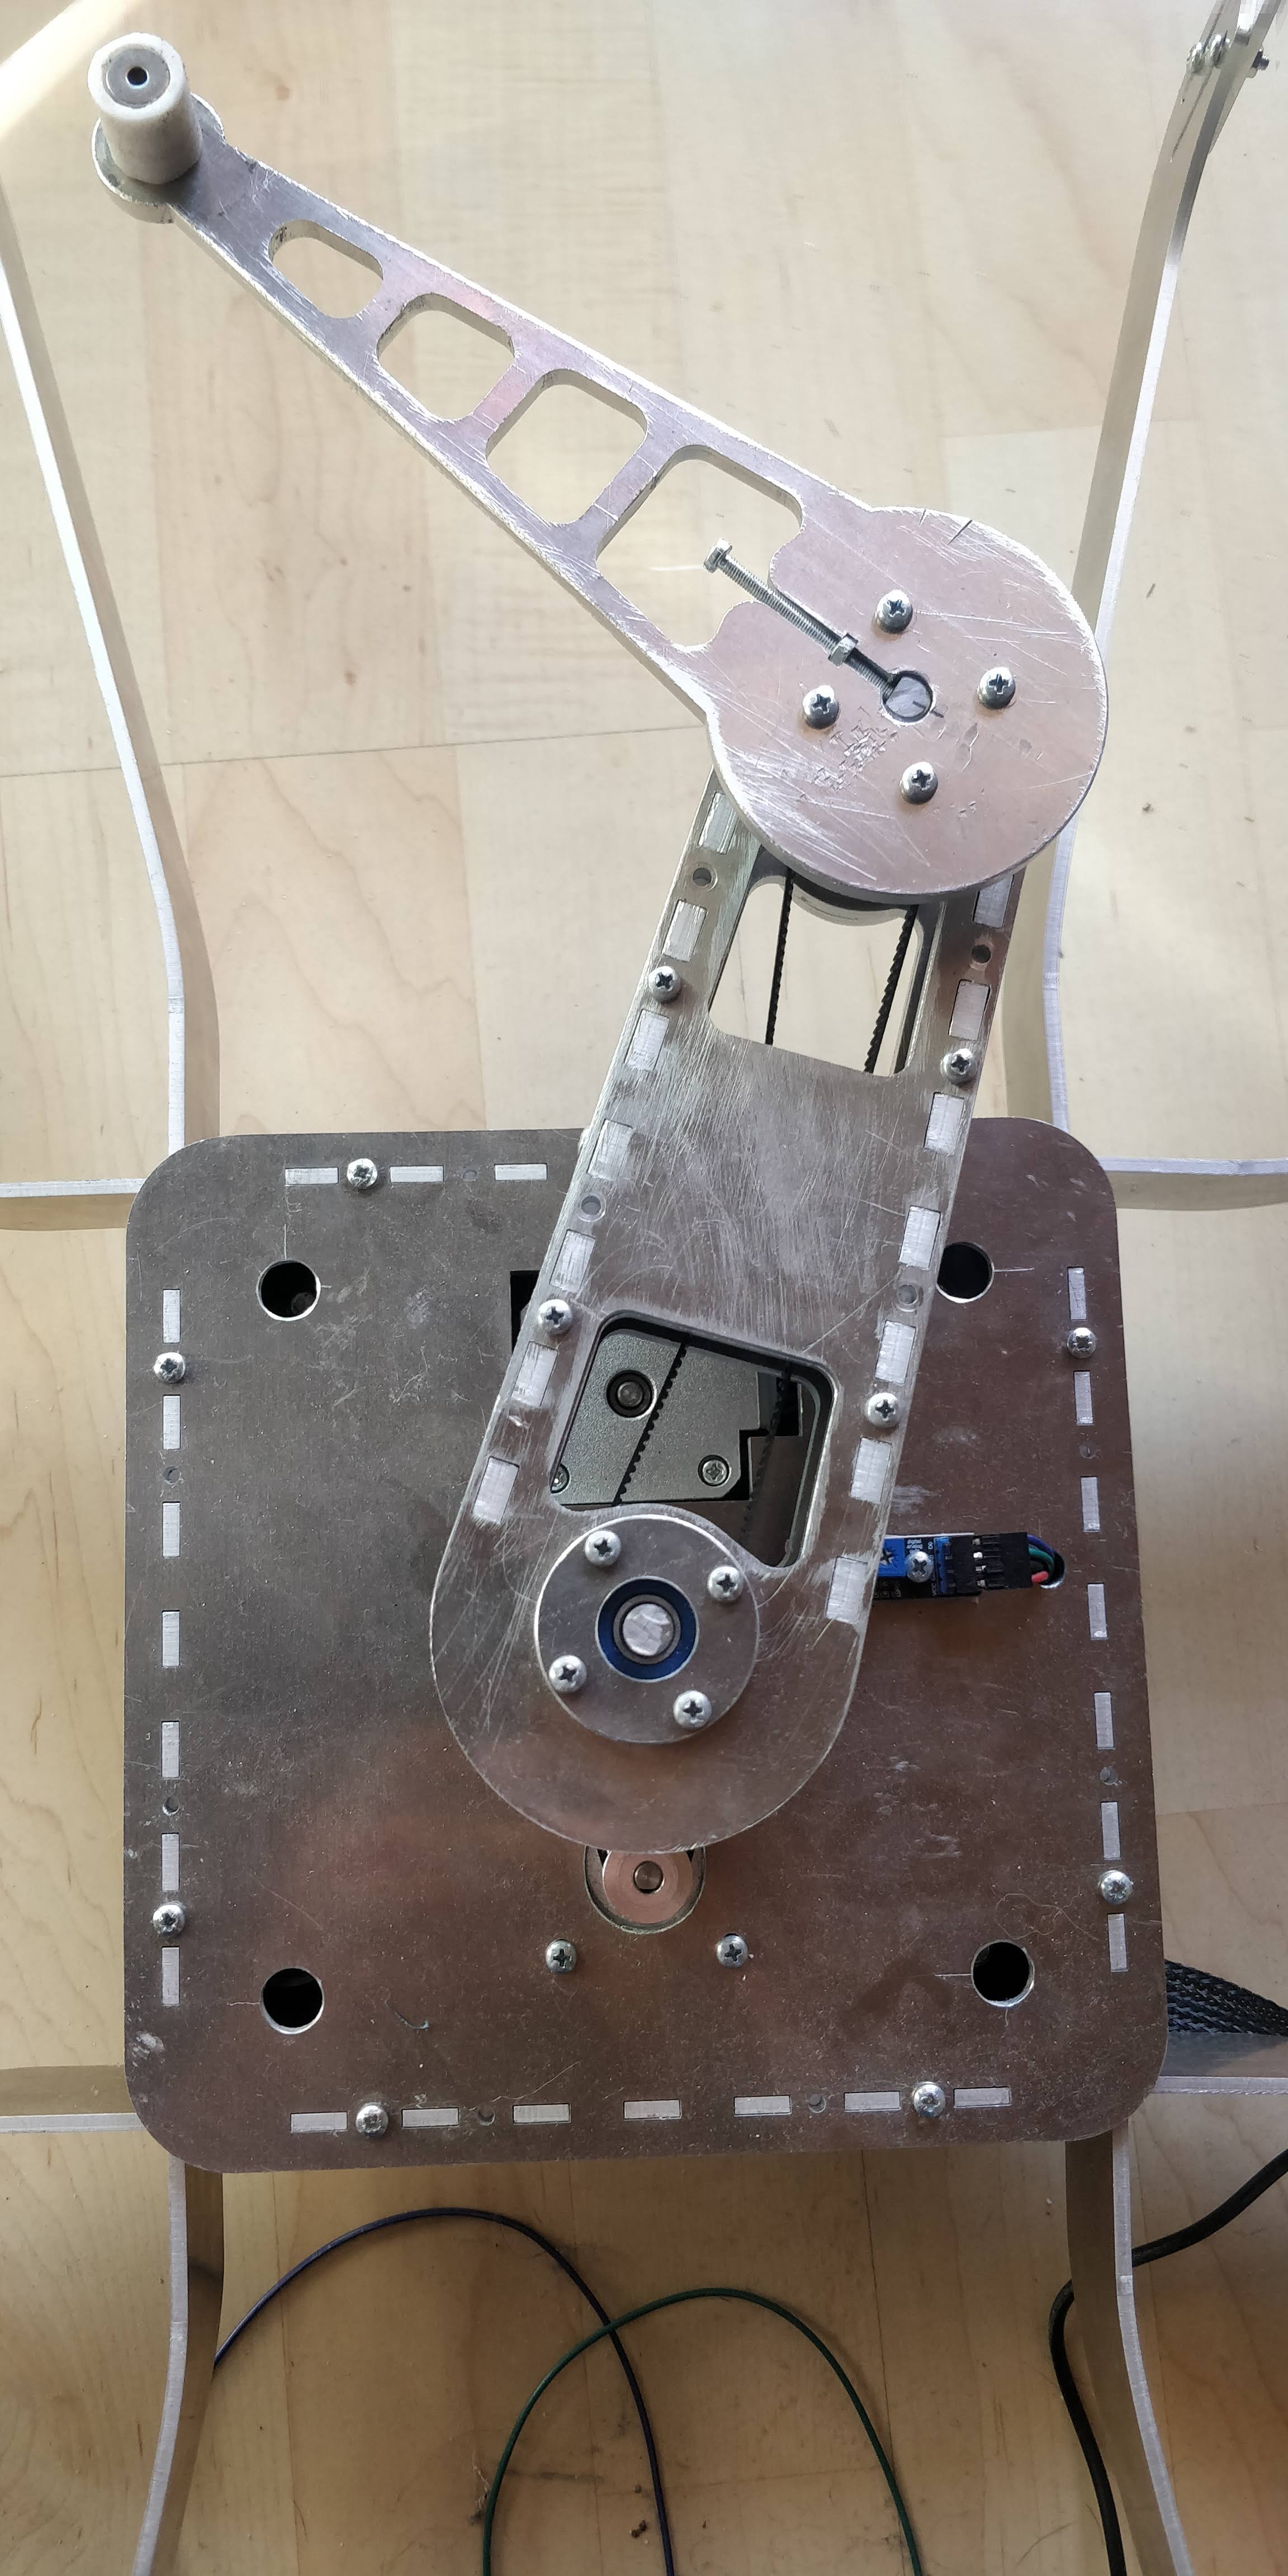
Klaus, Your robot is looking very good. Do you think the magnet needs to be balanced between strong and weak? Or is it just about focusing the strength in the middle of the magnet?
The video isn’t working for me. It looks like it is still private.
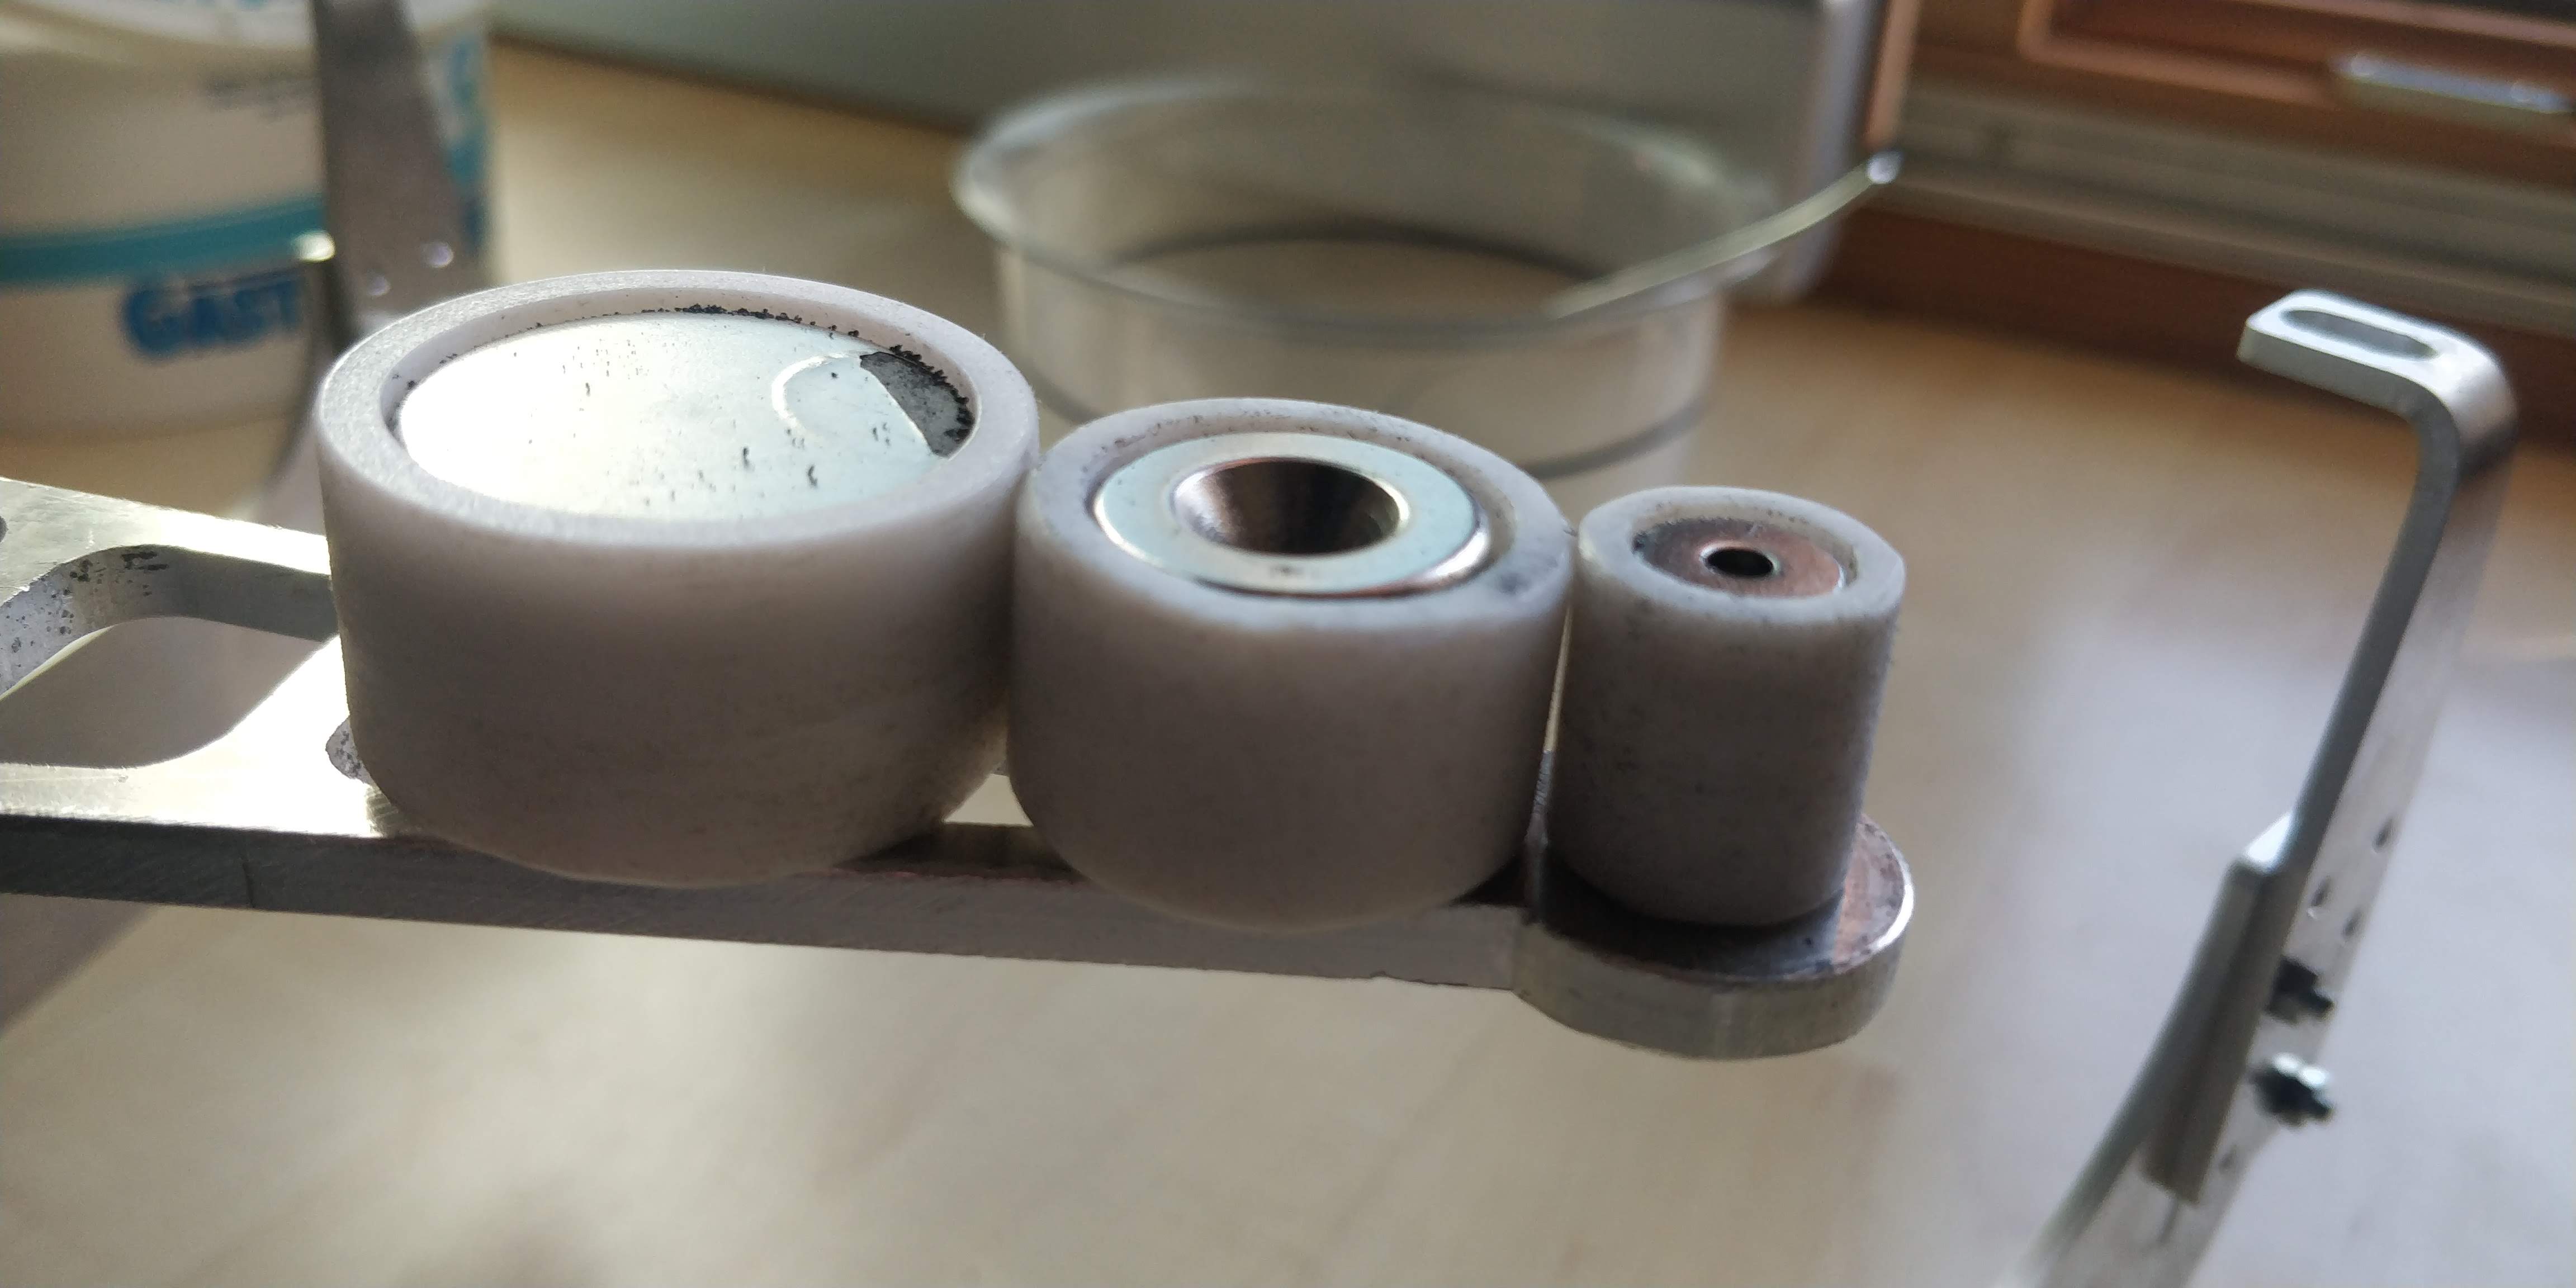
der Durchmesser von den en ersten Magneten war einfach nur zu groß
und deswegen waren die gemahlenen Bilder etwas unsauber.
Je kleiner der Magnet ist umso genauer werden die Bewegungen des Arms umgesetzt.
Ein kleiner Magnet hat natürlich weniger Anziehungskraft auf die Kugel.
Deswegen hab ich ein paar Tage damit verbracht das für mich optimale Setup zu finden.
Mein großer Fehler war es die, Magnete von oben mit einer Eisenschraube anzuschrauben
Jetzt habe ich die Schraube am untersten Magneten und die anderen einfach draufgeschichtet und alles funktioniert super.
Das Video von der CNC Fräse die meinen Tisch in der Schule macht ist nun sichtbar.
Ich habe wieder einmalmal eine Frage an euch.
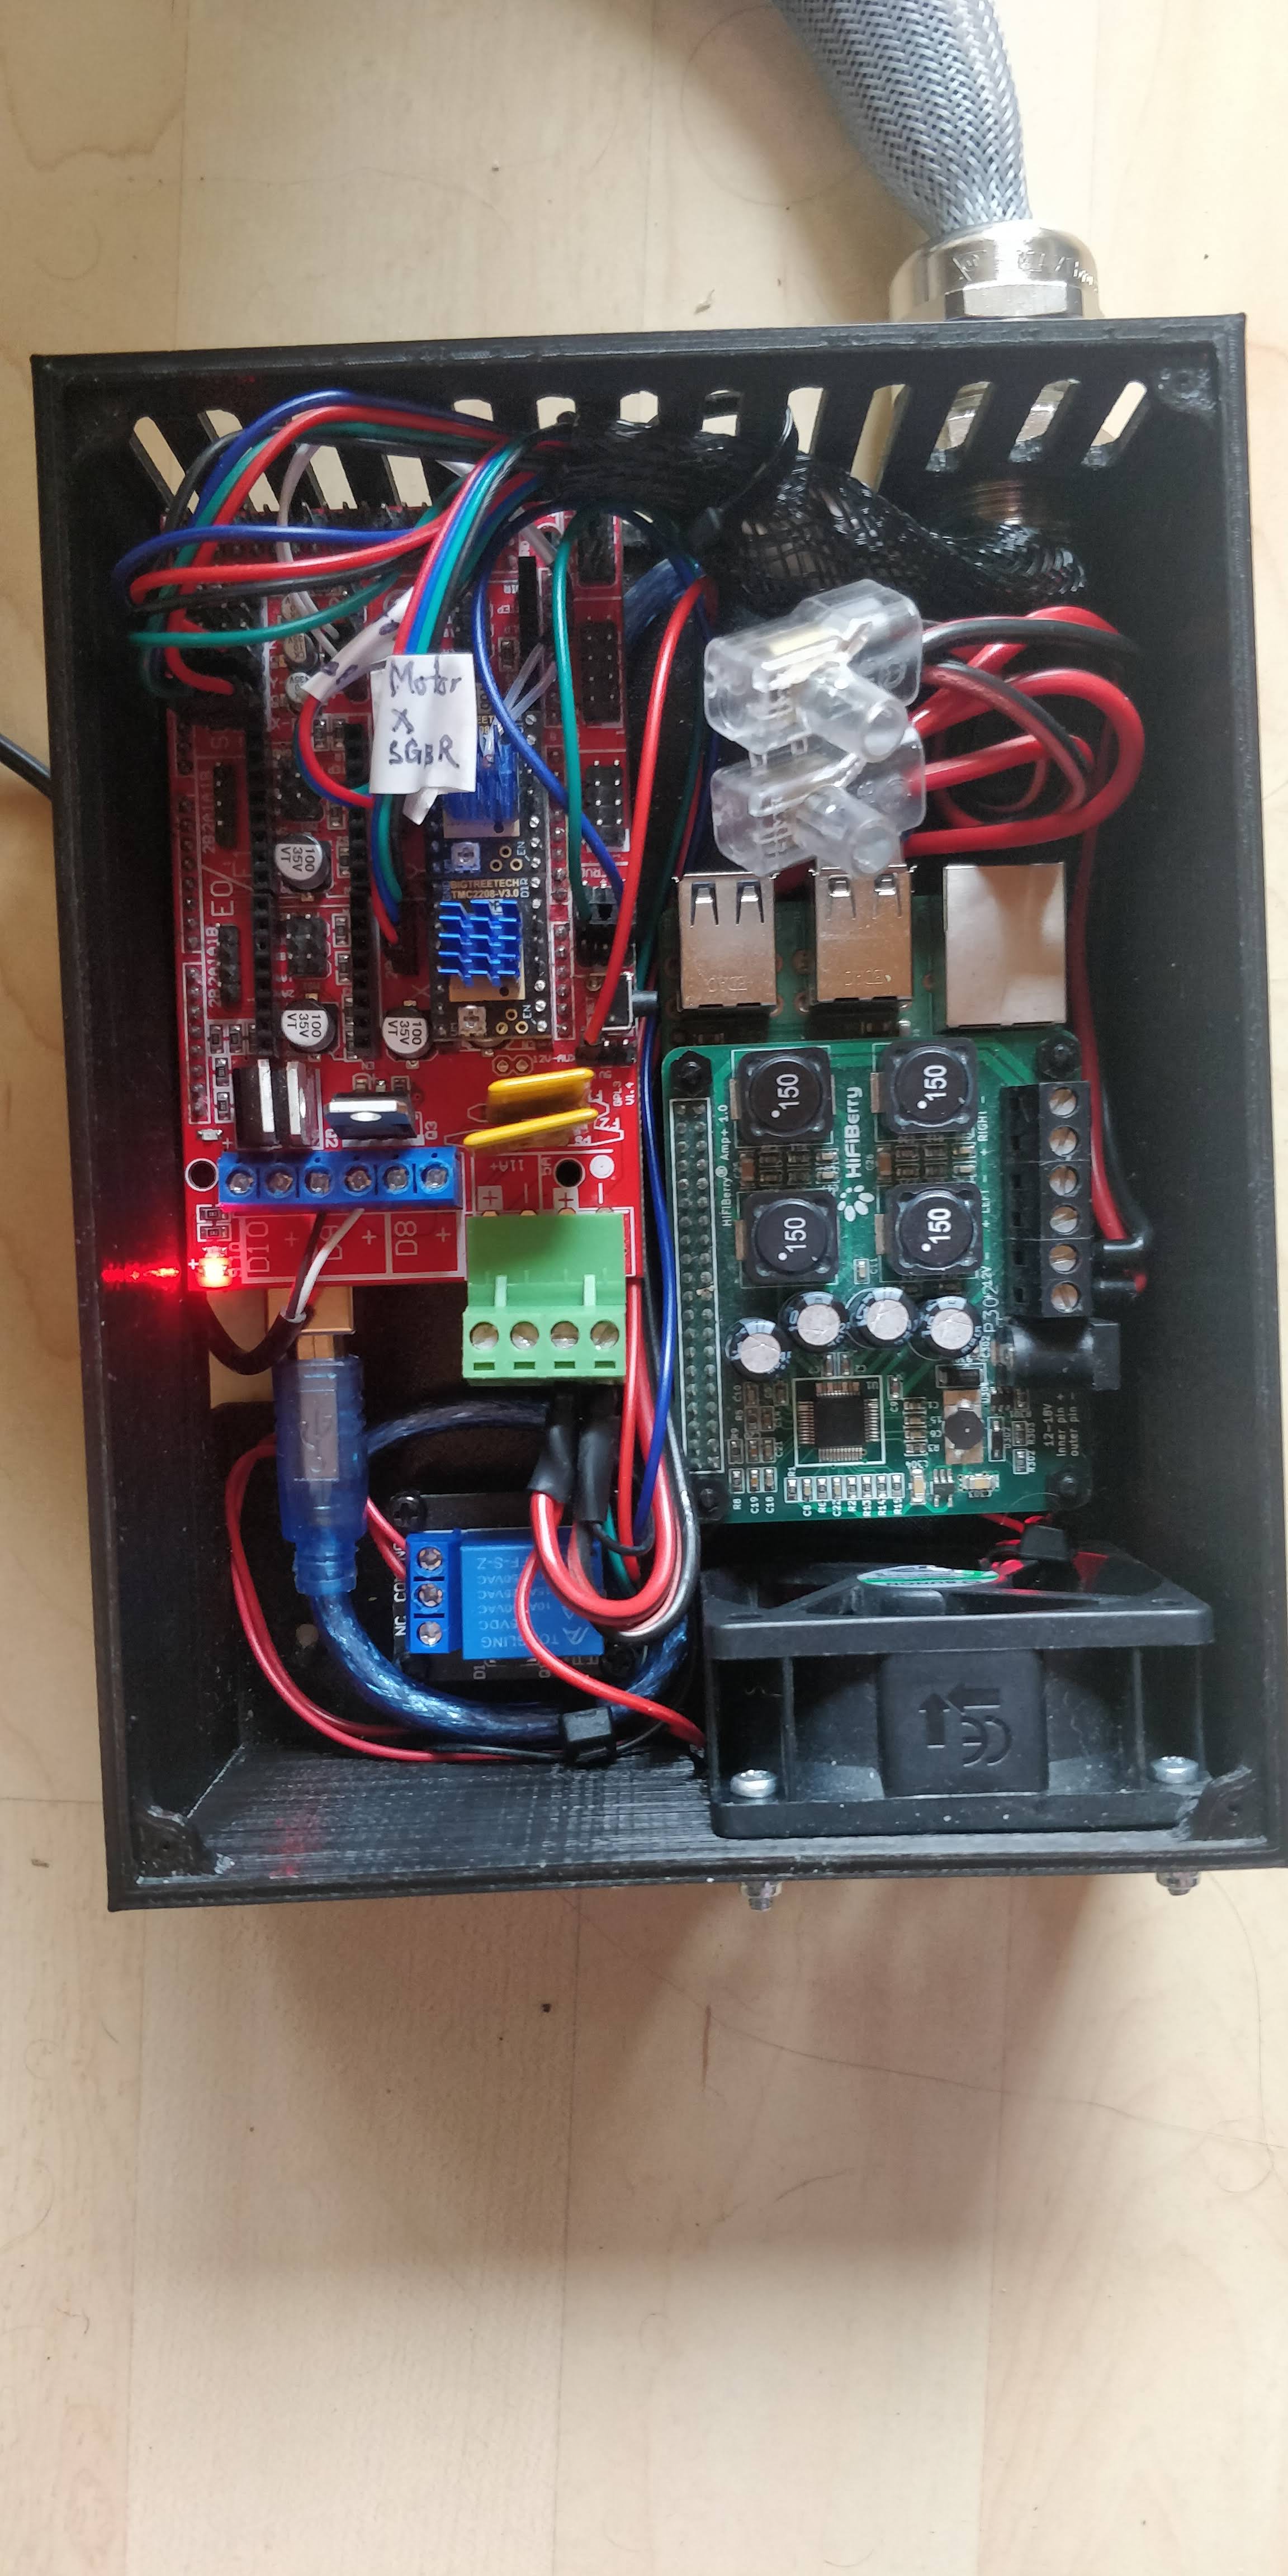
Es geht um OctoPrint welches auf meinem Pi läuft (Image von V1)
Kann ich nach der “Nach Verbindung mit dem Drucker” “automatisch GCode ausführen” auch eine bestimmte Datei drucken?
Momentan schalte ich da das licht ein
und es wird ein “Homing” gemacht.
Ich möchte jetzt nach jedem Start automatisch ein Löschbild zeichnen.
Ist das Irgenwie möglich?
den gcode einfach reinkopieren geht nicht
oder besser gesagt es wird nicht gespeichert.
es sind ca.35.000 Punkte.
I’m not sure how to configure that from the octoprint UI, but you can write a script, and then call the script from octoprint’s trigger.
Be careful when unplugging the pi. Just powering it off can corrupt the microsd card. At least backup the card contents. Using the shutdown in octoprint, then waiting a bit to unplug it is safer.
Fantastisch! Von so was haben wir eigentlich auch geträumt… aber leider den Tisch jetzt fast ein Jahr lang nicht weiter verfolgt. Sieht supera us Klaus!
Danke für die Komplimente.
Ja es geht weiter, wenn auch nur langsam.
Habe wiedermal eine Frage an euch.
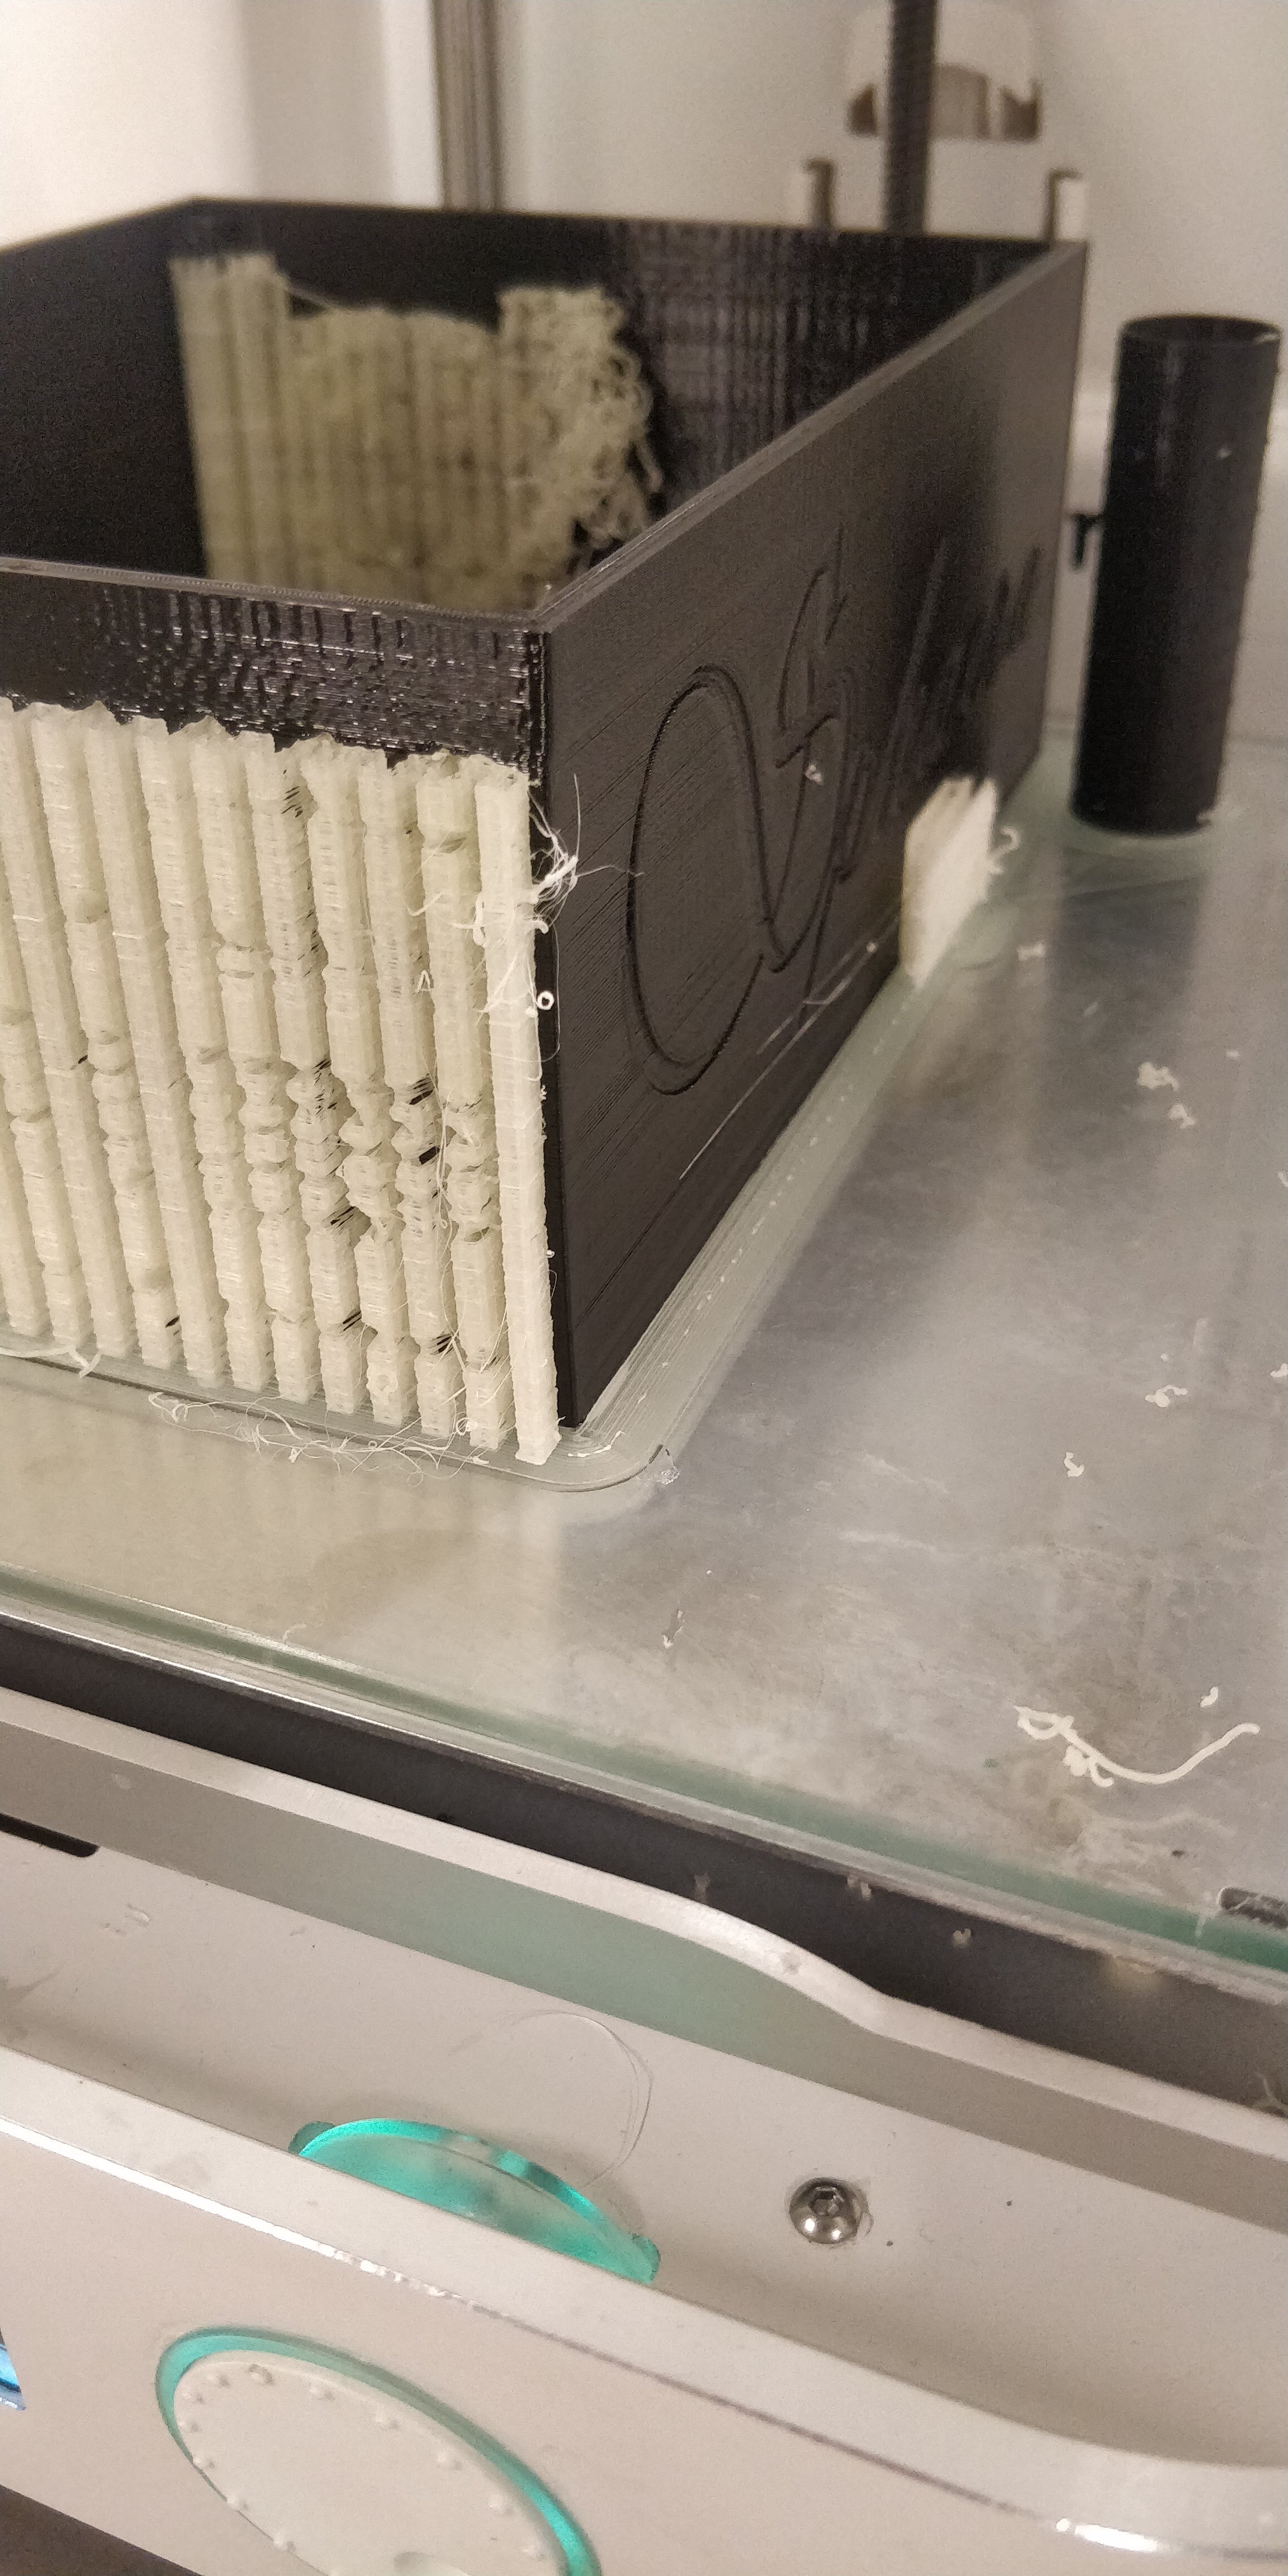
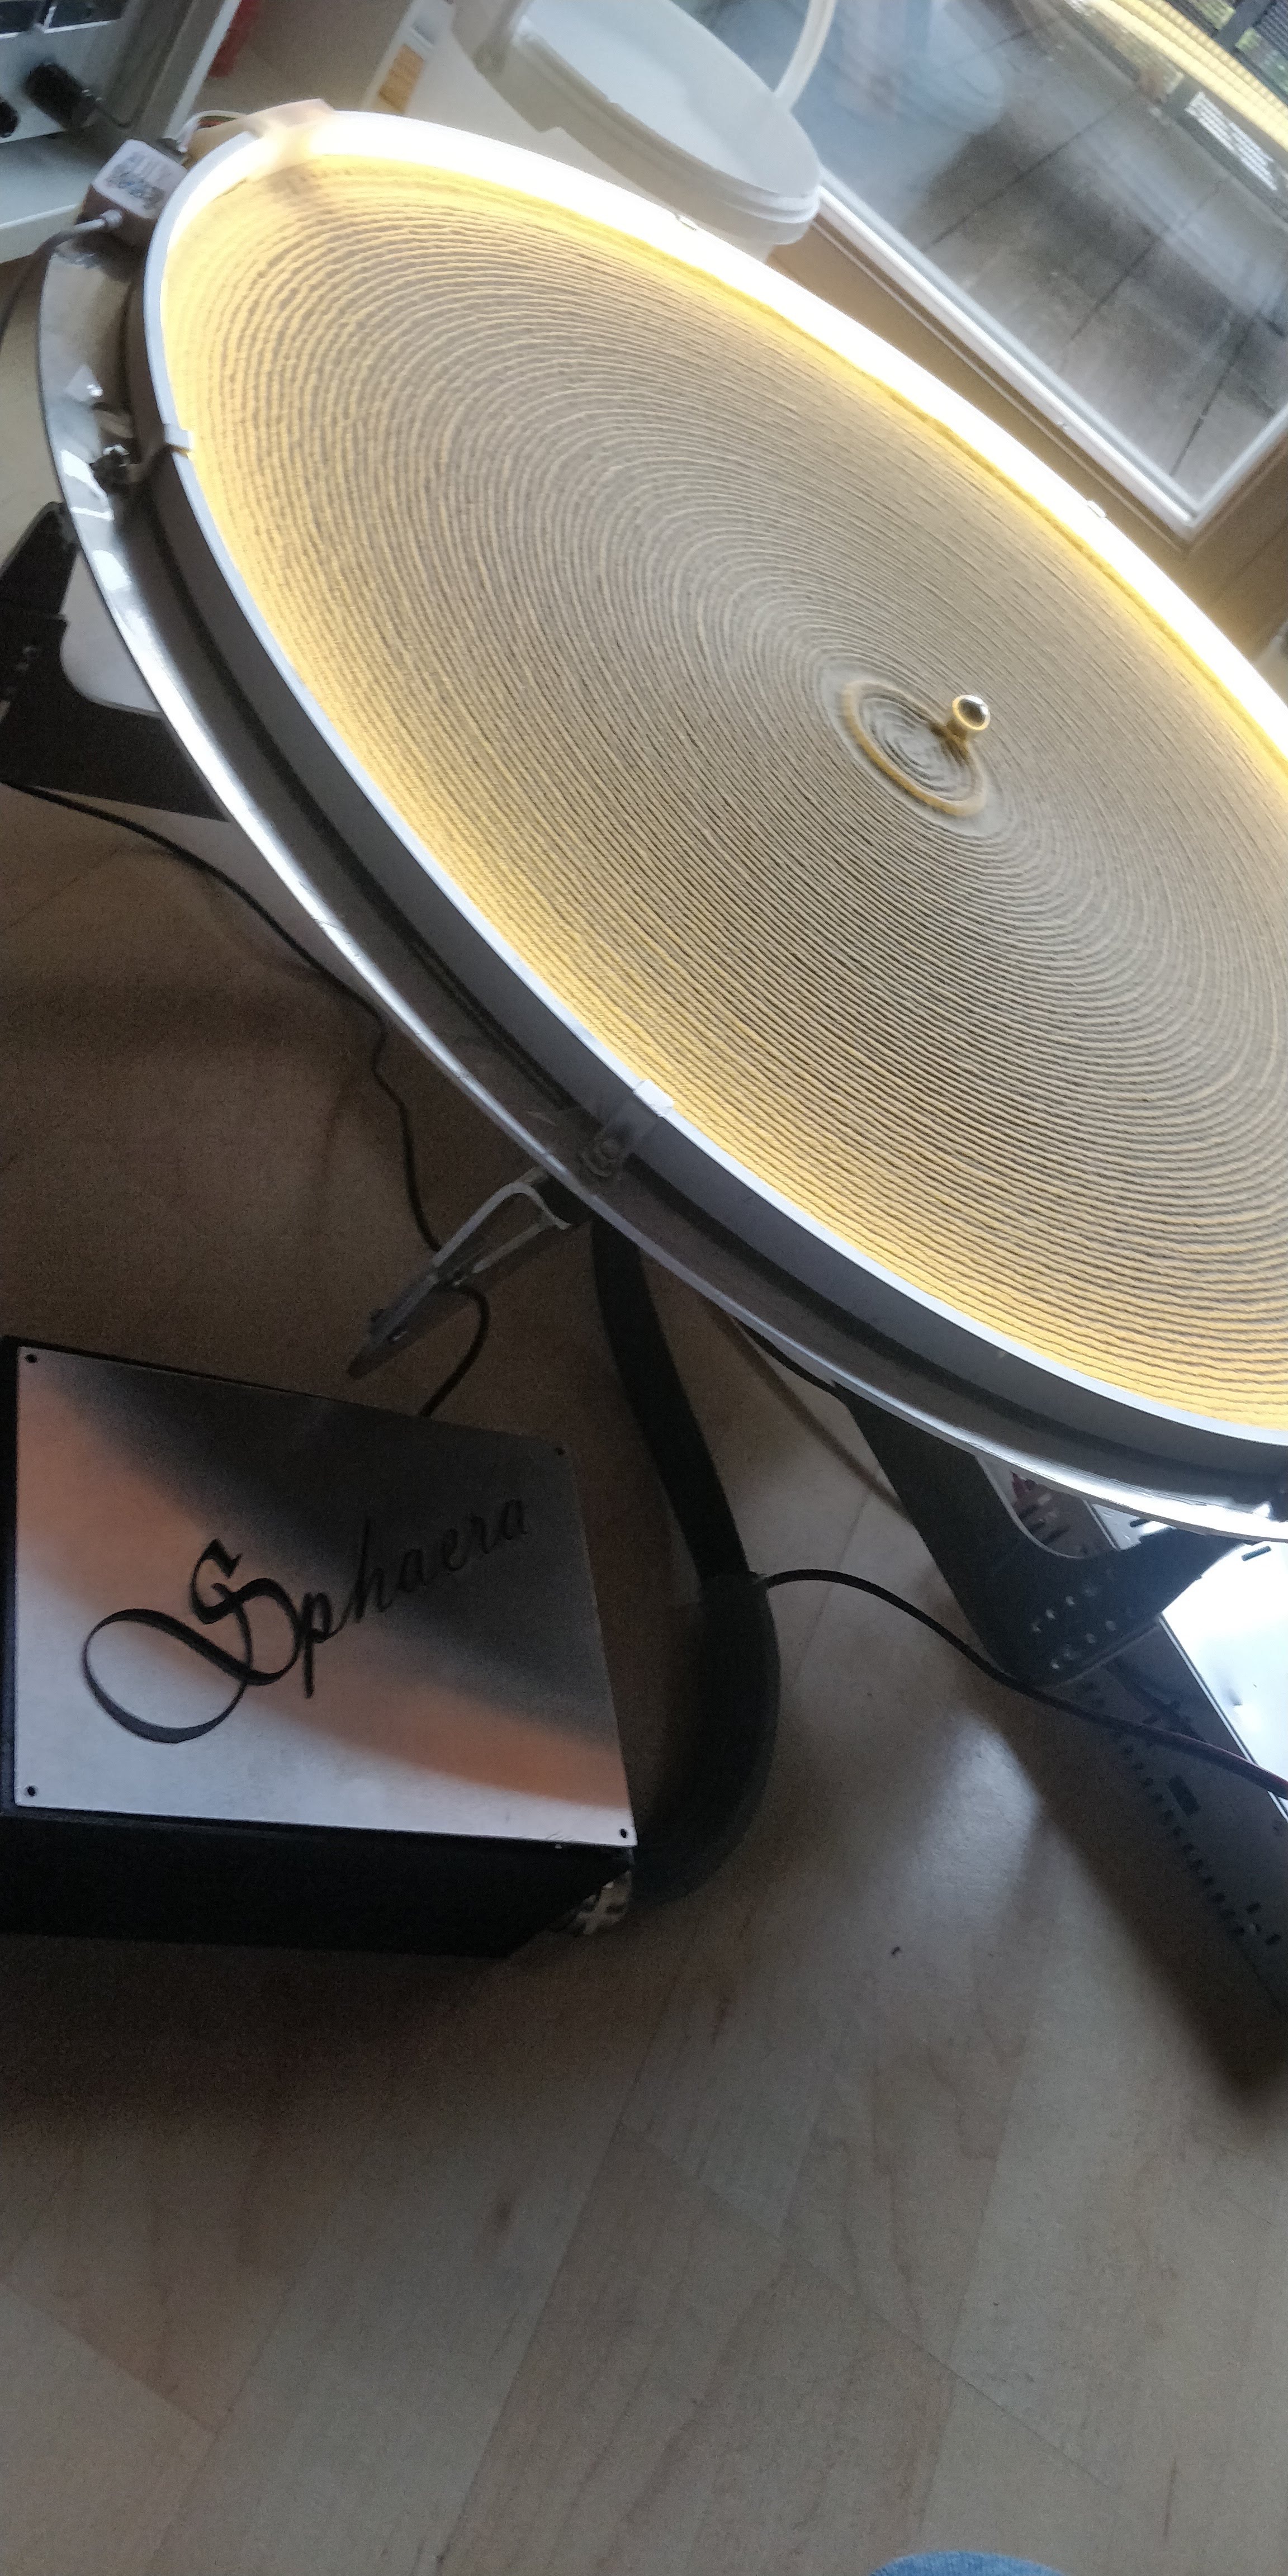
Habt ihr die Scheibe abgedunkelt (getönt) oder klar durchsichtig?
Bin der Ansicht eine Autoscheiben Tönungsfolie uf die Innenseite zu kleben
um weniger Tages- Licht auf den Tisch einfallen zu lassen
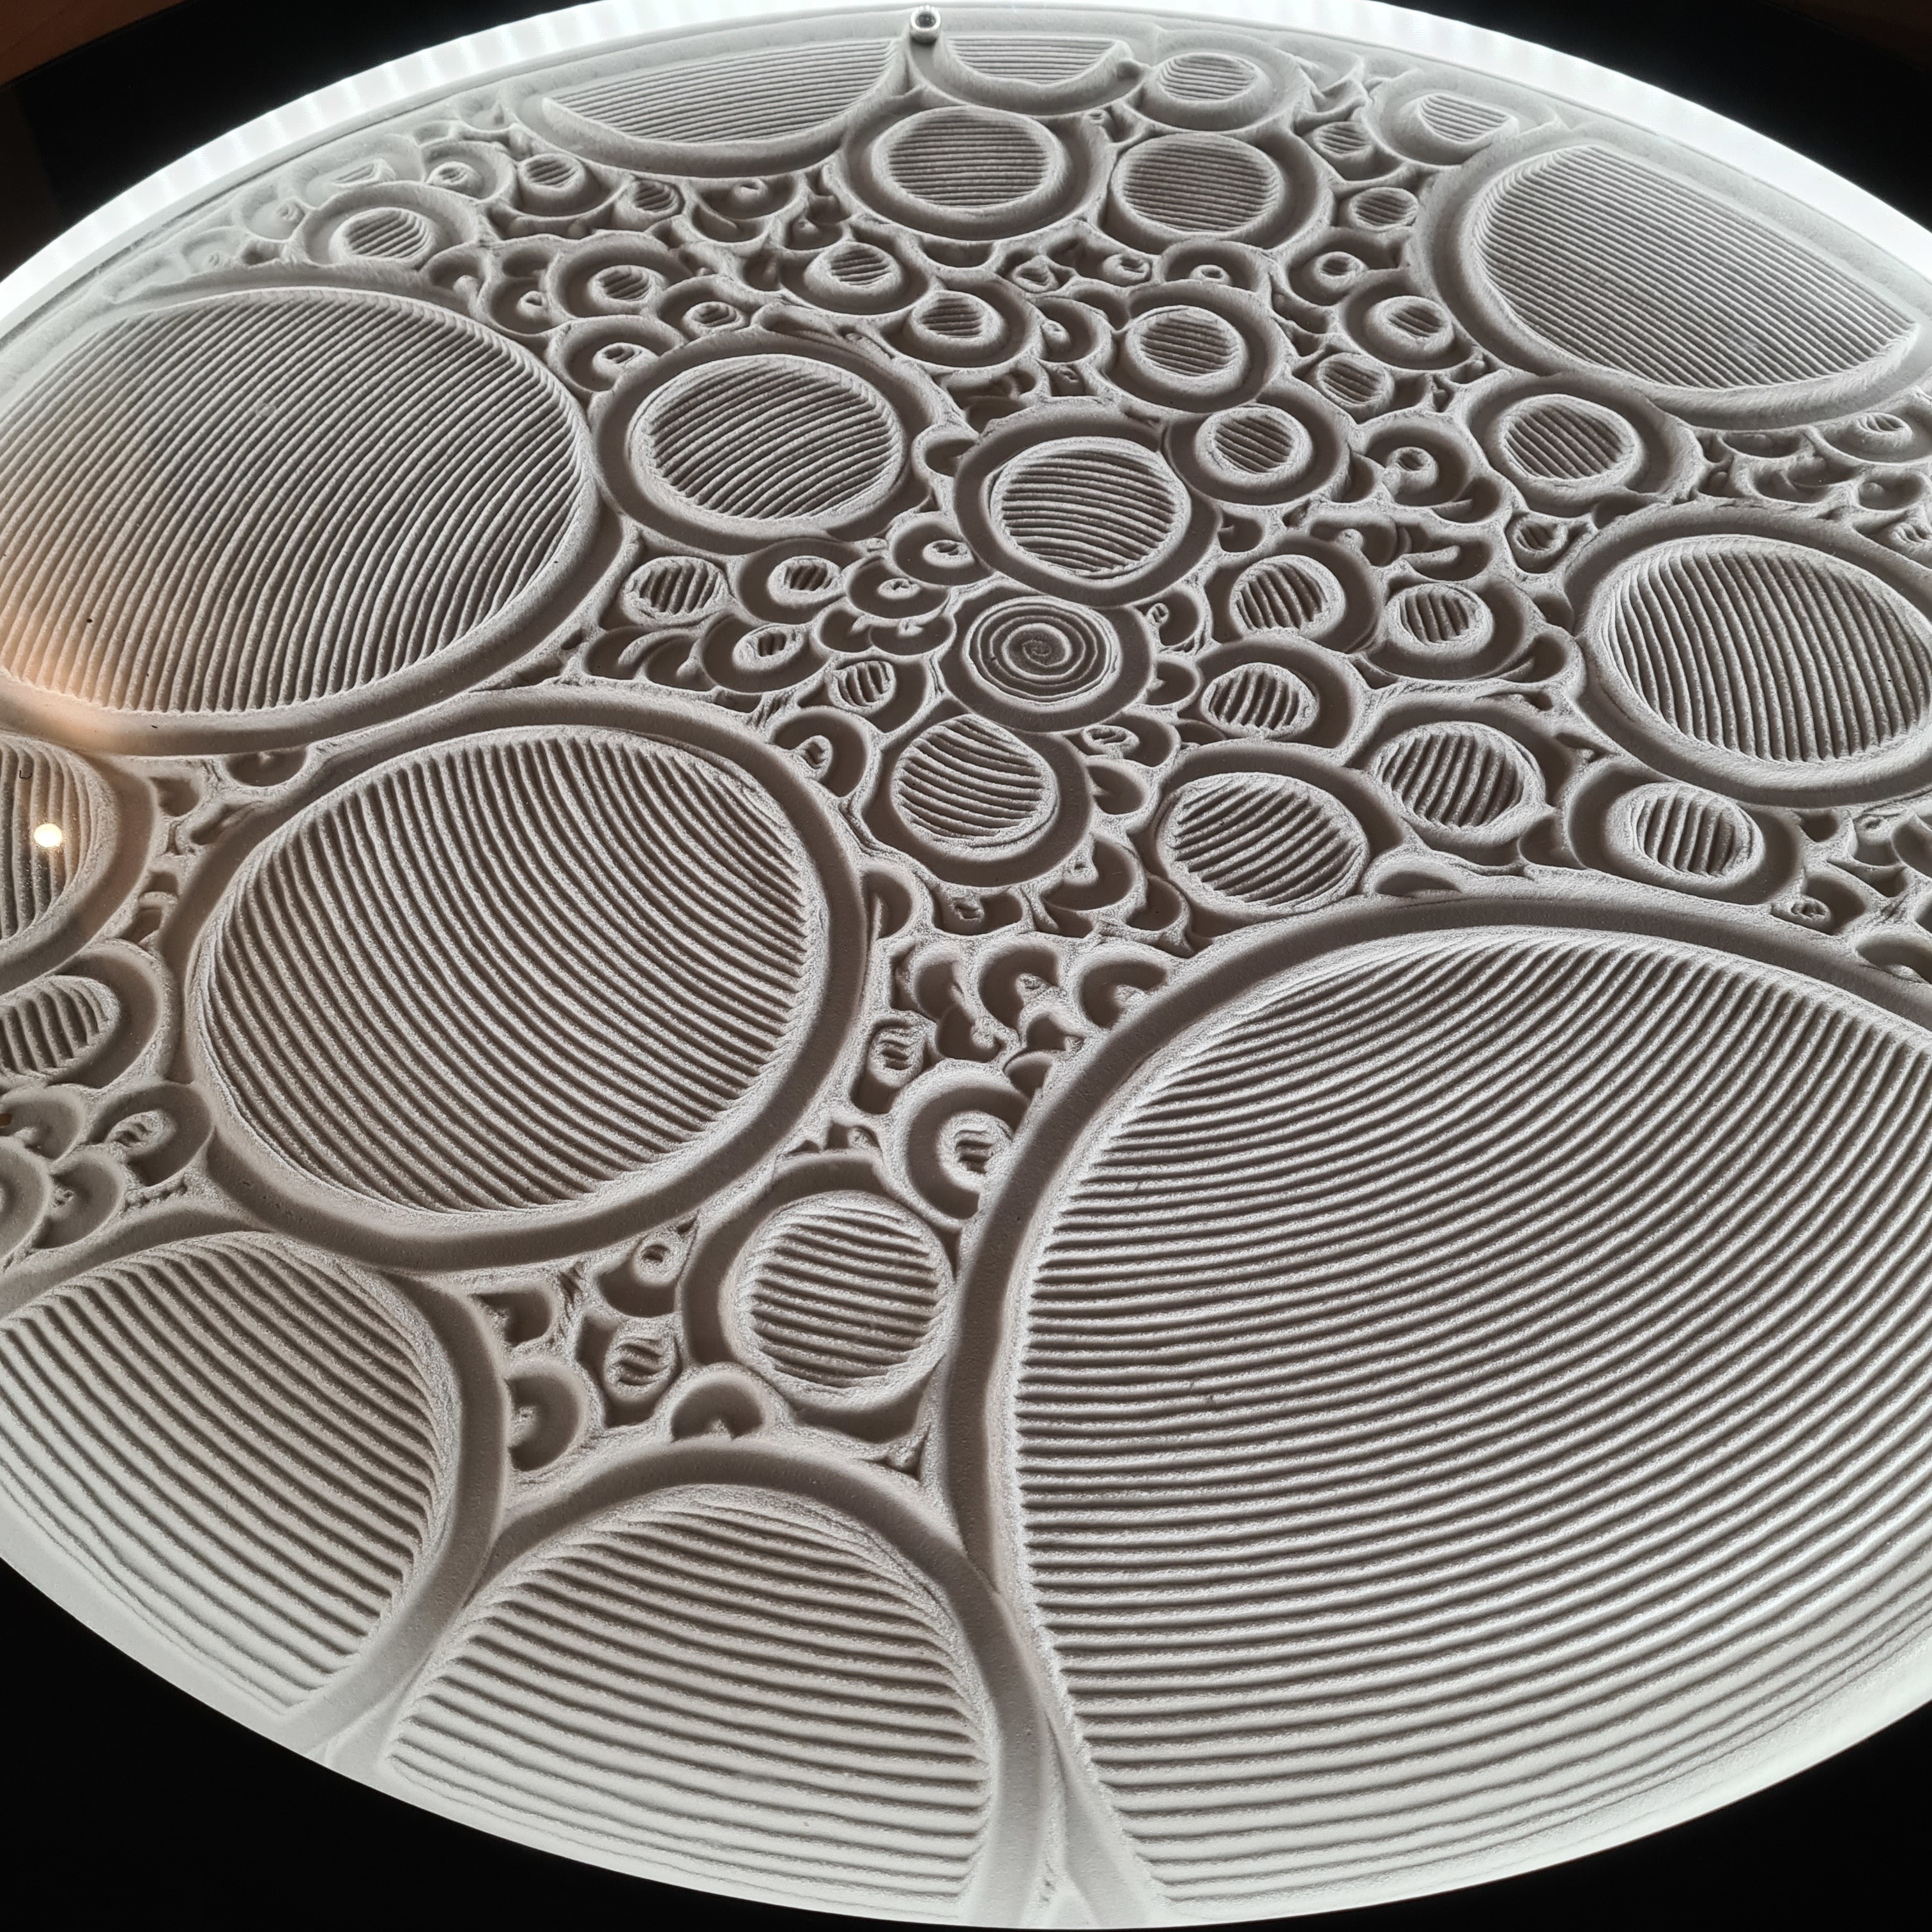
damit der 3D Effekt der gemahlenen Bahnen zu maximieren.
If you (or someone else with the SCARA GCode machines) would be able to test it out and make sure that gcode works just as well, I would really appreciate it. You can post issues here, or in the sandify issues tracker.
Hi Jeff. Thanks so much. I will test is hopefully today. I just need to find the way to say the start is done in the middle of the sandtable and not arms full extended.
Up to now, I use an offset of -1.5 on the upper arm to set it. I think with G92 command I can do something…
ich werde es so bald wie möglich testen.
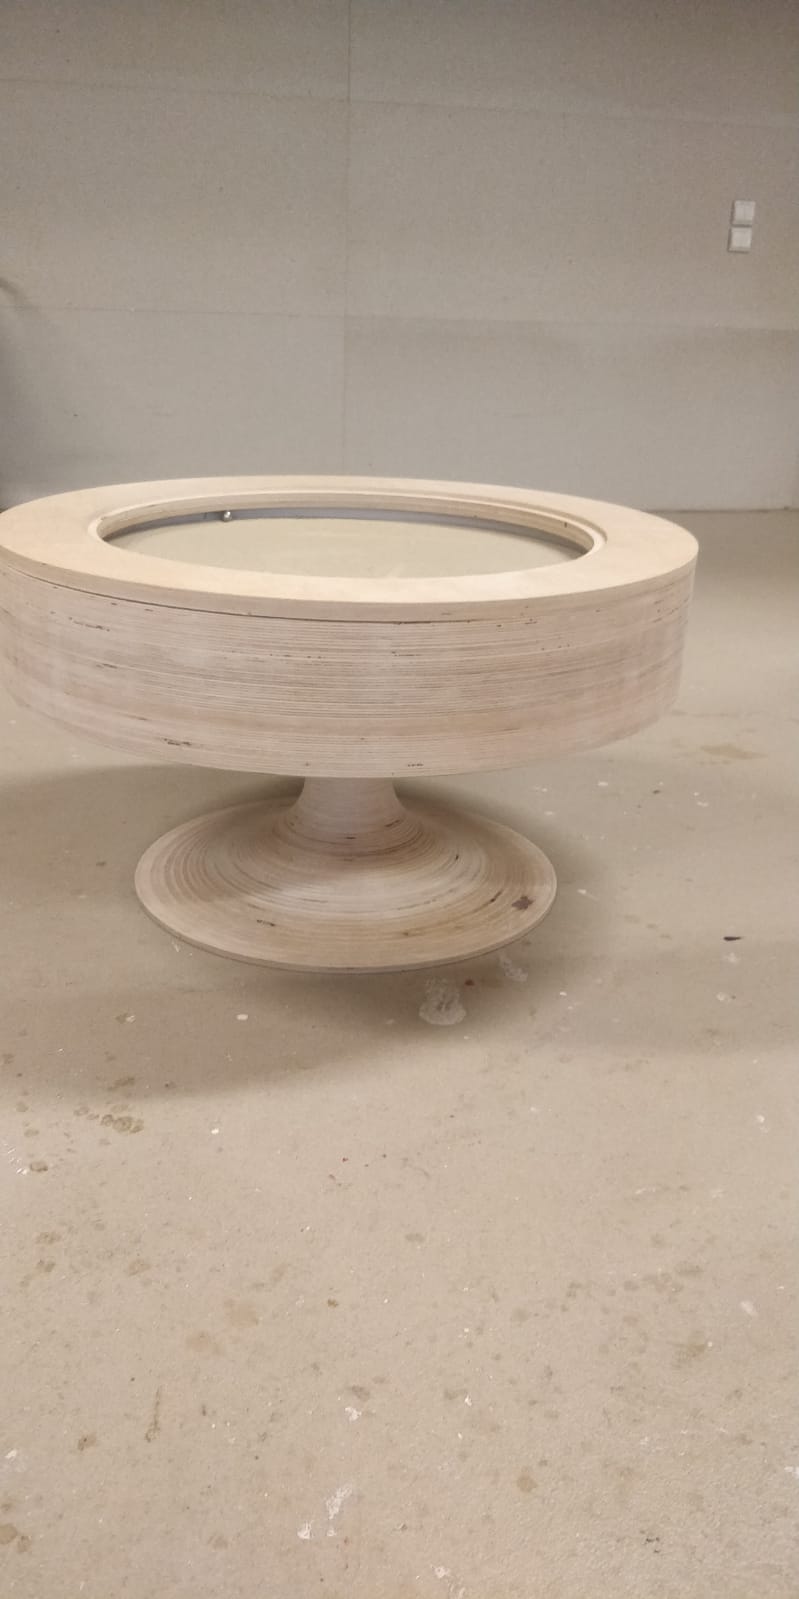
Momentan habe ich nur das Problem dass der fertige Tisch noch nie Zuhause angekommen ist,
da er von meiner Schule wo ich meinen Abschluss letztes Jahr gemacht habe,
direkt in das FABLAB der Uni gegangen ist
und dort inzwischen seit gut 2 Monaten die Bilder in den Sand zeichnet.
Ich bin dabei einen neuen SCARA zu zeichnen,
dieser soll fast komplett aus Holz besteht,
und die Bauteile sollen auch mit einem kleinen Laser geschnitten werden können.
Dafür habe ich eine MPCNC mit 50x50cm Verfahr weg im Keller stehen.
Diese wird mit einem NEJE A40640 LASER Laser mit 2x 15W Ausgangsleistung betrieben.
(Habe di elektronik vom Laser bereits geschrotet und Ersatzteile sind auf dem Weg)
Sobald es konkret wird werde ich hir im Forum berichten.
@jeffeb3
Ich freue mich das du die Änderungen vorgenommen hast.
Würde sie sehr gerne sofort ausprbieren,
aber es wir noch 2-3 Wochen dauern bis ich den neuen Holz Prototyp habe.
Danke nochmal an die große Unterstützung durch dieses Forum
That is very cool. It looks like you enjoy designing mechanisms and I hope this keeps it interesting for longer. No worries if you aren’t near your machine. It sounds like Vincent is willing to test it out and provide me feedback. Eventually, you and others can too.
I want to add this feature in a limited way, but svgs can be very complicated and the one rule we have is that you can’t lift the pen in sandify. I could write something to import the svgs sandify can export, but almost every other svg is going to need some compromises before we can use them.