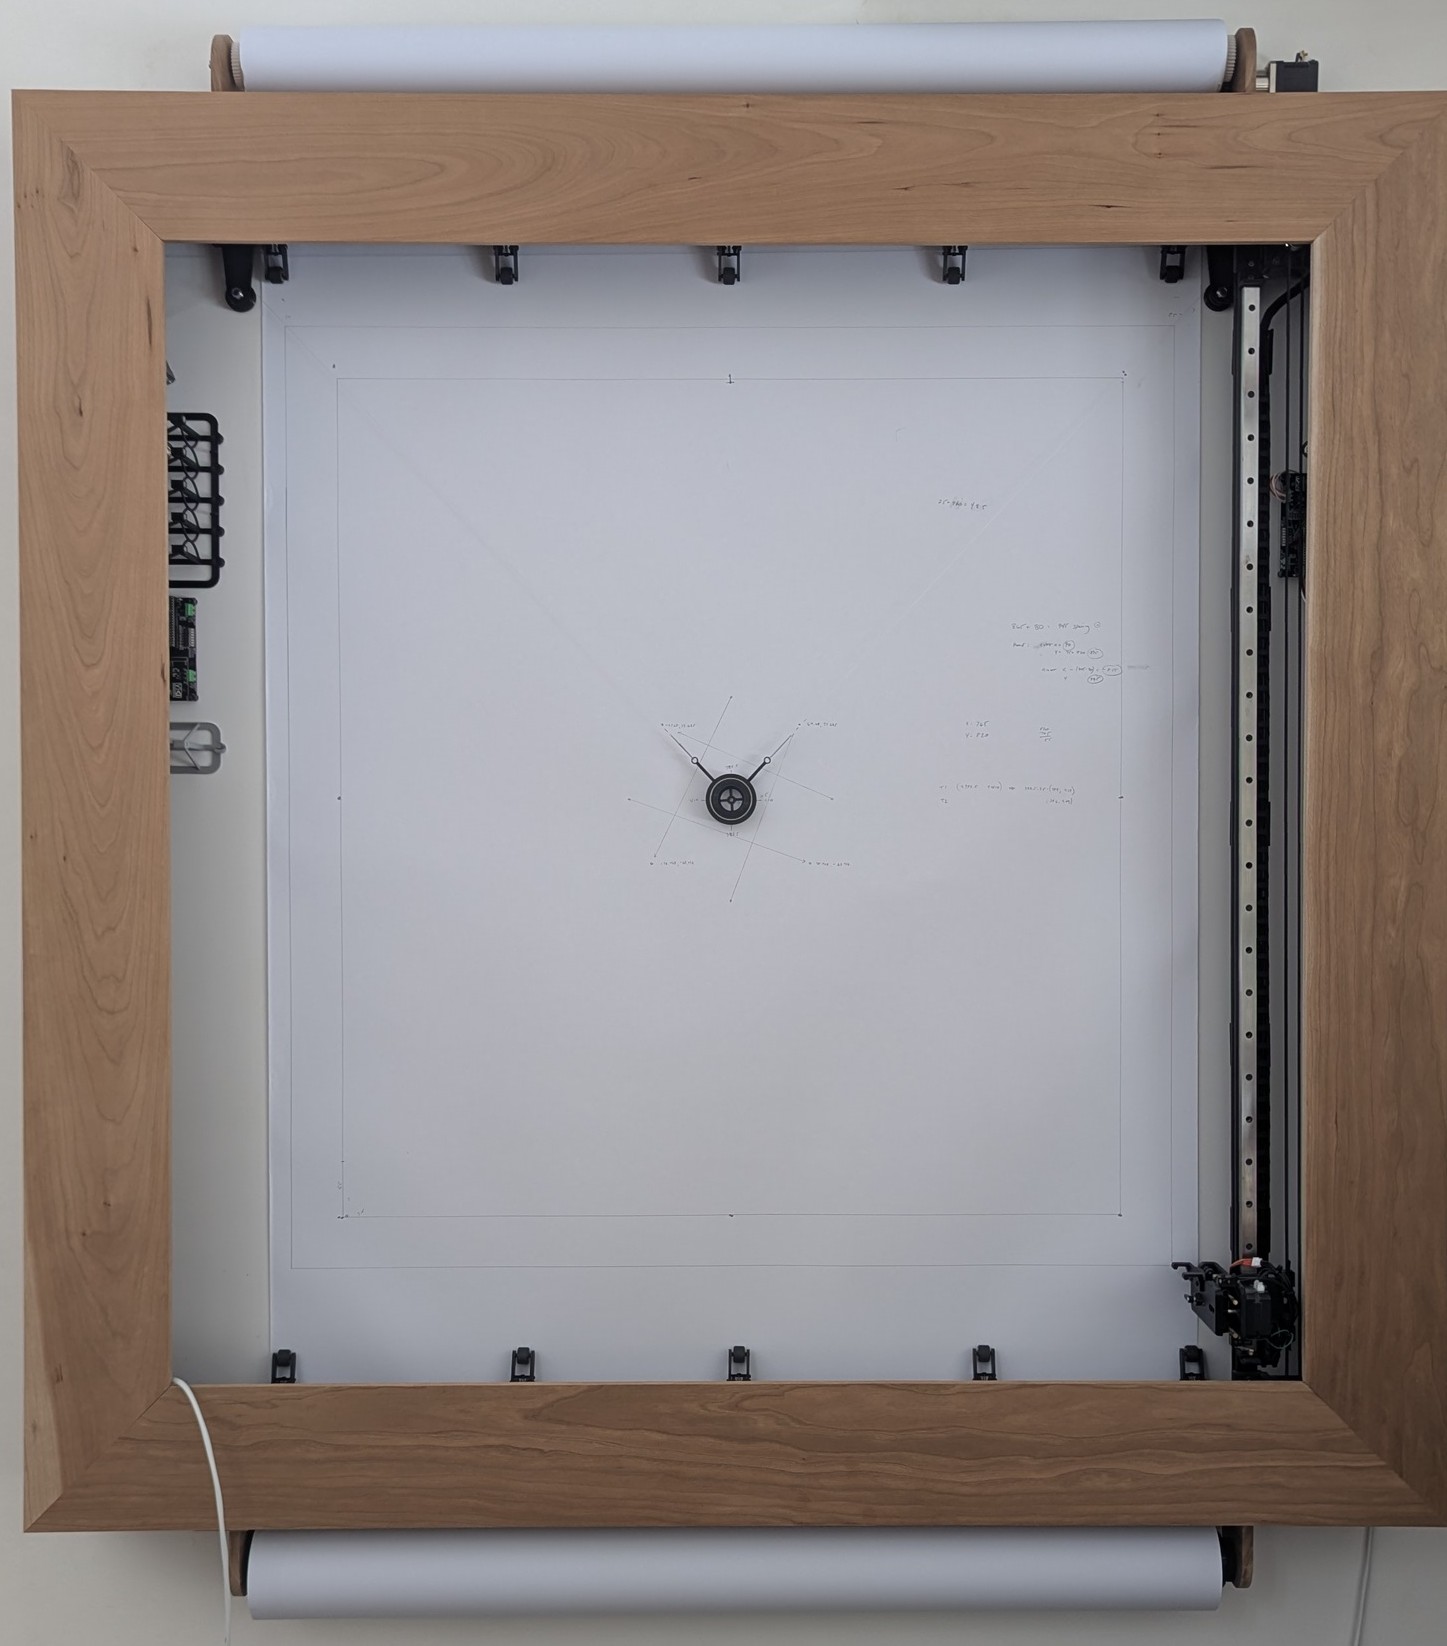
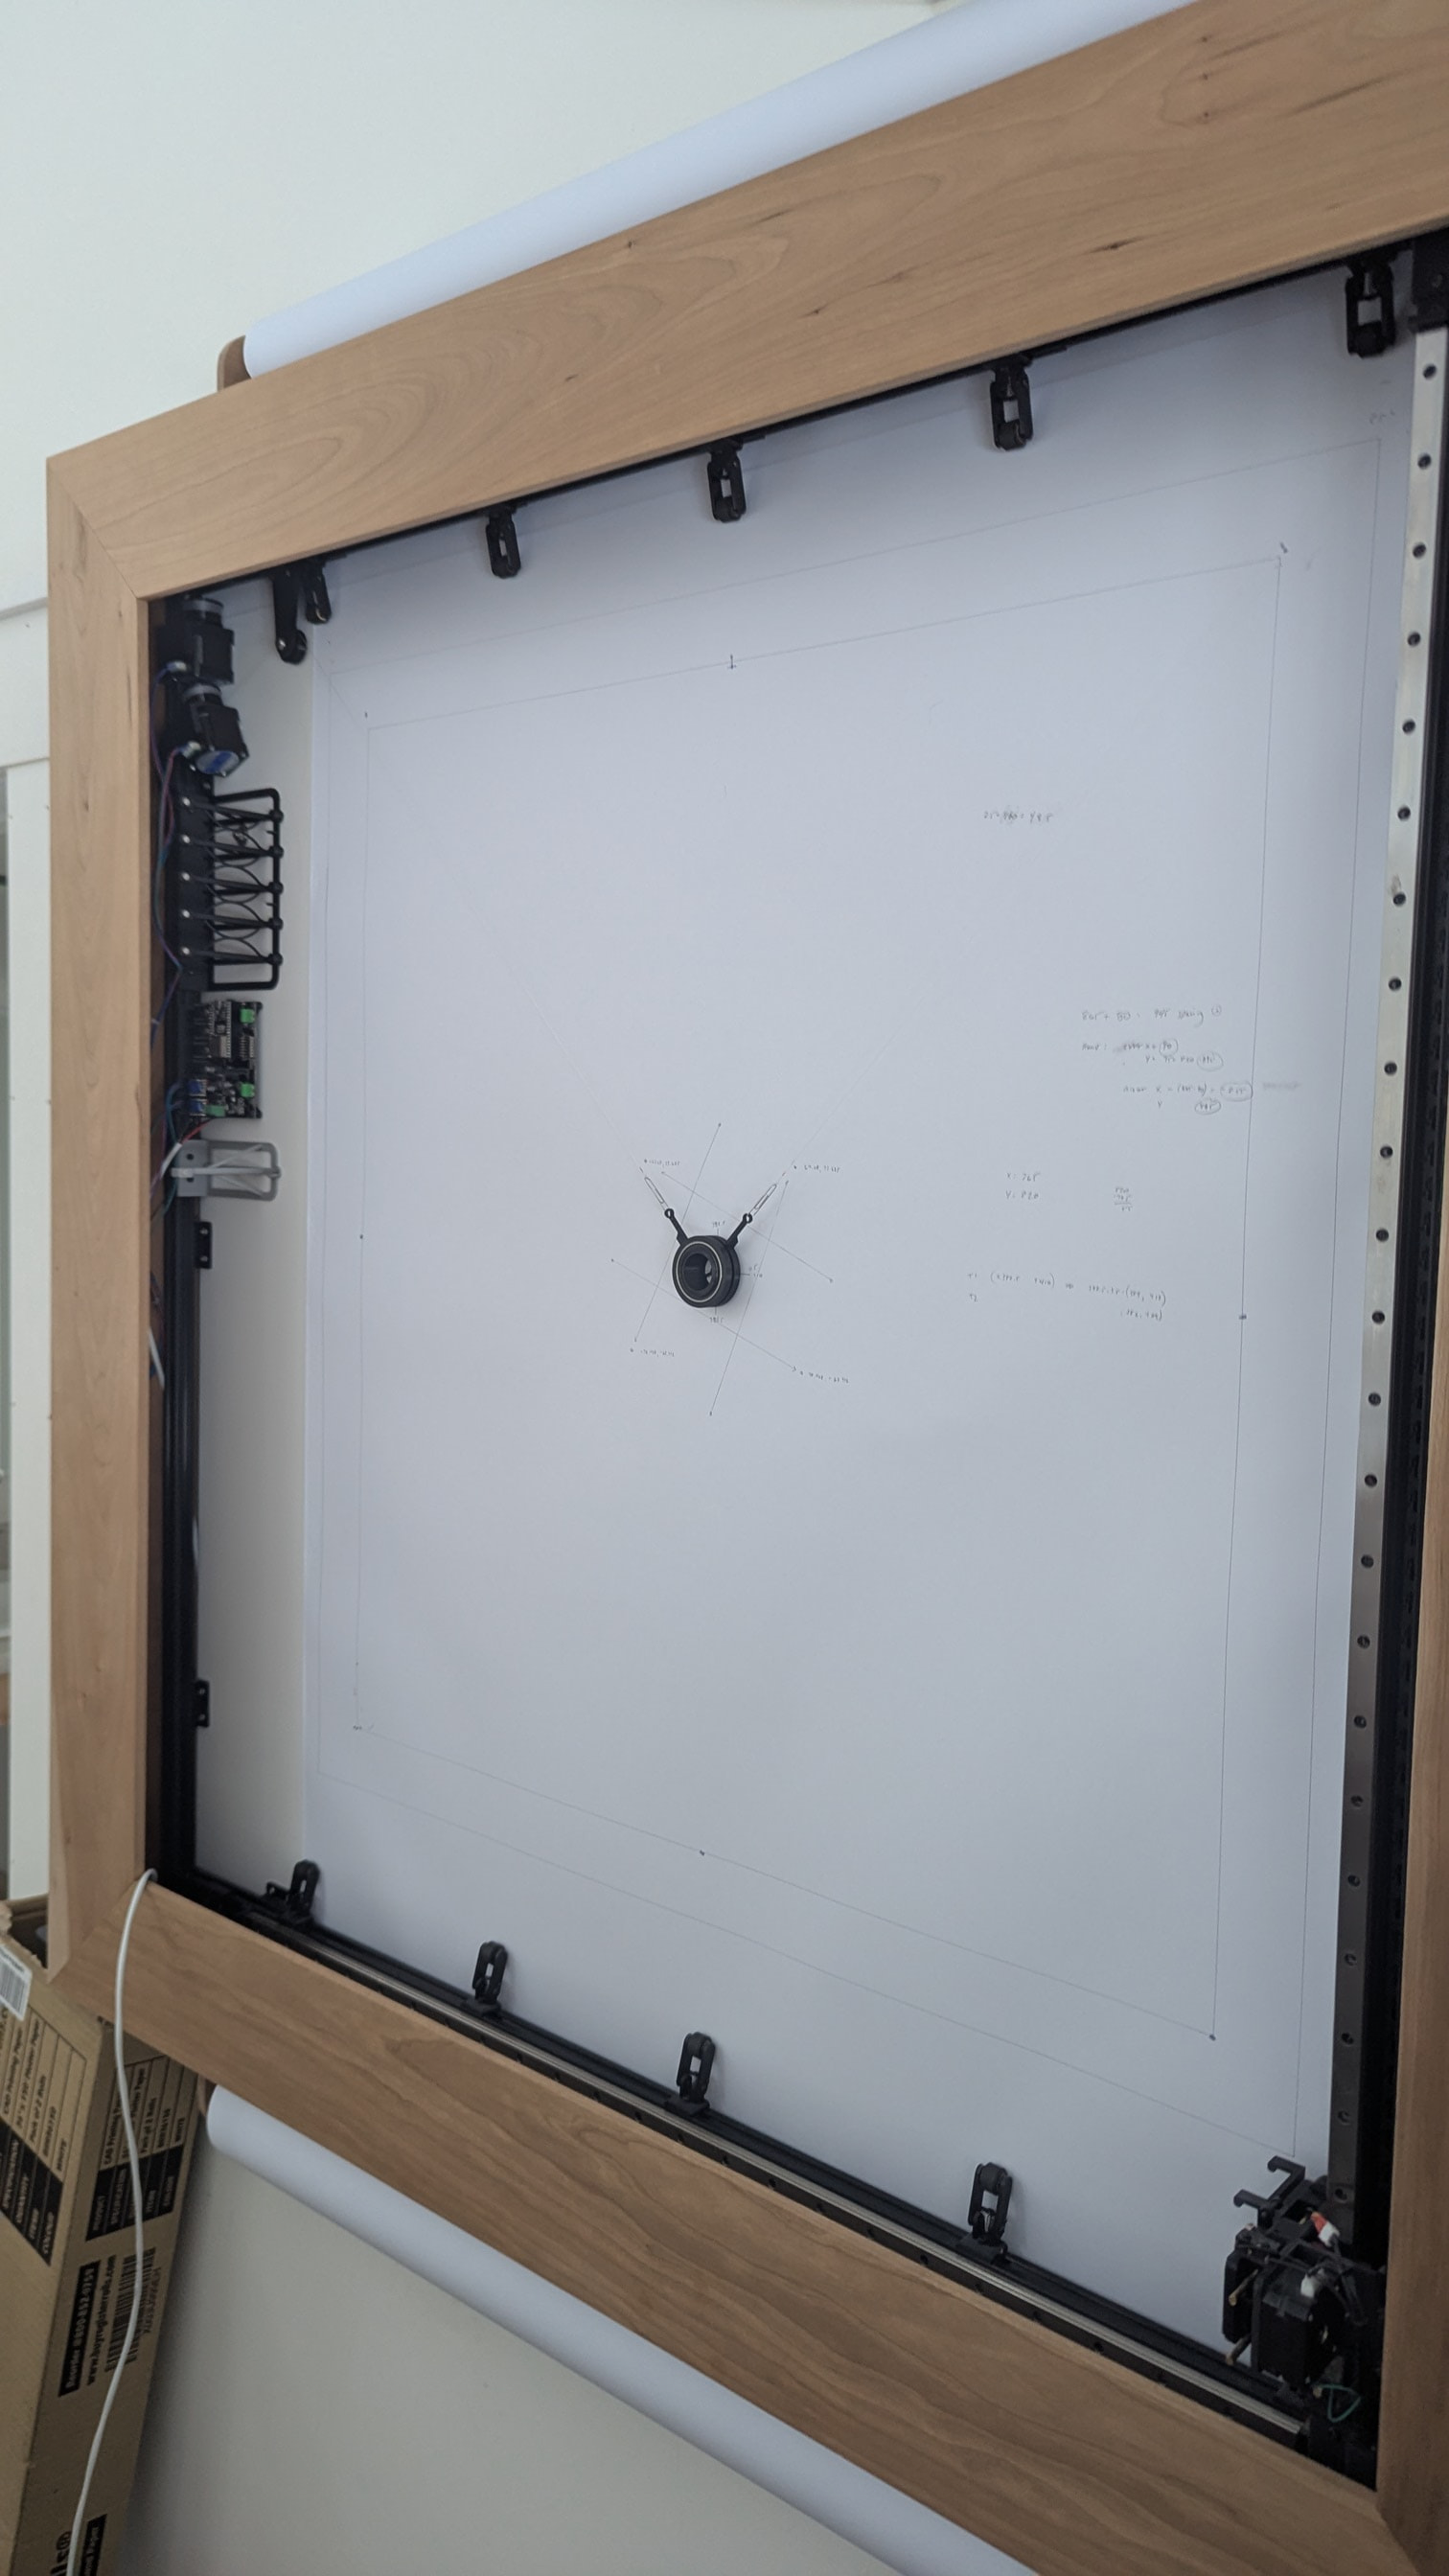
I have only just begun this project but thought if I started a build thread, it might motivate me to take it to completion. I wanted to create something else for the coffee shop that was interesting to watch. The existing plotter (Wall Mounted Pen Plotter) continues to be a huge hit, but any excuse to buy another Jackpot board and some steppers…
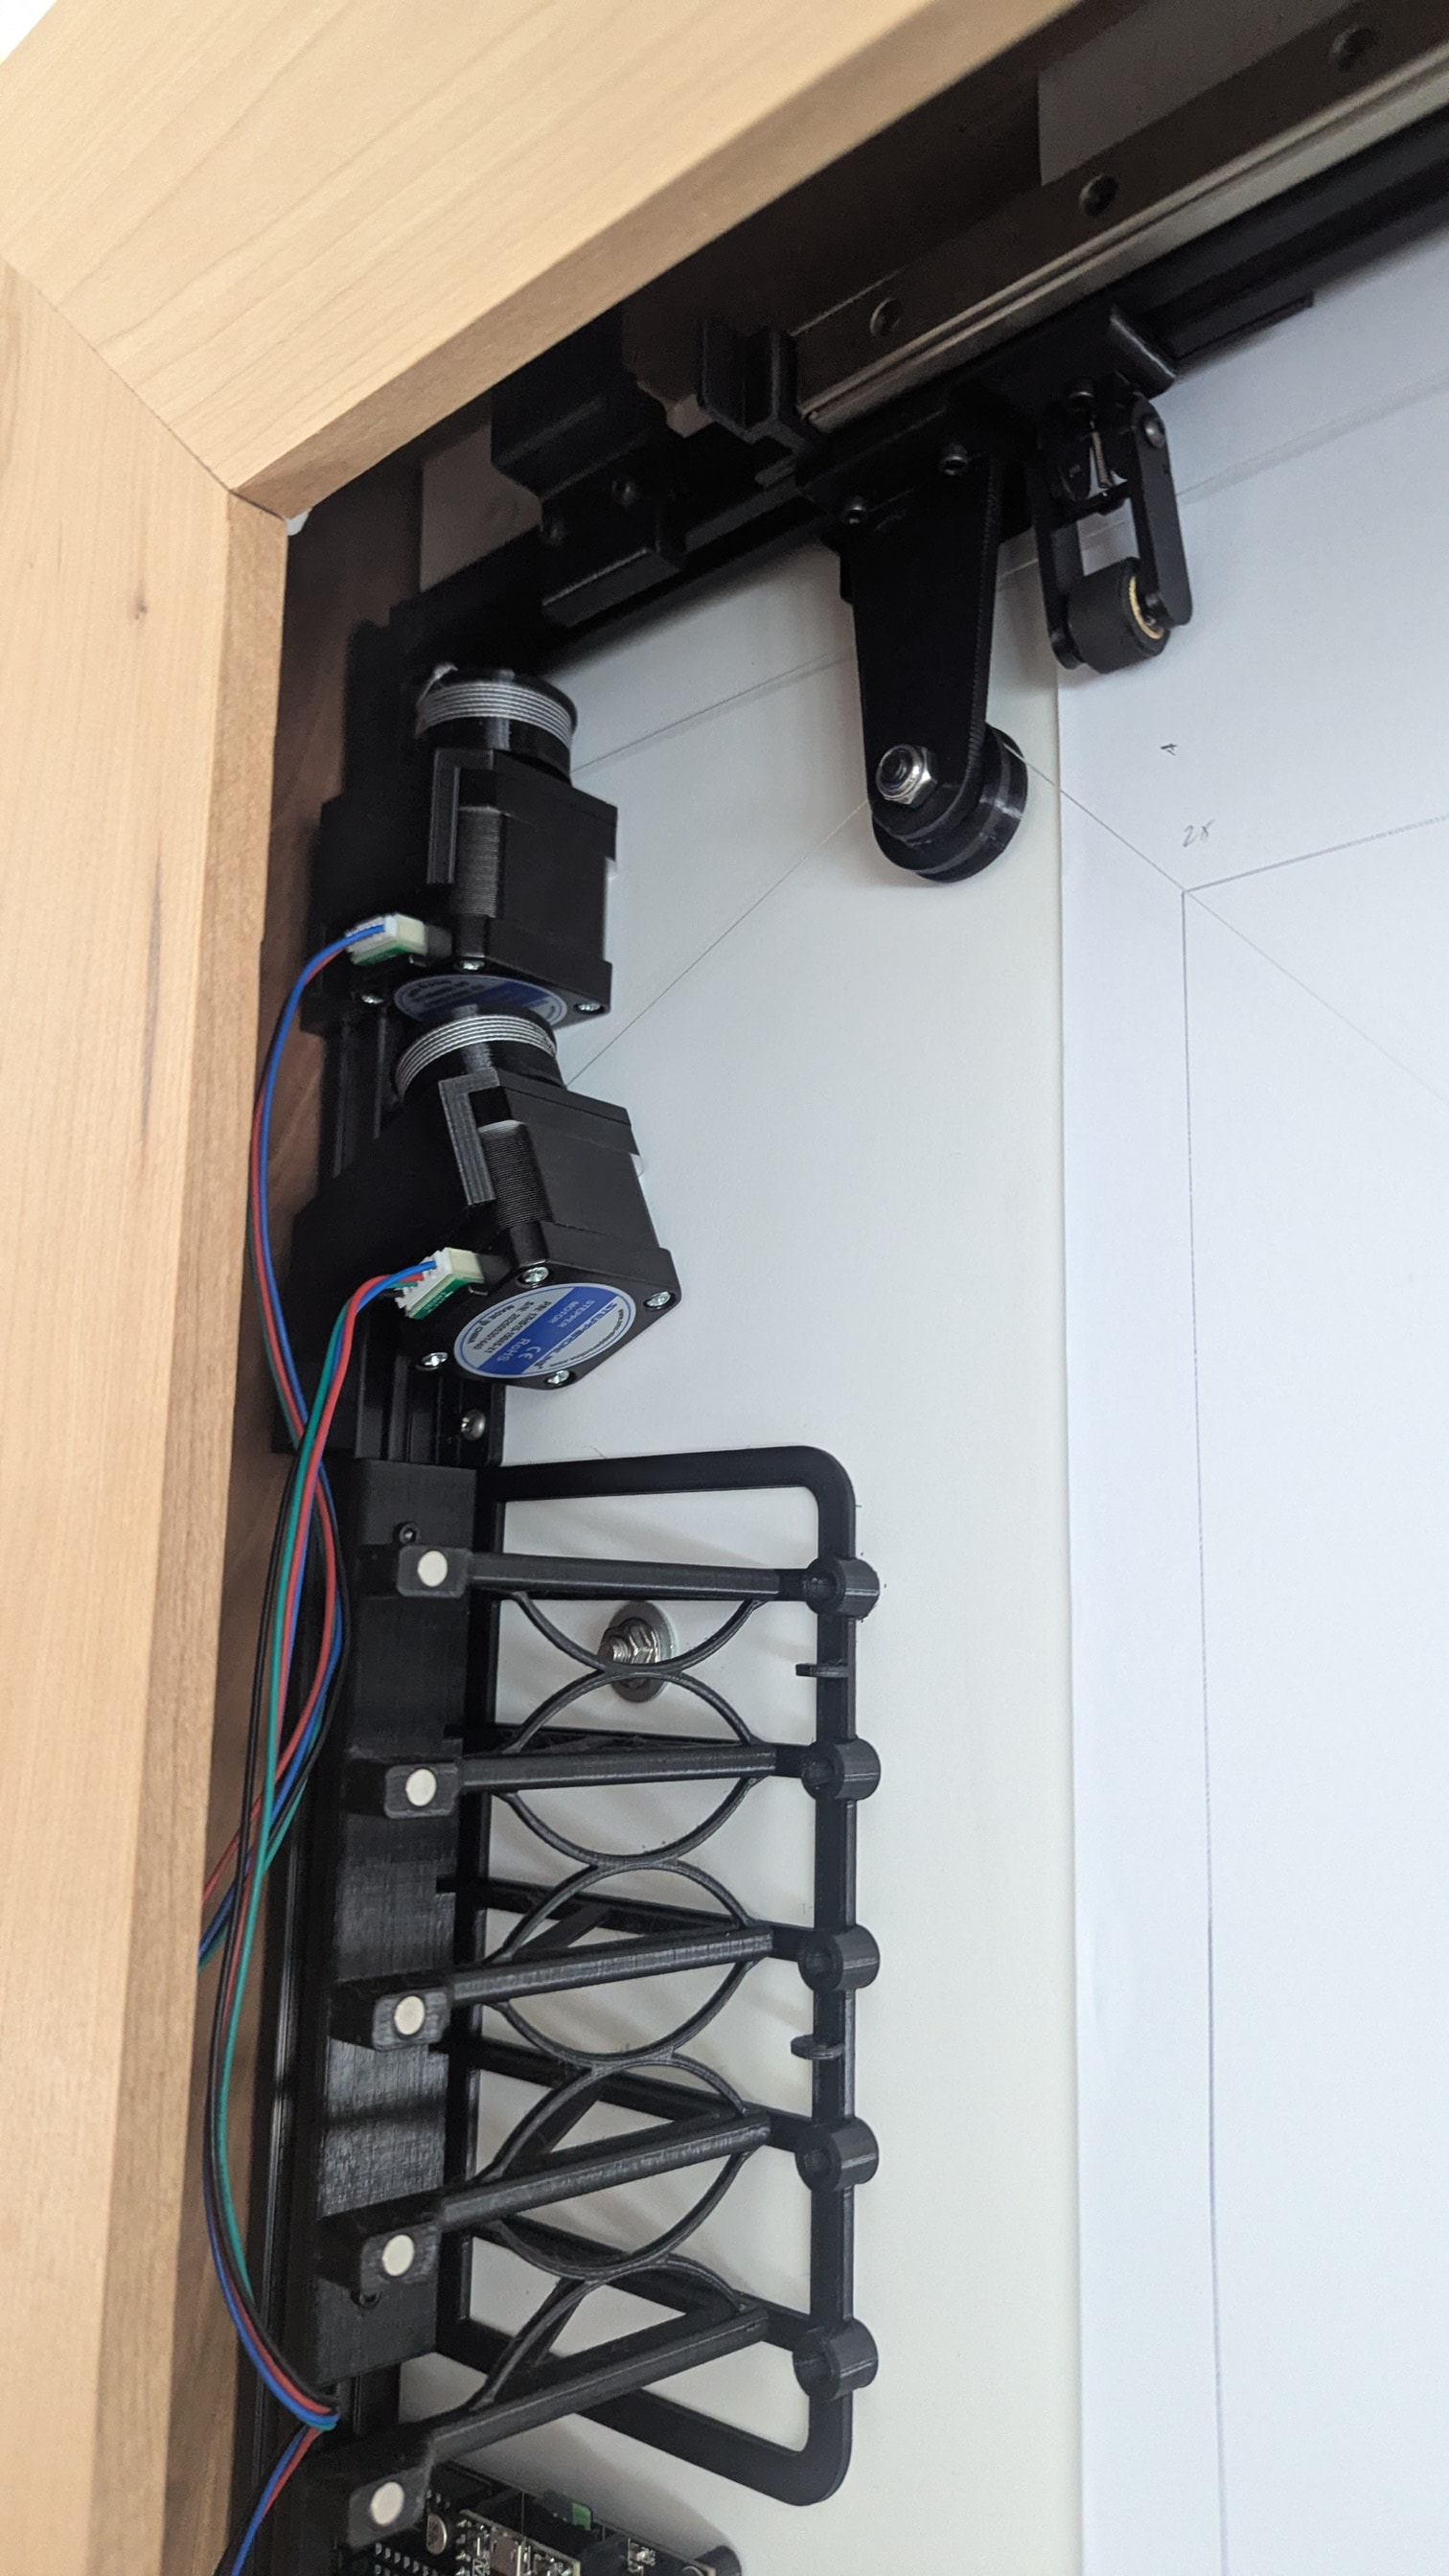
This mod will not affect the operation of the current plotter. It will just be another interesting way to move a pen around. They typically won’t be running at the same time - although it is technically possible to do so if the g-code that the existing cartesian system is running keeps the pen on the bottom right of the canvas and the new polargraph keeps the gondola in the top left.
FluidNC has a kinematic option called WallPlotter that makes the necessary translation. The firmware code is not supported and is a little buggy, but I have made some mods to the firmware and it seems to be working as it should at this point.
One problem I have noticed with every one of the polargraph projects I have found online is the way they incorporate a pen lift mechanism. It is always done with some ugly wires that hang from a servo on the “gondola” to the controller board. Hideous and not an option here. My first idea was to incorporate wires from the bottom corners (mirror images of the strings that the gondola hangs from) - cleaner but still not desirable. My current plan is to go wireless on the pen lift.
Pen Lift Plan:
In the g-code, substitute M8 for pen-up and M9 for pen-down and add a brief pause (to allow for pen travel time).
In FluidNC, tie M8 and M9 to a GPIO that is connected to a simple RF transmitter (ON/OFF).
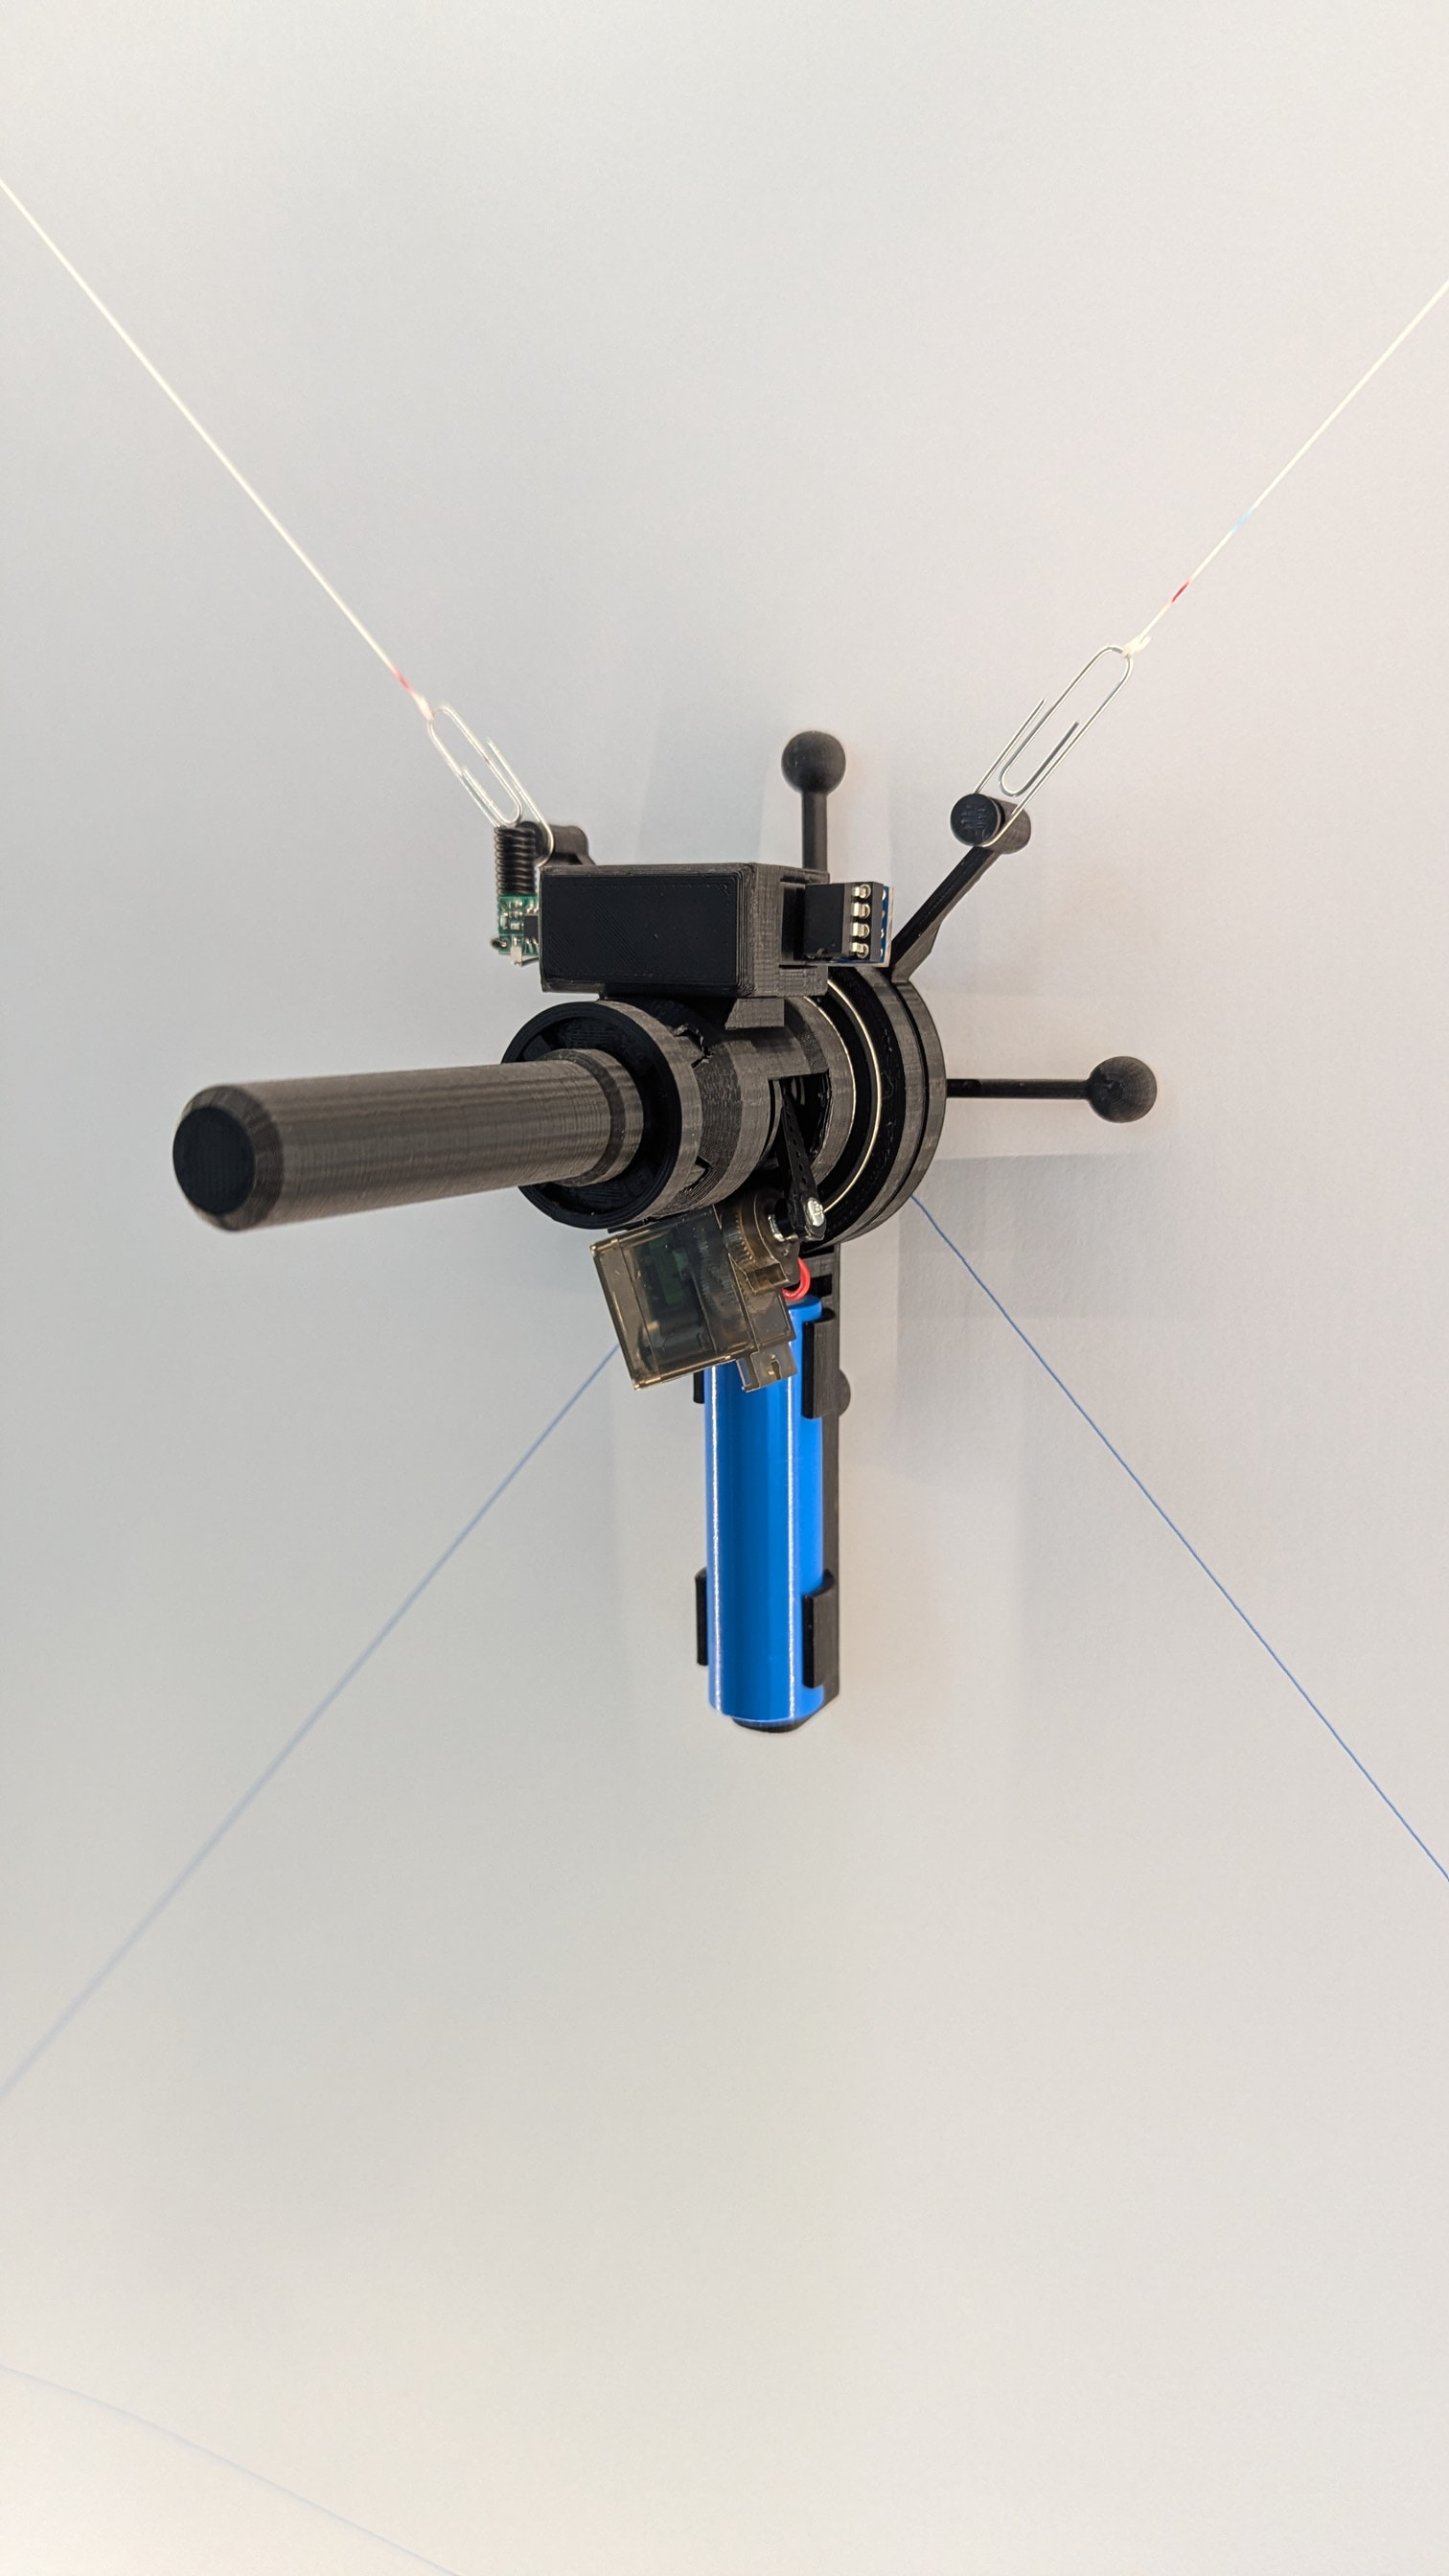
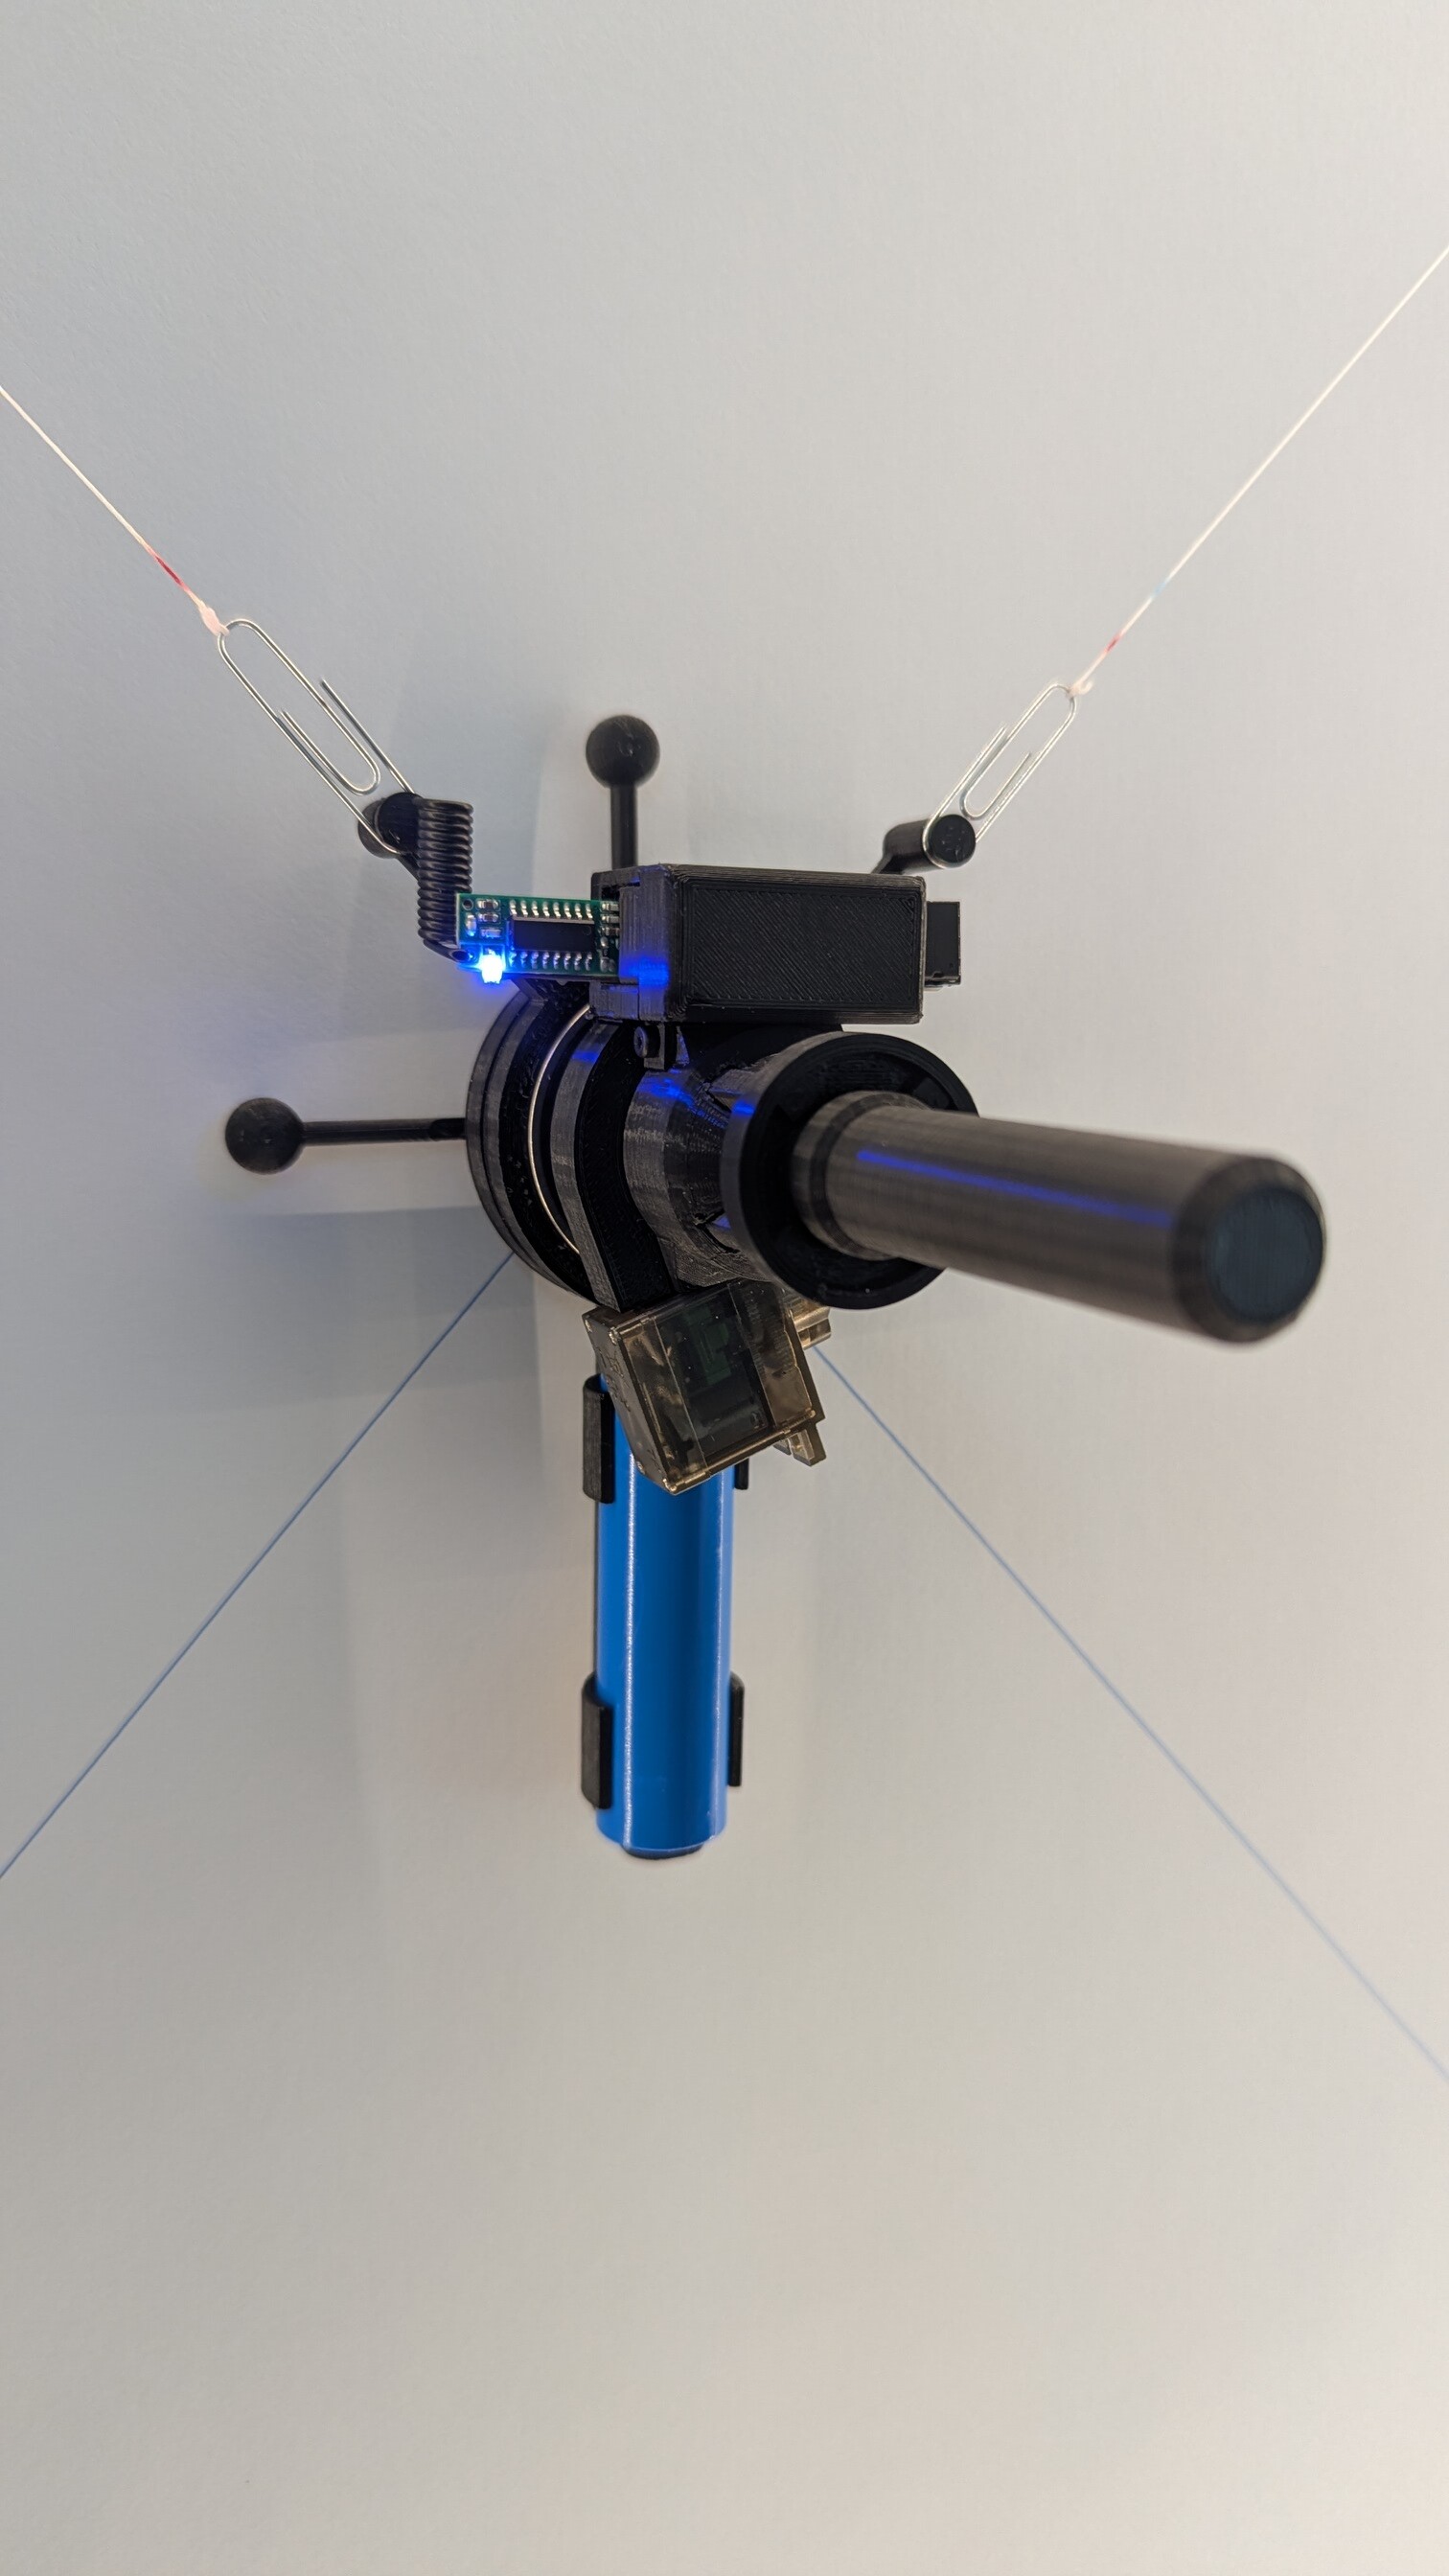
On the gondola, connect an RF receiver to a simple, low power MCU (like an ATtiny) that controls a micro servo (or solenoid) that moves the pen up and down. Power with a rechargeable battery (which also provides some necessary ballast for the gondola).
Potential pitfalls: No feedback from the pen lifter (if the pen lift signal was not received…. oh well!)
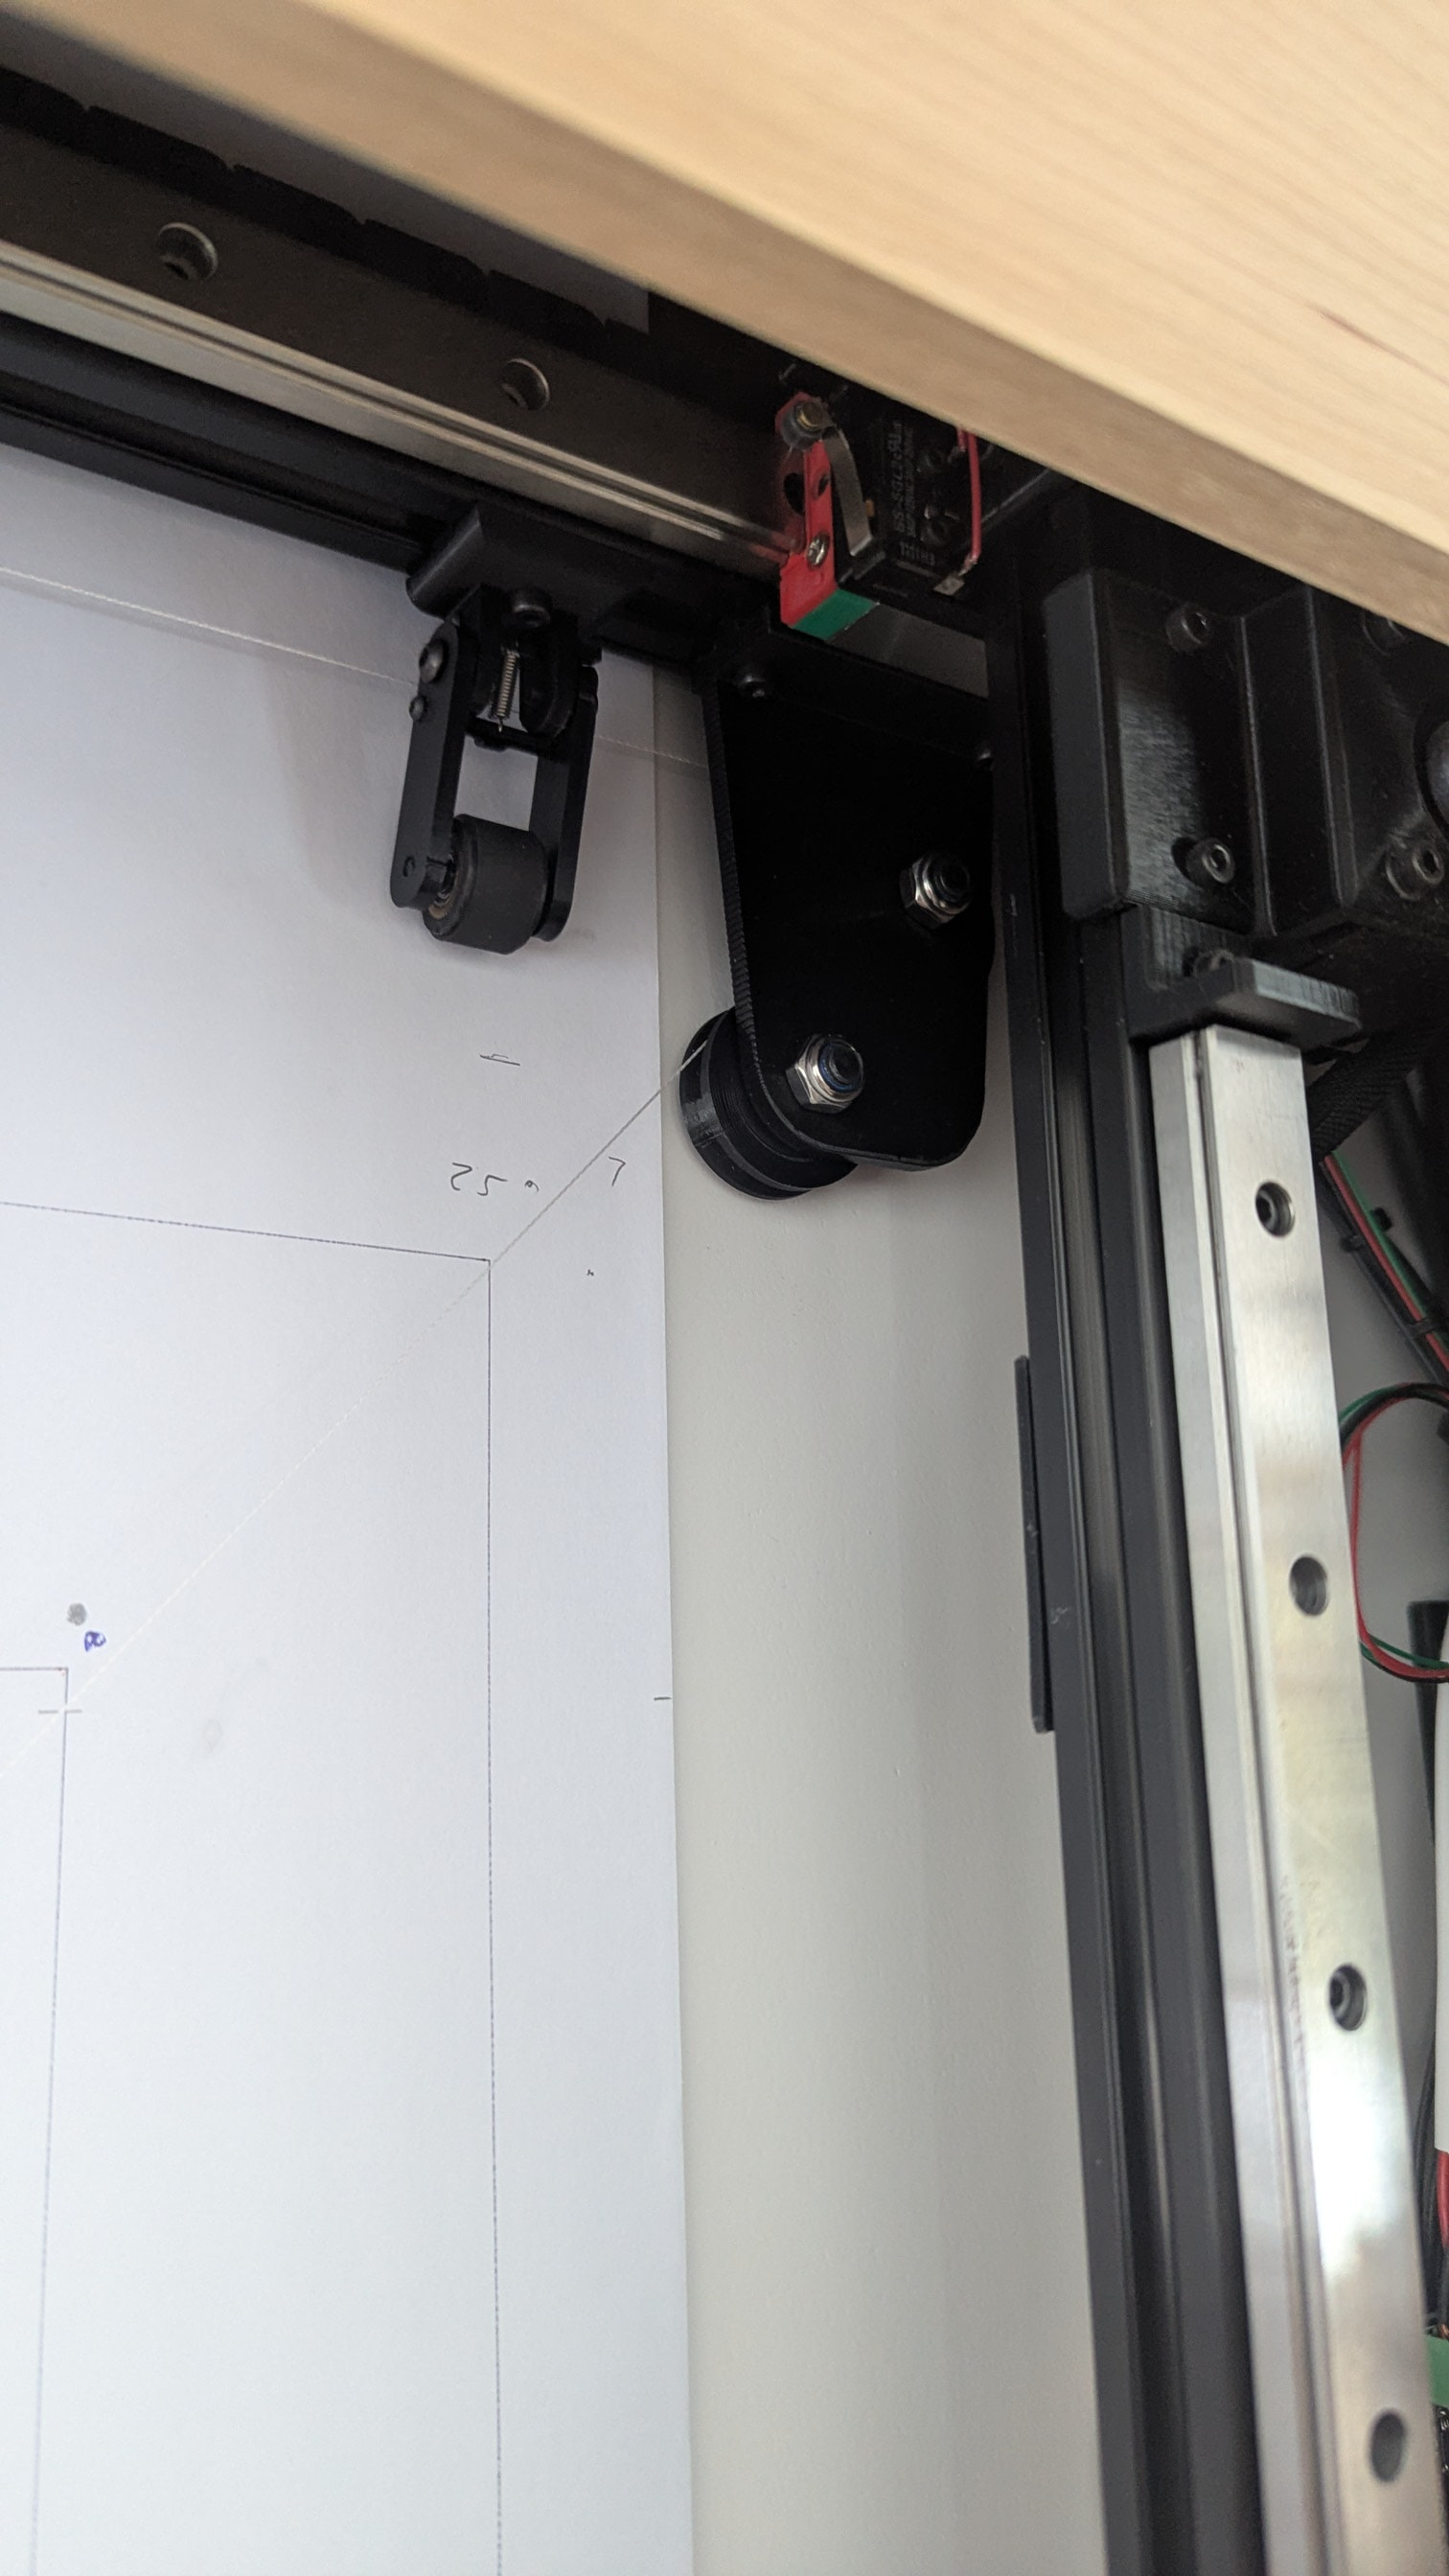
This project was originally designed as a simple Cartesian plotter… that’s why it has linear rails. It has been drawing things in a public space for about one year now. Its purpose is more entertainment than anything else. So, in that light, I wanted to add some entertainment value to it without detracting or changing the original design. Ergo the addition of the PolarGraph. And, yes, the kinematics are very similar to the Maslow design.
In theory, it will be able to draw using the original cartesian system for a day or two, then I can hang the gondola on there and use the Polargraph system the next few days. And now I am thinking that it is possible to synchronize the two and have both systems drawing at the same time. I think that might be pretty entertaining.
Doing that with different colors or media for the pens would be very interesting to watch, provided you can de-conflict the two mechanisms. The machine itself is already kinematic art, and a dual drawing mechanism would be a further step up in that regard.
Just having one of these then both of these as separate systems would be pretty cool. Now you are going to do the gymnastics to make them coexist. That sounds extremely difficult at first glance, but very interesting. Your wall art is amazing and I’m sure even better in person. I’ve showed your post to a number of friends who all had rave reviews. I am interested in the polar plot lift mechanism if you are keen to share it. Do you think it would work with a dry erase marker? I can see vast entertainment value in one of these to draw on a chalk board or dry erase board… probably the latter. Adhesive dry erase surface or paintable chalkboard are available, so a standard board is not required, though it might make a hanging system like this much simpler to assemble. the key to a good dry erase board is continuous use. If you leave stuff on it for too long, it won’t wipe off, but if you are continually drawing on it, it typically works better. I need one of these for the dry erase board in my office…. have just the spot and control hardware for it just itching to be used.
I will share everything once I have a working model. Right now most of it hasn’t left my design sketches. I am almost ready to start drawing the parts up in fusion. I am starting with a bench test of the wireless portion to make sure that will work. My AI has assured me that it will be wonderful and the 3500mAh battery I plan to use will last for 7 days of continuous operation with a 30 second pen-up/down duty cycle.
Now, if the parts that I ordered 3 days ago from Amazon Prime using the “next day” delivery option actually show up today, I should be able to test it tonight.
Without significant modification, I think there will probably be a 12mm diameter limit on the pen. That will rule out the thick dry erase markers, but I think there are narrower ones that should fit. I have had good luck with Pigma Microns and Uni-ball Power tank cartridges, so I am starting my design to accommodate those.
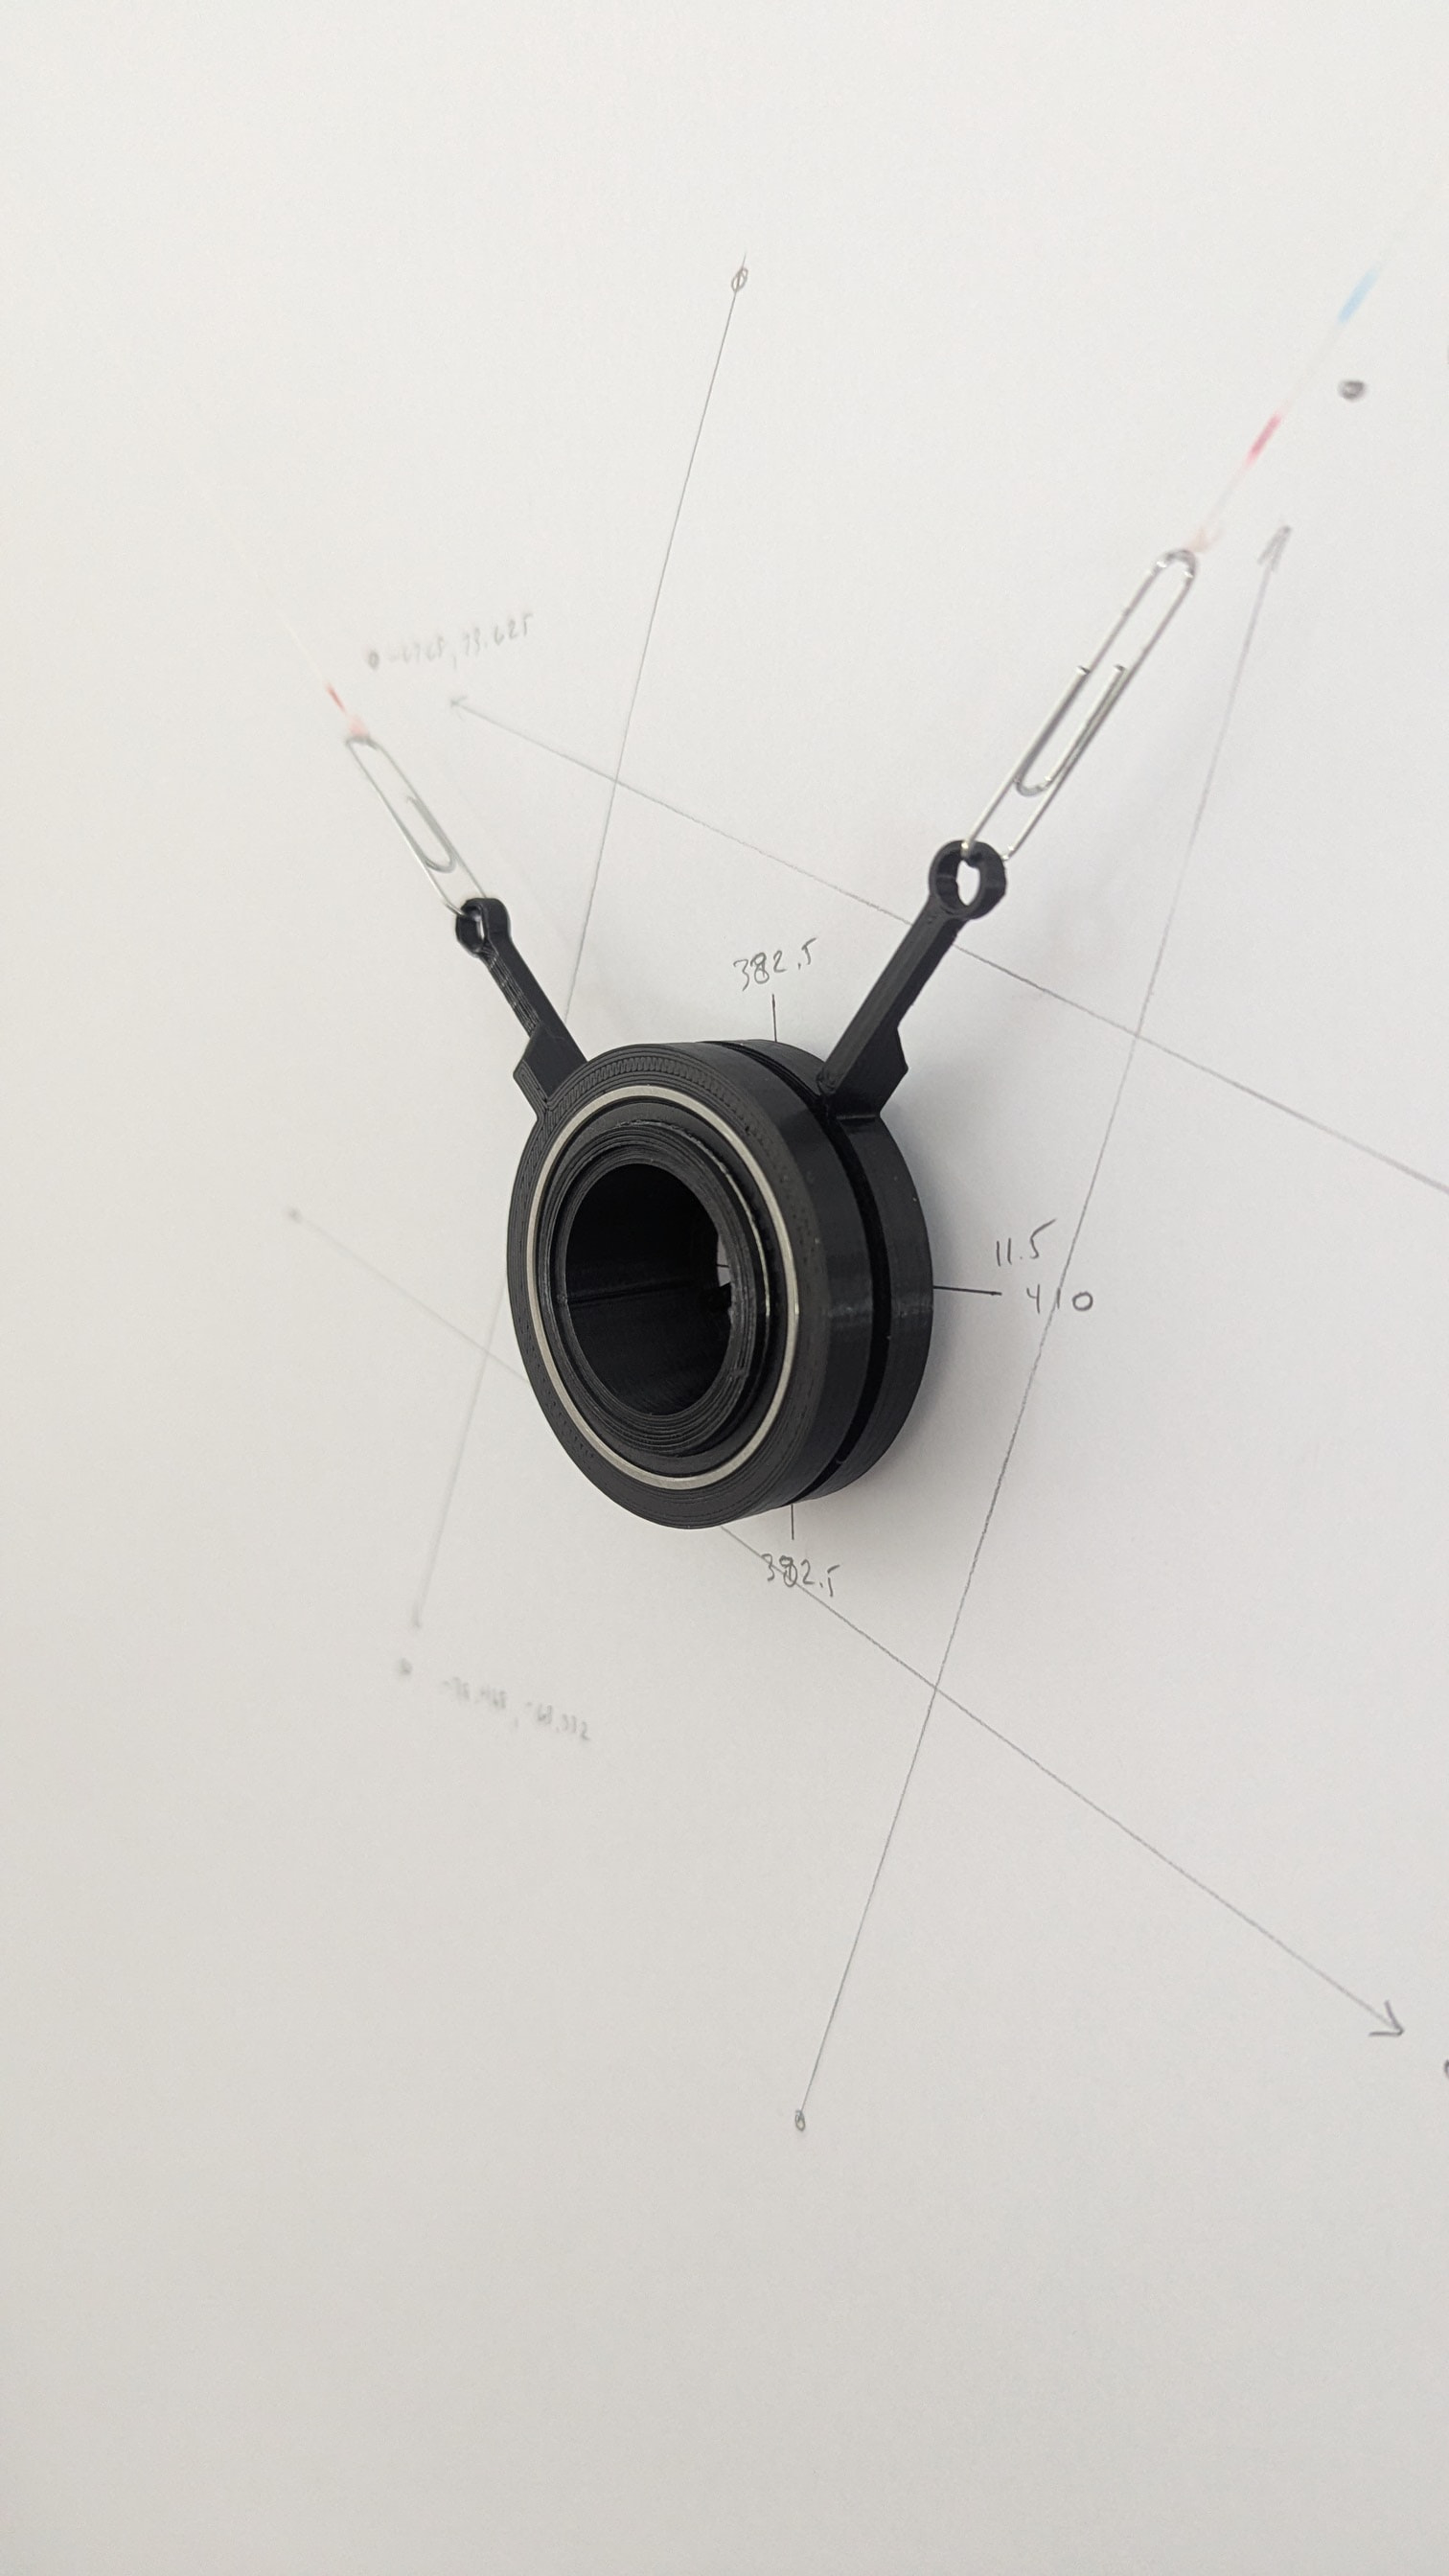
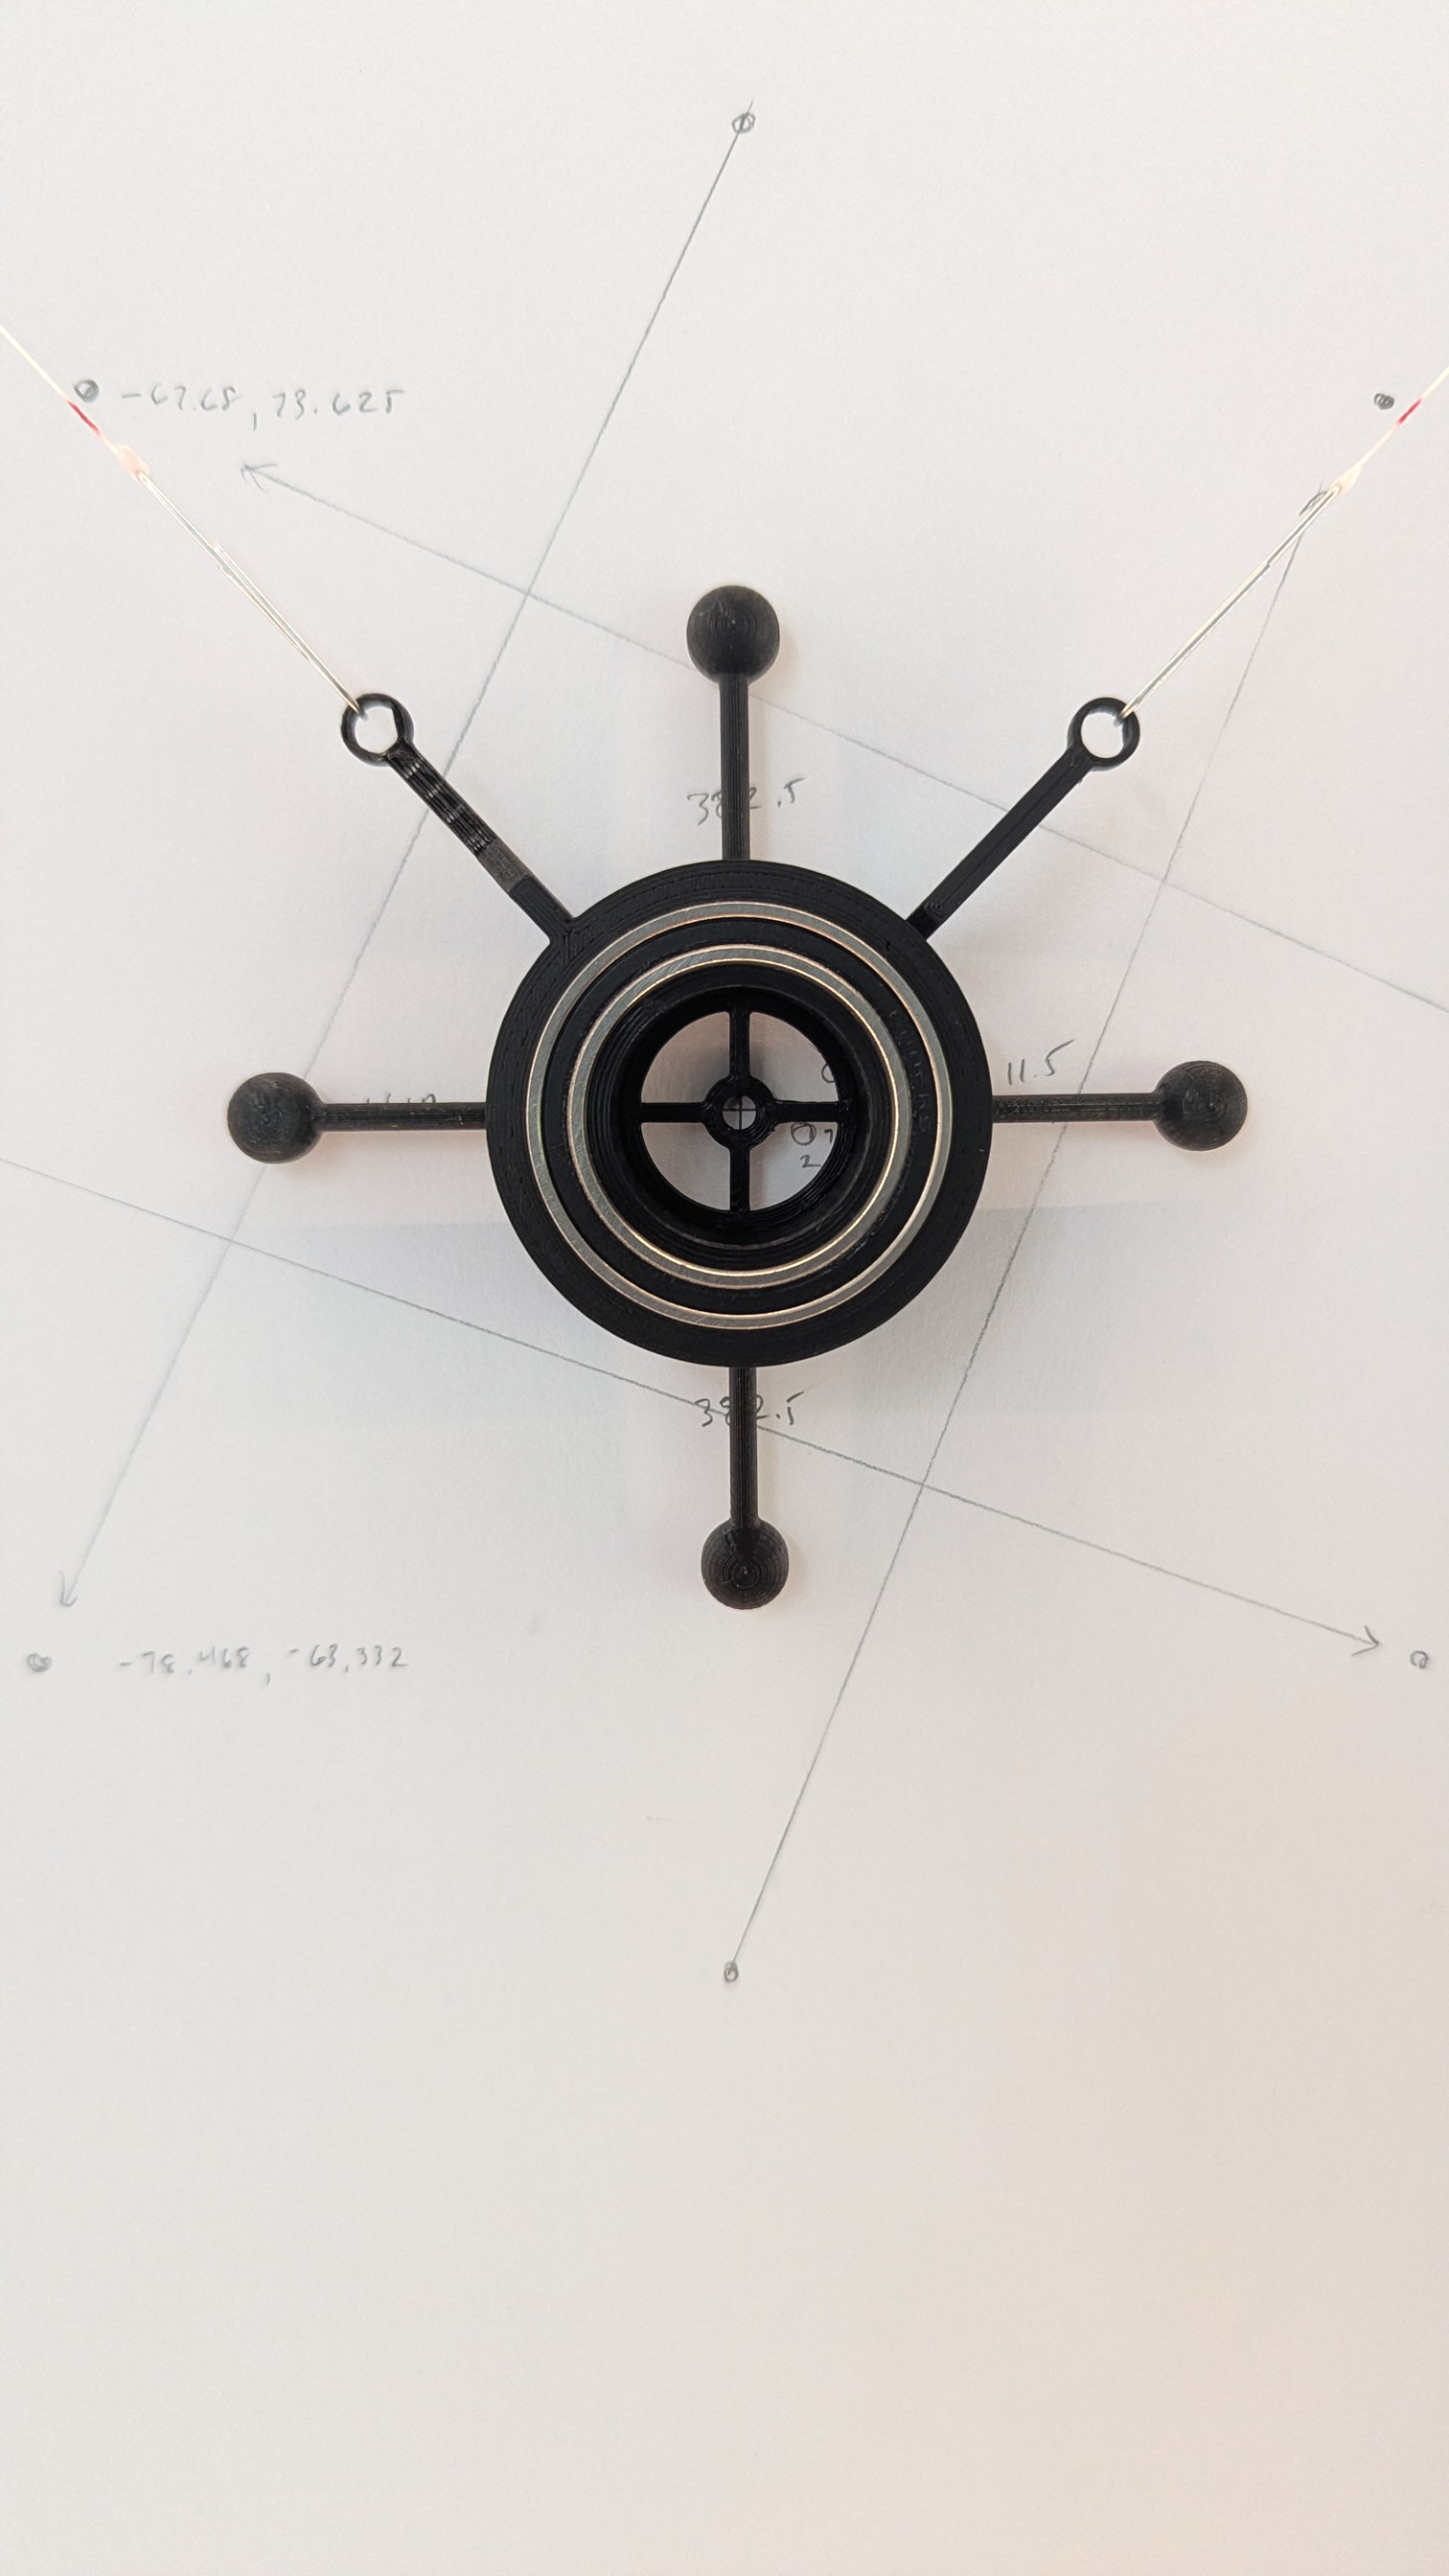
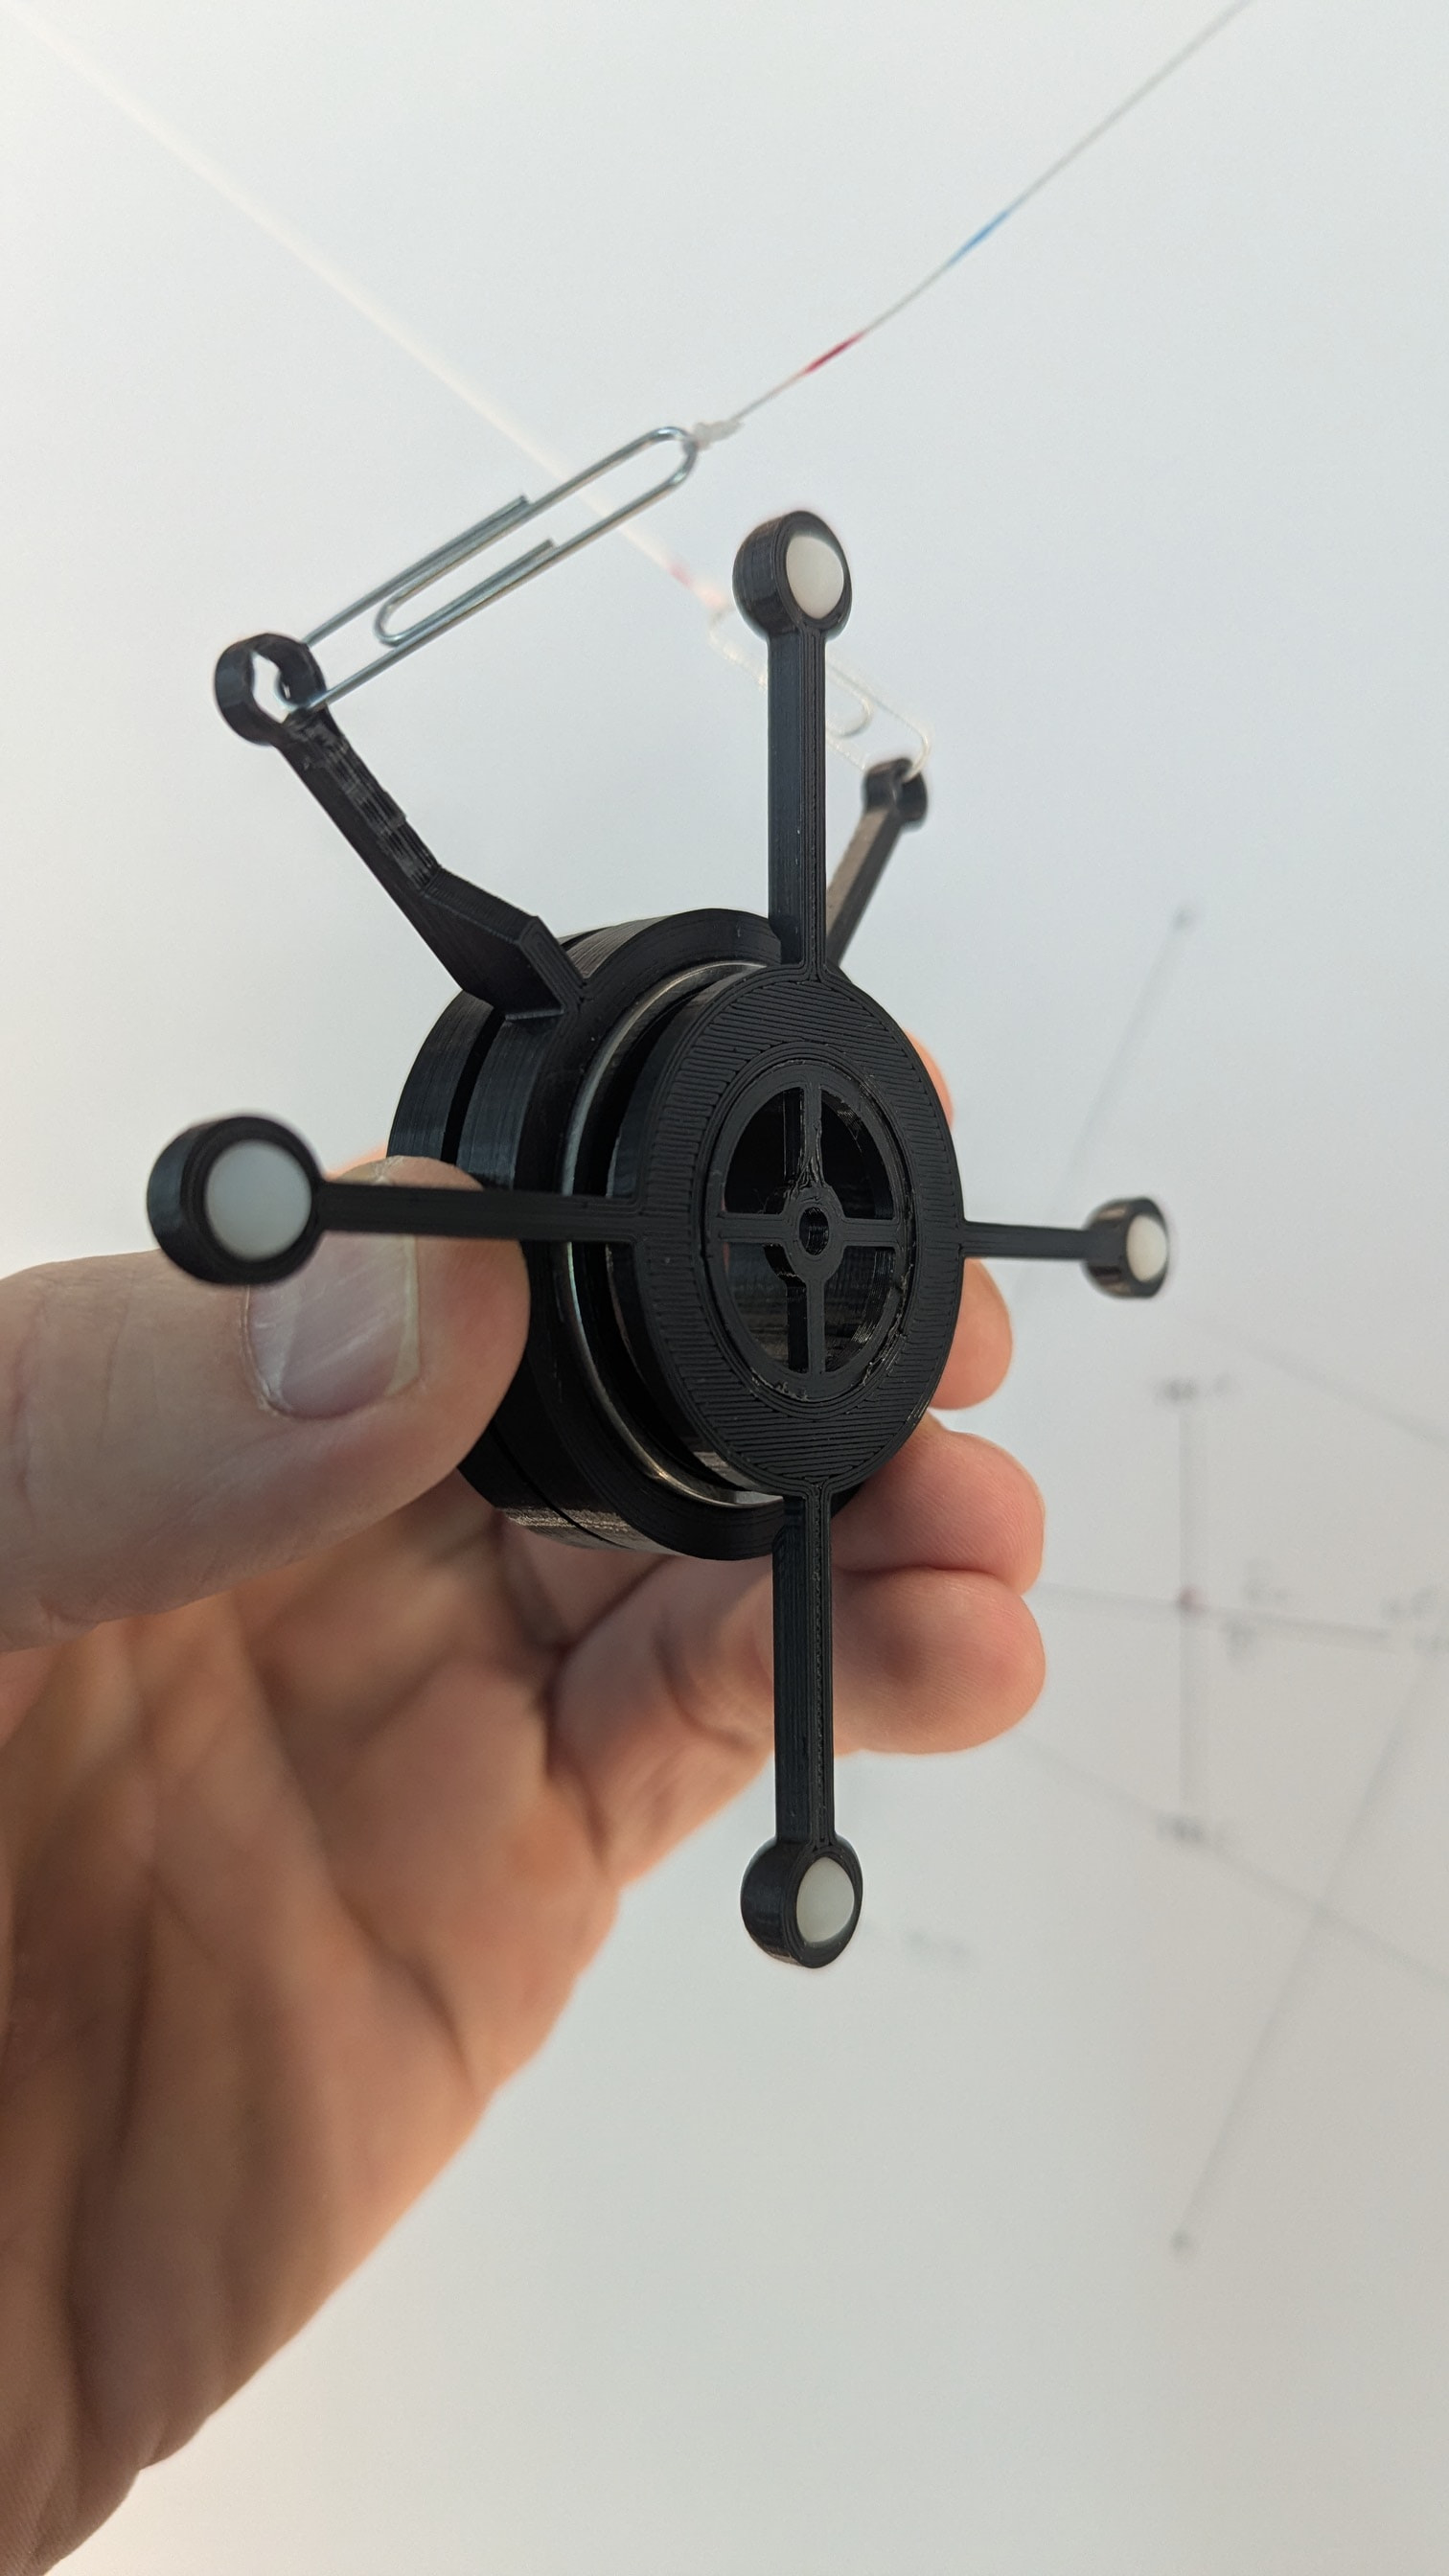
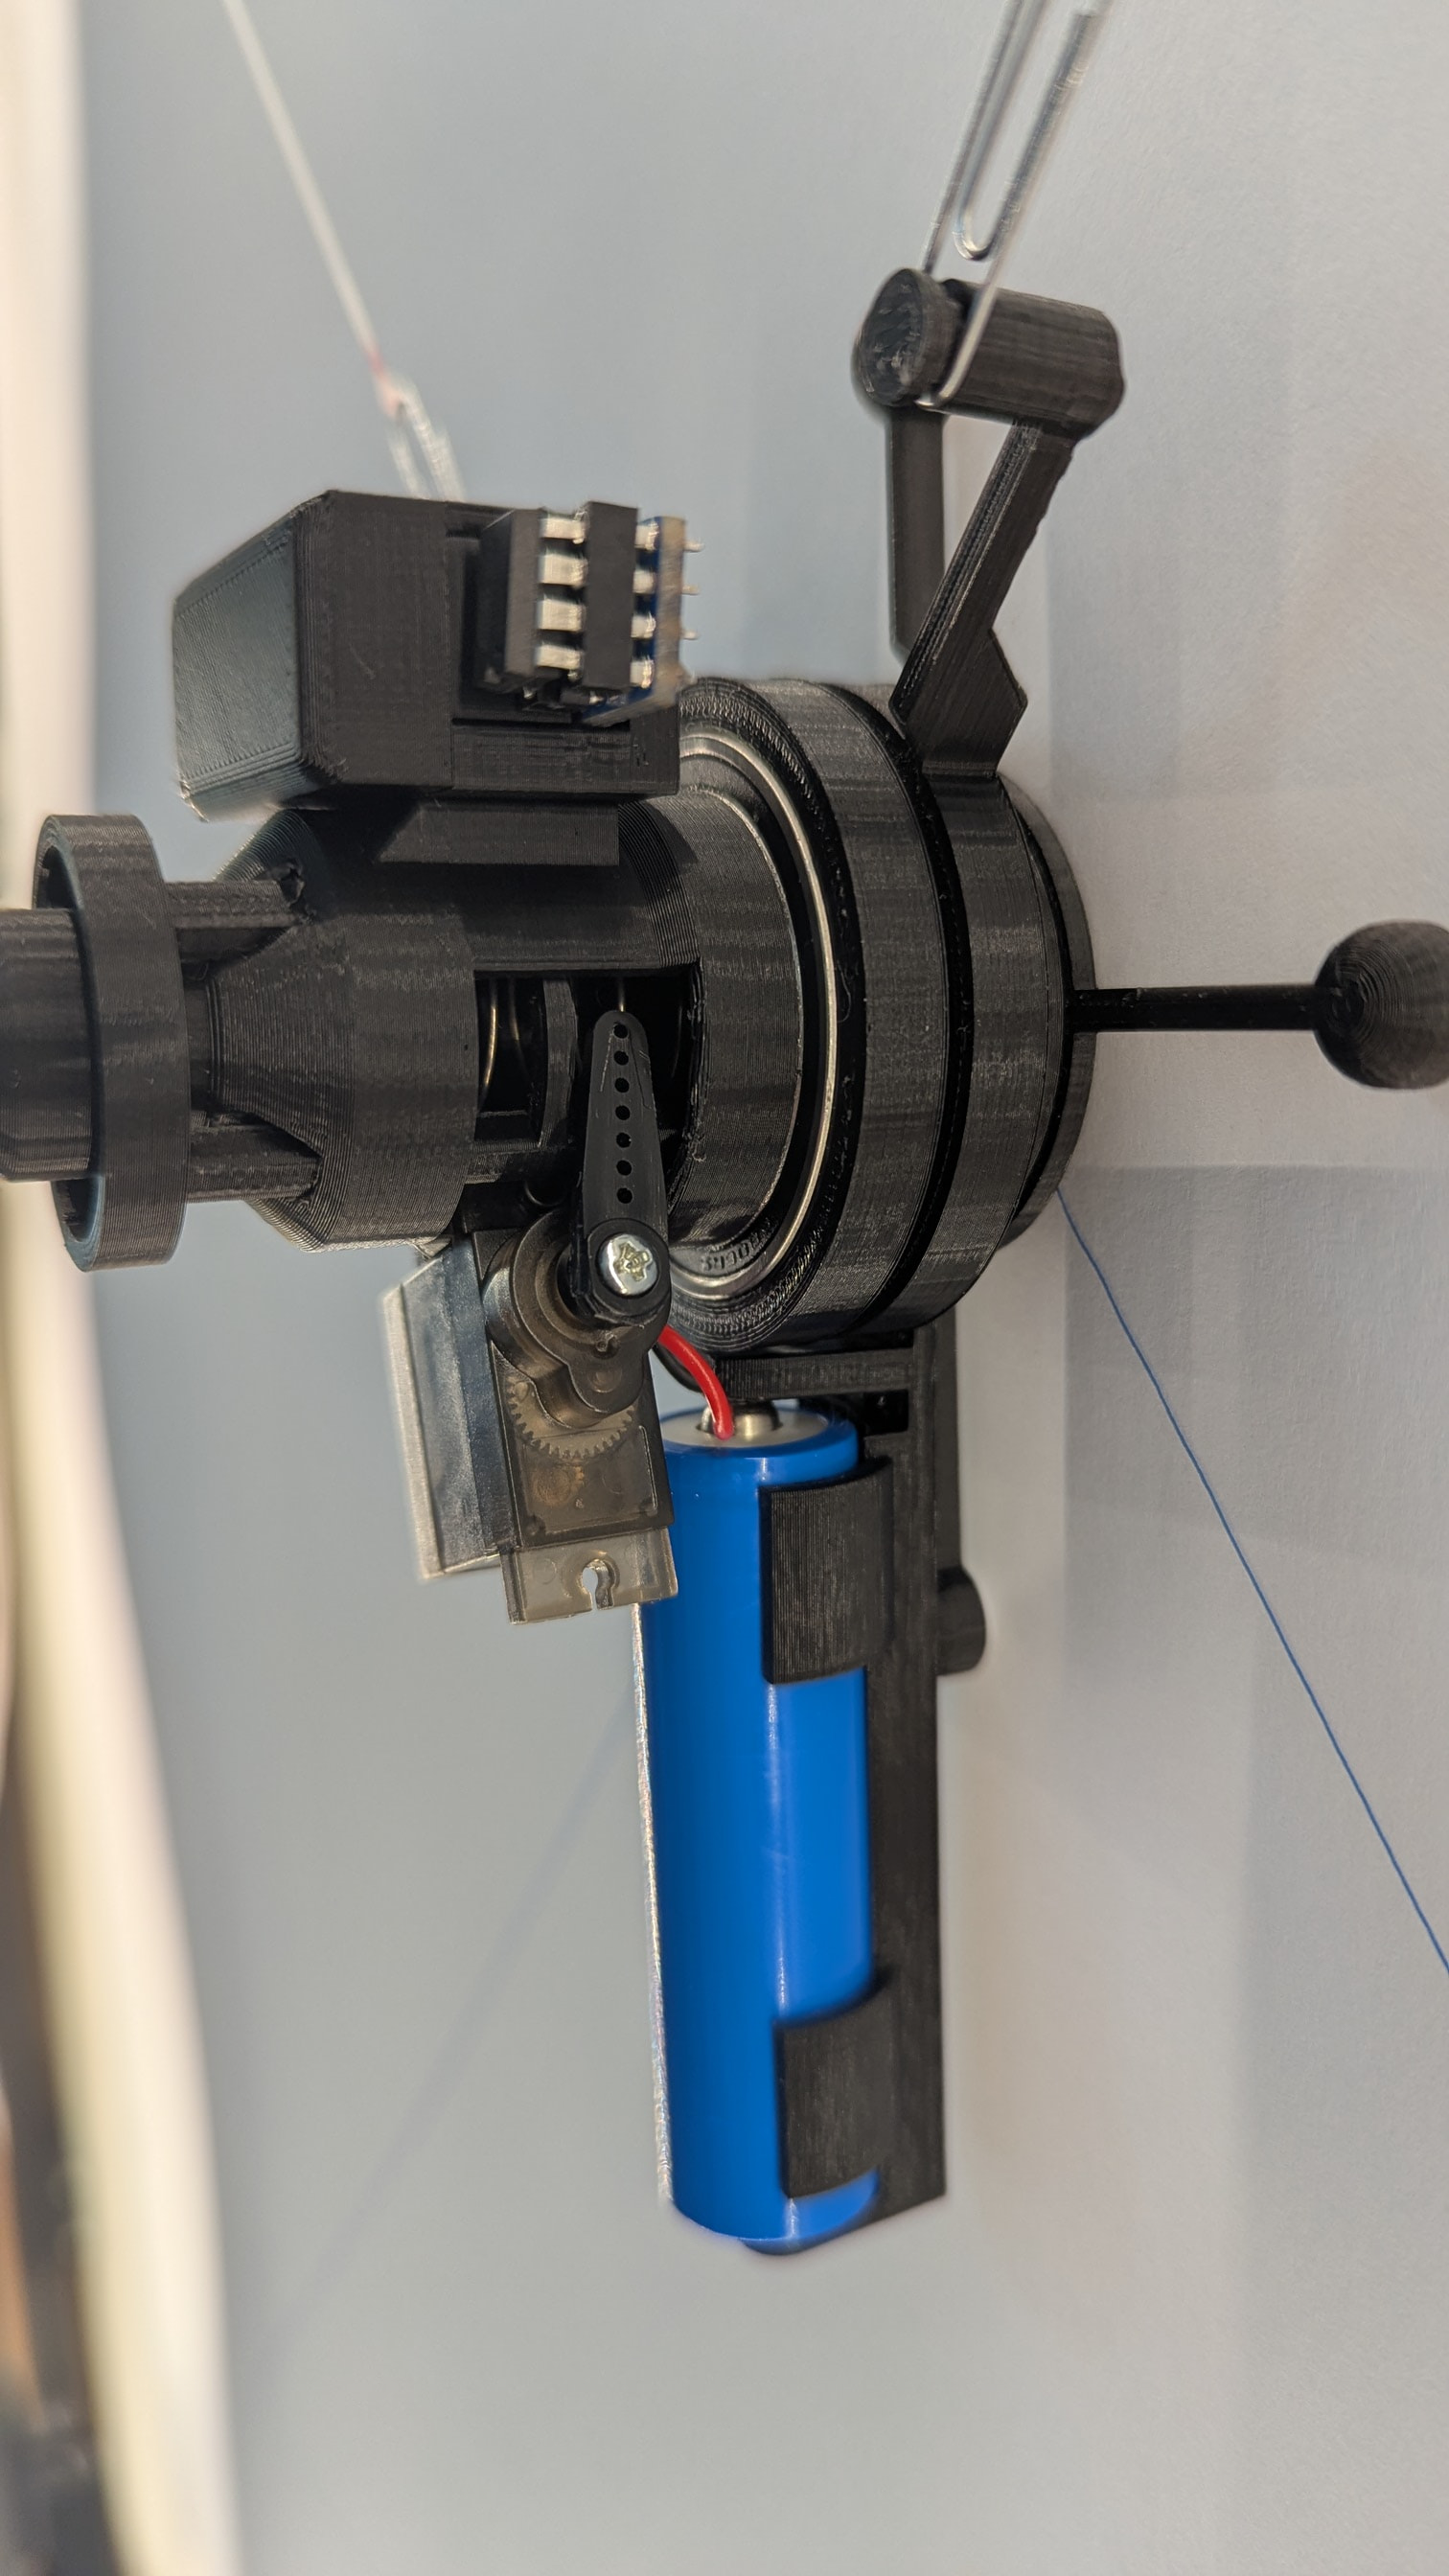
The gondola is suspended using two large bearings, each with a 30mm ID and 42mm OD. That will allow the core to remain vertically oriented as it moves over the canvas (once some ballast, in the form of the battery is attached). The core (that will eventually house the pen lift and battery) is held on the surface of the canvas by gravity. To assist in a smooth glide over the canvas, I have incorporated 4 nylon ball bearings (one in each cardinal compass position) that can spin freely in their 3-d printed sockets. I wasn’t sure if I could pull that off, but they work surprisingly well. Those cross-hairs are temporary - used for calibration.
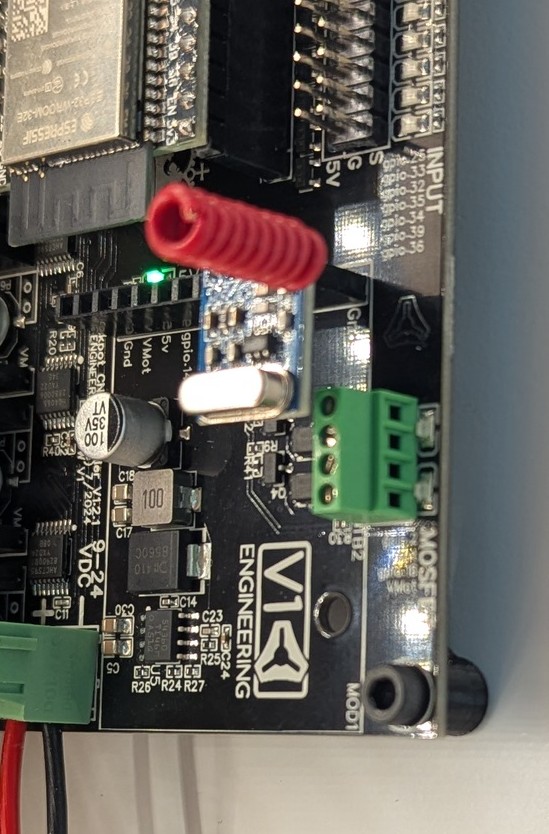
I haven’t tested it yet, but the 433Mhz transmitter for the pen lift will be a very clean addition to the Jackpot board. In theory, it only requires 3 connections - VCC, GND and DAT. Shown plugged into the expansion module socket above, I used the existing GND pin on the end of the socket and ran wires (on the underside of the board) from the 3.3v pin on the ESP32 to VCC and another from GPIO12 on the expansion slot to DAT. I assume/hope those unlabeled pins next the GND on the expansion slot aren’t connected to anything else??
For the firmware part, I will tie Mist control in the config.yaml to GPIO12 and then use M7 and M9 for pen up/down.
NOTE: I haven’t looked at the specs of the voltage regulator on the V1 ESP32 dev board, but hopefully it can handle the current required by the transmitter, which doesn’t require much.
The biggest issue that needs addressing is the spring that holds the pen to the paper. I am using a very low force compression spring I found in a box of pinball machine parts and it still exerts too much force. I was hoping it wouldn’t cause the gondola feet to leave the paper, but … it does. I can lower the pen a lot slower by changing the step size of the pulse, which would help, but I need to find a lighter spring, which I feel will be difficult as there are no spring stores near me .
Another issue, easy to solve, is timing. The pen lifts are considered instantaneous by the firmware, so I need to add a g-code pause after each movement of the servo.
I think I need the same size spring with a smaller wire diameter. Somewhere around .4-.5mm.
I was unable to get any of the RF units that I had in my parts box to work by driving the data pin directly from a GPIO on the ESP32, so I had to use an ATtiny on the transmitter to modulate the on/off signal. I used the VirtualWire Arduino library. Seems to be working well.
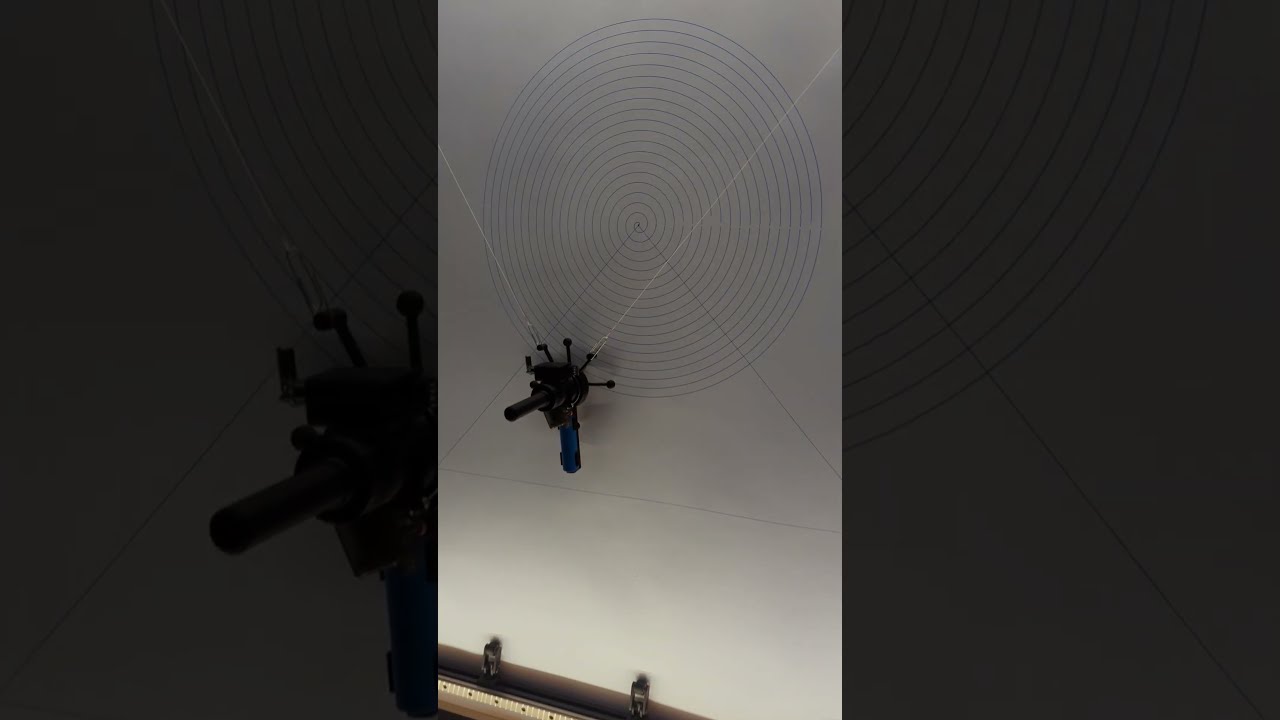
Video production… not my jam. But here is the pen lift in action. I programmed a spiral that lifts the pen as it passes through the positive x-axis. It shows the problem with the spring.
Thanks Jeff. I designed a transmitter PCB (Jackpot expansion board) to be configured as a receiver as well, so in addition to pen lift commands to the gondola, it will be able to communicate with other Jackpots. I’m not sure if there is a value-added application there or not. As is, I can have the Polargraph and Cartesian systems drawing at the same time, but they would be relegated to their own corners, and I am trying to figure out how to coordinate them so they can take turns drawing in the same space. The expansion boards will allow real time manipulation of the GPIOs on the FluidNC ESP32s, but again… trying to dream up a realistic application of that without having to do some serious firmware modding. Other than pause and continue commands, I don’t think the planner is configured to entertain requests once it starts running a file.
So, I made some FluidNC changes yesterday that I need to test out yet to be able to set gcode variables while in a hold state. I want to be able to prompt for values during a hold to allow for interactive gcode.
Actually, I did a little bit of investigation for moving during a hold but I didn’t go too far down that path. My thought was to allow for doing a hold if a tool broke and be able to change it. So, it would let you move out of the way, change the tool, and probe. Then prior to resuming, it would move back to the original hold position.
Sounds very close to what I would like to do. My thought was to have an ATtiny on an expansion board be able to communicate with FluidNC via a UART, like a pendant. The ATtiny would also have a wireless connection with another board on another controller. That way, ATtiny #1 can send a command to ATtiny #2, which could do something like issue a hold and move the tool head to a specified location. Then when ATtiny #1 is done doing what it is doing, it could send a command to have ATtiny #2 move the tool back to where it was, then resume the job.


 .
.