So yet another new build, this time from Perth WA. So far I have really been enjoying lurking on the forum, and seeing such a great helpful community. Unfortunately the shipping costs meant I didn’t purchase electronics and parts from @vicious1, but after seeing how much he helps everyone in these forums, I really wish I had.
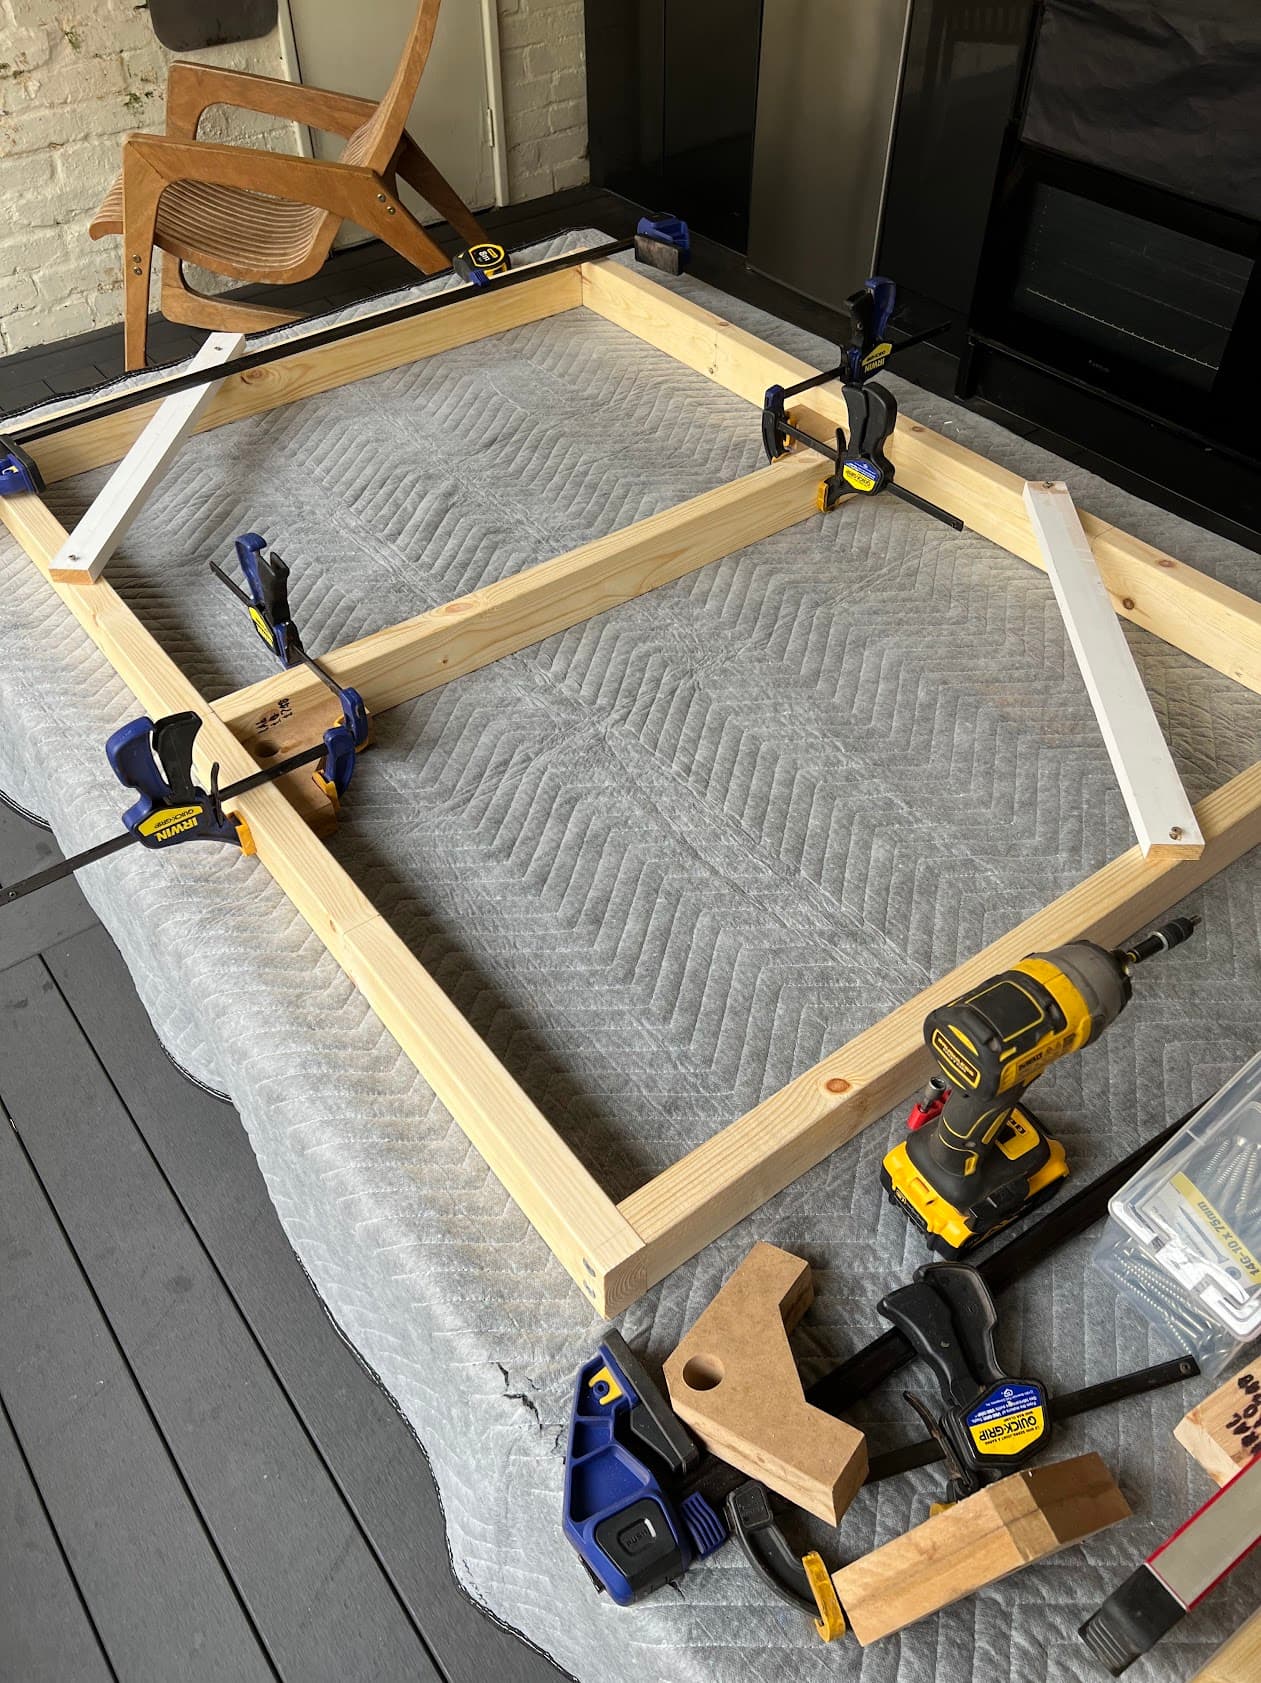
Onto the build, as I have a pretty tiny woodworking workshop, I have very modest build size goal of 900mm x 600mm.
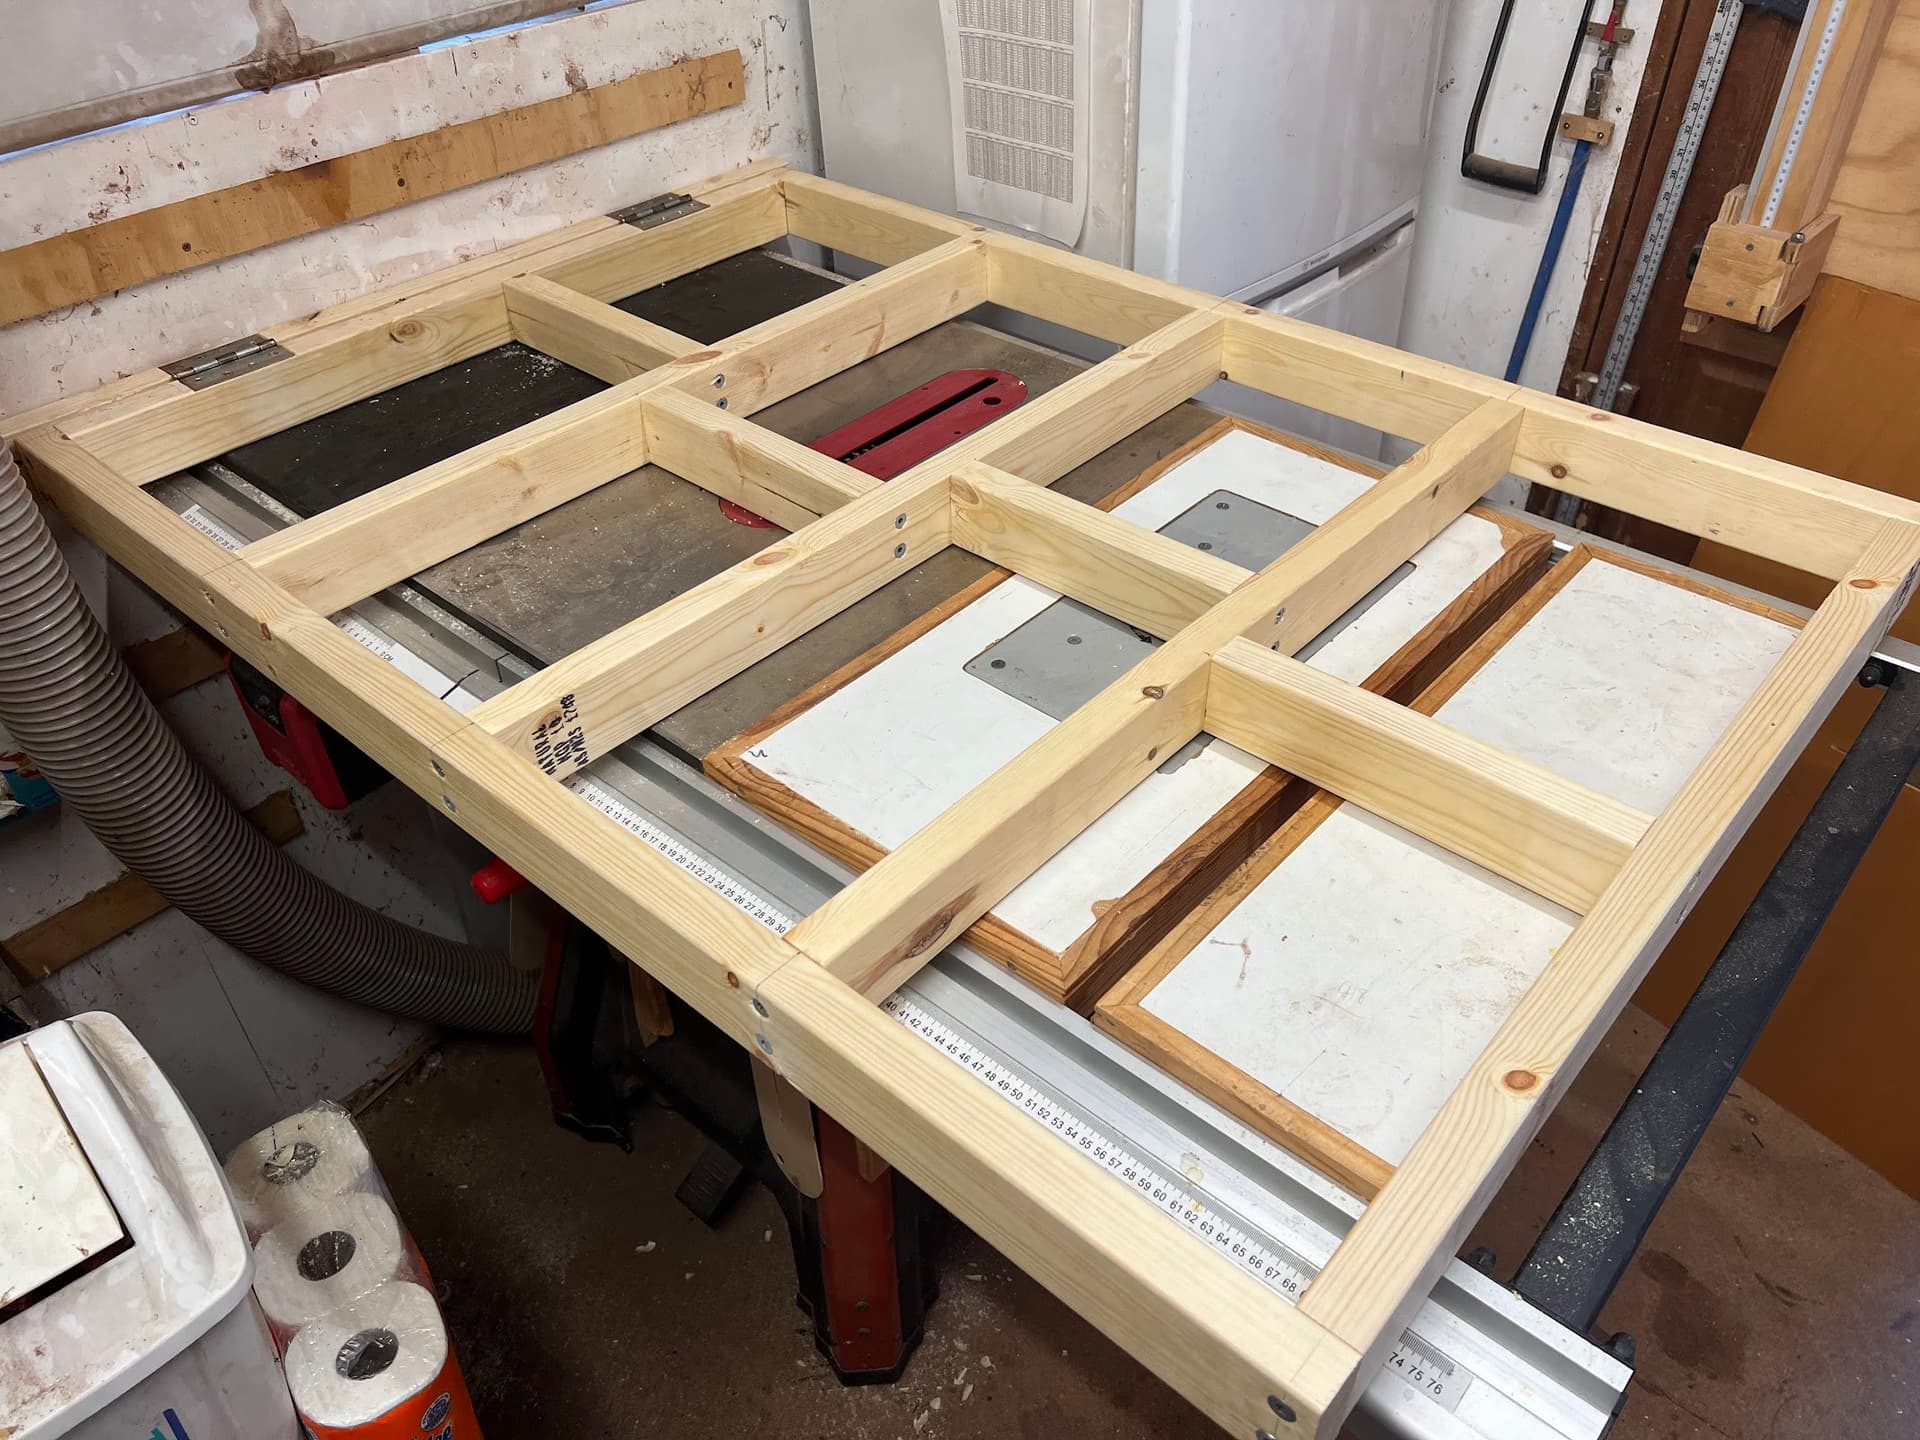
Some cheap timber from Bunnings and I have a basic frame started.
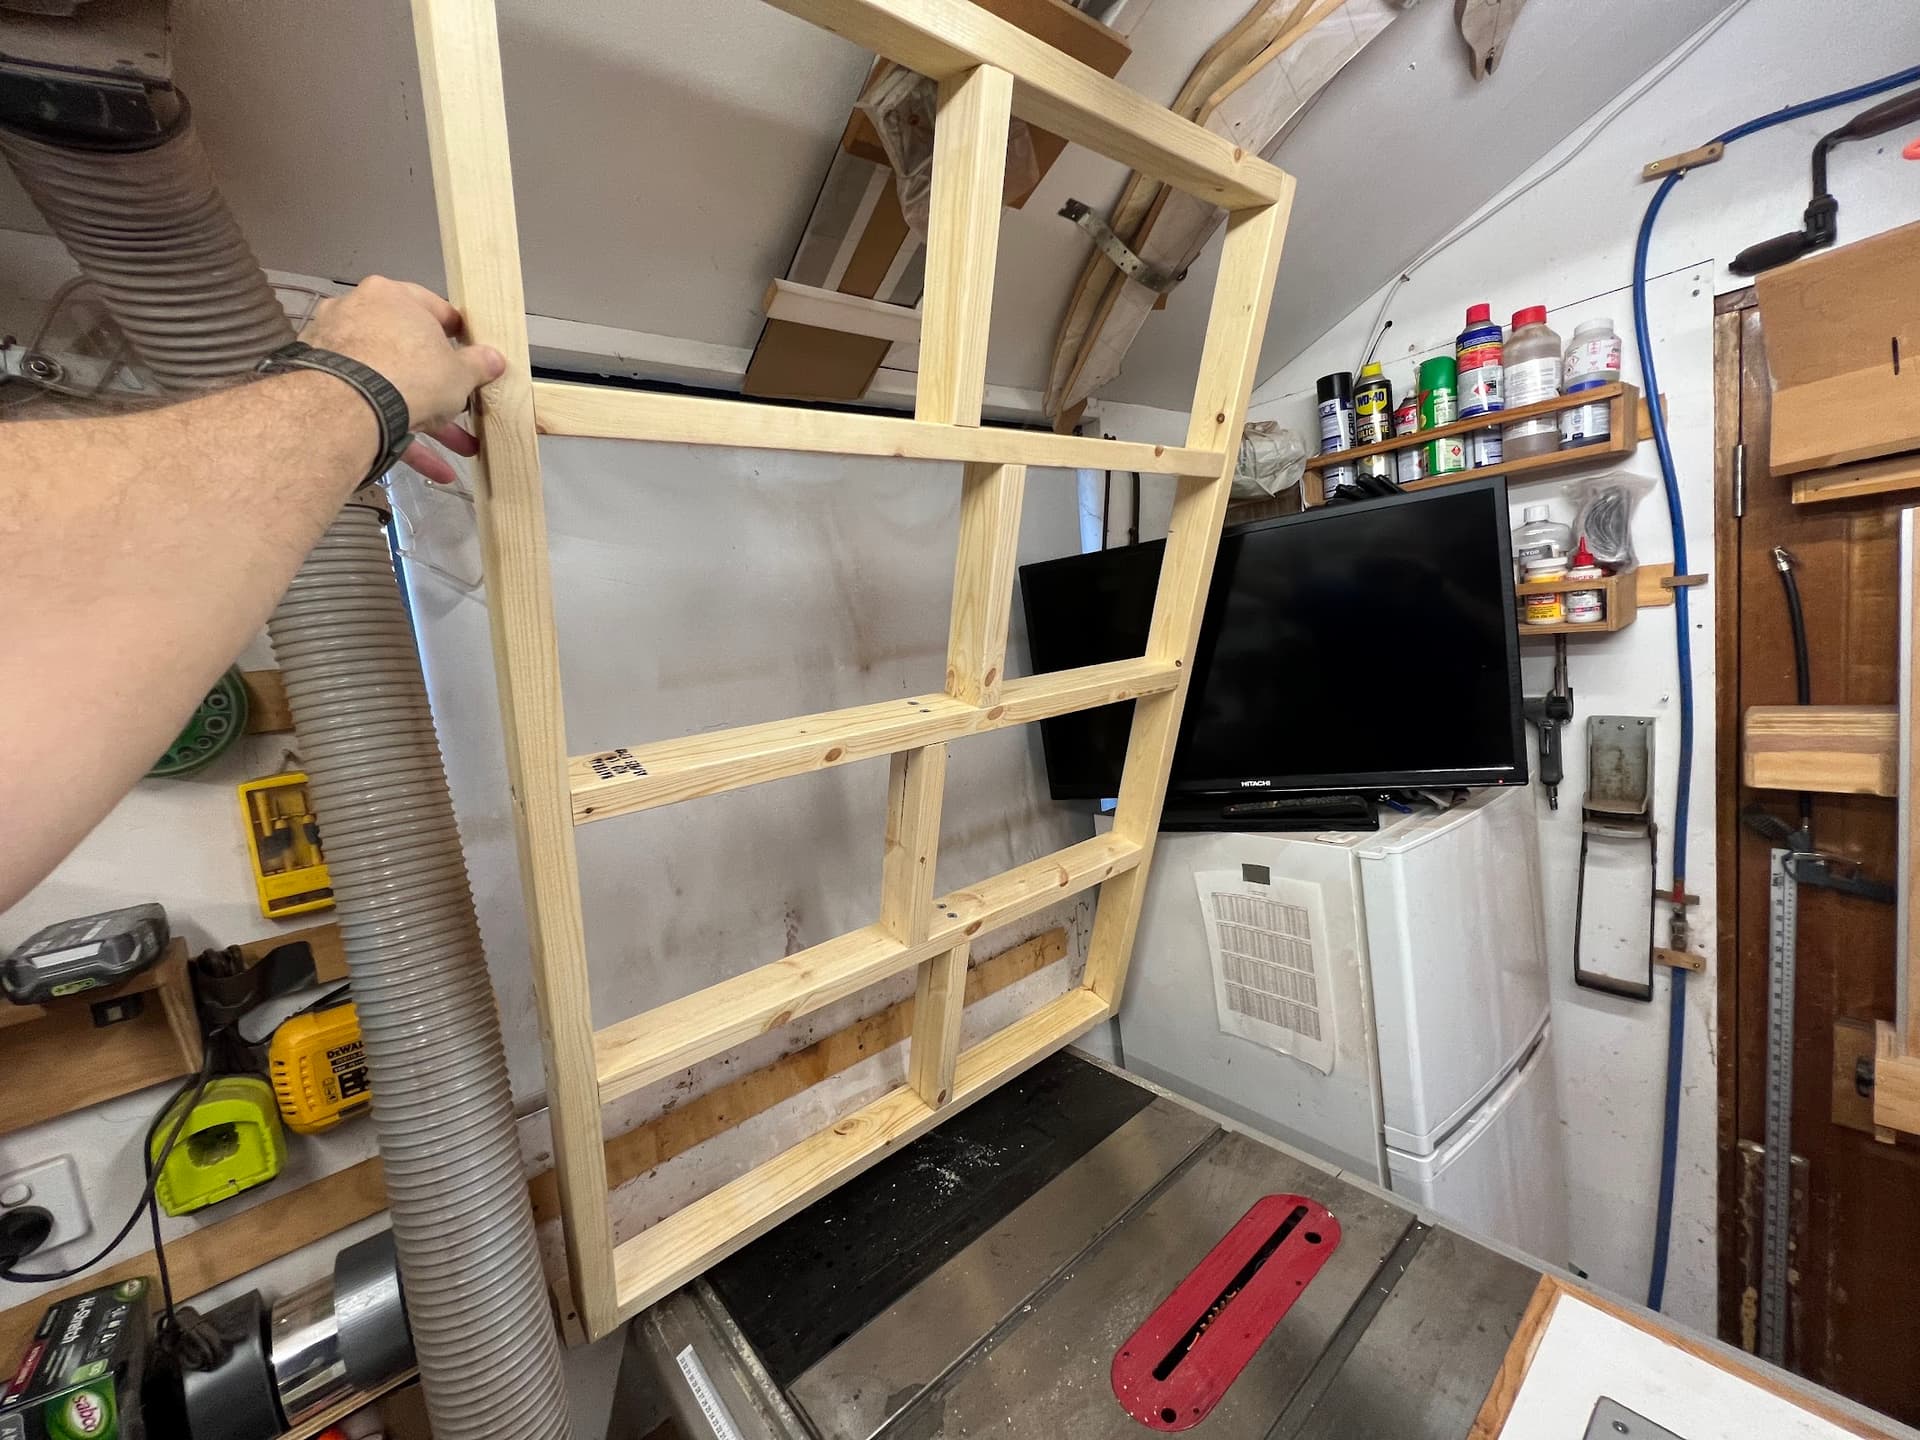
So it can be hoisted up out of the way when I want to use the table saw. Hmm, I will need to be doing more CNC’ing than table sawing or I may have to move the TV.
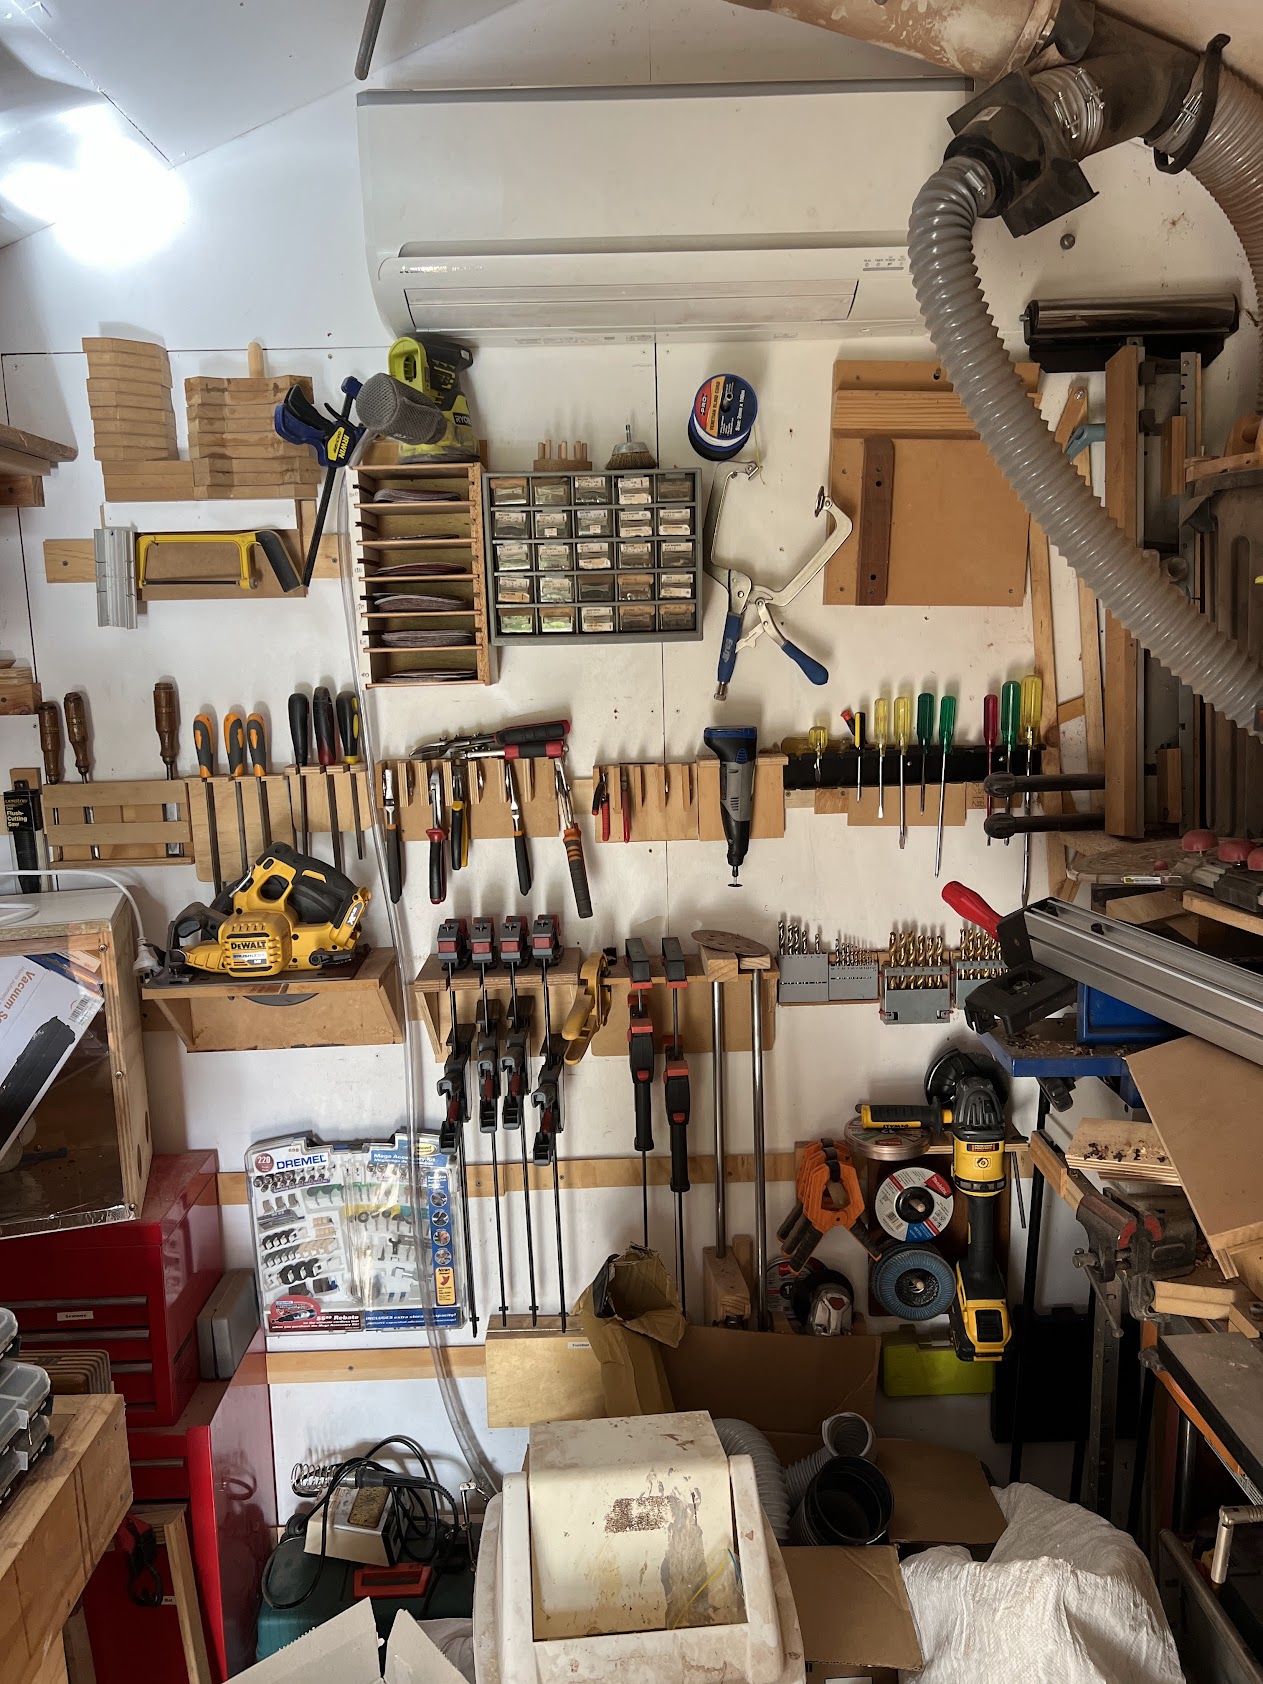
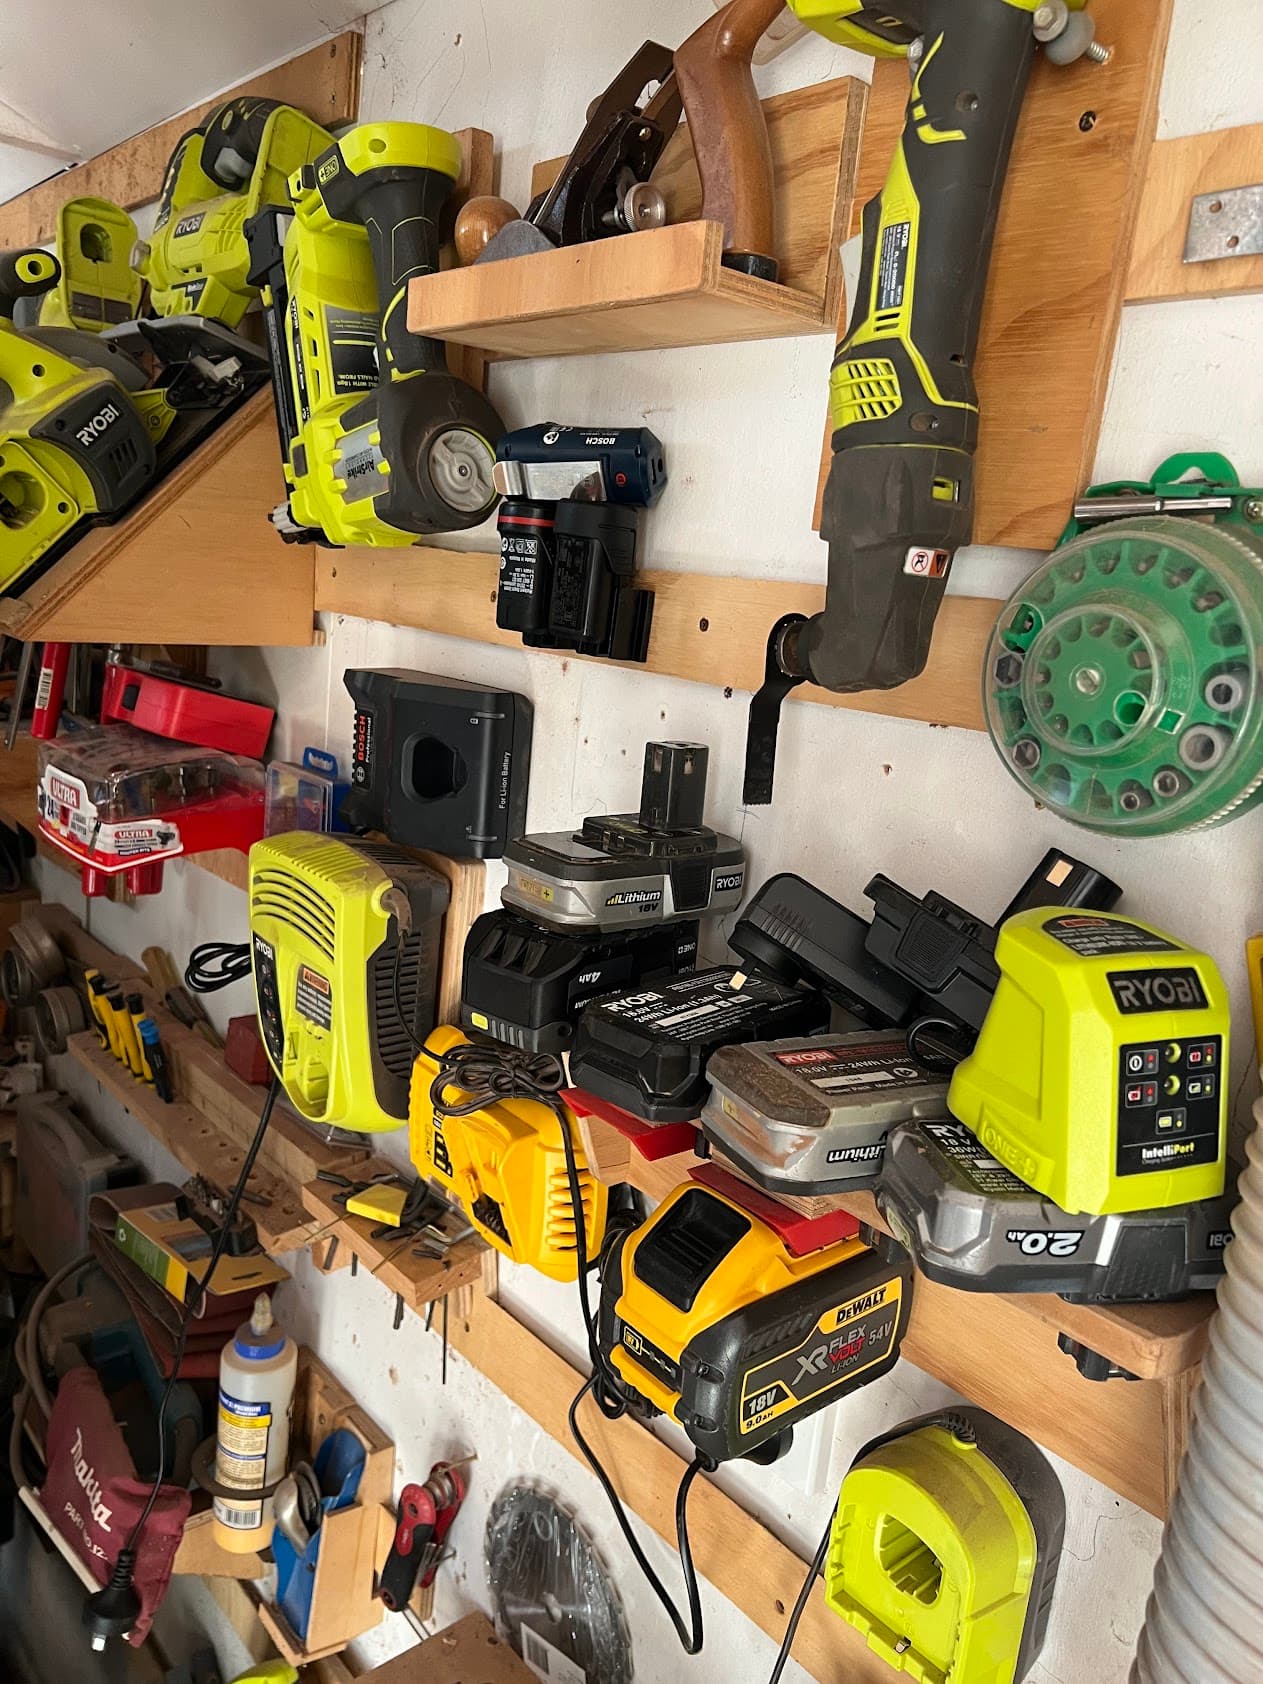
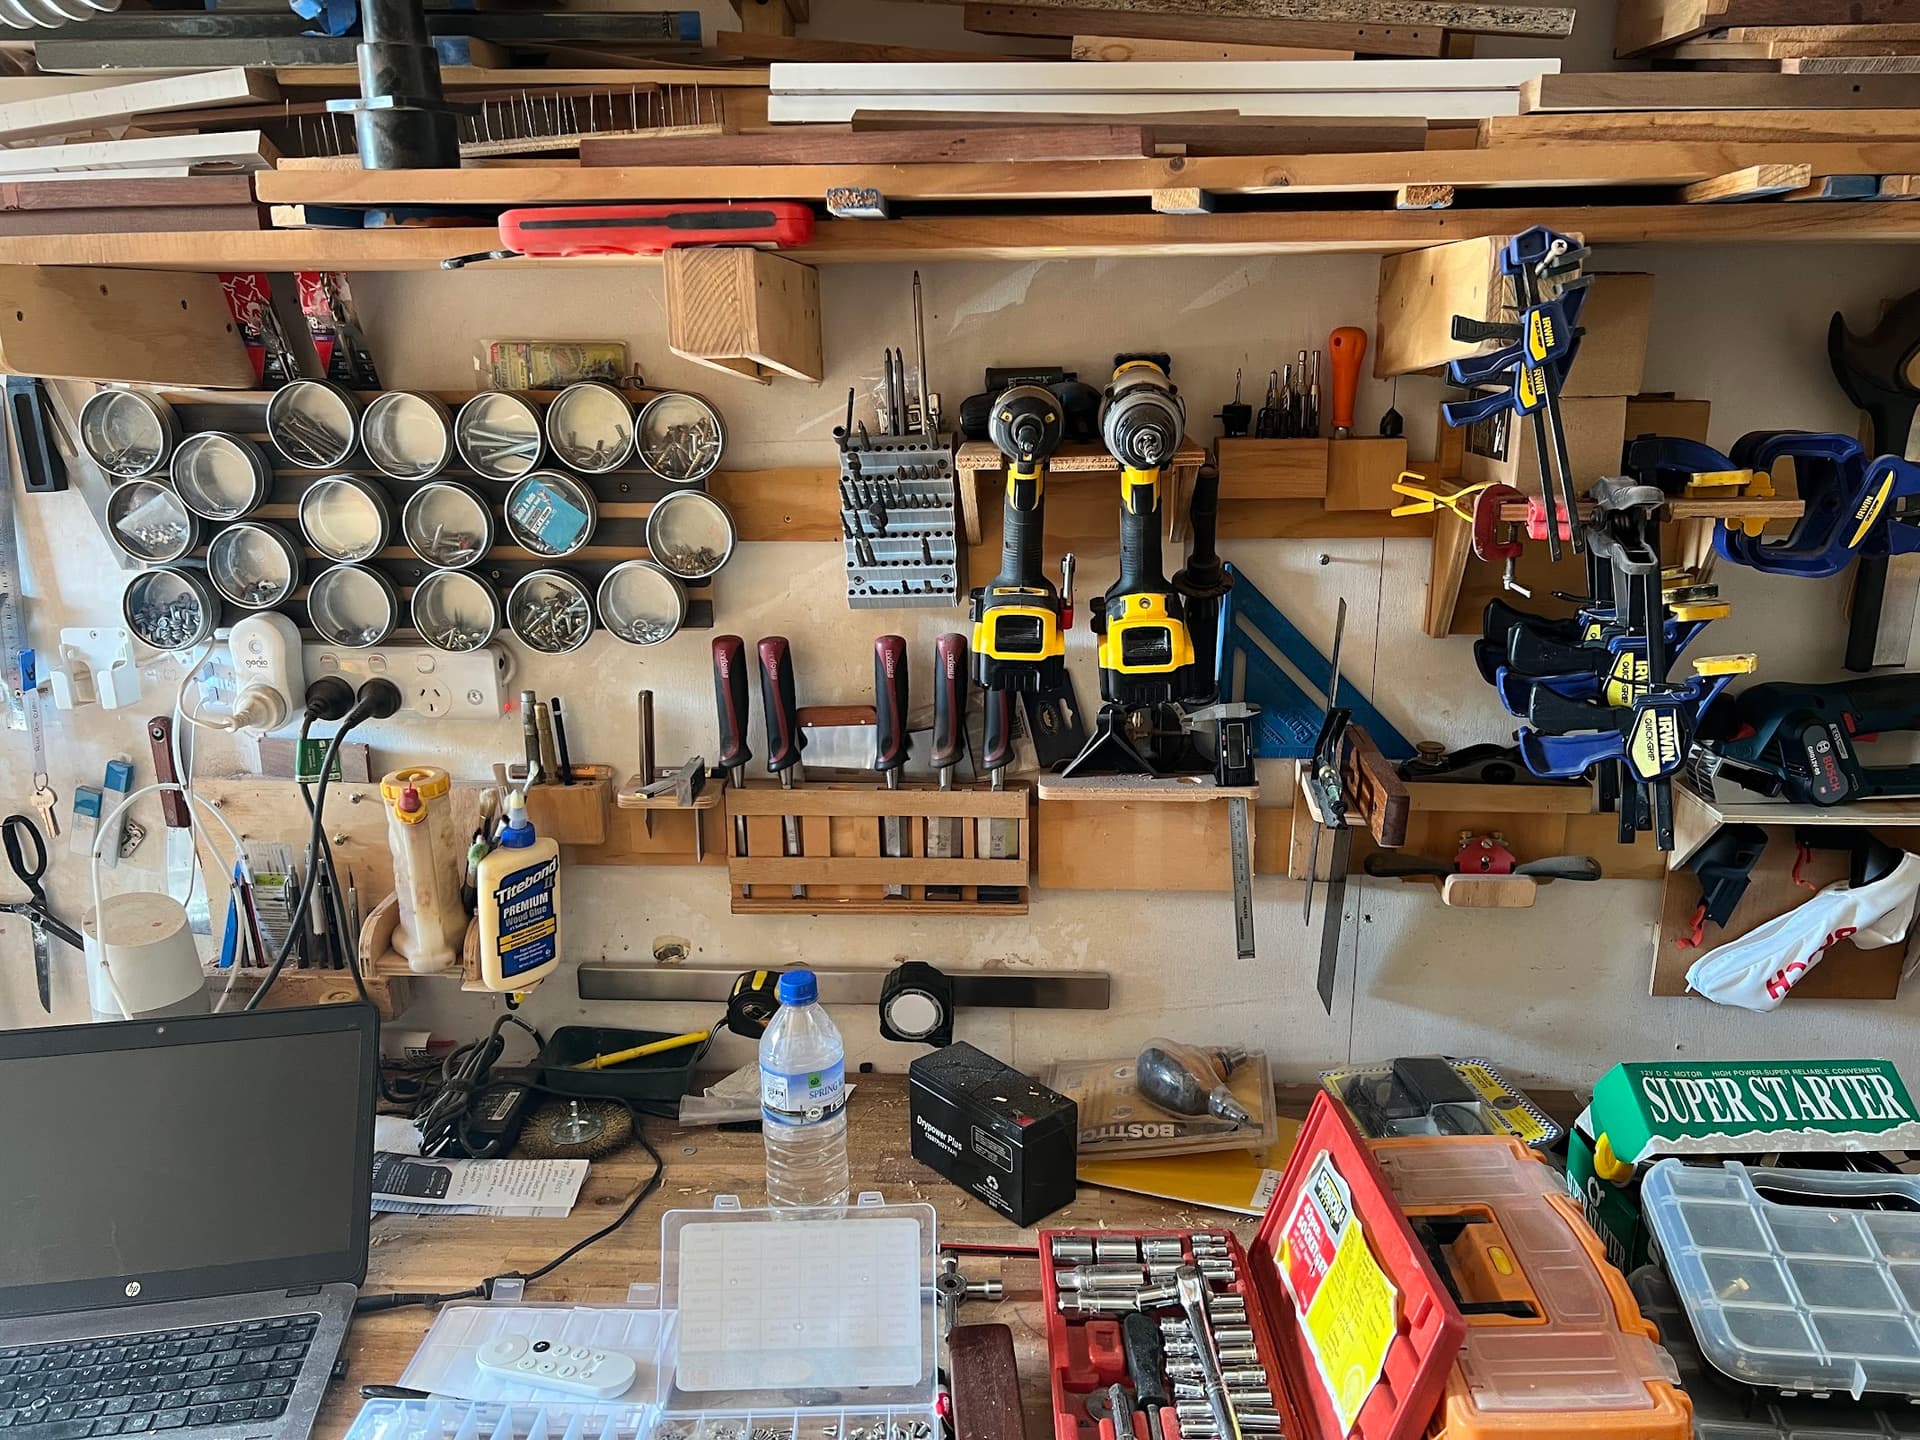
If you look closely you may notice I have a slight addiction to french cleats. A view of the other end of the workshop would reveal just how bad that addiction is.
Will post more soon. BTW, this is my second DIY CNC, the last one I build 18 years ago. Anyone interested in seeing a picture?
Great thread Phillip! Bookmarked. I’ll be revisiting that and printing some of those for sure. Liked the videos too!. My french cleats are definitely “more rustic” and by that I mean quick and dirty, scrap wood, hot glue and brad nails everywhere. I do make up for it with volume and the messiest looking shed in Australia
Welcome! I too built a DIY CNC but mine was about 15 years ago. I have built 4 since then so my LR3 makes 5 now. The original was a buildyourcnc.com machine. Then I started making improvements until I was doing belt drives and designing new skate bearing rollers. Dont have room for those anymore so the MPCNC came and now the LR3.
Kind of jealous, your workshop looks fun! (Coming from someone with no workshop yet.) Looking forward to watching another build from afar as I start to get mine assembled.
Ryan is too polite to ask. But I will point out that you can send direct donations to him or subscribe on patreon. The shipping costs don’t help anybody, so it is much less waste to source locally and send the designer/supporter some money through the Internet. Supporting, sharing, etc also help. None of that is obligatory though.
I would also like to see your CNC and I’m curious what you think about both of them.
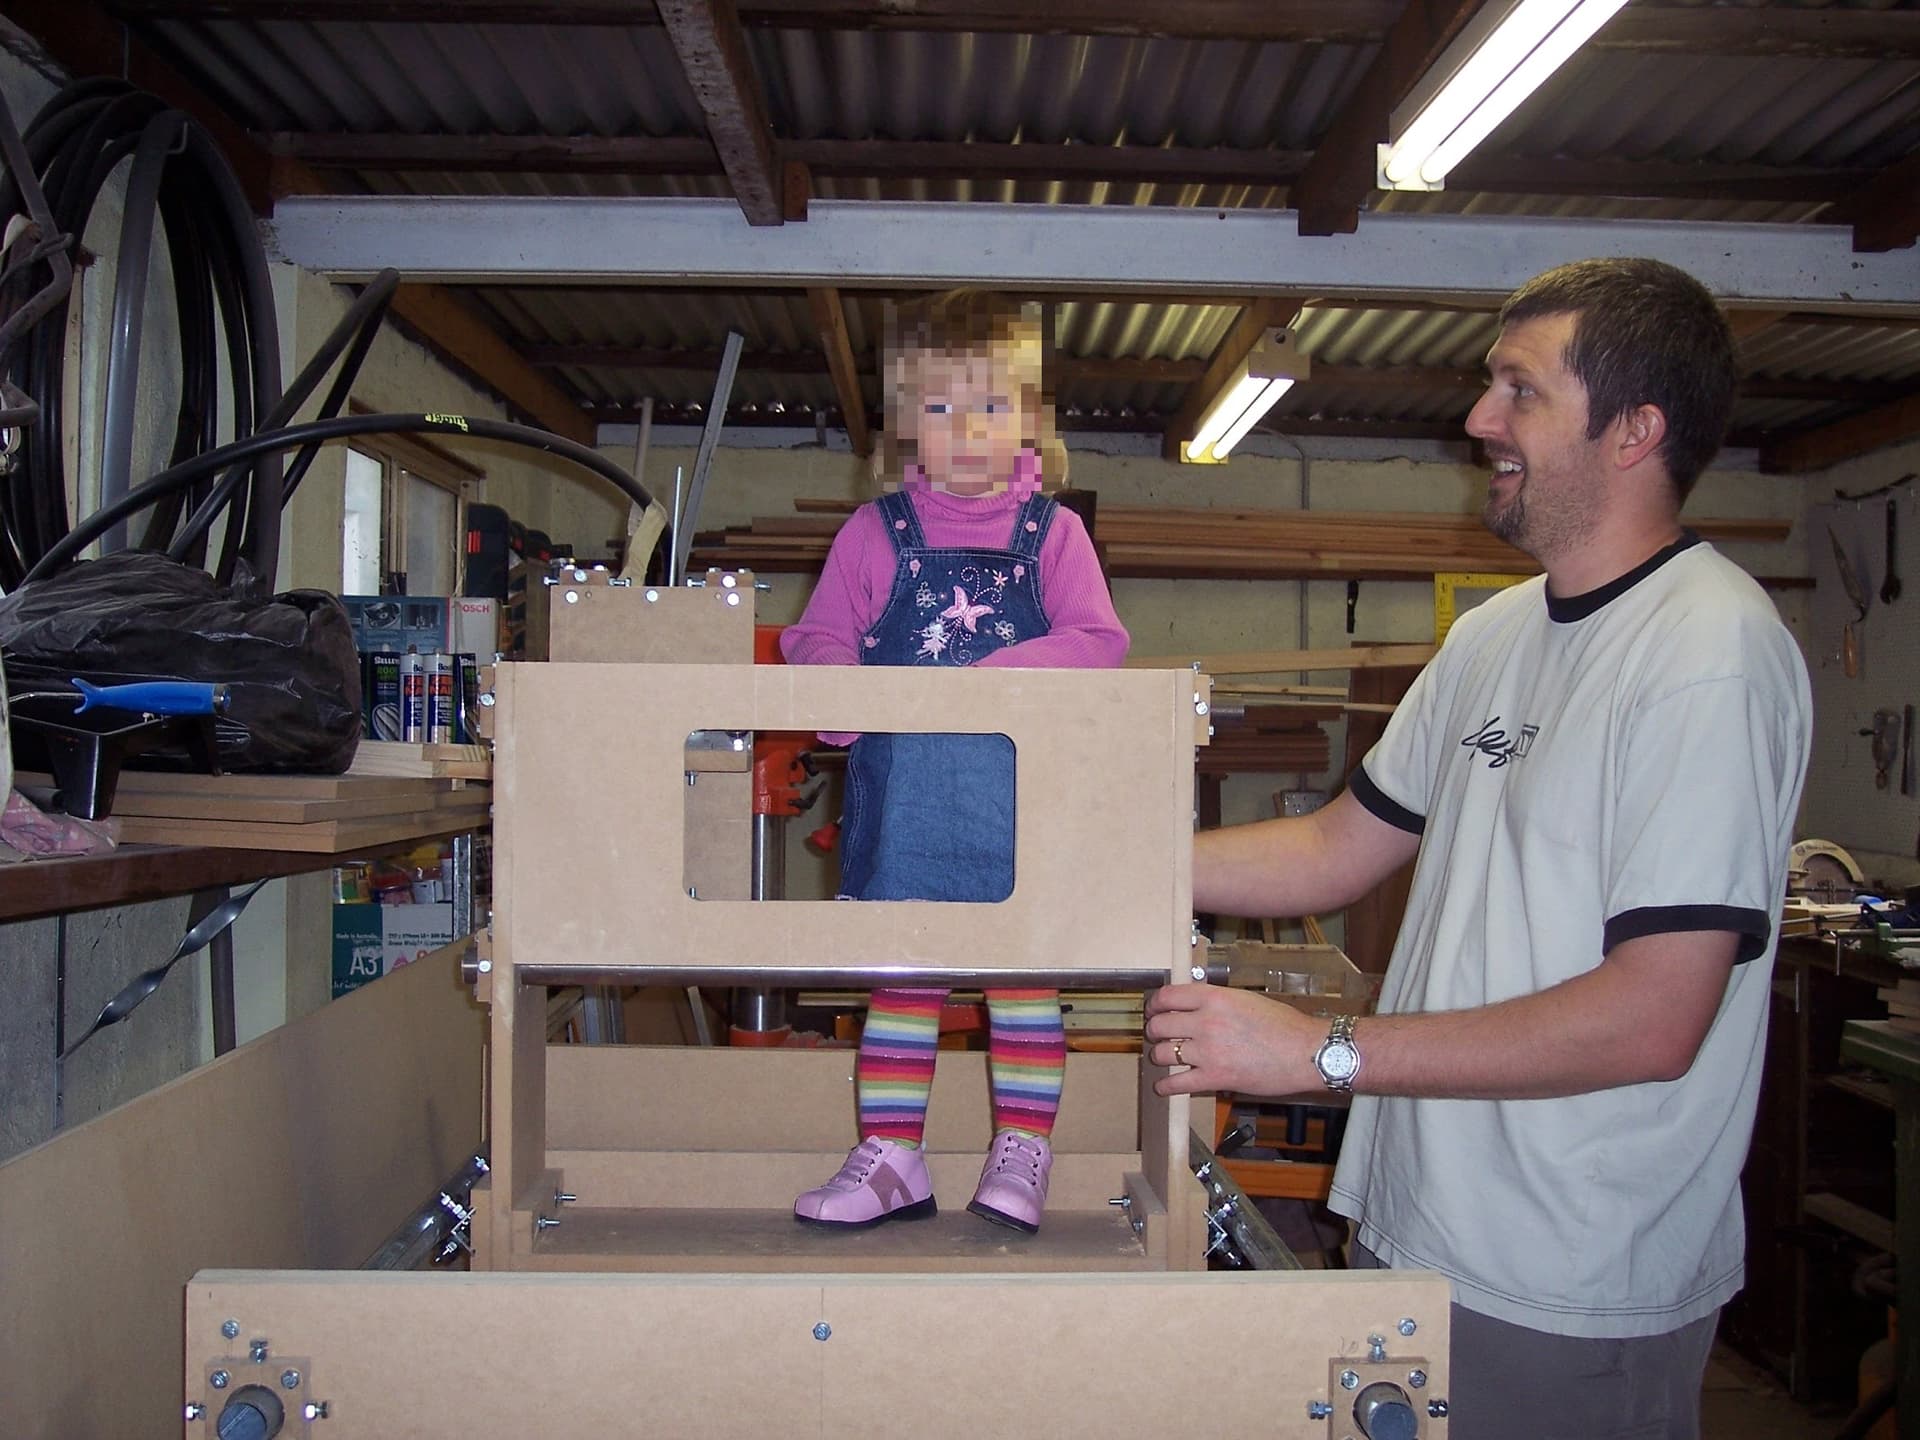
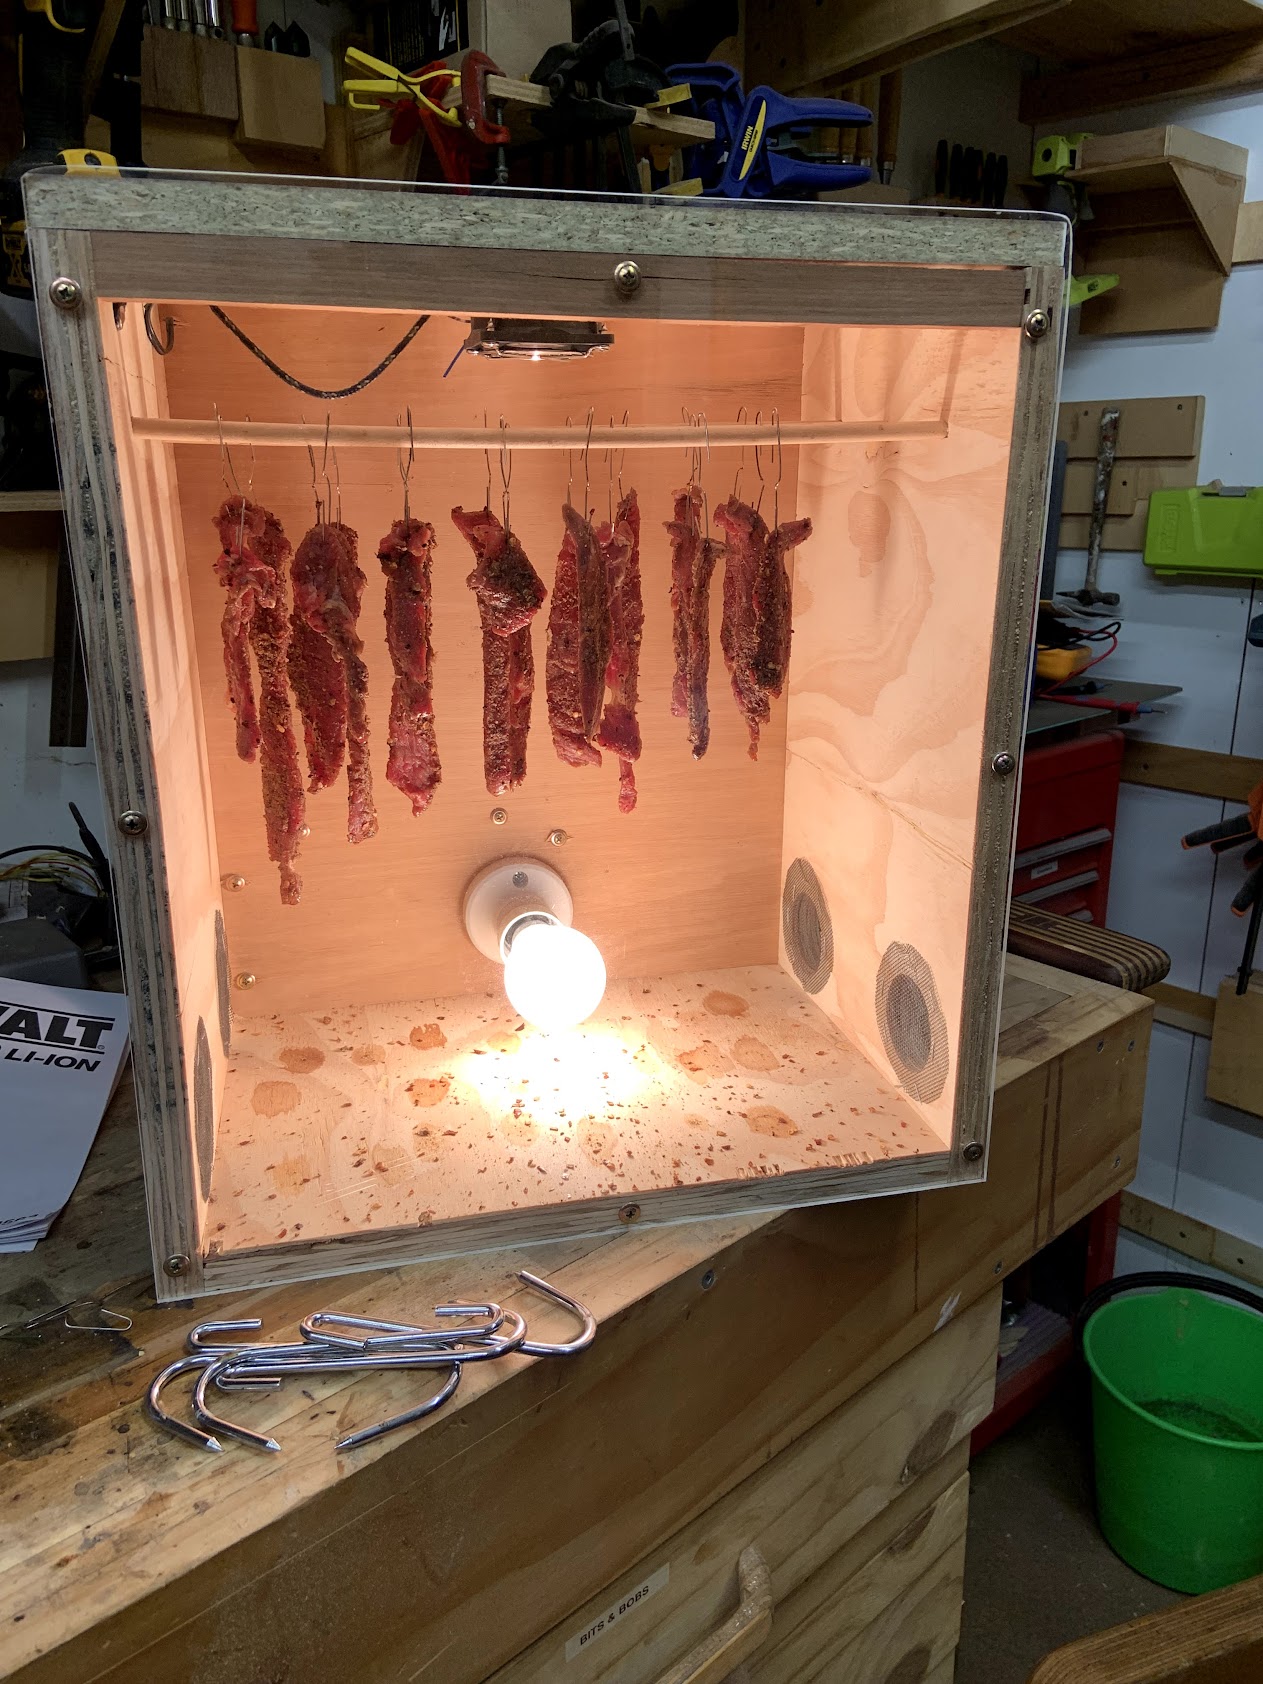
That box? Solar oven? Resin curing? DIY sand blasting? Dunno.
It was based on a design from the CNCZone.com forums. (These are still around and seem active, but I have not been back in a decade)
It was cobbled together with cheap threaded rod, and steppers that I harvested from large old photocopiers. It had a control board connected to the parallel port of an old PC, which ran Mach3. Needless to say the machine was terrible, really inaccurate, and really hard to dial in. The hundreds of bolts threaded straight into MDF were a nightmare to make adjustments with. Although Perth is a pretty dry climate, MDF will suck water out of stone, especially when I never bothered putting any sealer/finish on it.
On a positive note, the little toddler is now an awesome 6 foot 1, 19 year old studying Environmental Science at UWA. She no longer has any interest in what I get up to in the shed
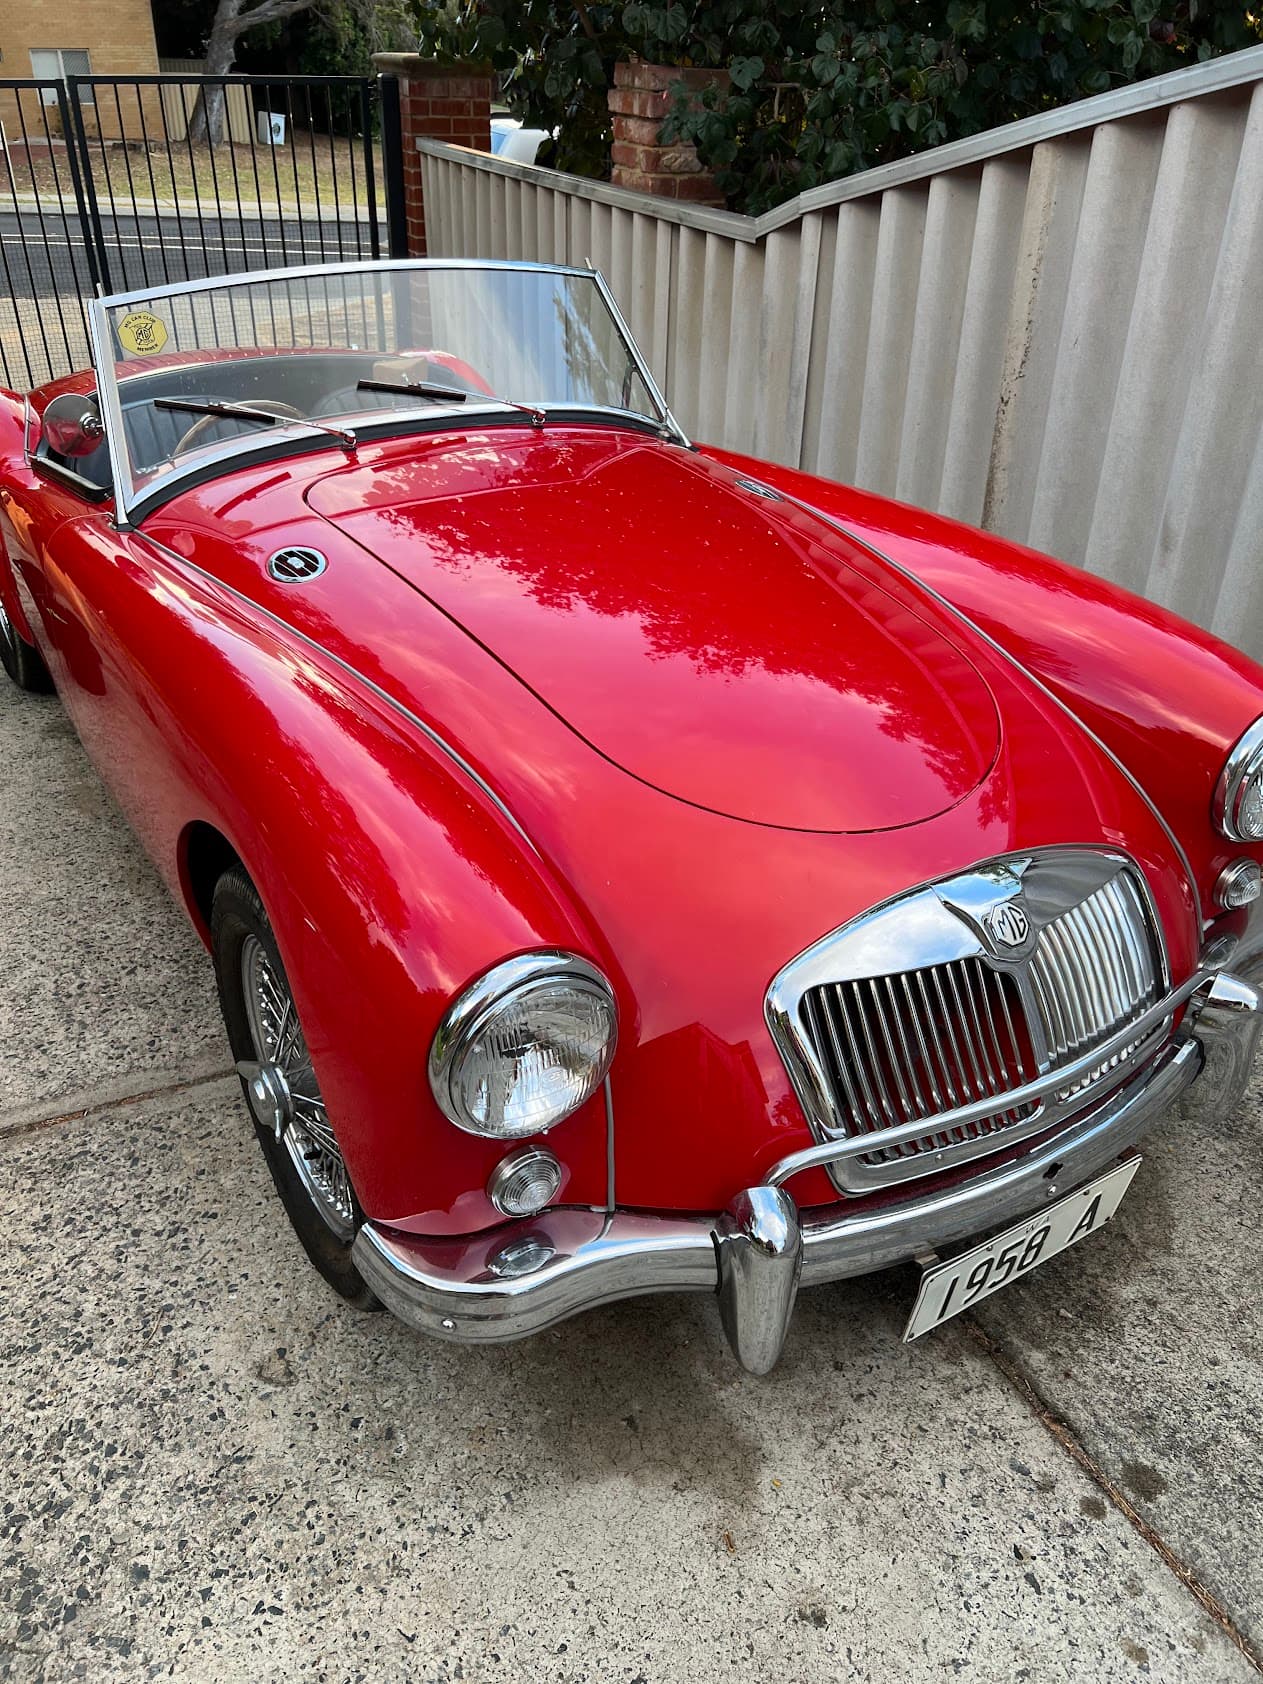
The single car garage that use to be my workshop, turned back into a car garage when I had an early inheritance of this great little mga.
WOW,
CNCZONE. that takes me back. My first CNC was same one. I can remember finding that site on the internet and saying " free? that cant work, surely. I will build one"
And i did, and it worked.
Oh and if you didnt say you were from WA, that super66 fence and metal capping (plus the brown grass) says you are! lol (i lived there for a while. and up north)
The quality of the design of these parts is outstanding! And not having to have supports on ANY of them is amazing. Makes the process so much more enjoyable. Thanks Ryan!
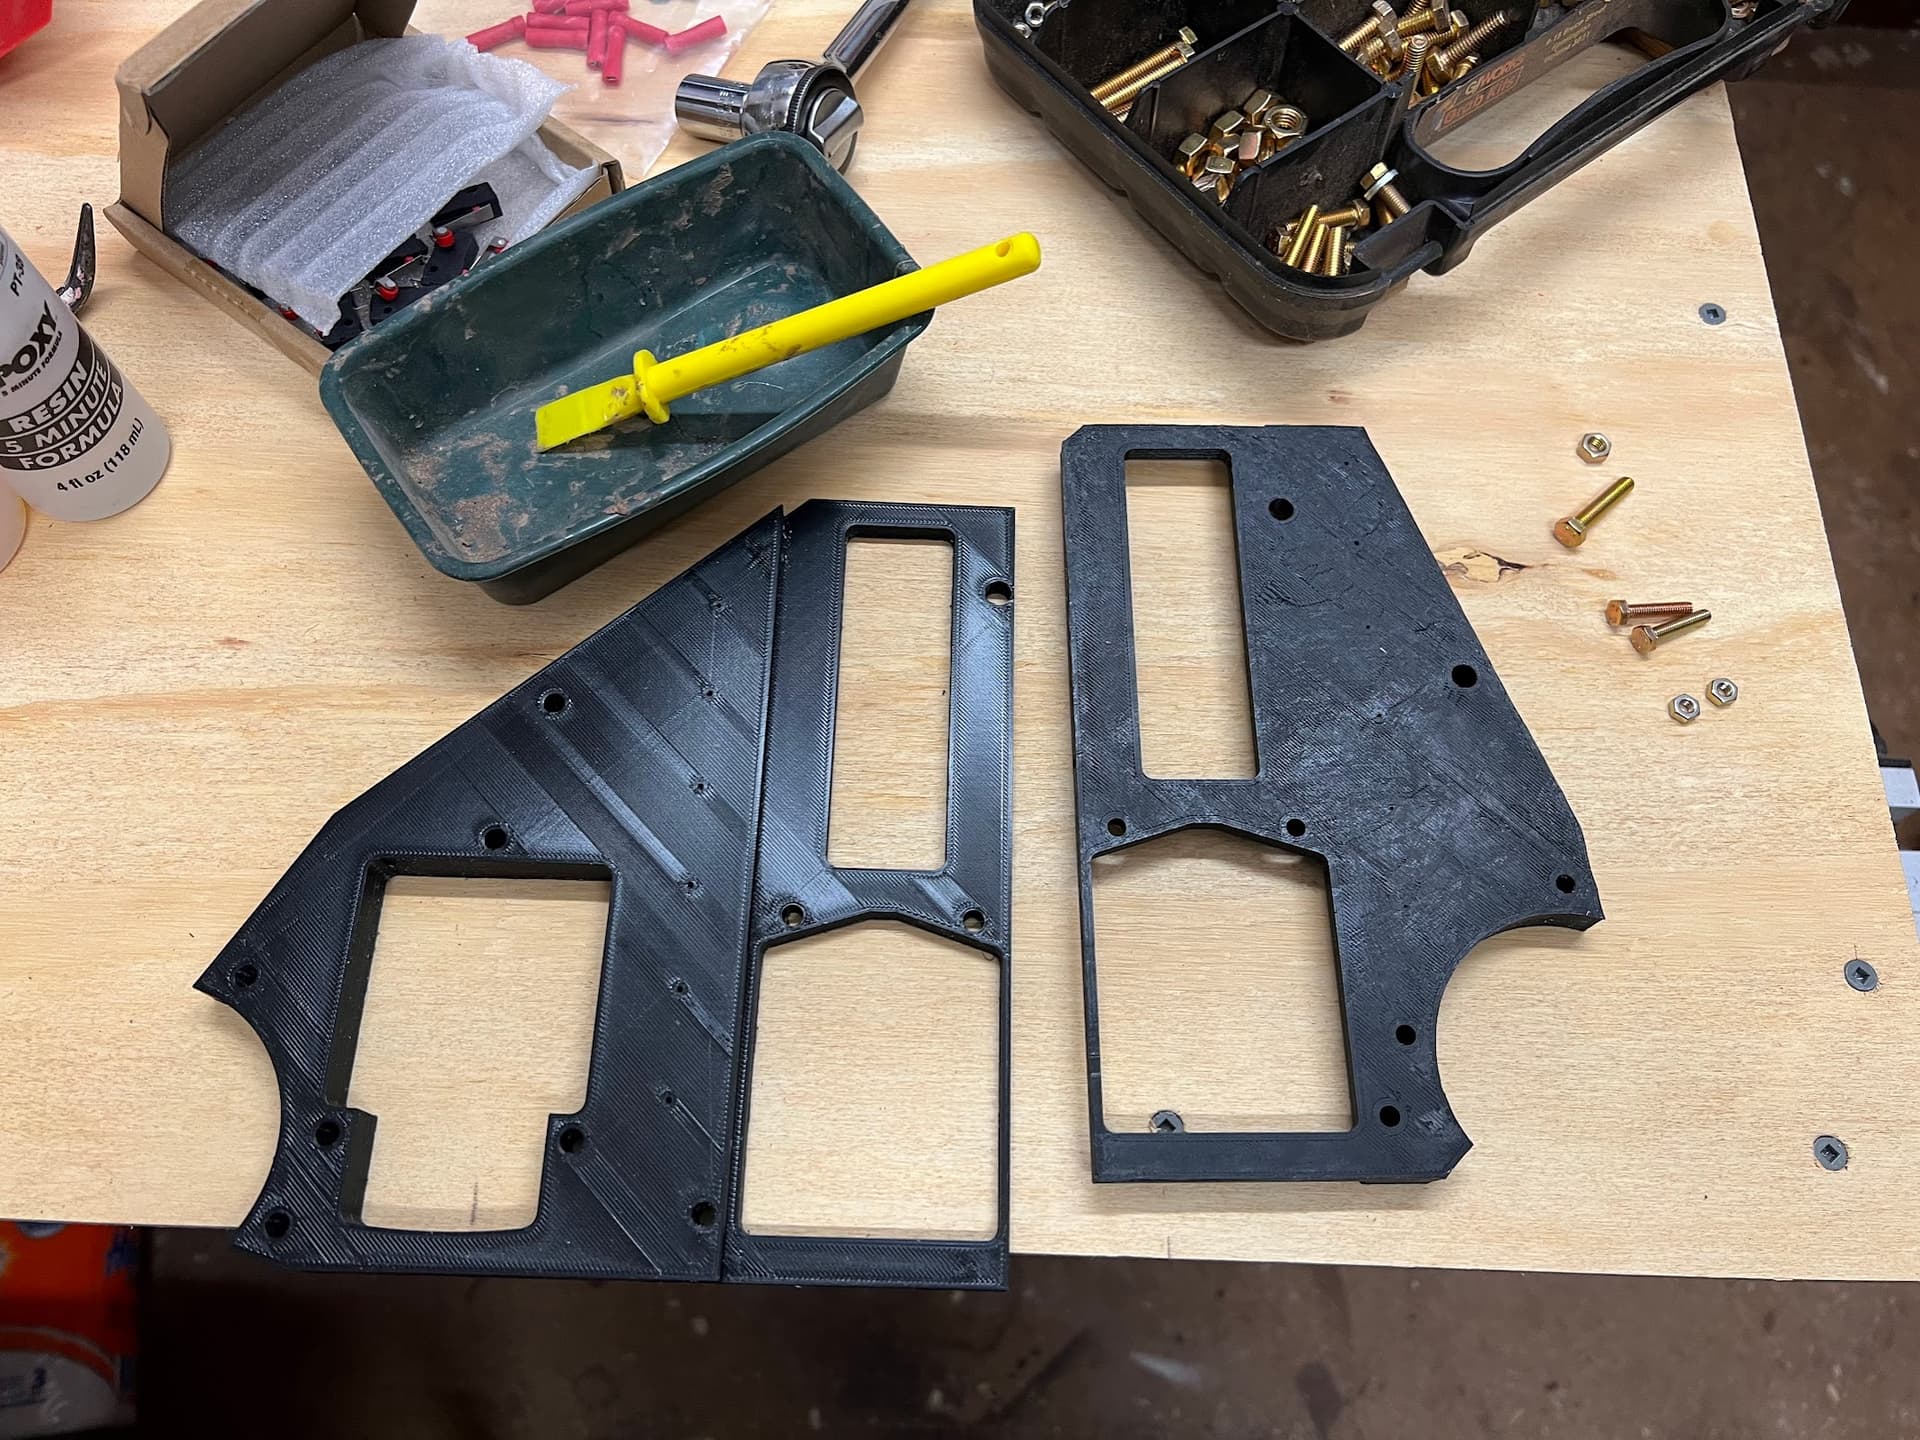
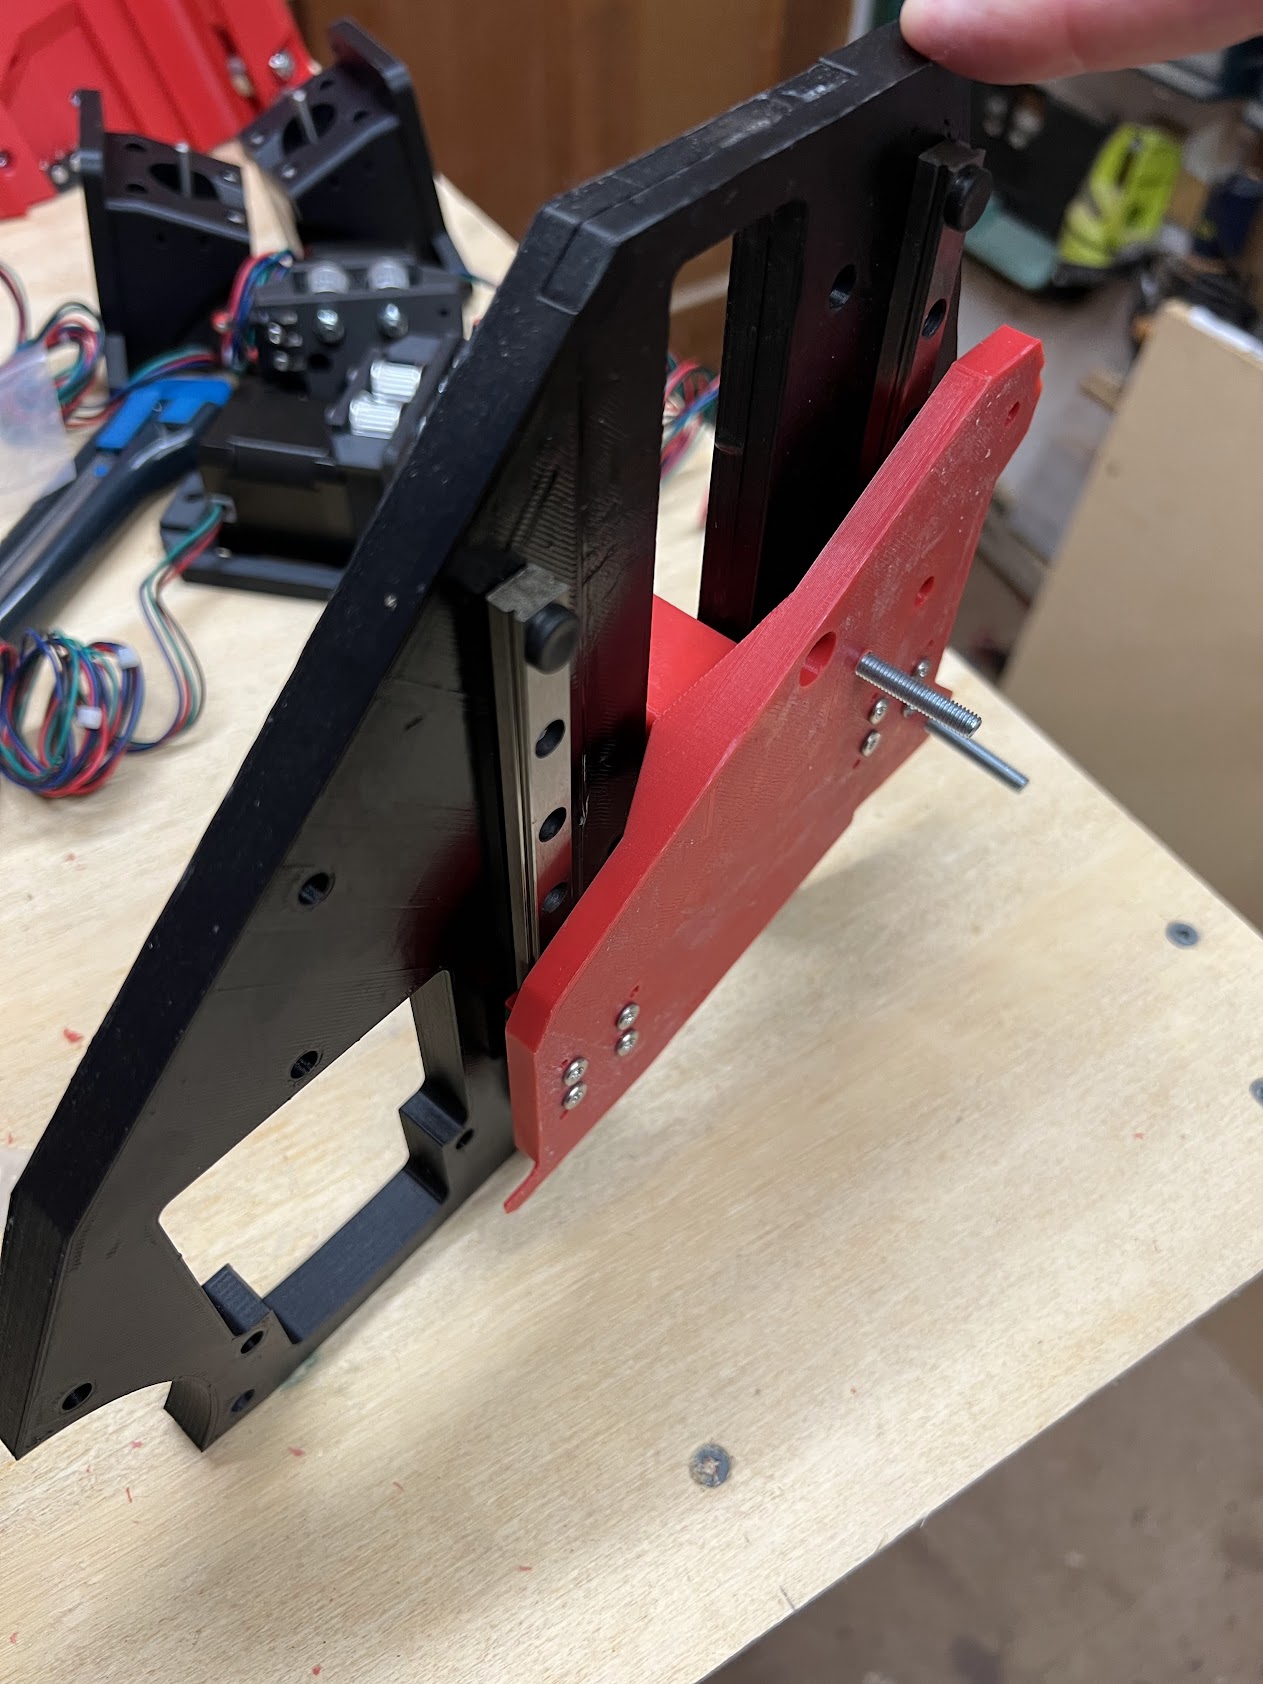
For now I decided to 3d print my XZ plates thanks to another great design by @DougJoseph to make these fit on my little Ender 3 build plate.
I just used some some 5min epoxy, to glue these together and they seem great. They are pretty stiff and as my machine is only going to be able to handle 900x600 they may end up being strong enough to keep.
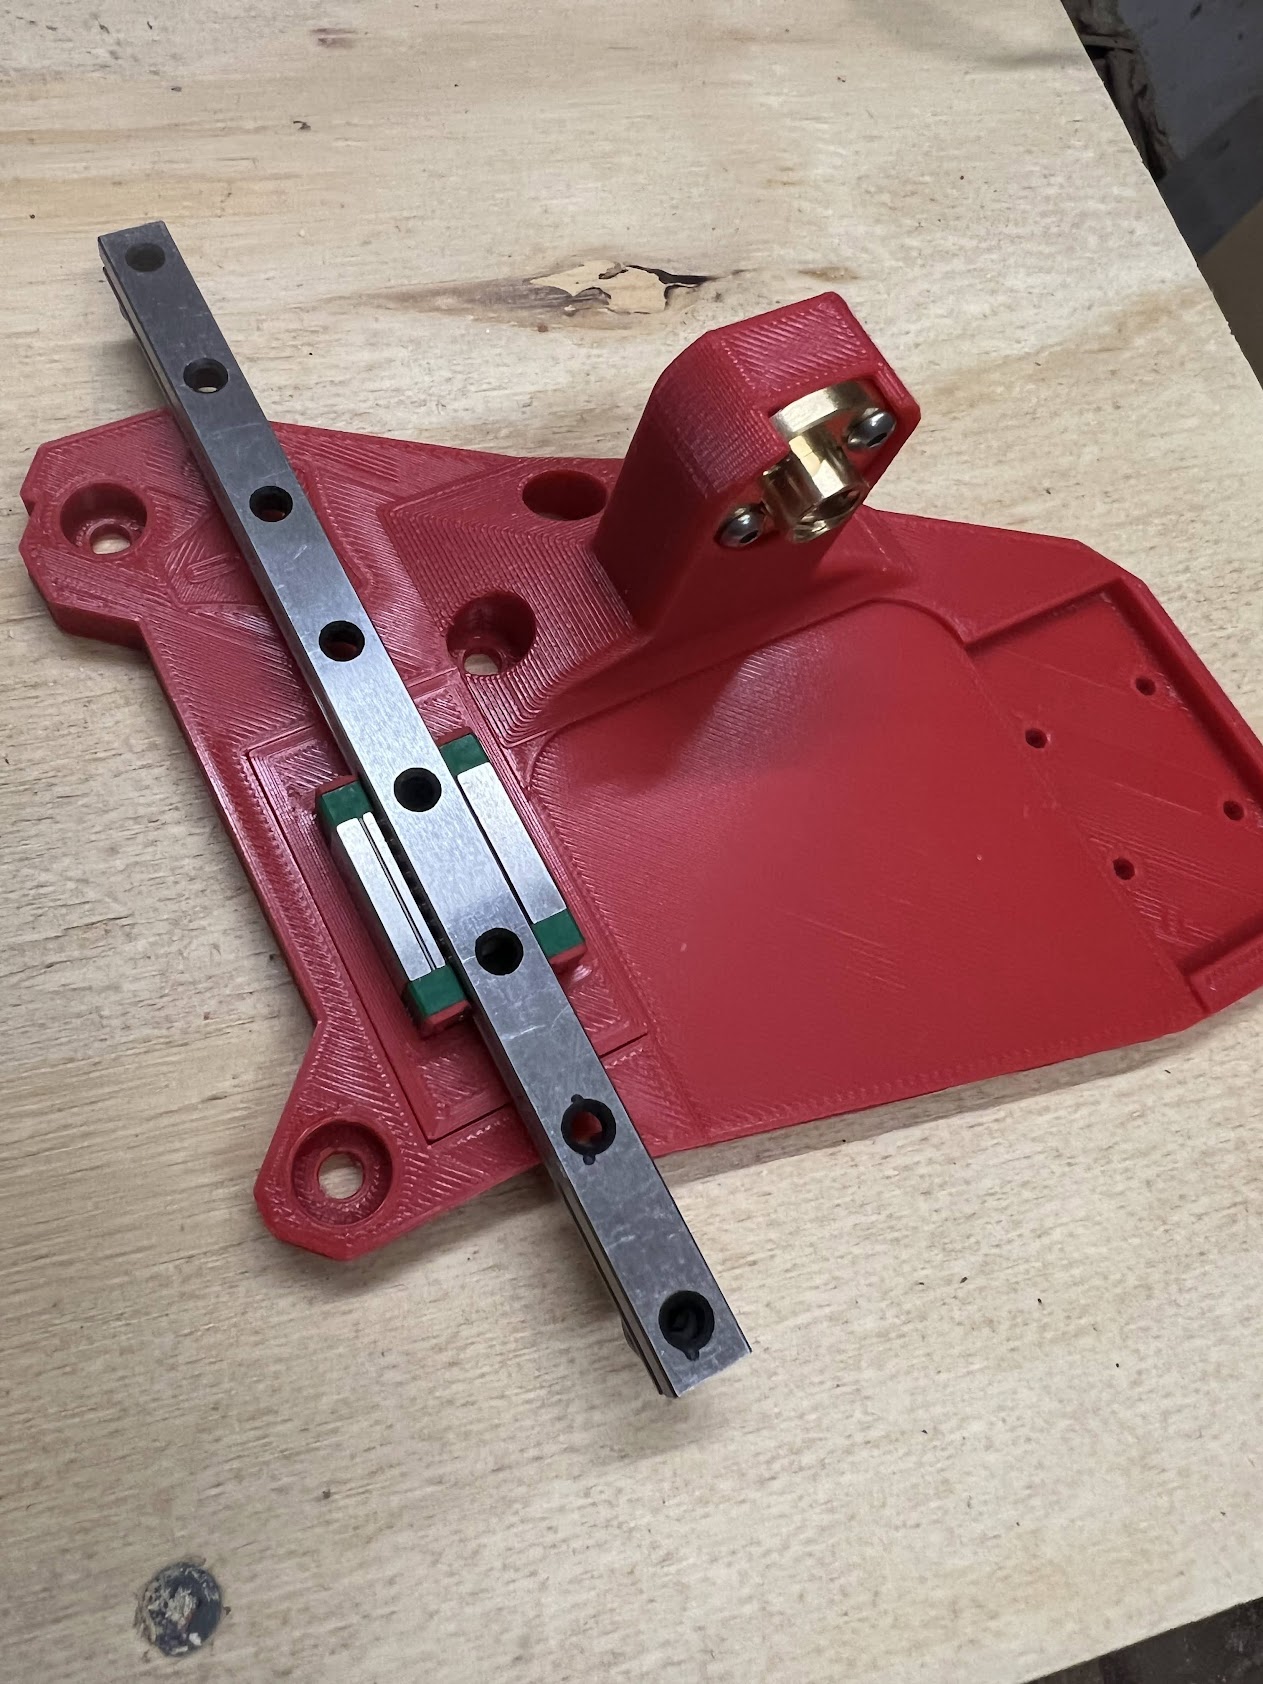
Another reason I should have bought the kit from Ryan is that I must have had a brain fart when ordering the linear rails from AliExpress. I ended up with MGN9C instead of what I was supposed to order MGN12H. (Even though there were an option, and only a tiny bit more expensive.)
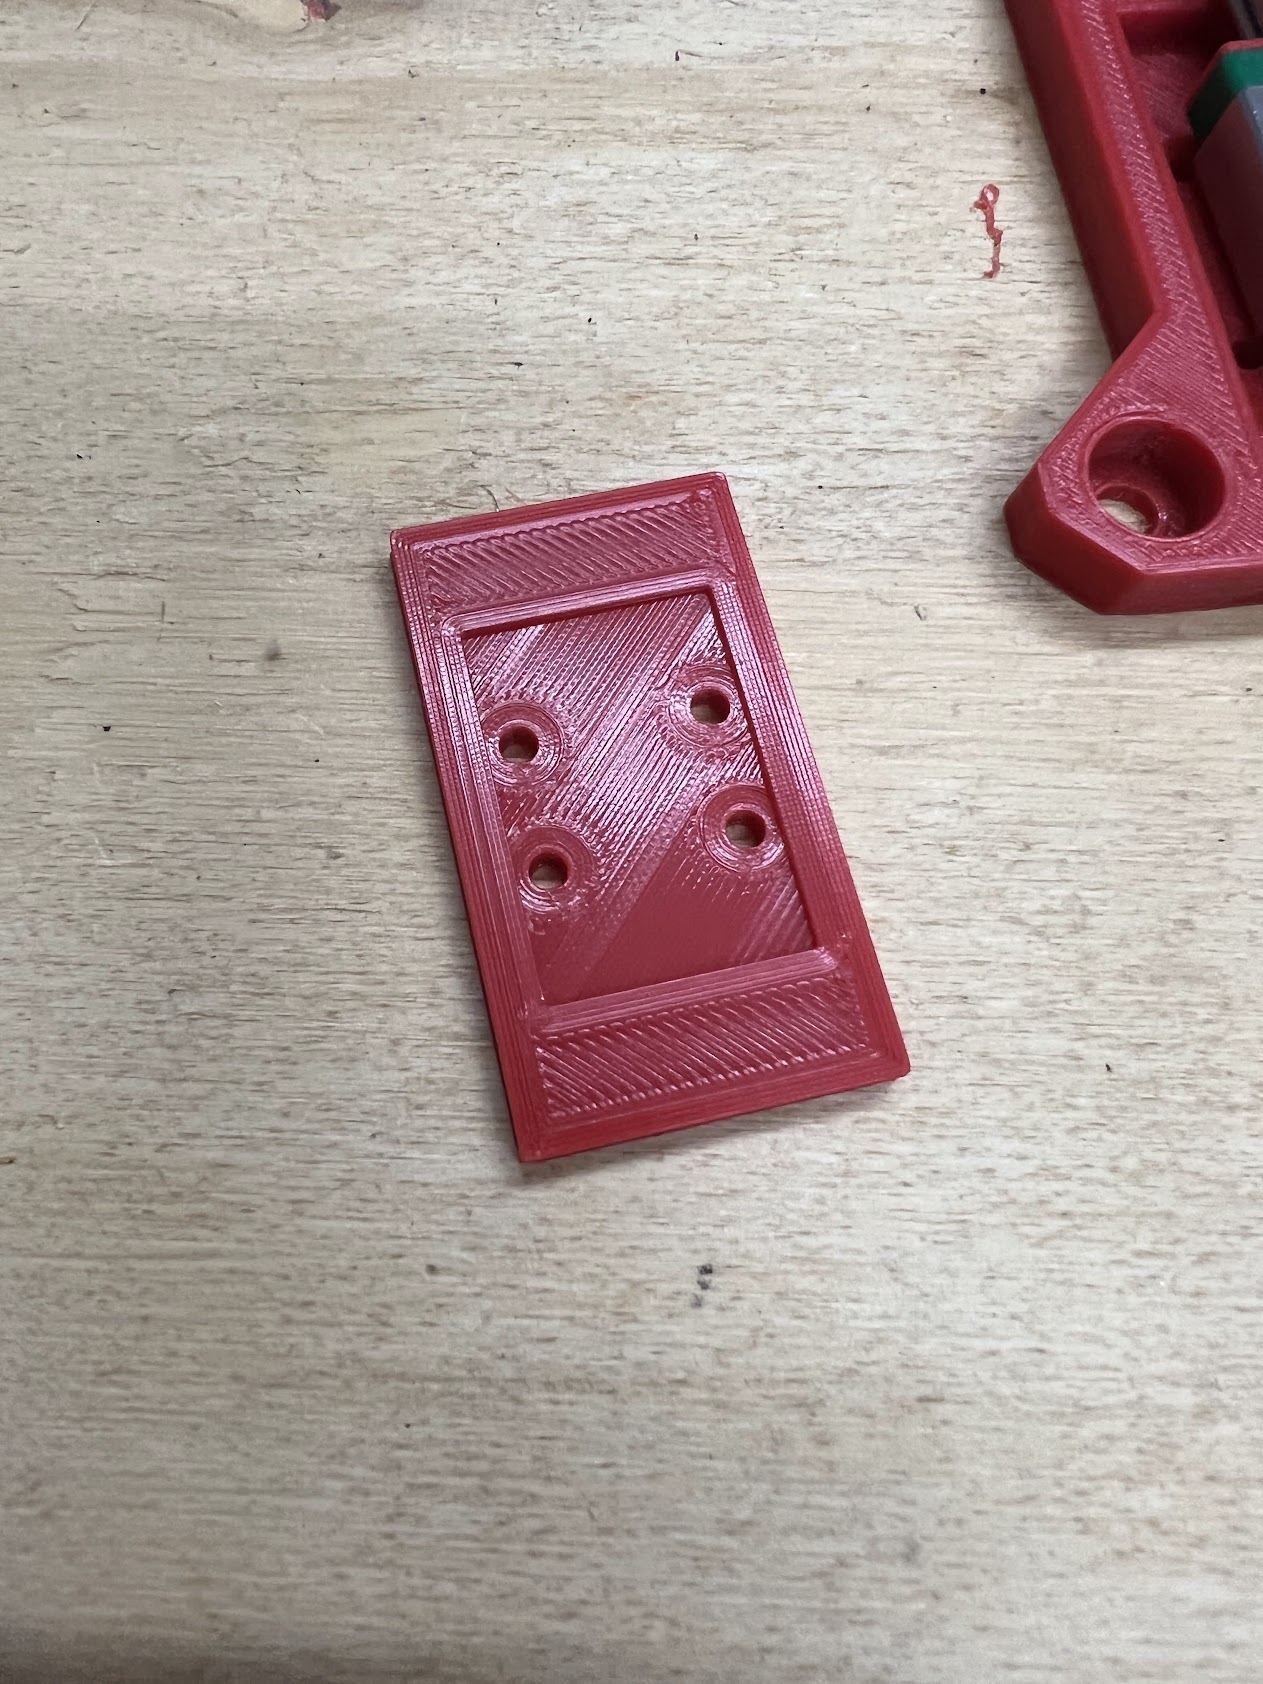
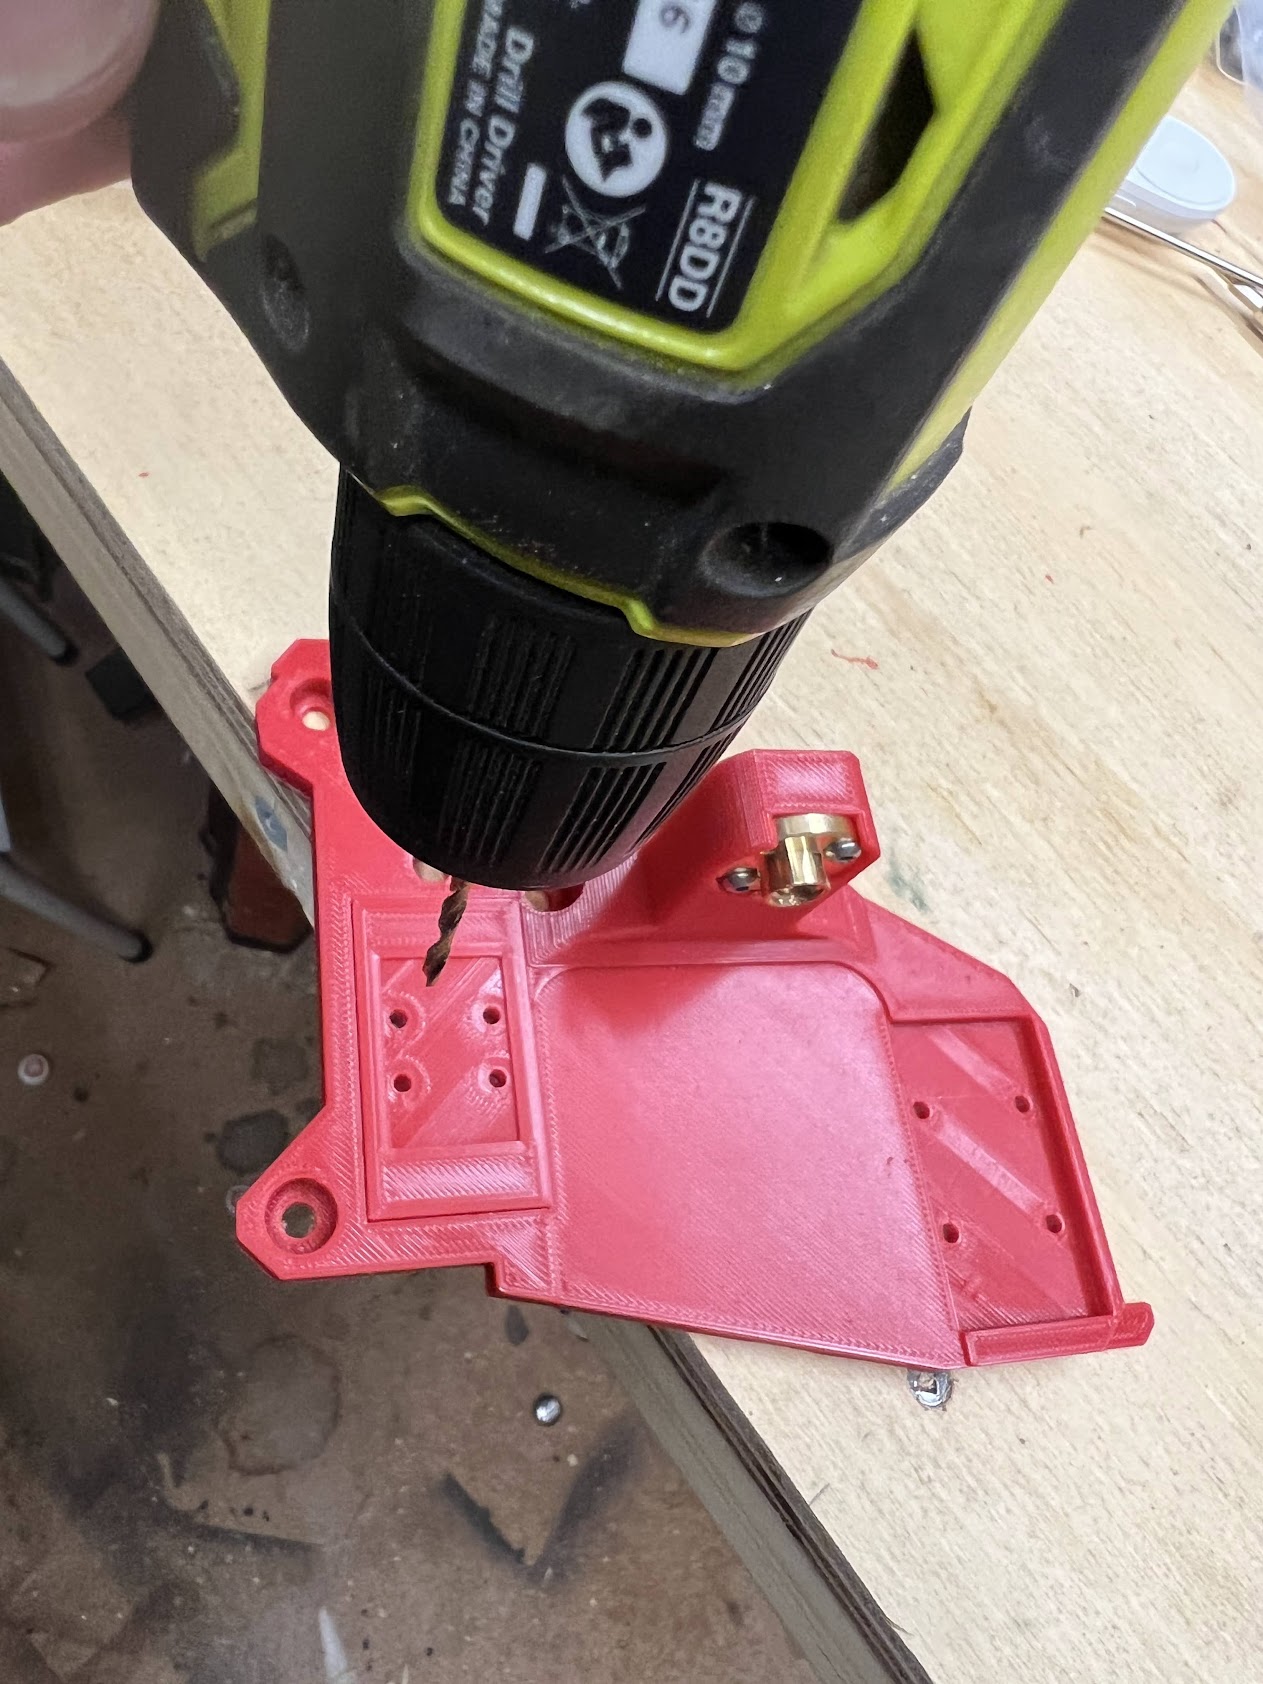
As you can see I went for the printed parts, and I didn’t want to have to re-print both of these so out come my most used measuring tool, the digital calipers, some quick Fusion360 modelling and I have some adapter plates.
Good thing you were able to make that adapter and adopt the MGN9. It is smaller and weighs considerably less, and if it does not serve for this purpose, you can always go back to MGN12 in the future!
The little black push bar allows you to remove a slide bearing set from a linear rod without losing any ball bearings, and then slide back onto the bar, again with no loss of ball bearings. You can position it against the end of the rail, so the plastic becomes like an extension of the rail.