That’s really cool… Thanks Doug. I must admit taking the little stoppers out of the ends did frighten me. If those miniscule balls fall on my floor, there is no way my fat fingers will be able to pick them up.
Yep, sounds like you were heading down the same path as Doug.
The only downside is the mounting surface is much smaller so any leverage is going to be higher (more wobbly) in the X direction, to a lesser degree in the Z.
It is probably to slide into the bearing blocks to help replace balls- my rails I bought seperate to bearing block, same company and they had plastic sections you pushed out as you inserted metal rails into blocks.
Let me know where in Beautiful Perth you are, I am in Kenwick.
Happy to help if you need anything, or some contact to where I got stuff, some of it for a good price, some not, some from Ryan.
Happy cnc-ing!
Thanks Anthony. I am in Maylands. One thing I haven’t sorted is a good place to get end mill and surfacing bits. Do you have any local suppliers for these?
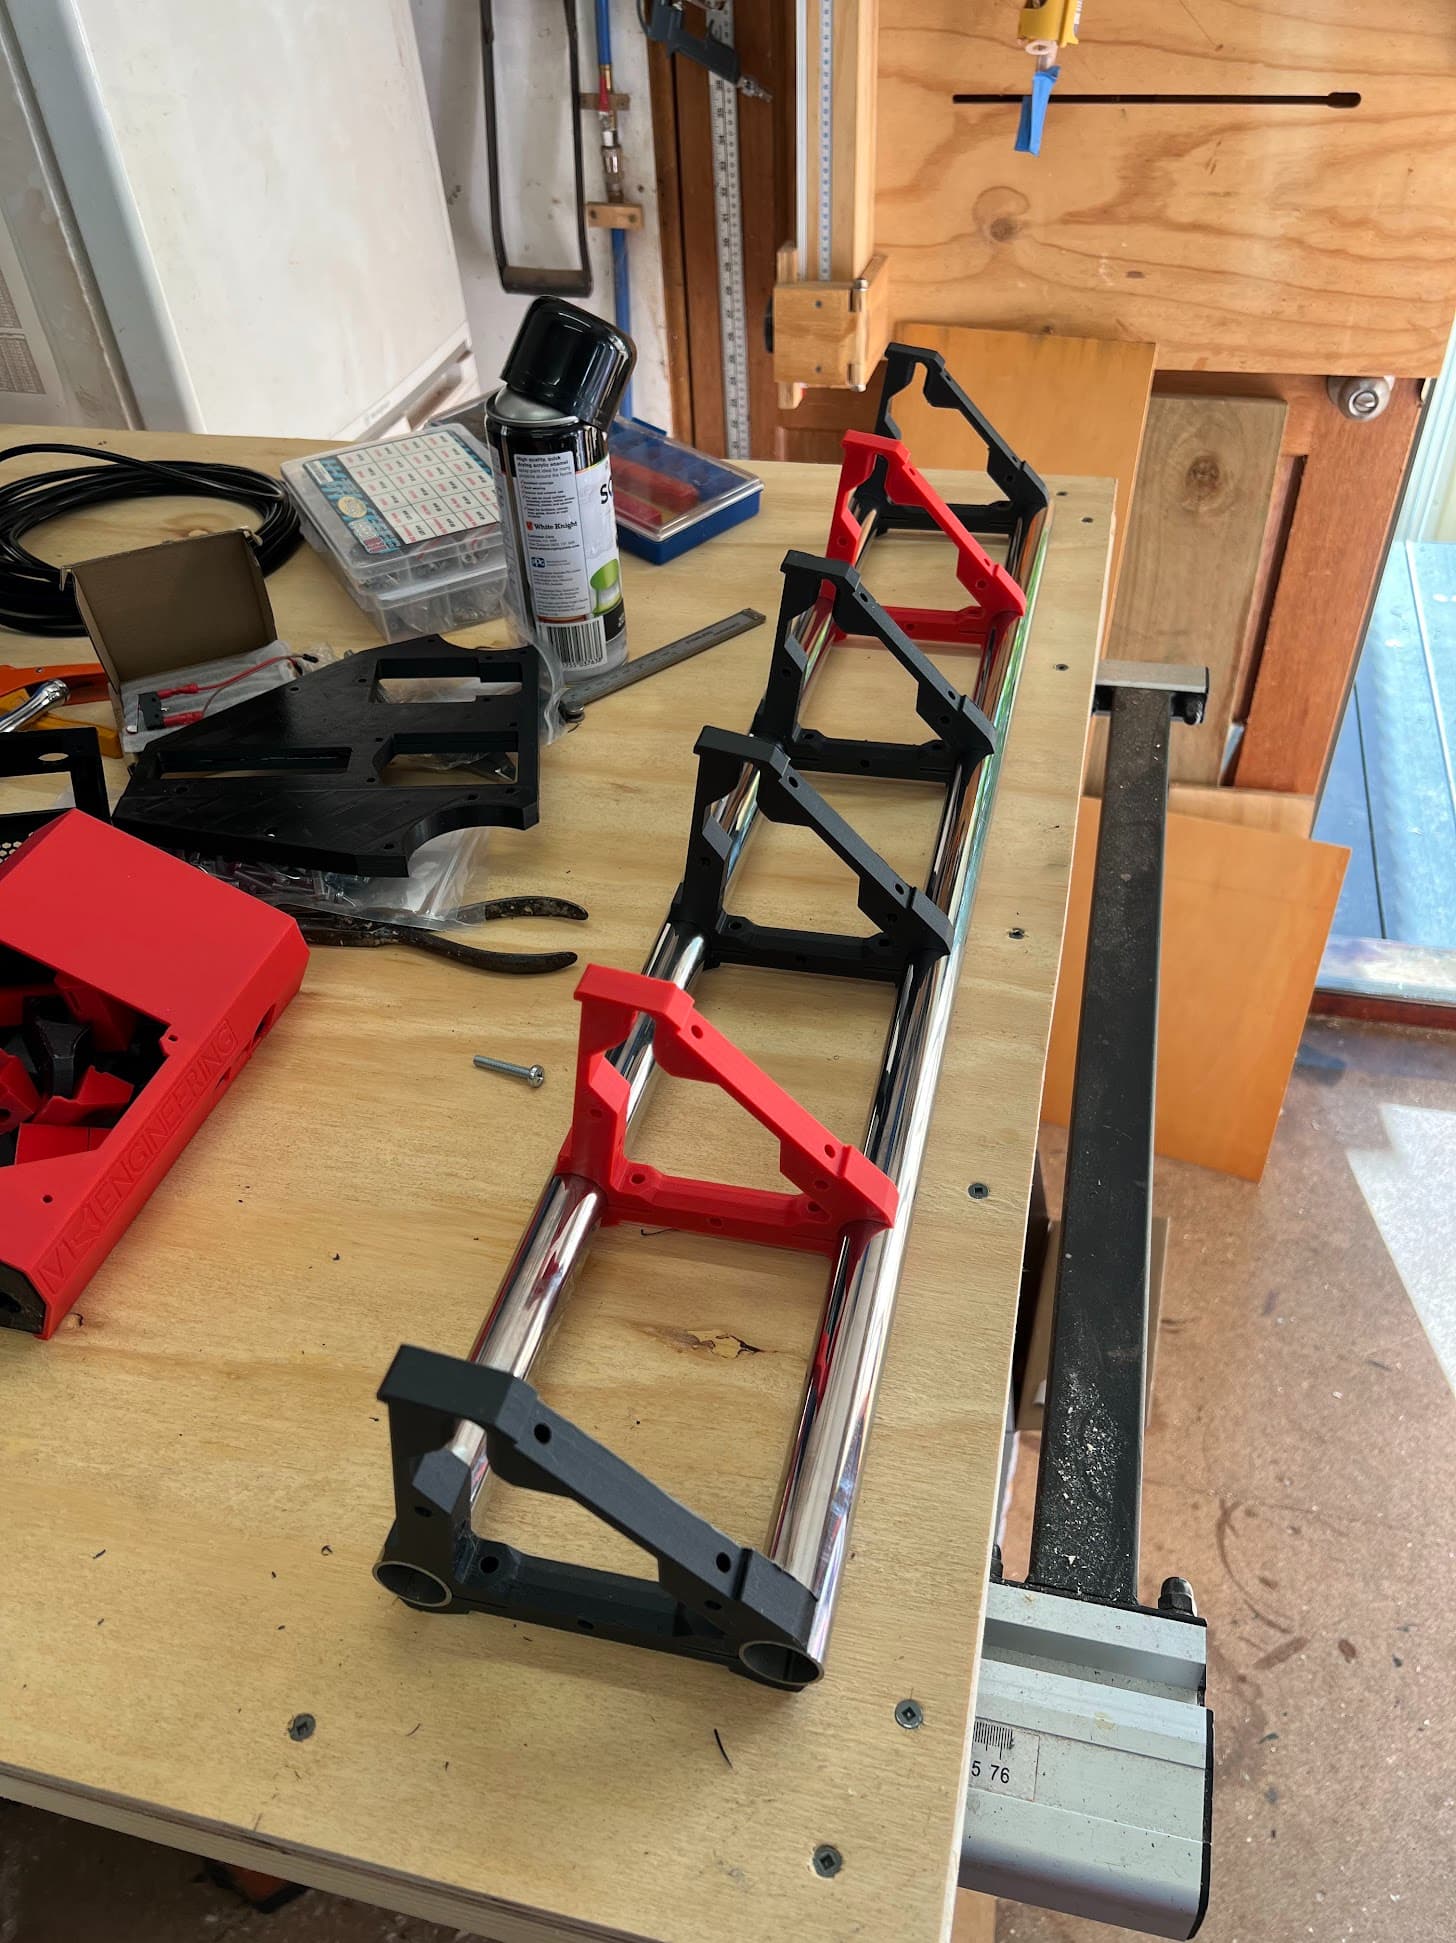
Making some good progress, the beam is done, using some bargain 304 Stainless steel tube I found locally. $15 for 6 meters. I think they must have made a mistake with the pricing on their website.
I did have a strange issue with my printed left side XZ plate. The hole for the belt tensioner was a complete through hole that the head of the bolt went straight through. This made me realise that my left XZ plate was a lot thinner that my right plate. Seems I must have not had the plate seated correctly on the build plate when I sliced it in cura. Stupid mistake. I will re-print this part when i get some more red pla, for now I managed to make it work with a washer and a ground down bolt head so it clears the side plate. I will be 5mm shorter on the X axis util I print the proper left side XZ plate.
I got my y rail down, and was feeling like I was getting close. Then realised I meant to put the rail on top of strips of MDF the same thickness as the spoil board I am going to use. It will give me a chance to use my pulleys to lift the table out the way to reveal my table saw to cut the MDF strips.
Carbetec in Balcatta,( Balcatta Road , just off Erindale road) have Amana Tool router bits and they are good quality.
i have a surfacing bit from them and will buy more bits.
I did buy some from Ryan when I placed an order with him, I will buy some more Amana bits when i need extras. Good people, always helpful.
I cant find that in my book, a 30 degree 1/4" shank engraving bit costs Au$60, it all depends on if you want quality, or not.
If you know of any other brands worth looking at, please let us know.
Most bits in my book are indeed a little expensive, Au$55-95+, but probably worth the investment, as long as you dont break them.
I have some from Ryan, and i may look on ebay or Amazon to find something cheaper, but I also like to support Australian companies-wherever possible. Our local people also need to make a living, otherwise we then have to look elsewhere, anyway.
I wouldn’t knock Carbatec - they provide a decent service to the woodworking community, but they aren’t known for undercharging. (No, that’s not knocking them, just saying I was in the Big Smoke last week and went in to buy a $40.00 vac hose and came out $150.00 lighter! and everything is priced about the same as buying it OS and paying freight!)
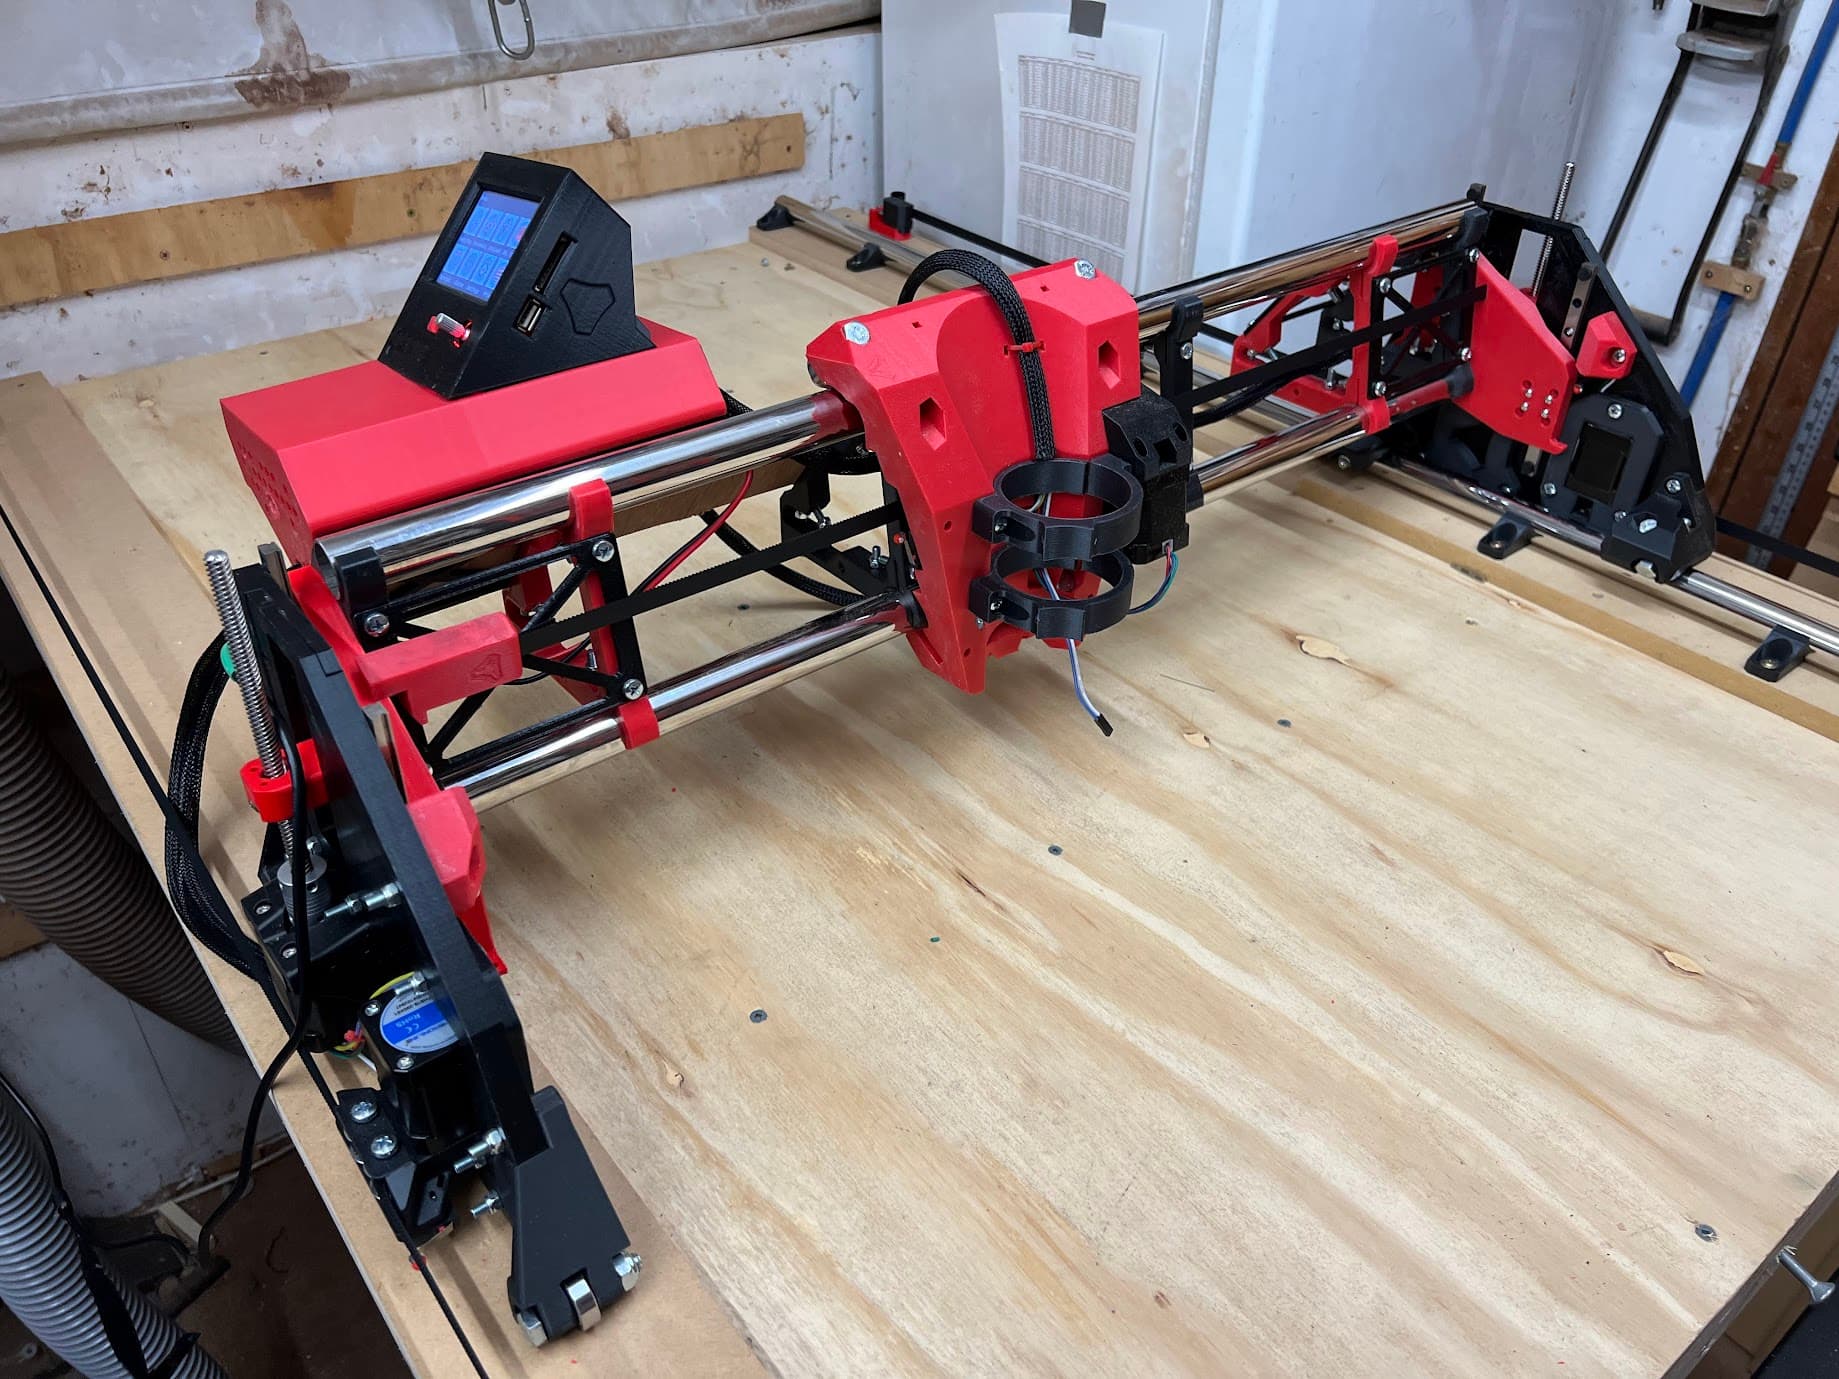
I also added a dirt cheap ESP01 with ESP3D on it. That is very nice simple solution to get WIFI access to the machine. Pretty slick.
I spent a long time playing with a new Dupont crimper and doing up pretty much all my wiring. Then pretty much doing it all again, as when I was pushing the Dupont connectors for my stops onto the board they were just way too loose. Turned out I wasn’t pushing the female connectors anywhere near far enough into the plastic housings. Having a slightly thicker gauge of hookup wire made it pretty hard to get them in far enough. Wiggling off the plastic housings on the SKR pro board also helped heaps.
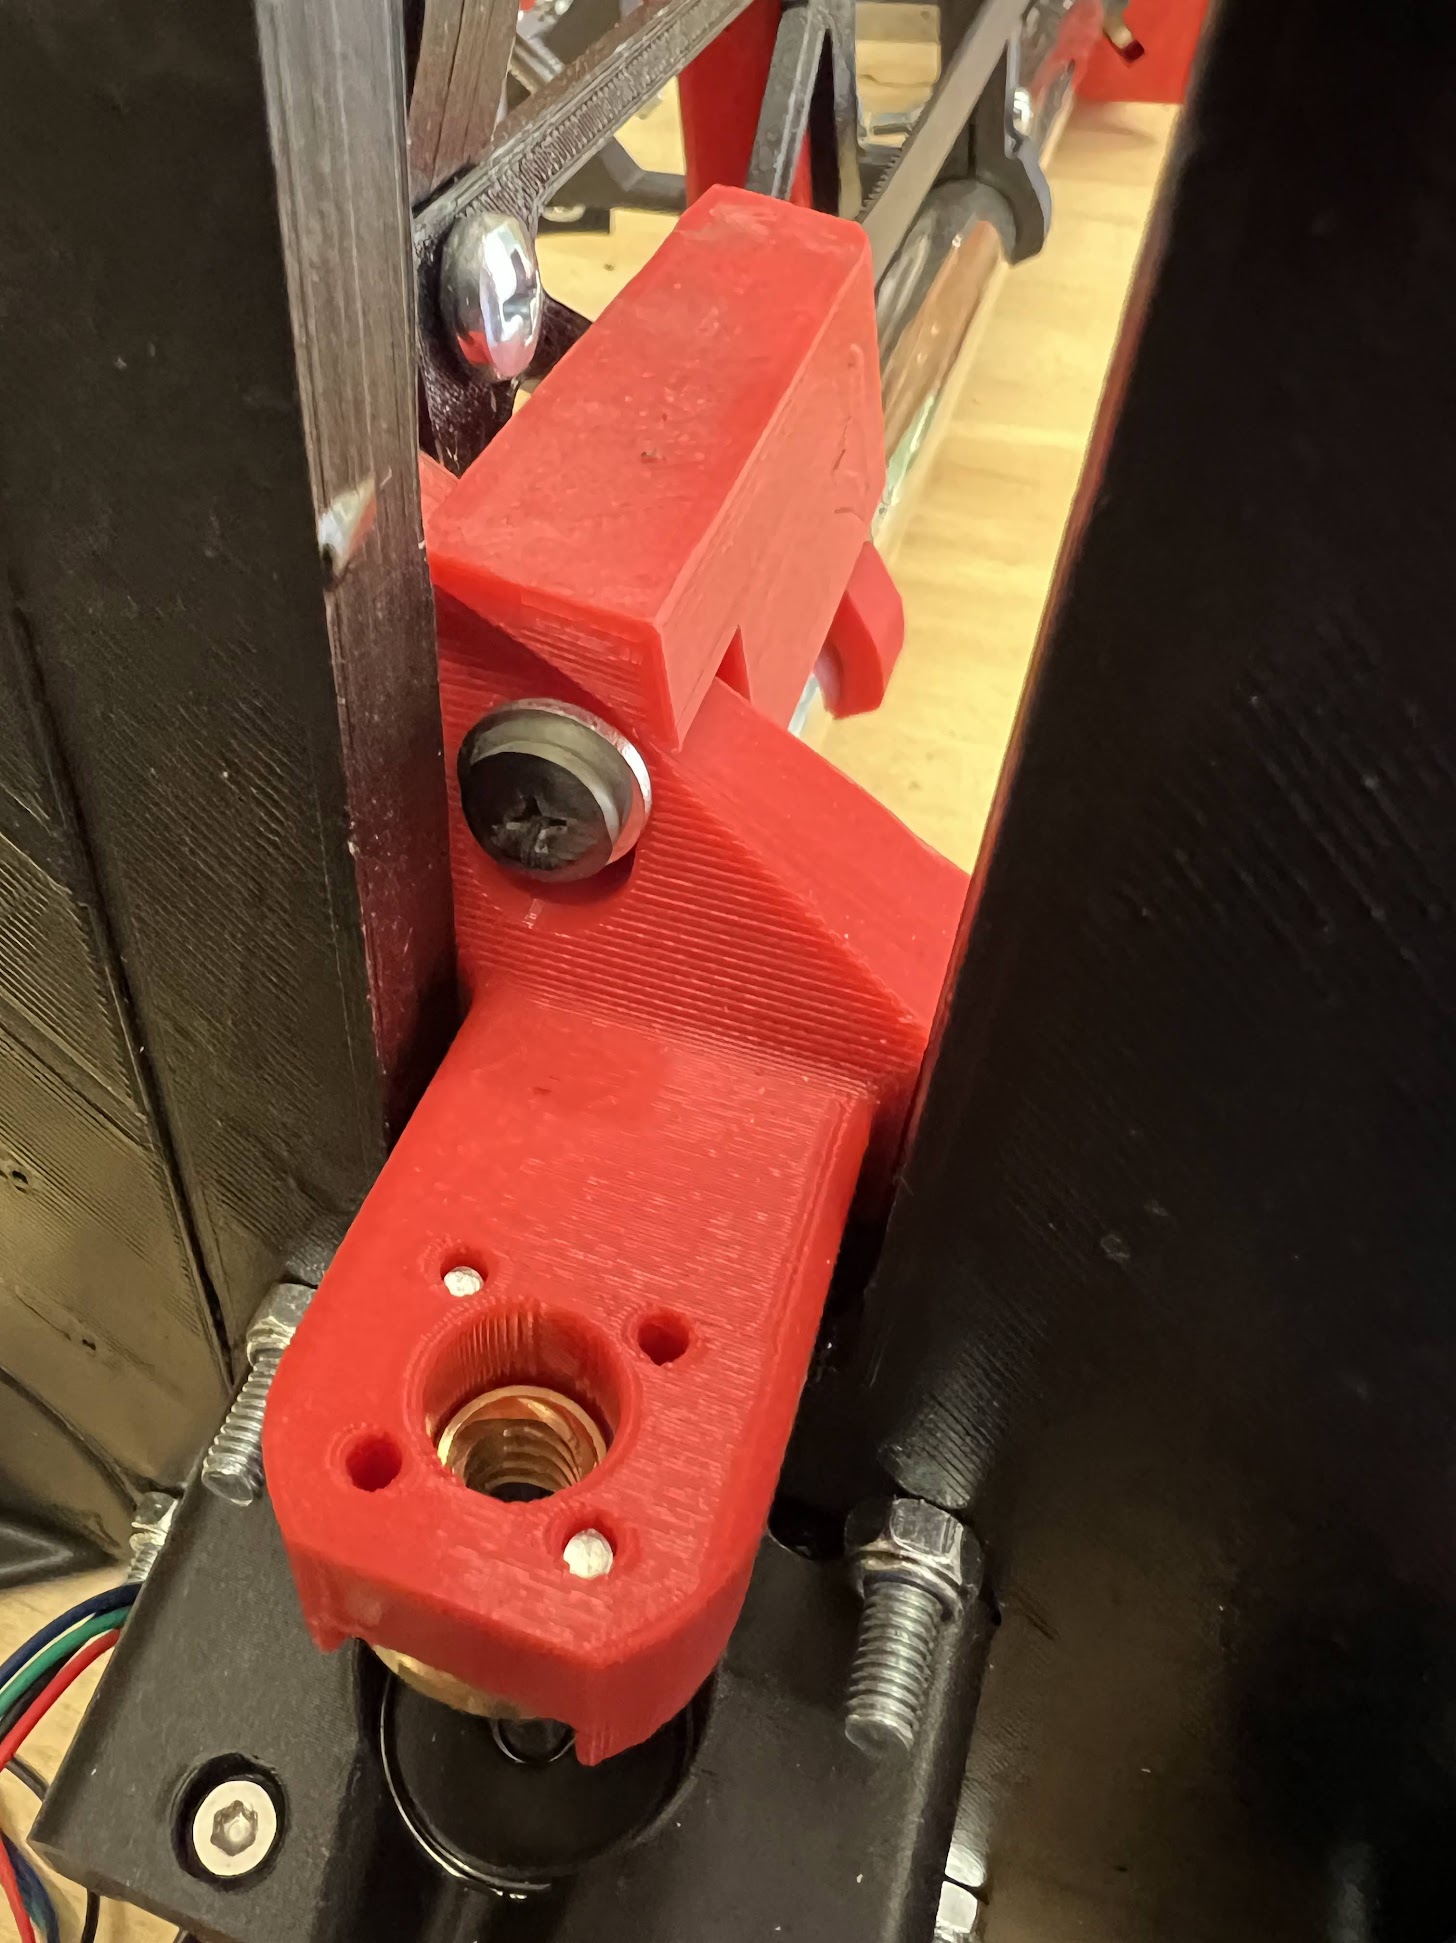
Looking pretty close now. My Z axis did have some binding issues especially the higher up it was. I am 95% sure this is due to the wrong linear guides and my alignment of the leadscrews with the couple/stepper not being spot on. I have ordered some of the correct linear guides and made some reprinted inserts to use while I wait and got it working better if I stay in the bottom half of available Z travel. Probably enough to keep going while I wait on the proper ones.
Using ESP3D on my phone while moving it around is SO much easier than using the touch screen… I can have my face buried right down on the bed looking at stuff while moving it around.
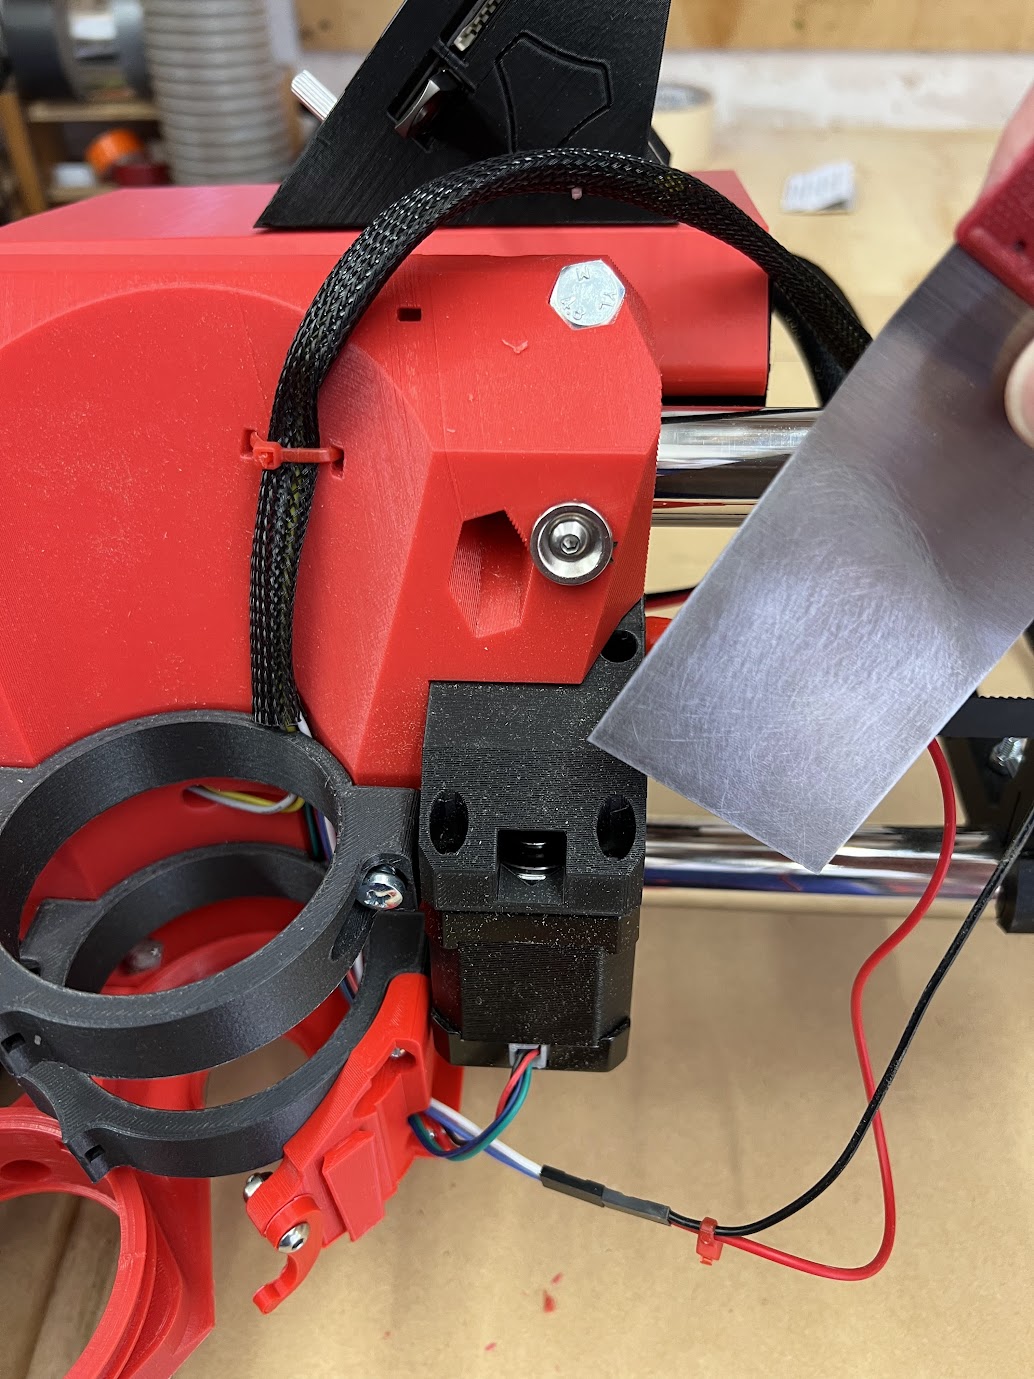
The little wire hanging down with a Dupont connector is for my touch plate and clamp. Do you guys keep this connected and stowed away on the core, or disconnect each time after use?
Lots more progress. Created the obligatory crown plot. Thanks to @DougJoseph for the simple quick change pen holder, made this work great. Will most likely end up printing/building his kinematic version, but was impatient and didn’t want to wait for magnets to get delivered.
I built a very simple touch plate using a cheap paint scraper I had lying around. It didn’t accept solder very well, but a simple m3 bolt seems to be holding the wires OK. Added a magnet to the core to hold this and tuck the alligator clip out the way. Seems to work well.
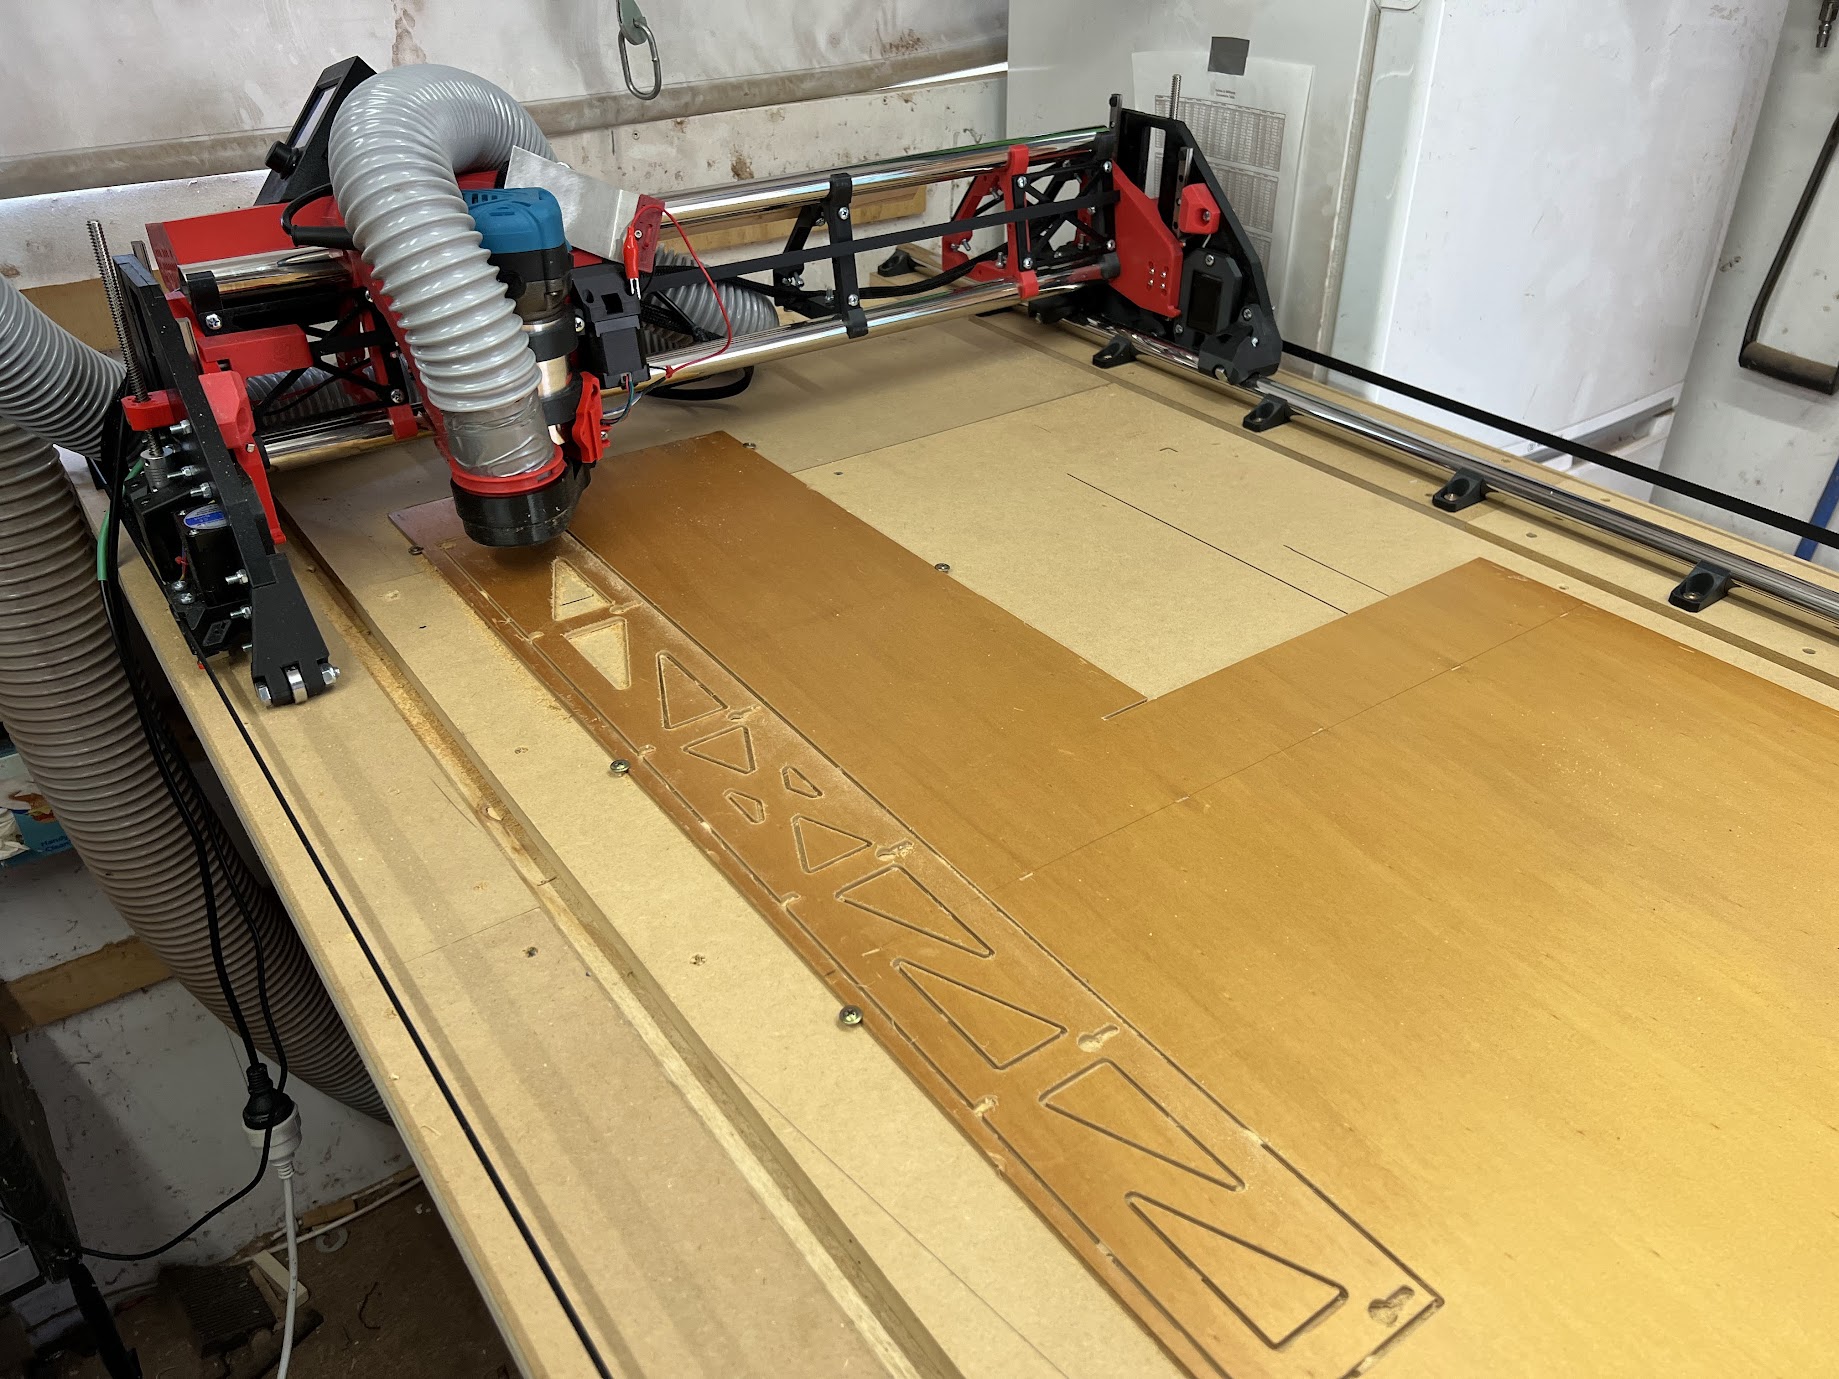
Managed to cut out a test strut on some crappy old plywood. Worked pretty well, the back of my sacrificial bed must be a bit higher than the front. This caused a few of the back pieces to break the holding tabs. I have a surfacing bit on order so hopefully that will fix that. I have purchased some 6mm MDF for the real struts, and will make sure to use thicker holding tabs.
I haven’t printed the hose holders for the back of the X, as my dust extraction does come down from the ceiling, but it needs work as it gets really close to fouling things up when at the extend of the Y.
Looking great, Peter.
I have a similar problem with my base board is slightly uneven, I will cut my 3 strut plates and then fit them, so I can then surface my spoil boards.
I love your pen holder from @DougJoseph , I need to source this for my crown, and future use. Can you please post a link- Peter, or Doug?
Well done to you too, Doug, on your design.