Try PETG if you have it - printed 45° as in the above post. I printed a dozen or so different clips on the stock version until I struck the right balance of rigidity and flex. With the shorter length of yours PETG might be a winner - but be warned it’s no less brittle if you shove your fat thumb in there to hold a nut!
Those are good alternatives!
The mixed layer line version I came up with looks like this:
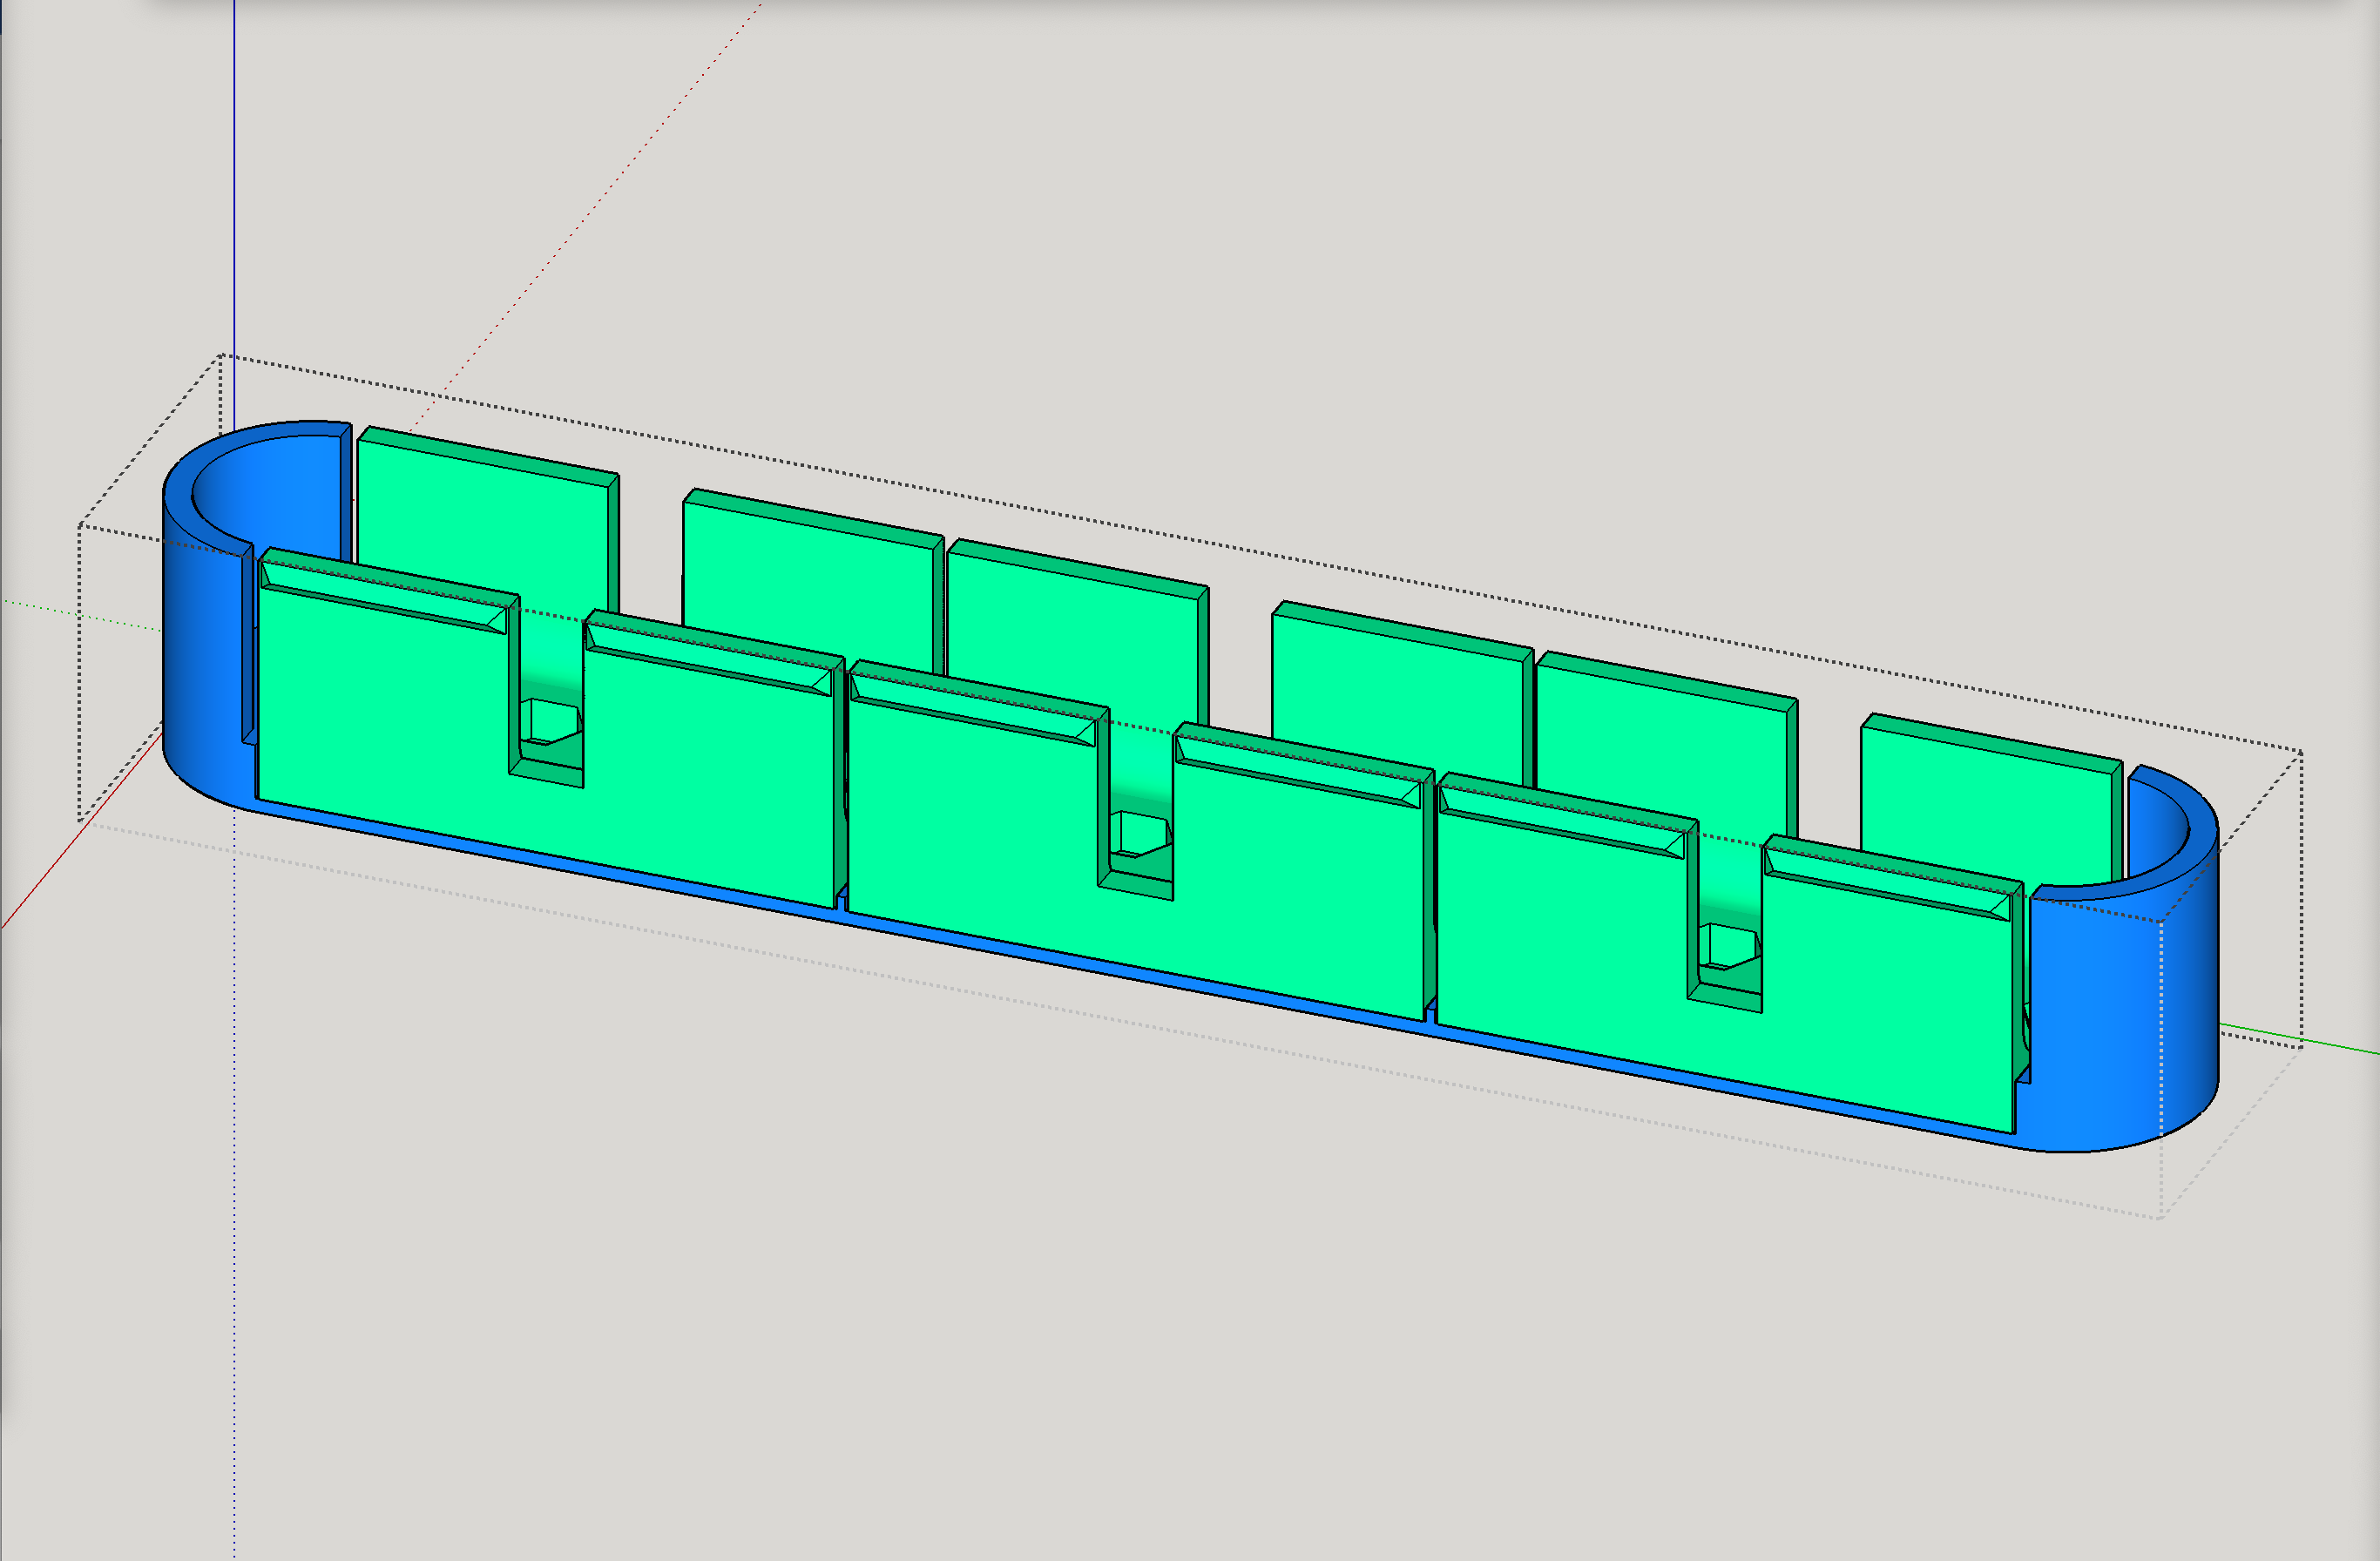
The blue is a base printed as shown…
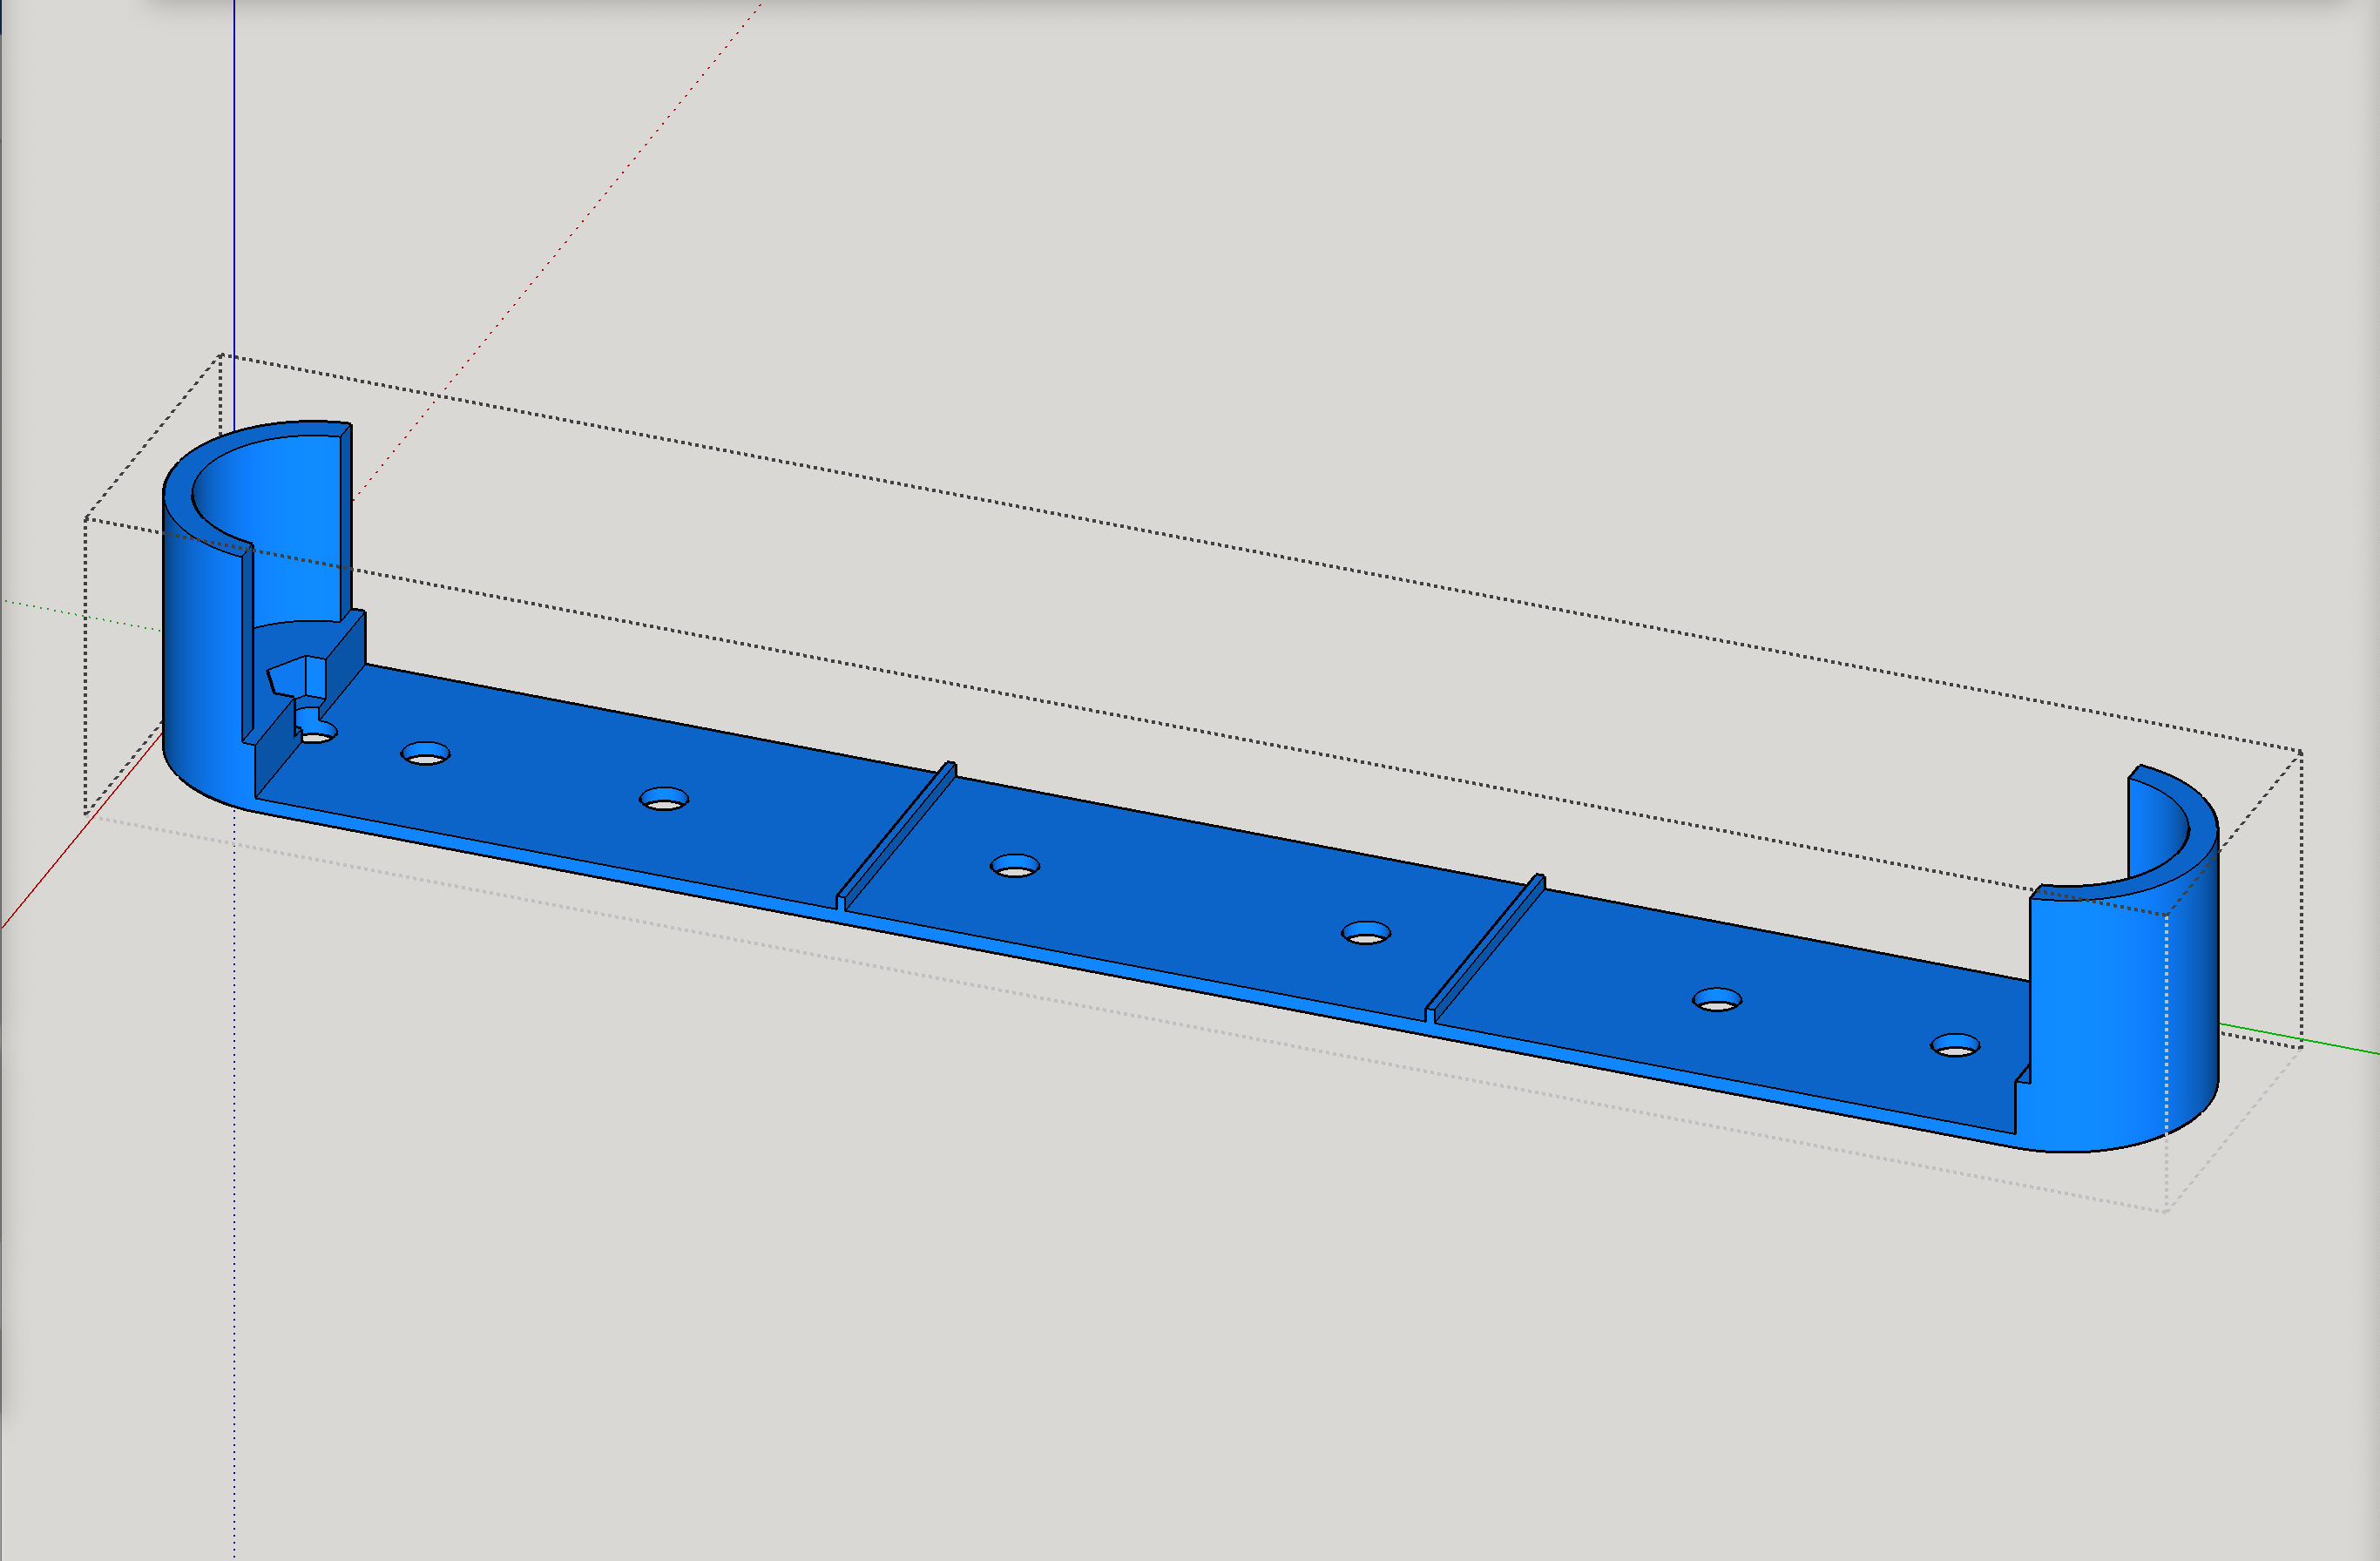
…and the 3 green fin parts would get printed not like this, but rather standing up, then laid down like this when glued to the base.
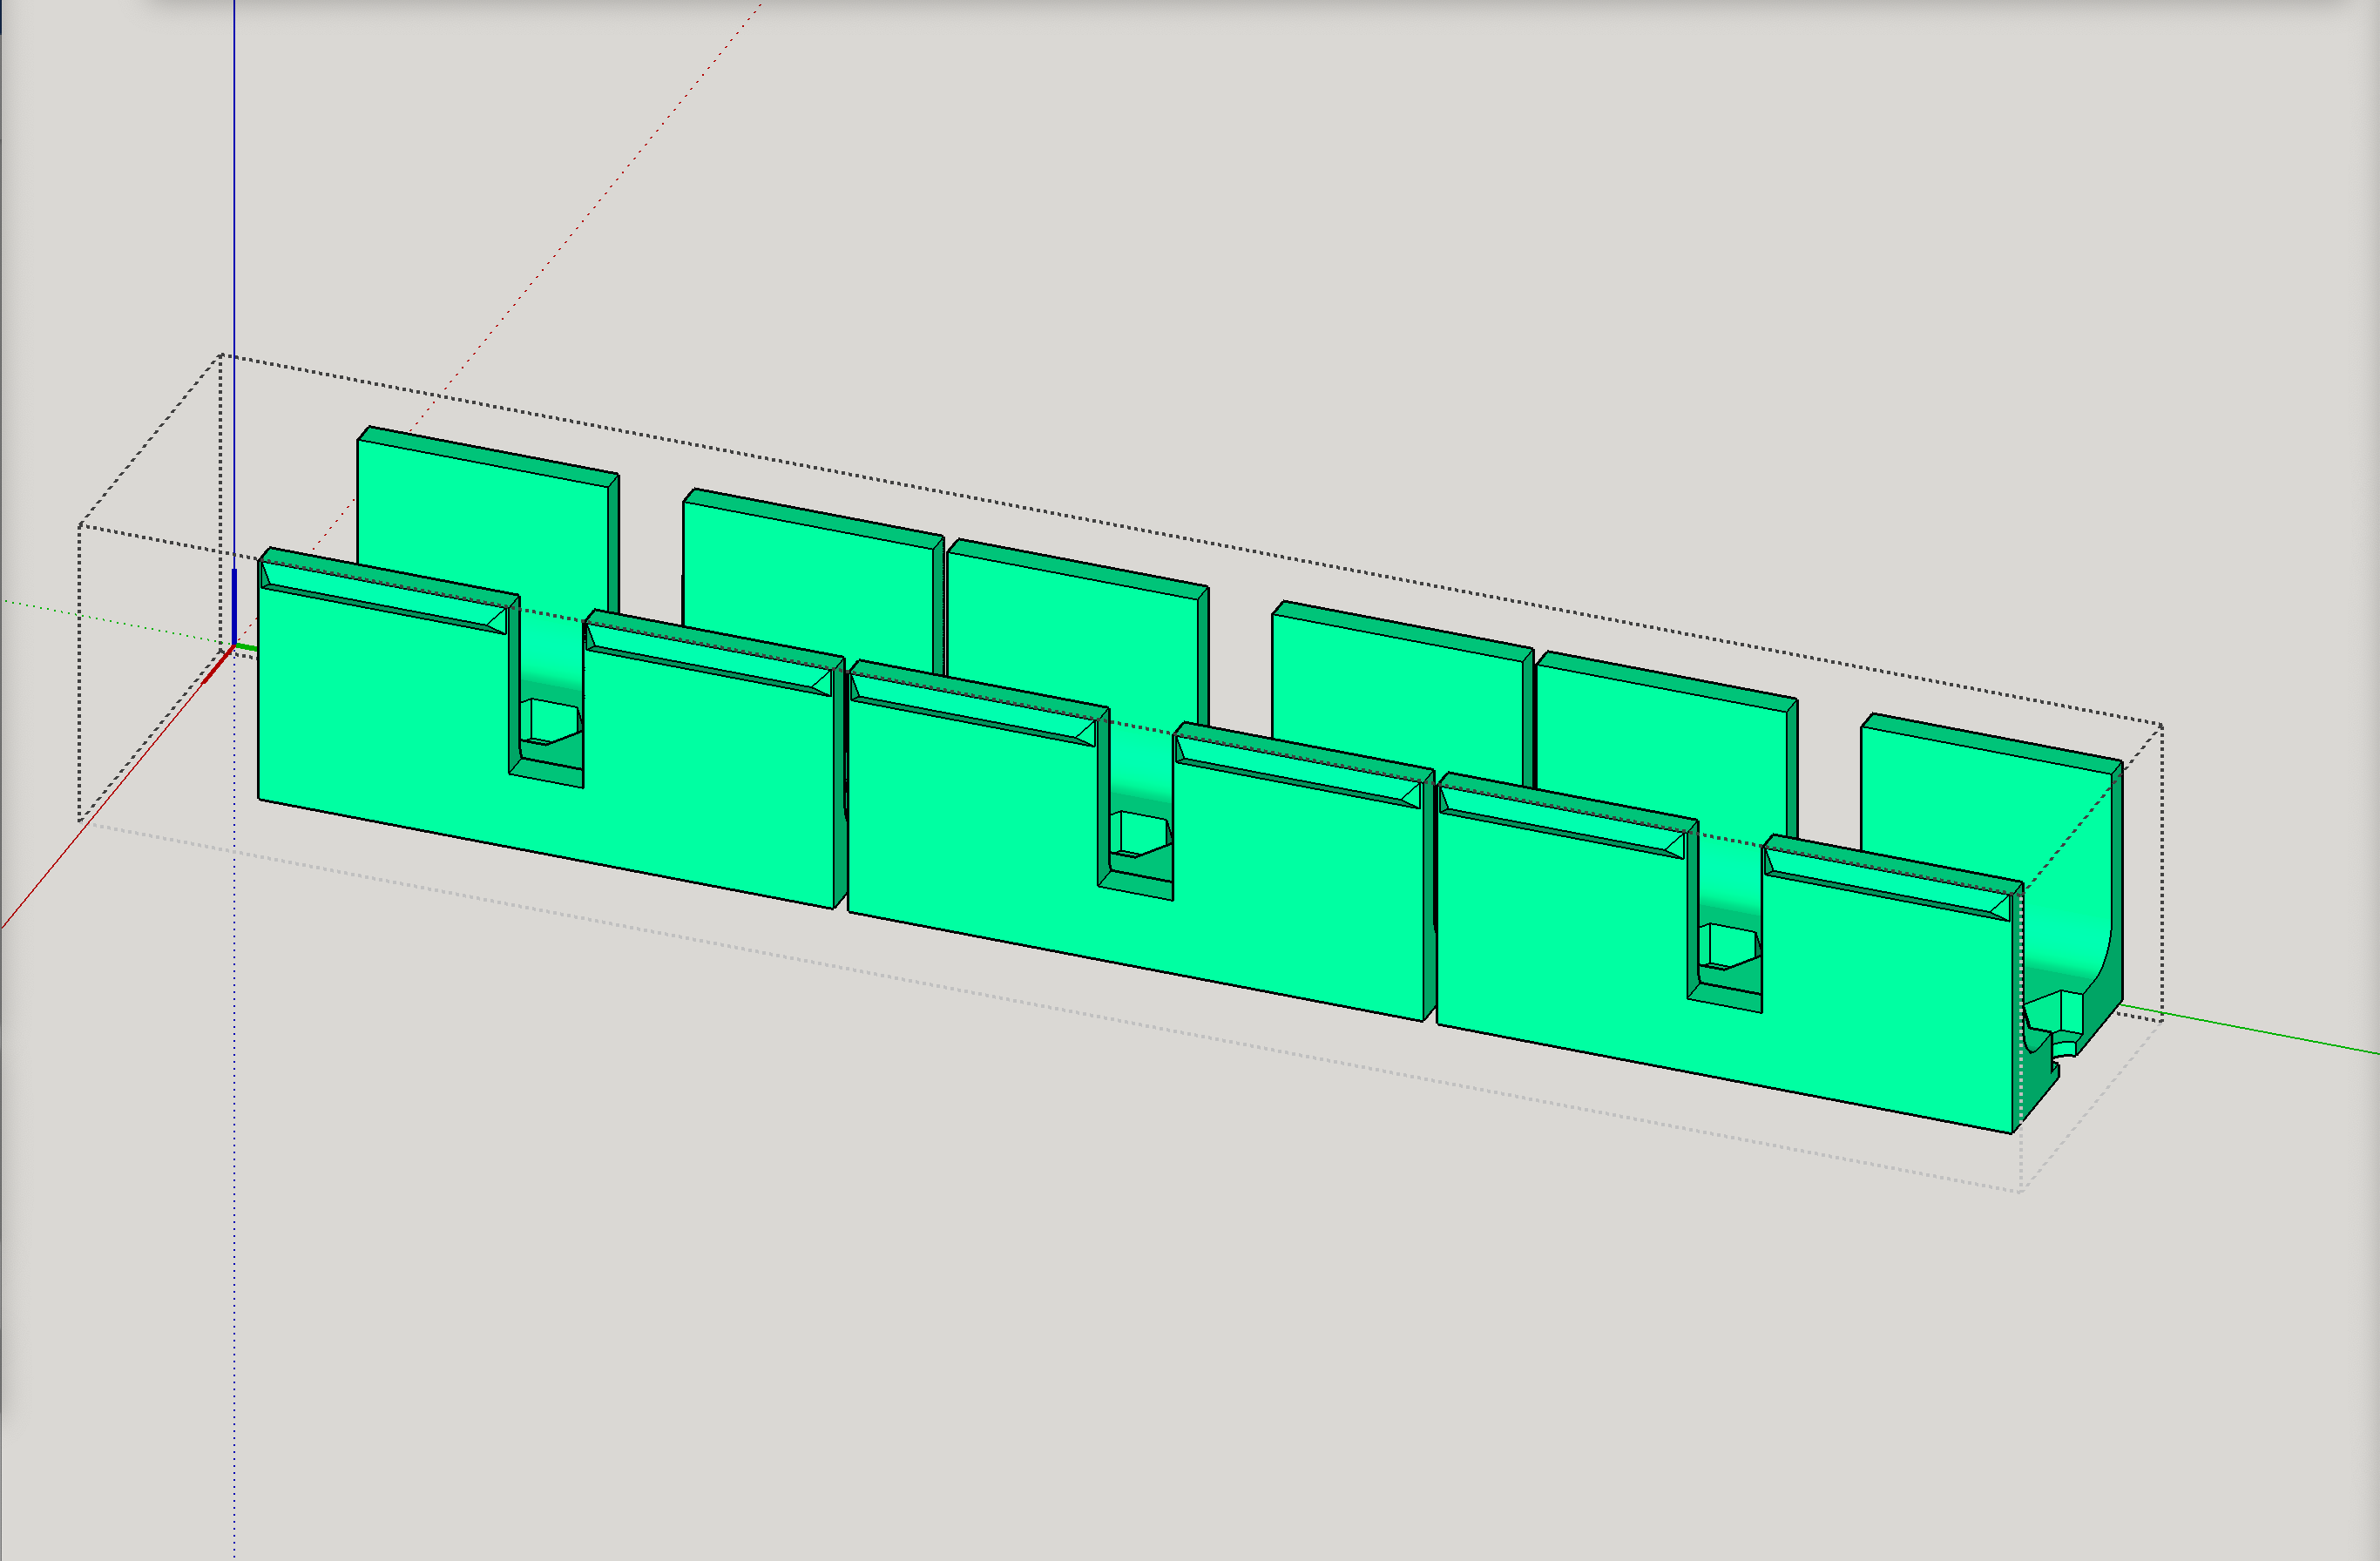
It would perhaps be a little much to explain.
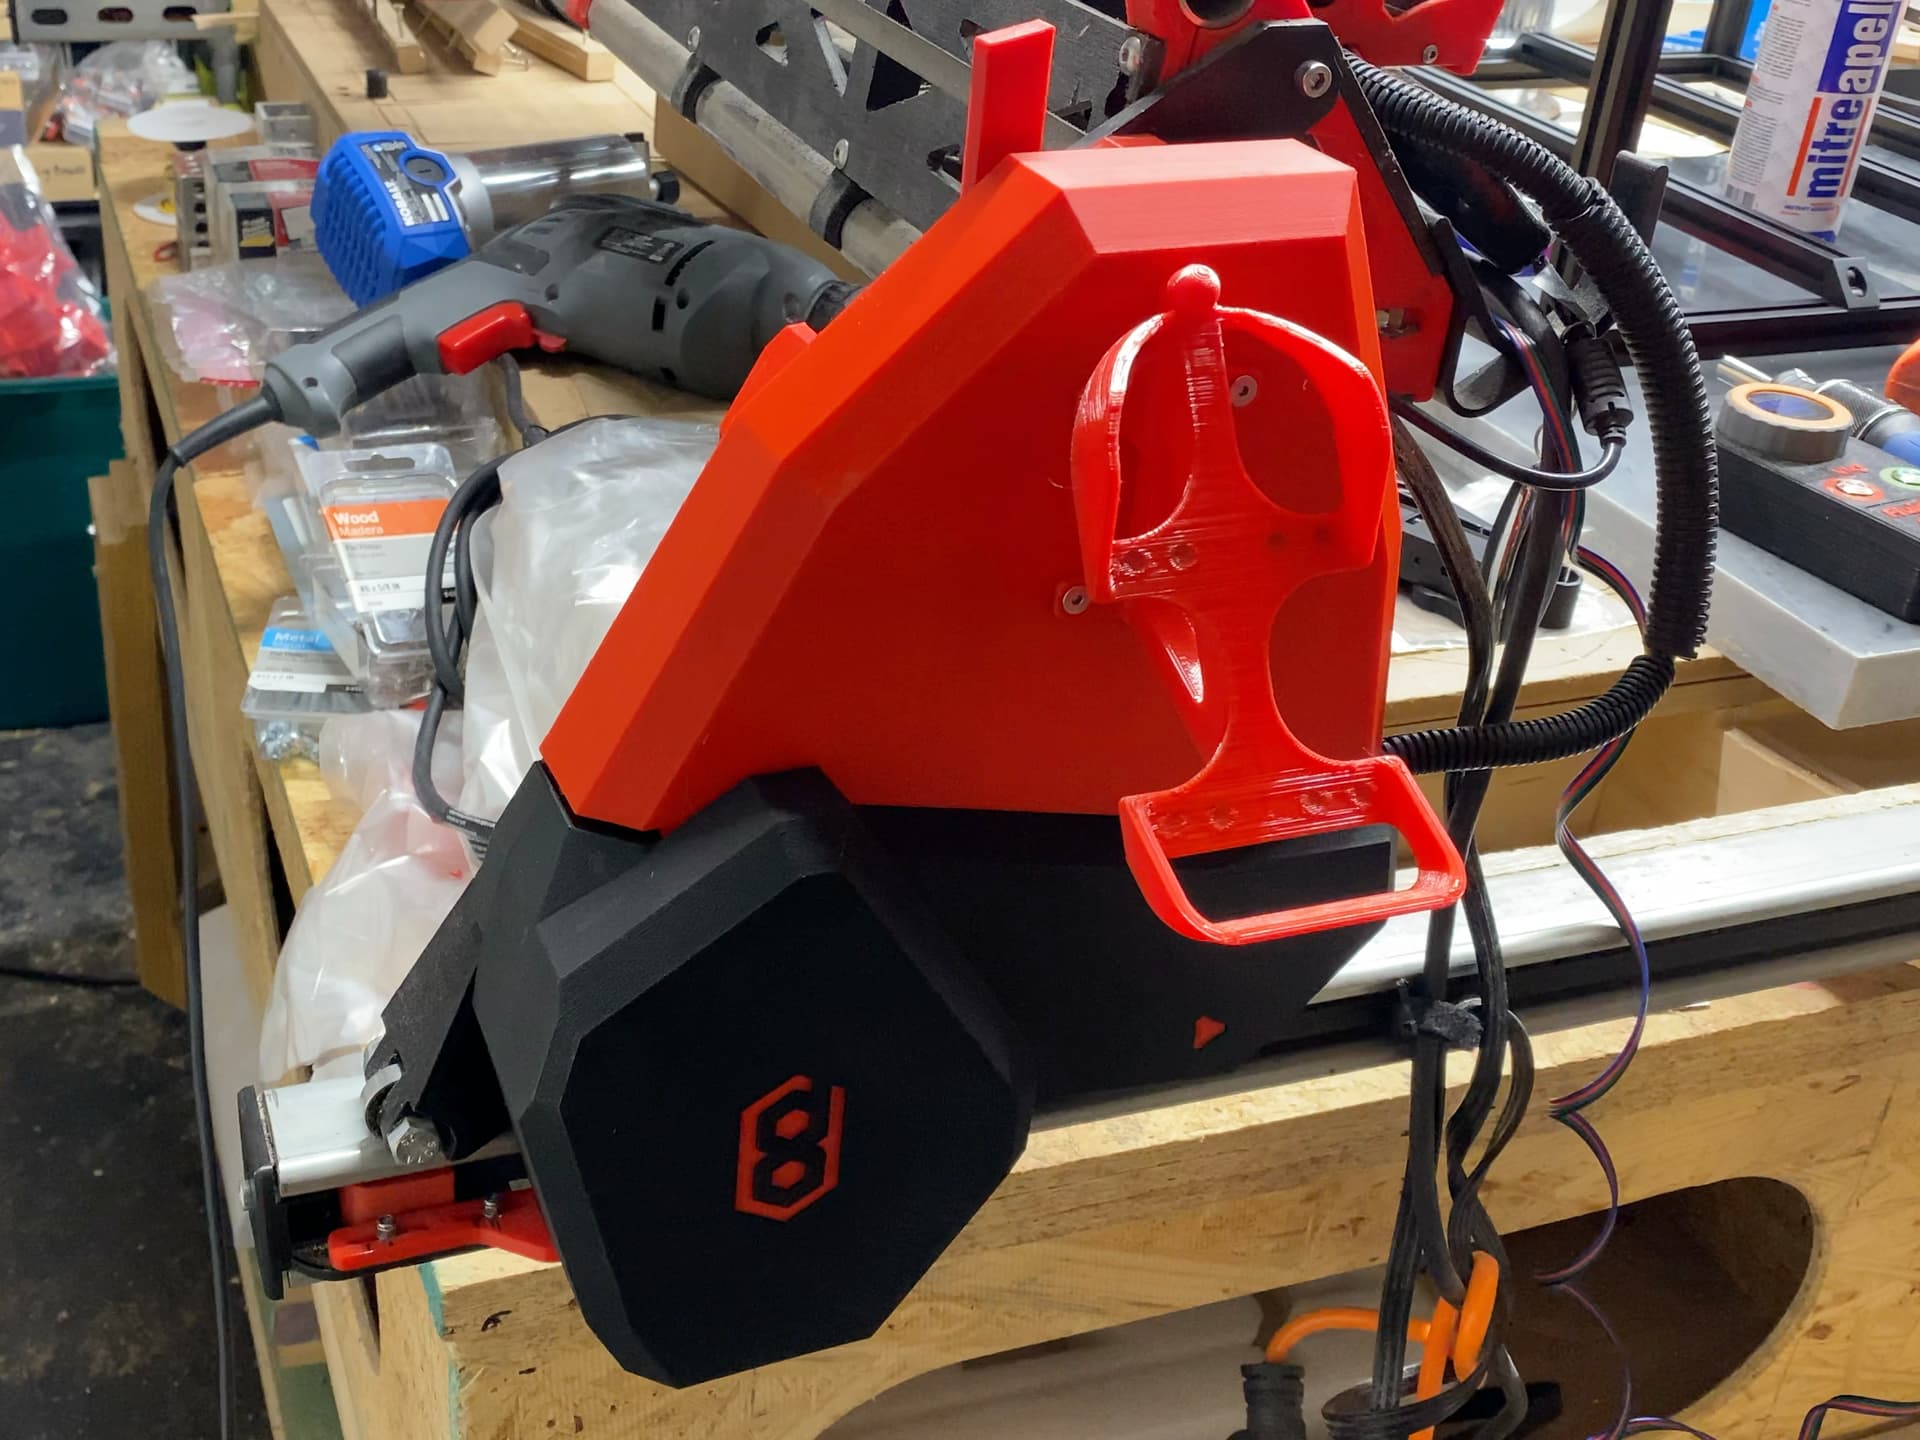
Peter, @bitingmidge, I have cobbled together a video documenting my experience making and installing these wonderful fenders. I will upload as “unlisted” and privately share it with you later today, when it finally gets processed by the servers. If you are OK with the video, I will make it public. In the meantime here are two screen grabs:
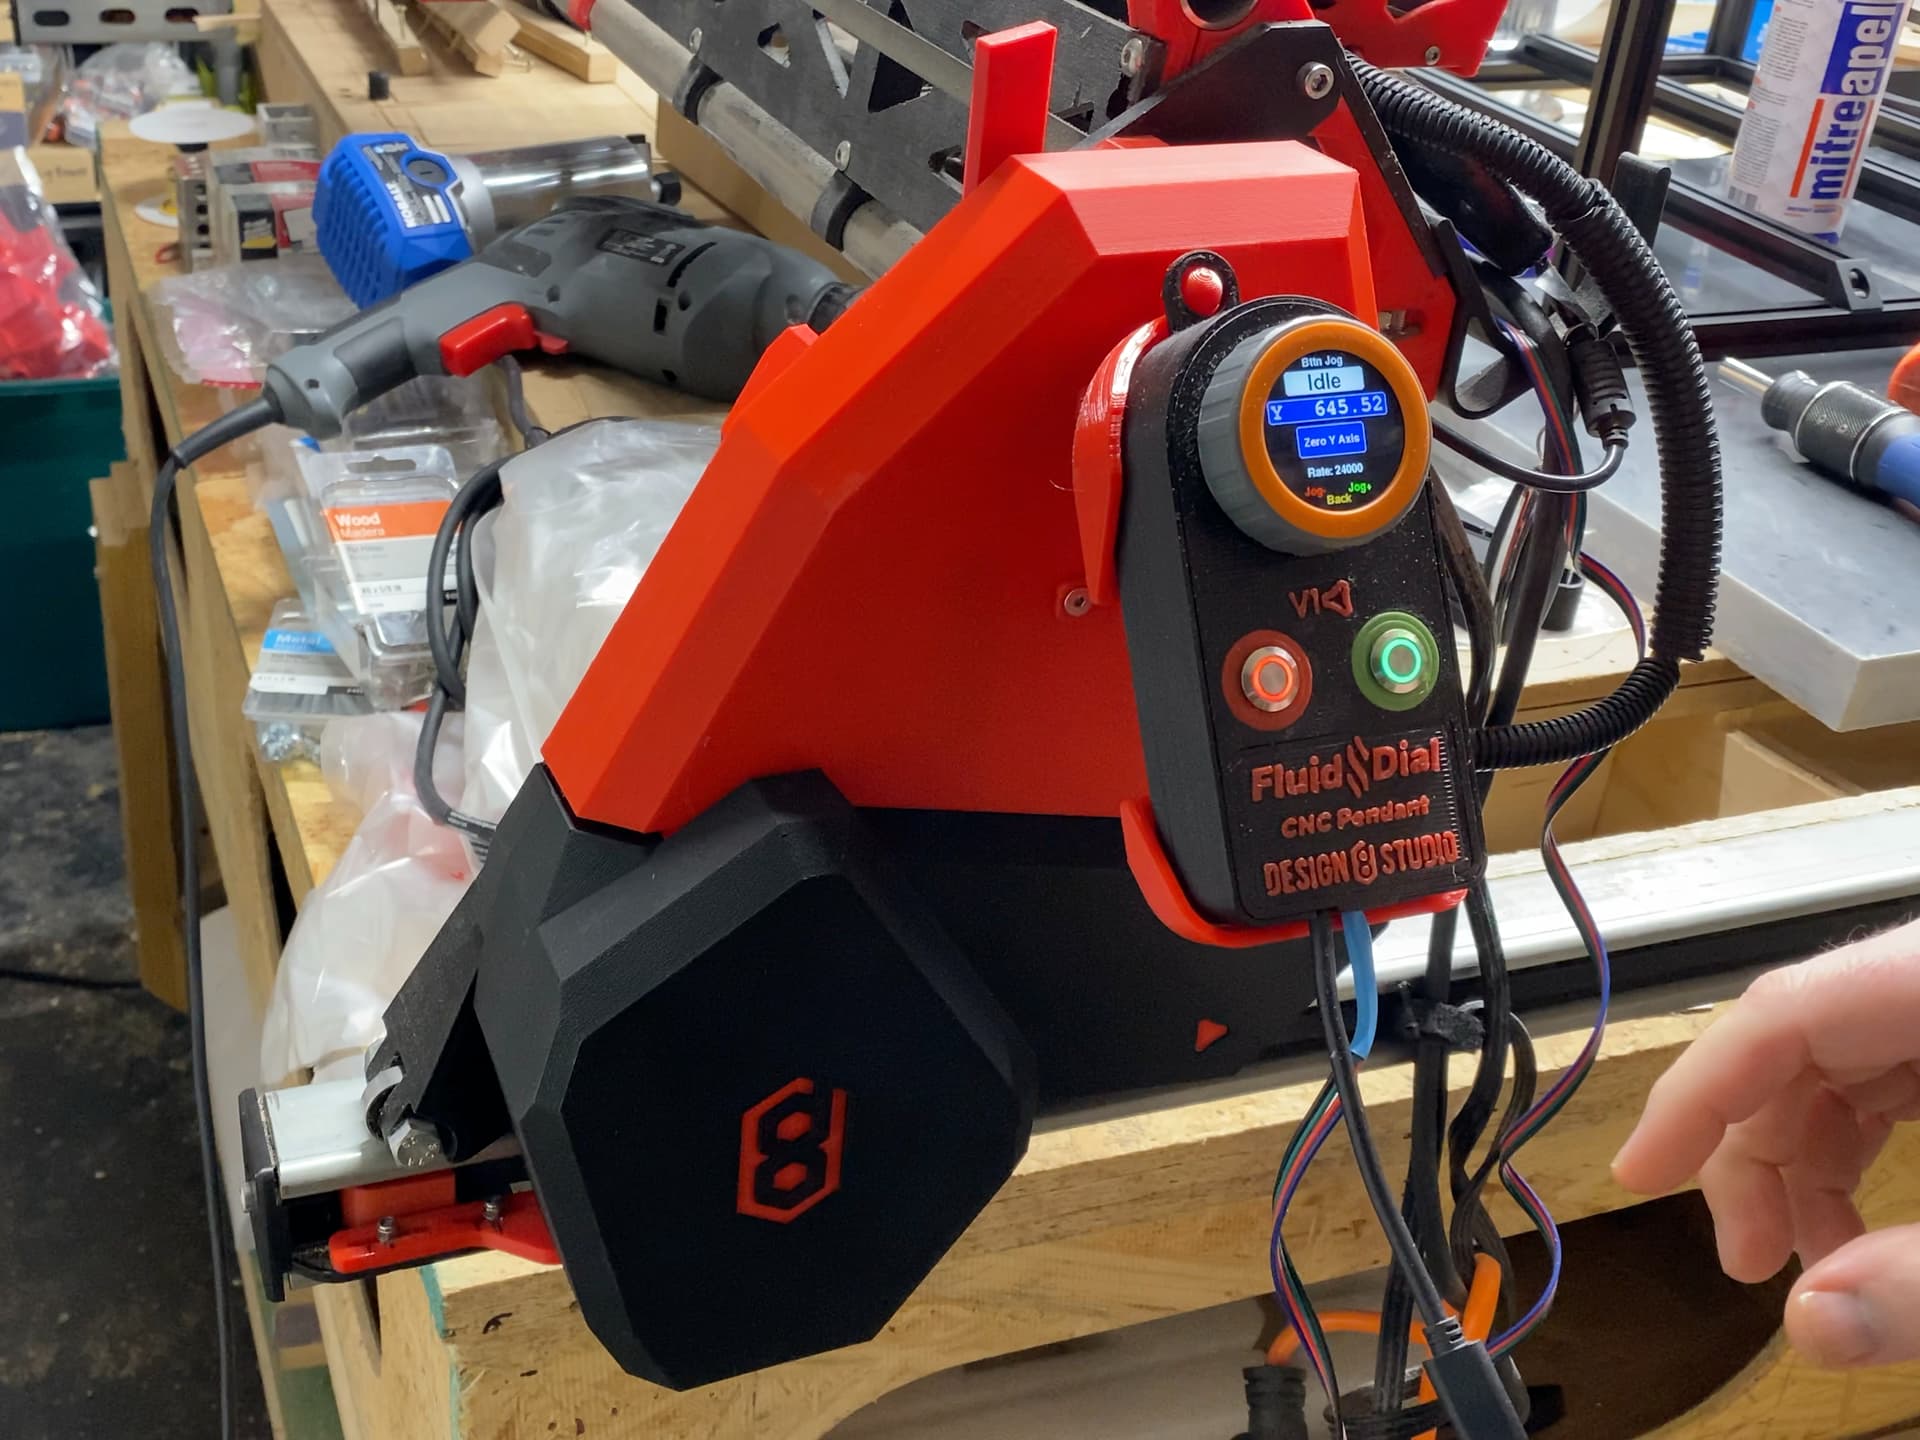
Dammit, it looked really nice. A more “professional” look I would say
Thank-you for your generous and over the top acknowledgements Doug, you have put so much into the remix and they really look fantastic.
How did you print the clips in the end? What material and setting? Do they vibrate?
The fixing method was the biggest problem to solve and I know the clips will need a little experimentation to get the layer/material combination right - I will go ahead with the 45° permanent support version today but it will also need to be tested I think because the clips might be too stiff. We will see.
I love how I’ve been so paranoid about them working loose while you happily hang things off them and they all seem to work!
I think I have mentioned earlier - anyone with MDF or Ply plates can simply screw fix around the perimeter if they wish to eliminate any chance of rattle or working loose, but it doesn’t seem as though that’s necessary!
The clips in the video were printed in PLA, sliced laying down which meant the layer line adhesion weakness is an issue. I get no vibration. They work just fine, with the only caveat being, they don’t survive removal and reinstallation well. For that, I think some mixture of the following ideas:
- Print at an angle (45 degrees) like you suggested, with minimal organic support or a break-away fin for support.
- Print in TPU or PETG for more flex capability.
Alternatively:
- Print my (not yet published or tested) design that has the base printed laying down, but the “fin” segments printed vertically, and glued to the base laying down. This should mean that PLA could be fine.
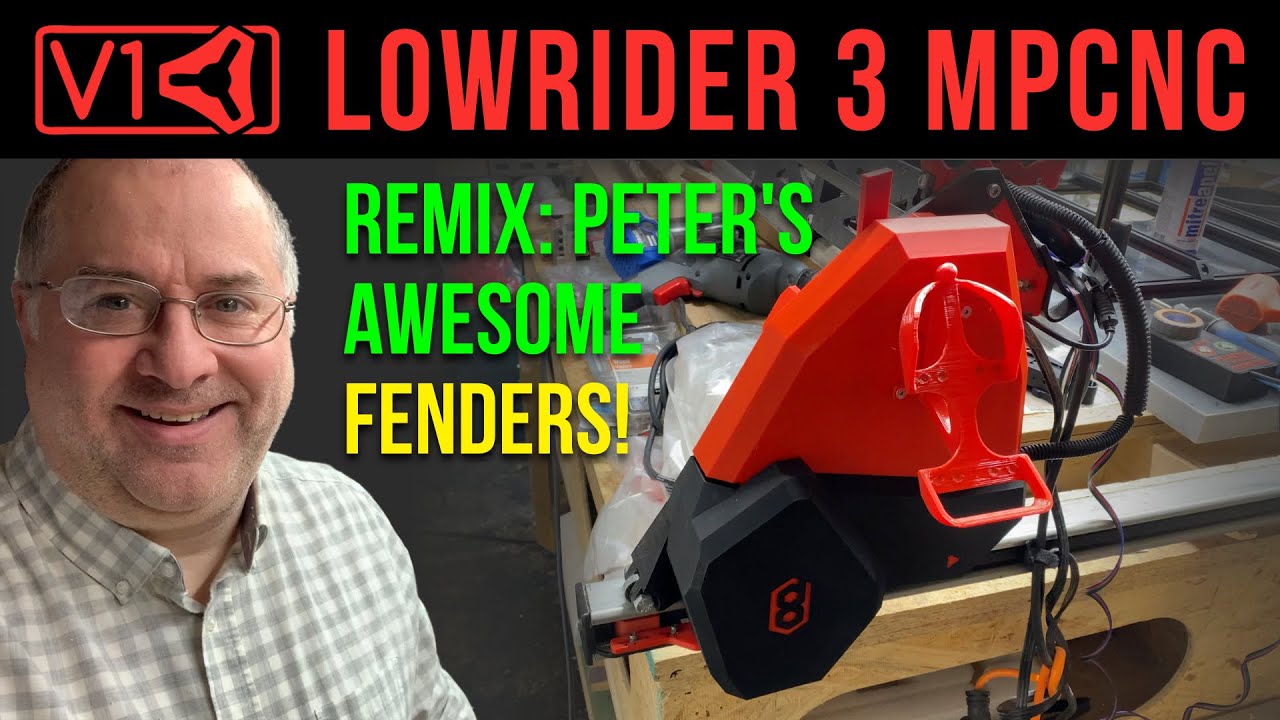
A YouTube comment just now:
What if we put magnets for easy installation?
I replied:
I thought briefly about it, and if I had not been so anxious to get it done, I might have looked harder in that direction!
I think a remix of the clips with magnets embedded would be interesting - I dismissed them as “too hard” for a couple of reasons, particularly because I was concerned about shear loads - but worth experimenting with.
Just for doing it, I have worked up a design for new “MagClips” - and I’m printing it now for testing.
Designed for use of round 12mm x 3mm magnets, same ones I used on my Plasma LR3 “floating Z break-away” torch mount.
I currently have it designed for more magnet slots than I think will be needed, as after testing I can adjust to remove some slots, but leaving the option to add magnets during testing just in case.
These are designed to be backward compatible with the existing fender design — however, currently it’s for the set of fenders I have for “Hidden Belts Mod.” If the idea works well and it seems good, I can modify it for use with other “main line” fenders.
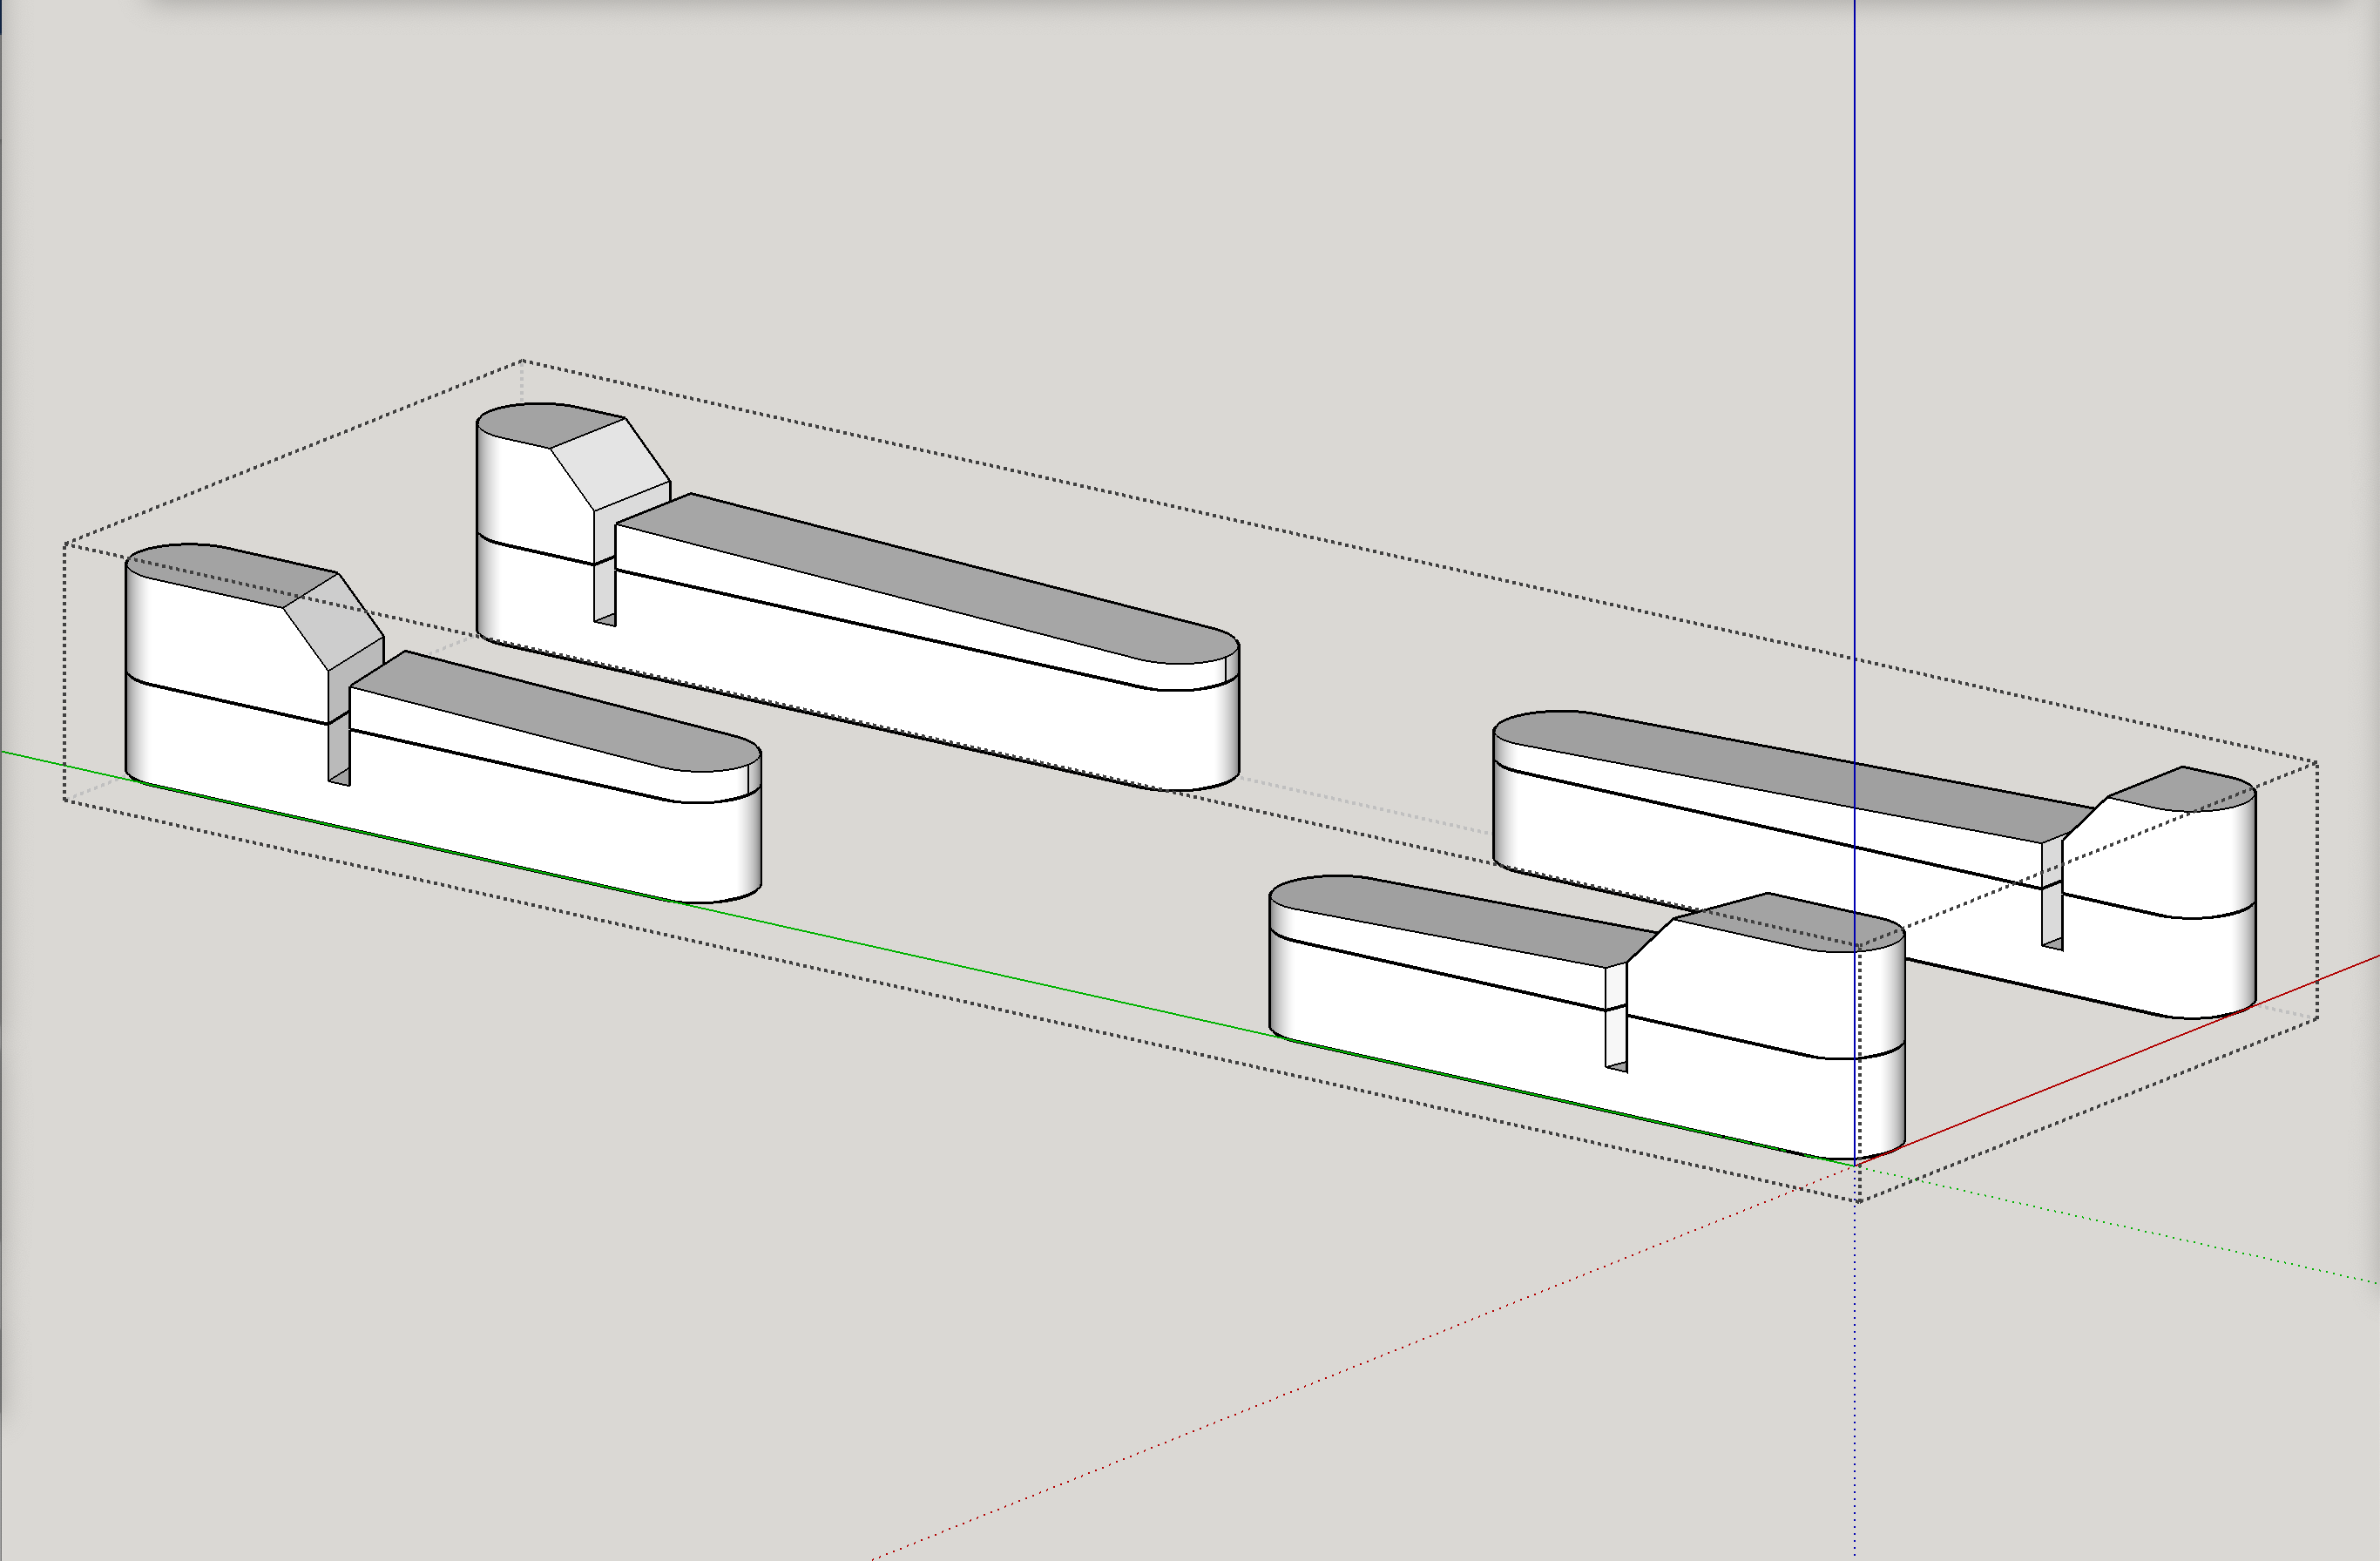
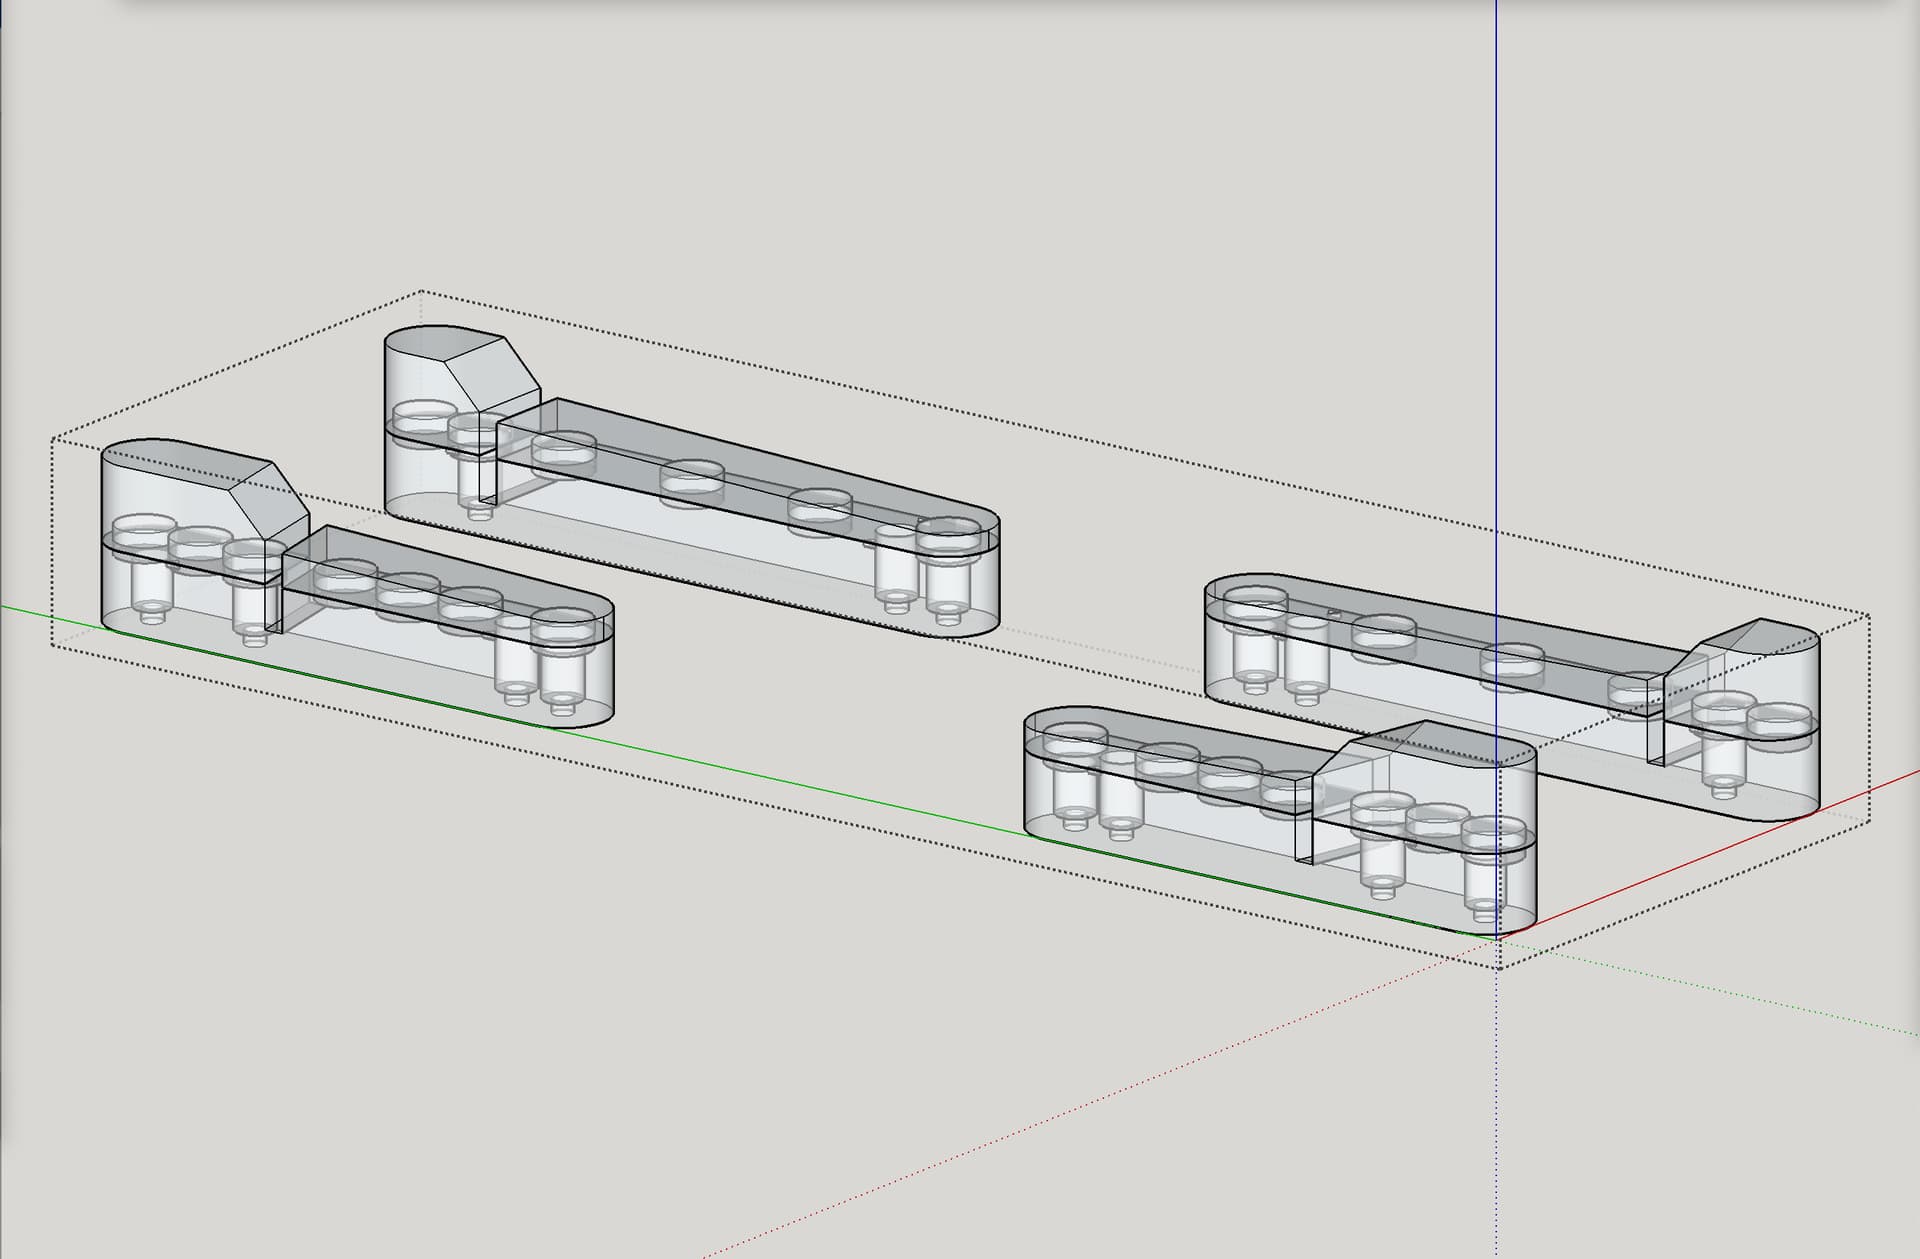
One of my reasons for not proceeding with magnets is what I perceive as unreliability when others print them. You are probably aware that I have quite a lot of magnet based models, mostly with magnets completely embedded.
I have dozens of comments from people asking for different sized magnets, or telling me there was nowhere for the magnets to be inserted until they started printing and realised they were supposed to embed them! (despite clear instructions and even sample 3mf files)
Gluing is pockets is OK, but not always reliable.
My favourite and easiest is the one I use in my DUST COLLECTION FITTINGS which are a push-fit from behind, and allow a double up if the magnets are not strong enough. I think that could work well in this case as there’s no stopping of the print to embed.
I’m not sure how I’m going time wise, but rather than gluing the parts into the covers, I wonder if they could be permanently clipped using the existing clip recesses and a firm whack!
That’s a great idea too.
I just installed the printed ones in the modeling screen shots I showed above, and even though they had no nubs on them for interfacing with the recesses in the existing fender, I had to use a dead blow hammer in combination with a small socket driver, to firmly seat them into place. No glue was needed, and I seriously doubt anything can get them out without destroying the whole shooting match. If these don’t work, I would need to print another fender! I’m fairly confident they will work.
OK, so having now tried both the original design by Peter (“clips with nubs fitting into recesses”) and my attempt at magnets, although my mag-clip approach worked, I think I can say that Peter’s original approach is easiest and best, with the proviso that I would encourage printing the clips on a 45 degree angle with either some minimal organic support or a break-away fin for support, so the layer line adhesion weakness issue is not working against you letting fins break off easily. That said, I won’t be redoing the side I did with magnets. I will continue on like I am, with mixed methods, unless and until it becomes a problem. I did try one test of removal and replacement, on the mag-clip side, which worked, even if it was tough to get the top fender off. Honestly, I think the 0.1 mm clearance on the part that gets “inserted” into the fender, means it would have worked even if there were no magnets. 
I shot some additional video, which I may make available if I can make time to assemble and render it.
Thanks for the test on that - I am currently drawing a 45* print version with breakaway tab. Shouldn’t be long - it’s just holding up finishing the fender mods!
great… another mod i have to have. You know its guys like you that are the reason my wife never believes me when I say “all I need is this” ROFL
Thanks for a great design, I may even get some blue to match the kobalt router for these.
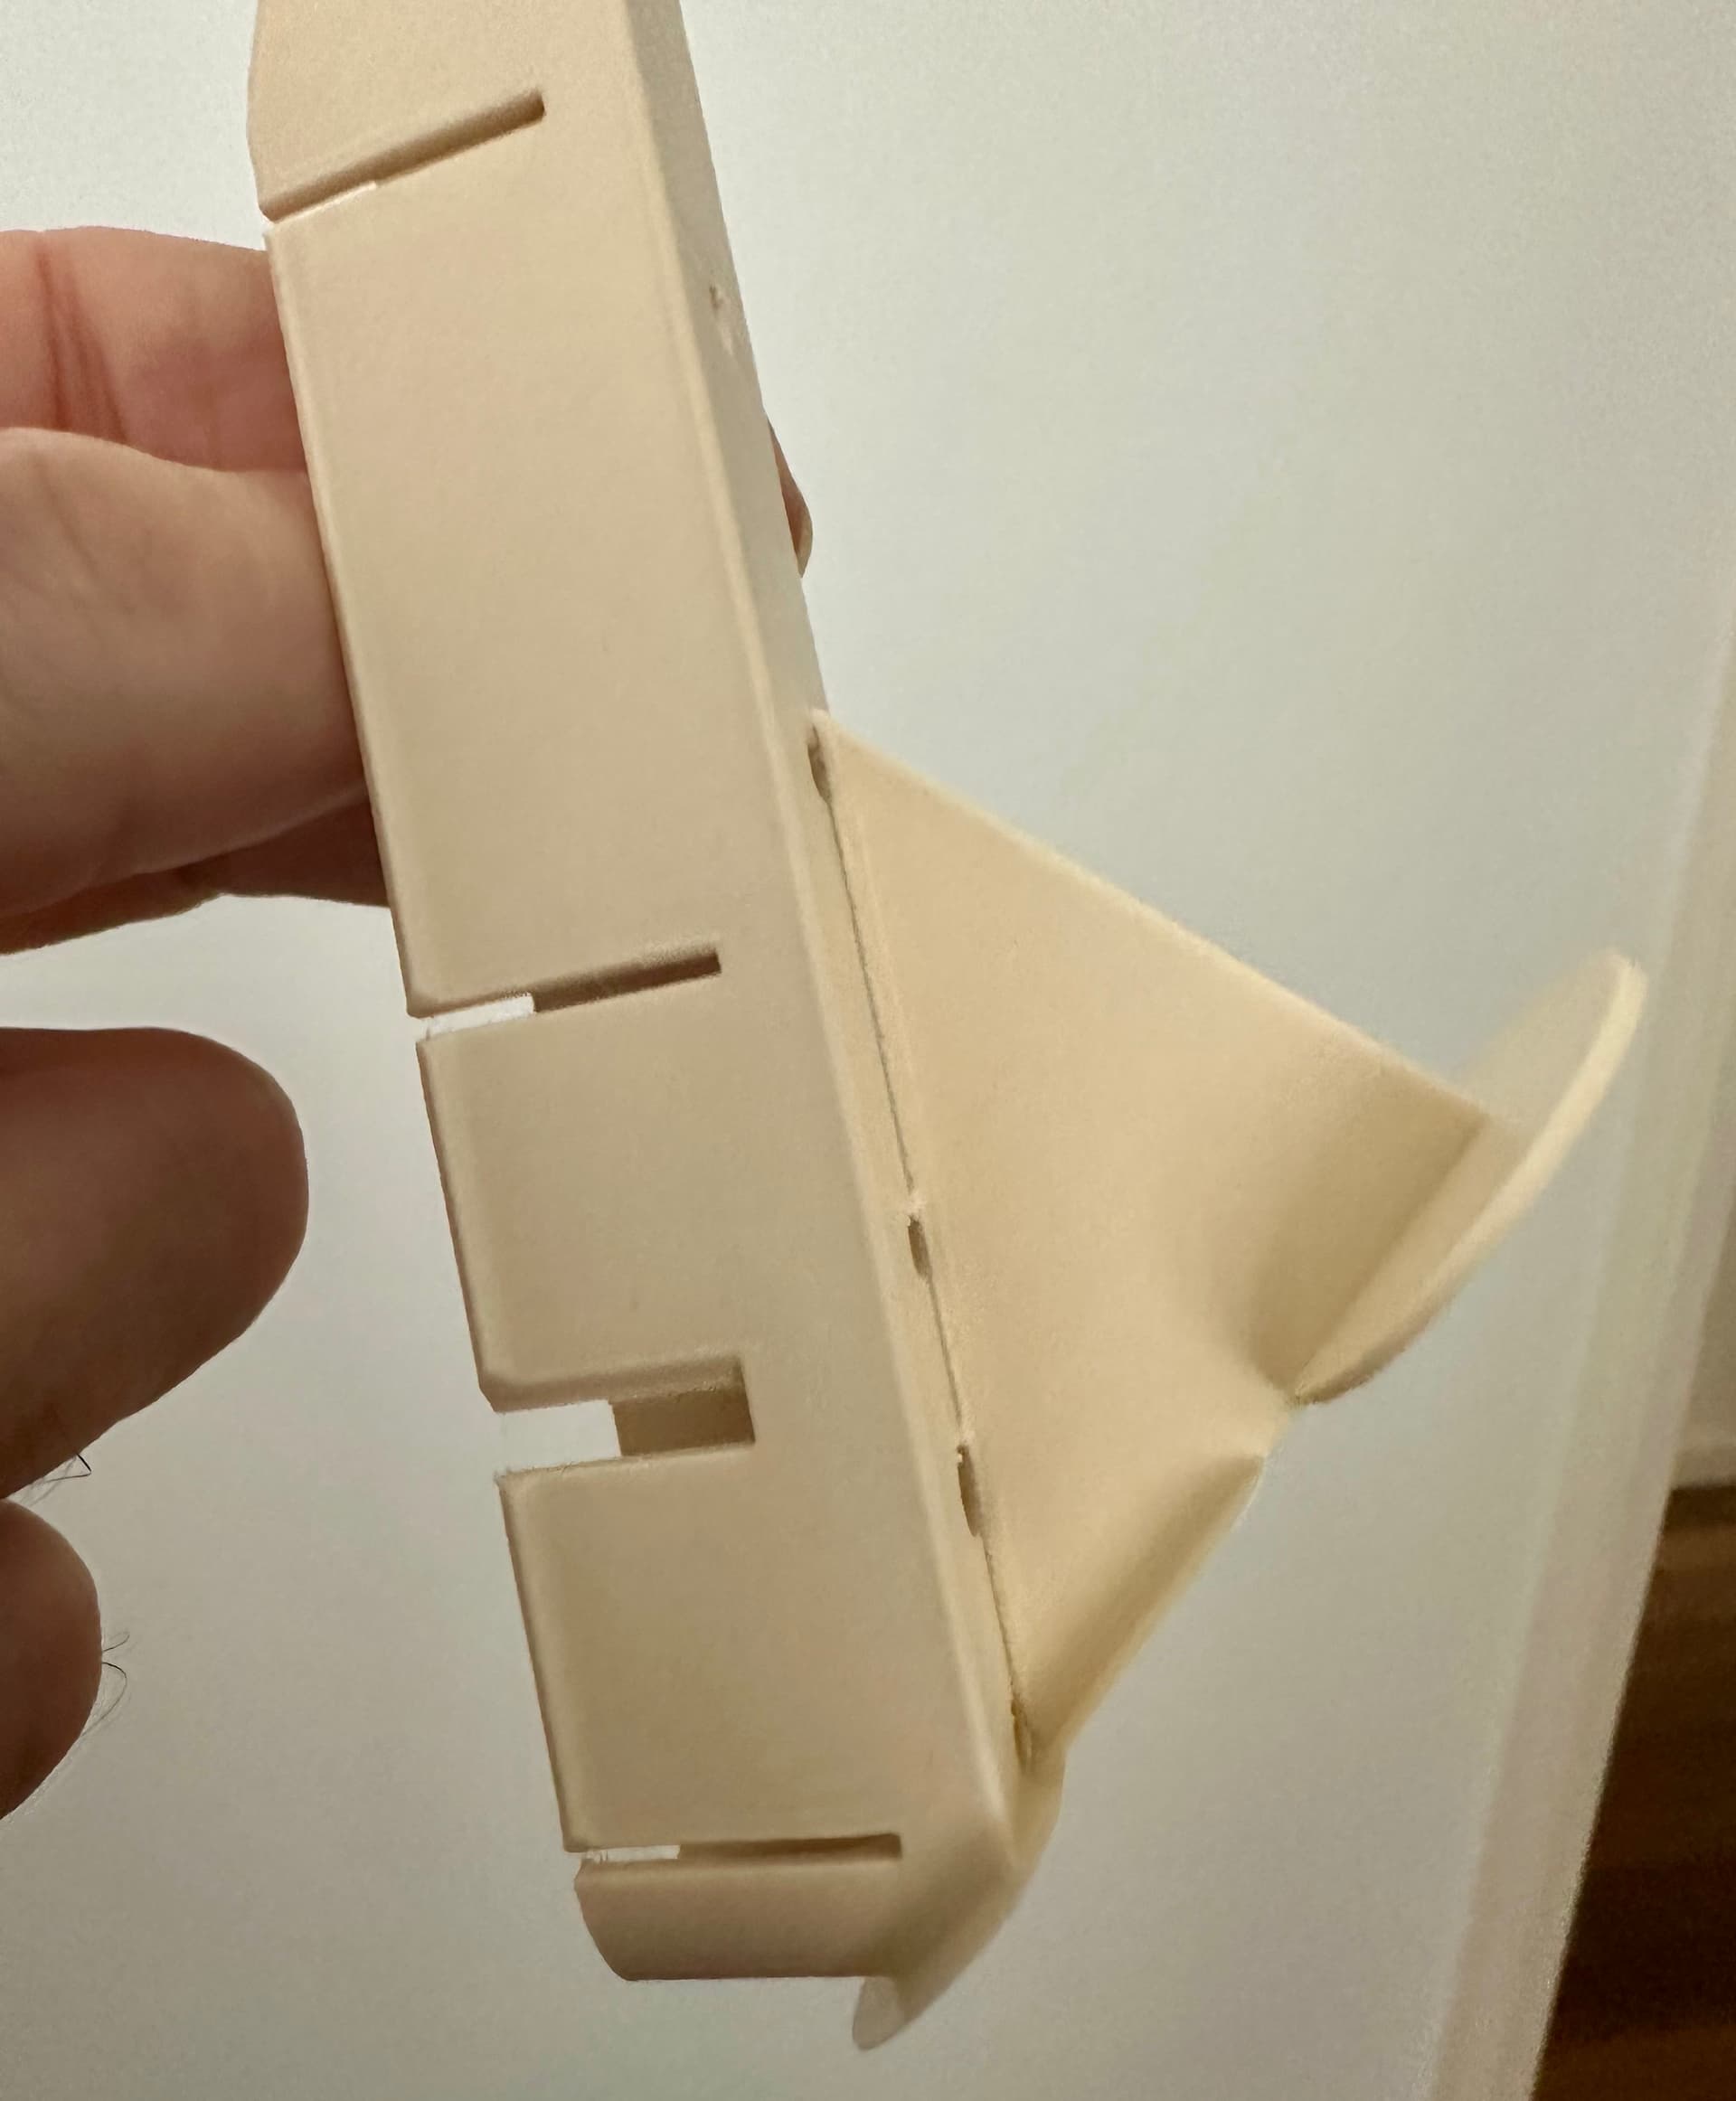
I now have a test print of the 45° version - I can’t test install them because my covers are slightly different and at the moment I don’t have time to reprint.
I can say that even with only two perimeters they are noticeably better. I have only printed one - with a snap off fin and it worked perfectly with no other support. PrusaSlicer did throw up a warning that I needed more footprint so I’ll extend the fin for the share version. It snapped off perfectly cleanly with no effort with only three 0.2mm thick x 1mm wide tabs.
They are REALLY stiff so might need some effort to get them off, or maybe they are well suited to PETG, but I can deflect them by the thickness of the “clip overhang” and they show no sign of snapping.
I will try to get some time tomorrow to upload them as a new standard. In the meantime if anyone is interested, a test stl is attached to this post.
YZ Fenders -Parametric - Part 22-2.stl.zip (345.2 KB)

Awesome, thank you!
The new angled bottom was not quite aligned with perfectly flat. Was off by about ~ 0.206 degrees.
Accordingly, once I corrected for that, the angle for the diagonal was not quite on a 45. It was about ~ 44.794. This won’t affect anything. Just happened to notice it.
That’s curious- will have to figure out why! I’ll make a couple to suit yours tomorrow if you want to wait- but I know when I wake in the morning you will already have them done! 