I really don’t need them, I was just kidding. I am going to build the new version immediately anyway this time. ![]()
3 Likes
@bitingmidge, you are so right about the multiple versions of tall plates. So sorry. No pressure. Thanks for being willing to take a crack at it.
I really have to go to bed now, because it’s tomorrow! Here’s what your plate looks like. So about an hour to get the solid form - but I there are some tiny dimensions that need fixing. It looks simple but those crystalline truncations are actually splits on planes to make them to line up - easy once you’ve done it a zillion times, but not terribly efficient.
I’m not sure when I’ll get back to it, but you’ll be the first to know! ![]()
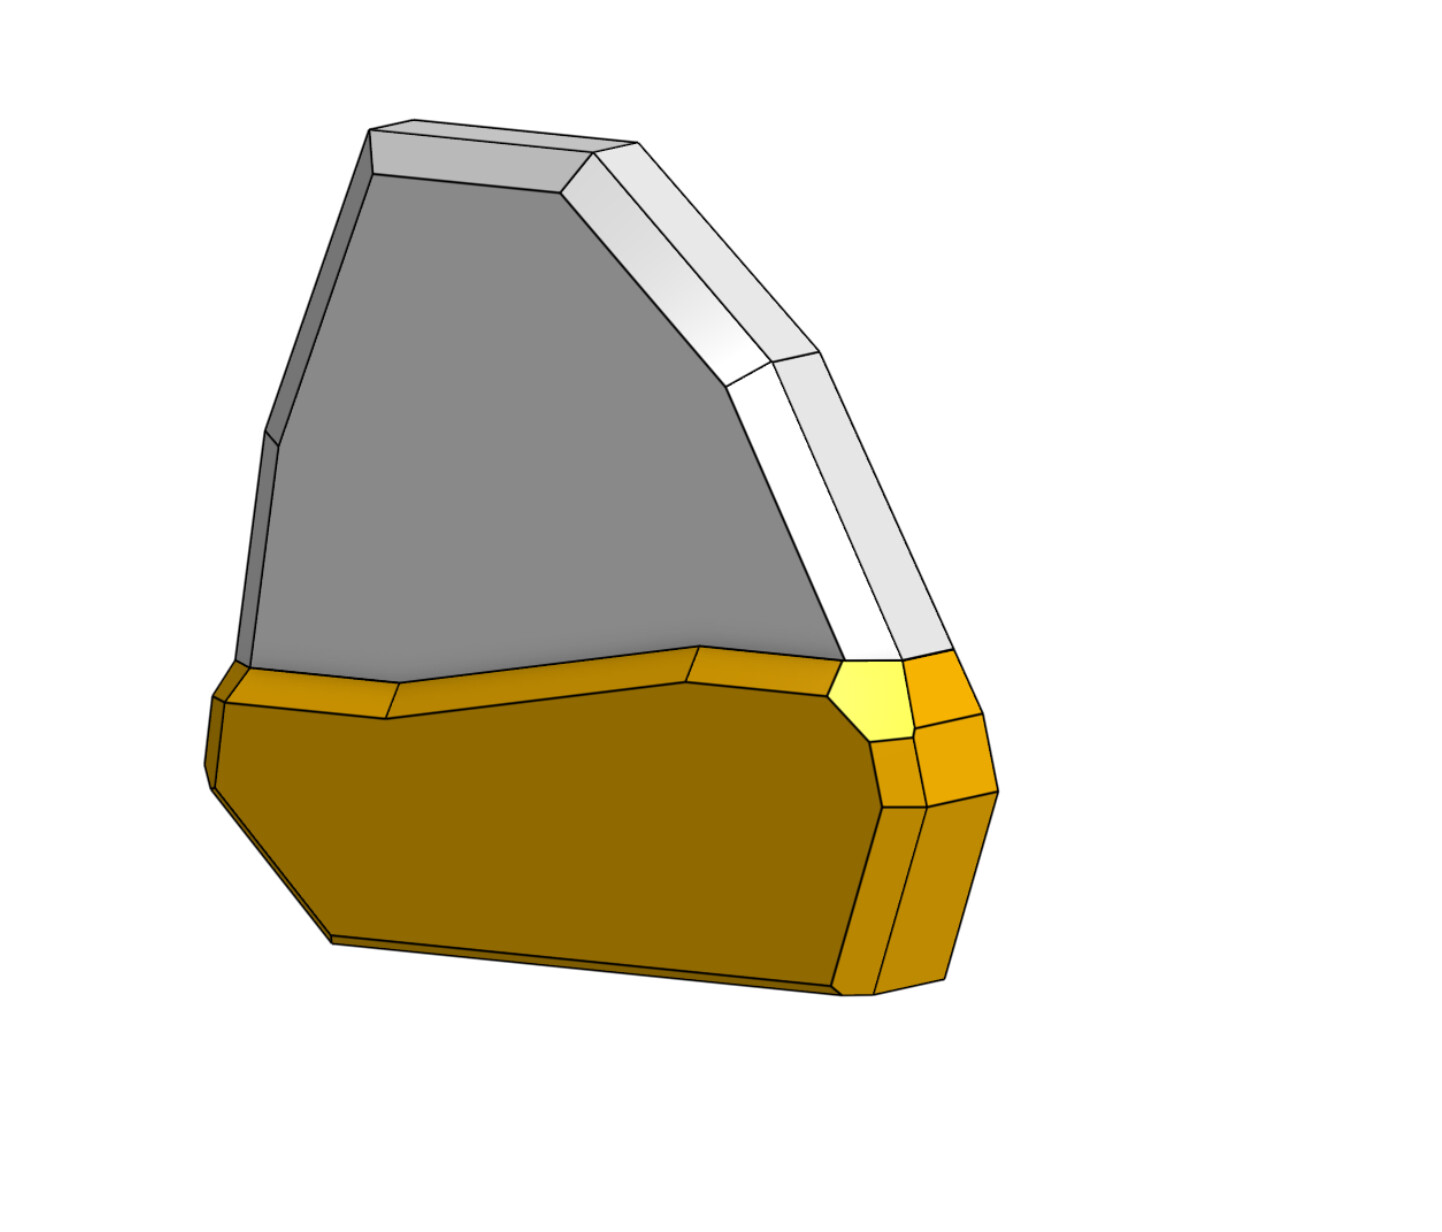
and in the company colours!


1 Like
WOW!
Just as a suggestion since I’m not involved in the design… but often times the simplest route for multiple sized items is to overlay the parts and find where they are the same and then build to fit the largest iteration, then use snape in/glue in filler plates where they’re not. Then you have just the 1 design to cover almost everyone, and then a few little fillers for customization.
It’s like buying a dash cd player install kit, you’ve got the biggest part and then all the pop outs to cover the other style radios.
2 Likes
That was my V0… the problem is that the Z stops stay loo low, and you only get a few more mm of travel. I saw that, and revised to the version 1.
Doug’s remix adds another angle, but keeps the important features.
So… makes things tricky with these variations floating around.
1 Like
I don’t want to make a career out of custom building covers but for now I’m happy to iterate as time permits- I started with Doug’s version because I think I can use that as the base for other versions. It won’t be quite as simple as @Nathan_Doty has outlined- but if I can keep the interior the same it should be fine.
just on that future parametric thing - it’s the position of the bottom “kick” that’s the killer - Because the bottom panel in this design is the tricky bit, if we could keep it the same making everything else parametric would be a walk in the park.
This is just me talking to myself really about versions beyond this - just adding another wish to the list for the next version because I can’t find “that” thread!
2 Likes
Just stop procrastinating and finish your LowRider. ![]()
![]()
2 Likes
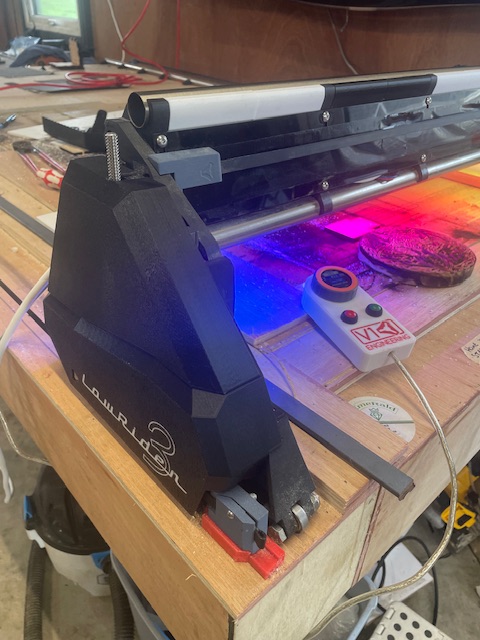
It is operational you know - but I keep that a secret because I haven’t finally levelled or squared it so I don’t want to call it finished. If you look closely at the bottom of the cover in the pic at the top of the page you can even see some MDF dust!
However, back on topic…
I am quickly falling out of love with @DougJoseph and his 19mm plates!! ![]()
It all works, but there are lots of 0.1mm discrepancies that have to be mopped up and the clip is hard against the face of the cover which means that one speck of dust will stop them going on.
How many 19mm plates are there in the wild? Do I need to modify the standard covers?
2 Likes
Thanks so much. Please don’t spend any more time on it. I’m probably the only one that has 19 mm thick plates. Maybe if I can get a hold of what you’ve already done, I can mop up those little inconsistencies you were talking about.
It’s quite OK Doug - it’s what artists call “brush miles” - practice is how you get good at stuff, and while when it’s done it will be clear for you to go back step by step - at the moment it would take you a week!
Stand by - I will shortly be whisked away for the rest of the day or longer - but I’ll send you the file of where I’m up to - you should be able to print a test at the worst!
Brilliant timing - our weekend guests arrived as I was sending Doug a message! Not perfect and I’m waiting on Doug’s testing now - but if it all works I am confident I can modify others as required
2 Likes
The MMU adds a ridiculous amount of time to the print but it’s worth it.
5 Likes
Wowsers!![]()
1 Like
Yeah, rub it in… ![]()
2 Likes
So @Tokoloshe when your MMU does finally arrive…
Just sayin’


This is how things get out of hand. It started as a joke, and then I realised how easy it would be to do, and then I thought someone clever could make the eyes blink so he looked startled every time Y direction changed.
(This is just for @Tokoloshe - please don’t let it get out of hand… even though before my “Enterprise” scheme I was having visions of a Vader Helment. ![]()
7 Likes
Doug is working through my “speed bugs” - I’m fairly sure I can knock out another iteration very quickly if you guys are interested, butI’m more comfortable waiting for a real life test - there’s no sense in everyone finding the same mistakes!
1 Like
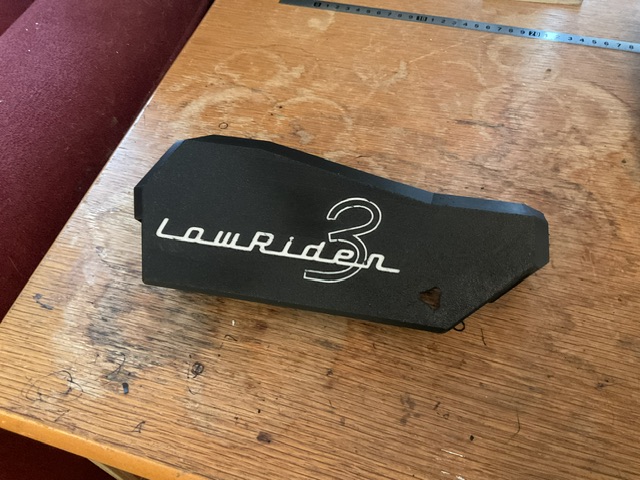
That really look sensational - I was originally going to do an all black build and this is exactly as I had envisioned it at the outset.
What thickness are your plates?
I think I’ve spotted it! ![]()
I wondered about making a cutout for the screw, but I think perhaps I will add a link to my “how to” cut down a lead screw instead.
May I use this photo as an example of the “cutout” alternative? Better still, I’ve linked to this post!
Cheers,
2 Likes
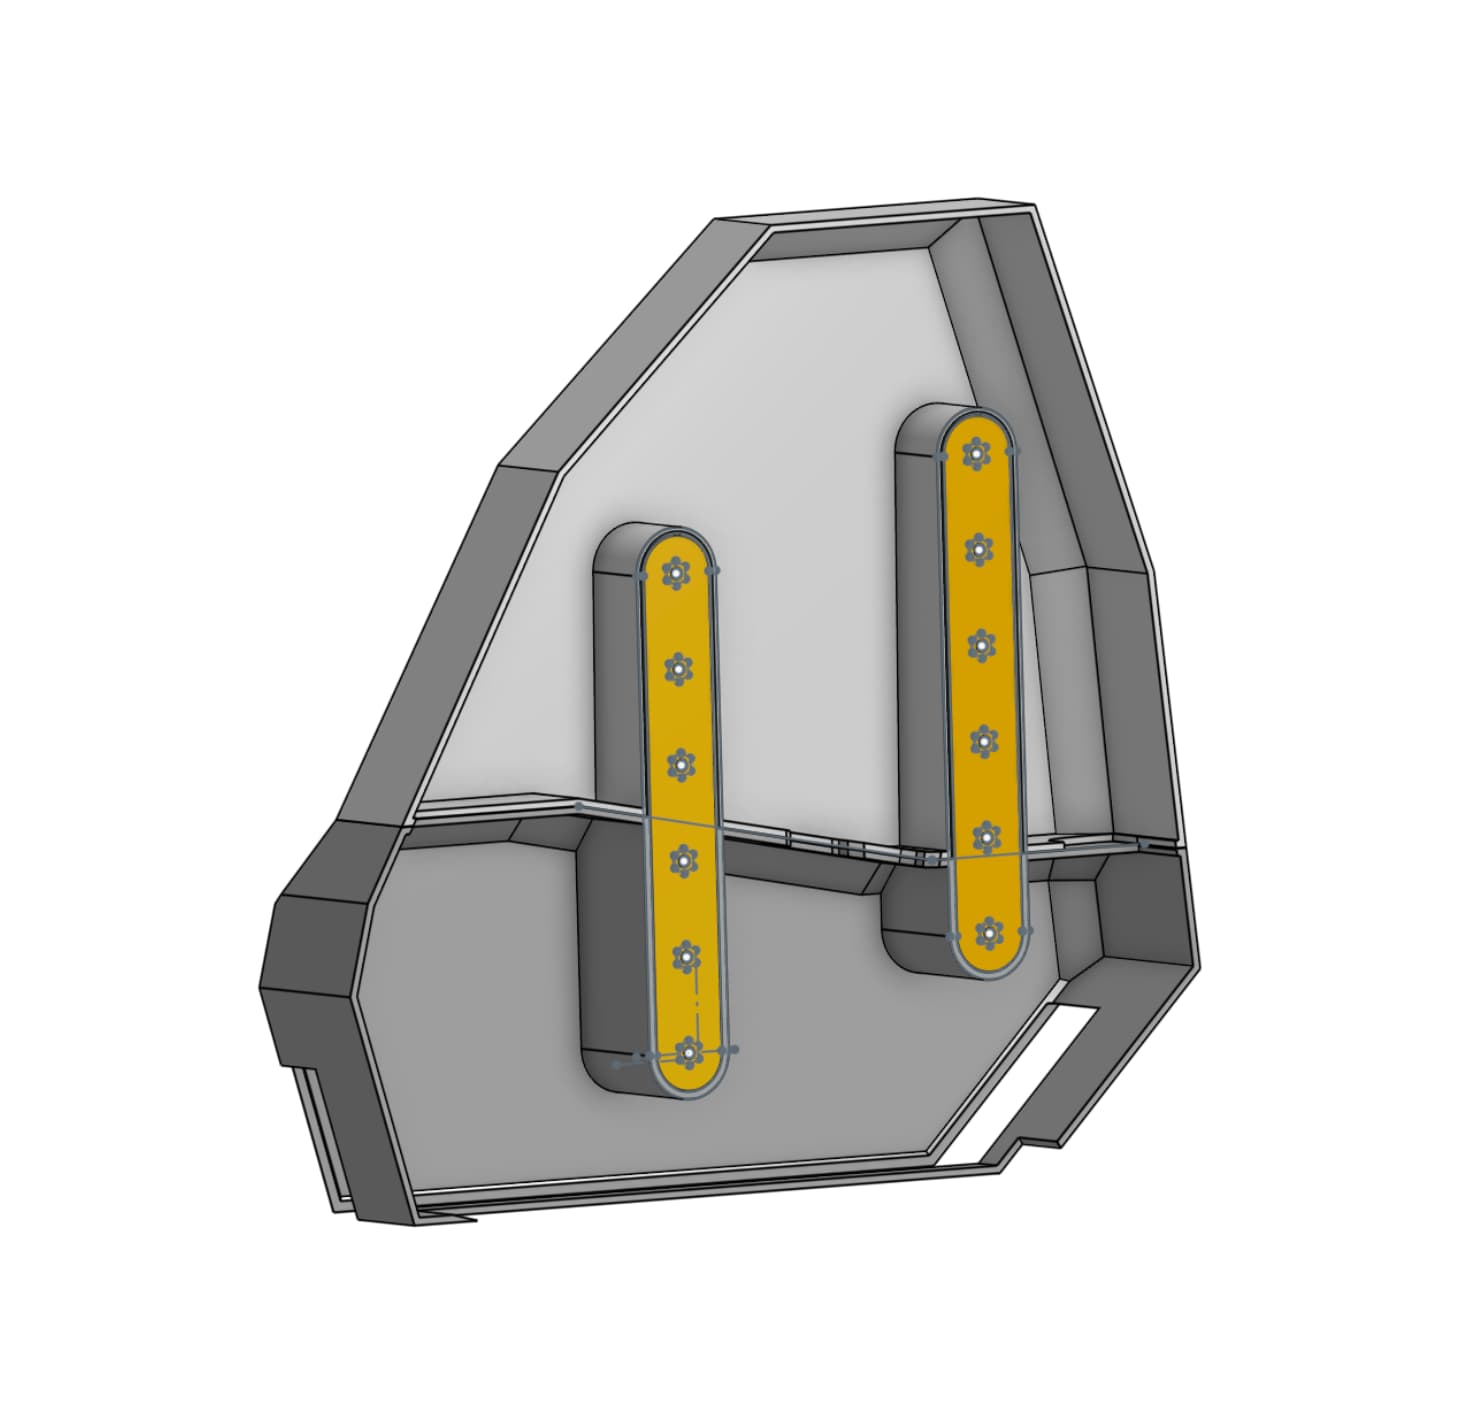
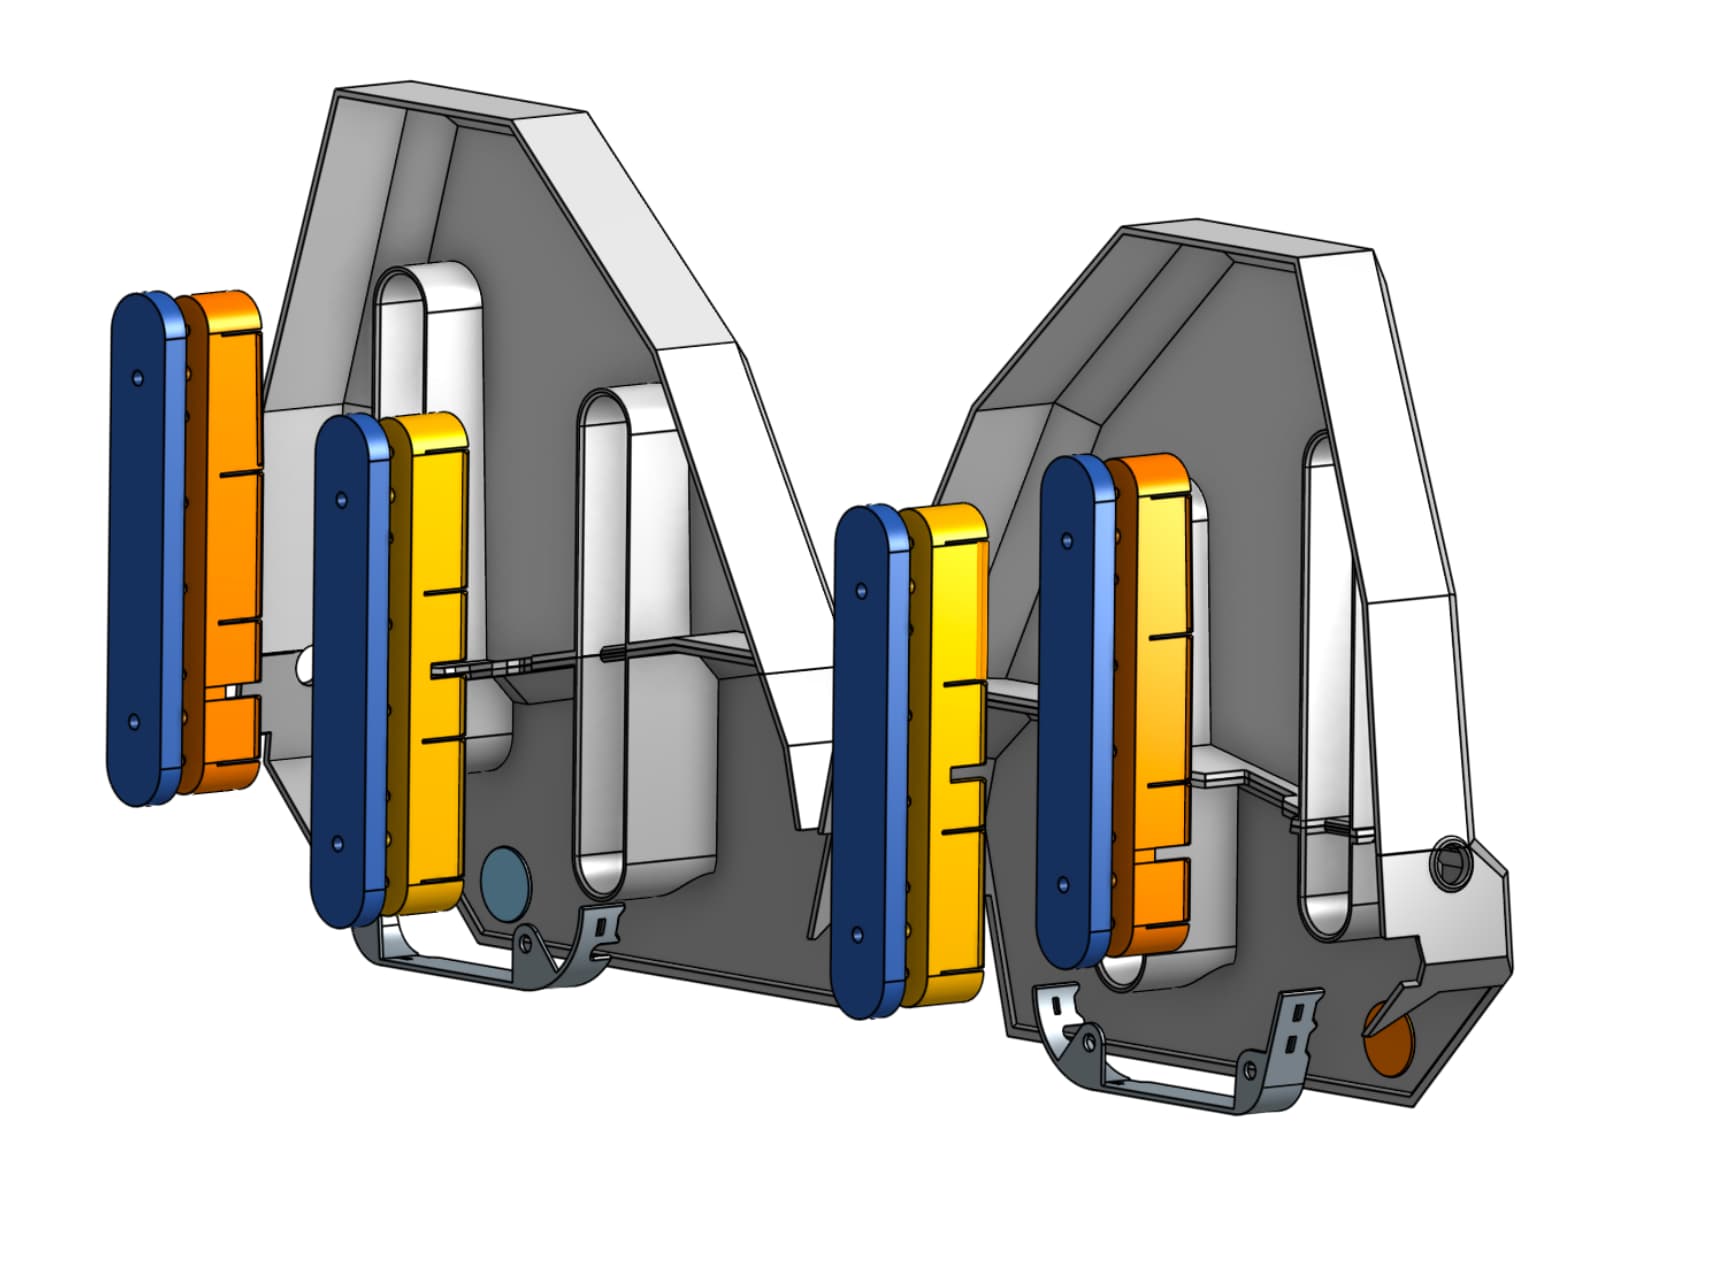
I have modeled up an add-on type remix of these LR3 Fenders, based on the awesome ones @bitingmidge made for the “DougDan - Tall YZ Plates” — but this one is a 3-piece version that is intended to work for my “Hidden Belts Mod.” I created the add-on fender for the “Y Extend plate” in two variations — both with and without my Design8Studio icon:
With my icon:

Without my icon:

I have started printing this set just now (trying just one side for now, to check for fit).
Thank you so much, @bitingmidge, for doing these and sharing them!
PS: Peter, the only other little thing I found was (and this is really minor) a slight mismatch on the locking tabs on the clips, on the clip listed as “YZ Fenders -DougDan - Clip - Back.stl”:
Looking from the backside, the locking tab to the front (left in this pic) ends at a different place than its counterpart on the back side (right in this pic). Very minor.

2 Likes