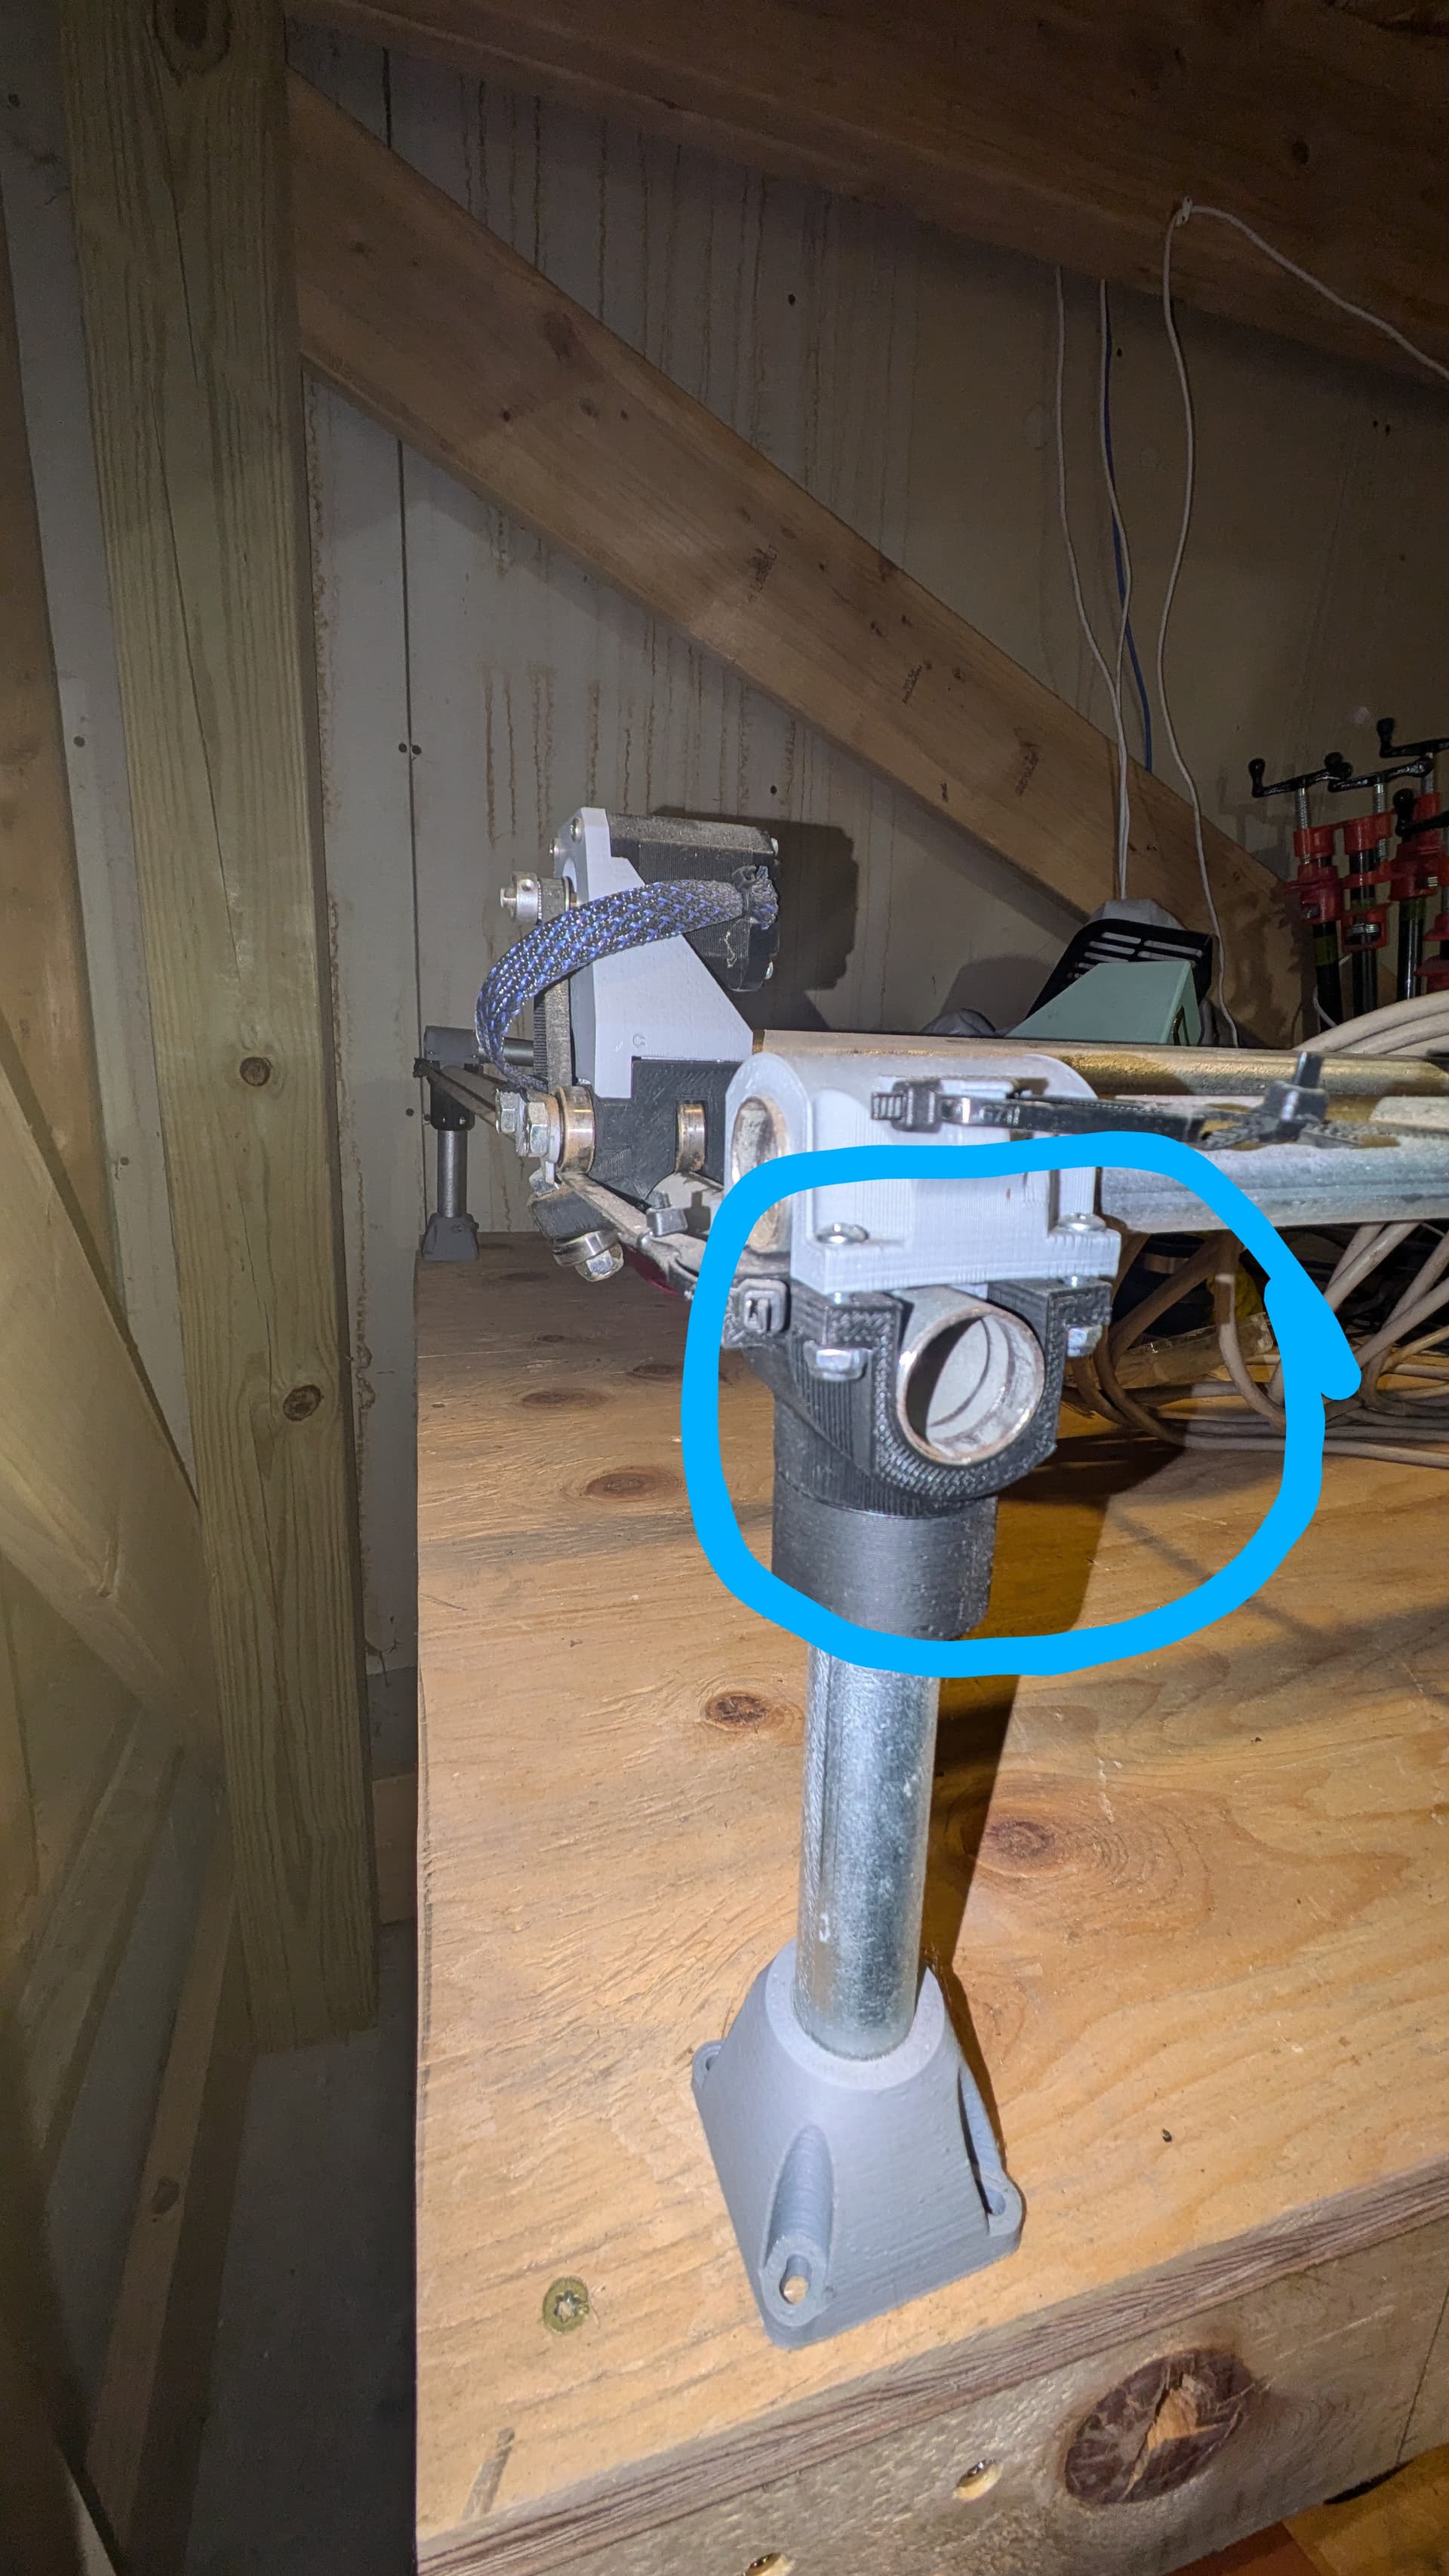
I apologize if this isn’t the right place to post this, but I purchased a used MPCNC last year. I broke a couple parts on it and I can’t find the files online to print replacements. I attached a picture of the part I broke (one on each side of machine). As a new user I can only upload one picture. Hopefully that is enough to to identify the generation of design. If anybody can provide the files I would greatly appreciate it. The circled part is what I broke.
It looks like the burly.
1 Like
Did the burly have a 23.5mm option or were they all 25.4? I will double check my rails but I think i have 23.5.
Thank you.
I can’t help with that one, it was before my time ![]() i just know it existed. My 1st build was the primo.
i just know it existed. My 1st build was the primo.
Parts for Burly were available in 3 tubing sizes, using a single character identifier:
C - “Conduit” for US 3/4" (inside diameter) galvanized steel electrical conduit, 23.5 mm outer diameter
F - “Foreign” for international, exactly 25 mm outer diameter
J - “Jumbo” for 1" outside diameter steel structural tubing (25.4 mm)
2 Likes
Ok, I’m back. I got my CNC put back together and I’m ready to make some dust and chips. How do I go about making it work?
I have a Rambo driver board and a marlinfw board of some sort. I put an sd card in the slot but it won’t read the card. Any help would be appreciated.
Also what file format is needed? Is it a step file like the 3d printers use?
Thank you
- Sd card size and format. Fat32 for the sd card format and 32gb or smaller
- Pick your software. I prefer estlcam because it is what was recommended when I started. If you have the web extention installed. Hit the 3 lines On the top left, go to docs, hit the top left amd go to tools, then milling. Here are the basic settings needed to setup estlcam.
- Follow the steps for your setting up the test cut.
- After saving the file to the sd card. Put it im the lcd, remember it goes in upside down(contacts facing up).
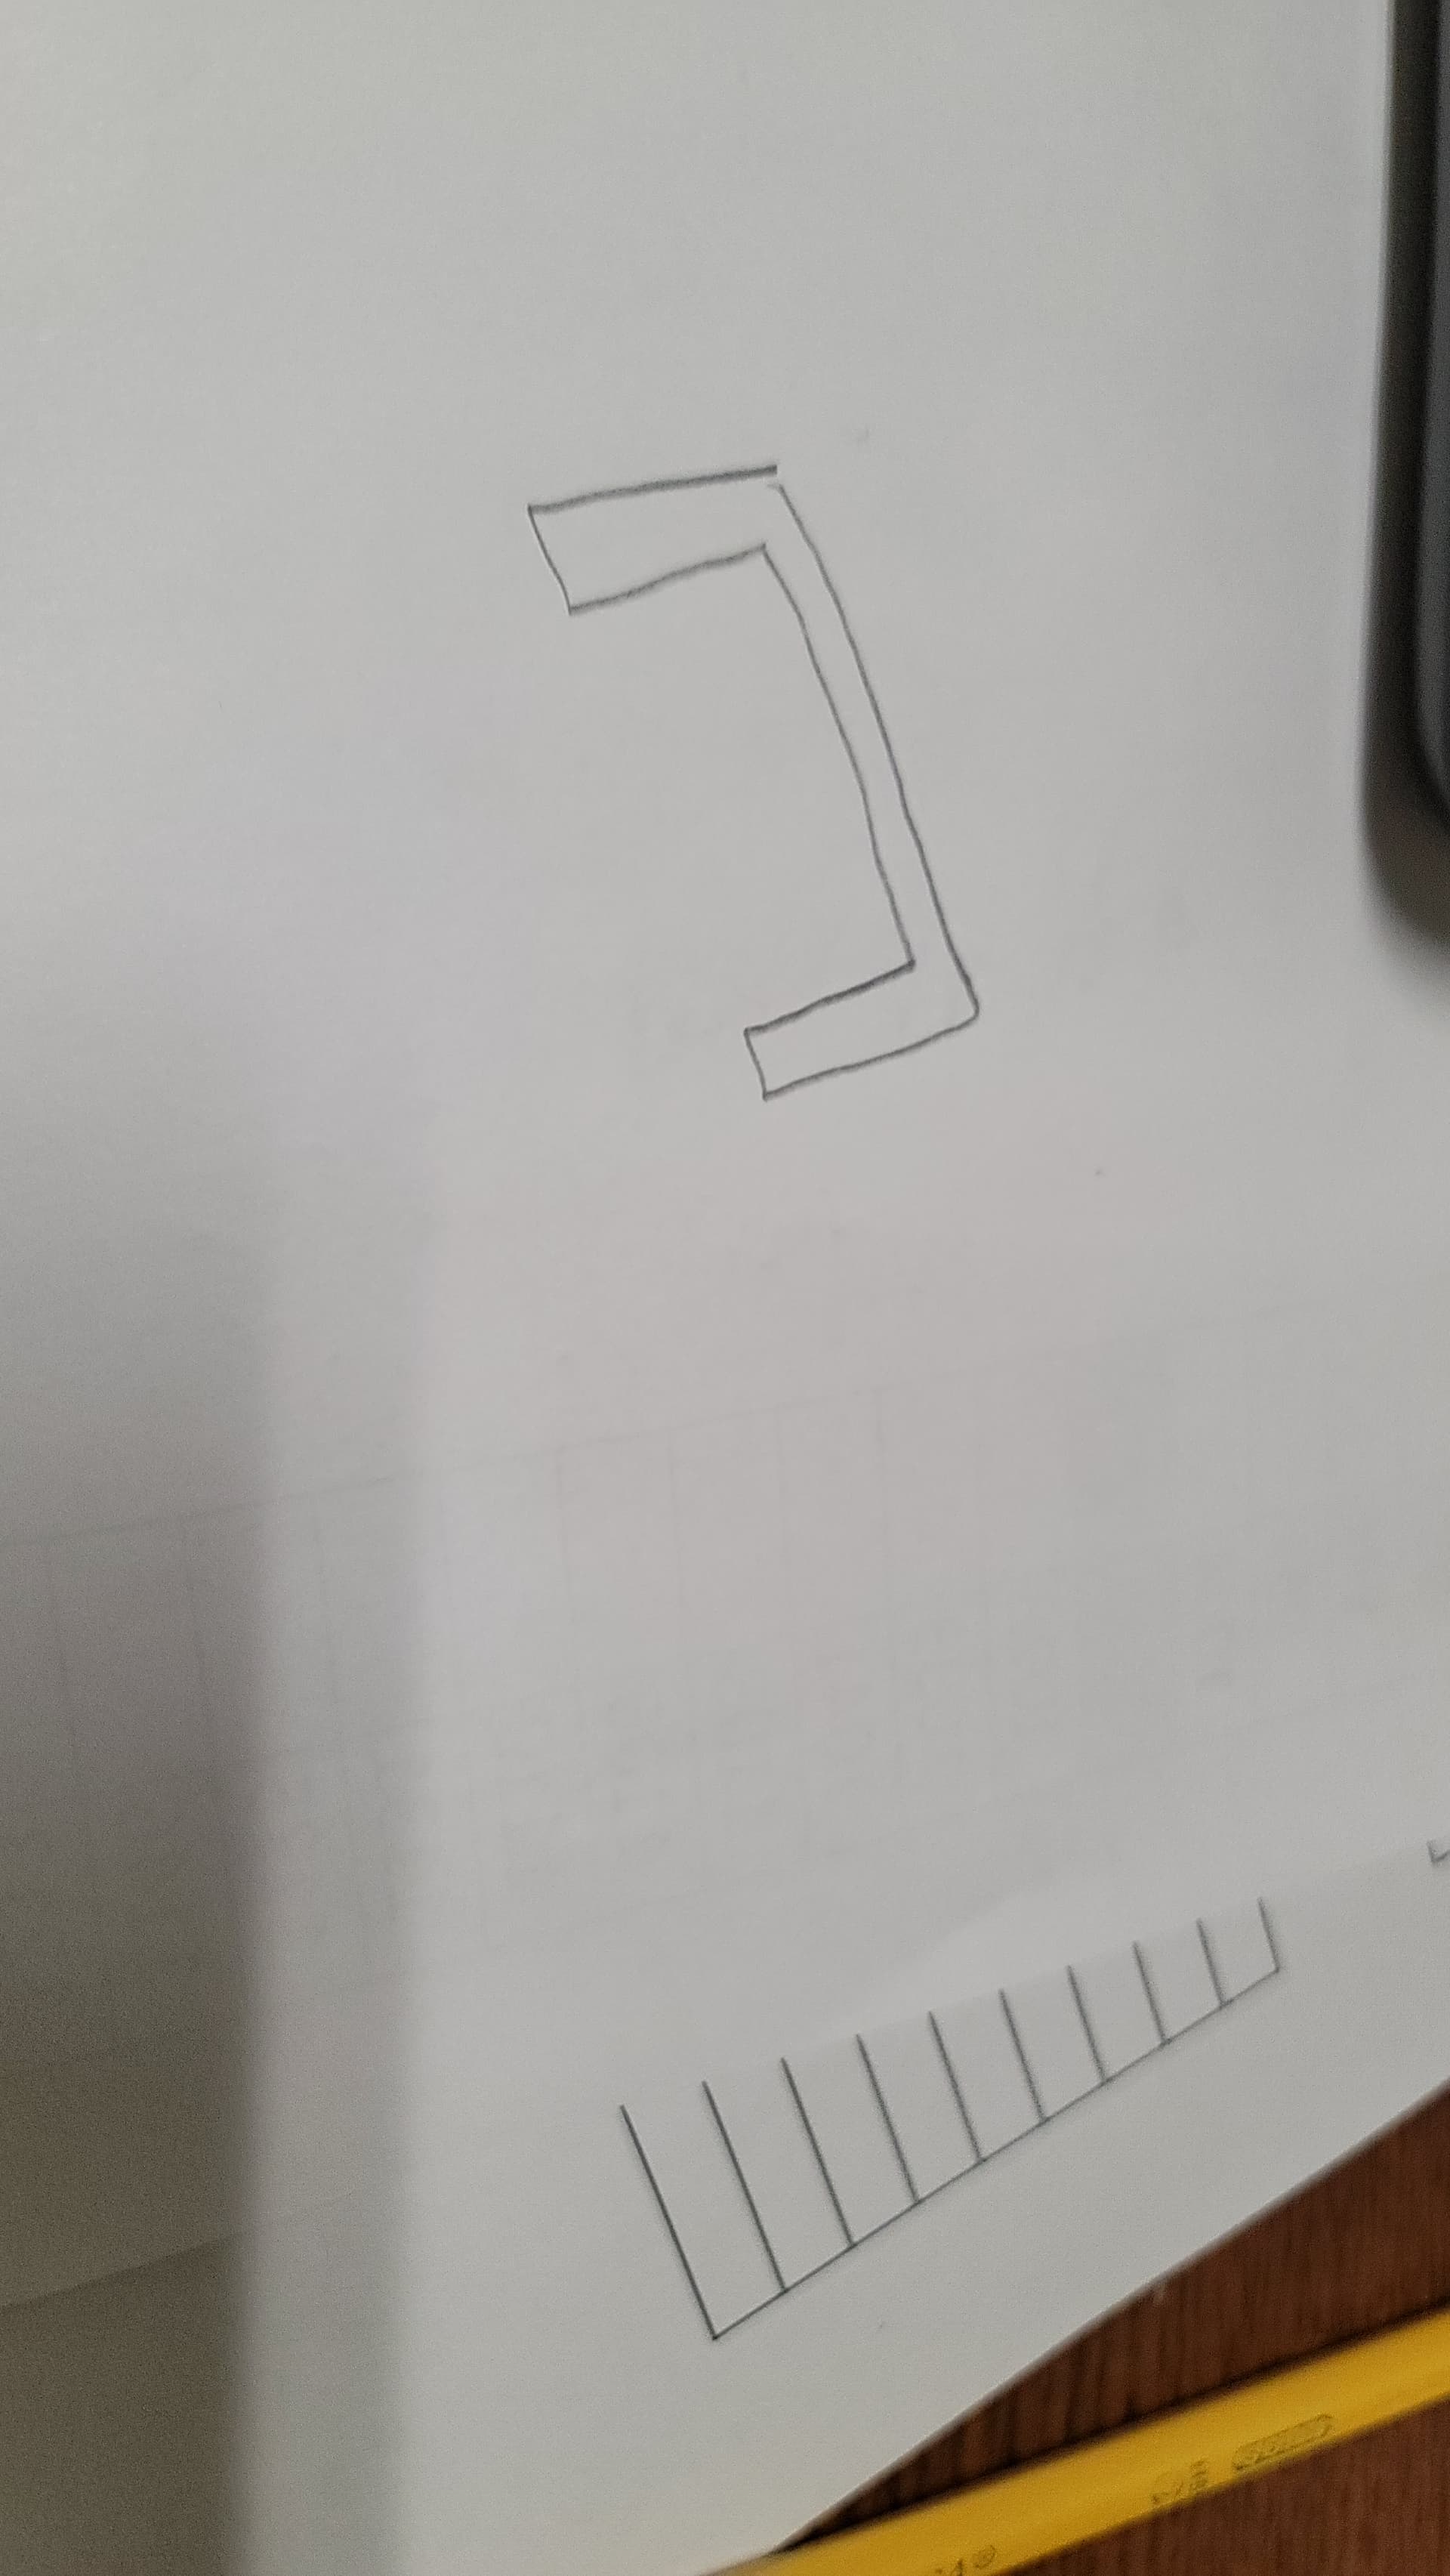
- The next step is a little tricky because it comes down to if you have end stops or a touch plate. I didnt have end stops for the longest time. So made and cut somethings that looked like this
So i could quickly slap them on the conduit push and be square. After slapping them on go into motion,move x or y, and move .01 so the motors would engage and it wouldnt move when setting they Y axis.if you have end stops go into motion and home x and y
6.Next secure your peice of wood, i go bigger then my cutting area and screw straight to the spoiler board. I had made a slot and lock system but it made my table heavy to move. - Once you have your bit in the 611 amd secured. Slowly turn the lead screw until you see the tip of the bit touching the wood. Go into motion, move z, .01 to engage it.
- Go into menu on the display scroll to the bottom where it says print from sd card. Select your file. Turn on the 611 or spindle, press ok and watch the magic happen.
When its done turn off the cutter and remove and start carving and cutting your dreams into reality.
Now everyone have different points of view, how to set it up, how to home, using the new jackpot and doing it wireless. And those are all awesome option. The right way, the wrong way, and the Max Powers Way( the wrong way but faster)
This is just the way I do
1 Like
I don’t use estlcam, I use marlinfw with a Rambo board.
I formatted my sd card to fat32 but the controller doesn’t recognize it.
Any other ideas?
Estlcam writes your gcode.
None of us but Ryan and Jeff were around for those old versions.
What is actually on the sd card to recognize after you formatted it?
Marlin reads a gcode input file. Estlcam makes the input file to provide the instructions where the cnc moves.
That was my missing piece of info. Big slap to the forehead after reading that.
I downloaded estlcam. Then, under the setup menu, I selected marlin as my controller (?, i assume the option of Marlin is meant for the marlinfw on my cnc). I imported my part, created my toolpath, then saved my cnc program. I saved the file with a .nc extension and a .gcode file extension and still my cnc does not recognize the sd card. I tried both times with only one file on the sd card.
Any ideas? Is it a simple upgrade to marlin firmware?
The rambo reads the SD card using very simple code. The SD card needs to be formatted FAT32 and ideally under 4GB. The filename should be shortish and end in .gcode. Folders are supported, but plopping it in the base folder is better if you’re trying to troubleshoot. If that doesn’t work, try a different card (ideally older). You can connect something like repetier host, but getting the screen working first is usually simpler.
The first thing you should run is the premade gcode file from the test crown. Then follow the estlcam basics tutorial to recreate it. Then you can move on to some test cuts of your own design. The software workflow gives a good overview of the different pieces and what to call them. But let’s get your machine checked out first.
Not complex. But not simple. It also likely won’t change a thing regarding the sdcard. What version are you running?
Maybe a picture of your control board and setup would help.
Have you read through the documentation here:
Under the Control, Tools and Learn sections you will find a lot of the information you’re asking for.
There you’ll find the basics of how to test your machine and step by step on how to ‘make it work’
I would also advise you don’t consider changing firmware or anything like that until you know more - randomly changing things is unlikely to help and makes it harder for anyone to assist.
The first order operation is to use the sd card and will be a good first indication of system functionality.
While it is a bit more involved, I tend to hook my controllers up via usb and use a “sender” program like octoprint or pronterface or maybe some day millmage to stream the gcode file line by line to the cnc. This could be the design computer or just a networked computer that allows uploading from the design pc to sidestep the sd card option. A raspberry pi 3B or newer tends to work for this as well.
There are other options, but establishing system functionality status is first priority and that should be doable with the sdcard.
Are you using the crown code?
Sometimes these systems require shorter file names like 8.3.
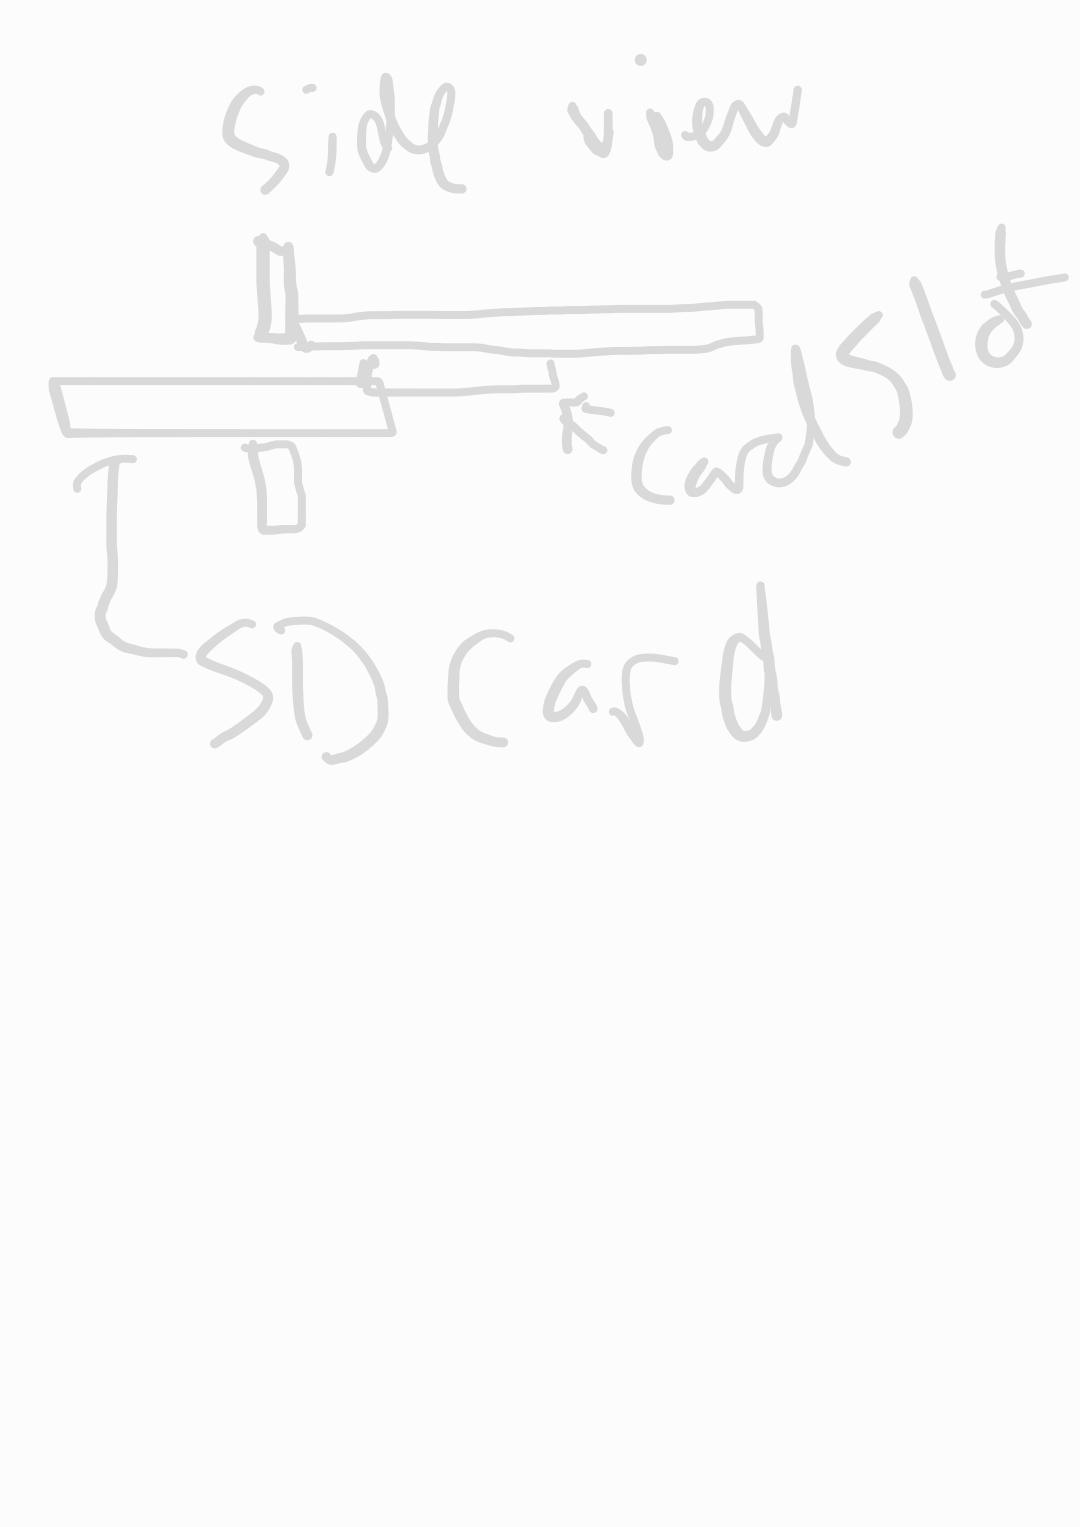
I know this is silly, but are you putting the sd card in the wrong way. Because there is just enough space for the sd card to miss the metal slide/catcher
So I’ve tried renaming my .gcode files to the shortest possible file name. I’ve tried multiple sd cards and I’ve downloaded the crown .gcode file. My board will not recognize sd cards, which leads me to believe i have a bad board or something is damaged on the sd slot. I am going to search the net for replacement parts and see where that gets me.
From what I can tell the cables between the LCD and the controller look correct. I can move all three axis with the LCD board.
I do have experience with Octoprint, i may install that quick and see if that will solve my issues.
Thank you all for your help, I really do appreciate it!
You may have tried such, but you haven’t mentioned it… are the cards you’ve tried 4GB or less in size as others have inquired?
Did you say you were putting the sd card in the board slot or the lcd slot?
I’ve tried using multiple size cards, all 4GB or less.
The SD card slot is on the LCD.
Cough
3 Likes