I don’t know if there is a version with a metal frame and a runout switch.
It is very small. This is my first experience with it also. I picked it because it used the same gear set as the Clockwork 2 that I had already built.
The MMU situation is why I am working on this. I wanted a filament cutter and the Filametrix Stealthburner cutter was out there. I then discovered the Dragon burner and its mount is way easier than the Stealth to adapt to our uses. Then I found the DragonCutter. It also has a filament sensor and according to all that I have read the Happy Hare software is really happy if it has a sensor before the extruder and between the extruder and the hotend. This fits all the requirements and is lighter and better cooling (I have read).
The other upside is that all the Chirpy toolheads mount to the same mount so you can build any of them and use them.
Extractor heads exist. You can thread in the extractor, heat up an iron, then pull out the insert.
This works really well with a fast iron like a Pinecil, but it’s a bit tedious to do.
I’ve heard there are “quick release” extractors, but I’ve never seen one.
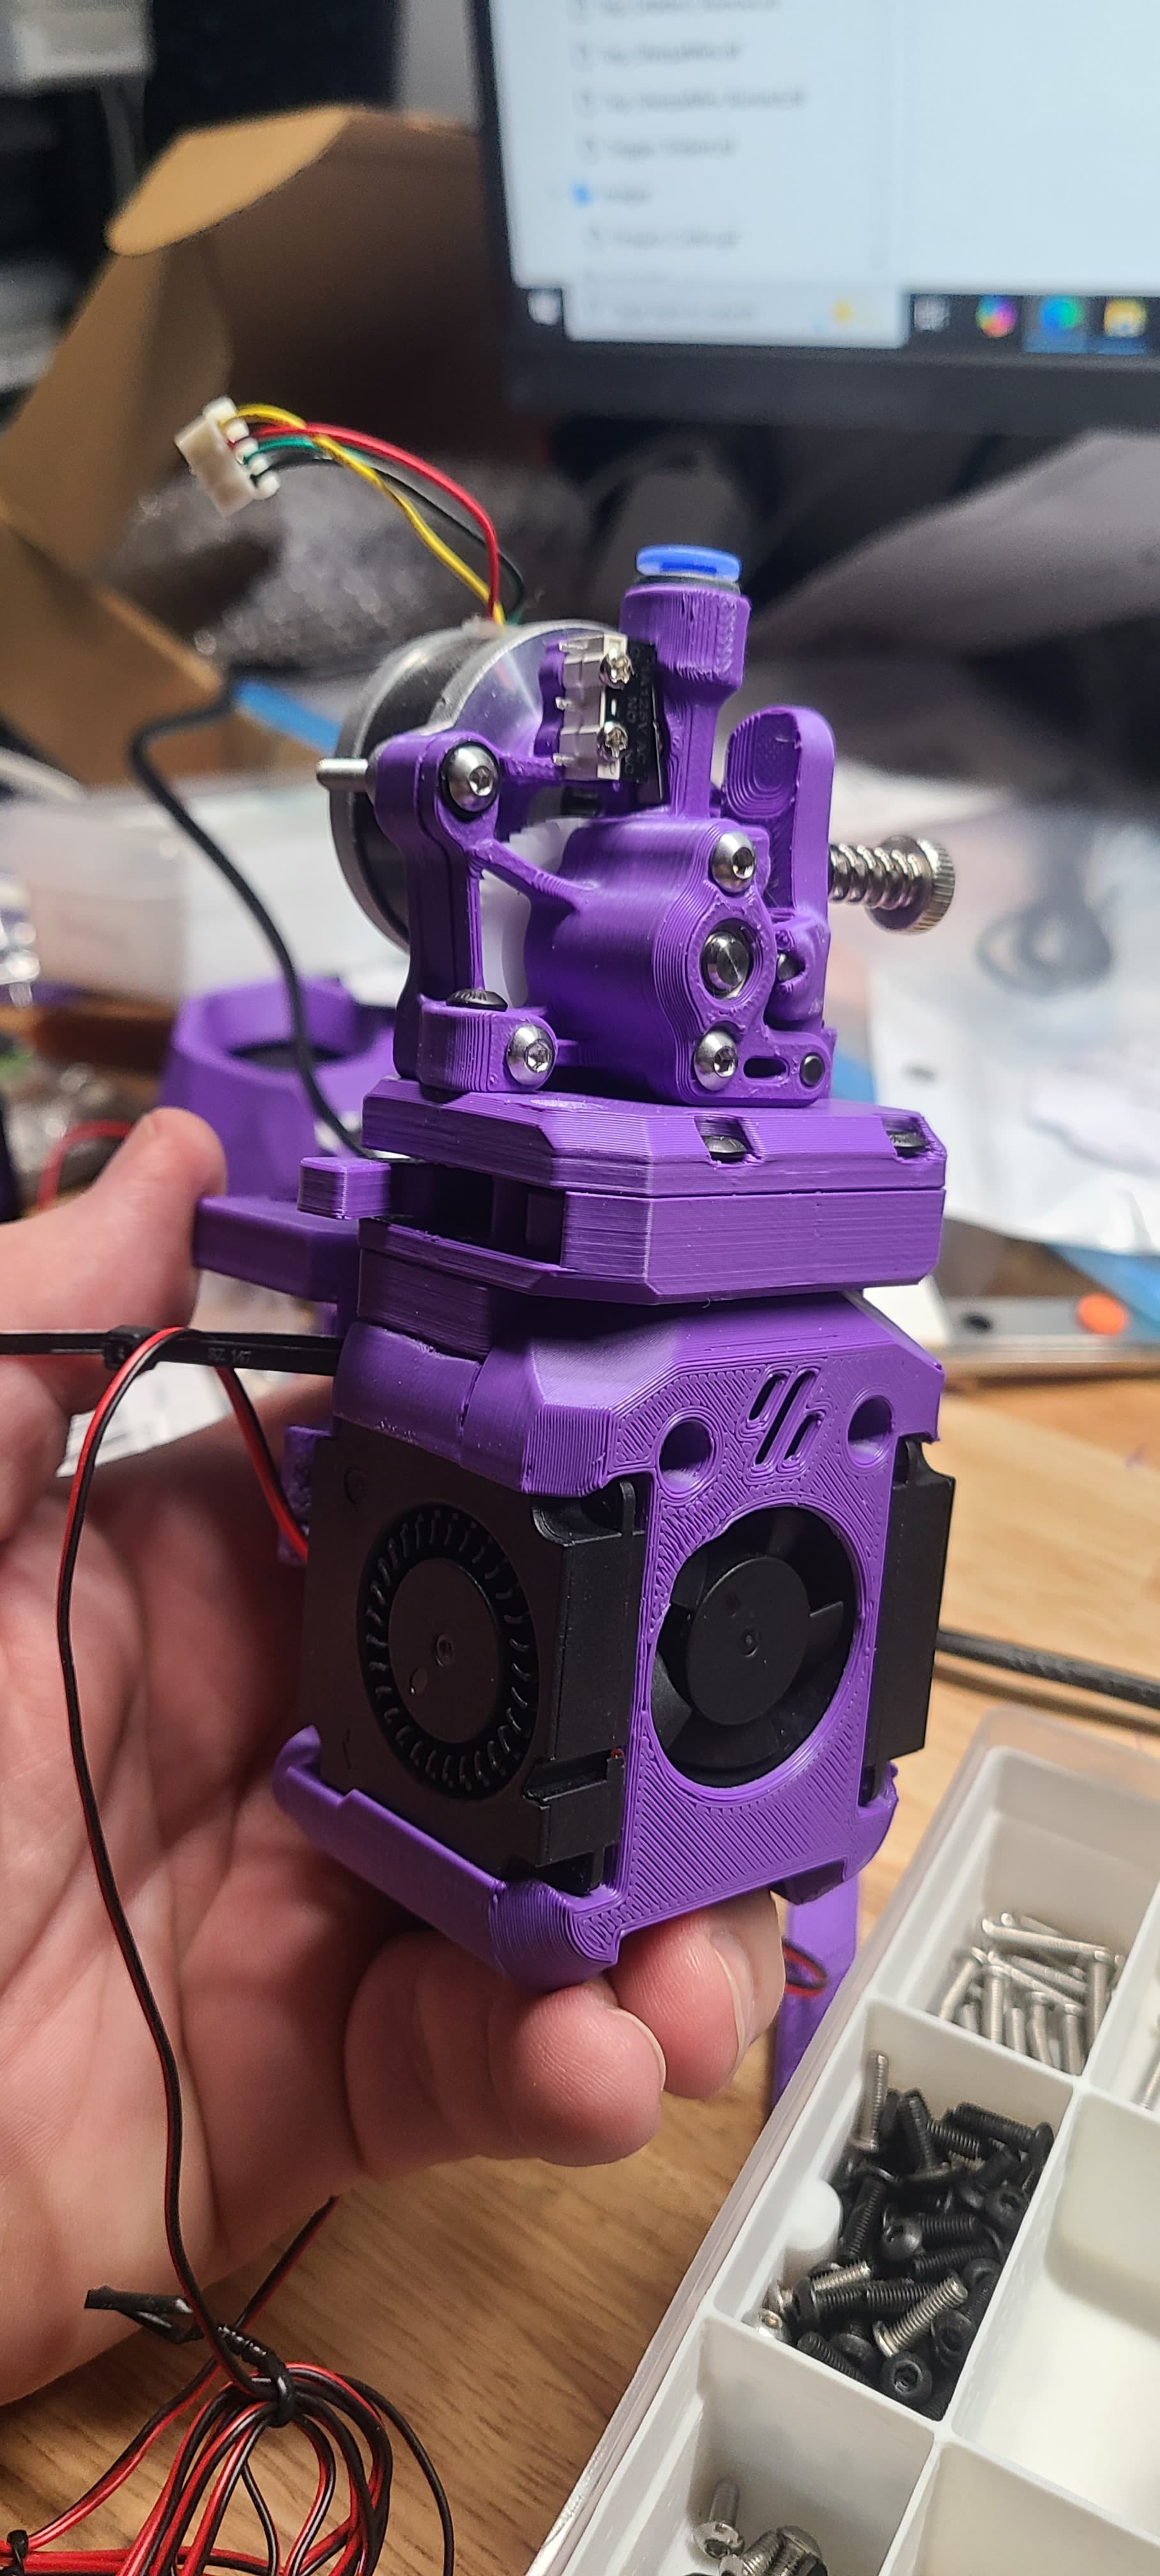
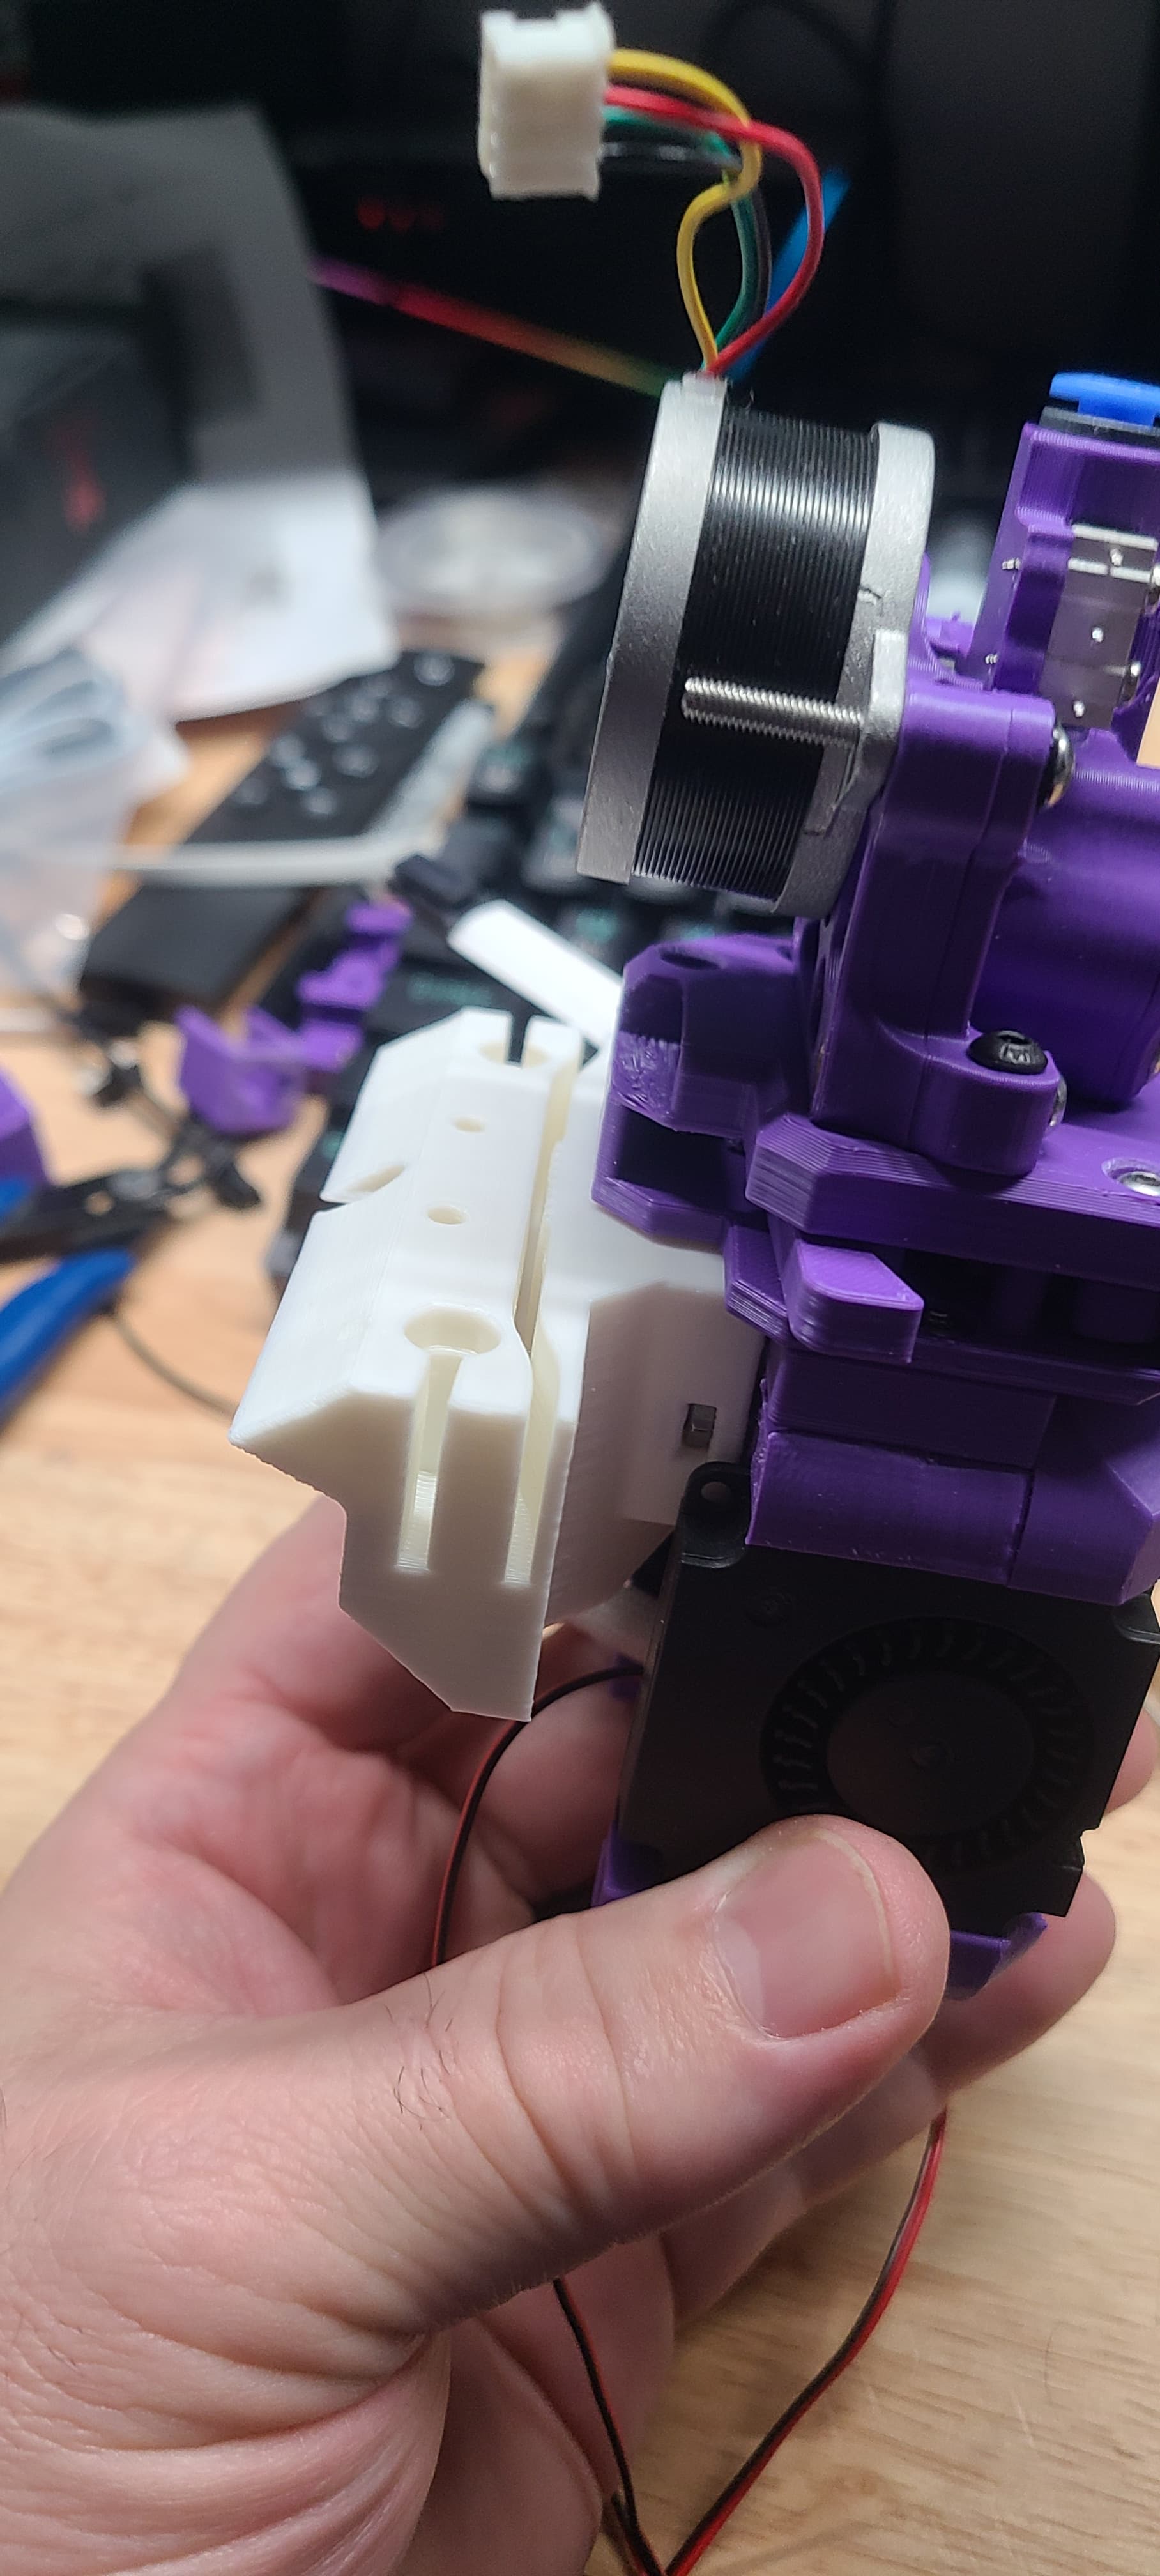
Dragon Burner with Revo Voron hotend, Dragon Cutter and Sherpa Mini with runout sensors above than below the extruder.
Parts are missing inside as they get delivered over the next couple days. Just wanted to put it all together and see how it looked.
At this point it weighs 272g with the mount. 253 without it. I have not done the Probe mount but expect that will not add more than about 30g total. Also there will be a EBB36 on it.
I am so happy with my V4 and what it does I cant bring myself to take it apart and convert it. The parts for this are all printed on my enclosed FLSUN-SR as it is set up for printing things like ASA.
I have a lot of the parts but need to pick up a few more and then set up to cut the plates.
I have not finished my Lowrider so I may cut the plates on my PM25 CNC conversion. That should be fun!
I struggled with the v4 conversion to v5 because I had so much time into it… it was my first printer build. While I was kind of forced into upgrading it, the upgrade was totally worth it.
After building your v4, did you find building v5 was quicker and easier? Guess that if you’re reusing a bunch of the controller and components then the incremental upgrade was significantly faster? Am asking for a friend…
bunny trail: @azab2c I think I stripped and rebuilt inside a week when before it took me months to build. Seriously, it was loosen the frame and widen it out about 4 mm in X and reassemble/square. New toothed pulleys were required because there are more geared ones now than smooth ones. New belts and new longer 5 mm bolts. Big box plastic pack of 10-24 bolts (instead of 5 mm x 35) were either 1" or 2" length for ~$3 and the nylocs were cheap locally as well, so I dremeled most of them them off shorter. The “milled” parts were laser cut from acrylic (SVG file available upon demand). Had to cut down the x linear rail by 25 mm, then put it all back together. The electronics were on a board and it was removed and then reinstalled. The heated bed is 1/4" ply with cutouts for bolts to t-nuts to the extrusions below. A second 1/4" sheet sits on top of the first one with drilled holes for the bolt heads and channels for the electrical of the bed that goes on top of that and then the bed bolts down to hold them together. The wood is insulating, so it works well and isn’t overly heavy, but the brakes are still used for z. I was surprised at the process given the difficulty in getting it going initially. The v5 core assembly especially the belt attachment was cake compared to the v4. No worries getting that part right. final squaring of the gantry to the frame with a tape measure and belt tension. then final torque on the x linear rail. Runs like a champ. I had calibration issues with the 4 and the 5 is a keeper. I like it so much I’d like to build another one.
edit: I don’t know if the 5 was necessarily easier, but my skill level has improved because of the v4 build so that is likely a factor. If the v5 is the first build, it may be just as difficult, but learning new things is where its at.
I merged the two mounts and have a mount for the Dragon Burner family of toolheads that uses the stock setup.
Making an edit right now that should move the toolhead 4mm closer to the belt center which should put it right at 30mm or so. I think that is the best I can get doing it this way. But it does make a lot of other toolhead options available
No. That is with the stock setup. The only issue I see is when I move it closer the cutter may not clear. It does have a spacer available that might make it work though. I found another cutter for the Sherpa that will work but it doesn’t have a sensor in it. I am going to try to add one to it
When is someone going to gut a mouse and use the optical sensor to track filament movement? The 3dchameleon has an upgrade with 4 ir distance sensors that are used for each of the 4 inputs. A roller micro switch is pretty simple though.
I use a btt sfs that does a switch and a roller for movement. But it is much larger.
@CarmenJ is pretty good at reclaiming them. She did it SEVERAL times when I was working on the ERCF project
The blinky encoder I am pretty sure is just about standard on the ERCF v2. I know it came in the Siboor Kit I bought. It works ok. Not as well as the BTT Sensor but not bad either.