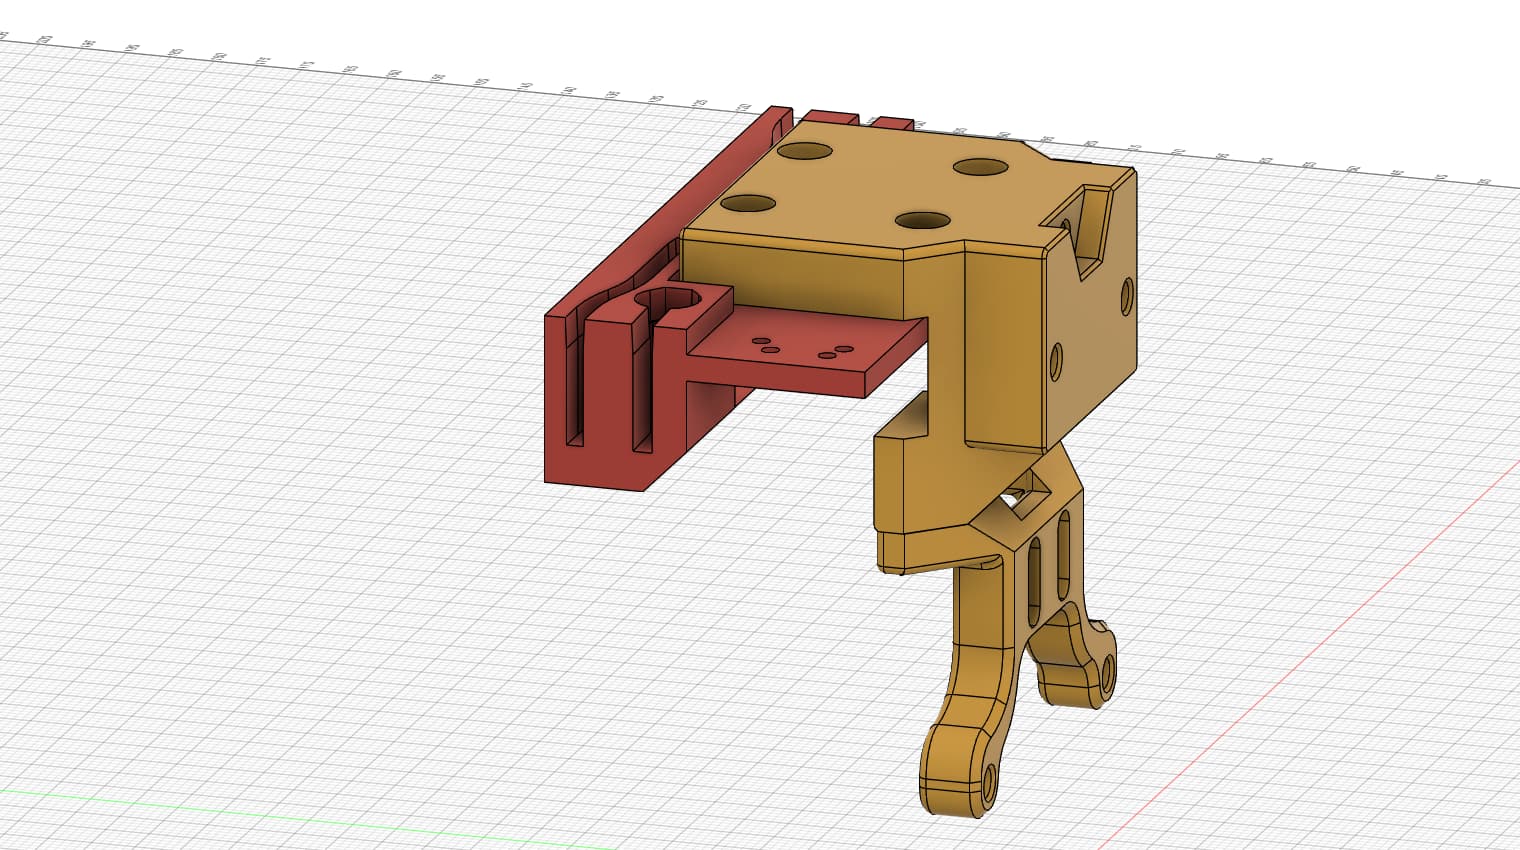
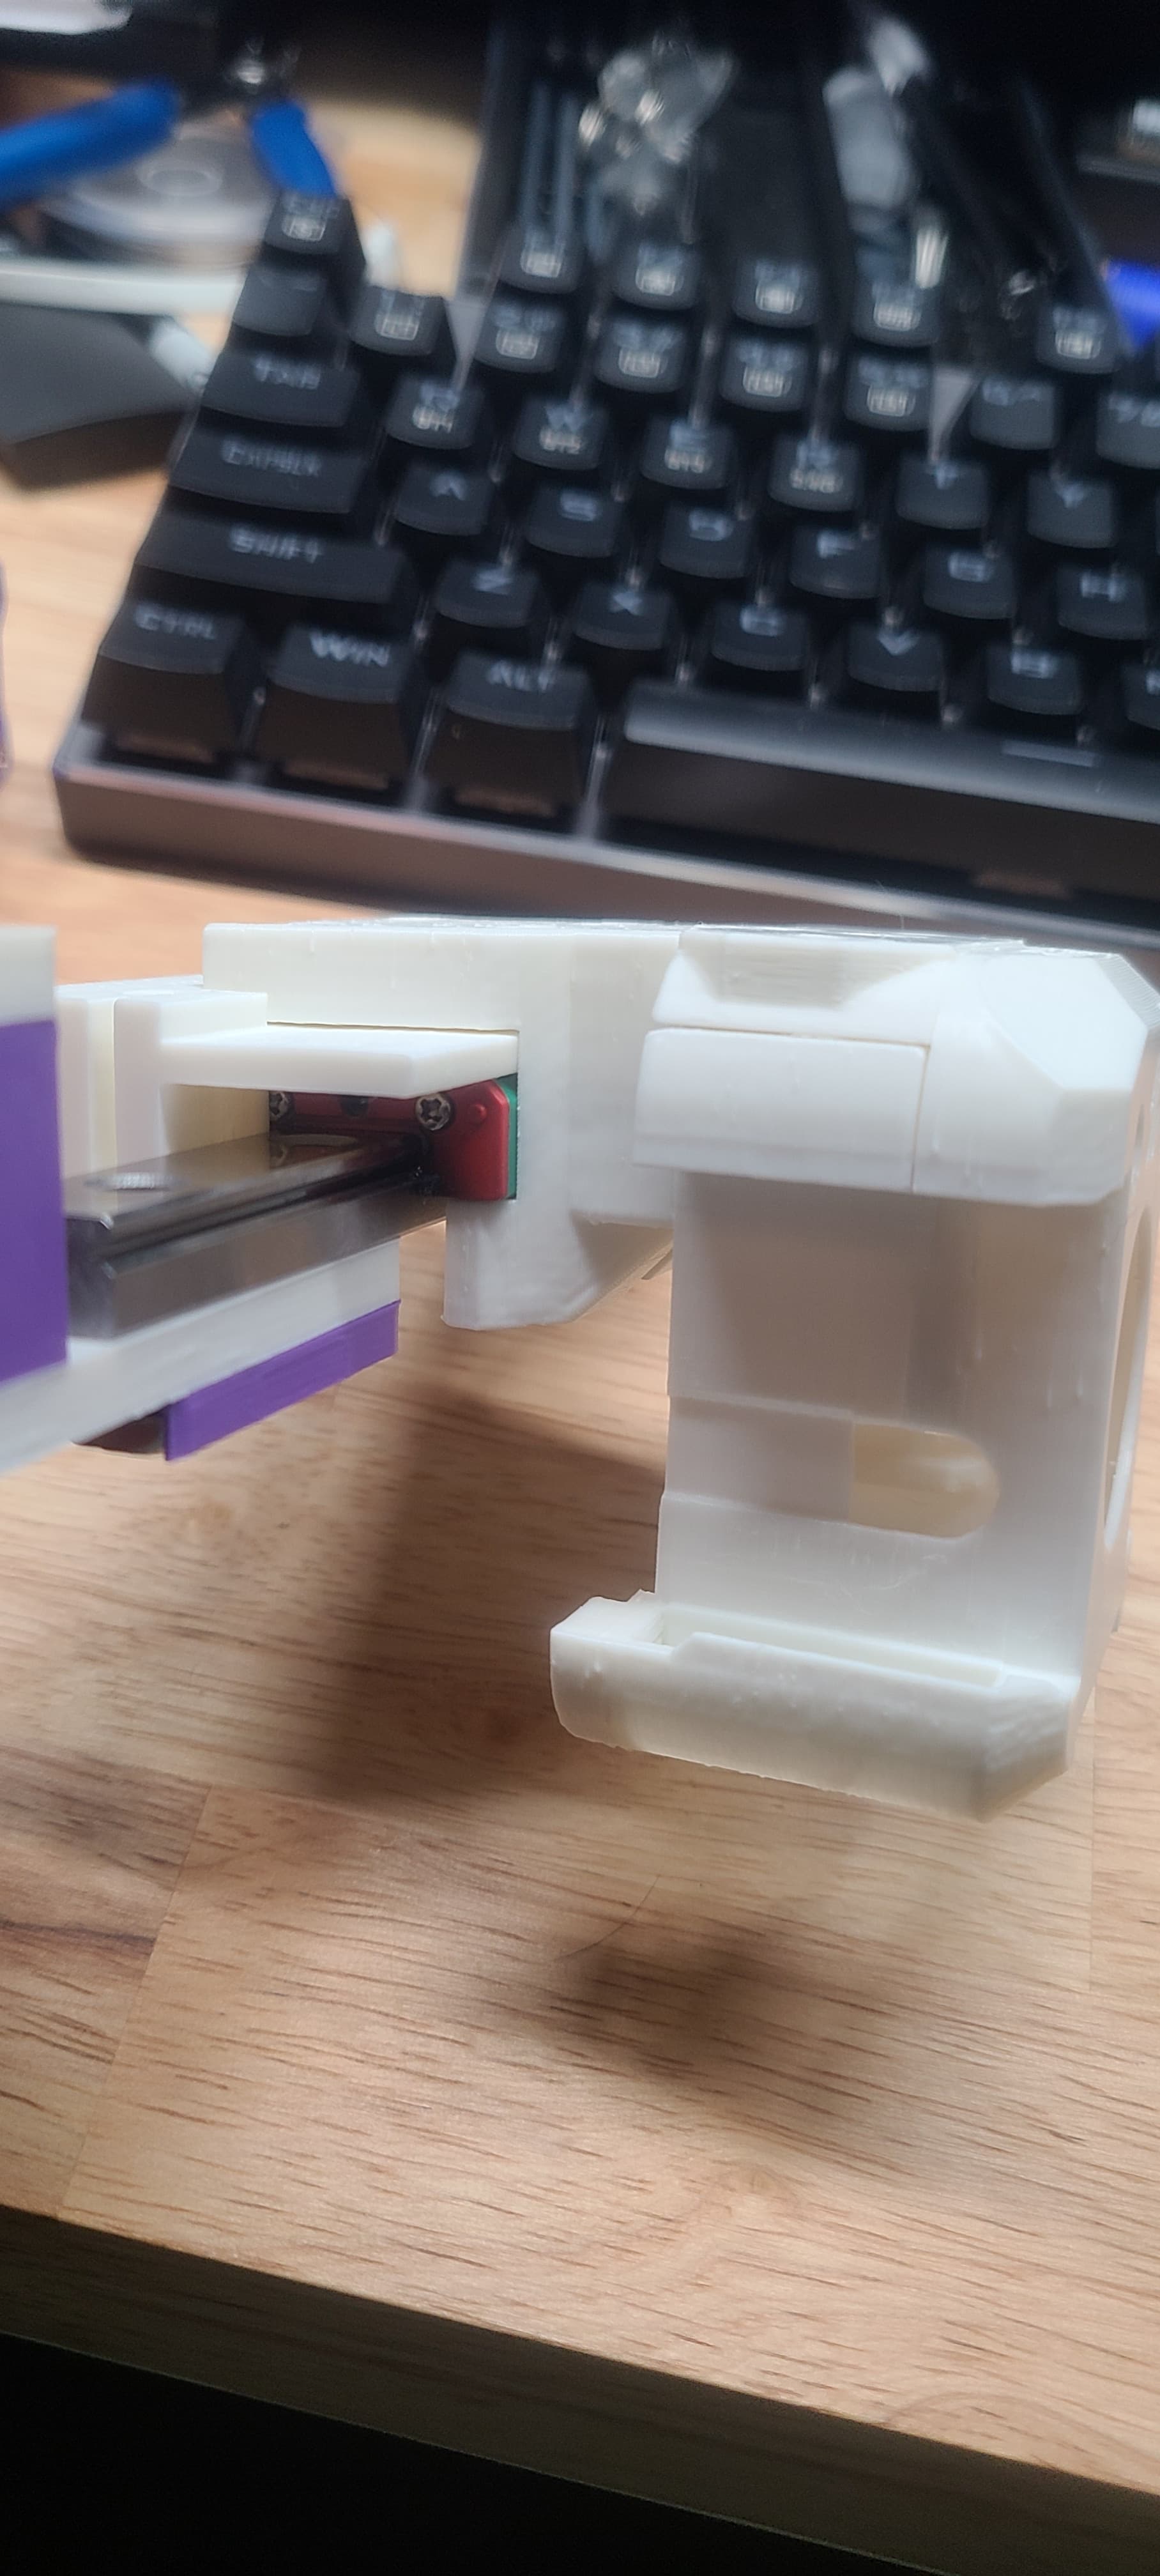
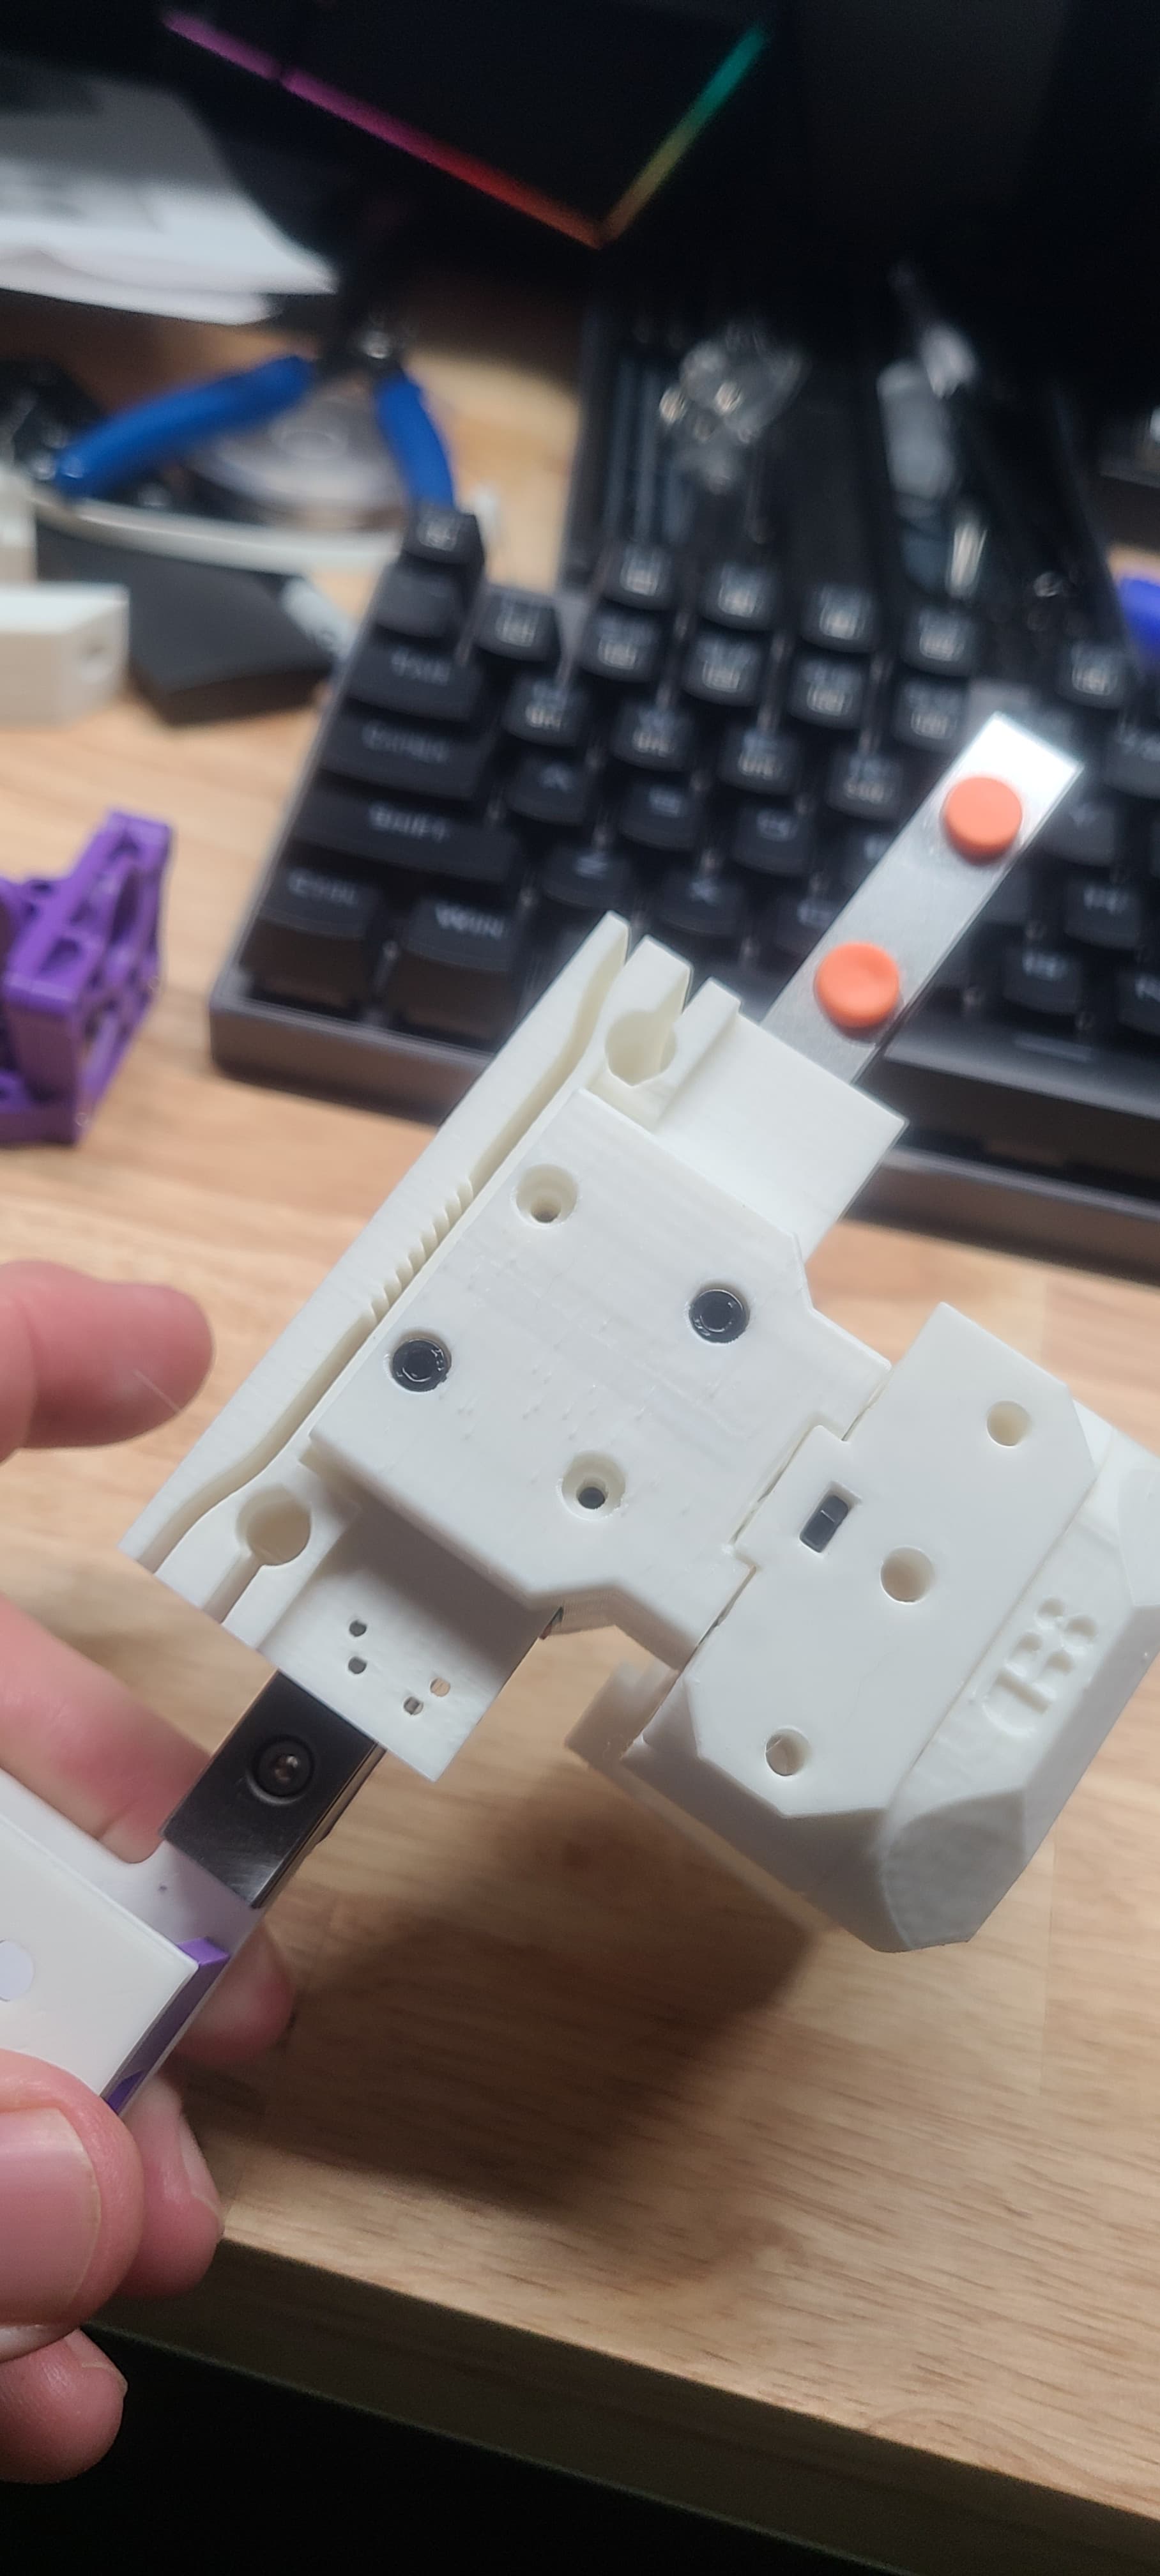
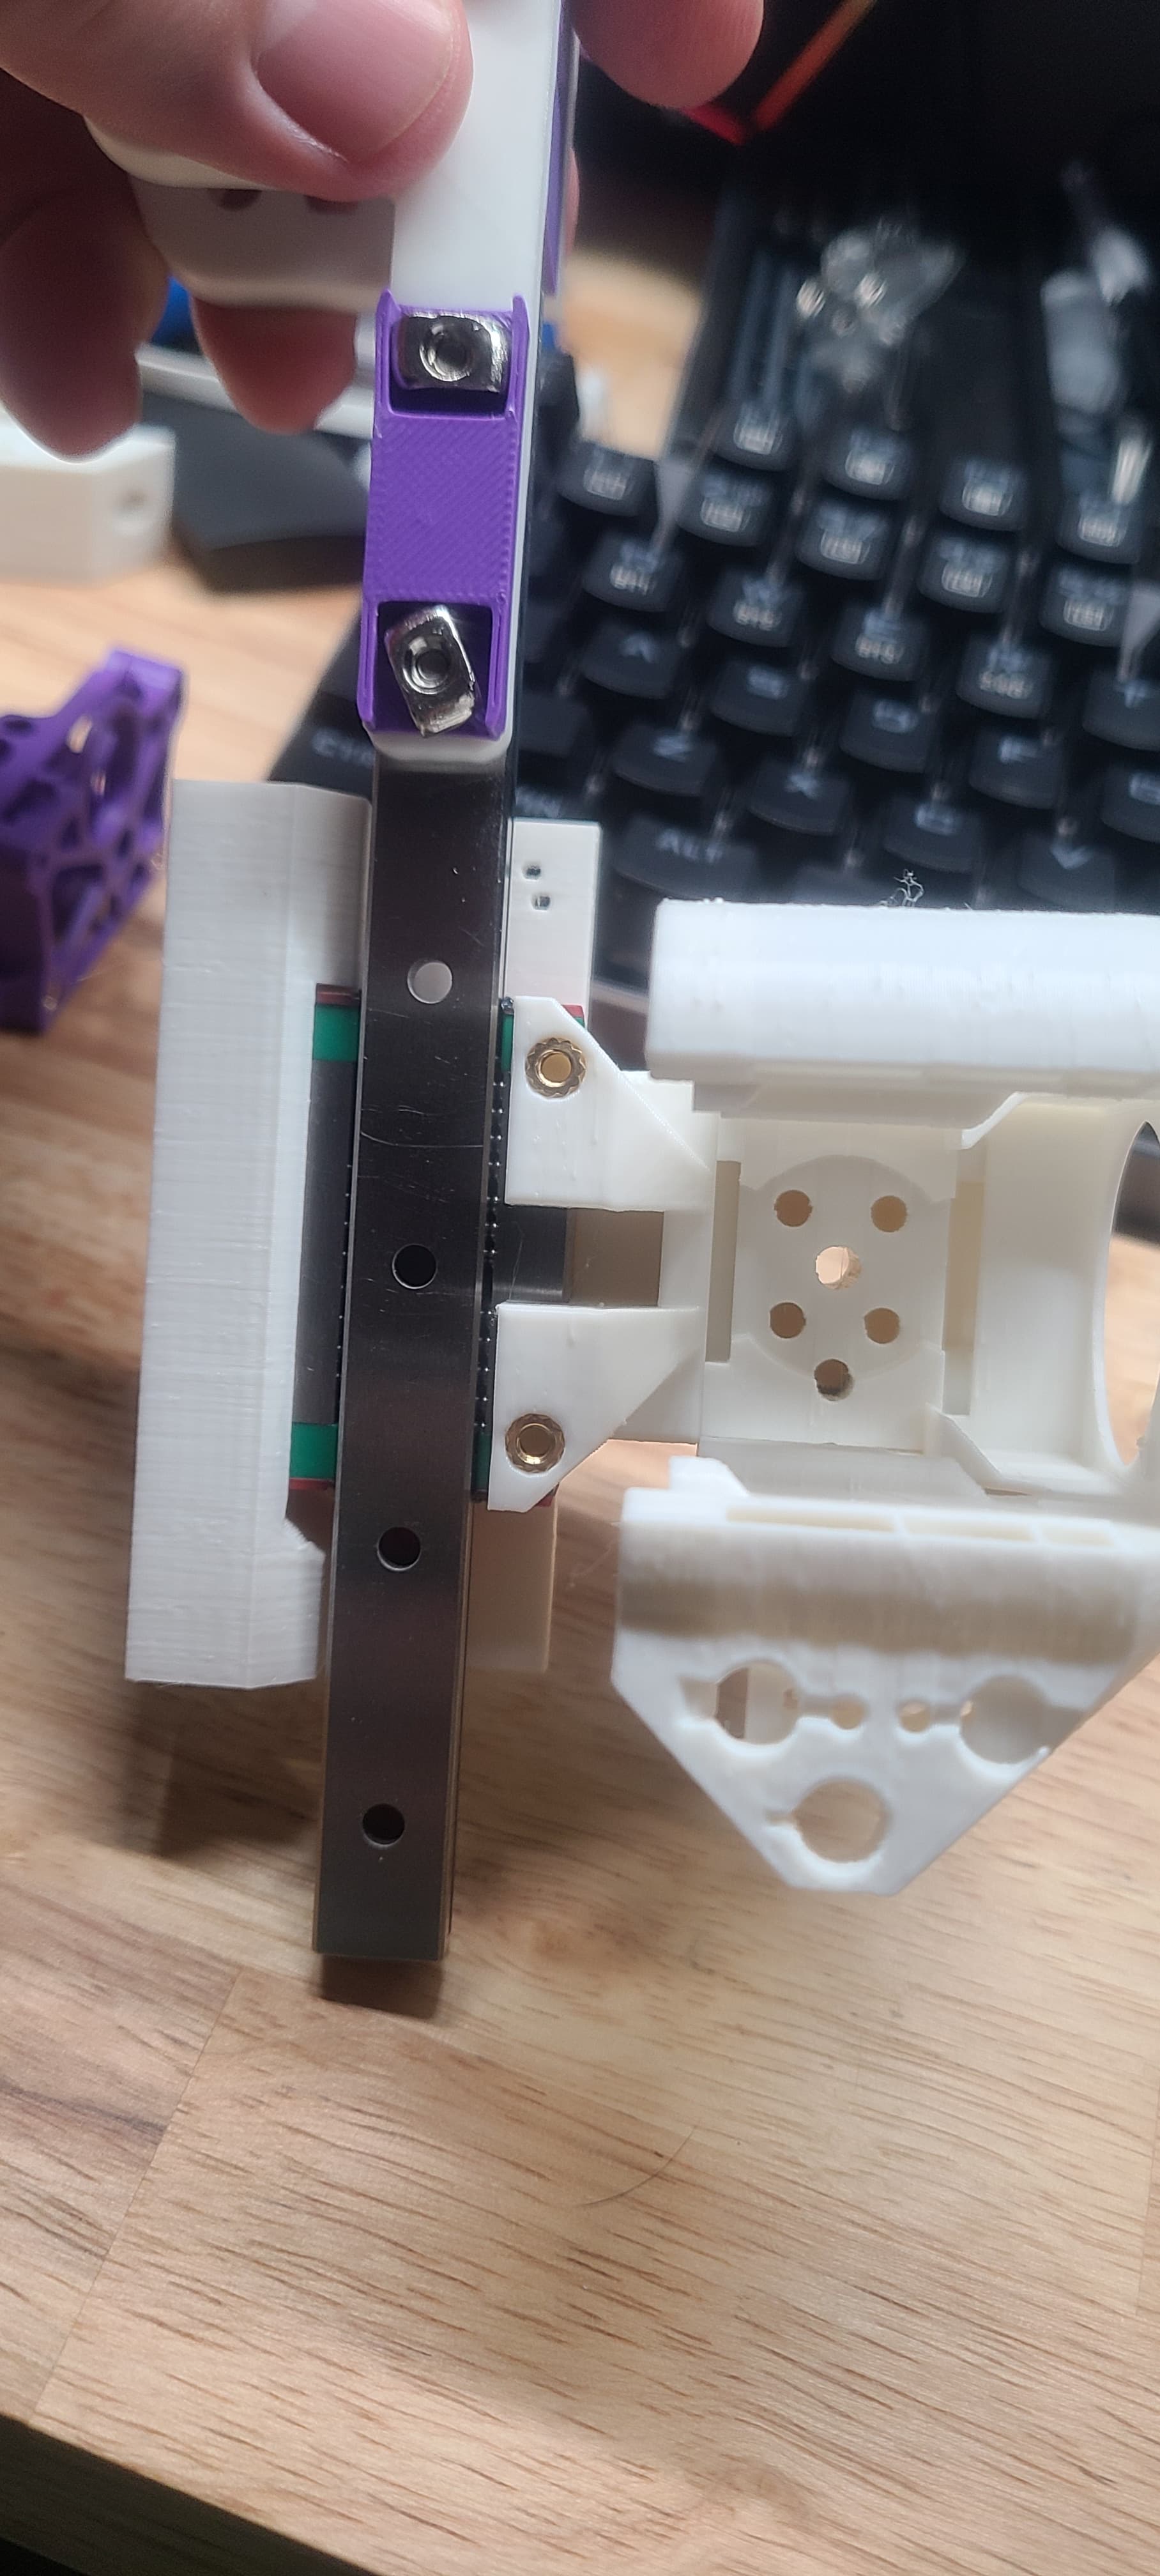
This is where I am now. This set up for reversing the x axis end for end. It is based on the Dragon burner mount and should fit all of the toolheads from the above link. I am printing a Sherpa extruder to use with it as I have the BMG gears from the Clockwork 2.
Can bus options are the EBB36 mounted on the back of the pancake extruder motor.
These toolheads are super customizable and there IS a filament cutter add on for the dragonburner at least. it has filament sensing at the cutter so that checks the boxes I was looking for.
I THINK that the nozzle will be 37mm from the center of the rail (rough caliper eyeball look). I feel like that is closer than the H2 on the stock carriage.
The face of the shroud will be 55mm forward of the front edge of the truck. near as I can tell you will need to add about 25mm to the front to back 2020 extrusions to account for this. It can be as small as 5mm if you just want to keep it in the outside envelope of the frame.
Quick note, I do not plan to use the housing that is mounted right now. Yhe carriage mount has a lower section that holds the probe mount. I will be makihg a microprobe mount for it.
Another option is the “Peck” experimental unit on yhe link above.
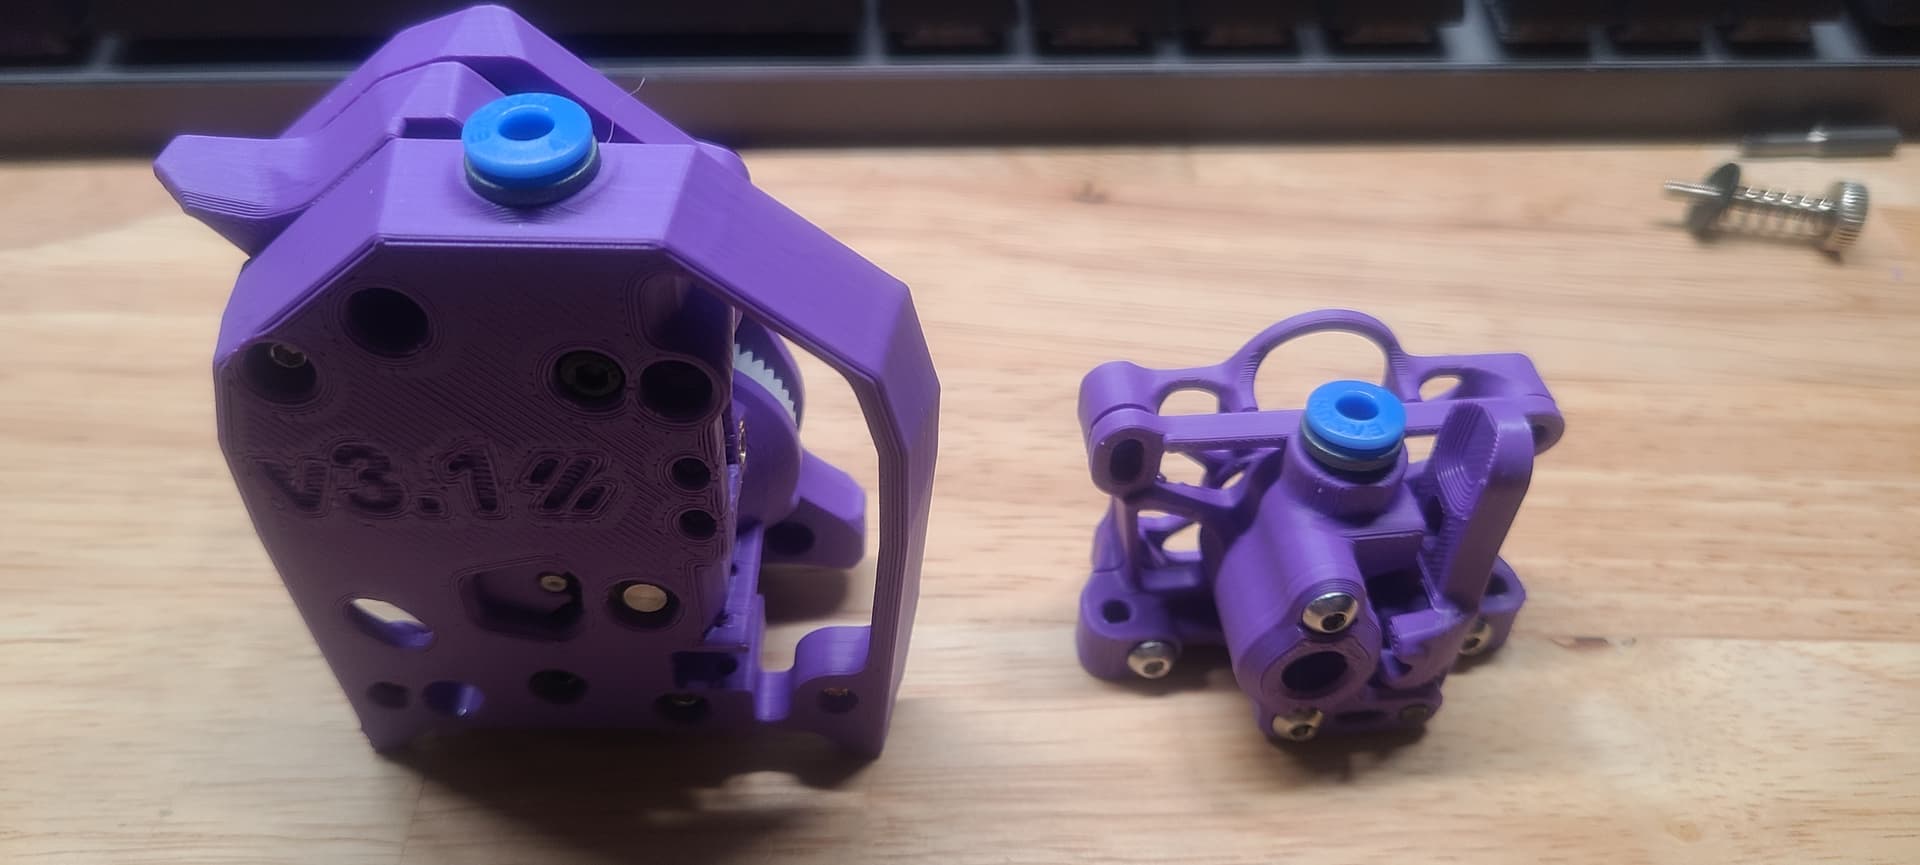
Just an interesting comparison. on the left is the Clockwork2 extruder for a Stealthburner, the right is the Sherpa Mini extruder. Both use the same gearsets, bearings and shafts. I will be using the Sherpa on the Dragon Burner.
It is to be noted that the stealthburner can have other extruders on it. I actually ran across an installation with the H2V2S Lite adapted to it
I still have a brand new one in a box and I really want it to be everything yours is turning out not to be… but that (comment above) was for the stealthburner, not the dragonburner?
the filament shear is interesting to me. I’m printing one right now…
What do you end up fighting over? Asking because the brass PTFE fitting where filament enters my H2 V2S has a ledge that blocks filament from smoothly entering the extruder body. I have to insert filament at just the right angle to avoid the fitting’s internal ledge being hit, blocking filament from feeding into extruder. Think problem is partly caused by a 3mm ID (to reduce friction) instead of normal 2mm ID PTFE tube being used.
I had planned to look closer at it at some point and see if there was a way to print something that could stick in there and help, but I never made it back to it
This problem (and figuring out filament cutter that doesn’t overly weigh down the head assembly) was one of the reasons I halted completing multi material upgrade/experiment.
I briefly looked for alternative PTFE fittings with better internal angle, but failed to find. I want to keep the 3mm ID PTFE to reduce drag/friction. So, currently thinking of trying to bore away the ledge using my drill press, however… Maybe folks here have other suggestions/ideas? A simple printed funnel part sounds neat.
Look forward to seeing how Dragon Burner mod turns out
I got confused for aa bit. The filament feeding issues are on the h2’s? I figured out that if I feed the filament to the gears and then extrude it rolls right in on mine.
I’ve had similar feeding issues. I’m looking at the chameleon 3dclippy (not really a fan of that nomenclature because klippy has to do with klipper and I’d rather call it a shear) right now and how to mount it on the core. The mass of the full size servo and the fact that it cuts on a power cycle are both current concerns. If the dragonburner can hold some sort of filament shear and be compact, then im interested. Still have the lite though and want to get it going too.
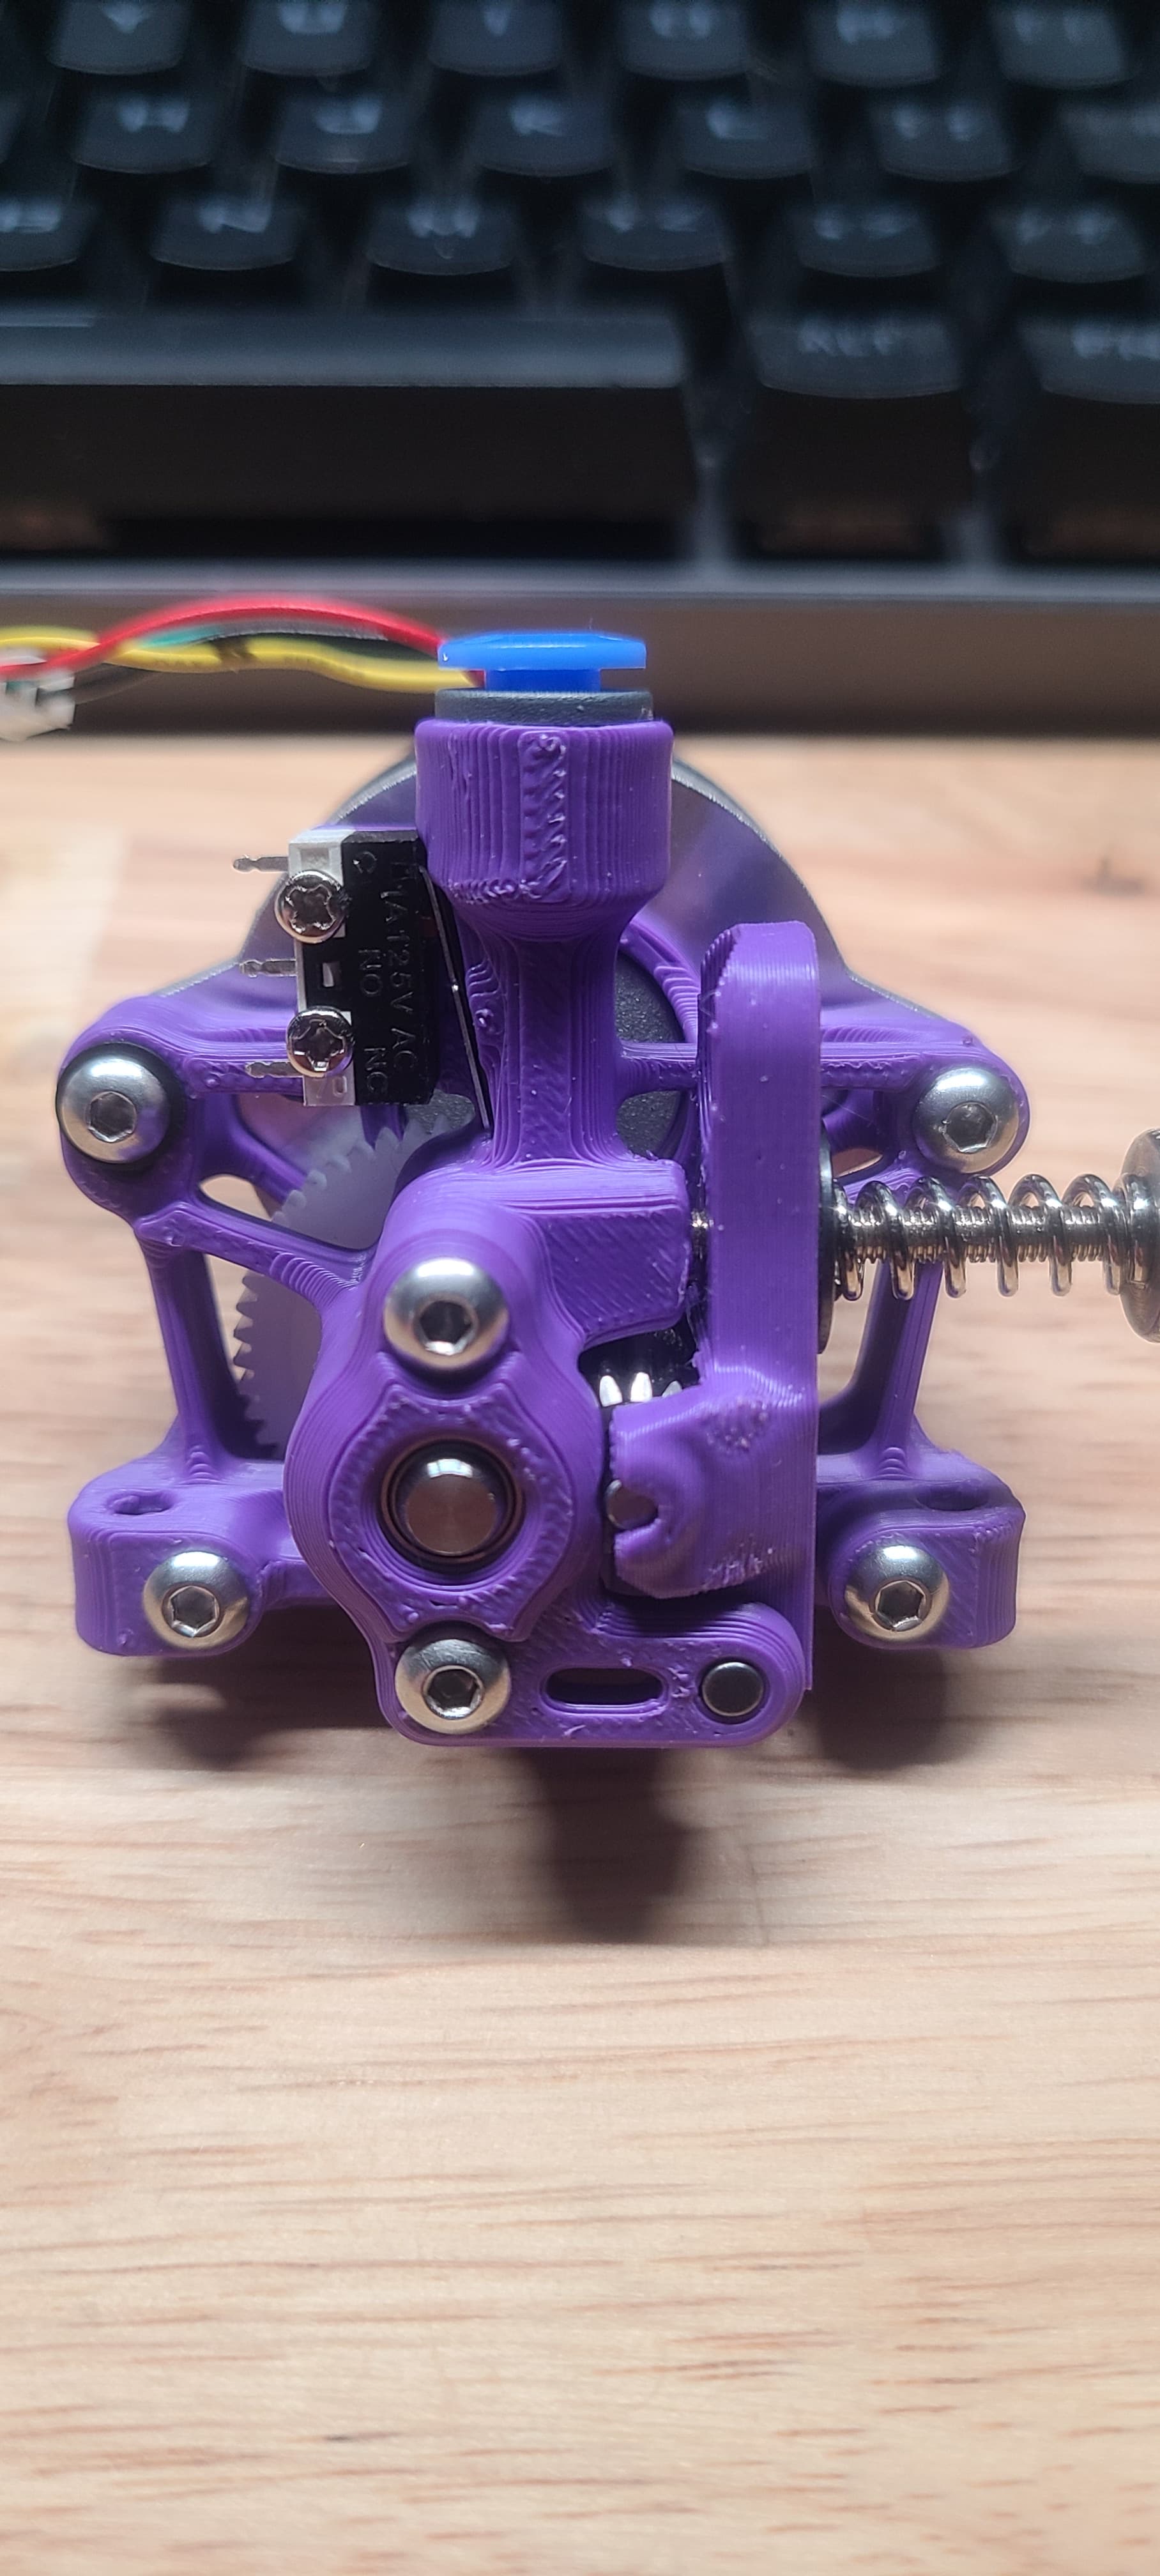
That is small!
I don’t know a heck of a lot about the Sherpa Mini. Is the runout sensor the reason to go with the printed frame rather than a metal unit?
How well do they handle feeding from a multi-material unit and feeding of flexibles?