Modifying the MP3DP for 300X300X300 Build Volume… Starting with full CAD model creation, and in parallel, purchasing the part i know i will use, as well as printing some parts
Planning on keeping the same extruder that Ryan had spec’d. Also keeping the linear rail profile the same, just longer rails, plus a rail backer for the extruder rail.
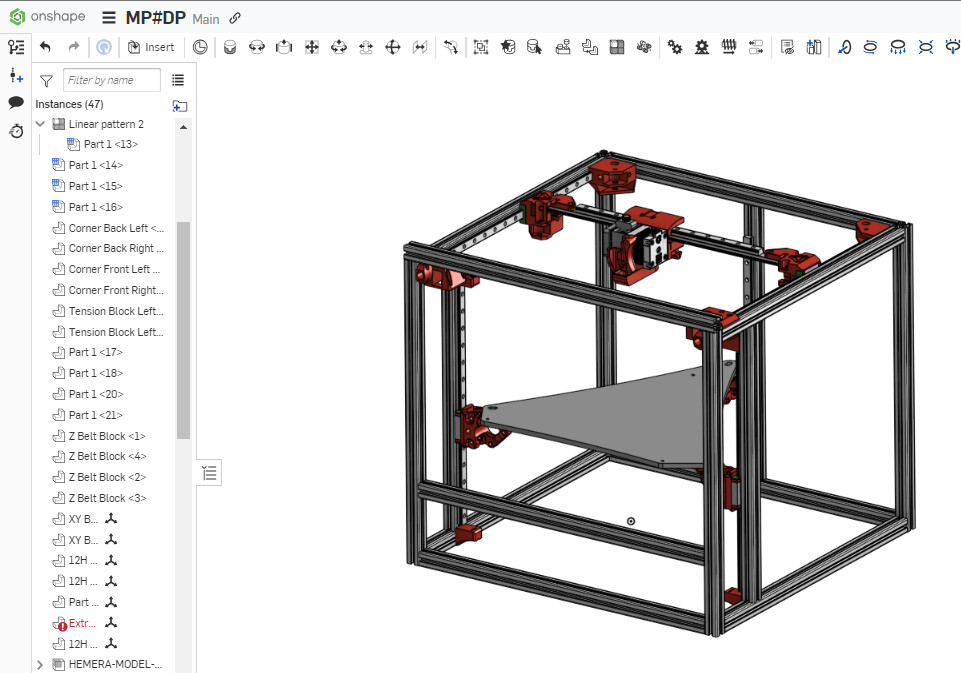
Using Onshape to remodel, making a fully kinematic model, so if any of you use Onshape out there and are interested in a full model (kinematics, complete BOM, etc.) let me know… Working on developing a BOM that includes; cost, MFG info.
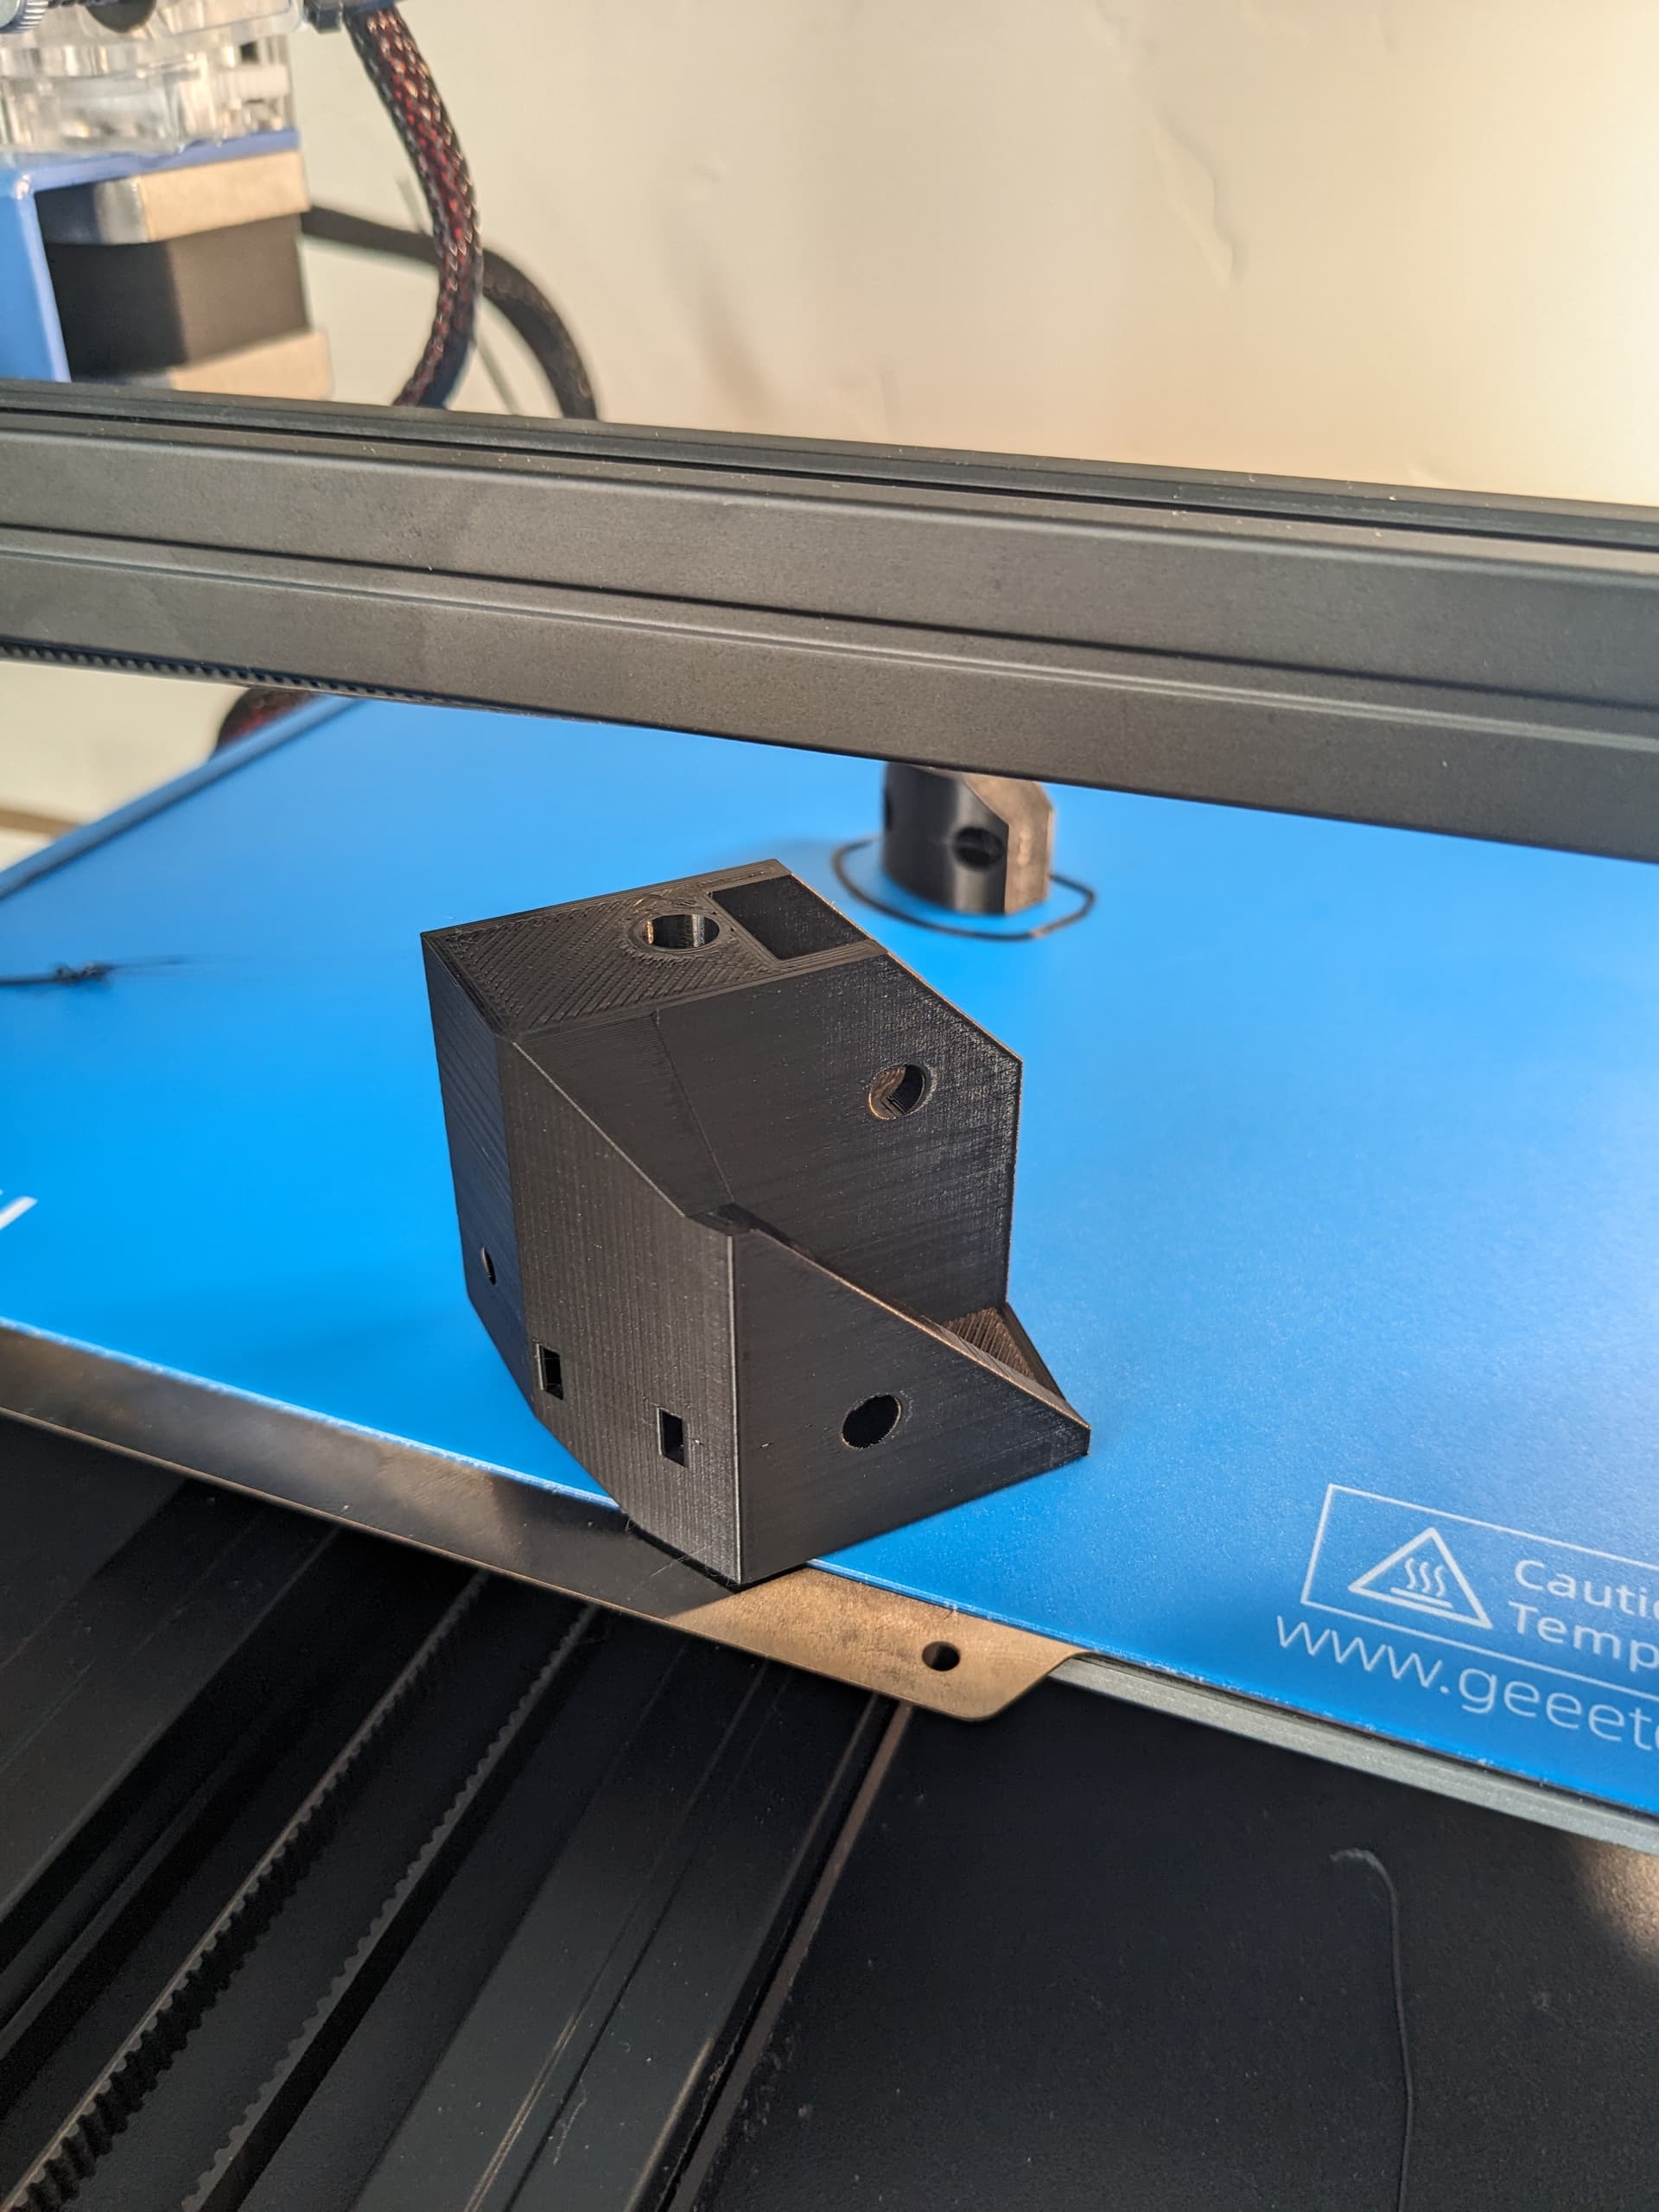
Printing the printable parts right now (using the GEEETECH MIZAR S - this printer was 250$, has a great build volume, and good quality printing for the price, would highly recommend for someone looking for a cheap printer that yields good results.
So building a V4… did you see V5 is in development? It will have more milled parts though, so not as many printed items. I am still finishing a nearly complete V4. It will be a nice machine once klipper is sorted and the tuning is complete.
My v4 can keep going for a while. I may be forced to retire my old printer, I don’t use it so much anymore because it’s noisy. It’s pretty uncommon for me tk have 3 printers going anymore, and I could maybe be more patient when the case arises that I have that much printing to do…
Those look like good quality prints. The v4 printer is pretty good. I’d have liked better ability to build with milled panels rather than extrusion, but that’s maybe just me.
Lol, not yelling, I’m used to doing all my work in all caps, I do a lot of engineering drawings for my job. But will keep that in mind for future posts, that way people will know if I’m yelling.
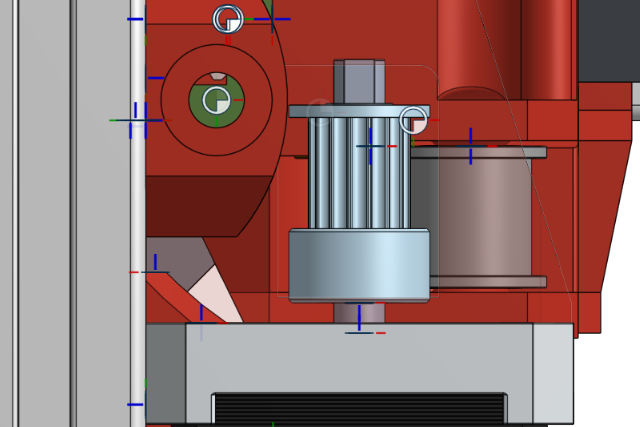
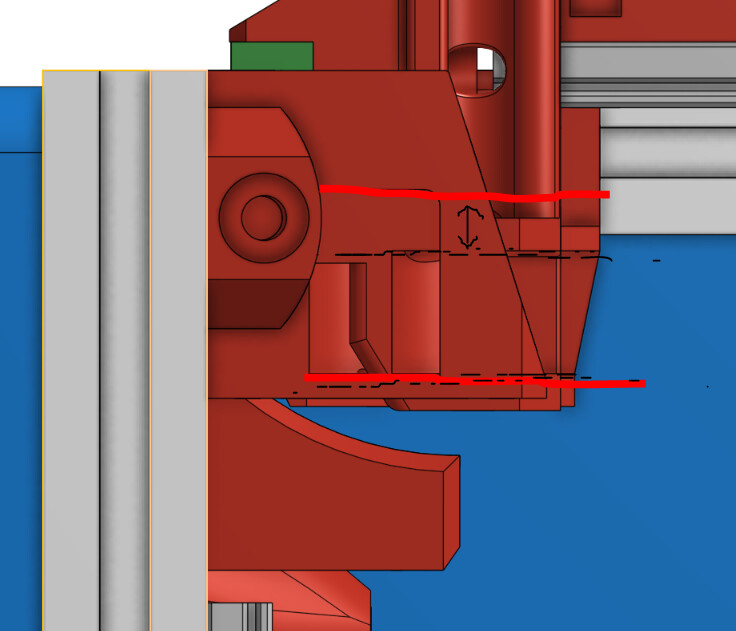
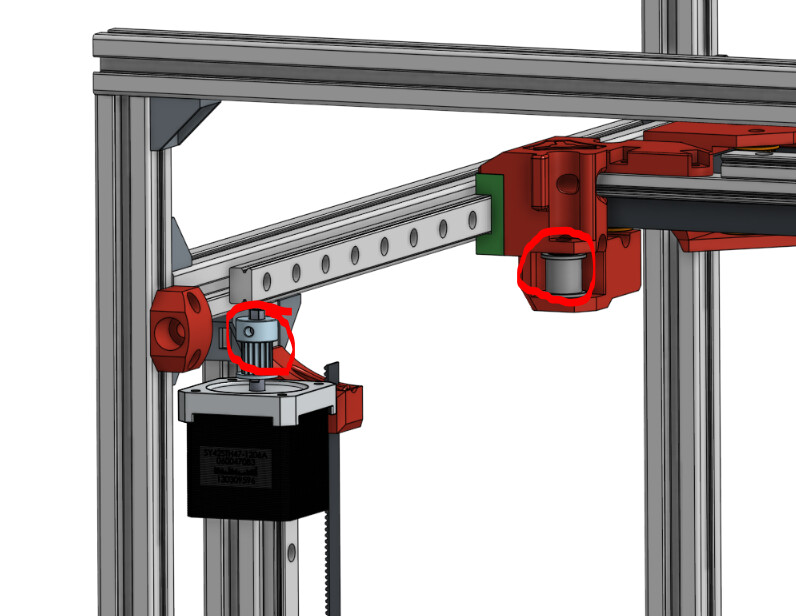
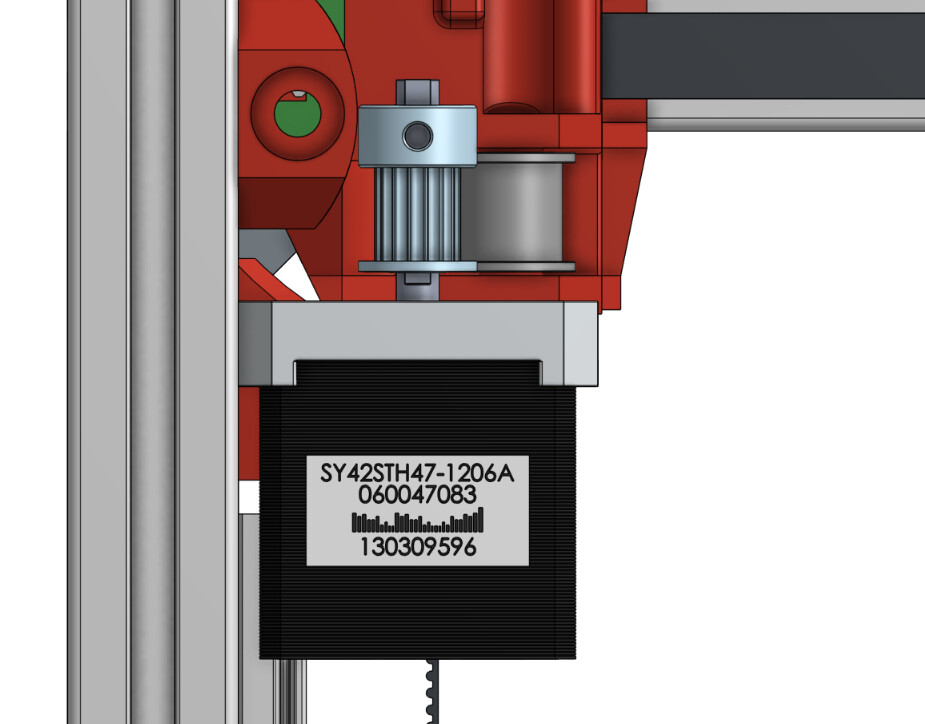
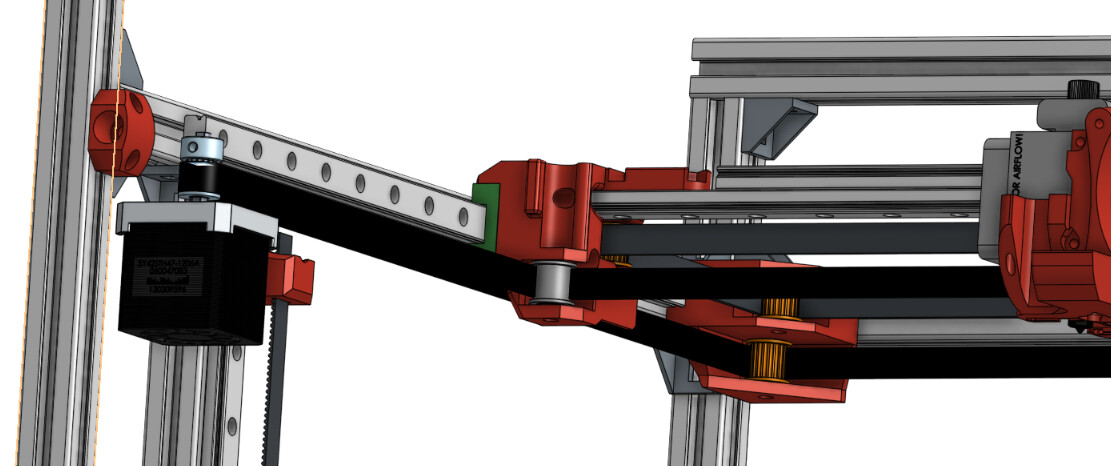
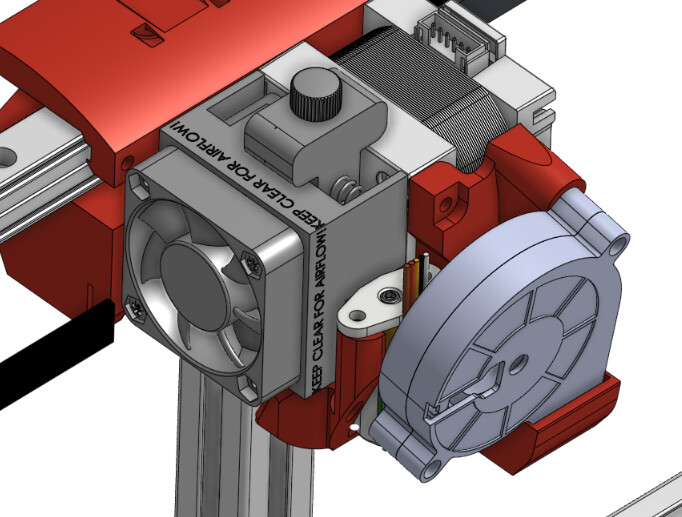
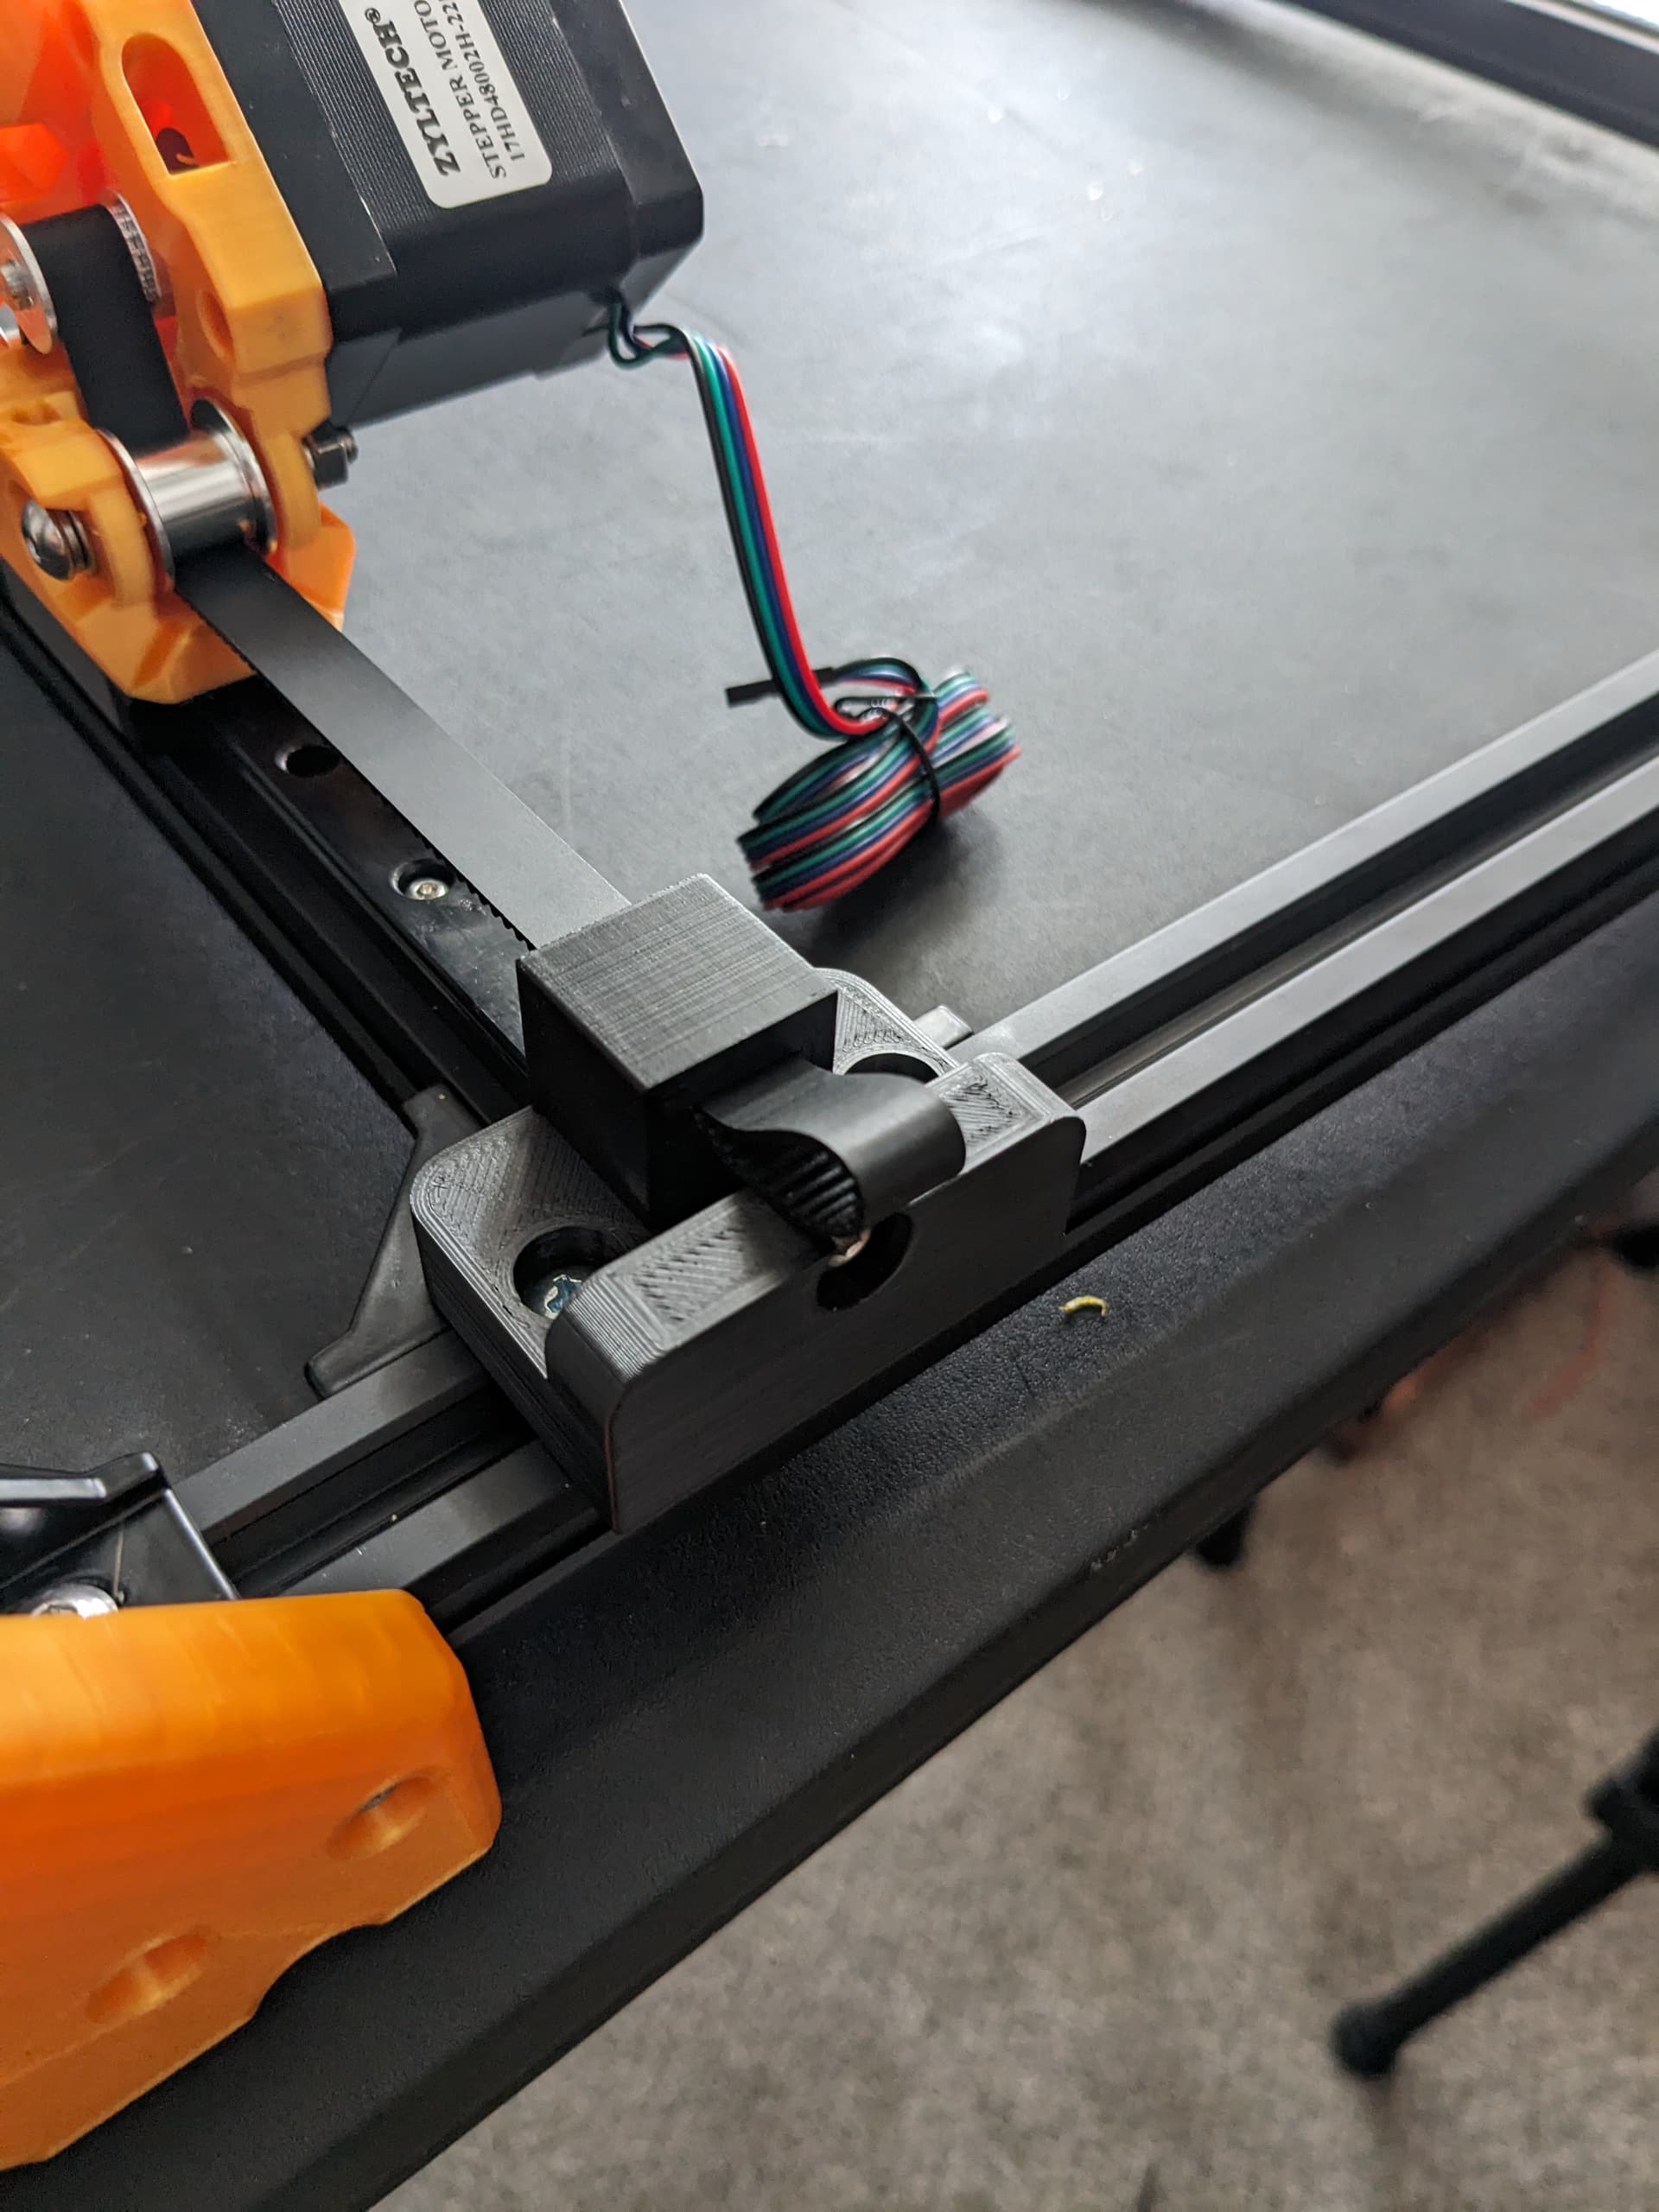
So I’m laying out my pullies and such, and I noticed the following… Maybe I missed something but the “Front Left Corner Block” toothed pully does not line up with the “XY Bracket Left” smooth idler.
I have been using a 2-3mm offset from the face of the stepper, which works perfect on the other side…
This is an image from Ryan’s Model… The bottom looks to line up, but the smooth idler surface is 1.5mm lower than the stepper
This is the belt layout if you flip this pully… FYI, this is the same pully that Ryan has made available in the V1e shop. This is also the same stepper dimensionally as the one ryan has available in the shop.
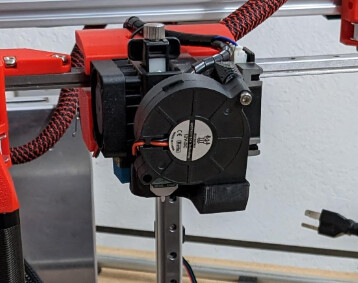
I just grabbed a generic one… but wondering what experience people have with the quality of the ones that they have purchased, weight, speed, ect. Also looks like there is only one attachment point for it, has anyone had vibration issues with the fan while the head assembly is moving?
Good questions, curious what others recommend. Personally tried a few different 24V “5015 blower fans”, tried looking for highest CFM rating and current draw. No idea what vibrations these introduce. Don’t think I ended up with an pro/excellent fan, but seems good enough. CPAP tubes to the hot-end seems to be what the speed demons like to use.
If you’re planning to fully enclose, consider checking how close a front facing fan ends up being to the front door/panel.
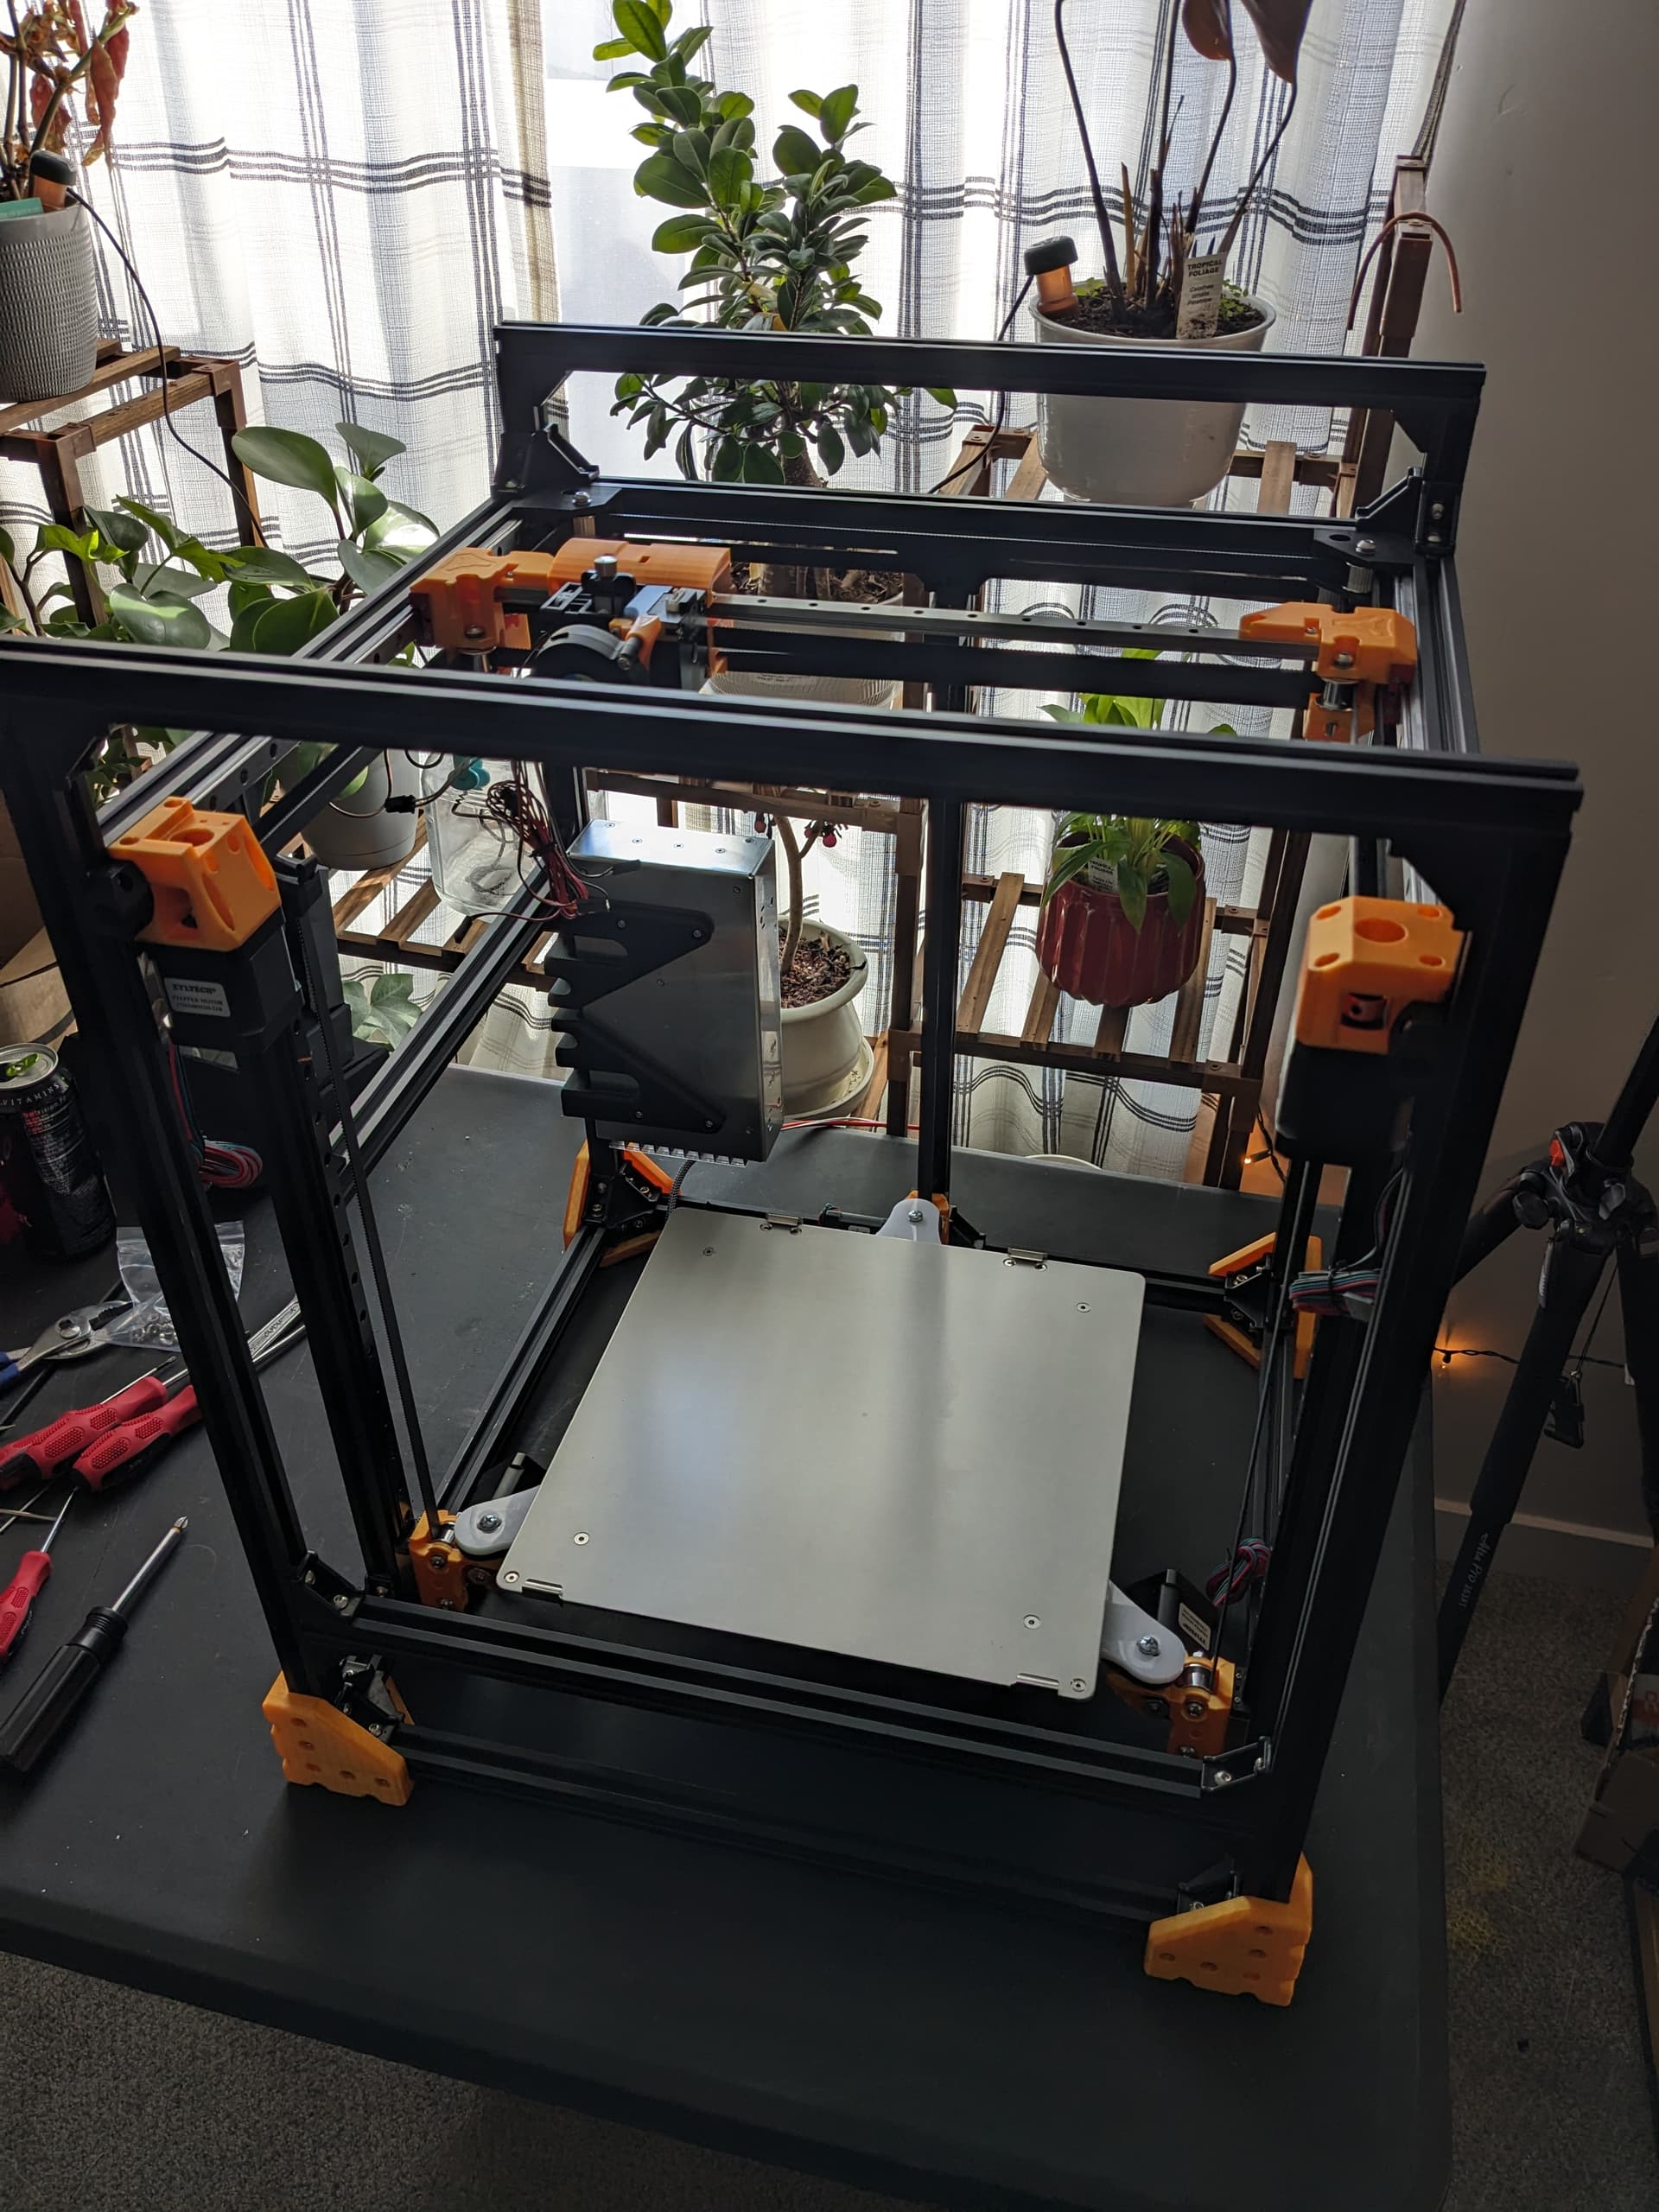
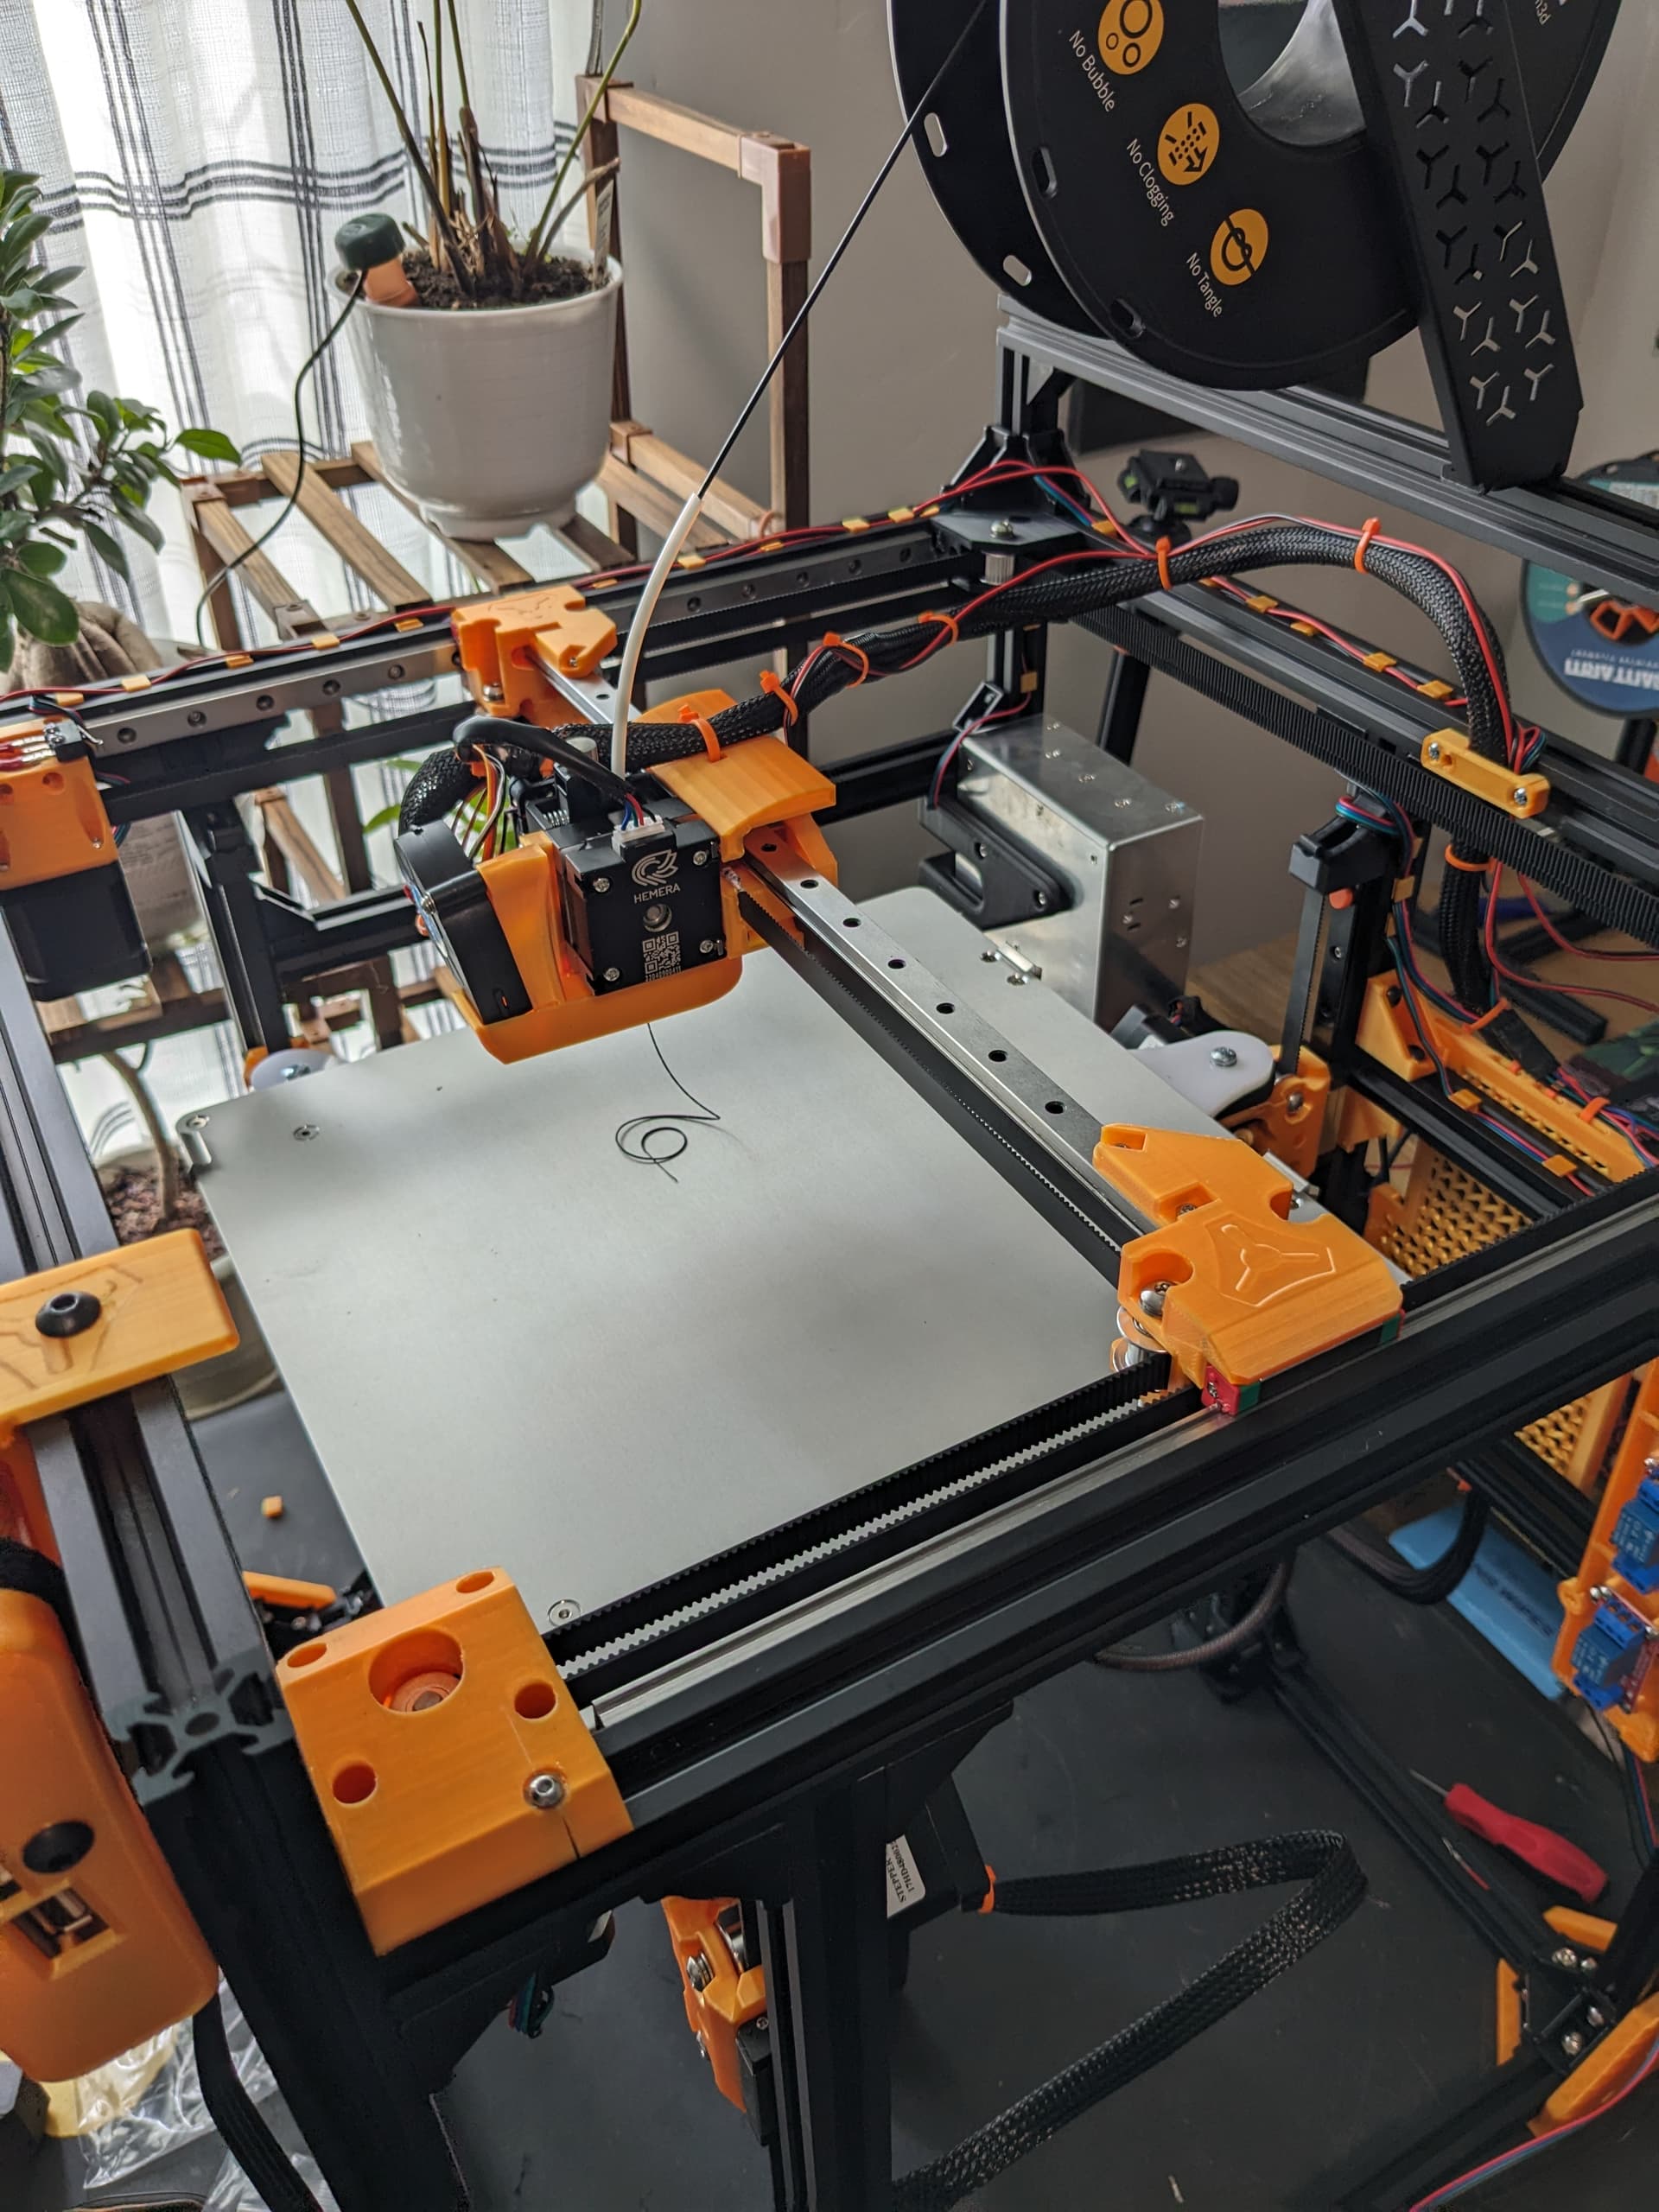
So this MP3DP I’m calling the Katana, after my dog. Setting it up for a 300mm X 300mm X 400mm print volume… Will be fully enclosed, which I believe I will need anyways to maintain the rigidity of the frame (so structural like enclosure) for an accurate print at this size, may need to reinforce the frame with more 2020 or upgrade some of the frame members to 2040, will figure that out once i start securing it all together.
I’m working now on spec’ing a headed bed, either a kit, or putting one together myself using a silicone heating pad to produce the heat, not really sure which route I should go.
I found this hot bed kit on amazon…
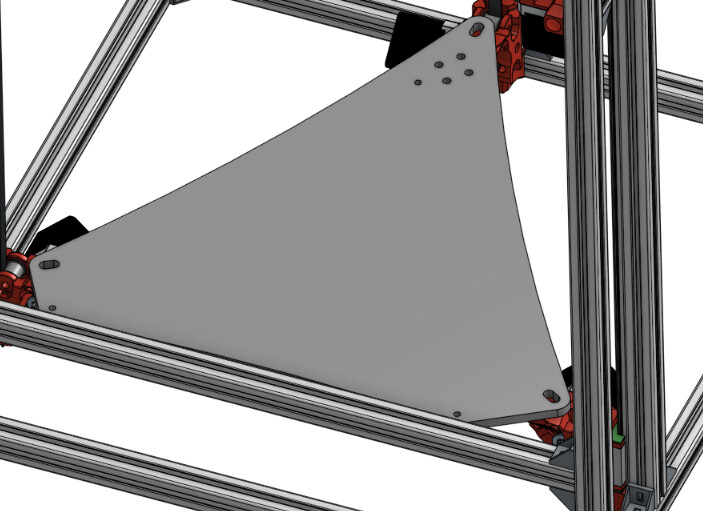
would this be a good option for this printer using the SKR board? Also what material are other making this tri attachment plate out of, im assuming my hot plate attached directly to this, so want to make sure i dont use a material that will warp over time from the heat.
Typically the hot plate is spaced off of that, but this is where each printer is a little different. My printer has a tshape of extrusion with plywood mounted between it and the heated bed.
Build Volume = 300X300X450
Board = SKR Pro
Extruder = Hemera XS REVO
Power = Meanwell 24V Power Supply 450 Watts
Steppers = V1e Shop
Heated Bed Plate = Creality Ender 3 Max Neo 24V 280W
Will be fully enclosed at some point in the future for some of the harder to print materials.
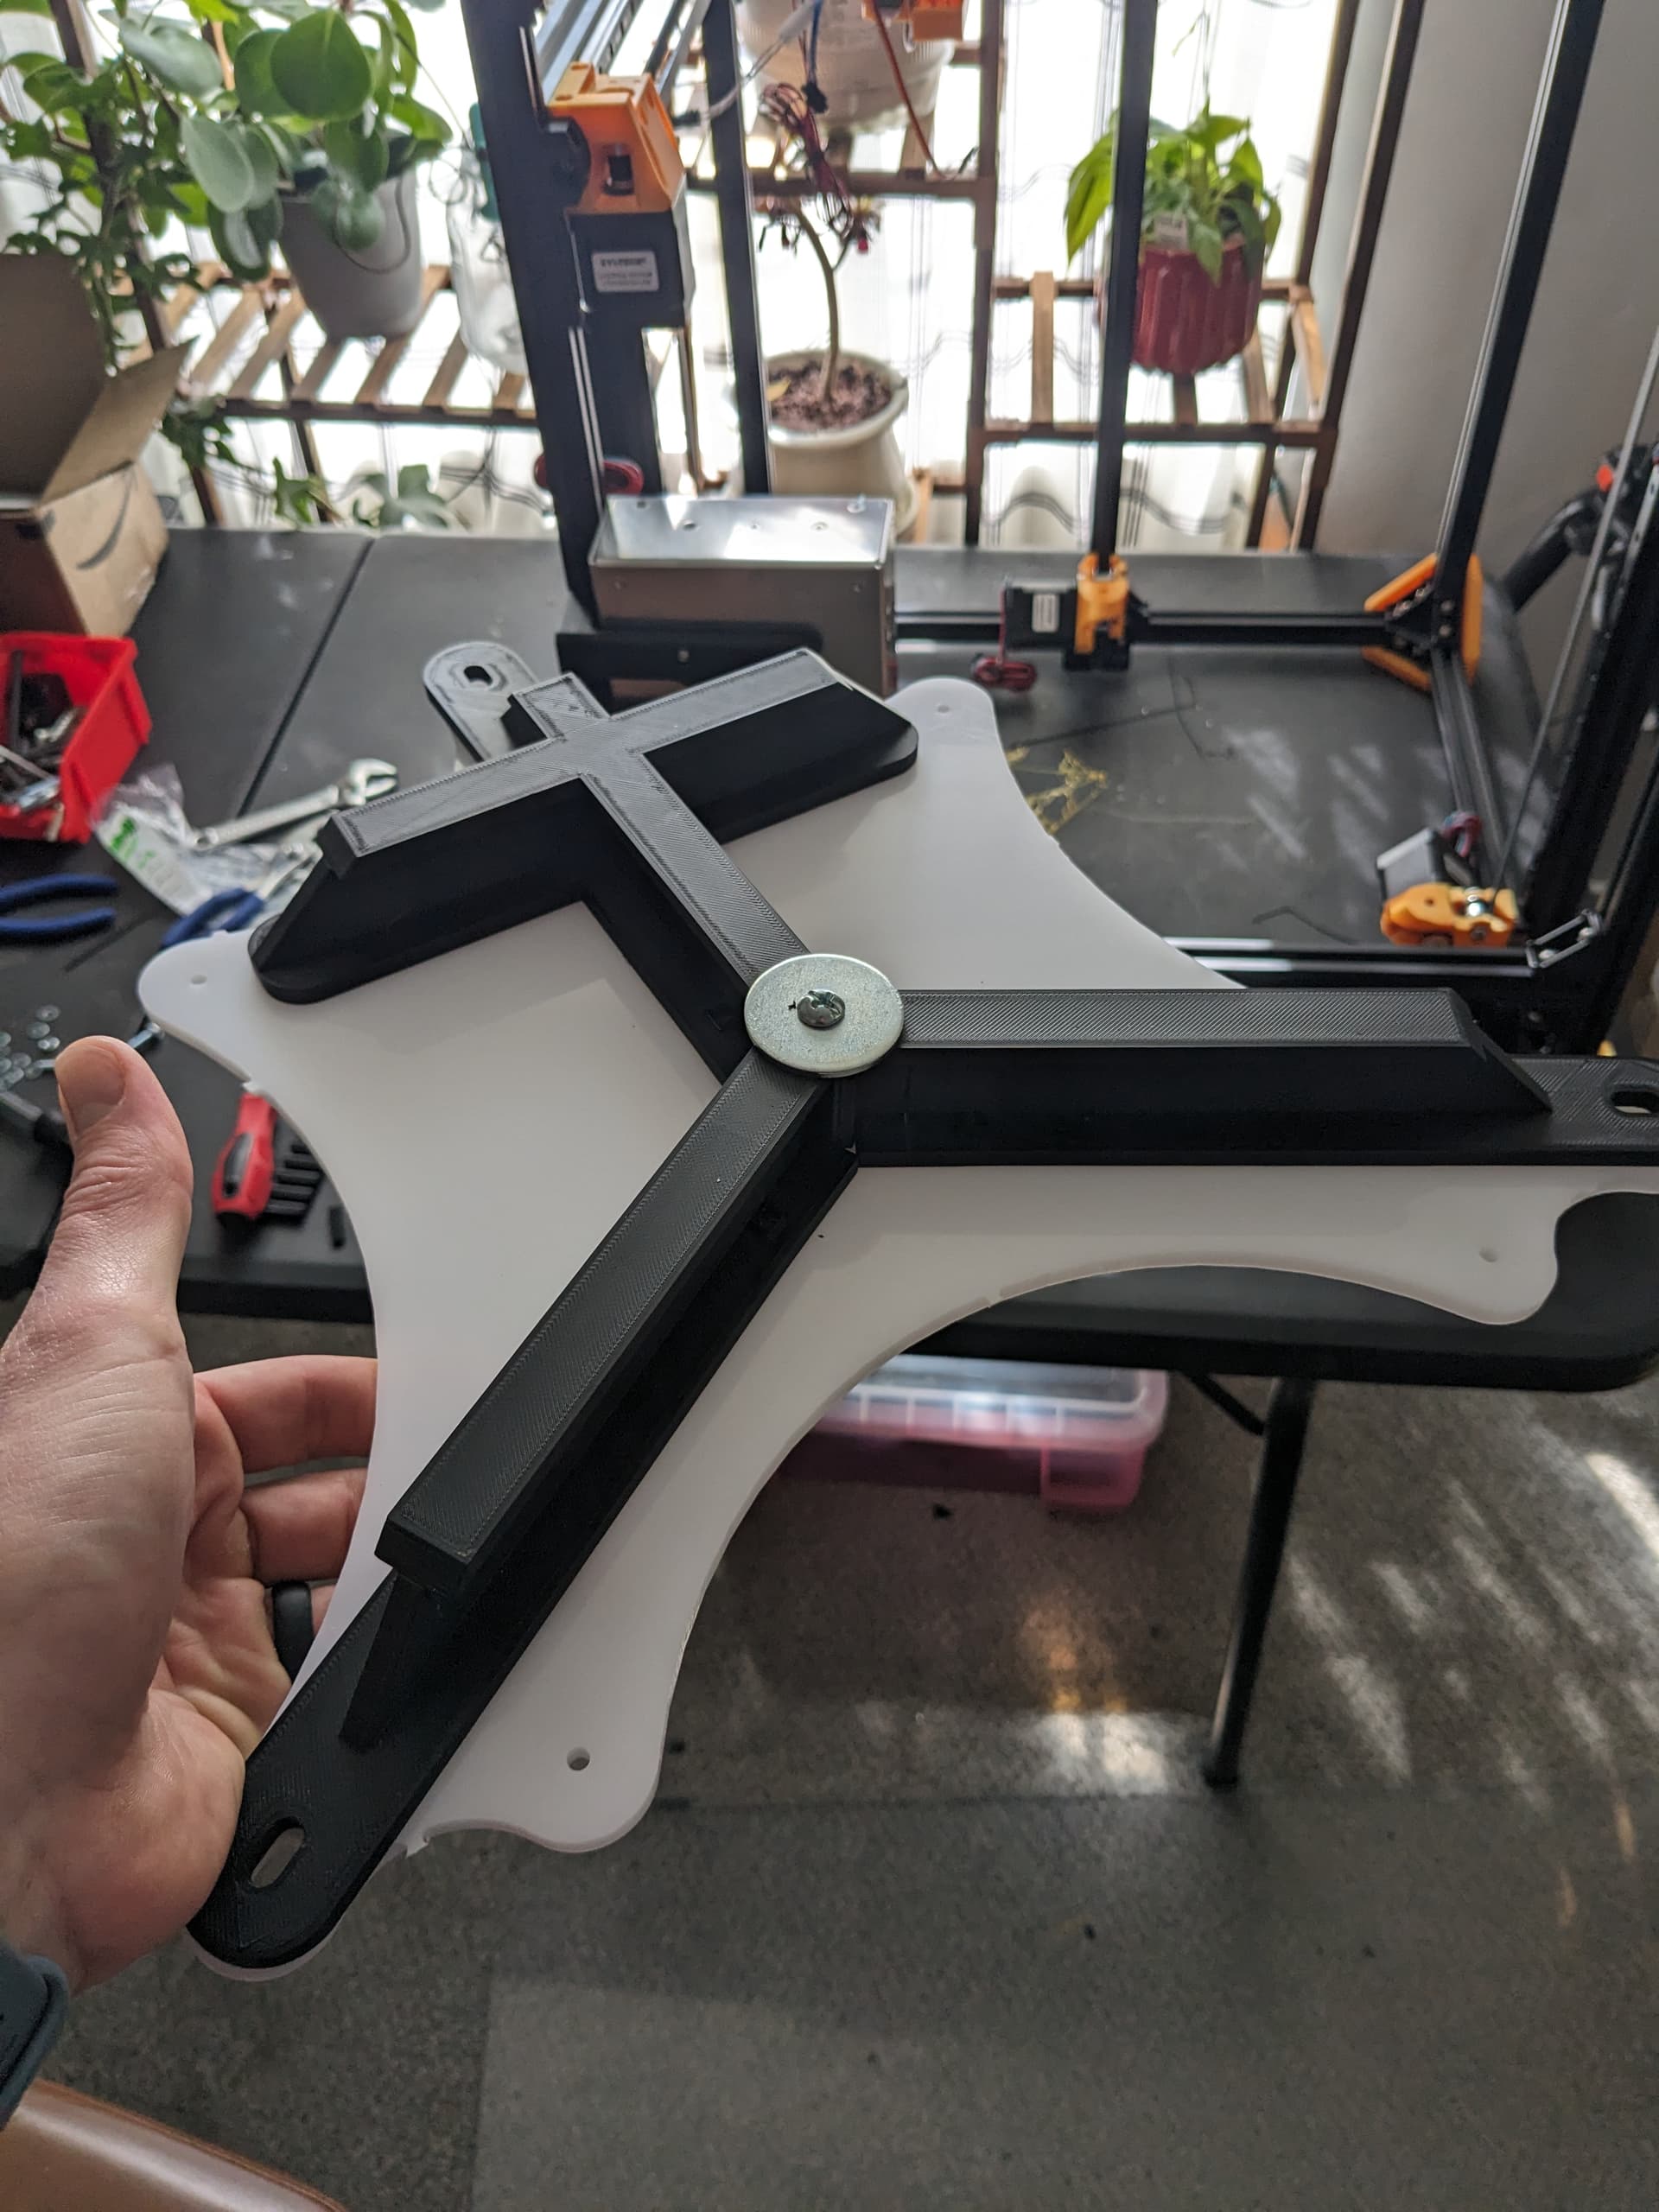
My custom parts…
Adjustable Z belt Bracket, with stolen design cues from the Lowrider V3
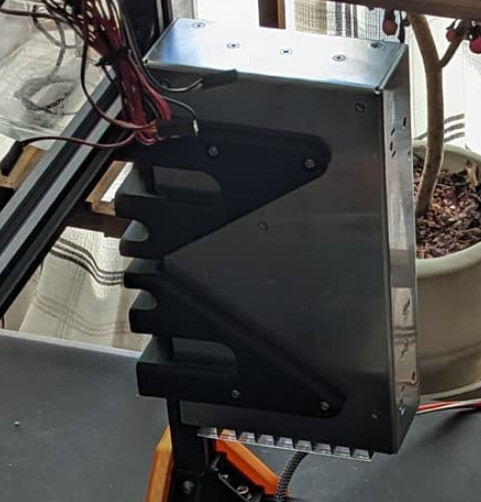
Base Wiring = Complete
Z brakes = WIP
Updating Build Volume = WIP
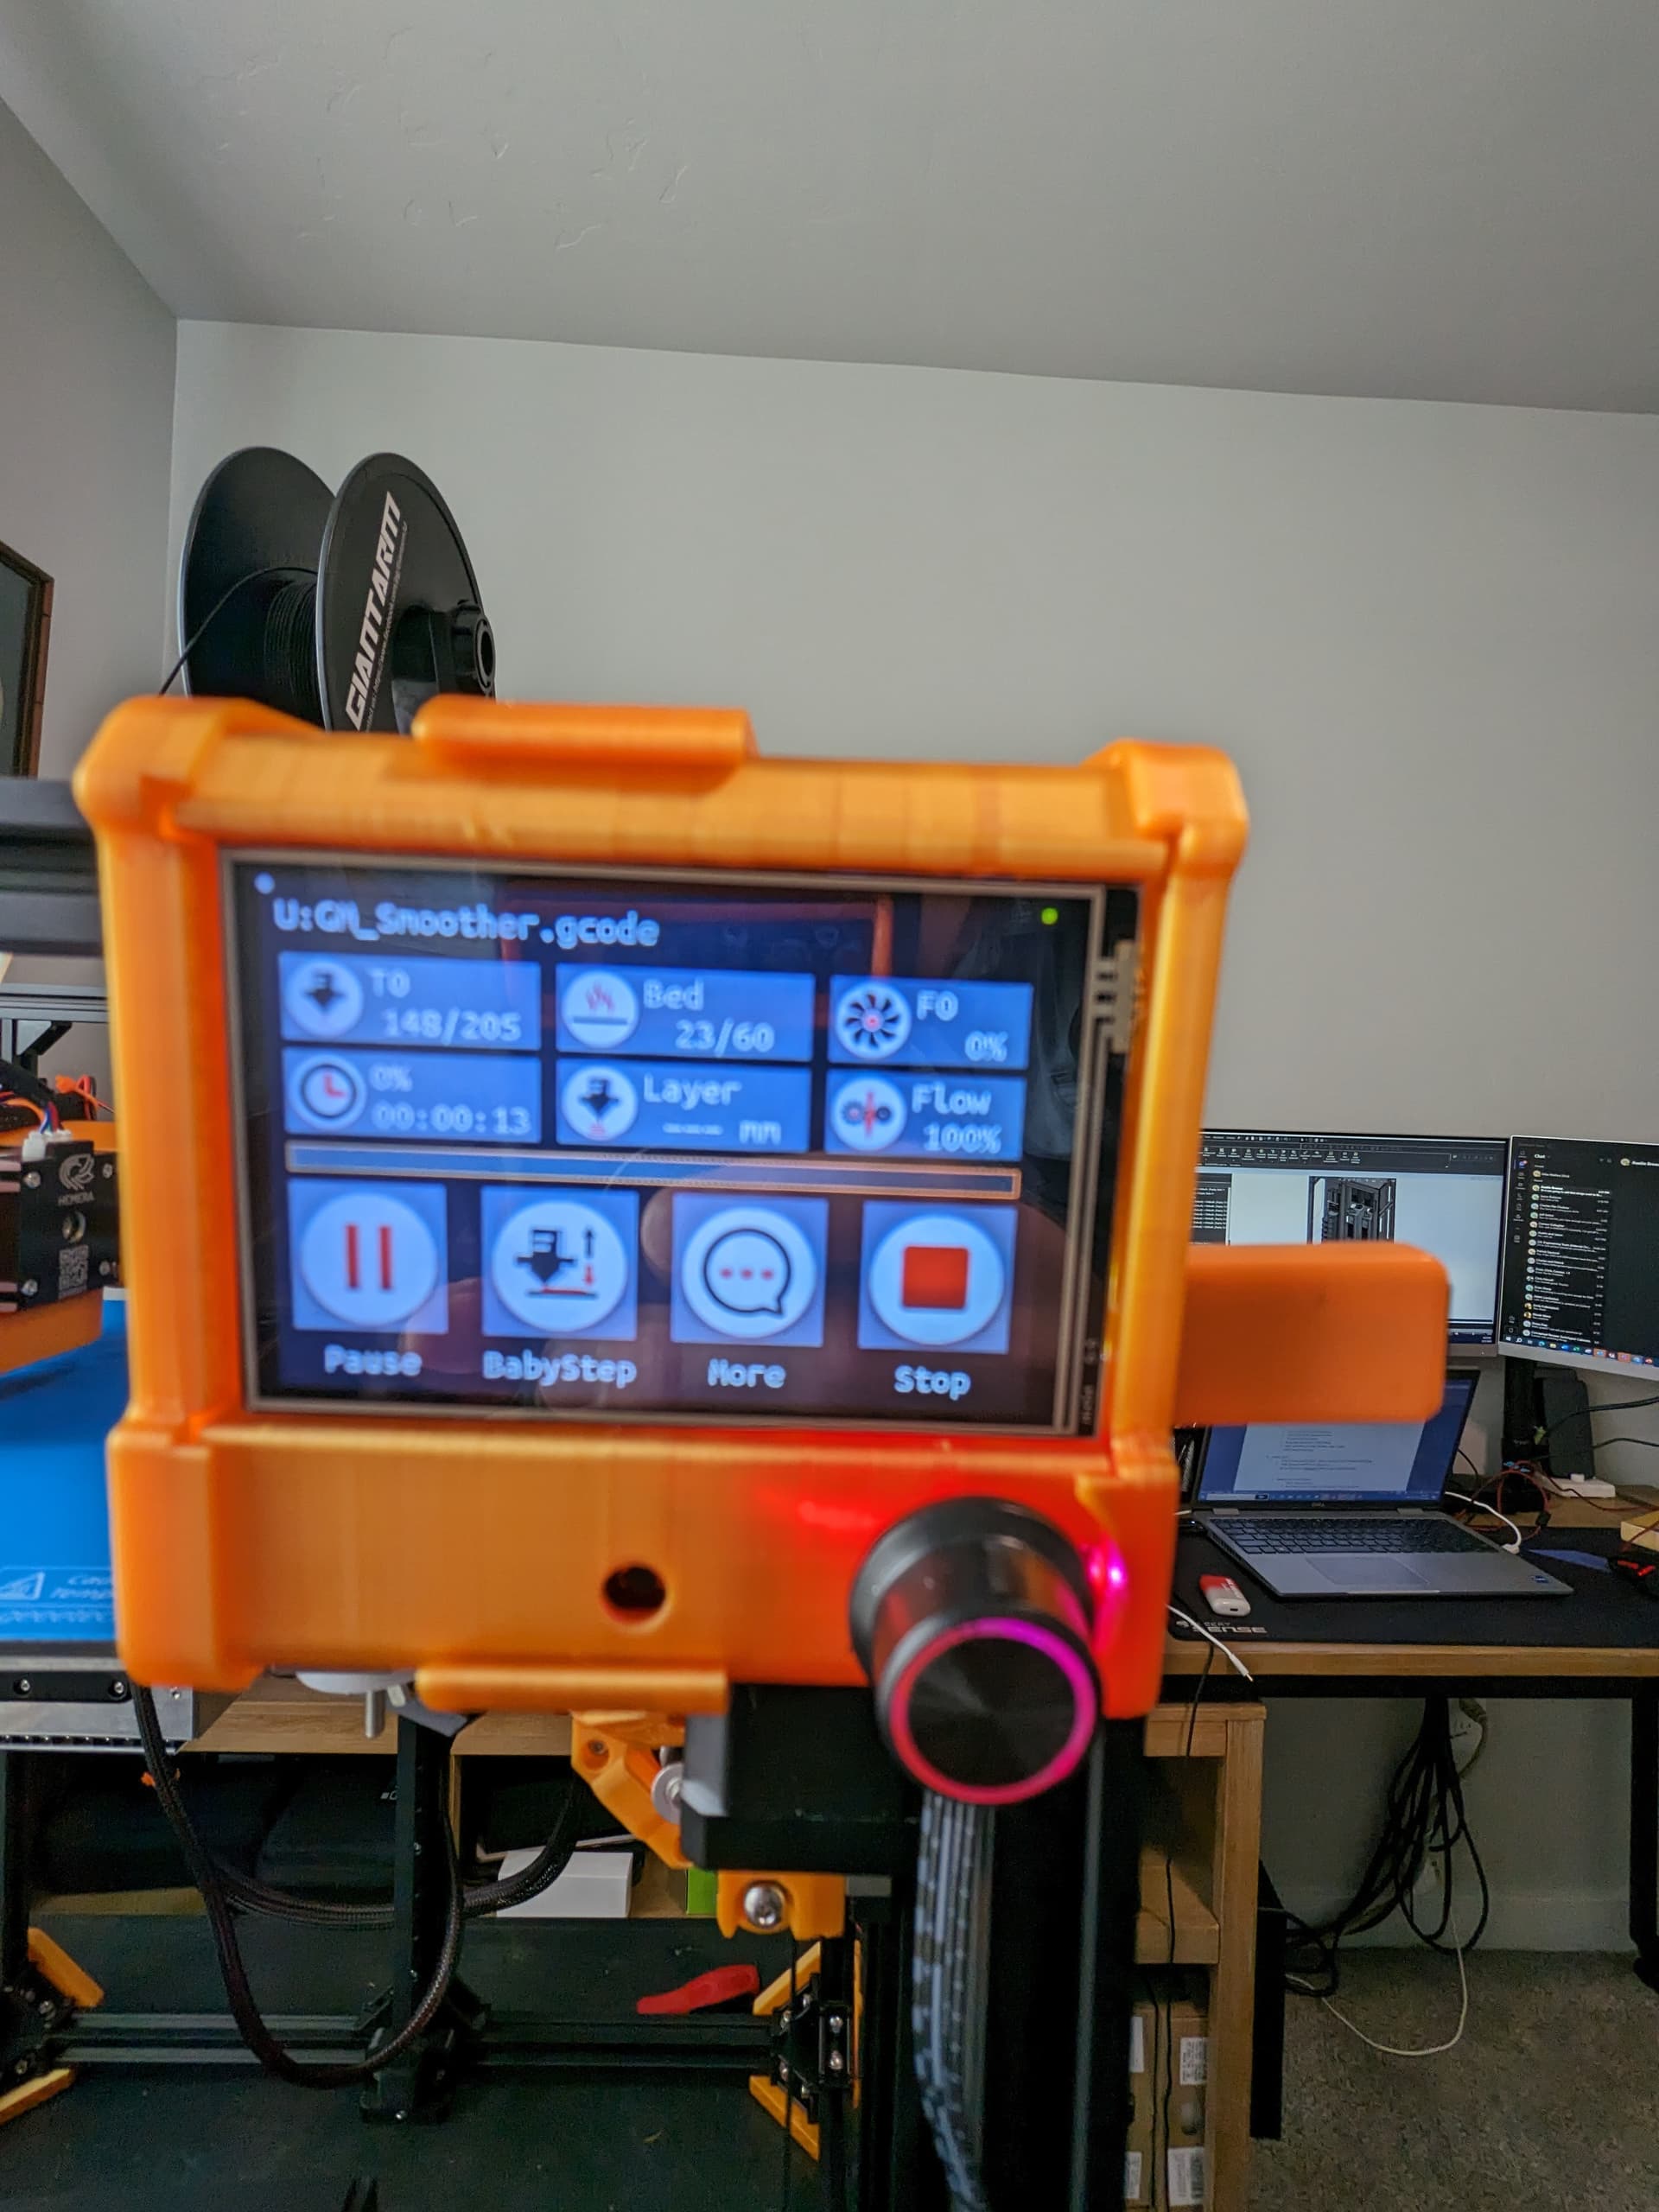
Hot Bed Temp Test = Complete
Extruder Temp Test = Complete
Extruder Load/Unload = Complete
Layer Fan Test = Complete
Extruder Fan Test = Complete
Leveling = WIP
I remember Ryan mentioning somewhere that if it pushes plastic I have earned a serial number, is this true?
From the dark and currently damp Idaho treasure valley.
This has been a long time coming.
This is the first 3D printer that I have ever built. I have one that I bought 6 months ago, and I have been on and off the 3D printing game for the last 8 years, some exposure in college, some exposure while I worked at Fiat Chrysler & GM. In the automotive industry I would just submit my designs to the “Additive Manufacturing and Prototyping Team” and get a printed part a week later, never really having to deal with printing my prototypes and designs. Now I have entered a whole new world. I’m not sure if you (@vicious1) started V1 Engineering, but what you have going on here is amazing. Would love to know more of the history.
FYI, I’m also know for being long winded, and oversharing
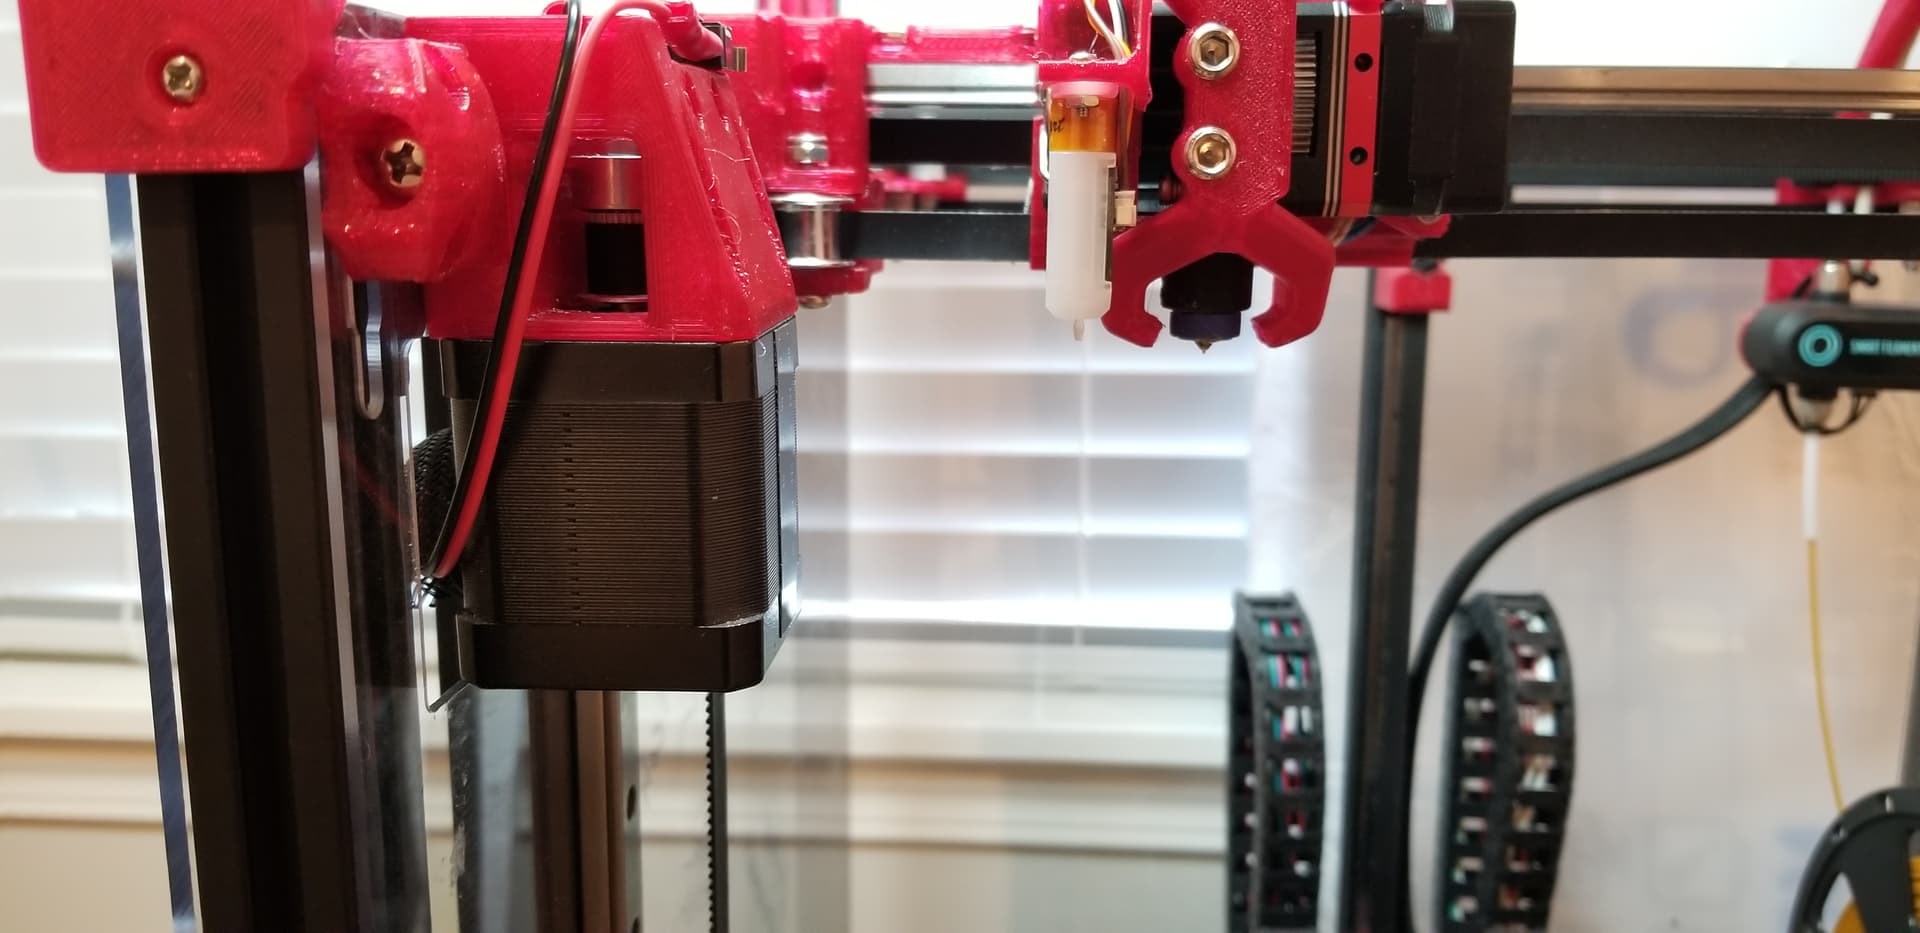
I have finally tuned in my printer, it has taken many hours, and lots of reading, but I think I may finally dialed in my V4.
PRINT SETTING FOR BOTH…
Layer Height = 0.2
Nozzle = .4mm
Material = PLA
Infill = 10%
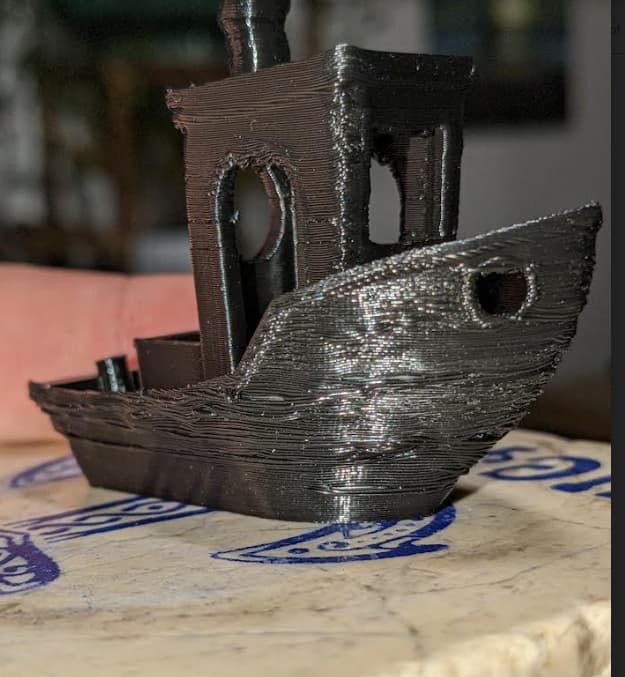
FIRST BENCHY - Printed without any setting changes, generic CURA slicer settings, and only changed the build volume in the firmware… Was not at all happy with the quality
update your extruder current (A) settings in marlin based on the extruder you are using, they vary a lot. I am using the Hemera XS which should have current settings of around 1400mA.
play with the flow settings in the slicer until your extruder is happy. the Hemera XS likes to be between 90-95% flow rate for the PLA I am using.
The layer fan speed is more important that i initially thought for surface quality based on part geometry.
Acceleration and Jerk control settings have allowed me to really “steady” my scaled up V4
The effect of Coasting has on surface quality.
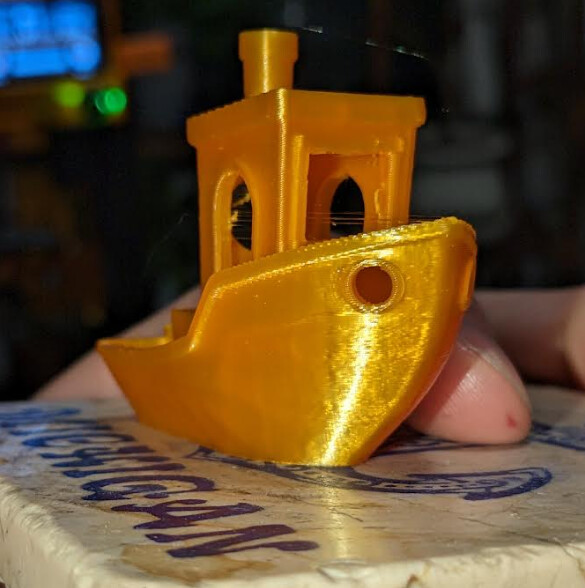
I really like this orange PLA for testing because it is not good at hiding imperfections
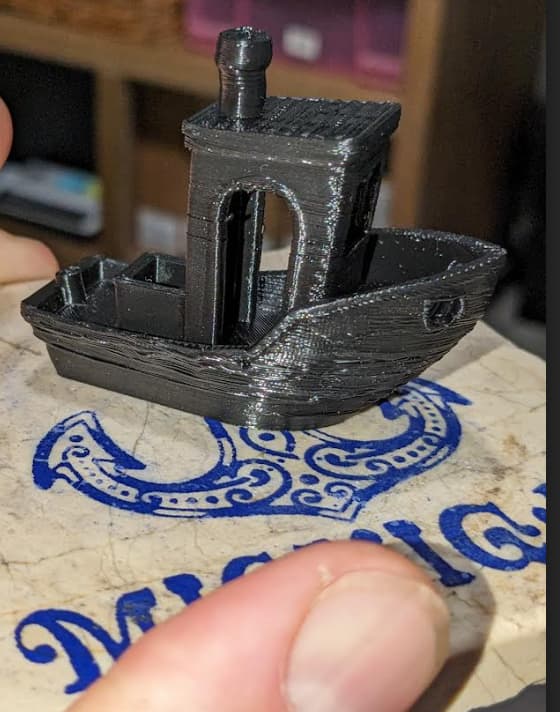
This BENCHY is greatly improved from my first one, going to keep tweaking it to improve the stringing that is showing up