New Primo Build Sydney AU - Anyone Using LinuxCNC?

Hi there,

I’m new to the forum and would like to introduce my build. It’s a Primo J series using the 25.4mm tube. All parts were printed on a Creality Ender 3.

I’ve build a dedicated table for this CNC out of pine and form ply.

So far I’ve reached the squaring stage and have had issues with truck squaring. The 3D printed parts seem to pull the gantry rails out of square so I’m still in the process of filing down the truck and truck clamps which seems to resolve this issue. It has taken quite some time to square one axis.

I’m planning to use Linux CNC as I’m more comfortable with Linux than Windows. I’ve bench tested the NMEA 17 stepper motors, DM542 stepper drivers and parallel break out board with Linux CNC. The motors seem to turn in relation to the basic Linux CNC logo design.

Would anyone in the community be willing to share their experience with the Primo and Linux CNC? Any lesson learnt that others should be aware of? What steps did you go through to calibrate the machine once working?

I’m just waiting on the coupler for the Z stepper to ball screw and then the basic assembly is done.

Here are a few photos of the progress so far.


2 Likes

There are very few threads O remember about Linux cnc. But the ones that exist are long and detailed. They were mostly about Linux cnc and plasma cutting.

You should be able to run the test crown. I’m not as familiar with Linux cnc. But you shouldn’t have to calibrate anything. You may need to play with your top change scripts and coordinate setups. But things like the steps per mm don’t need to be calibrated.

1 Like

My Linux CNC experience is wayyyy to rusty to offer specific recommendations for your MPCNC, but given that too high settings for either velocity or acceleration can result in lost steps (and ruined jobs), in general I’ve found this sequence most efficient for tuning these parameters:

  1. Set steps/mm on each axis based on the mechanics of the (micro)steps and lead screws/belts&pulleys. Backlash shouldn’t be an issue for belts or a vertical Z axis, but if you feel the need to tune that, do it after velocity and acceleration are dialed in.
  2. Pick one axis and set a (temporary) “bulletproof” slow max velocity where you are absolutely guaranteed not to lose steps.
  3. Starting with a low acceleration setting, gradually increase the acceleration on that axis until you start losing steps. Back the setting off 5-10% to give yourself a safety margin.
  4. Now, for that same axis, gradually increase max velocity setting until you start to lose steps, then back that off 5-10%.
  5. Repeat for all other axes.

This approach has worked for me on a variety of CNC machines and 3D printers using several different controllers, firmware, and control software packages including EMC2/Linux CNC.

You control how close to the max speed edge you want to run by how much you dial back your “safety margins” for velocity and acceleration For me, reliability has been more important that absolute max performance, but I’m running a hobby for my own enjoyment, not needing to maximize production output.

2 Likes

Mark,

Welcome to the forum!

I don’t have a Primo but have used LinuxCNC on several machines I’ve built. I have a couple of “Inexpensive LinuxCNC Interface…” threads on this forum… one for PC parallel port and the other for running LinuxCNC on RPI4 and GPIO. Since you’re using a parallel port and breakout board, you should be able to use LinuxCNC’s StepConf utility to initially set up the parallel port pinout and setup and test each axis. IIRC running StepConf creates a config file which you can then simply edit for things like SCALE, which sets the steps/mm for the machine.

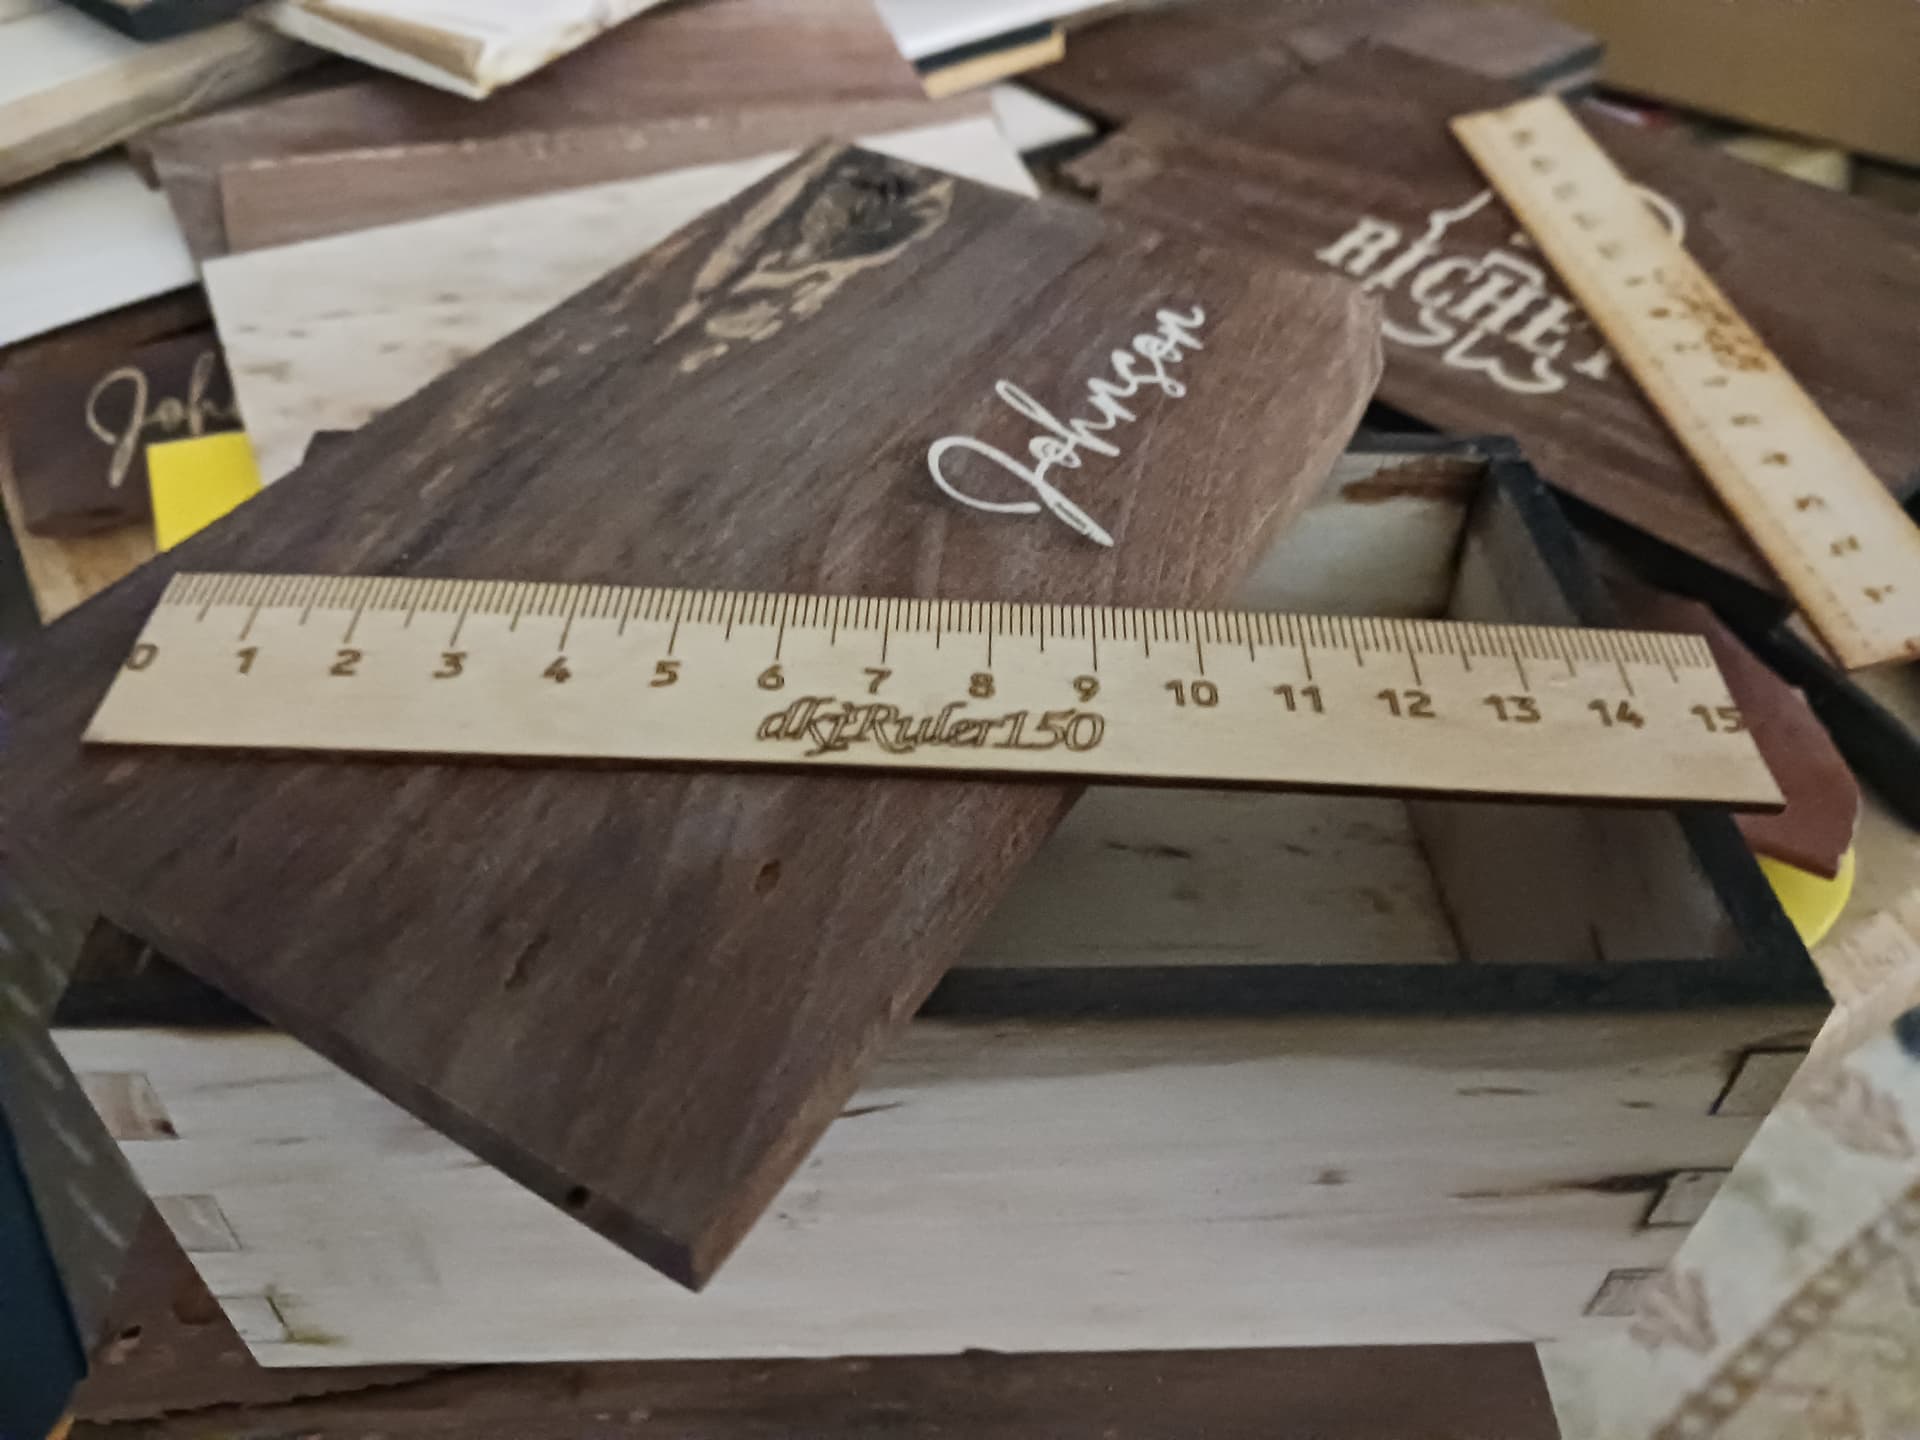
While I’ve sometimes gotten mild, good-natured, pushback on using non-round numbers for steps/mm (SCALE)… I maintain that if you are making/engraving rulers with your machine, you will need to go where a calibration procedure takes you to get the accuracy you expect from a good ruler. It does make a difference…

The procedure I use to adjust the SCALE value in the LinuxCNC configuration file (or steps/mm in GRBL or Marlin) requires that your machine be as mechanically and electrically sound as you can make it (grub screws are tight, etc :grin:) and that it consistently and predictably moves the exact same amount each time it is commanded. It’s as easy as rubber-banding a skewer (or other pointy thing) to the carriage and closely aligning the point above a major division on an accurate meter stick or tape laying on the bed and in line with the axis you’re moving. Start with small movements for safety and finally make moves as large as that axis allows for maximum accuracy.

For example, my X and Y values for SCALE, in the .ini file, were initially set at 80… and the units are “steps/mm”. So, commanding a G0 move for a specific distance and measuring the actual distance moved should yield an adjustment factor for the current SCALE value… i.e.

( commanded / actual ) * current SCALE​

gives a new SCALE value to be put into the .ini file.

Specifically, I sent “G0 X900” and X moved just 898.5 mm, therefore the new SCALE is (900/898.5) * 80… or 80.134.

I sent “G0 Y300” and Y moved just 299 mm, therefore the new SCALE is (300/299) * 80… or 80.268.

With these adjustments, both X and Y now move the commanded distance… and allow me to make quite useful and accurate rulers.

And, of course, if engraving rulers isn’t your “thing”… stick with round numbers for steps/mm and it will be “good enough” for 99% of the tasks we typically use our machines for…

:smiley:

– David

2 Likes

@jeffeb3 Thank you for the link to the crown. I will give it a go. Just waiting on the Z axis coupler and then I’m good to go.

@dkj4linux Thank you for pointing out the scale formula. Although I’m still missing the Z axis coupler I was able to dial in the X and Y axis to within 1mm over 100mm so I’m happy with that.
From reading your other posts you have a lot of experience and you are a great asset to this community!

@ttraband Hi Tom, I used your suggested approach to tune the max velocity. I found that I had to tighten up the belts to achieve this to avoid slipping. Starting slow and gradually increasing is wise advise to any newcomer to this craft. Thanks for your post.